
14 Decorative Craft Ideas for a Dorm Room

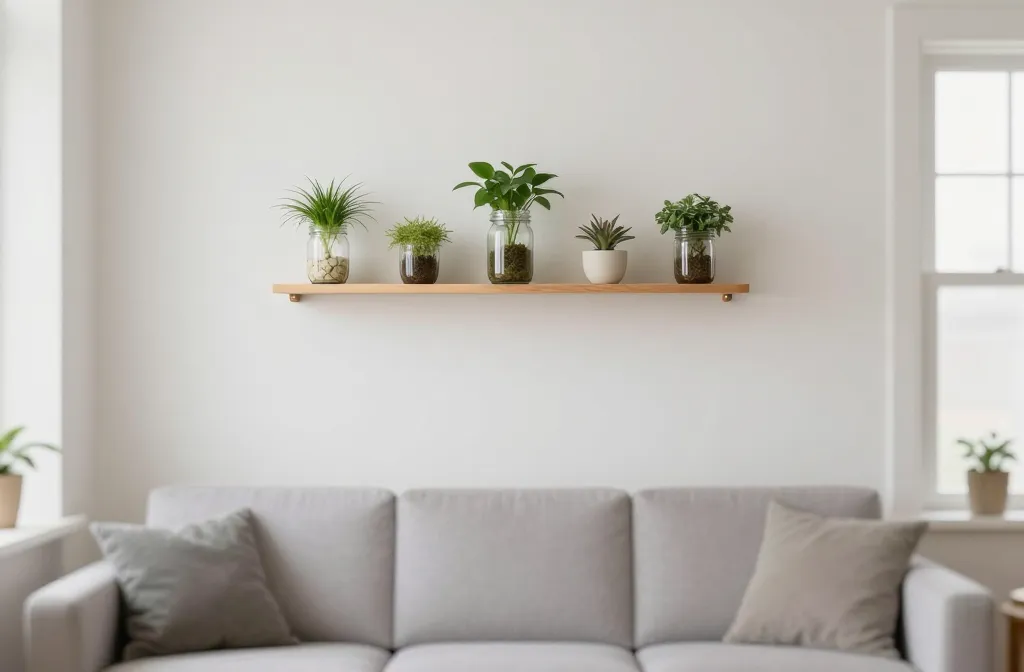
Rented walls, tiny desks, and a budget that barely covers groceries can make dorm styling feel like a lost cause. You want your space to feel like you, not a generic four walls with a bed. The tricks below fix real dorm problems: flat walls, cluttered surfaces, and decor that looks lonely. Each idea is simple to pull off this week, affordable, and actually doable between classes. The list uses a mix of everyday supplies and small, clever hacks to keep the room feeling thoughtful, not thrown together. Use these ideas to craft a space you’re proud of from the moment you walk in the door.
These fourteen decorative craft ideas for a dorm room are designed for fast setup, easy cleanup, and a look that photographs well for your feed. They balance style with practicality, so you can enjoy them now and store them away neatly when you move out. Ready to turn blank walls into something personal? Let’s start with a few fresh, doable moves.
1. Magnetic Mason Jar Wall Planters
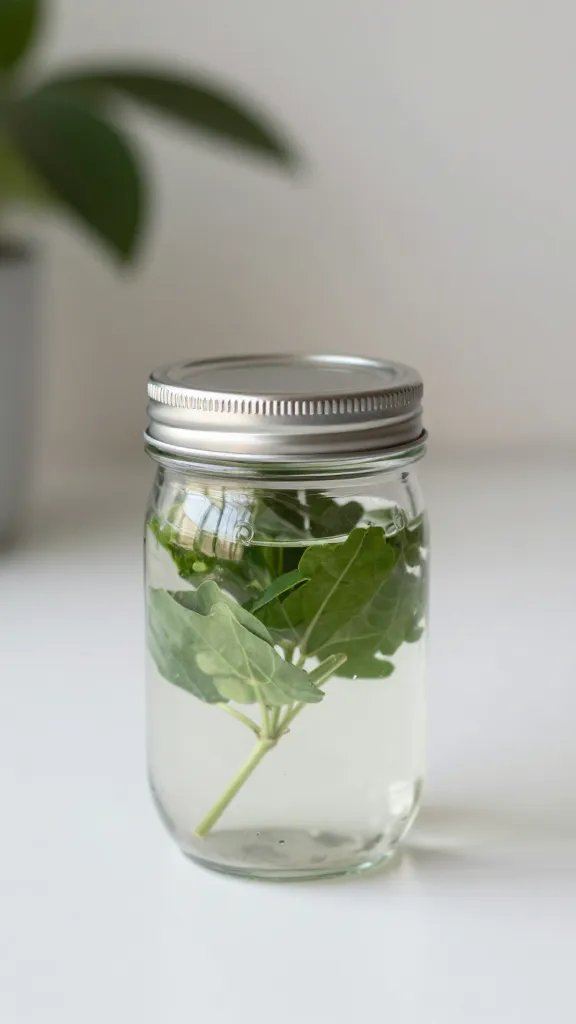
When a dorm has one window and nothing on the walls, a vertical garden can feel magical. Use small jars with magnets on the back to hold tiny succulents or faux plants. Mount a strip of magnetic tape to a slim board or metal sheet, then press the jars in place. It’s a clean, space saving plant display that adds life without taking up desk real estate. Time: about 40 minutes. Supplies: small mason jars with metal lids, magnetic strips, strong adhesive, lightweight faux plants or real varieties you can manage. Safety note: keep soil contained if using real plants and avoid heavy water near electronics.
2. Fabric Banner with Personal Crops
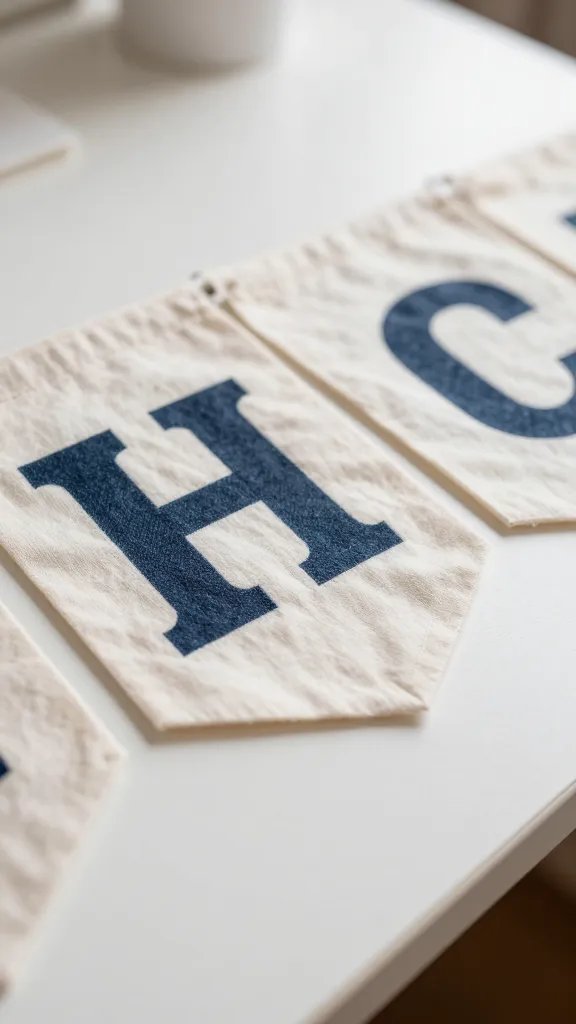
Textile banners feel soft on the eyes and can be changed with your mood. Cut a piece of lightweight fabric to your preferred size, hem the edges, and stencil a short message or your initials using fabric paint. Hang with removable adhesive hooks or a rod you can clamp to the wall. It personalizes the space and is easily swapped for new seasons or grades. Time: 60 minutes. Supplies: cotton or muslin fabric, fabric paint, small stencil or freehand lettering, fabric scissors, iron, removable hooks or tension rod. Beginner version: skip full hems and use bias tape for quick edges.
3. Paper Clip Wall Calendar Art
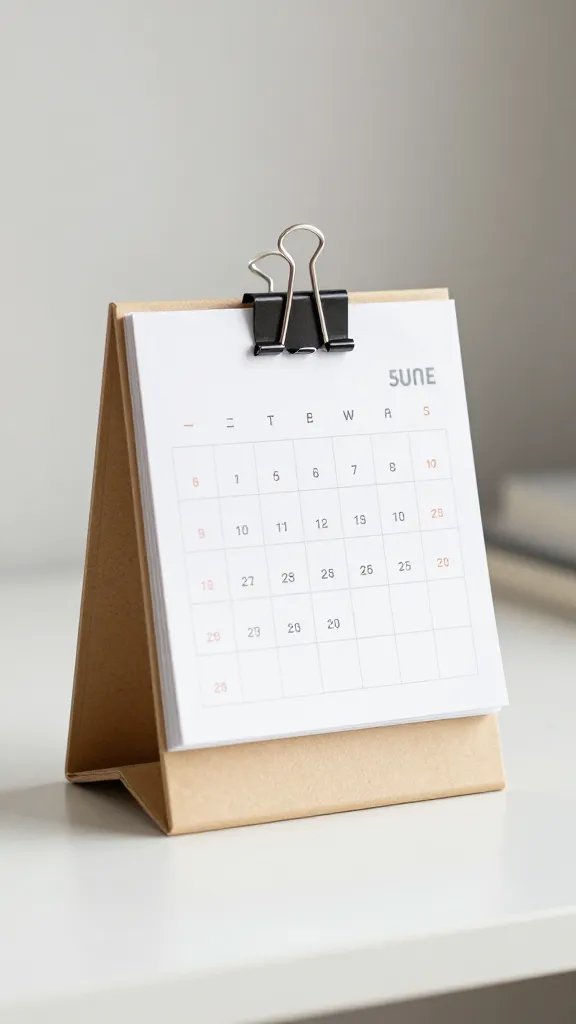
A calendar on the wall keeps you organized and acts as a design piece. Create a grid using a large sheet of poster board. Use mini binder clips or painted mini clothespins to hold pad-sized calendar squares or photos. This adds a functional focal point without drilling. Time: 45 minutes. Supplies: poster board, craft paper, clothespins or binder clips, scissors, glue stick, tape. Color note: keep the color palette tight to match your room. Best for small spaces where a calendar doubles as decor.
4. LED Curtain Lights with Drape Plan
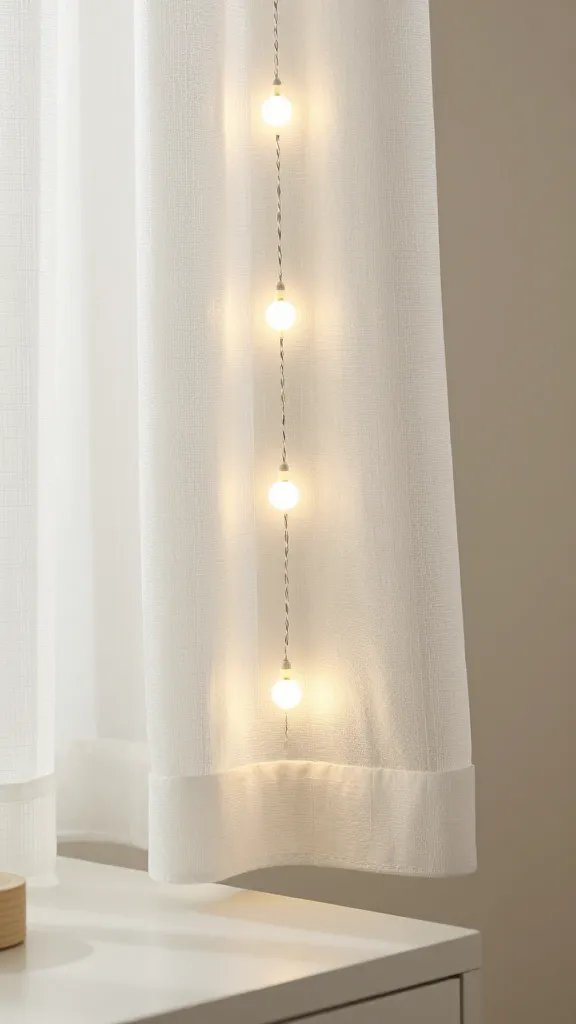
Soft lighting changes the feel of a room instantly. Loop a string of warm LED lights behind a sheer curtain or along a curtain rod to create a gentle glow. It instantly softens a harsh overhead light and helps photos look inviting. Time: 20–30 minutes. Supplies: string LED lights, removable hooks, light curtain or sheer fabric, small decorative clips. Caution: avoid placing lights near heat sources and unplug when not in use.
5. Washed Linen Bulletin Board Cover
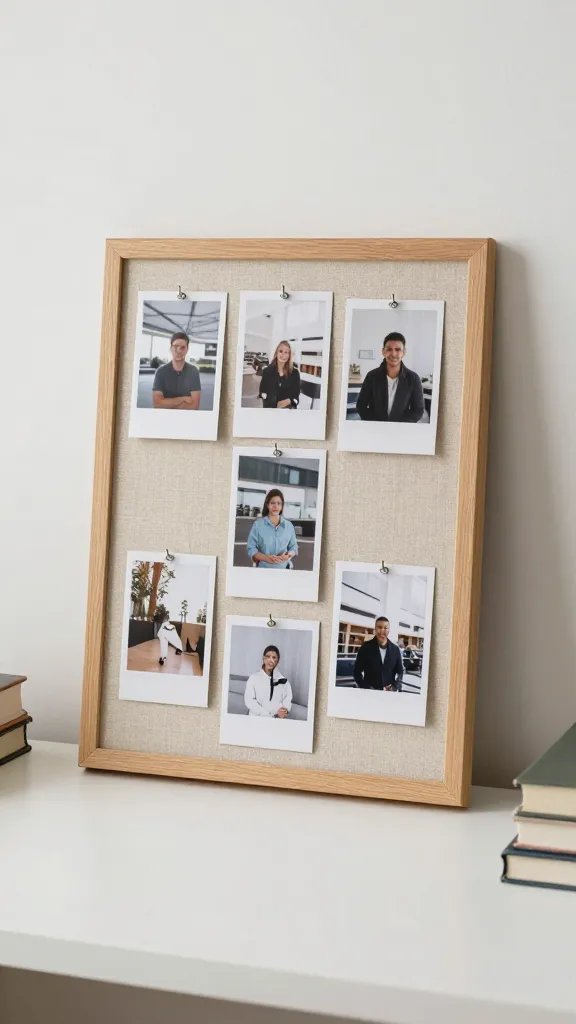
Turn a plain corkboard into a chic, breathable display. Cover it with a piece of linen or cotton drop cloth, then staple or tape the fabric to the back. Use fabric pins to pin photos, notes, and tickets. It reads cozy and keeps clutter off the desk. Time: 30–45 minutes. Supplies: corkboard, linen fabric or drop cloth, staple gun or tape, fabric pins. Upgrade note: spray a light fabric protector if you want to resist spills.
6. Painted Plant Box Shelf
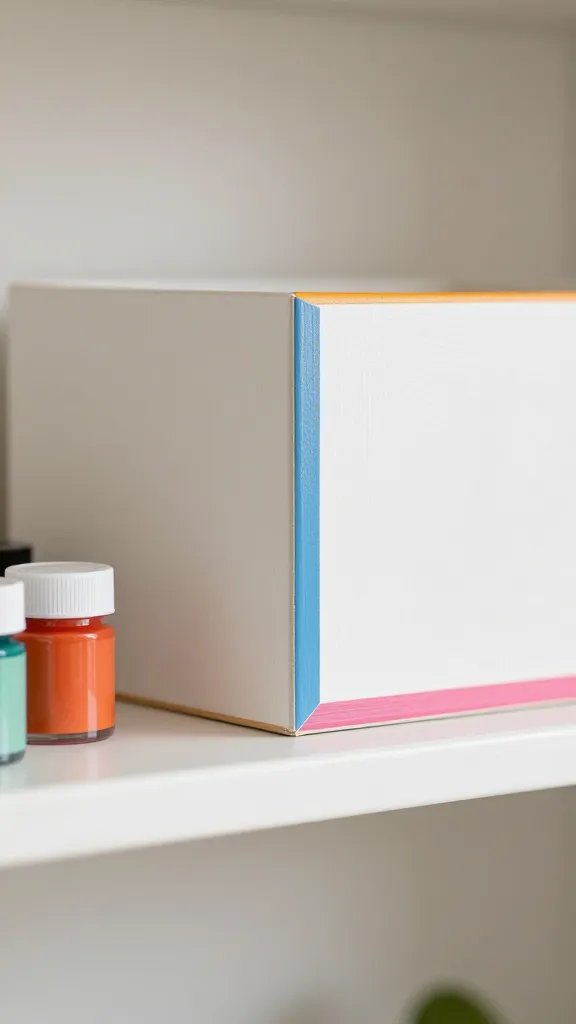
If you have a small shelf, give it a boost with a quick paint job. Paint three edges or a whole box in a color that pops against the wall. Use the inside of the shelf to stash small personal items, cosmetics, or school supplies. It adds color and organization in one go. Time: 60–90 minutes for multiple coats. Supplies: small wooden box or shelf, acrylic paint, painter’s tape, brushes, sealant. Beginner version: a single accent color on just the edges. Little hands tip: let a roommate help with painting while you manage drying times.
7. Shadow Box Desk Décor
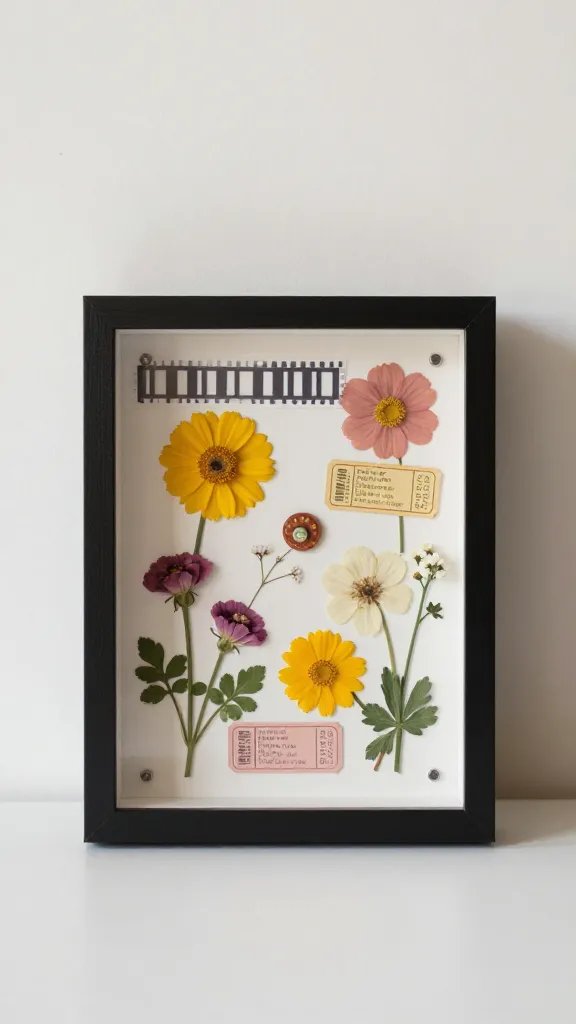
Use a shallow shadow box to showcase small mementos from home, travel, or campus memories. Layer pressed flowers, a photo strip, ticket stubs, and a tiny trinket. Mount the box on the wall or set on the desk as a curated vignette. Time: 30–45 minutes. Supplies: shadow box, glue, double sided tape, decorative filler items. Safety note: avoid placing sharp pins or glass near a high traffic area. Best for a personal, intimate corner of the room.
8. DIY Corkboard Mail Organizer
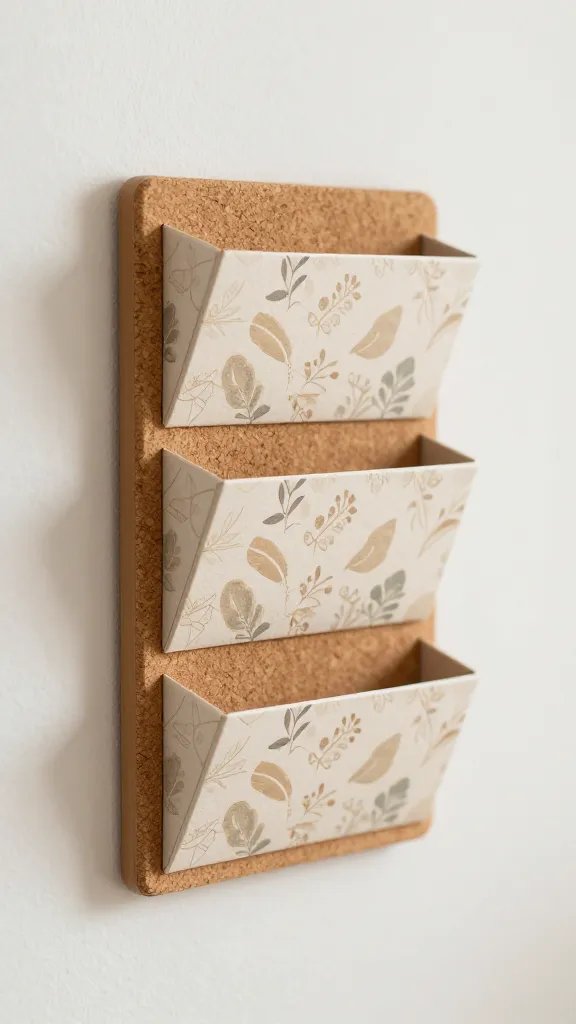
Clutter on desks looks inevitable, so make a place for incoming papers. Cut a corkboard to fit a narrow wall space. Add small shelves or clips to hold mail, notebooks, and reminders. Paint or cover the cork with decorative paper to coordinate with your color scheme. Time: 40–60 minutes. Supplies: corkboard, rope or thin shelf, decorative paper, glue, mounting hardware. Copy the look: reuse old cork from a pinboard and refresh with color.
9. Jeweled Vase Centerpiece on a Tray
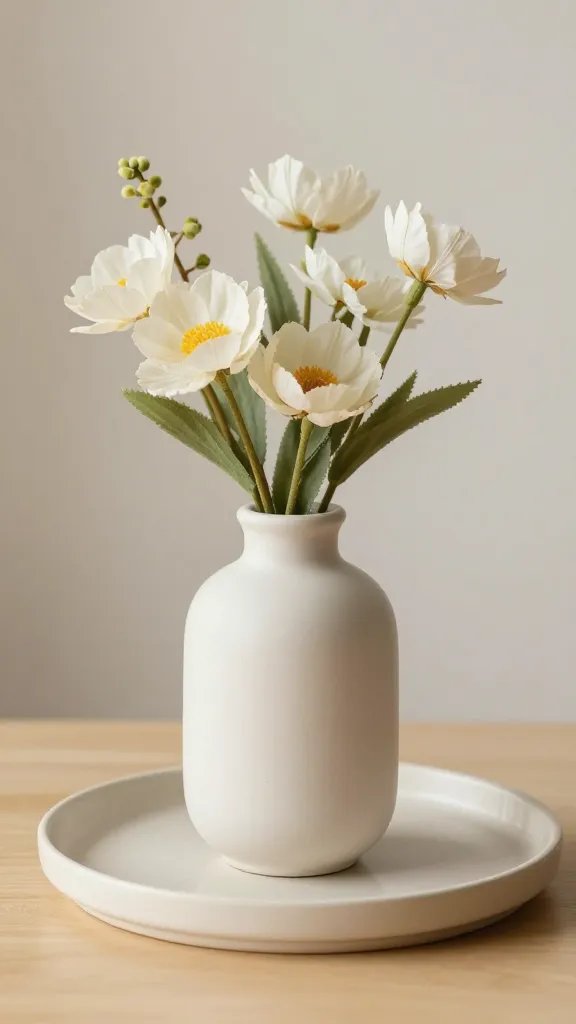
A simple tray with a single vase filled with faux florals creates a polished, not fussy, bedside display. Use one color family for cohesion and add a few glass gems for sparkle. Place on a dresser or window sill for a quick makeover. Time: 15–25 minutes. Supplies: shallow tray, vase, faux flowers, decorative glass gems. Budget swap: fill the vase with decorative sand and a single faux stem to save on costs.
10. Fabric Drape Wall Pockets
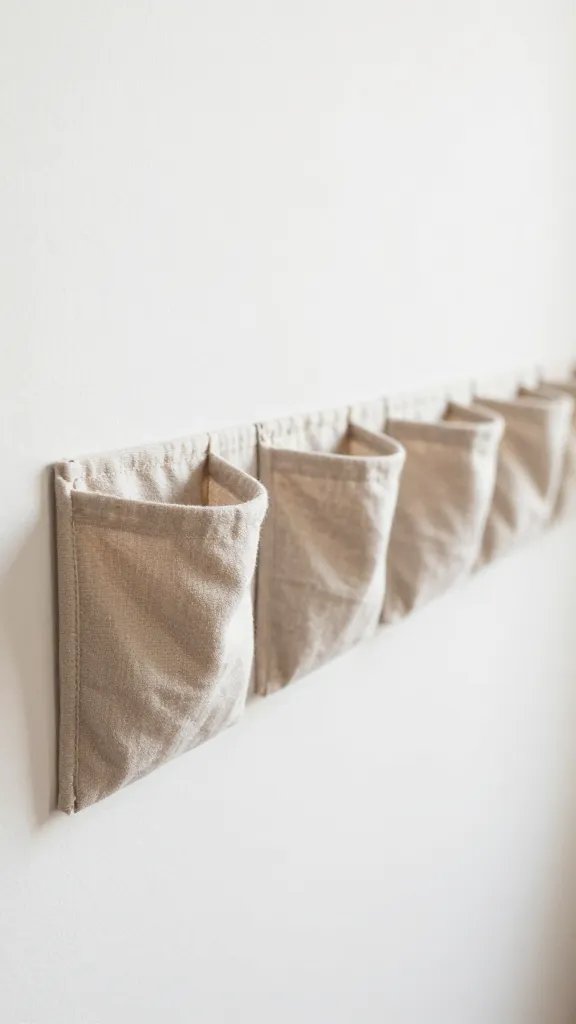
Turn a fabric panel into hanging pockets for small items like pens, headphones, and keys. Attach three or four evenly spaced pockets to a fabric strip and hang it where you reach for everyday items. It reduces desk clutter and adds a soft texture to the wall. Time: 45–60 minutes. Supplies: thick fabric, scissors, glue or sewing kit, small pockets or sewn-in pouches. Make it ahead: pre-sew pockets if you have time, then hang when ready.
11. Balloon Arch with a Twist
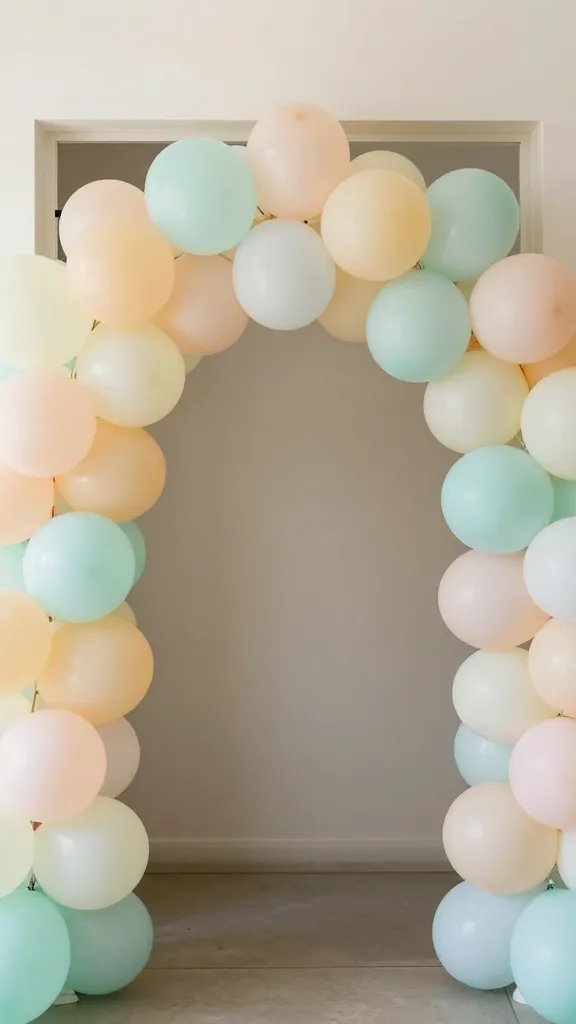
A small, doorway balloon arch can frame a study nook or dorm entry. Use a lightweight arch kit or DIY with fishing line and balloons. Add a few matte paper shapes to keep it grounded and not too flashy. It’s an instant focal point for photos or a quick backdrop for a study session. Time: 60–90 minutes. Supplies: balloons, arch kit or fishing line, balloon anchors, paper shapes. Safety note: avoid overinflating near heat or by the bed. Do not leave unattended near curtains.
12. Upcycled Jar Lanterns
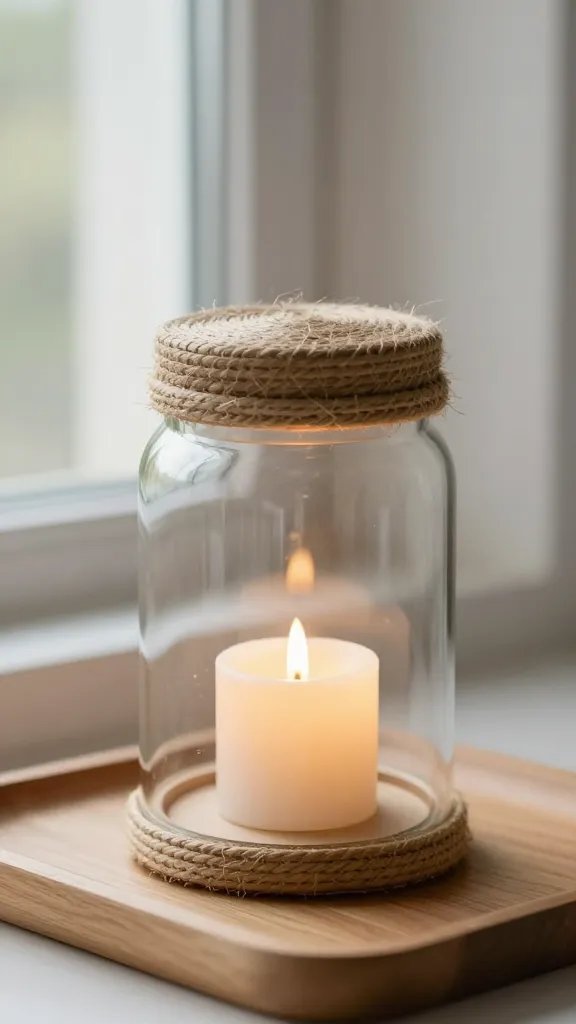
Find old jars, wrap the lids with twine, and set a small LED candle inside. Place the jars on a tray along a window sill or coffee table for a cozy glow that feels intentional. It’s a small project with a big payoff. Time: 30–40 minutes. Supplies: glass jars, LED tea lights, twine or ribbon, spray paint optional. Cleanup tip: wrap jars in a towel while transporting to avoid chips.
13. Monogram Wall Tiles
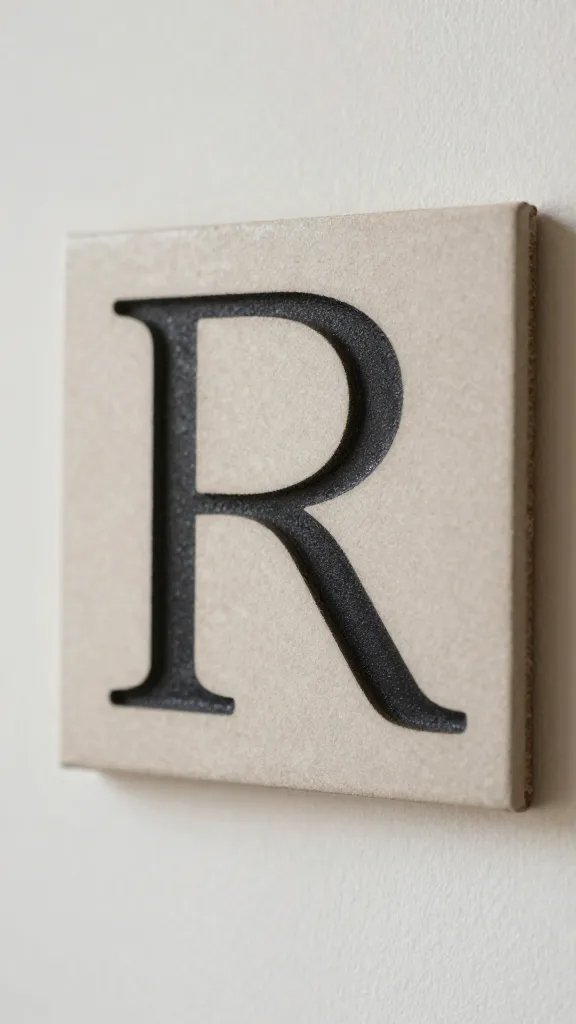
Cut cardboard or foam board into square tiles. Paint a bold letter or initials on each tile and arrange in a grid on the wall. It reads graphic and modern without needing nails. Time: 40–50 minutes. Supplies: cardboard or foam board, acrylic paint, painter’s tape, glue, mounting putty. Best for: quick, non permanent installations in small spaces.
14. Chalkboard Tray for Desk Essentials
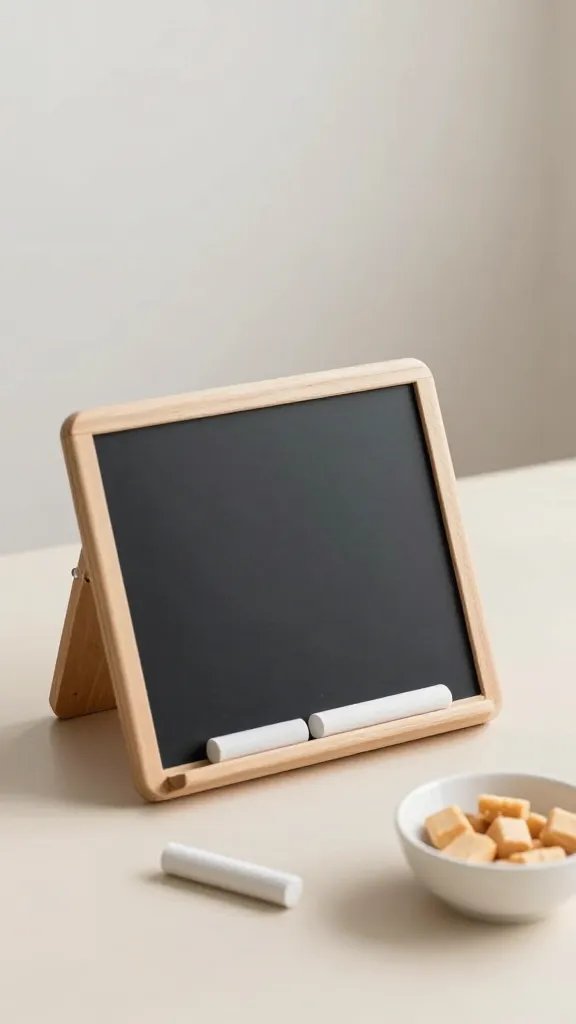
Reuse a shallow tray as a chalkboard surface on one side. Write reminders, to do lists, or meal ideas for the week. Pair with a small bowl of dry snacks for a tidy, practical display. Time: 20–30 minutes. Supplies: wooden tray, chalkboard paint, brush, chalk. Copy the look: dip a small ceramic plate in chalkboard paint for a coordinating accent in the same area.
These ideas give you a way to dress a dorm room without turning it into a full craft project. Each one is practical, inexpensive, and doable in short bursts between classes. Build a little at a time and you’ll have a space that feels you as much as your calendar does. Save this for the next birthday that sneaks up on you.