
14 Dinner Party Ideas for a New Neighbour Welcome

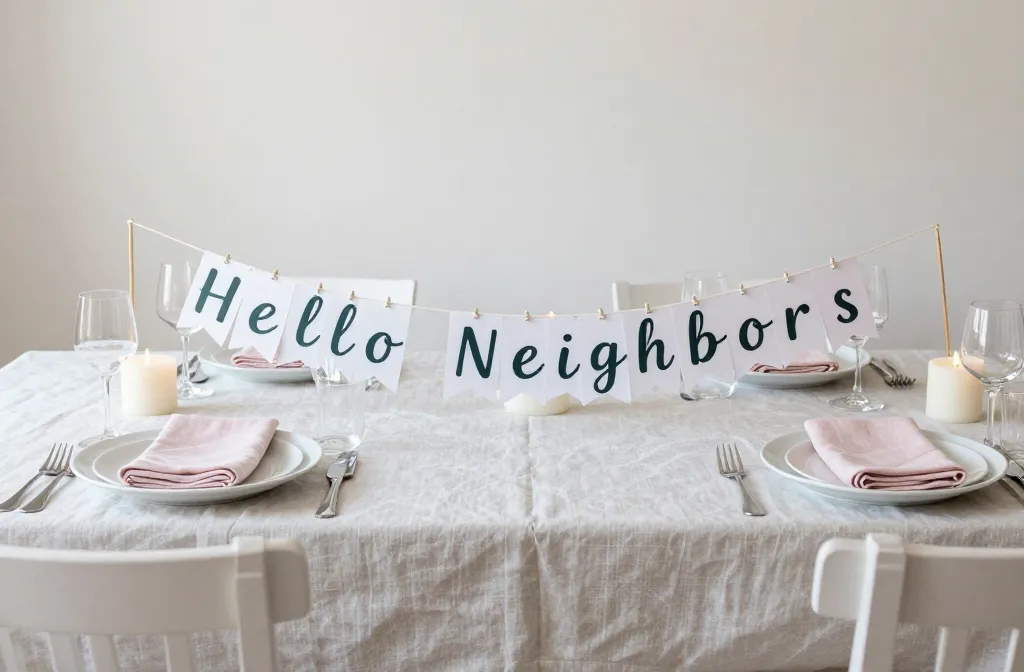
The first neighbor dinner is a make or break moment: you want warmth without chaos, plus a plan that fits in a weekend. A little themed effort goes a long way when you’re new to the street and likely juggling a busy week. If you’ve chosen the core idea of a casual welcome, you’re already ahead. This guide offers practical, craftable ideas you can set up this week, on a friendly budget, with supplies you probably already have. Each idea solves a real problem, from small spaces to quick cleanup. Read through and pick two or three you can rotate for future visits.
We’ll weave in a natural flow and practical tips so you can actually pull each look off. The goal is to make guests feel included without turning your kitchen into a marathon. Use the ideas that fit your space and time, and save the rest for later. Let’s dive into action.
1. Welcome Banner Made From Reusable Tags
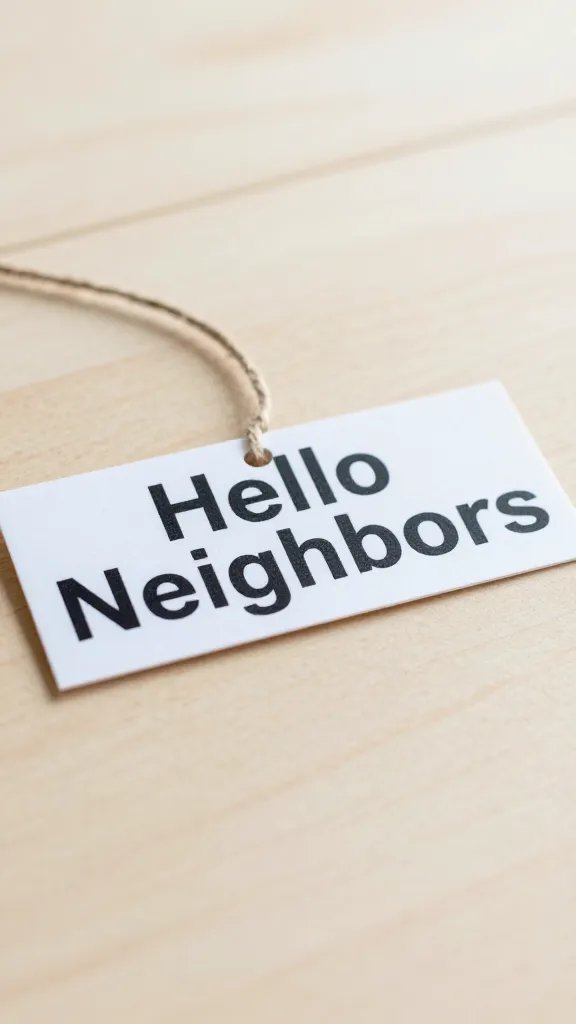
When you’re short on wall space, a simple banner can do a lot. Upcycle shipping tags or sturdy cardstock into a string of letters that spell “Hello Neighbors” or “Welcome Team.” It’s fast and flexible for a small apartment or a larger room. Cut the letters with a craft knife or scissors, punch two holes at the top, and thread with twine. Layer colors to match your table linens for a cohesive look. It stays neat on a command strip line, so you can move it later without damage.
Copy the look: Use 4 by 6 inch tags, or tuck in a few alphabet stickers if you’re pressed for time. This version is beginner friendly and quick.
2. Color Block Napkin Station
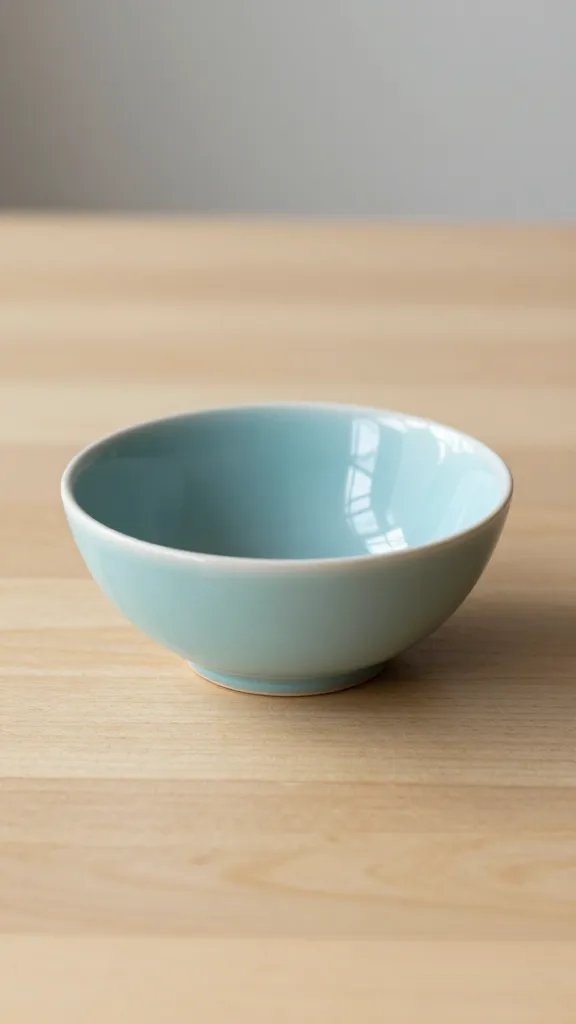
Guests notice when a table feels organized rather than chaotic. A color block setup with napkins in two to three colors creates a calm, welcoming vibe. Fold them in a simple triangle or square and place them in separate bowls or containers. Add a small chalkboard tag with each color name to help guests find a place setting. This keeps cleanup straightforward and provides a bright moment at the start of the meal. If you run out of napkins, switch to clean dish towels and call it “napkin chic.”
Best for: Small spaces, casual dinners, and guests who value quick seating. It’s a neat, inexpensive upgrade that still looks thoughtful.
3. Two-Tier Dessert Tray From Everyday Dishes
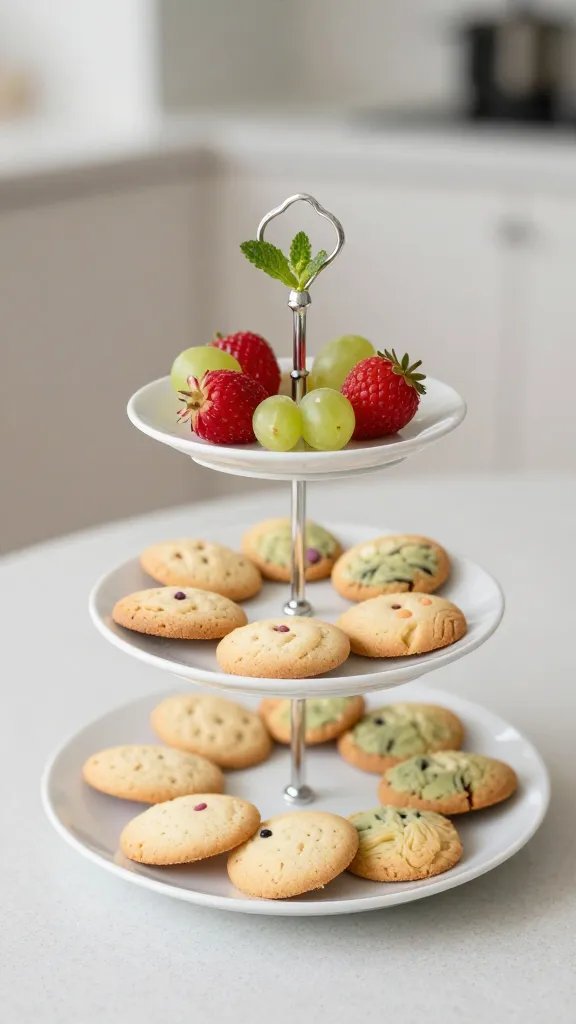
Deserts on display can seem sparse, so create a two-tier look using two cake stands or a stack of plates with a small inverted jar on top. Layer cookies, brownies, and slices on the lower tier and fruit skewers on the top. Keep the color palette light: white plates with a bright fruit or pastel cookies. A mason jar filled with fresh mint leaves doubles as a simple garnish. This small change creates height and presence without taking up extra counter space.
Use what you have: A couple of small stands from your cupboard or a makeshift riser from a sturdy book and a plate. It goes together in under thirty minutes.
4. Ice Cube Tray Smore Bar Upgrade
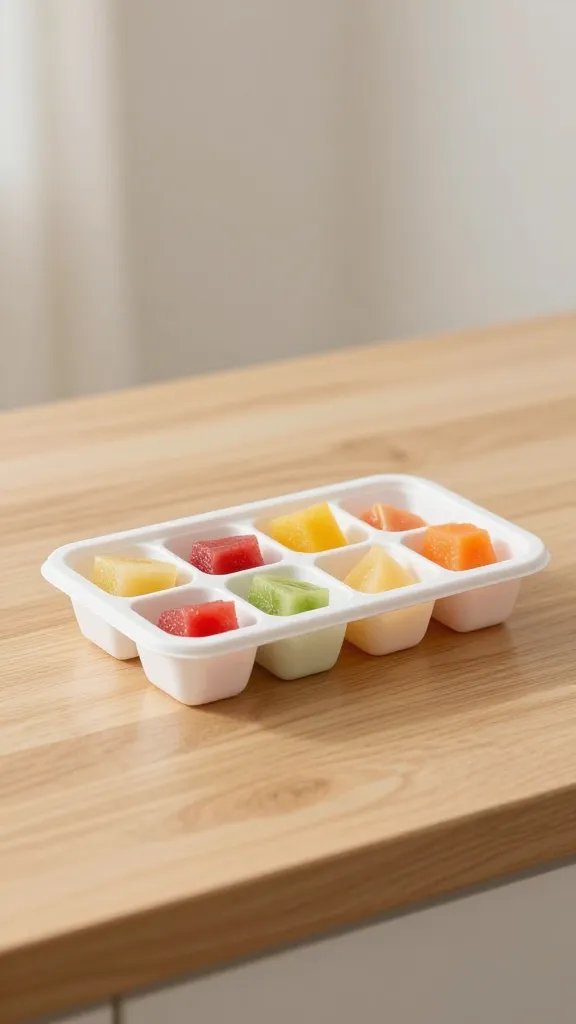
Upgrade a quick dessert with an ice cube tray filled with fruit juice and small berries to freeze as color pops for drinks. Freeze edible decorations like lemon wheels or mint leaves in the tray and pop into drinks as you pour. This trick adds color without extra effort at the end of the night. If you don’t have an ice cube tray, use a muffin tin or small silicone molds you already own. It’s a tiny detail that makes a big visual impact.
Make ahead: Freeze juice cubes the day before the party so you can drop them into drinks on arrival.
5. Conversation Card Place Settings
Create small conversation cards on cardstock with simple prompts like “What’s one thing you love about our new street?” Place one at each setting. They act as gentle ice breakers and help shy neighbors mingle. You can decorate with a couple of doodles or color blocks to tie into your table style. Keep them short and readable from across the table. If someone forgets a card, lean into easy topics like local parks or favorite local spots.
Why it works: It gives guests structured introductions and reduces awkward silences at the first dinner.
6. Mini Flower Vase Using Baby Jars
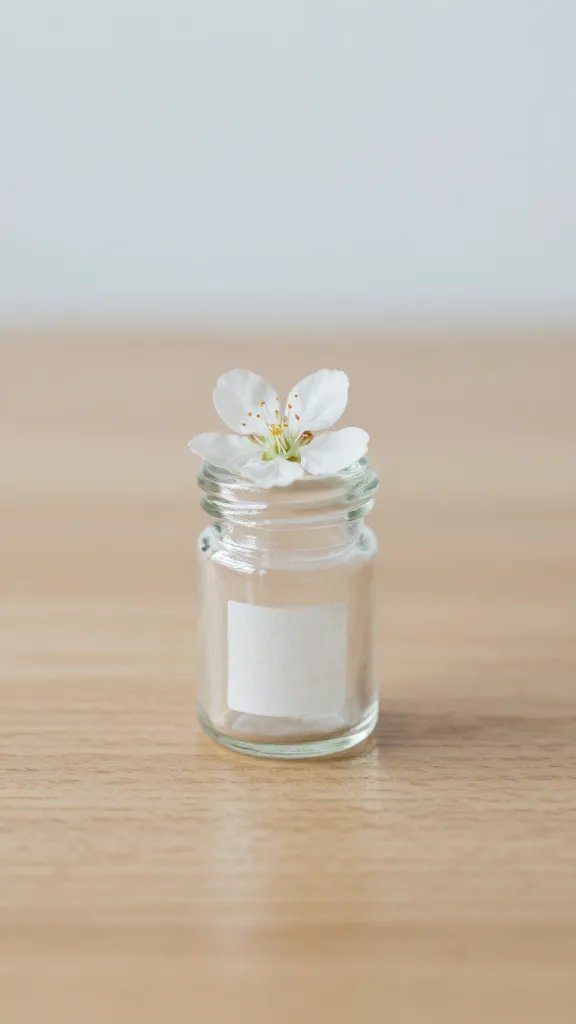
Fill small jars with a few blooms from a local market or a garden patch. Tie a little twine around the lid and attach a note with guest names or a friendly greeting. Group the jars in a line along the center of the table for a simple, rustic vibe. If you don’t have flowers, herbs like basil or rosemary sprigs also look fresh and smell wonderful. This idea uses things you already own and makes the table feel cared for.
Time saver: Choose a single flower type for a cohesive look rather than a mixed bouquet, which can feel busy in a small space.
7. Quick Garden-Themed Centerpiece
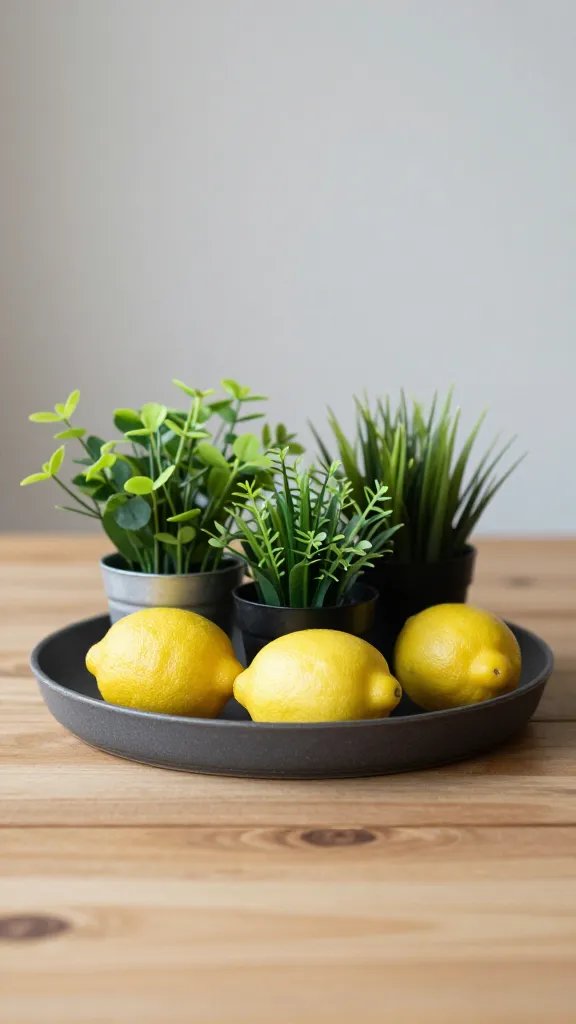
Use a low, wide tray or tray-like platter and fill it with a few potted herbs or small succulents. If you don’t have real plants, opt for high quality artificial greenery and a few faux lemons or tomatoes for a pop of color. Place the tray in the middle of the table and add a couple of small candles in glass holders for warmth. It’s an easy centerpiece that doubles as a gentle aroma and conversation starter.
Best for: Dinner with two to four families, or a neighborhood potluck where a nature-inspired table sets a welcoming mood.
8. Paper Lanterns Overhead for Warm Glow
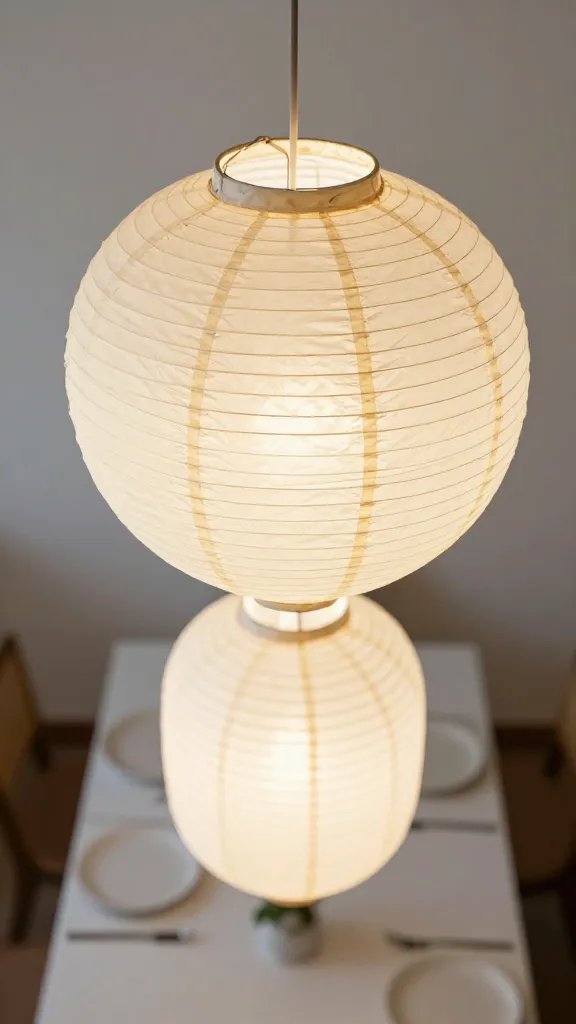
Hang a few paper lanterns from the ceiling or doorway using lightweight fishing line or string. Choose two colors to keep it cohesive and avoid clutter. This is a simple way to define the dining zone in an open-plan space or studio apartment. If you have ceiling hooks, you can adjust the height for different seating arrangements and photos later. It takes about 20 minutes to hang and can stay up for future visits.
Safety note: Use LED tea lights or battery-operated lanterns to prevent open flames near fabric or decorations.
9. DIY Salad Bar Signage
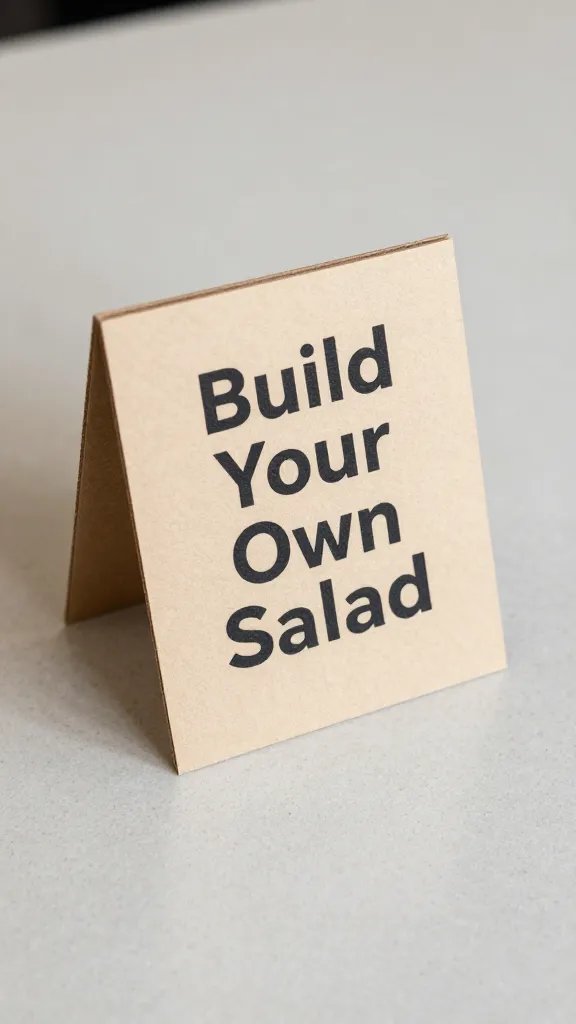
If you’re serving a self-serve or family style, a tiny two-sided sign with “Build Your Own Salad” or “Add Your Favorite Toppings” helps guests pace themselves. Create a small card for each section: greens, toppings, dressings. Use a folded piece of cardboard as a stand or picture frame stand. It clarifies the flow and keeps the line moving. You’ll save time and avoid repeated questions about where things are.
Copy the look: Keep signs in two colors and print in a clear font. It will look put together without feeling fussy.
10. Quick Board Game Corner
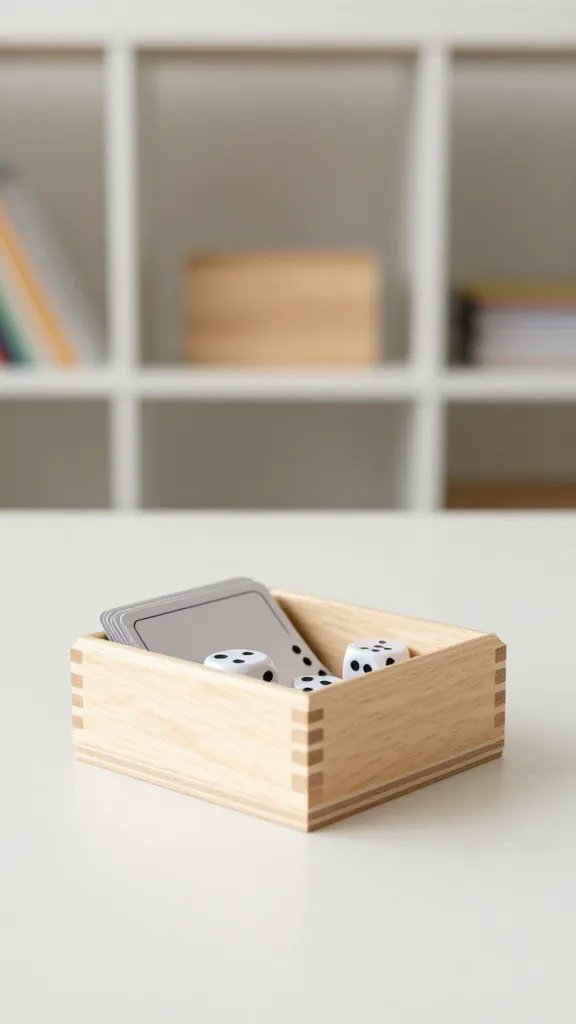
Set aside a small corner for a quick board game that suits all ages—think a simple, fast setup like a memory game or a family-friendly card deck. Keep the space tidy with a small bin for game pieces and a shelf or shallow basket for instruction sheets. A friendly game invites neighbors to linger and talk. If the group is larger, rotate games so that everyone gets a turn without long waits.
Hosting tip: Use a small, two-shelf shelf from a closet to store games and a folded tablecloth to define the space visually.
11. Lemonade Bar With Optional Tea Studio
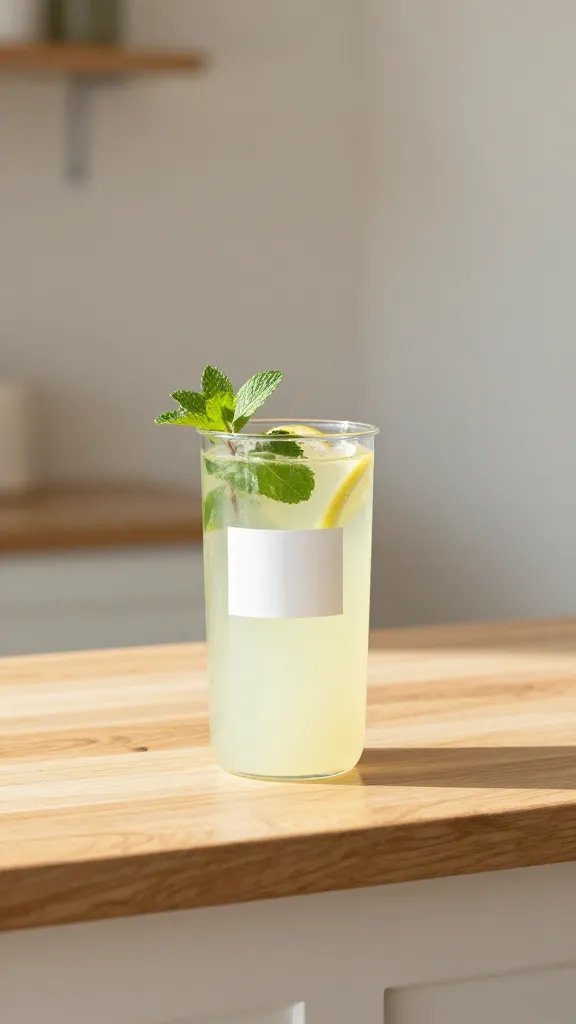
Offer a pitcher of lemonade with mint or cucumber slices, plus a couple of ready-to-serve tea options. Set up a small station with a jar of sliced lemons, a handful of mint, and sugar or honey. Add a label or two for flavors and a simple glass option. This keeps drinks simple and welcoming without requiring a full bar setup. If you have kids, include a simple juice option for them as well.
Make it ahead: Prepare the lemon slices and mint an hour before guests arrive, and set the station in a sunny corner for a natural glow.
12. Kids Corner With Simple Activities
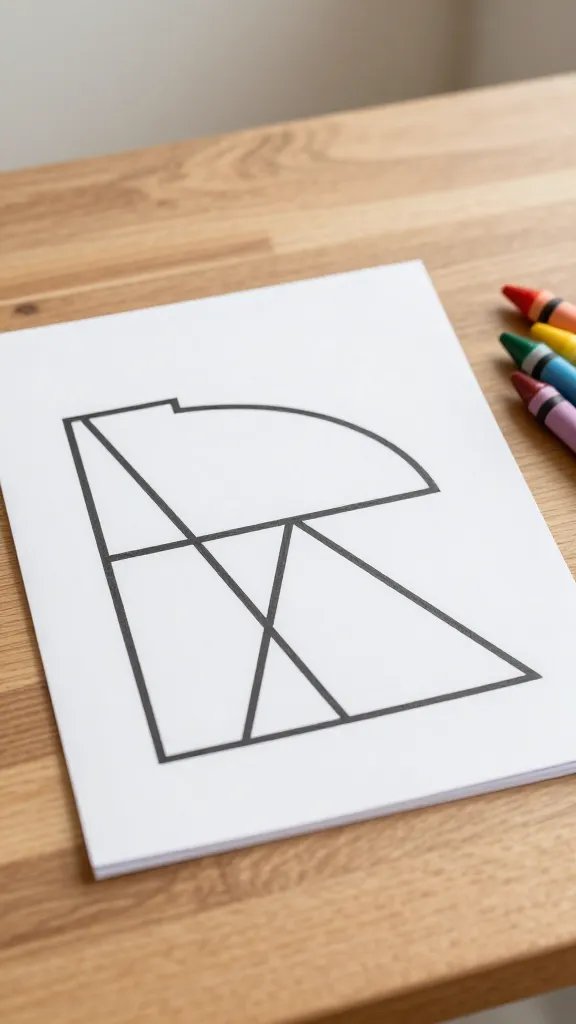
Provide a small table with a coloring page and a set of crayons, plus a quick craft like making a simple paper hat or a mini banner. Older kids can help with the banner. Keeping a short activity visible helps kids stay engaged and gives parents a moment to chat. You’ll create a friendlier atmosphere and avoid children wandering off or getting bored too quickly.
Safety note: All small pieces should be kept away from very young children and paced with adult supervision as needed.
13. Framed Neighborhood Photos Display
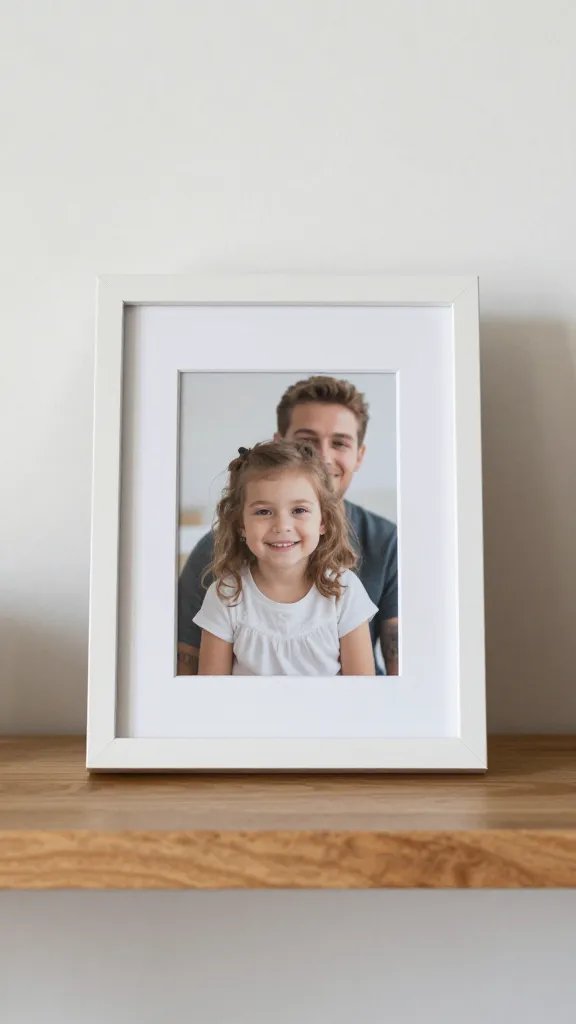
Line up a few frames from around your home or some thrift store finds with small photos of neighbors or local spots. It creates a sense of belonging and signals you’re genuinely happy to meet everyone. If you don’t have frames handy, use a corkboard and string with clothespins to hang the pictures. It’s a small, welcoming touch and gives guests an easy talking point about the neighborhood.
Best for: A longer visit or a neighborhood potluck where you want to set a warm, inclusive tone.
14. Quick Cleanup Plan On Paper
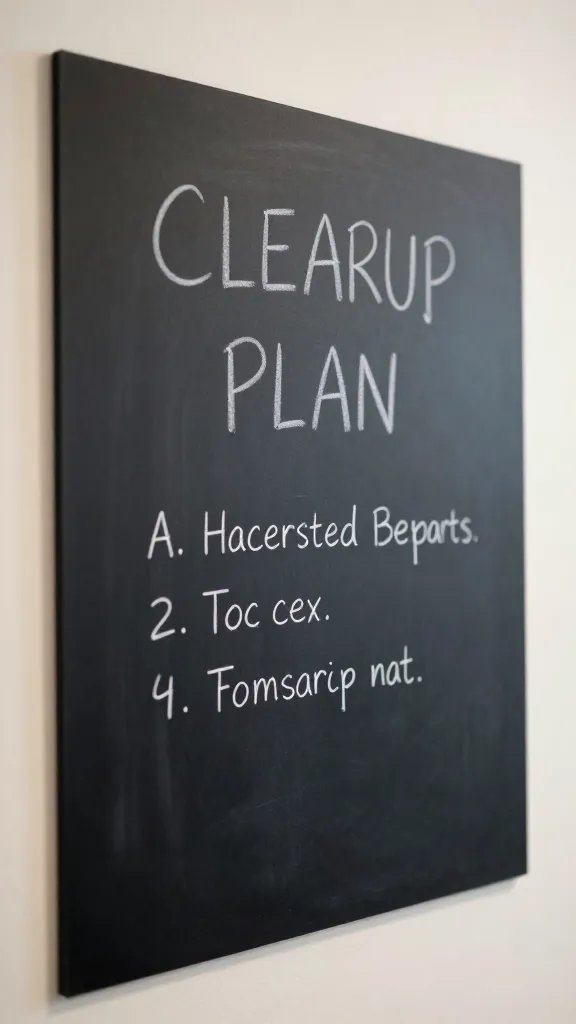
End the evening with a simple, visible cleanup plan. Place a small chalkboard or card at the exit that lists where to return dishes, how to bag trash, and where to find the recycling bin. This keeps things tidy and smooth for everyone. If you’ve prepared a few extra tote bags, hand them to guests as they leave with a short thanks note. It turns a quick hello into a proper, well-managed finish.
Why it works: It reduces post-visit clutter and leaves neighbors with a positive last impression.
We’ve covered 14 practical ideas you can pull together this week for a warm, friendly welcome. Pick two to three that fit your space and time, and borrow from one another for future visits. Save this for the next birthday that sneaks up on you.