
14 Paper Craft Ideas for Halloween Decor

You want Halloween decor that actually lasts through the party and looks like you planned it for days, not hours. If you’re short on time, these quick, cheap ideas use common supplies and set up fast so you can host with confidence. We’ll cover paper, string, and a few smart twists that read polished in photos. Each idea solves a real party problem, from empty dessert tables to kids losing interest mid walkthrough. Ready for a weeknight friendly spread of spooky style? Let’s go.
These 14 ideas stay on theme and fit into a busy schedule. You’ll find a mix of tabletop, wall, and doorway accents that you can assemble tonight or this weekend, with clear supply lists and realistic timelines. Use variations of the core phrase in the intro and keep notes handy for a quick refresh before guests arrive.
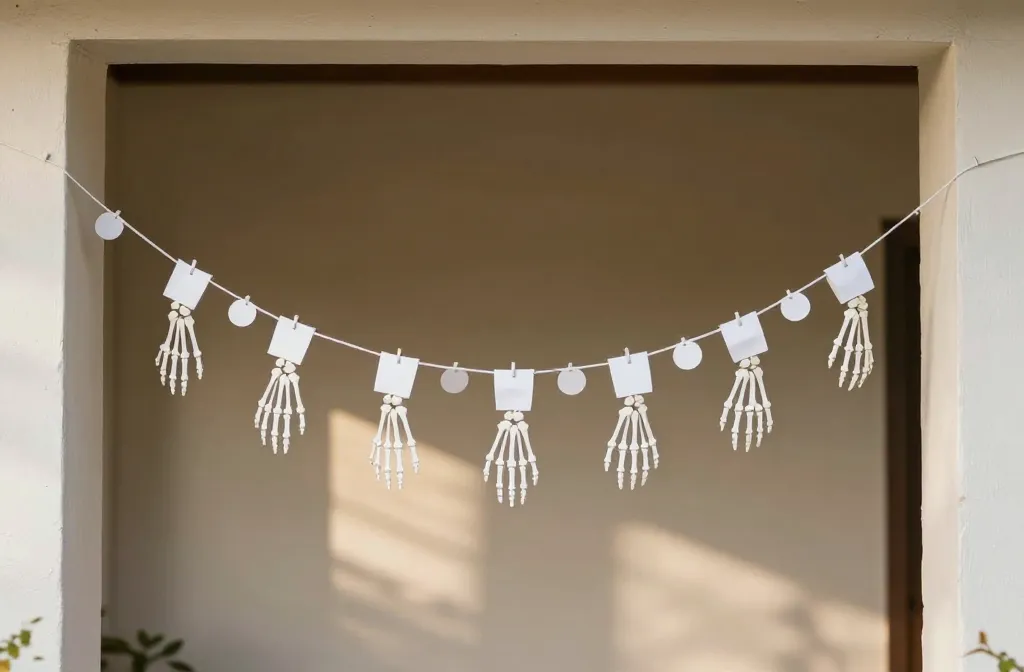
1. Skeleton Hands Paper Garland
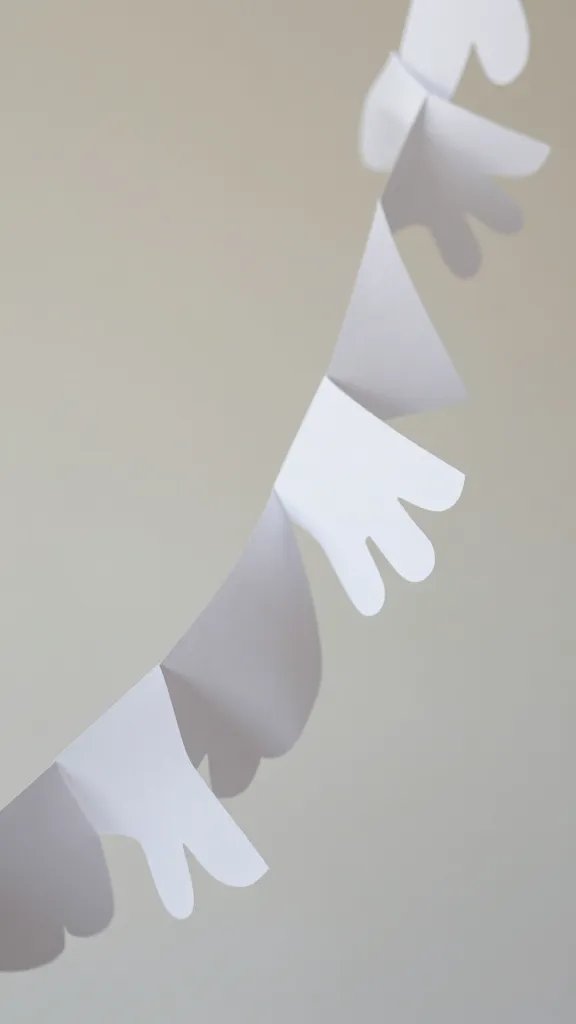
A bare wall makes a party feel flat, and you want a fun focal point without a big setup. Cut out white paper hands from cardstock, curl the fingers slightly, and staple them to a length of baker’s twine. Space them about three inches apart and hang across a doorway or above the dessert table. This reads spooky without being scary and adds movement to photos. Copy the look: hang at different heights for a dynamic line. If you’re short on time, swap in black construction paper hands for a stark contrast.
Plenty of hands up to the task: you can cut these while watching a movie, then string them later in under an hour.
2. Ghostly Window Silhouettes
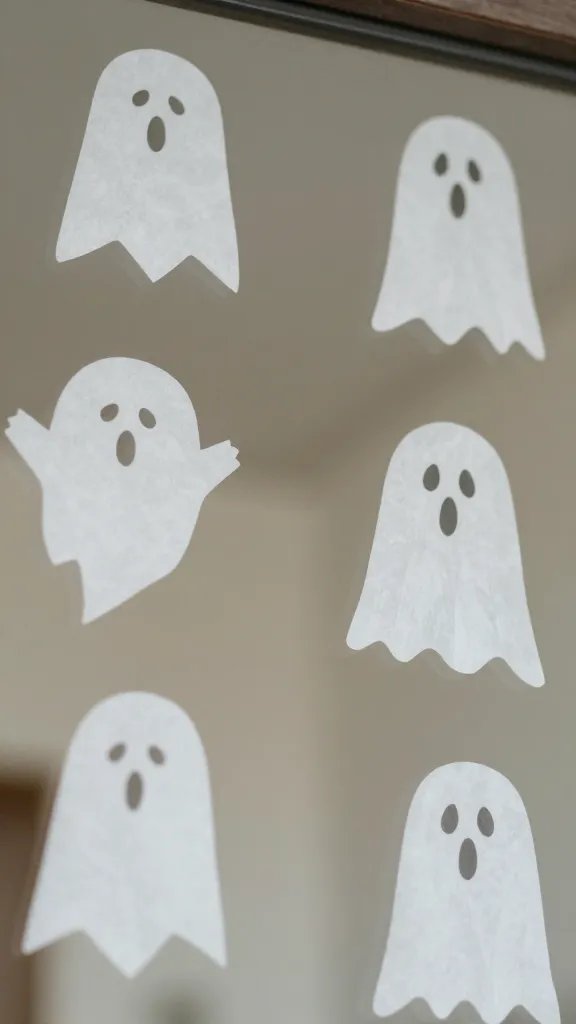
Window decor goes a long way at Halloween, and these ghost shapes are a no-muss option. Trace a simple ghost template onto white tissue paper, cut, and tape to the interior side of a window with painter’s tape. Layer a few on different panes for a haunted house effect that catches light from inside and shines in photos. This idea uses minimal waste and stays clean when you take it down. Best for: apartments or rooms with large windows. For a softer look, use vellum instead of tissue paper.
Storage tip: save the ghosts flat in a labeled folder until next year.
3. Hexagon Paper Lanterns in Orange and Black
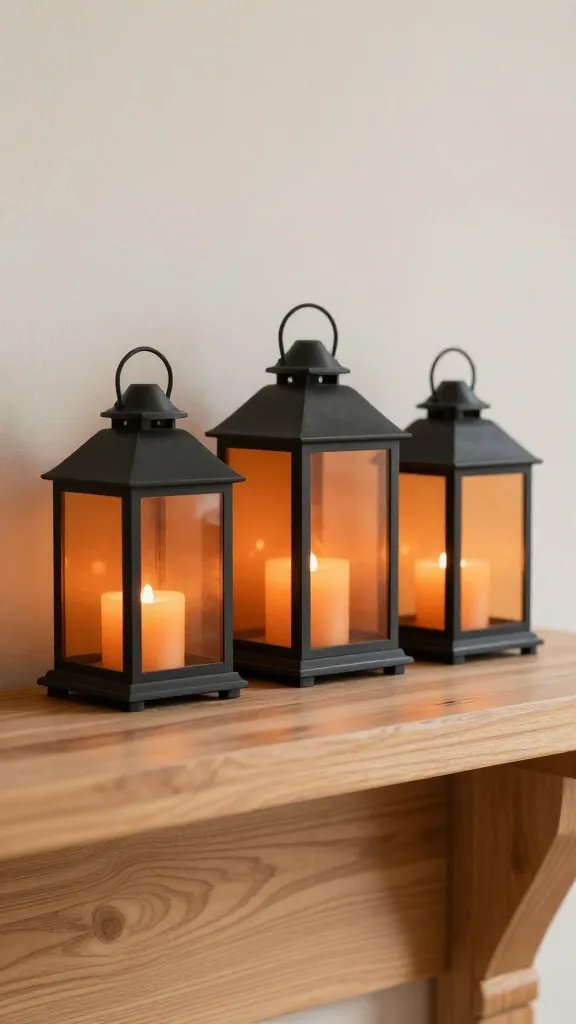
A bright, affordable setup that fills space without crowding. Purchase or DIY hexagon lanterns from thin cardboard, then decorate in alternating orange and black panels. String them in a row above the buffet or along a mantel. They fold flat for storage and pop up in minutes when you’re ready to hang. This idea solves the problem of a dessert table looking bare by adding height and color. Time saver: assemble the lanterns ahead of time and just hang them on the day of the party.
Make it ahead: store flat and assemble with the pre-cut tabs the night before guests arrive.
4. Candy Jar Ghost Labels
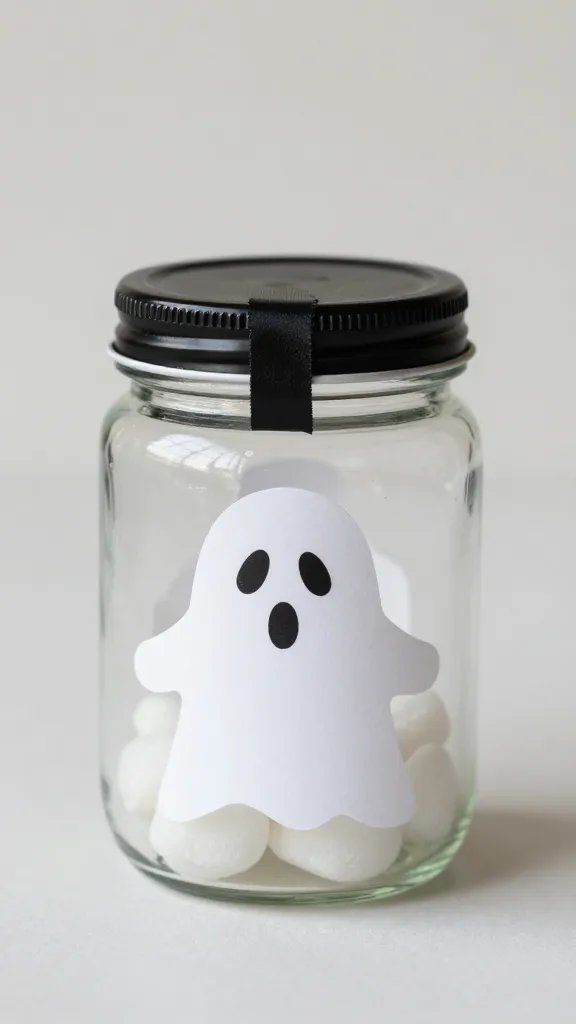
Sugar jars work harder when they’re labeled with a story. Create ghost labels from white sticker paper or printer paper, draw simple faces, and tape or glue them to clean glass jars filled with candy. Mount a black ribbon around the lid for a finished touch. This idea fixes the problem of a candy station that looks thrown together and helps guests navigate treats quickly. Use what you have: craft paper scraps or old magazine pages work as label backs if you don’t have sticker paper.
Little hands tip: let kids place the labels before guests arrive to speed up turnout time.
5. Spooky Banner of Silhouettes
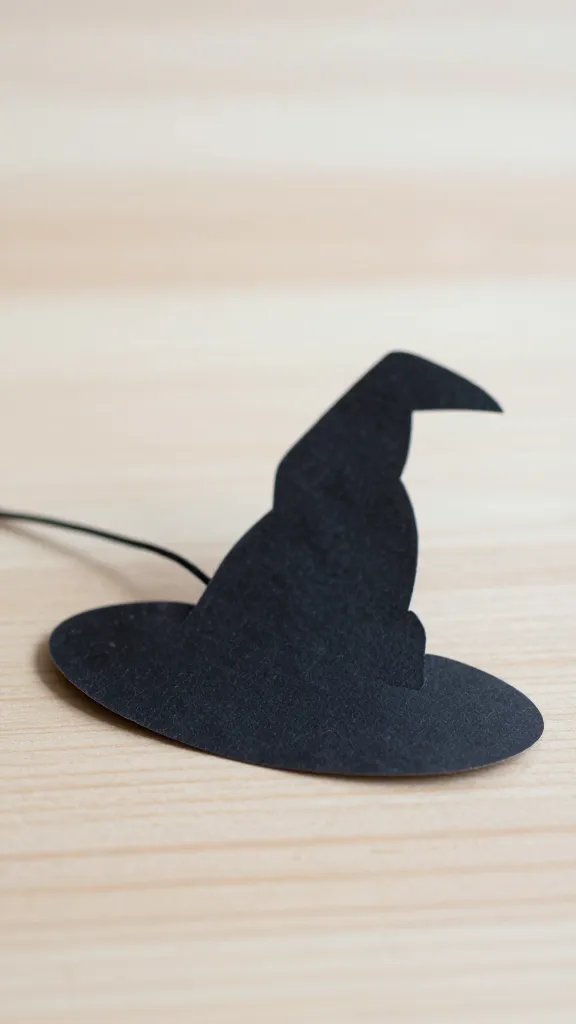
A banner adds instant vertical interest and can be made with just black cardstock and string. Cut out a sequence of shapes—witch hats, bats, and pumpkins—and glue them to a line of twine with a dab of glue. Hang above a doorway or along a wall where photos will happen. This idea keeps costs down and is easy to customize for a small space. Placement note: punch small holes at the top of each cutout to thread the twine neatly and avoid curling edges.
Make it easier: use pre-cut shapes from a craft store and skip drawing details.
6. Paper Plate Crescent Moon Wall Trio
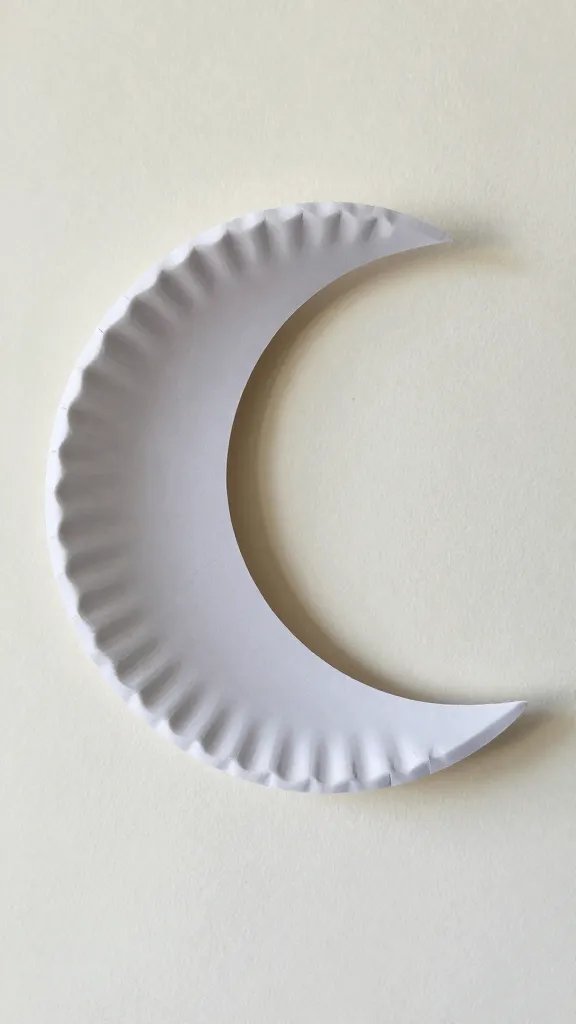
Turn simple paper plates into moons and mount them in a staggered trio along a wall. Paint or draw a pale gray crescent on each plate, then attach to a wall with removable adhesive. The moons create a soft, spooky glow under room lighting and photograph well. This idea answers the question of how to fill a blank wall with a cohesive, inexpensive motif. Kid friendly: younger helpers can participate with painting or drawing the crescent shapes.
Cleanup note: use removable mounting strips to avoid wall damage after the party.
7. Papercraft Pumpkin Lanterns
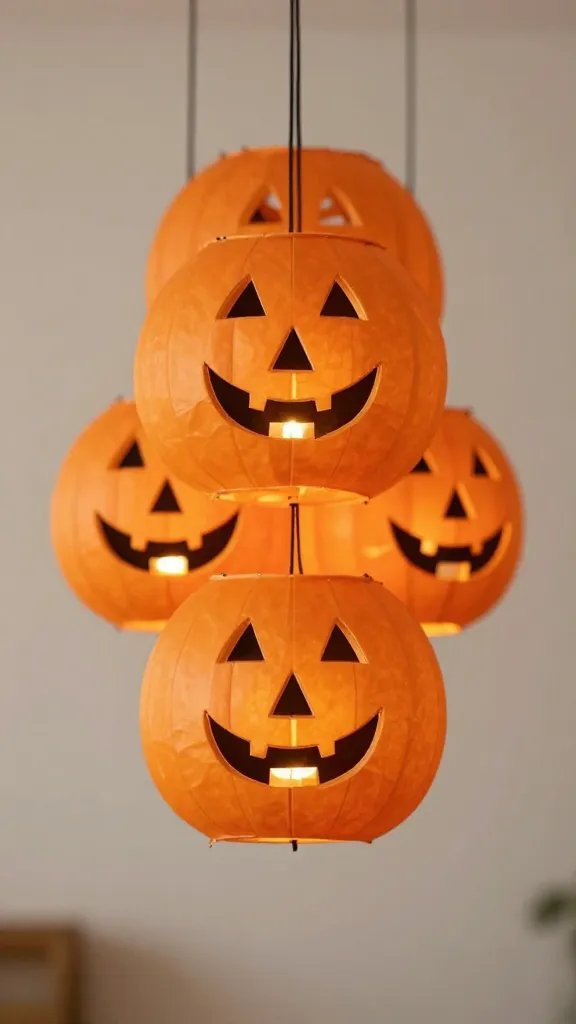
Combine a simple orange paper lantern with a black cutout pumpkin face. Punch a few small holes at the top to thread a wire or thin string, then place a LED tea light inside for a warm glow. Hang in a cluster for a festive doorway or line a table. This idea is easy to adjust for a small space and quick to replicate. Safety note: keep the light source away from flammable materials and use battery powered lights only.
Copy the look: use different facial expressions for each lantern to create personality in the lineup.
8. Monster Eye Confetti Poppers
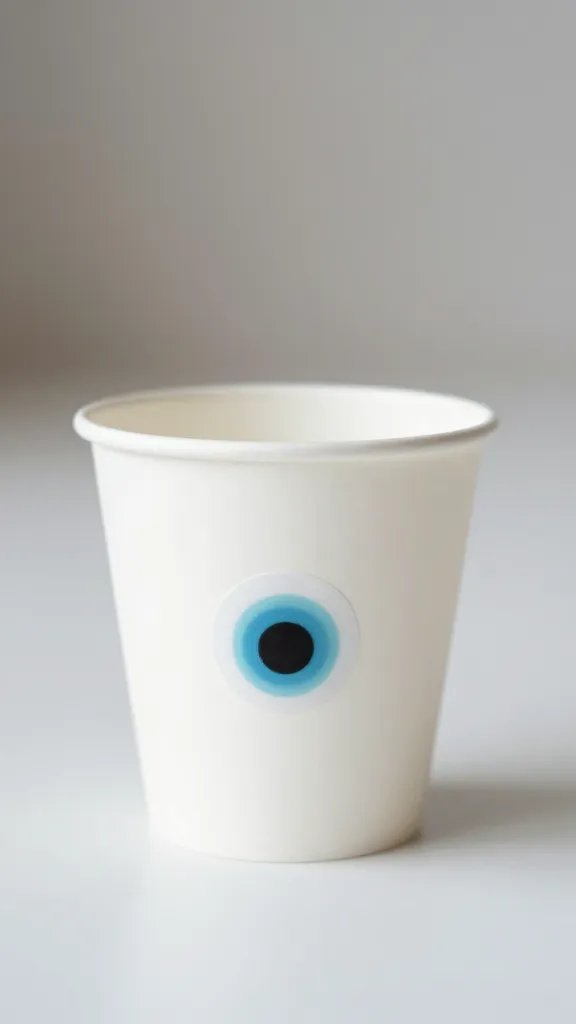
Fill mini paper cups with confetti and a small foam ball painted as a single evil eye. Seal with a lid or tape, then give guests a quick shake to release the surprise at a moment of photo fun. Use black and white or neon colors to stand out against the table. This idea solves the risk of boring party photos by adding a playful prop. Make it ahead: fill and seal cups a day or two before the party, store in a sealed tote.
What to avoid: ensure the cups are clearly labeled as not for children under three due to small pieces.
9. Bat Wing Wall Panels
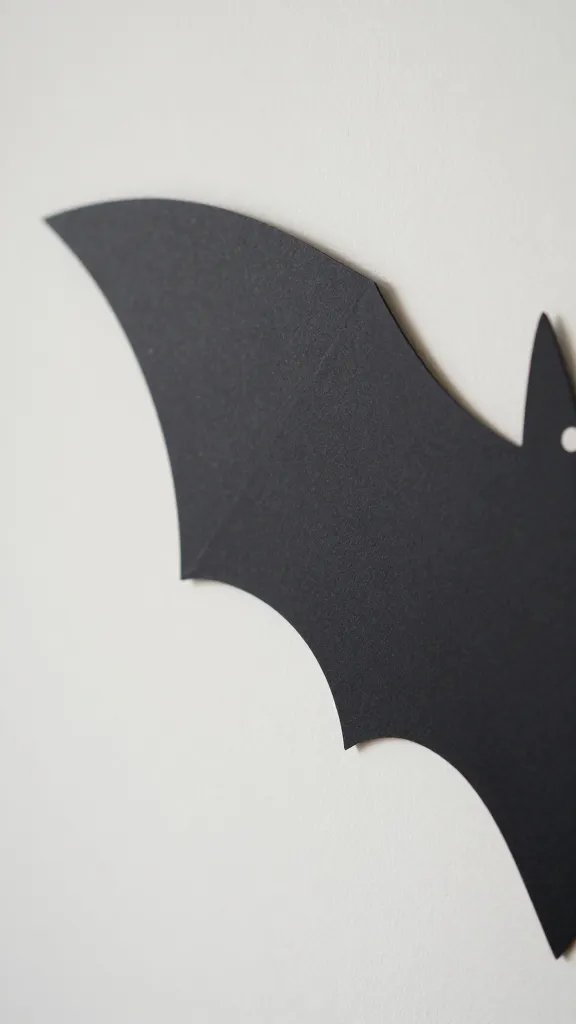
Cut large bat shapes from black paper and glue them to a sheet of poster board to create a winged wall panel. Mount two or three panels in a diagonal row for drama. It reads as a polished backdrop for photos and is inexpensive to assemble. This idea gives a big impact in a small footprint. The detail to steal: vary the angle of each bat for a dynamic effect.
Skips straight to: a simple version uses a single column of bats on one wall instead of multiple panels.
10. Monster Feet Door Decals
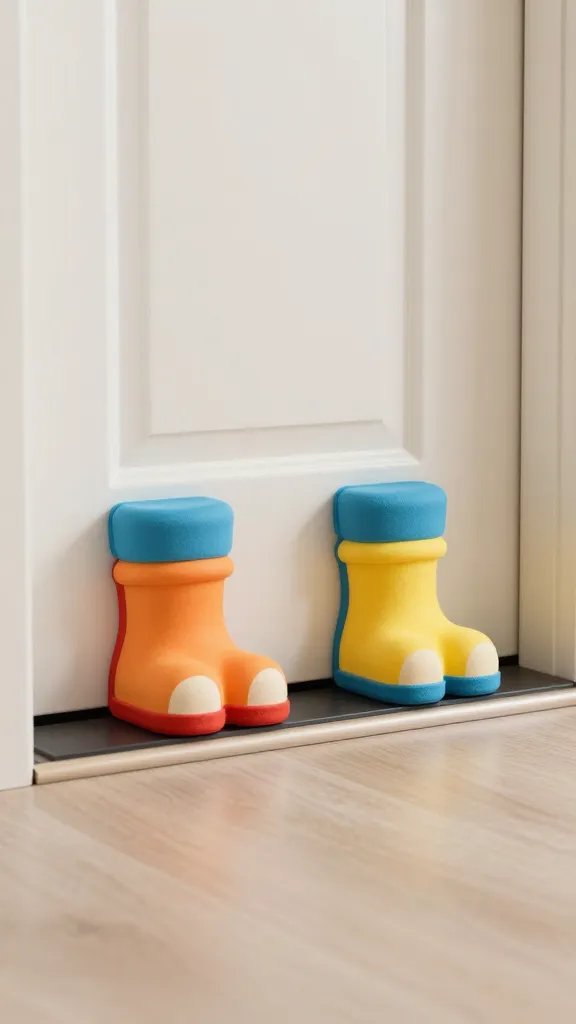
Stretch wide craft foam or colored paper on the inside of a doorway to create oversized monster feet. Stand-up steps will make guests smile as they walk through. Trim edges with a white border to mimic toenails and add a little gloss with a quick spritz of clear spray. This idea solves the problem of a dull entry and doubles as a playful photo moment. What to avoid: place them away from a path with heavy foot traffic to prevent slipping hazards.
Make it ahead: cut and mount all feet the night before; you can tape or magnet them to metal doors for easy removal.
11. Spiderweb Window Cling Grid
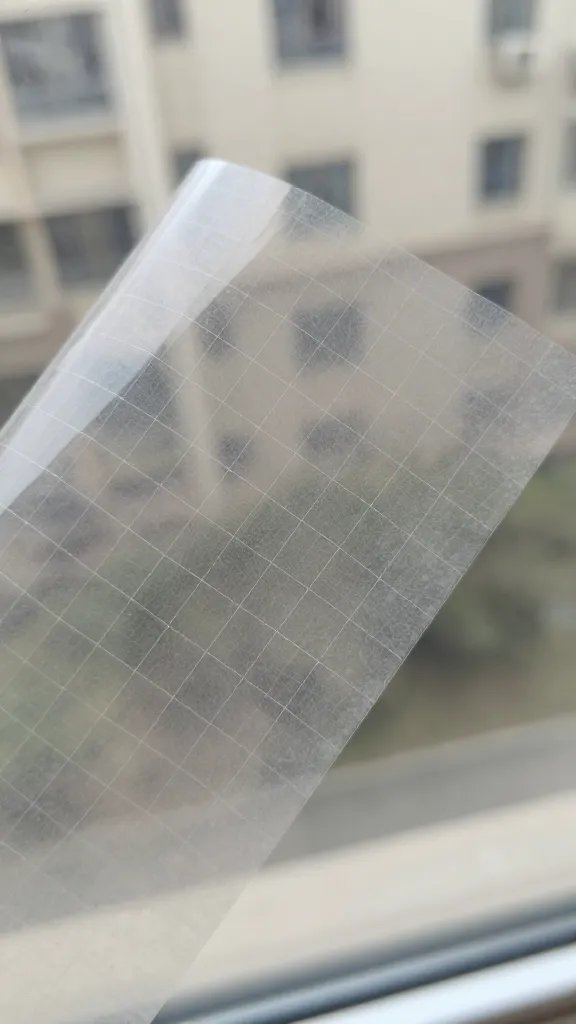
Use white ink on clear contact paper or frosted vinyl to draw a spiderweb grid across several window panes. The effect is graphic, clean, and easy to map out with a ruler. When light hits, it reads like a real web without the mess of cotton. This idea stays within a small footprint while delivering a strong Halloween vibe. Quantity tip: plan for two windows per panel if you want a larger impact.
What to swap: switch to black vinyl for a stark, modern look.
12. Paper Cone Witch Hats as Centerpieces
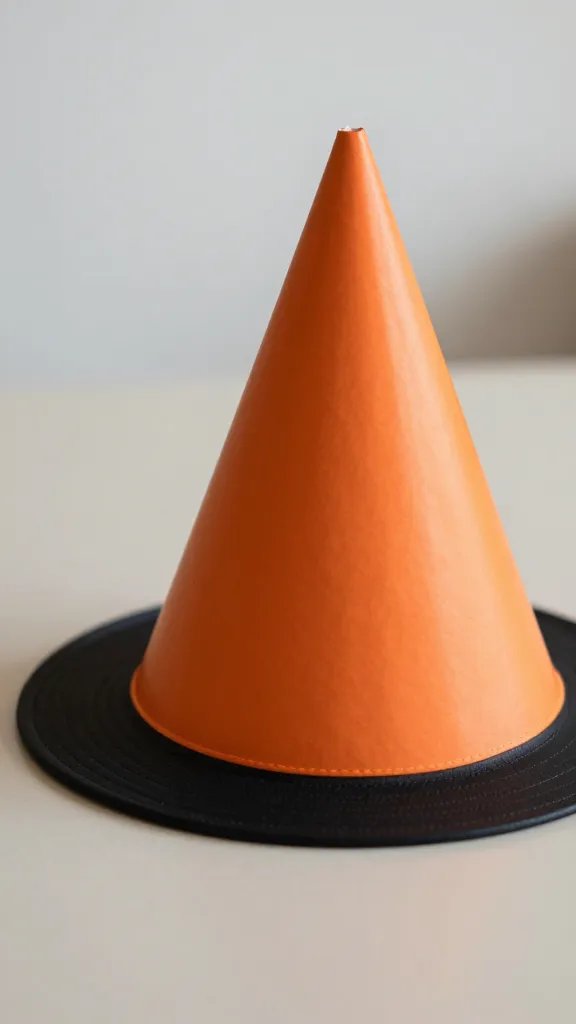
Roll orange or black paper into cone shapes and add a small brim cut from black cardstock. Fill each hat with a skull or candy and set them as centerpieces along the dining table. This is a straightforward centerpiece that reads finished, even if you’re running on fumes. The trick is to glue the seam with a single continuous line so it looks neat in photos. Make it ahead: assemble hats the day before and store flat inside a box.
What to avoid: don’t overfill the hats, or they topple in a breeze or when bumped.
13. Lanterns with Paper Bats
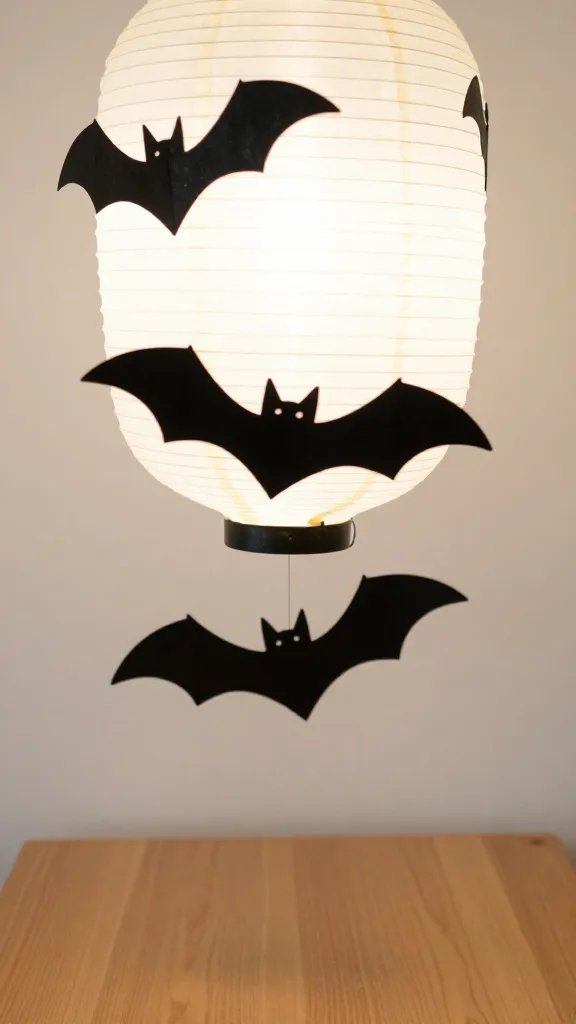
Attach small bat silhouettes to paper lanterns to turn plain lanterns into a themed display. Use string to hang lanterns at different heights above the table or along a wall. This idea fills space and ties into the Halloween mood without extra bulk. Best for: a budget-friendly, scalable approach that still photographs well.
Copy the look: combine orange lanterns with black bats for high contrast and easy planning.
14. Monster Footprint Floor Decals
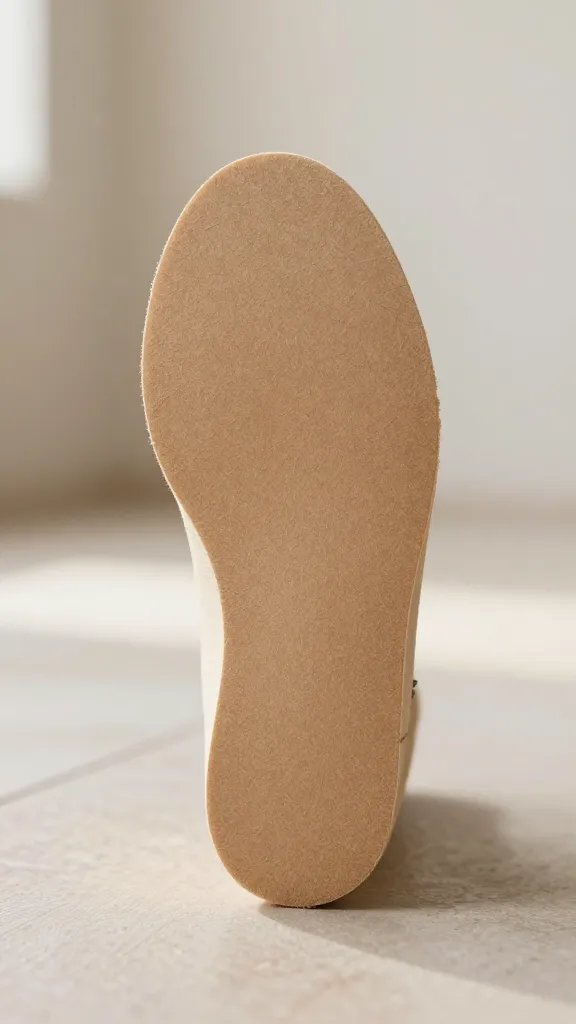
Cut footprint shapes from brown craft foam and place them in a trail from the entry to the party area. Add a few mitten prints or claw marks with a marker for variety. The effect is playful and guides guests through the space, making the layout feel intentional rather than random. This idea is a low-effort way to make a big impact on a small budget. What to consider: ensure decals stay in place on smooth floors and avoid high-traffic corridors where they could peel up.
Two quick upgrades: switch to glow-in-the-dark paints for a fun after-dark surprise.
Enjoy these 14 paper crafts as your Halloween decor workhorses. Pick a few that fit your space, and you’ll have a cohesive look without the last minute panic. Save this list for the next birthday that sneaks up on you.