
15 Cardboard Craft Ideas for Easter

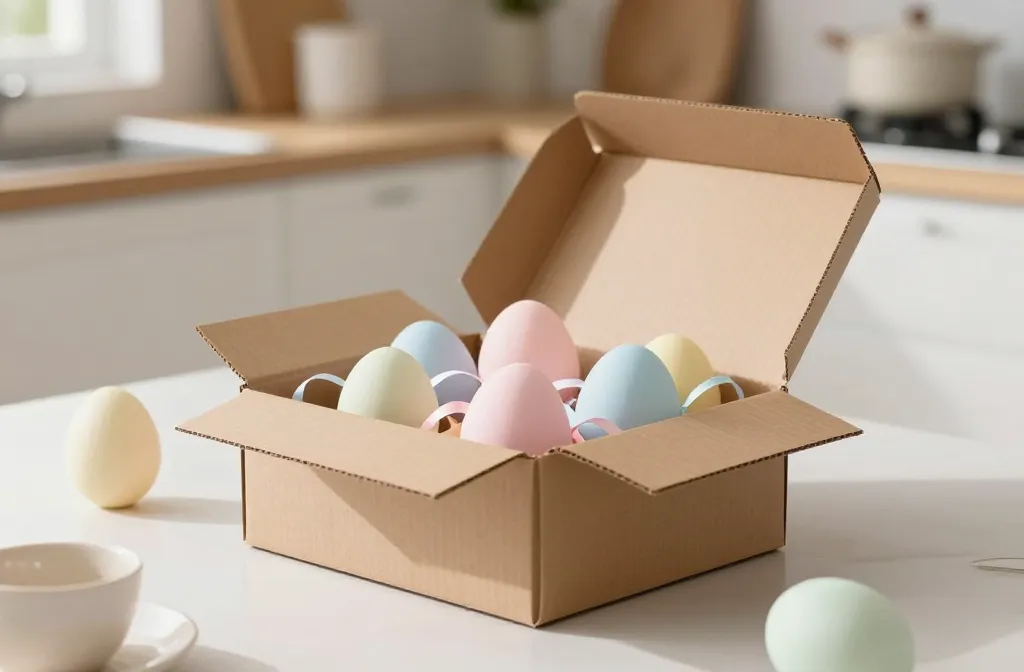
Staring at a bare table and a growing guest list can make Easter feel stressful. A few well placed cardboard crafts fix a lot: they fill space, keep kids busy, and stay budget friendly. You’ll be surprised how far a simple box can go—from a festive centerpiece to a playful photo backdrop. Use these ideas to turn scrap cardboard into party treasures without a lot of fuss. The keyword here is tangible results you can fold, tape, or glue together in an afternoon.
We’ll mix in quick builds with a few standout setups that look polished in photos. Each idea solves a real problem—mess control, kid attention, or a sightline that needs a boost—while staying doable for busy hosts. Ready to mix in some color and craft with items you already have on hand? Let’s start with a few sturdy, low effort ideas and move toward a showpiece backdrop you can assemble on a kitchen table.
1. Cardboard Egg Garland
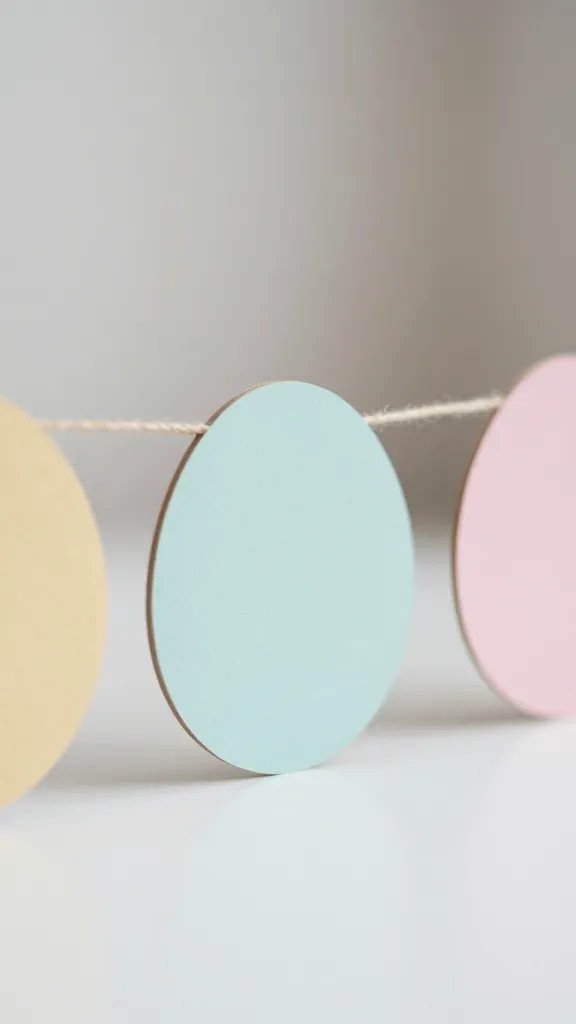
Up the color in a pinch with a simple egg shaped garland cut from sturdy cardboard. Score and fold the eggs to give them a little dimension, then paint or wrap with pastel paper. String with curling ribbon or baker’s twine for a soft, light breeze in a doorway or behind the dessert table. This idea helps fill wall space without creating a bulky backdrop. If you’re short on time, skip adding faces and focus on color blocks for a cohesive Easter look.
What to avoid: don’t overthink the shapes; even rough eggs read Easter at a glance.
Use what you have: wrap eggs in leftover tissue or kraft paper for texture.
2. Mini Cardboard Bunny Figures
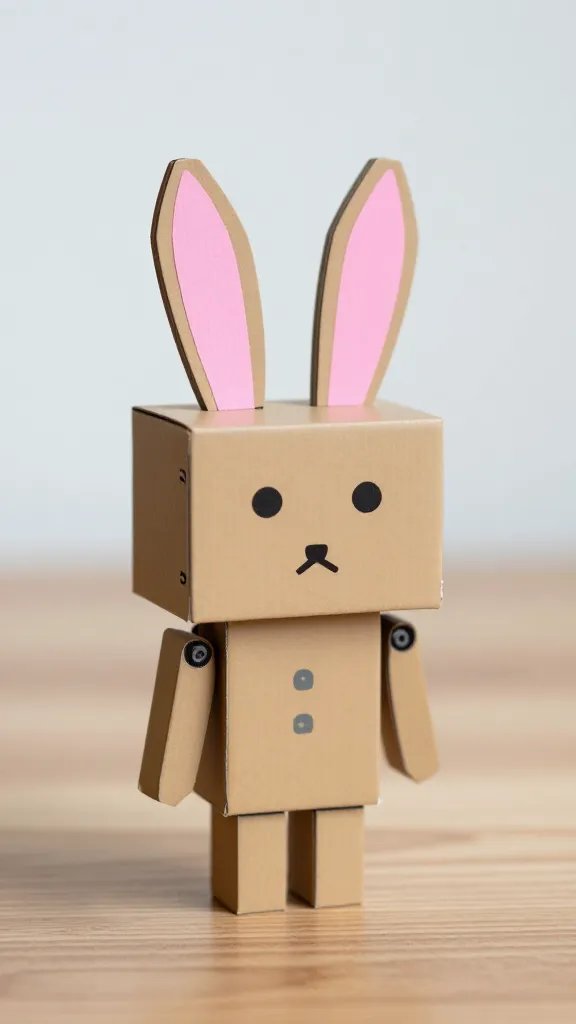
Turn a couple of cereal boxes into cheeky bunnies that stand on a table or perch on a sideboard. Cut two ears, reinforce with a second cardboard layer, and draw on facial features with a marker. A splash of pink inside the ears and a bite the ears make them look friendly and cute. They’re light, inexpensive, and take about 25 minutes to assemble a small troop. Place them in rows to guide guests toward the cake or favor station.
Copy the look: use white boxes with pastel ear accents for a cohesive display.
Safety note: keep small parts away from little hands to avoid choking hazards for toddlers.
3. Cardboard Basket Centerpiece
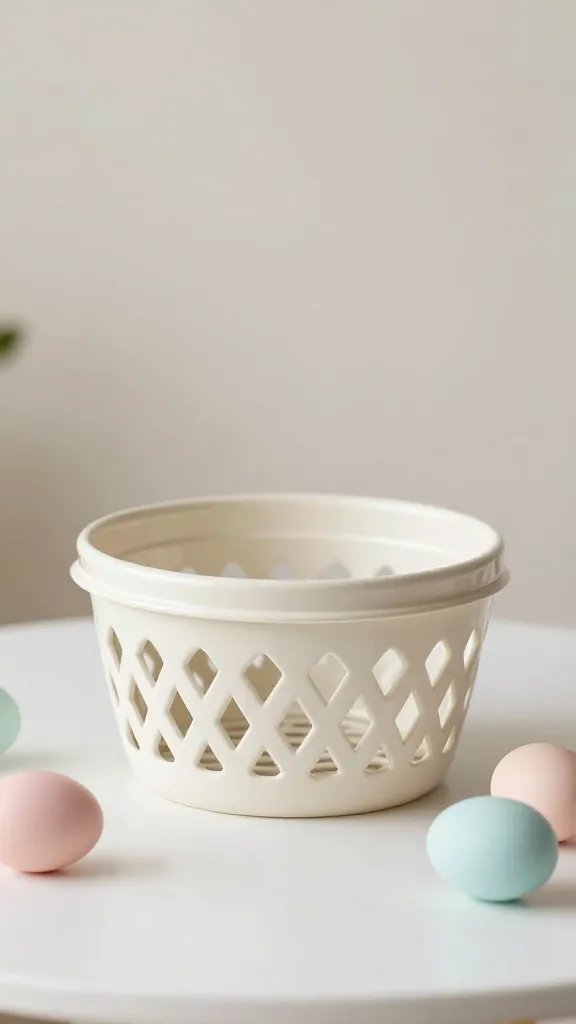
Fold a few pieces of corrugated cardboard into low baskets to hold pastel colored eggs or chocolates. Glue three or four sheets into a shallow tray with a lattice bottom for extra character. Line with tissue paper and set along the dessert table to define the Easter space. This solves the “table looks empty” problem by adding height and color in one simple build. Keep the baskets lightweight so you can rearrange after guests arrive.
Best for: small gatherings in a compact living space.
Make it ahead: assemble the baskets the day before and store flat until use.
4. Cardboard Egg Photo Frame
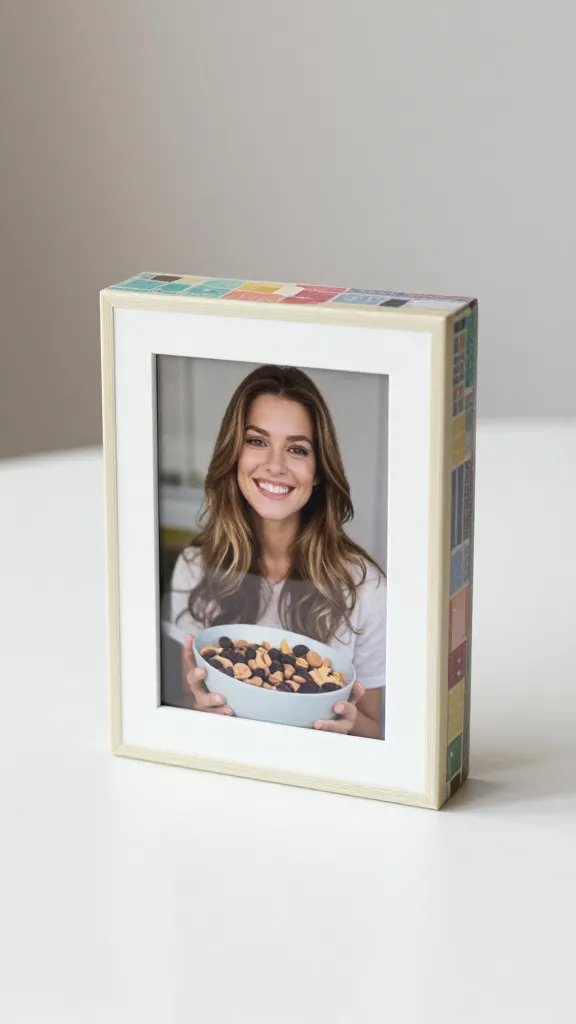
Build a few freestanding frames from cereal box panels, then decorate with strips of colored paper or washi tape. Cut an oval or egg shape in the center and mount a favorite Easter photo from last year for a personal touch. It gives kids a moment to pose and adds a personal memory to your wall line. A simple prop can become a photo booth backdrop with a couple of bright flags behind it.
Why it works: inexpensive props create a wave of interest in photos.
Copy the look: keep the frame white with pastel accents so it matches multiple color schemes.
5. Kaleidoscope of Cardboard Florals
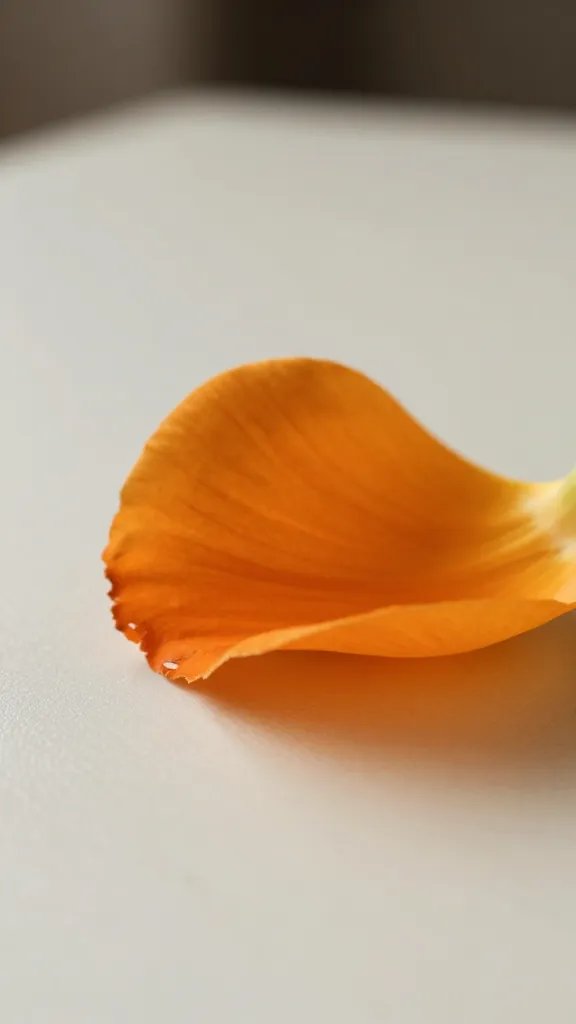
Cut petals from thin cardboard, curl the edges with a marker or by bending, and glue them into small flowers. Attach to a strip of cardboard to create a low, bright flower garland. Drape the garland along the edge of a table or around the base of a centerpiece to add a pop of color without buying new stems. The whole thing takes under an hour and uses scraps you’d otherwise throw away.
Color note: use two tones per flower for depth.
Little hands tip: let kids punch the petals out with a safety tool while an adult handles glue.
6. Easter Egg Stencil Tiles
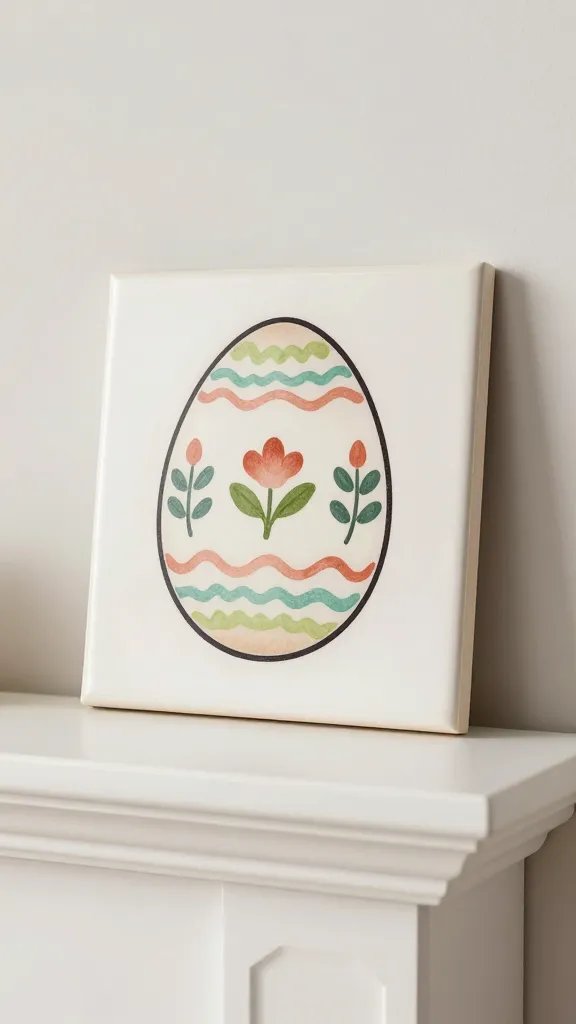
Cut large egg shapes from cardboard, then stencil easter designs with paint or markers. Create 6 to 8 tiles and lean them on a mantle or shelf as a decorative wall display. They’re lightweight, easy to store, and you can reuse the shapes for future seasons by swapping the designs. If you have a few minutes, trace patterns from a printed sheet or a computer doodle to keep lines neat.
Placement note: prop against a wall or tape to a string to corral the look in one spot.
Budget swap: substitute craft paper for the painting if you’re pressed for time.
7. Folded Box Party Lanterns
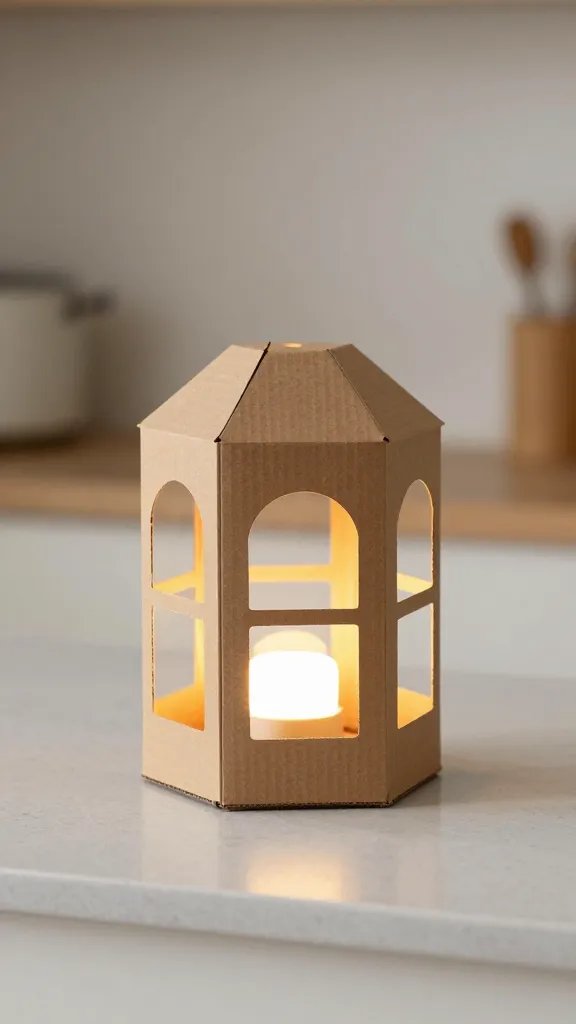
Turn small cardboard boxes into lanterns by cutting a window panel and wrapping with tissue or colored paper. Glue a string of LEDs or a battery powered tea light behind the panel for a soft glow. Hang a row along the kitchen counter or framing a doorway for a welcoming Easter glow. These lanterns require a light touch and an adult to handle the hot glue at the final assembly.
Best for: brightening entryways between courses or when guests are arriving.
Make it ahead: assemble, wrap, and test the lights a day before the event.
8. Cardboard Carrots Mobile
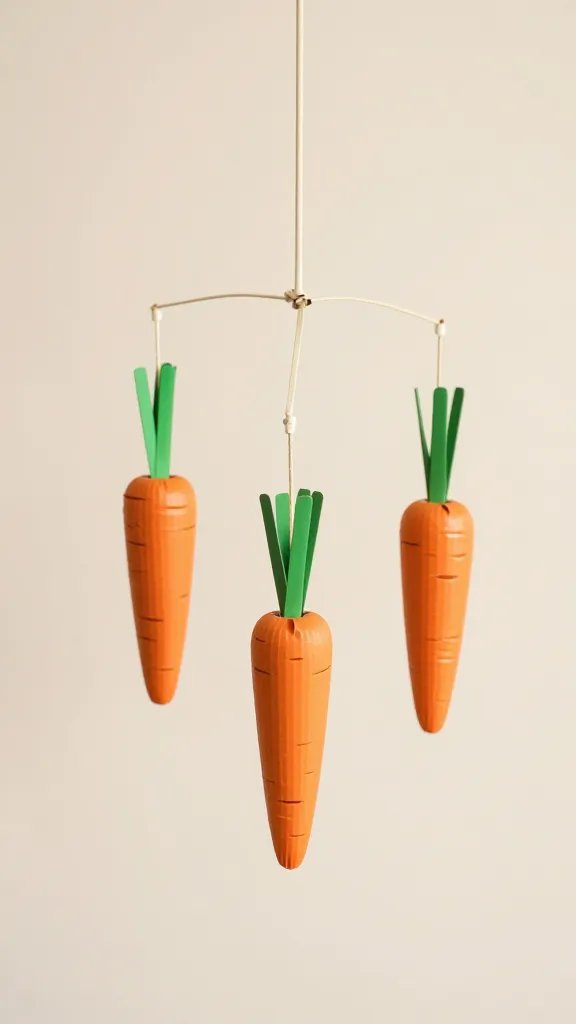
Cut carrot shapes from corrugated cardboard, paint orange, and add a green top with paper or fabric. Attach several on a branch-like stick or a dowel to form a mobile. Suspend above the snack table so the eye moves up and fills vertical space. It’s easy to recycle after the party and the colors come together with other pastel accents around the room.
What to avoid: don’t overcomplicate the stems; keep the tops simple and clean.
One small change: substitute green crepe paper for fabric for a lighter weight option.
9. Cardboard Spring Hat Banners
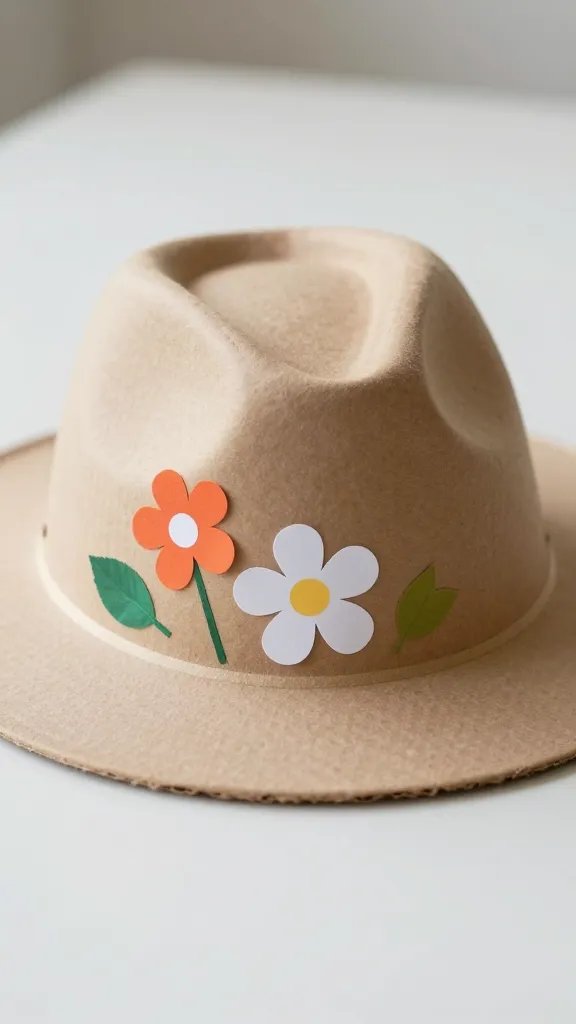
Cut hats from cardboard and decorate with paint and paper flowers. String them across a doorway or above the dessert table. Hats are a playful nod to Easter fashion and work well as a small visual anchor. They’re quick to whip up and look charming in photos without taking over the whole room.
Placement tip: space the hats about 6 to 8 inches apart so they feel airy rather than crowded.
Maintenance note: store with tissue between hats to avoid dents during the party.
10. Peeled Tape Egg Wall
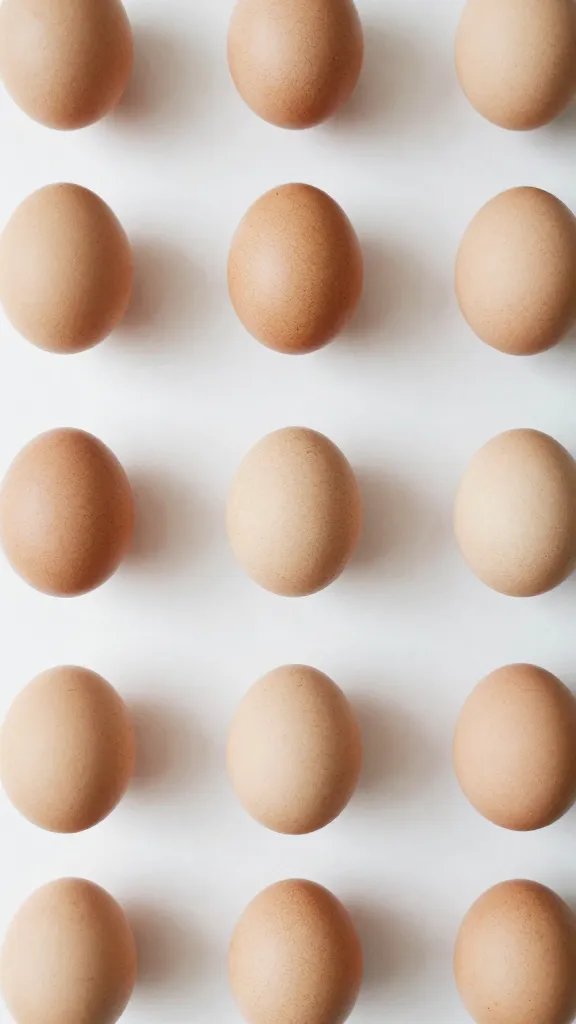
Use painter’s tape to create a grid on a wall, then fill the cells with painted cardboard eggs. Peel back the tape to reveal clean-edged eggs in a tidy grid. It reads as festive in photos and is surprisingly neat in person. This idea keeps the wall from looking bare and gives kids a clear area to run toward for a quick craft moment at the start of the party.
Why it works: a simple grid looks intentional, not homemade.
Safety note: remove tape slowly to avoid peeling paint off the wall.
11. Cardboard Easter Basket Wall Panels
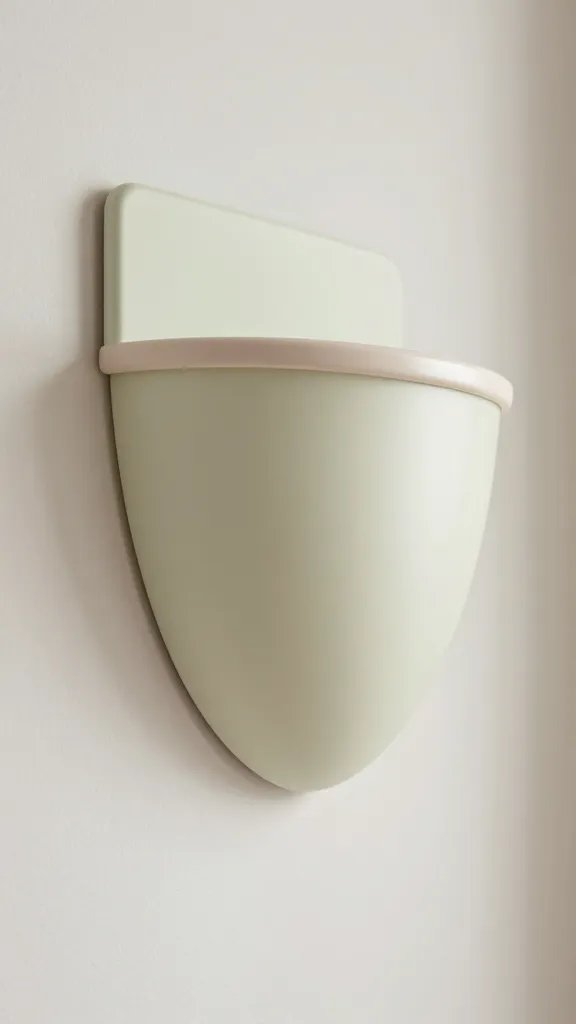
Construct lightweight wall panels that resemble mini Easter baskets by attaching long strips of cardboard with a curved top. Fill with small wrapped gifts or candy for a photo backdrop that also doubles as a gentle party favor reveal. It creates a dedicated space for guests to gather and reduces the pressure to pile items on a single table.
Context first: Best for a moderate crowd in a mid sized living area.
Upgrade note: combine with a few pastel balloons for a more dynamic look.
12. Stackable Cardboard Blocks for Photo Props
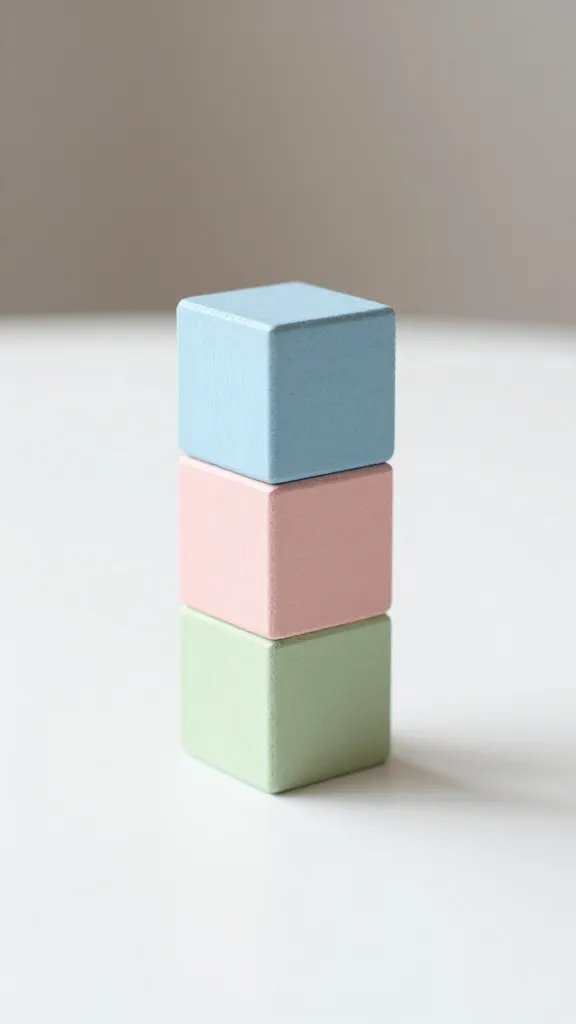
Cut square blocks from layers of cardboard, then decorate with Easter icons. Stack them to form a stepped backdrop for photos or to elevate the cake stand. The blocks are lightweight and easy to store flat; kids can help with decorating while you supervise the gluing of the final top layer. A simple prop can anchor your whole photo moment.
What to avoid: avoid heavy glue with little kids nearby; keep blocks light and steady.
Copy the look: alternate pastel colors for a balanced display.
13. Cardboard Flower Pots with Egg Citadel
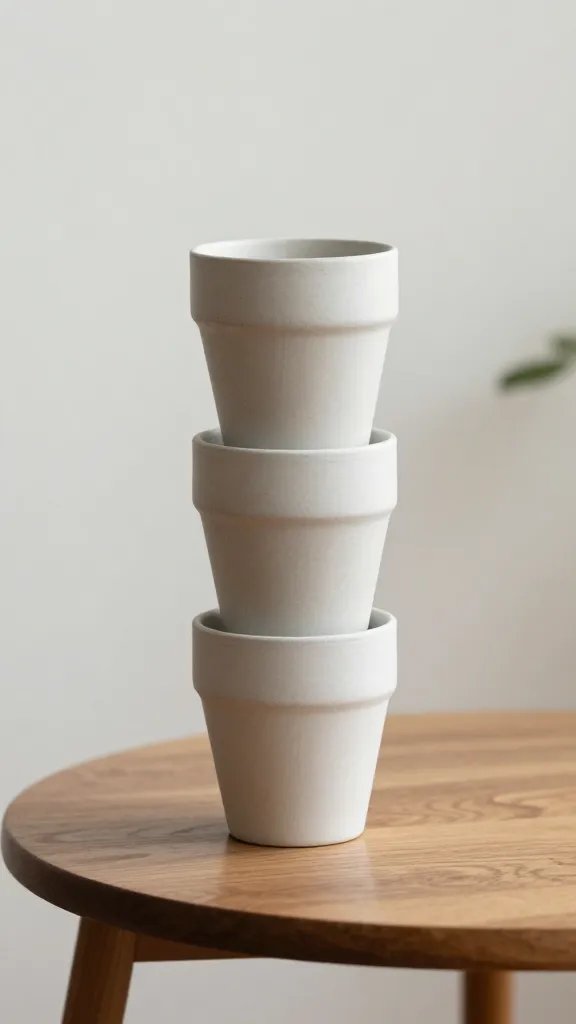
Craft small pots from cardboard tubes and decorate with paint. Fill with faux flowers or painted eggs to simulate a spring garden. Stack several pots of varying heights to create a gentle terraced effect along a side table. This approach gives you vertical interest without large scale decor or expensive florals. It’s a nice, quiet backdrop that photographs well when light hits at mid afternoon.
Best for: sunlit rooms where the color pops on camera.
Make it ahead: paint the pots and let them dry before adding flowers on party day.
14. Cardboard Easter Village Cutouts
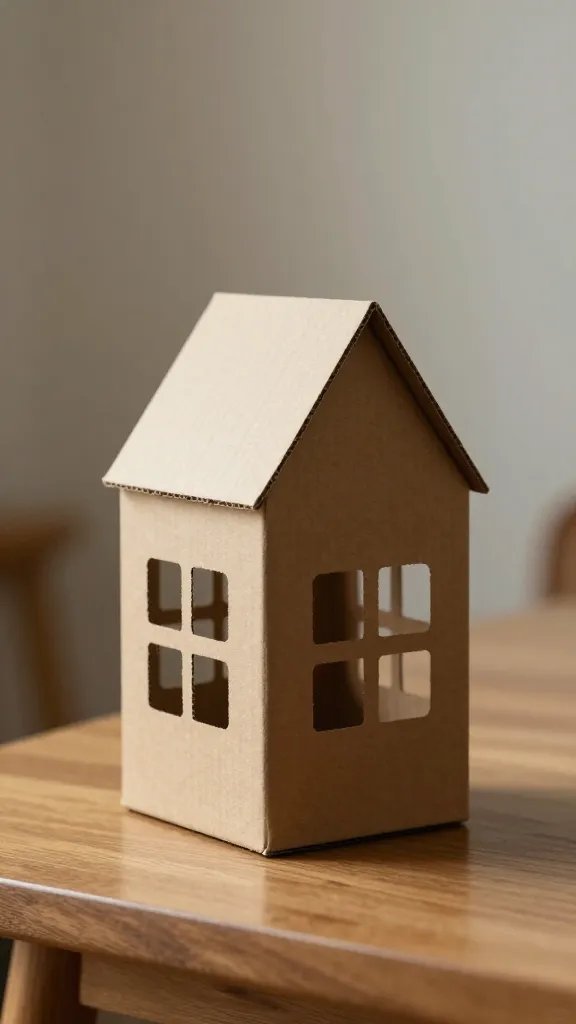
Draw a simple village scene on guarded cardboard panels—little houses with decorative doors and windows. Print or draw tiny windows and color them with markers. Place the panels on a table edge and use them to frame a dessert display. The village adds charm and invites guests to explore the table in a natural, low pressure way. It’s a soft backdrop that still looks finished in photos.
Theme swap: tweak colors for a springtime or farmyard vibe depending on your guest list.
Cleanup tip: store panels flat to avoid bending the cardboard after the party.
15. Cardboard Banner of Easter Wishes
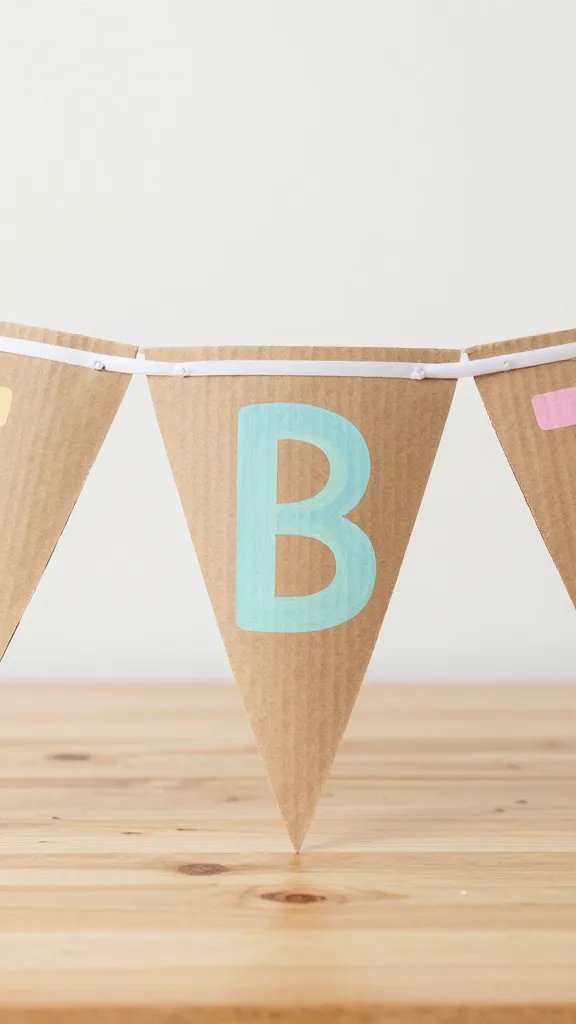
Cut pennant shapes from cardboard, paint a letter on each to spell out a short Easter message. String them together and hang above the dessert or gift table. If time is tight, use pre cut letters and focus on color blocks around the banner to keep the look cohesive. The banner ties the rest of the crafts into a single focal point for photos and guest flow.
Use what you have: leftover ribbon can substitute for string, and different colored paper adds depth.
Little hands tip: let kids pop on the final sticker letters for a quick collaborative finish.
Keep these fifteen cardboard ideas spread through the party space to guide noses toward the dessert table, frame photos, and keep kids engaged. With a handful of cardboard, tape, and paint, you can transform a modest setup into a cheerful Easter moment. Save this for the next birthday that sneaks up on you.