
15 Craft Ideas for School Halloween Parties

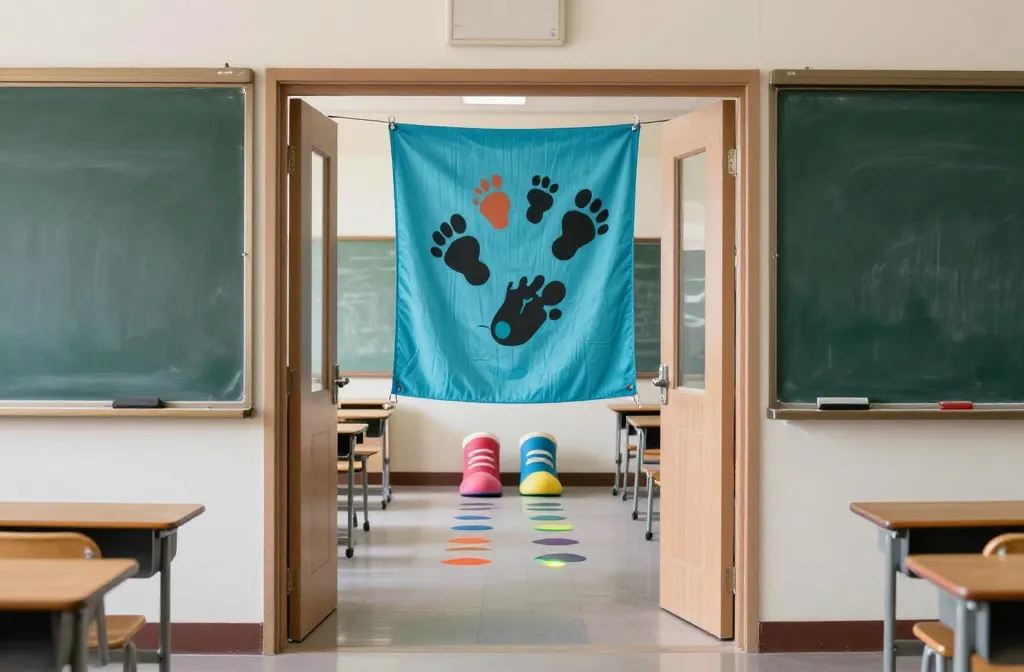
You’re feeding a full dozen noisy kids, chasing a deadline, and trying to keep costs down. A solid plan and a few crafty touches can save the day and still look polished on photos for weeks to come. This guide keeps things practical and doable at home or in a classroom with common supplies. Each idea solves a real party snag, from boring spaces to short attention spans, and sticks to a fast, beginner friendly pace. The keyword helps tie the list together while staying readable in feed scrolls.
Grab what you have, tweak to your theme, and keep these ideas moving. Now, a dozen practical crafts for a school Halloween party that you can start today.
1. Monster Footprint Banner
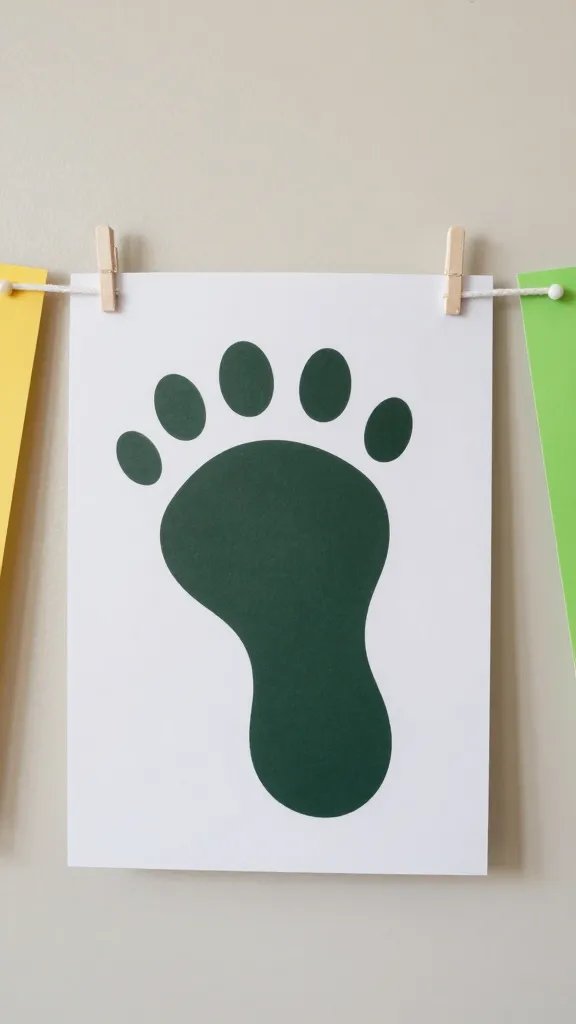
Foot traffic and clutter can hide a party space, but a friendly banner where kids leave their mark draws them in and gives a photo backdrop. Trace big monster feet on colored paper or craft foam, cut, and punch small holes at the toes. Thread them onto a ribbon or twine in a zigzag pattern. If you have a printer, print tongue in cheek phrases on each foot for a playful path. Keep the banner to a 6 foot length so it fits across most classroom doors.
Copy the look: Use contrasting colors for the feet and background so the message reads from a distance.
2. Glow Stick Haunted Garden
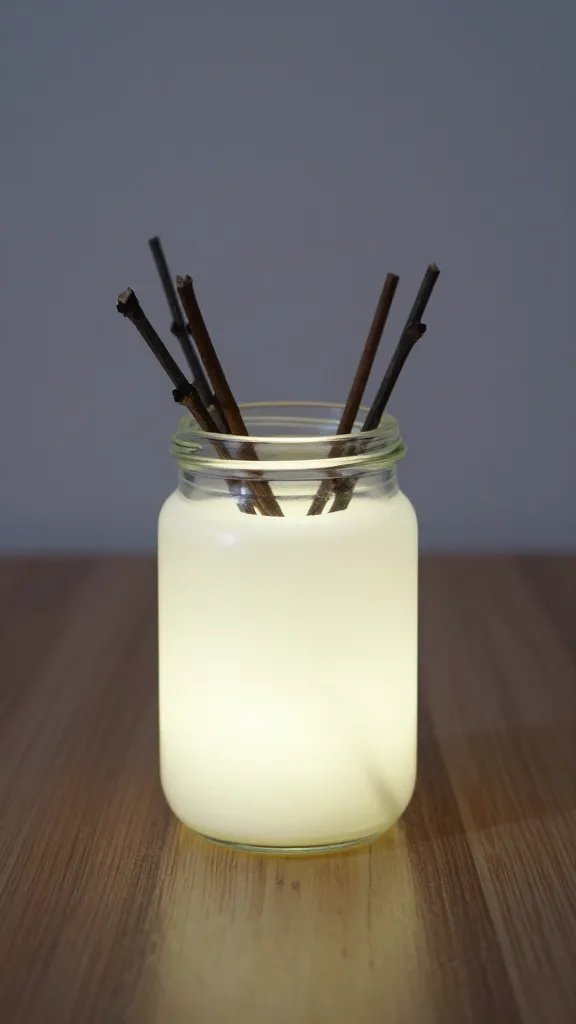
A dim hallway or courtyard can feel exciting with minimal effort. Fill up a few jars with glow sticks and place them along a garden style setup or along a sidewalk. Add tiny plastic spiders and a few twig sticks to invoke a spooky path. The glow adds shimmer and focus during a late afternoon event or dusk. You can reuse the jars later for storage or as mini planters. This setup takes about an hour to assemble and needs adult supervision for the glow sticks.
Why it works: The soft light keeps kids safe and creates a stage for photos without loud props.
3. Paper Plate Mummies
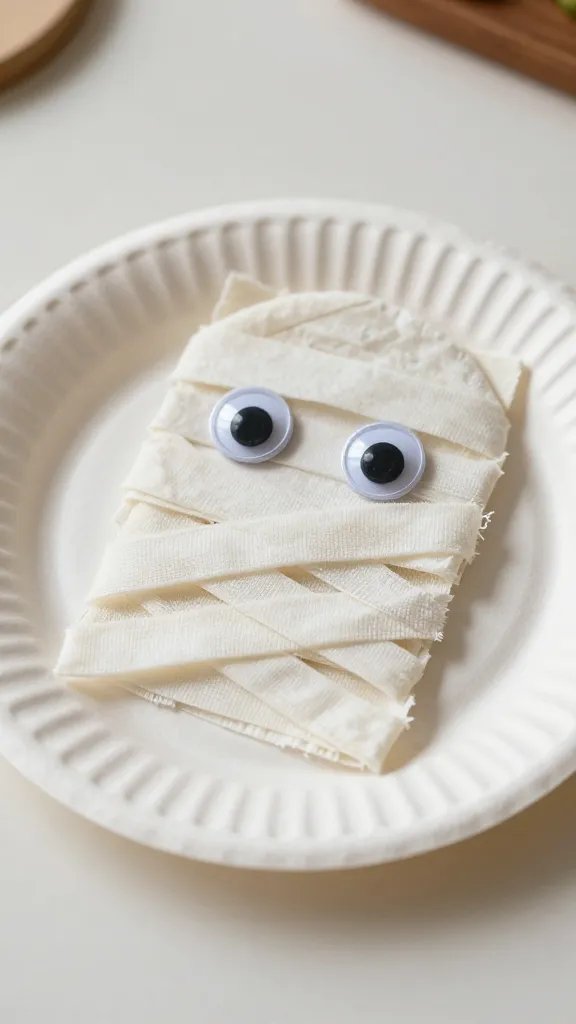
Repurposing simple plates into mummies gives you a quick craft station that doubles as décor. Set out plates, white crepe paper or cheesecloth, and glue sticks. Kids layer the cloth across the plate, leaving the eyes visible; add a quick face with marker or sticker eyes. Have a basket for finished plates to dry so you don’t block the craft table. This is a quick station that can be run by teens or a parent volunteer and wraps up in under an hour.
Make it ahead: Pre-cut strips of cloth and place in a labeled bin for fast distribution.
4. Witch’s Hat Chalkboard Station
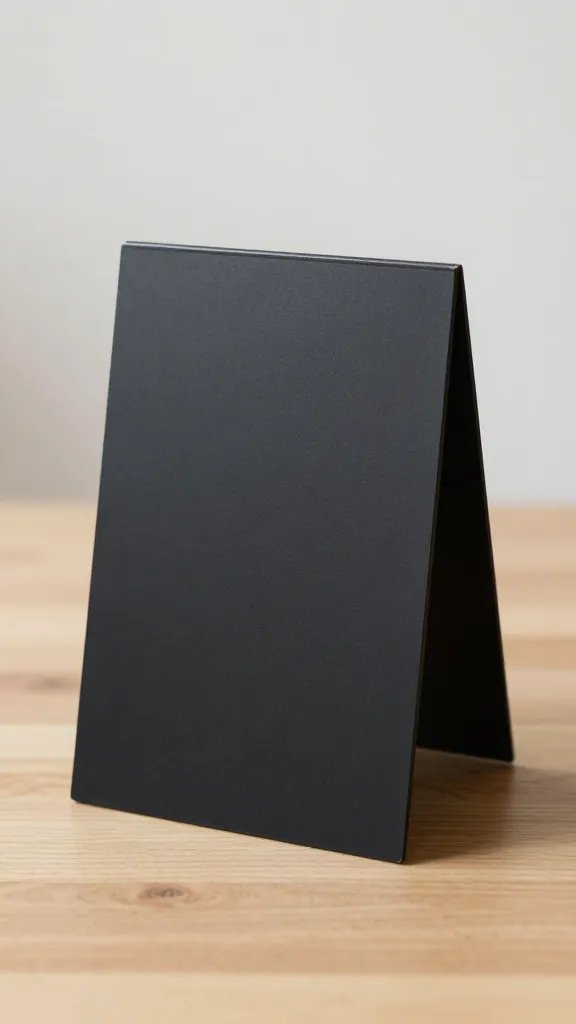
A small chalkboard or poster board dressed as a witch hat becomes a playful sign station. Cut a cone shape from black poster board and glue to a sturdy backing to form a hat. Use white chalk to draw spooky phrases or daily scavenger hunt clues. This acts as a performance cue for teachers and a photo prop for kids. Keep the hat flat in a tote when not in use to avoid crushing the sign.
Color note: Use a pop color for the hat band to stand out on a wall.
5. Cardboard Creature Cutouts
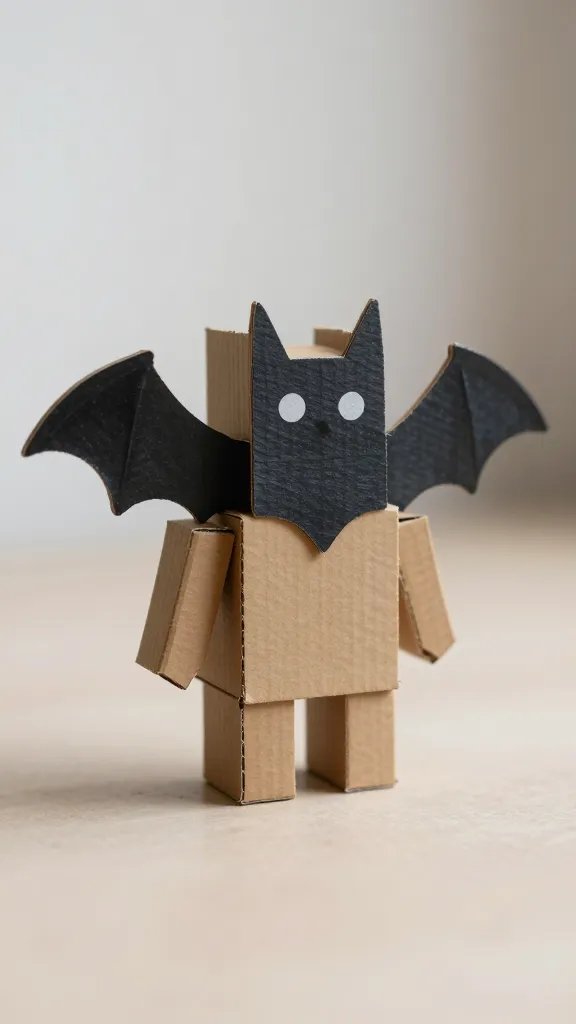
Save cereal and packaging board to build a small forest of friendly creatures. Cut simple shapes like bats, owls, or skeletons, then decorate with markers, stickers, and scraps of felt. Mount each on a dowel or stick so kids can pose with them for photos or a quick parade. This project teaches kids to reuse scraps and offers a small, inexpensive display that is easy to move between classrooms.
Use what you have: Mix in a few shiny stickers or foil scraps for texture.
6. Spider Web Tissue Garland
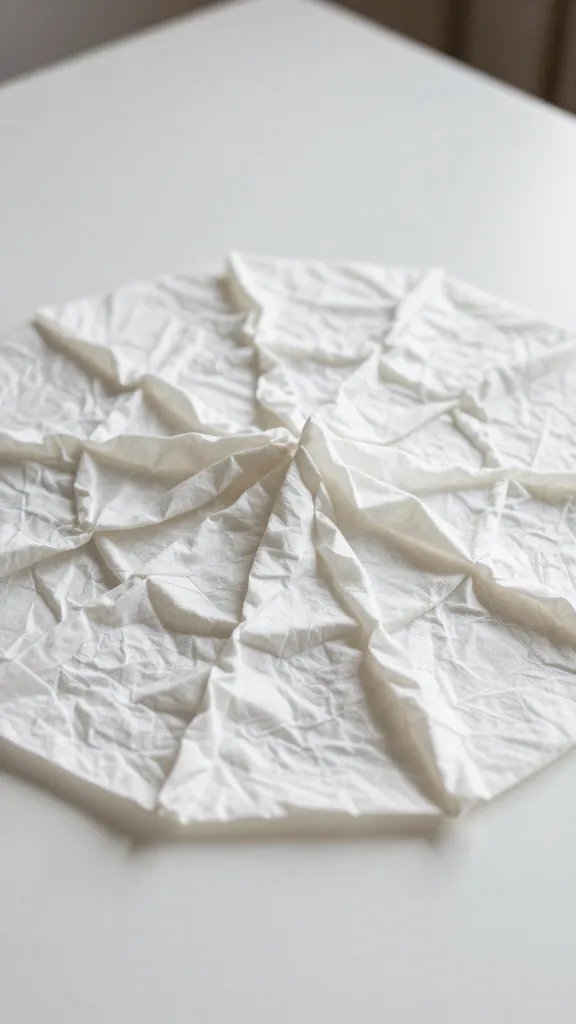
A web garland hangs from ceiling corners to soften a room and frame dessert tables. Cut two different sizes of circle tissue paper, crumple lightly, and layer to form a web look. Glue or tape the layers to a string and hang in a doorway or along a wall. The garland reads well in photos and uses minimal supplies. Adults can help with the hot glue and stringing after class or during setup.
Safety note: Avoid long dangling strings near kids and keep the garland out of high traffic zones.
7. Skeleton Glow Jars
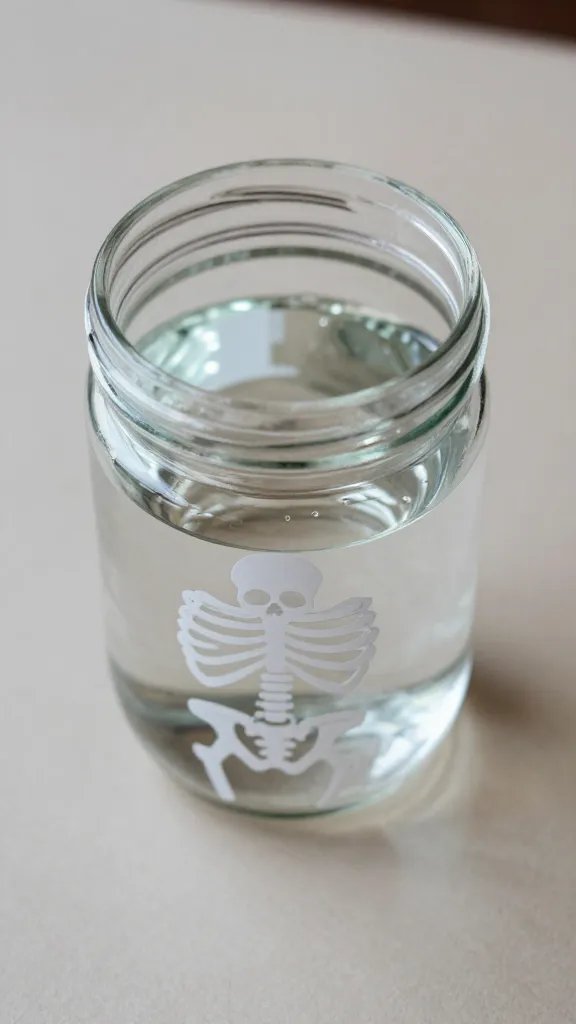
Clear jars with a skeleton sticker or drawn skeleton glow from a distance. Fill jars with a little water and a few drops of safe food coloring to tint the liquid, then add a battery powered tea light. The glow gives a soft ambience near the food table while keeping things kid friendly. Use jars you already own and a roll of craft paper for a label. This craft can be done in small groups during a two hour party window.
Copy the look: Place a simple label on the jar with the child’s name to help with control and cleanup later.
8. Bat Silhouette Window Stickers
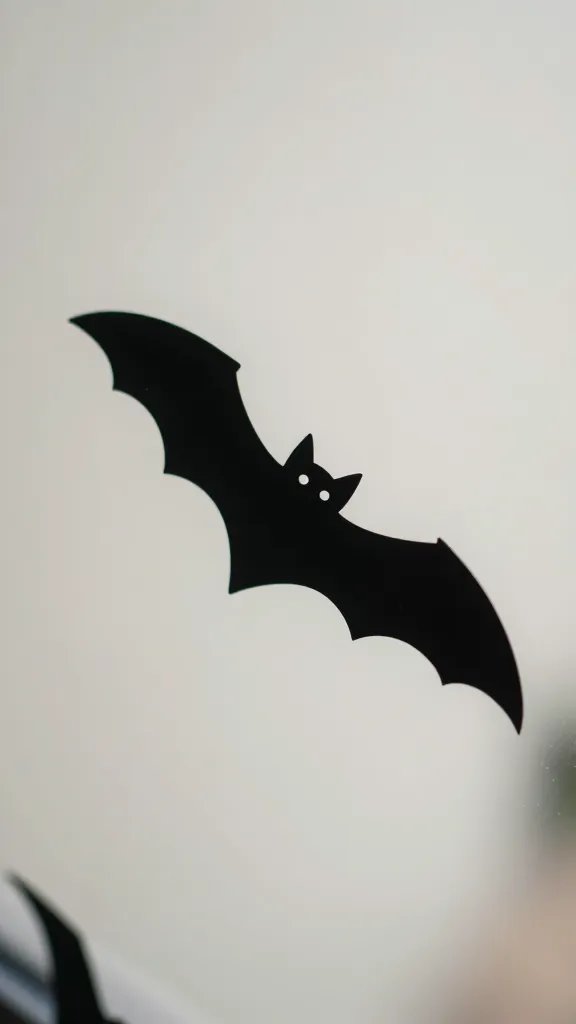
Turn classroom windows into a bat forest with black construction paper cutouts. Trace bat shapes, cut, and tape along the glass in a zigzag line. The contrast of dark shapes against light windows reads well from the hallway and photographs nicely. This is a clean, minimal mess project that can be done in one class period and taken down after the party with little fuss. Offer a small corner workspace for kids to practice their cuts.
What to avoid: Tape residue that pulls at paint or stickers on painted frames.
9. Pumpkin Print Napkin Hugs
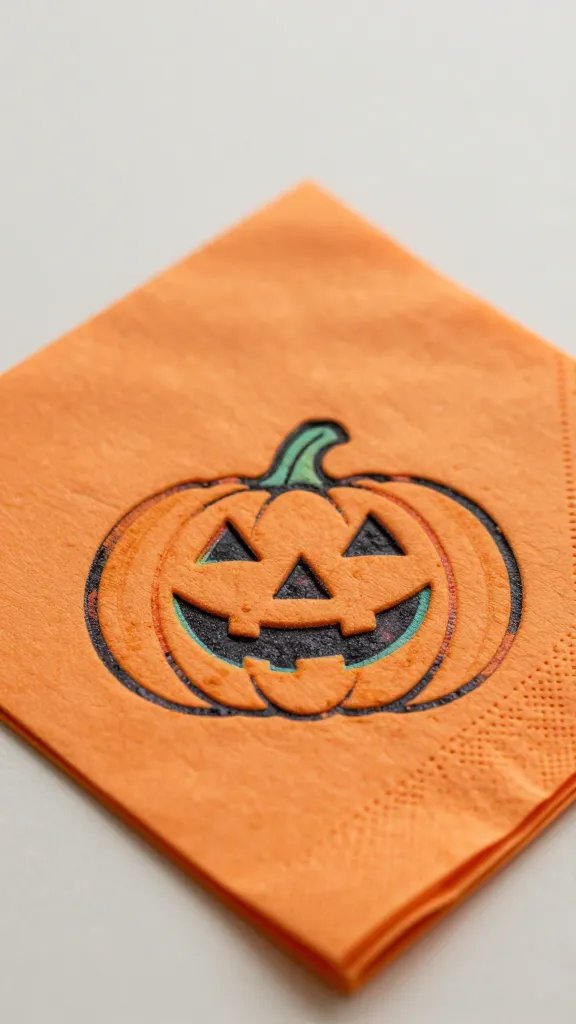
Set up a tiny print station with small pumpkins or gourds pressed into orange napkins to make cute prints. Kids press the pumpkin into a washable ink pad or paint and stamp onto napkins to form friendly jack o lantern faces. The result are party napkins that double as décor and take-home favors. Keep the ink pad area contained with a shallow tray to limit spills and a protective sheet underneath.
Little hands tip: Use washable paints to make cleanup easy and quick.
10. Candy Jar Ghosts
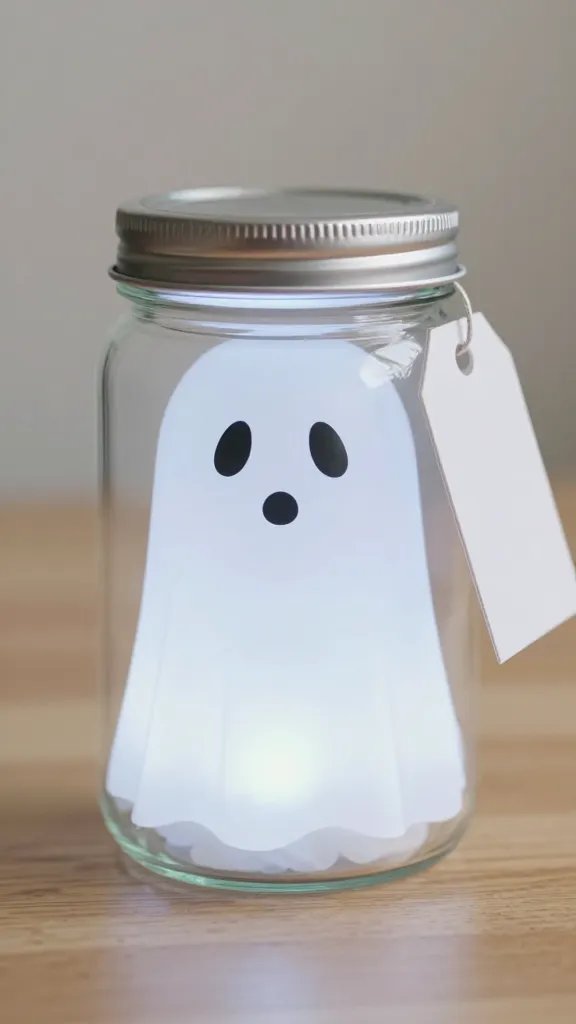
Fill clear jars with candy and draw ghost faces on white kraft tags tied around the neck. For a small twist, place a tiny LED light under the lid so the face glows. This is a simple decorative idea that can be created in batches and uses supplies you probably already own. It doubles as a display and a take-home treat if you add a small tag with a party message.
Make it ahead: Assemble jars the night before to save time on party day.
11. Beetle Theme Paper Chains
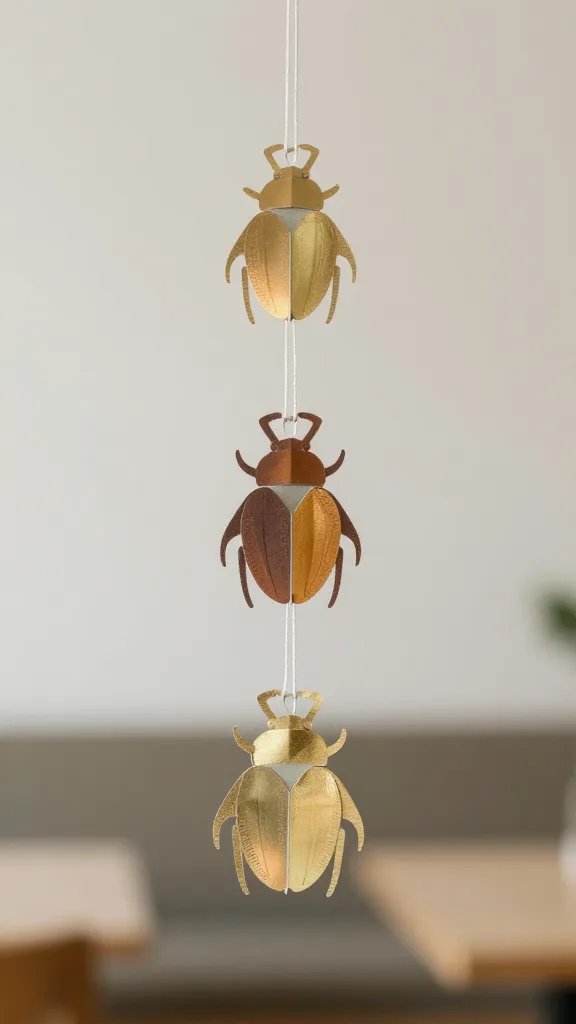
Use strips of black and metallic paper to create long chains that form a dramatic ceiling line. Add a few colored links to hint at a beetle or bug motif using foil or color blocks. It is a quick, scalable way to fill a large space without buying bulk décor. Hang the chain between two walls or above a seating area to create a cozy canyon effect. Kids can help with cutting and gluing the links in small groups.
Placement note: Tape at the top to a light fixture or ceiling beam so nothing collapses mid party.
12. Monster Eye Cupcakes Stand
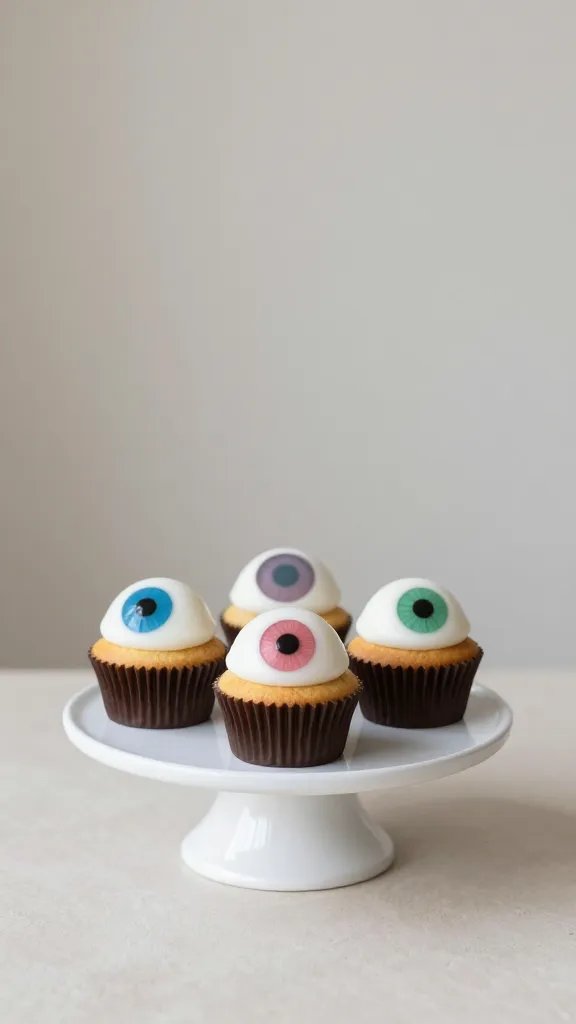
Turn a cardboard cake stand into a monster eye center using white cards for eyes and a few dots of color for the iris. Set a dozen mini cupcakes around the base to create a playful edible centerpiece. This is a small dessert display that photographs well and keeps the dessert table visually interesting. Adults handle the cutting and assembly, kids pose around the stand for photos.
What to do: Bake or buy standard cupcakes so they are easy to assemble on the stand.
13. Candy Corn Totem Stands
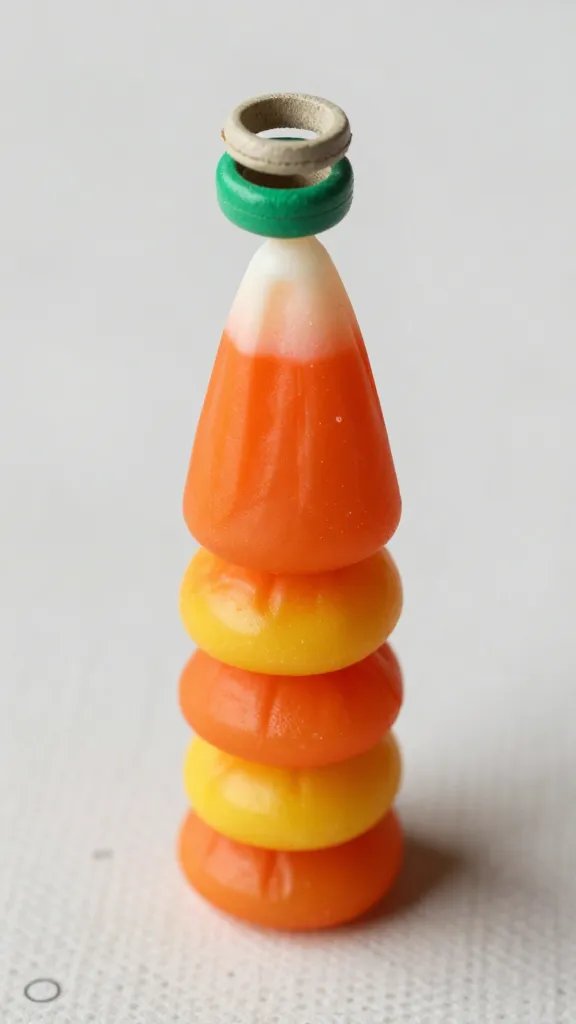
Stack candy corn into small cardboard tubes to create mini totem towers. Use tape to secure and paint a ring of color near the top to imitate a pumpkin cap. This craft uses a lot of small pieces and gives kids a sense of accomplishment as they assemble multiple towers. Place each totem on a simple placemat to avoid mess and make cleanup easier after the party ends.
Make it easier: Pre-stack a few towers and let kids add a final cap and tape.
14. Spooky Sound Card Workshop
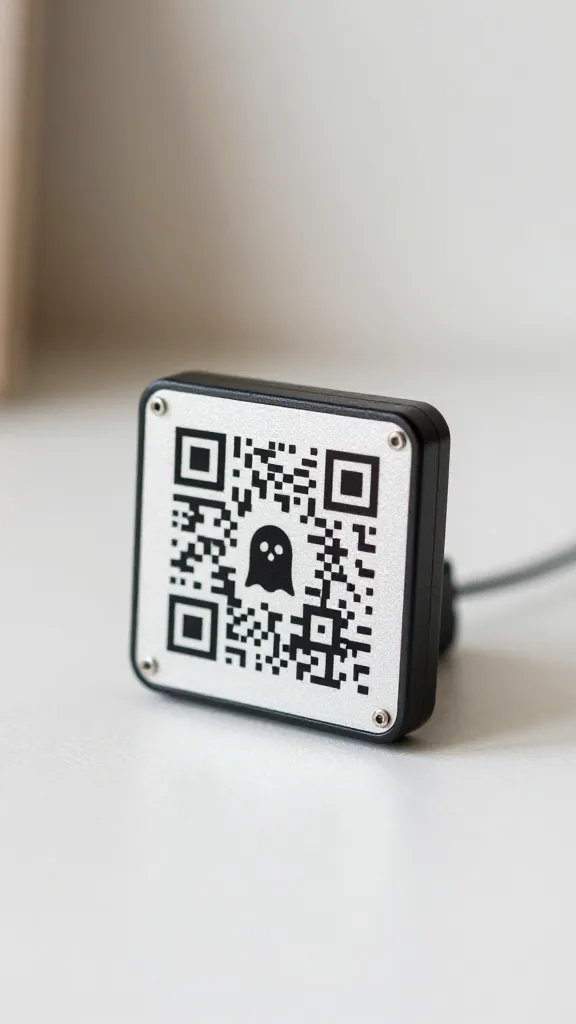
Provide simple sound cards with QR codes that link to a spooky playlist. Kids can pin cards near the snack table or craft area, and the music helps keep energy up between activities. The workshop aspect gives kids an audible cue to move on to the next station and helps balance attention spans. This is tech friendly but simple to execute with one teacher or parent supervising the activity corner.
Copy the look: Attach a small label with a quick sound cue to help teachers navigate the flow of activities.
15. Skeleton Parade Masks
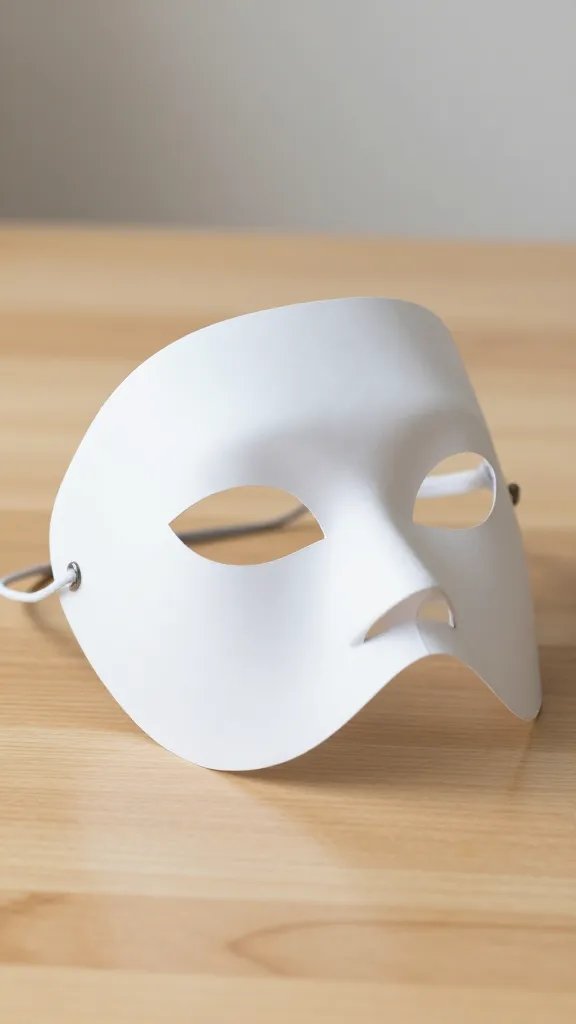
Cut mask shapes from sturdy paper or lightweight cardboard and let kids decorate with markers, stickers, and thin ribbon for string. The result is a parade ready set that doubles as a favorite photo prop. Keep the masks simple and avoid sharp edges; assist younger kids with basic cutting or provide pre-cut shapes. A short instruction card helps kids and teachers know how to wear and pose for photos in a fun way.
Safety note: Use kid friendly glue sticks rather than hot glue near little hands.
Now you have a full menu of craft ideas that solve common school party hurdles while staying friendly to budget and time. Save these notes for the week you need a fast, reliable plan that still looks thoughtful and polished. Save this for the next birthday that sneaks up on you.