
15 Craft Ideas for Teens Who Think Crafting Is Cringe

Teens think craft projects are cringe, but they still crave quick, shareable wins you can pull off this week. This guide gives real, no-fuss ideas that look like you planned them, not like you survived a glue gun incident. These projects balance practicality with a touch of style, so the vibe stays cool and doable. Each idea solves a common party planning dilemma without demanding a big budget or a full weekend. Pick one (or two) to kick off your next event and watch the energy lift.
These craft concepts are written for mobile skimming: clear steps, practical supplies, and fast results. We’ll rotate through a few shapes so the reading feels fresh and easy to follow. Now, on to ideas that teens actually won’t mind doing, or at least won’t roll their eyes at doing with friends.
1. Paper Photo Booth Backdrop That Hellos a Room
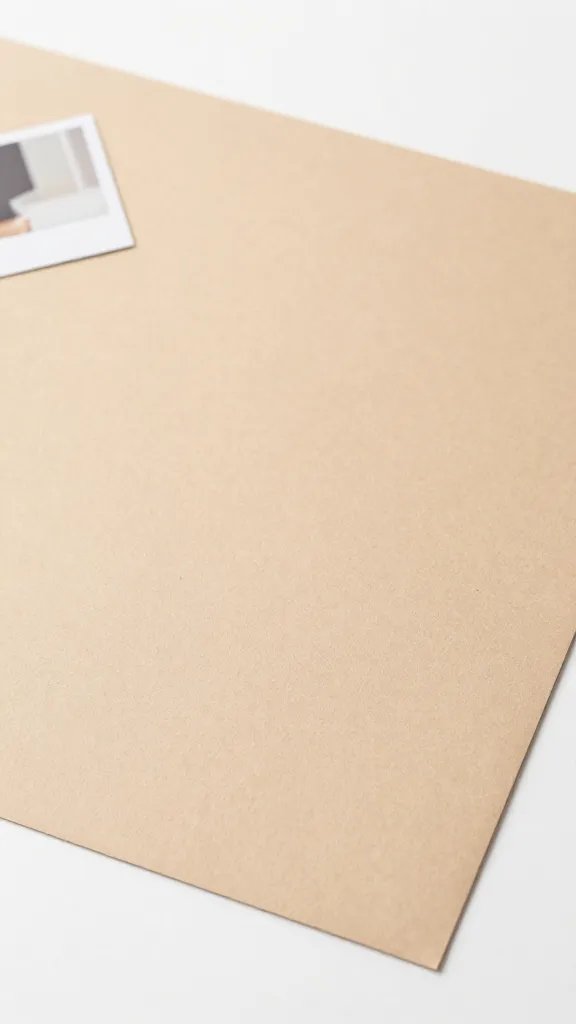
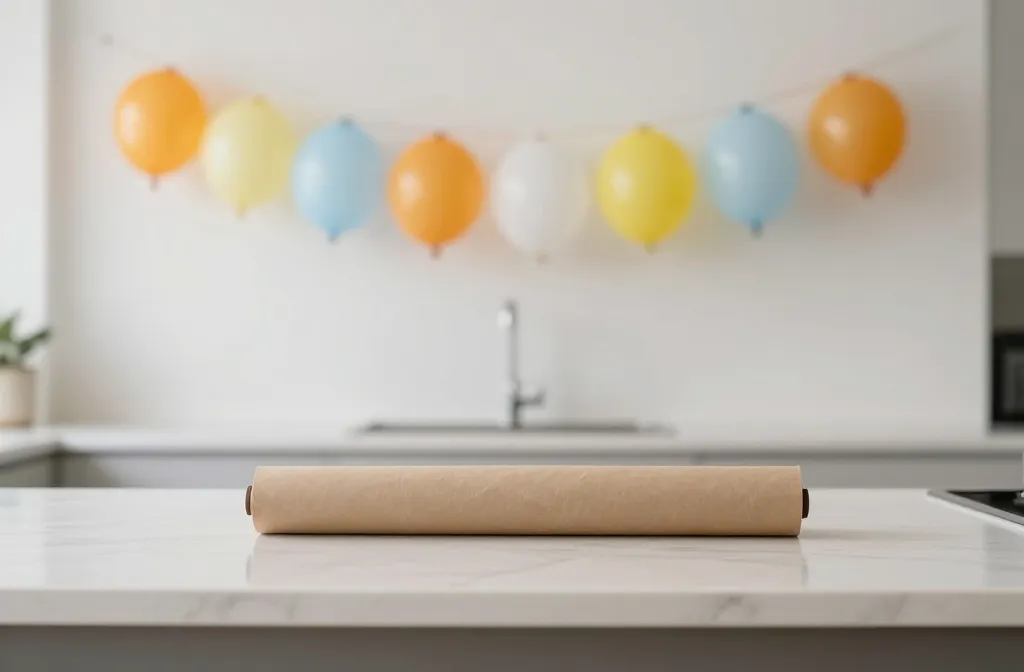
A bare corner at a party dies fast in photos. Create a quick photo backdrop using a roll of kraft paper and a few sets of printable photo corner props. It looks intentional, not DIY-chaotic, and it gives guests a reason to gather. The main trick is to keep the design simple: one or two colors, a bold title, and plenty of space for selfies. This idea can be set up in under an hour and packs away neatly when the night ends.
Copy the look: Use a wide strip of kraft paper as the base, then tape a two-tone banner across the top for a crisp finish.
2. Balloon Banner With a Twist
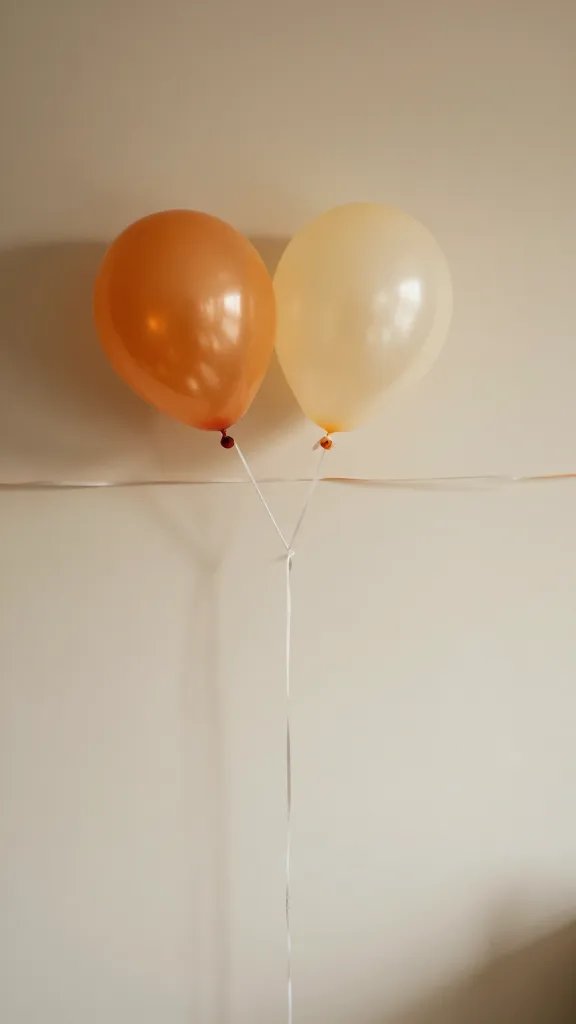
A basics-only banner can feel boring fast, but this version uses two colors and a simple knotless technique to avoid the usual creases. Inflate balloons to mix sizes, tie them with a length of string, and staple to a ribbon across a blank wall. It looks polished without needing an air compressor or expert hands. This setup takes about 30 minutes once you’ve got the balloons ready and provides a lively focal point for the room.
Use what you have: Reuse leftover ribbon and a row of tape to anchor the garland so you won’t have to patch a wall later.
3. Ice Cream Cone Centerpieces That Don’t Melt the Budget
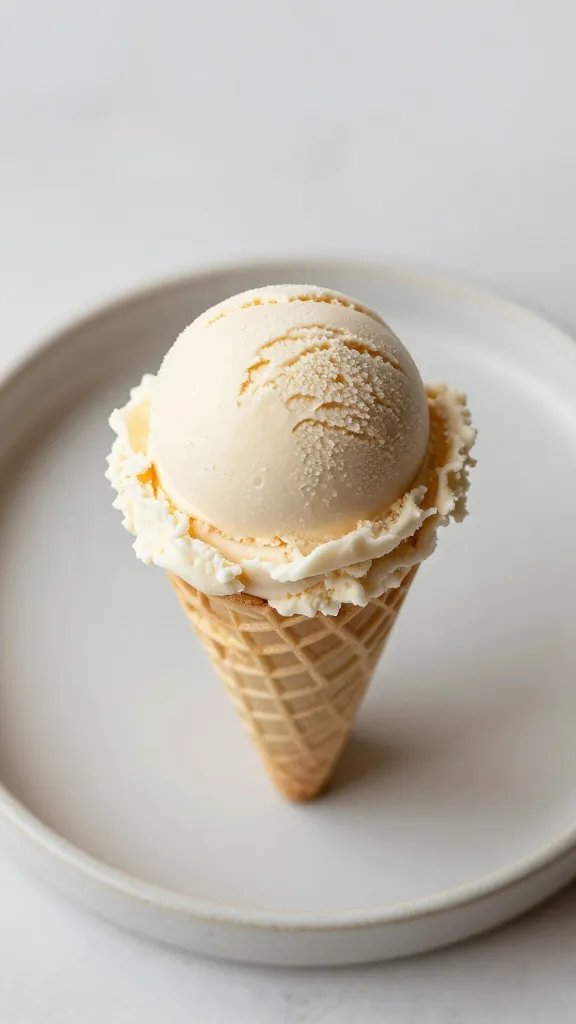
Teens love a dessert table, but centerpiece costs can melt fast. Build centerpieces from felt, cardboard cones, and pretend ice cream scoops in bright colors. They’re lightweight, kid-friendly to assemble, and easy to store after the party. Set a quick assembly line: cut cones, glue scoops, and arrange on a shallow tray as a centerpiece or line them along the dessert table for height and color. Estimated time: 45 minutes for a small table.
Safety note: Use washable glue and supervise hot glue if kids are involved; plan for adult help on any hot tools.
4. Paper Plate Wall Dots to Create a Color Field
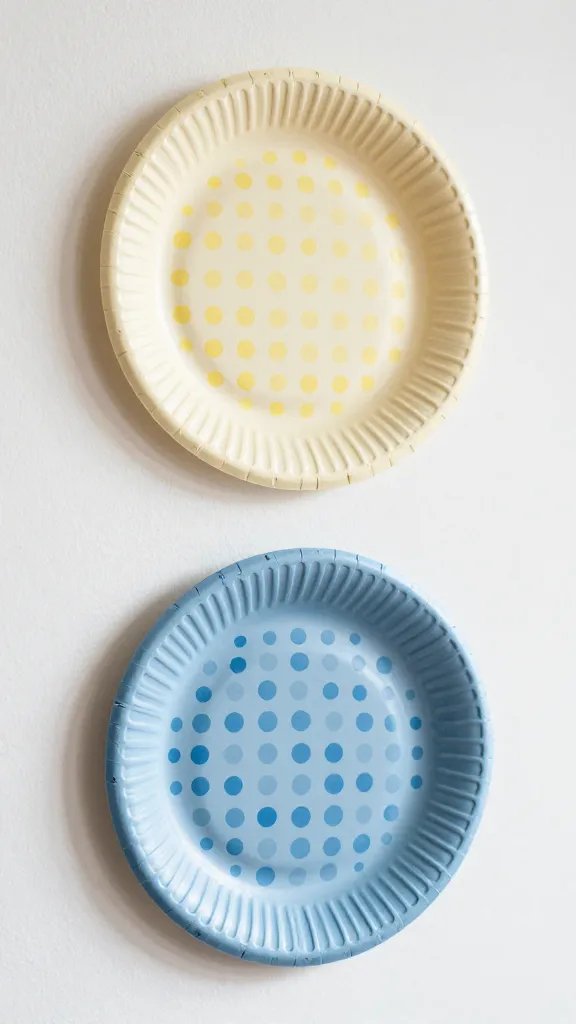
Flat walls look flat in photos. A 10-minute wall treatment using paper plates in a random dot pattern adds color and texture without crowding the space. Use two contrasting colors and overlap plates slightly to avoid a rigid look. It can cover a large wall area in a weekend, but you can do a small section in minutes for a quick upgrade. The payoff is a lively photo backdrop and a sense of intentional space.
Best for: Small rooms or apartments with one blank wall to dress up.
5. Chalkboard Menu With a Personal Twist
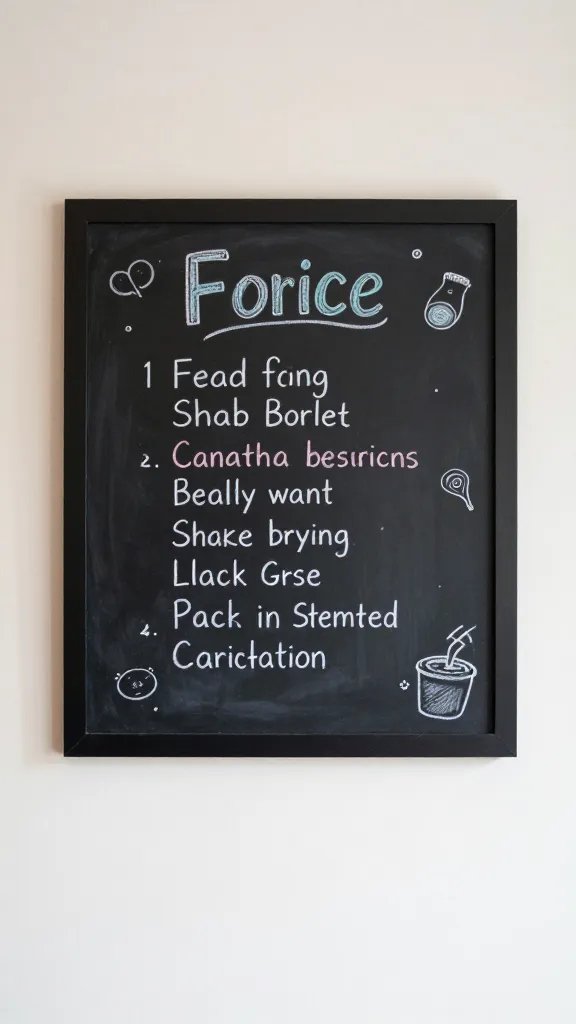
Drafting a simple chalkboard menu at an event helps guests know what’s coming without loud signs everywhere. Use a square chalkboard or a saved panel you already own. Write the night’s snacks and activities in two colors, and add tiny doodles to reflect the theme. This is a quick, approachable way to guide guests and reduce questions while keeping the setup light and affordable.
Copy the look: Draw a border with a white paint pen to make the text pop against the blackboard.
6. Fabric Banner With a DIY Stamp Pattern
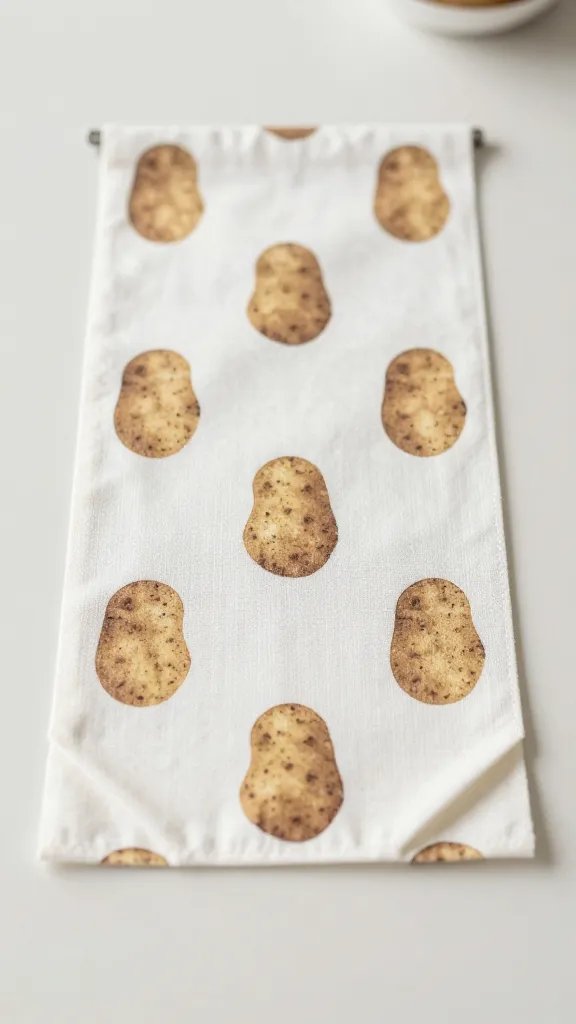
Soft banners feel more personal than paper garlands. Cut simple fabric rectangles from old shirts or comforters and stamp a repeated pattern using a potato stamp or stamp pad. String them with twine to form a gentle banner that travels across a room or frames a dessert station. The project is two steps: cut and stamp, then string. Ready in an afternoon and easy to store afterward.
Make it ahead: Press the fabric flat after stamping so the pattern stays crisp when you hang it.
7. Grown-Up Cupcake Stand From Cardboard
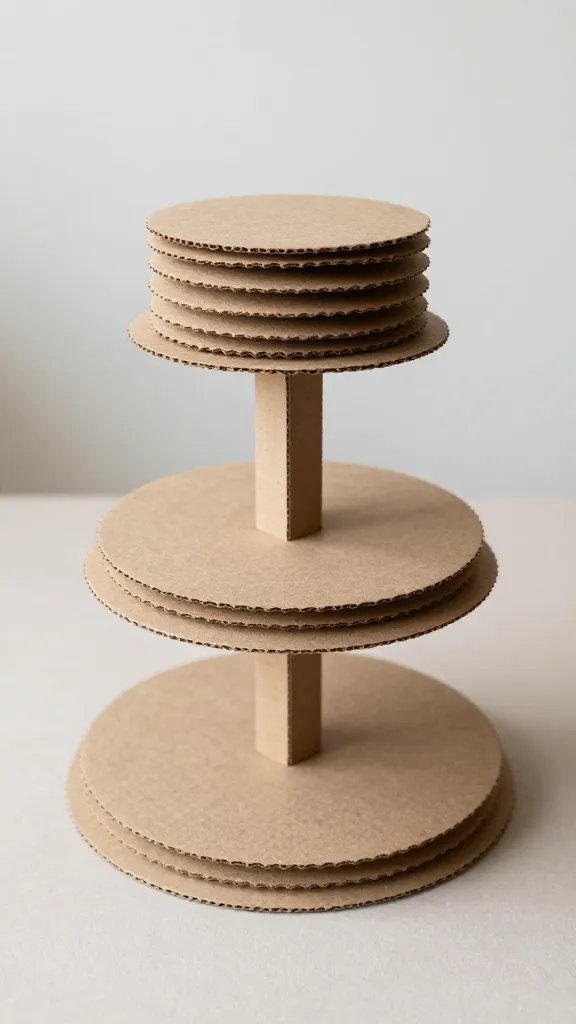
A makeshift cupcake stand can lift a dessert table without a big purchase. Stack sturdy cardboard rounds and glue them into a layered pedestal, then cover the edges with washi tape to hide rough edges. It’s both budget-friendly and sturdy enough for serving cups, cookies, or fruit. It looks thoughtful in photos and gives the table some height and rhythm. This can be built in under an hour and breaks down easily after the party.
What to avoid: Keep weights light and use a sturdy base so it won’t topple with light frosting or fruit.
8. Confetti Jars for a Quick Color Burst
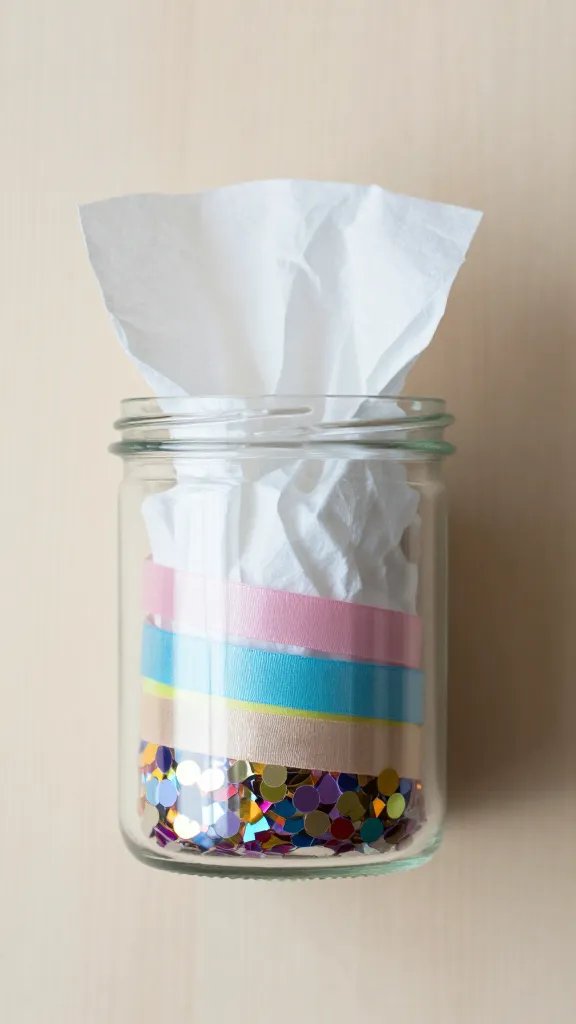
Small jars with layered confetti can dramatically brighten a table. Fill jars with tissue paper scraps, ribbon bits, and a little glitter if desired. Label each jar with a theme or flavor using a sticky note and a marker. They’re pretty as favors, easy to snack on, and simple to assemble in small groups. Time investment is 25 minutes for a set of six jars, plus 10 minutes to clean up glitter if you use it.
Safety note: Use craft glitter sparingly and consider micro confetti if younger siblings could reach them later.
9. DIY Light Up Banner With Fairy Lights
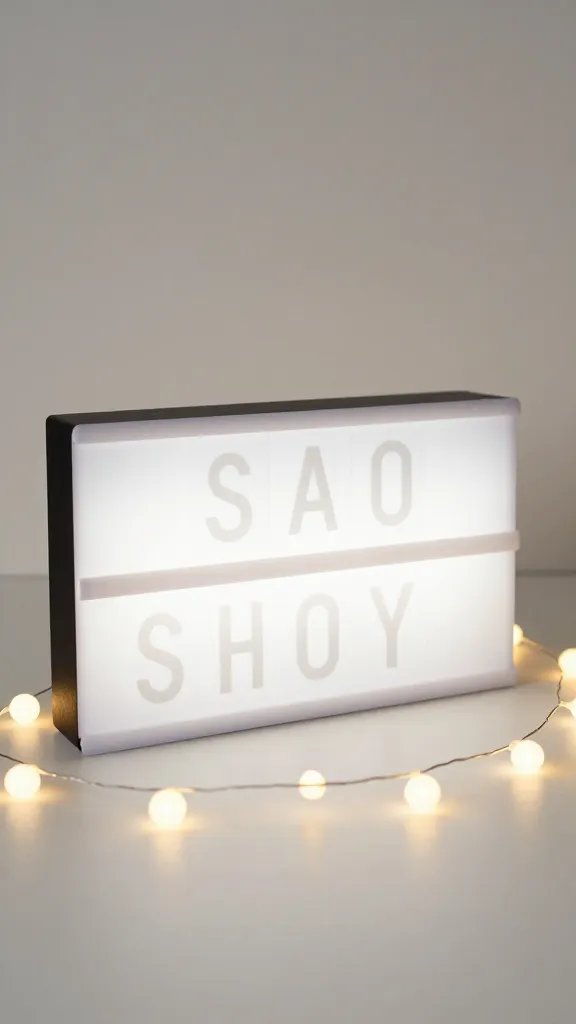
Teens appreciate soft lighting that looks earned. Create a banner by cutting shapes from craft foam and attaching them to a string of battery-operated fairy lights. Space the shapes evenly and hide the battery pack in an empty gift bag or a small box. It gives a cozy glow to the room and photographs well without overwhelming the space. Setup is about 40 minutes, plus a few minutes to hide the battery pack.
Placement note: Tape or clip the light string to keep it stable on a wall or across a window frame.
10. Marbled Paper Coasters That Do the Work for You
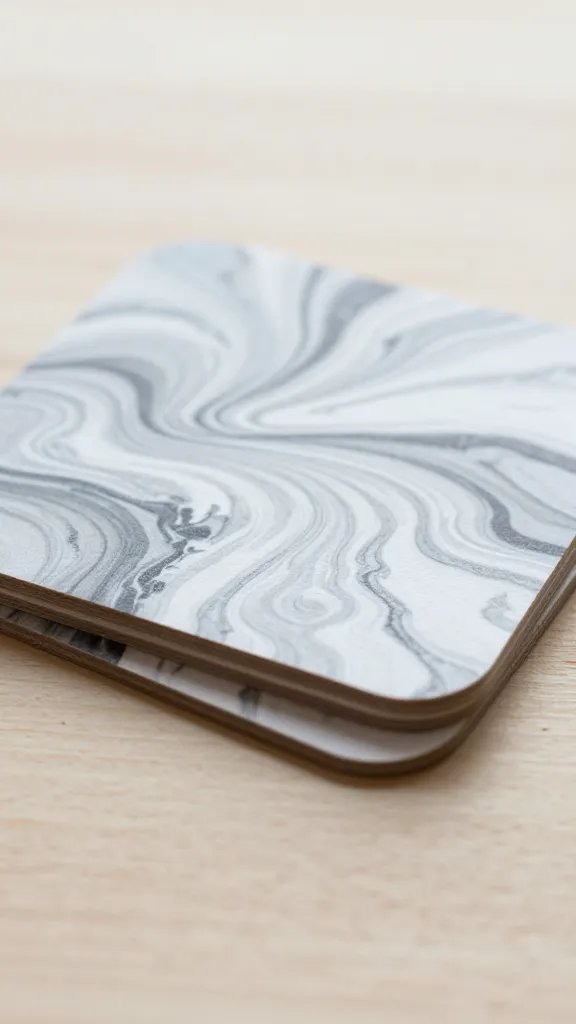
Coasters are small but they can pull a tablescape together. Use sturdy cardstock and a dab of nail polish to swirl marbled patterns. Cut into circles and seal with a clear spray. They look classy on a dessert stand and are useful for guests to protect surfaces. A batch of twelve takes about 60 minutes, plus drying time. Put a stack by the drinks to reduce table drips and keep things neat.
Use what you have: Recycle old magazines for color swirls instead of buying new paint.
11. Sticker Wall That Feels Like a Street Mesh
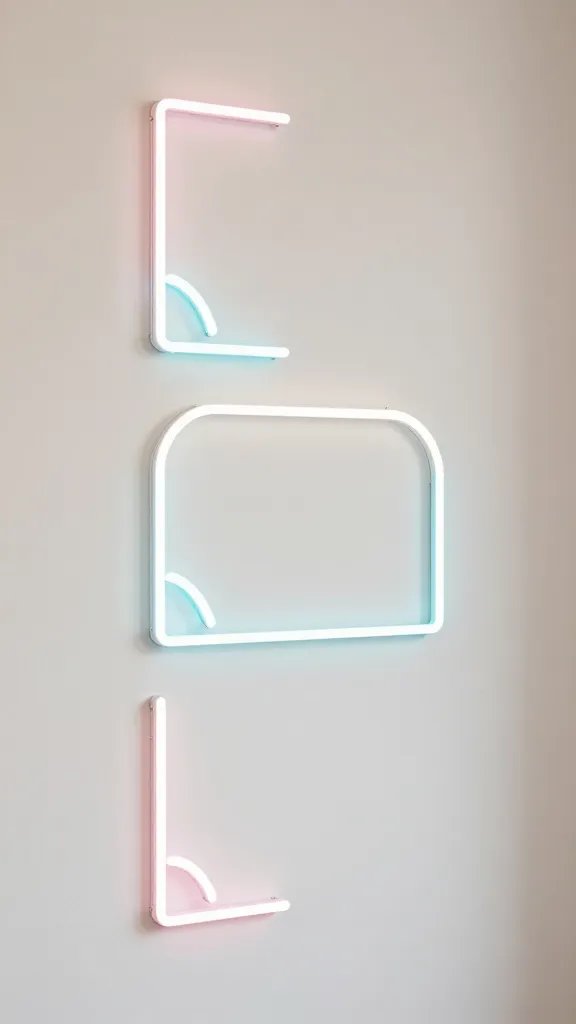
A wall covered with stickers in a curated grid can feel organized and fun. Choose a theme (neon shapes or a specific color family) and lay out a grid on the wall with painter’s tape. Peel and stick the stickers to fill the space. It’s a no-fuss, high-impact backdrop that grows with the party. The whole setup takes about 20 minutes and stores flat for future events.
Placement note: Use removable tape so no wall damage occurs when you remove the grid later.
12. Monochrome Banner With Gold Accents
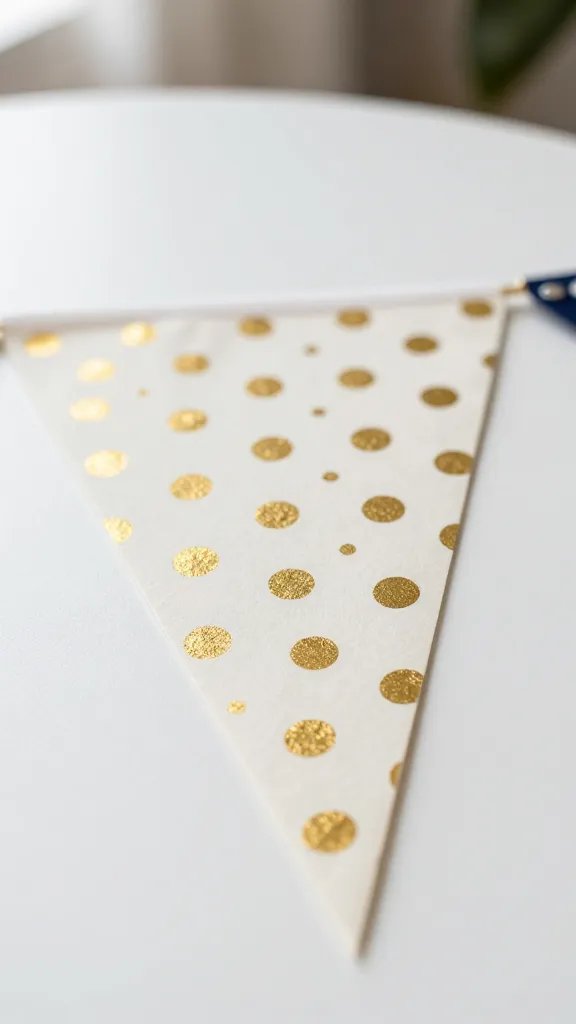
Choose a single color and add tiny metallic accents for a polished yet cheap banner. Cut cardstock into pennants, punch holes, and thread a string. Add small gold dots or foil shapes for a hint of sparkle. It looks deliberate without costing a lot and photographs nicely against a contrasting wall. Time to complete: about 40 minutes.
Color note: Keep two shades of the chosen color to maintain depth without chaos.
13. Cardboard Fort Frame for a Chill Corner
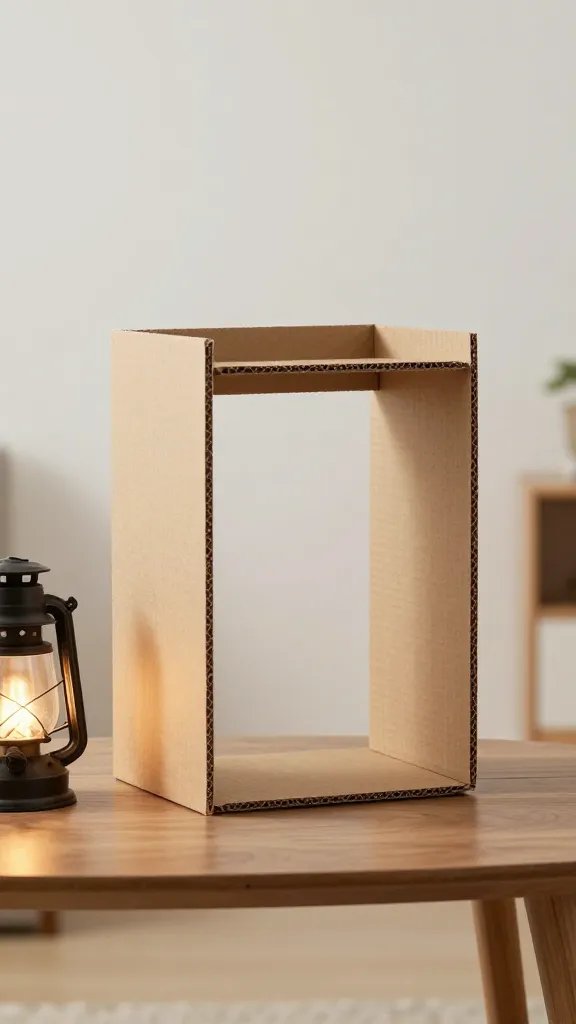
Teens love a cozy corner to retreat to. Build a simple fort frame from cardboard boxes and cover with a throw blanket or two. Add a warm lantern or a string of battery lights to make it inviting. It costs almost nothing and can be assembled in a single afternoon. The payoff is a photo-worthy hideaway that also doubles as a conversation zone.
Little hands tip: Let friends help cut out window shapes to give the fort a playful look.
14. Cupcake Wrapper Garland That Feels Edgy
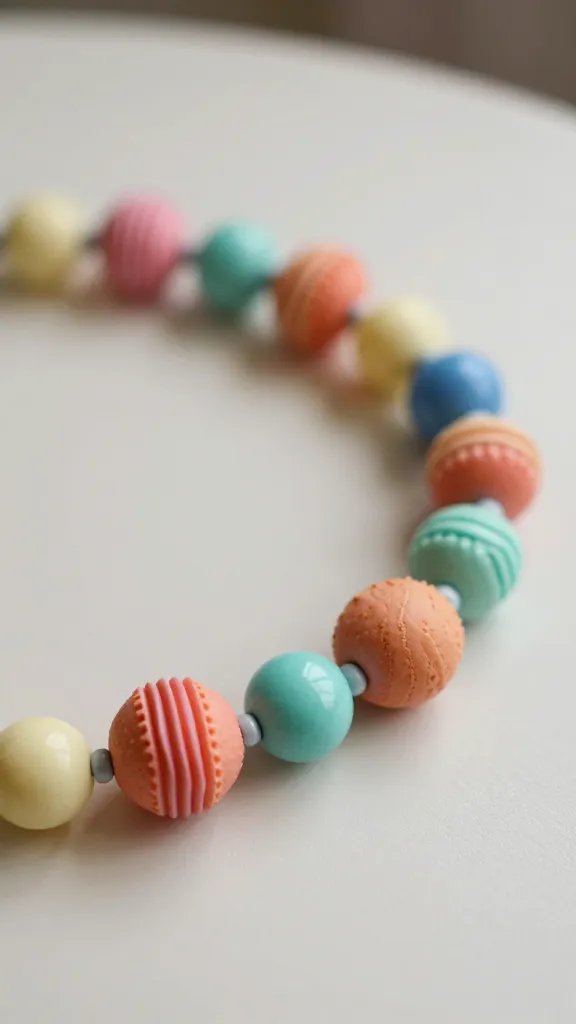
Take the ordinary cupcake wrapper and repurpose into a garland by stringing them through a thin ribbon. Alternate colors, nest a few small beads between sections, and hang along a door frame or window. It’s a simple way to add color and texture, and it uses items you likely already have. The whole thing can be done in under an hour and looks deliberate in photos.
What to avoid: Don’t pull the wrappers too tight; give them a little slack so the garland breathes.
15. Denim Journal as an RSVP Box
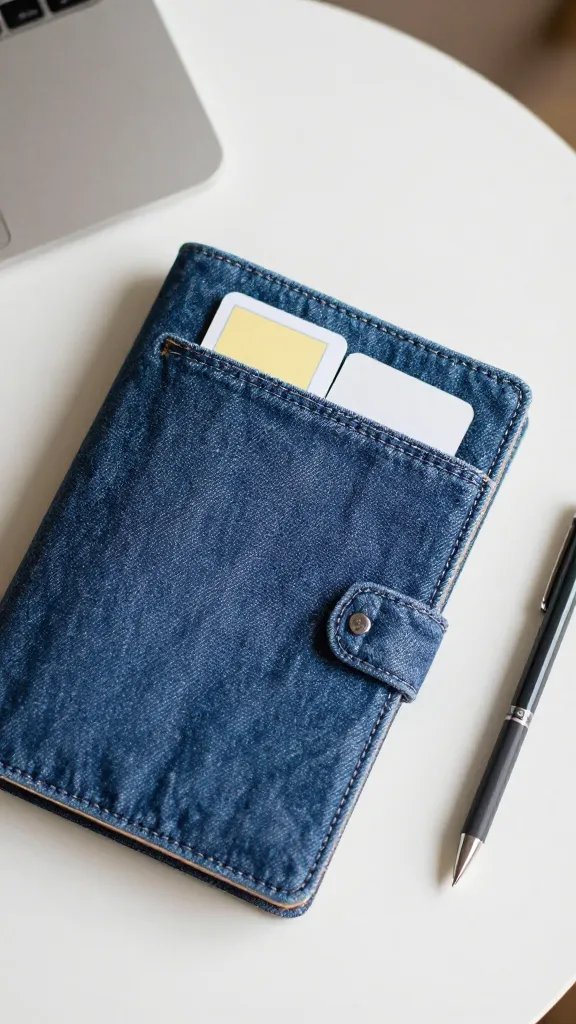
Turn a scrap of denim or old jeans into a small journaling box for guests to leave notes. Cut a pocket to hold cards, slide in a few pencils, and set it near the entry. It’s a small touch that invites participation without requiring a big setup. Time to assemble is about 30 minutes, and you’ll get a keepsake for the host to look back on after the party ends.
Safety note: If you plan for kids to fill out cards, provide a smoother surface and a pencil rather than a pen to avoid ink spills.
Conclusion
These ideas prove that crafting isn’t a cringe sentence, it’s a toolkit for party momentum. Pick one that fits your space, time, and budget, and you’ll see guests lean into the activity rather than drift away. Try one tonight and save the rest for the next weekend bash. save this for the next birthday that sneaks up on you.