
16 Birthday Party Ideas for a Last Minute Party

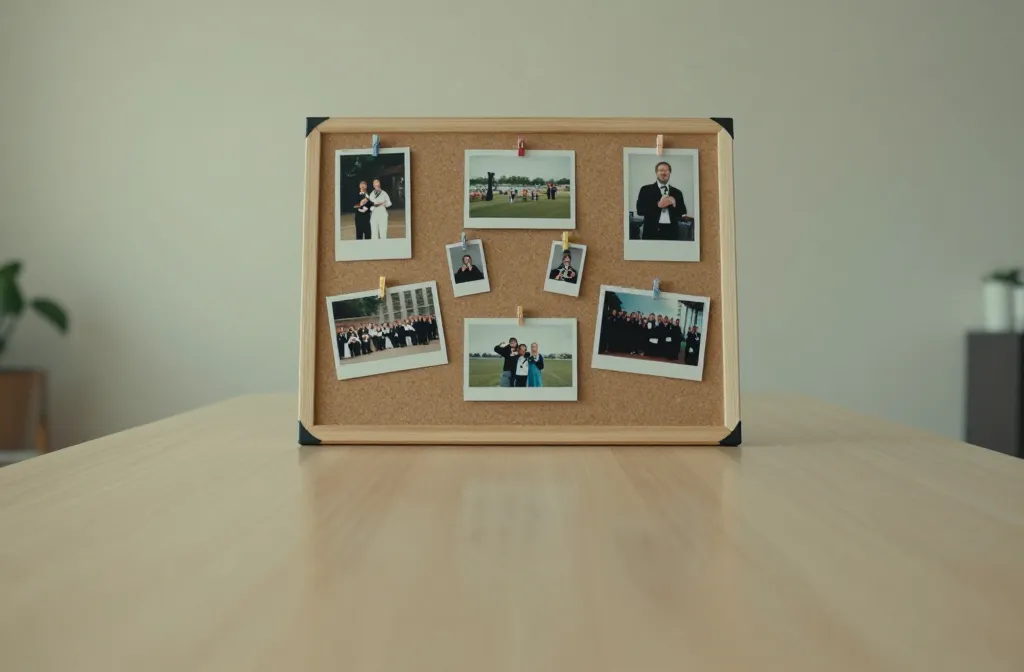
When the clock is ticking, a party plan that feels finished is priceless. You want quick wins that don’t look rushed, and ideas you can actually pull off tonight or tomorrow. This list gives you practical setups and crafts that fit tight timelines, small budgets, and busy kitchens. Each idea solves a real problem, from bare dessert tables to kid attention spans fading fast. Use these as you prep or scroll through your weekend to do list, and pick a few you can start now.
From a simple craft that becomes decor to a fast, tasty setup, these ideas are written for real life. You’ll see a mix of ready to shop supplies and cheap DIYs that don’t require a trip to three stores. Ready to mix and match? Let’s get into how to make a memorable last minute party without the stress.
1. Quick Globe Photo Board
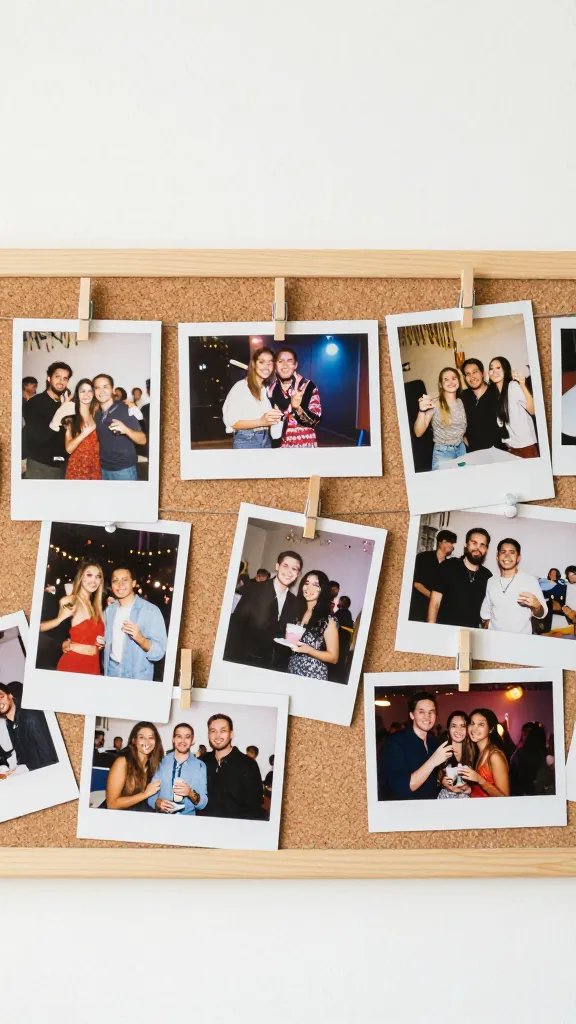
Guest photos fill a wall fast and give you instant dessert table ambiance without a full backdrop. Grab a corkboard or foam board, staple on a few printed party photos, and clip the rest with bargain clothespins. It reads as a curated moment without needing a full design plan. Keep the frame simple and let the photos do the talking. Time to assemble: about 30 minutes, plus a print run you can do at home or a local shop.
Best for: small living rooms and apartments with one clear wall for display.
Use what you have: Print smaller favorites, then reuse the board at future events with new photos.
2. The Make: Paper Banner in 20 Minutes

Bold letters on a string can transform a plain wall. Cut large letters from colored cardstock, punch two holes, and thread with ribbon. If you’re short on time, use pre-cut letter stickers on poster board and mount it to twine. This reads as festive at a glance and is easy to store for next time. Estimated time: 20 to 25 minutes plus drying if you paint edges.
Copy the look: Use two contrasting colors for high impact.
Quick setup tip: Tape the top of the banner to a tension rod so you don’t damage walls.
3. Supersized Confetti Balloons
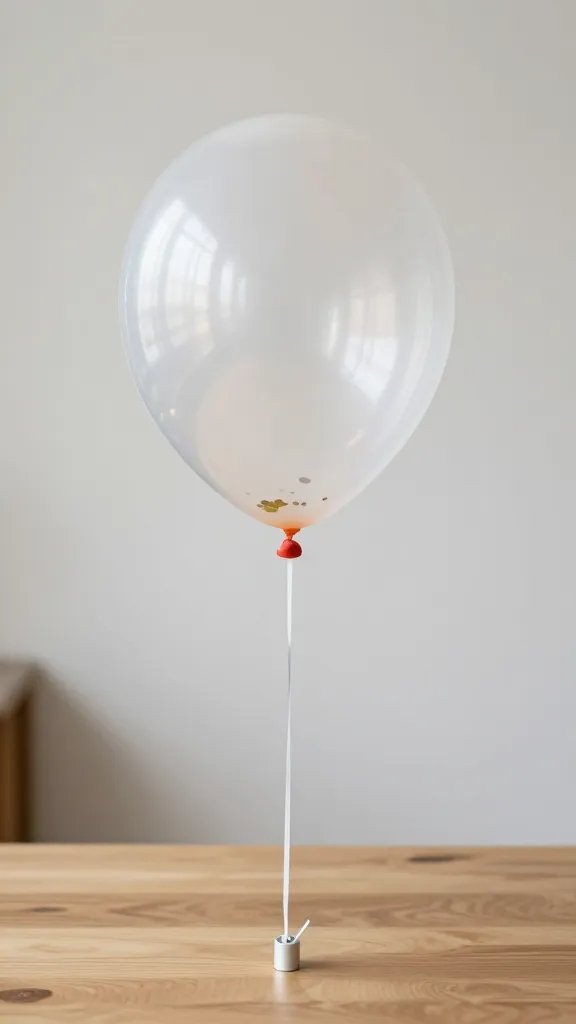
Fill clear balloons with tiny paper confetti in the party colors. Tie them with matching ribbons and group them in a cluster for a focal moment. Inflate with a hand pump to keep it quick and quiet, then anchor with a balloon weight. This brightens the room in minutes and creates instant party energy. Approximate time: 15 minutes to inflate and arrange.
Safety note: Keep strings short and away from kids’ mouths and faces.
What to avoid: Latex balloons in the same room as small children if choking hazards worry you.
4. Budget-friendly Dessert Wall
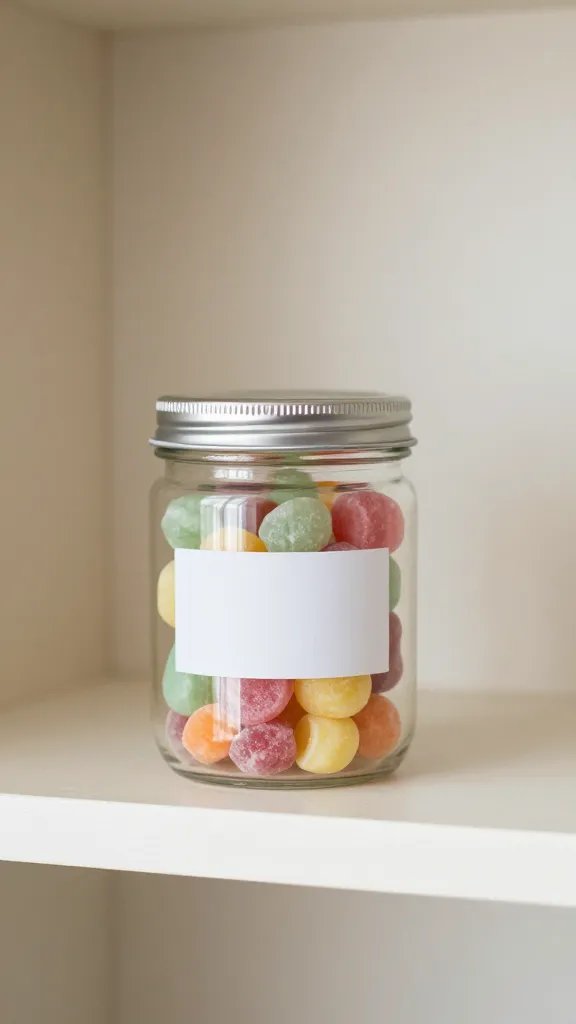
Line a shelf or table with a simple cake, cookies, and candy jars. Use a ruled paper backdrop or a fabric piece you already own to create a color block behind the treats. Group items by height with a few store-bought cake stands and a DIY paper banner resting along the back. This looks finished without a designer’s touch. Time: 25 to 35 minutes to arrange and pot up treats.
Color note: Use two colors to keep it cohesive without buying more decor.
Make it ahead: Bake or buy cookies a day ahead, store in airtight containers.
5. Cardboard Castle Play Corner
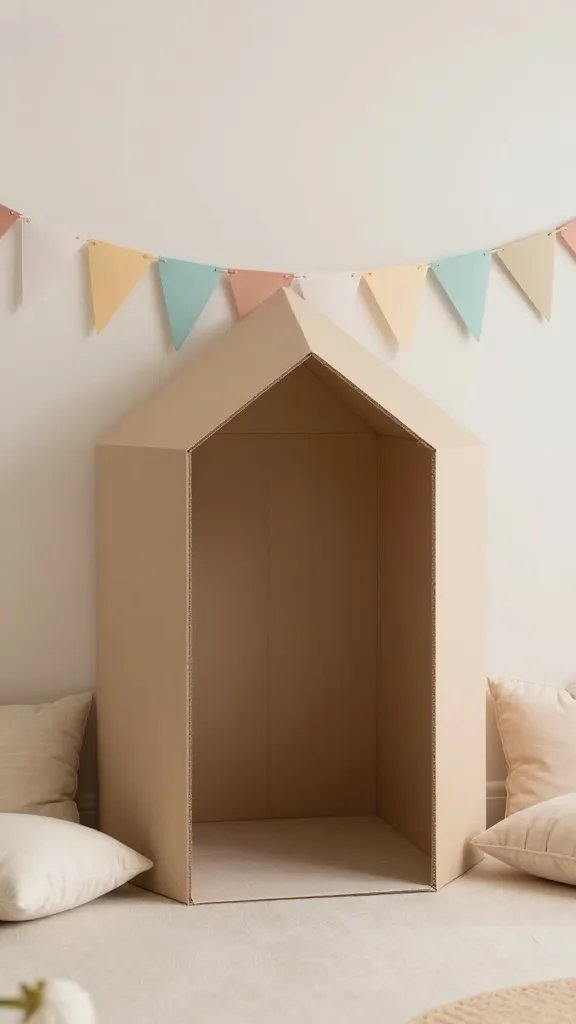
Create a kid friendly corner with a simple cardboard box fort and fabric banners. Cut doors and windows, wrap with a roll of pastel paper, and add a few throw pillows. This keeps little hands busy and the space out of the main dining area. It doubles as a photo backdrop for guests and a quiet spot for kids who need a break. Time: about 40 minutes of cutting, taping, and decorating.
Little hands tip: A grownup should supervise the assemble step and knife use.
Storage tip: Save the fort pieces for a future party by flattening and storing flat.
6. Lemonade Bar on a Tray
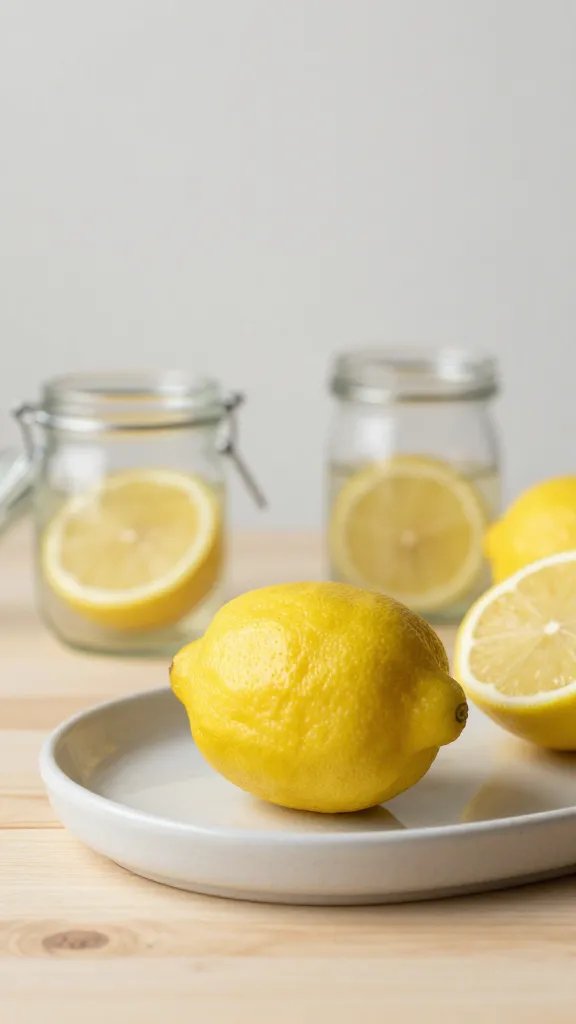
Two or three jars with lemonade, water, and a flavored option like strawberry or mint make a refreshed drink station. Set out simple cups, a ladle, and a small tray with sliced lemons or whole lemons for garnish. The setup looks intentional and keeps guests watered while you finish baking or arranging cupcakes. Time: 15 minutes to assemble, 0 dirty dishes beyond glasses.
Budget swap: Use mason jars you already own for a cohesive look.
Hosting tip: Pre-make ice so you’re not chasing ice all afternoon.
7. DIY Tape Ribbon Wall
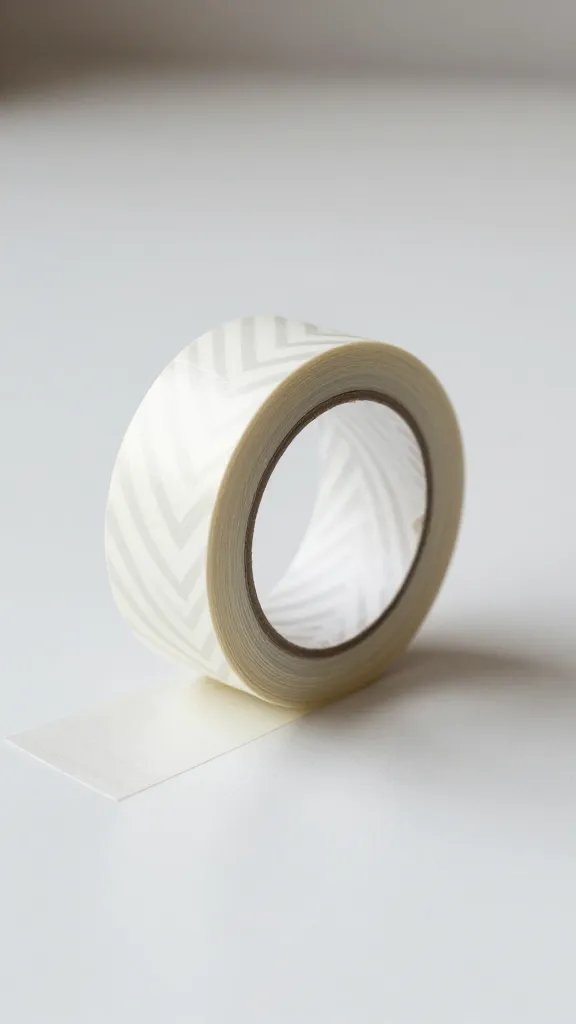
A quick wall upgrade using painter tape and strips of ribbon creates a soft, colorful backdrop. Run tape in a simple chevron or diagonal pattern, then press ribbon strips along the tape. It looks refined without buying a backdrop. Time: 20 minutes plus dry time for any glue or tape. This is a space saver and photo friendly.
Best for: small rooms where every inch counts and you want a quick photo moment.
What to avoid: Heavy fabrics that sag and look messy over time.
8. Mini Cupcake Bouquet Vase
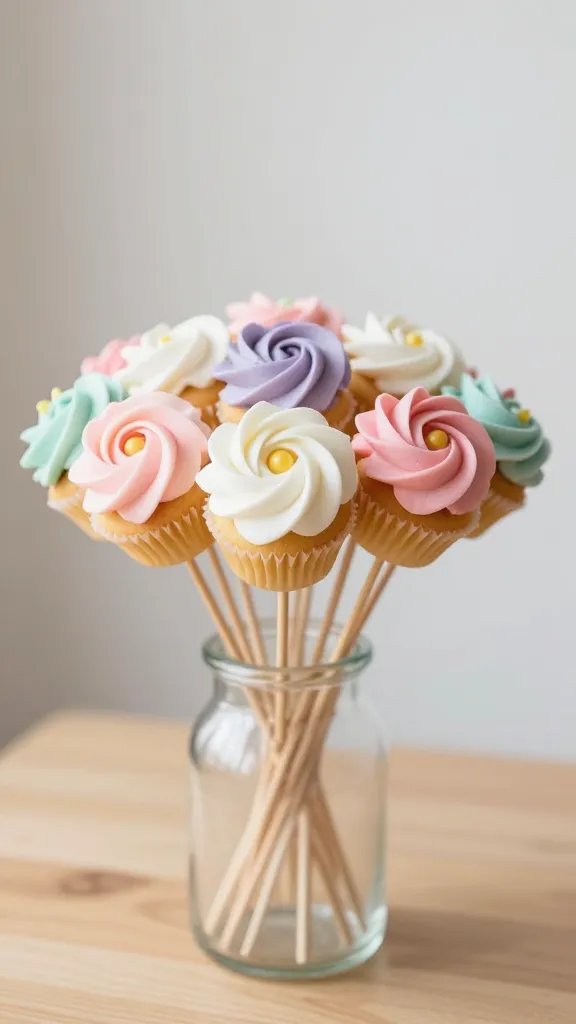
Arrange cupcakes on skewers and stand them in a vase or tall glass with a bit of floral foam. It reads as a dessert bouquet rather than a standard tray and makes the table feel special with minimal effort. Time: 30 minutes to bake, cool, and arrange. It also travels well to a park or outside venue if needed.
Safety note: Allow cupcakes to cool completely before skewering.
Copy the look: Use two colors in alternating cupcakes for visual rhythm.
9. Tulle Ball Garland
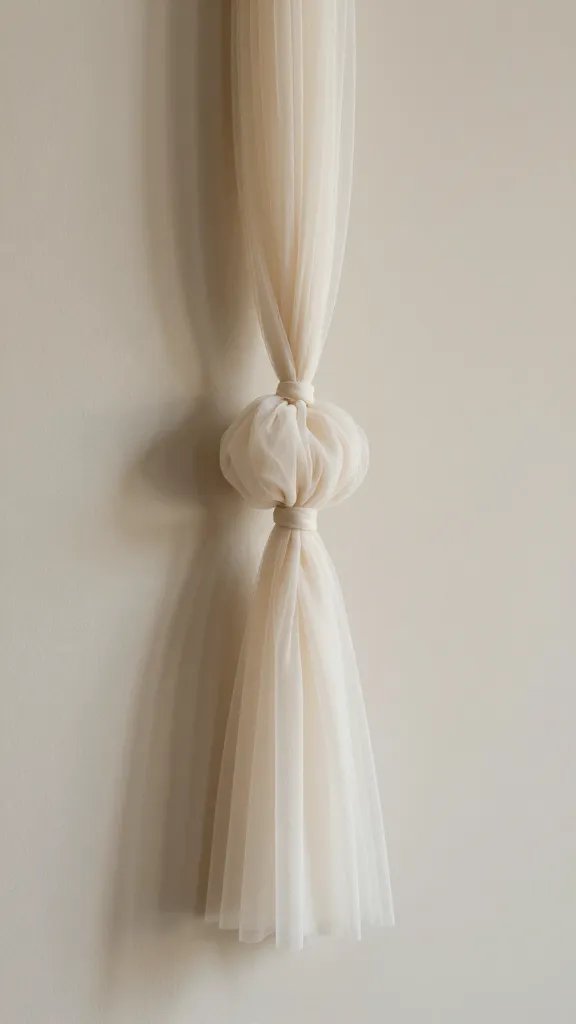
Cut small squares of tulle, tie them onto a long string, and space evenly. You can reuse a roll of tulle from gift wrapping, so the cost is low. Drape it along a wall or doorway for a soft, festive frame for photos. Time: 15 to 20 minutes to tie and arrange.
Placement note: Aim for eye level so photos get a flattering backdrop.
Mess control: Do this close to a sink or easy cleanup area to avoid spills on carpet.
10. Balloon Arch on a Budget
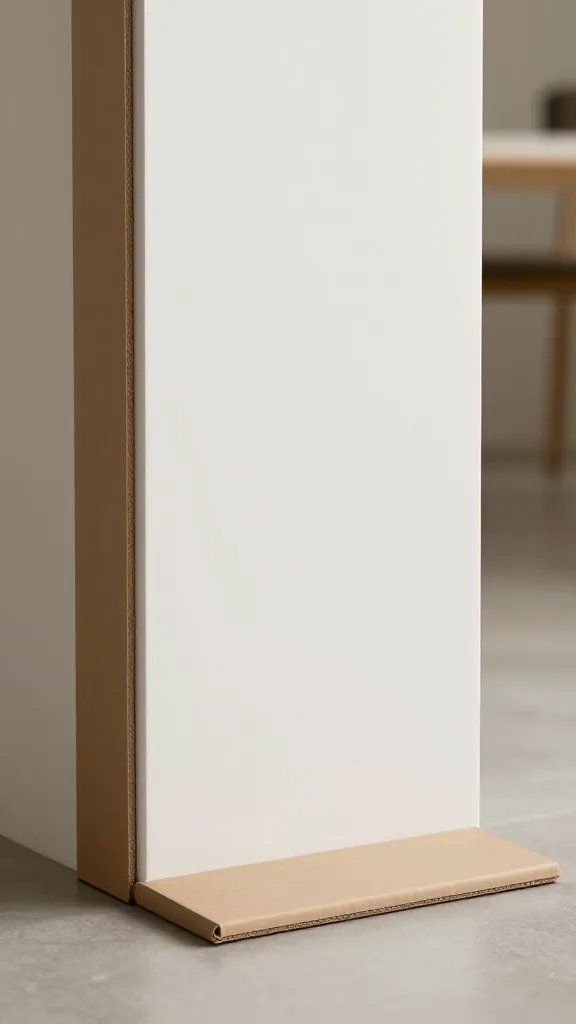
Make a simple arch with a small number of balloons and a strip of cardboard as a base. Use a doorway or table edge as the anchor point. The result feels dramatic without the expense of a full arch kit. Time: about 45 minutes to an hour, depending on your pace and tool choice.
What to avoid: Avoid heavy helium if you’re strapped on time; air-filled works fine.
Use what you have: Reuse balloon clips and rings you already own.
11. Savvy Snack Skewers
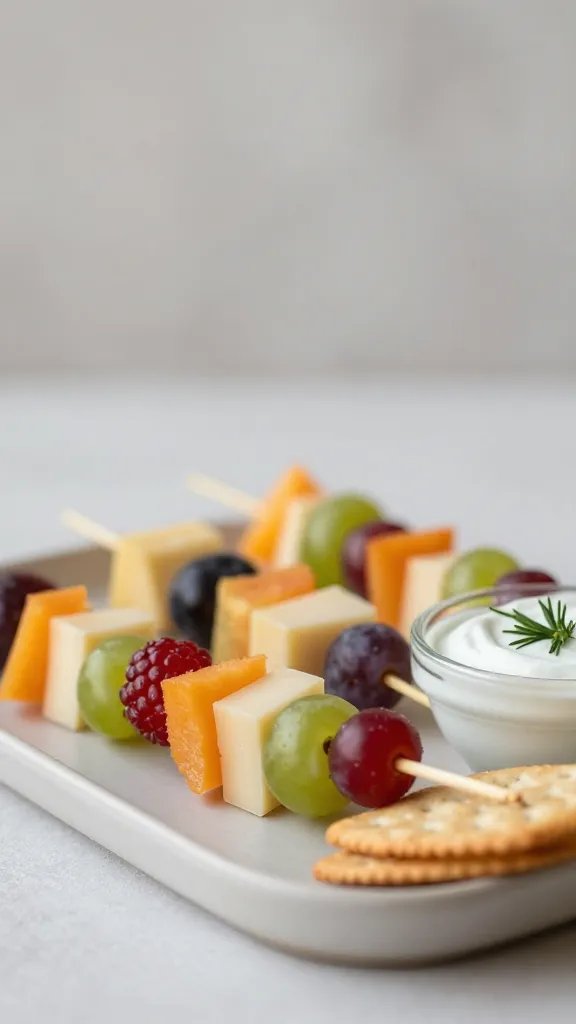
Thread fruit, cheese, and crackers onto short sticks for easy, grab-and-go snacks. Present on a tray with a simple dip and a few herbs from the garden. It cuts down on a long buffet and keeps kids moving with easy choices. Time: 15 to 20 minutes to assemble, plus a little chill time if needed.
Kid friendly: Let kids help with threading under close supervision to keep them engaged.
Cleanup tip: Use disposable skewers and napkins to cut down on wash up.
12. One-hour Craft Station
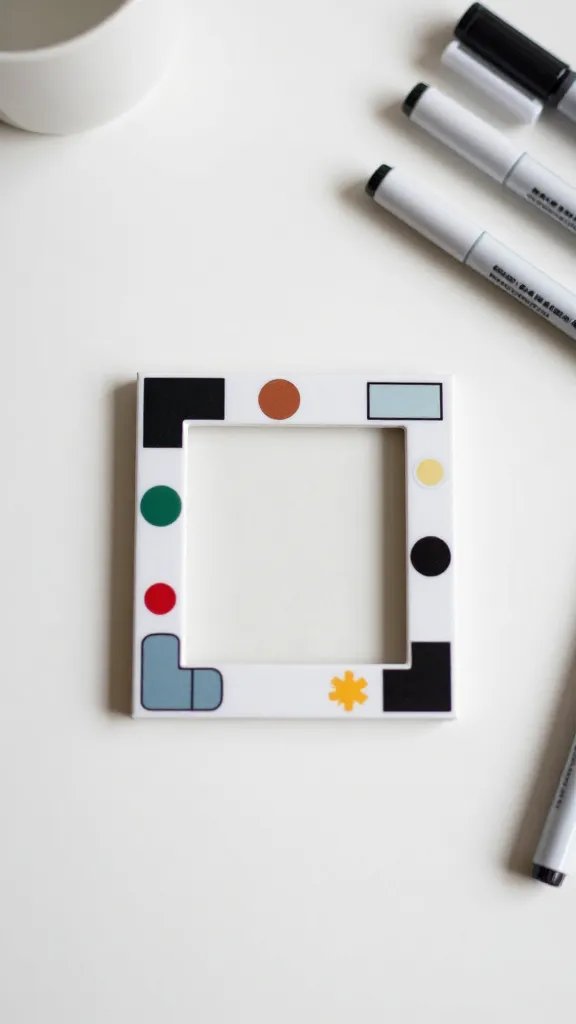
Set out a single easy craft that doubles as a party activity and a keepsake. For example, decorate pre-cut mini frames with stickers, markers, and a photo slot ready to insert a photo from the party. This keeps attention high for a short window and gives you guest favors with zero extra shopping. Time: about 60 minutes total, including cleanup.
Beginner version: Skip the frame and use a decorative card for kids to sign and keep.
Safety note: Small parts should be kept away from very young children.
13. Printable Game Corner
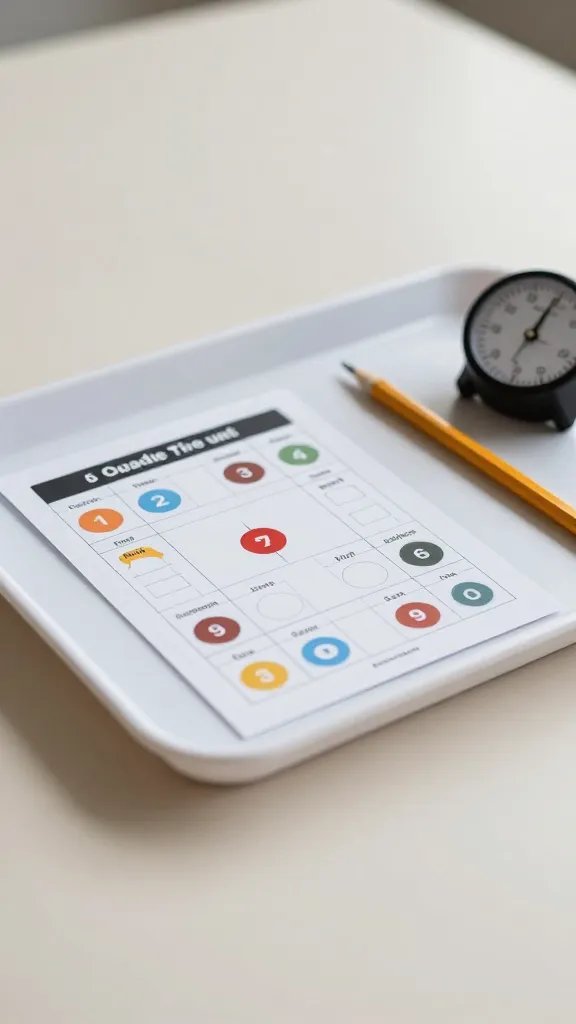
Print a simple set of party games on cardstock and laminate if you have access to a laminator. Put a small bin with pencils and a timer on a tray, and let guests rotate through a few quick activities. The point is entertainment that doesn’t drag on and keeps photos and smiles circulating. Time: 15 to 25 minutes setup, then ongoing fun.
What to avoid: Games that require a large floor space or a lot of space to play.
Copy the look: Use a two-color theme to tie it to the rest of the party.
14. Shadow Box Memory Wall
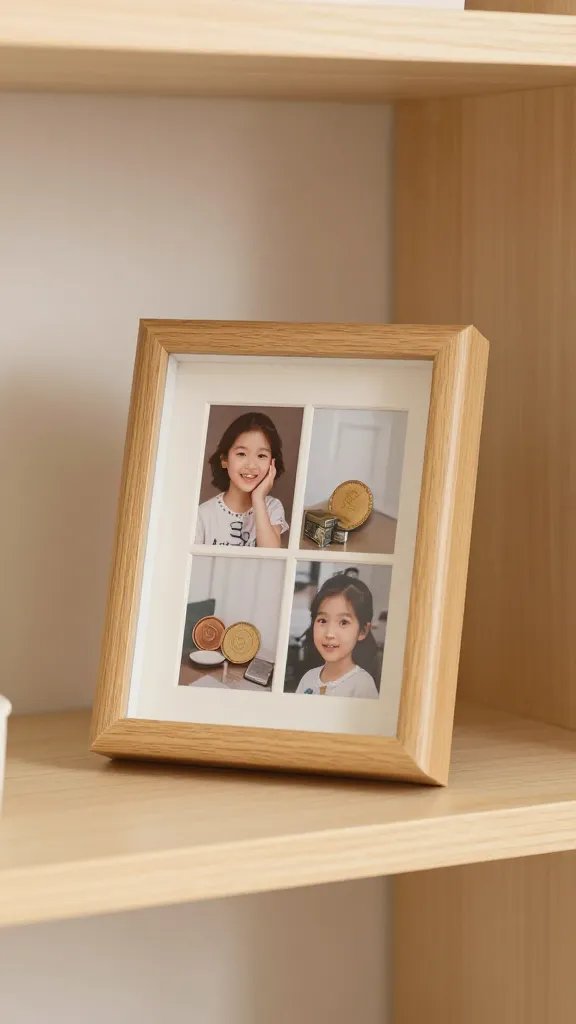
Fill a shallow shadow box with tokens from guests like little notes, photos, or shapes you cut from craft foam. Leave a few blank spaces for new memories from this party. It looks thoughtful on a shelf and tells a narrative of the day. Time: 20 to 40 minutes to assemble and arrange the pieces.
Best for: a cozy corner without taking over the room.
Upgrade note: Swap in a larger frame if you want more impact next time.
15. Paper Plate Party Flags
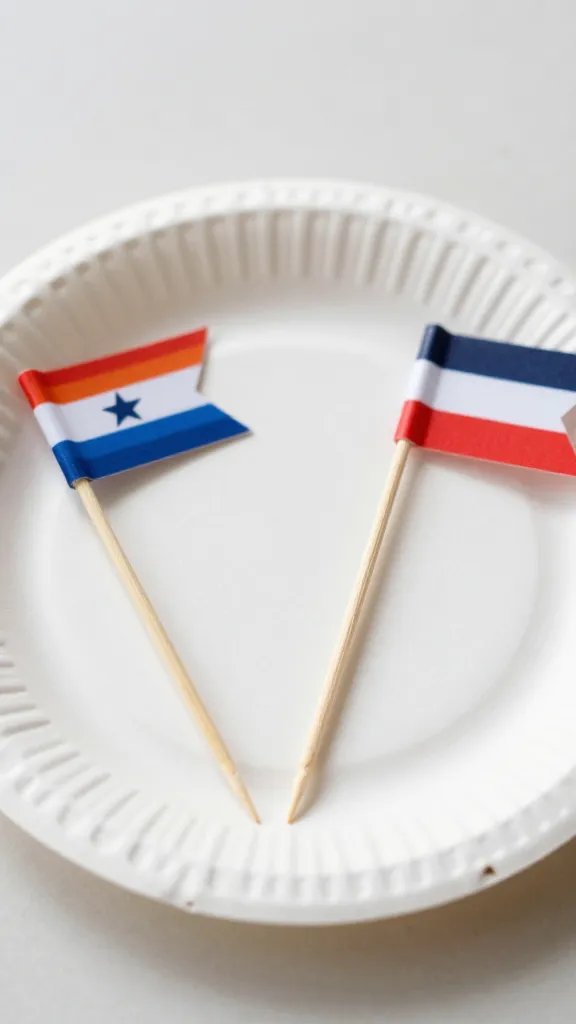
Dress up plain plates with a few bright flags. Cut two triangles from colored paper, glue to a toothpick, and plant into a cupcake stack for height and color. It’s a tiny touch that makes the food look intentional and cute. Time: 15 minutes to assemble a bunch of flags and place them strategically around the cake or snack area.
Use what you have: Reuse leftover toothpicks and scraps from other crafts.
16. Simple Floral Bundle Centerpiece
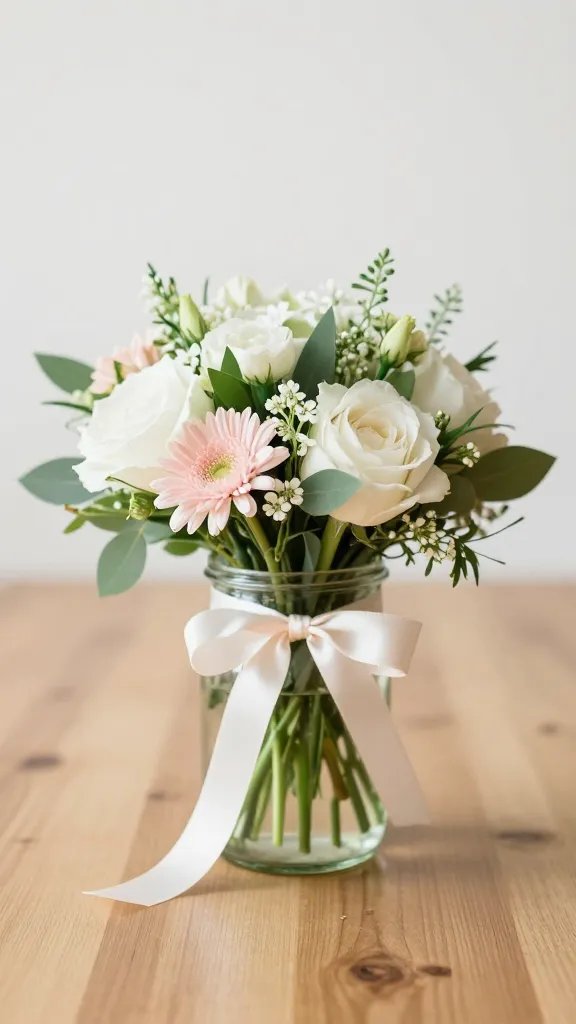
Grab a small jar, wrap a ribbon around the neck, and fill with a few fresh blooms or supermarket bunches. If blooms are scarce, use sprigs of herbs or even colored paper leaves for a similar vibe. The effect is fresh and inexpensive, grounding the whole room. Time: 15 to 20 minutes to arrange and set on the table.
Best for: a warm, inviting table that still feels crafted and personal.
What to avoid: Overstuffing the jar with too many stems; keep it light for a cleaner look.
Conclusion
With these ideas you can pull a last minute party together without resorting to a bland setup. Pick a few that match your space and time, gather the simplest supplies, and start early. A little planning goes a long way when the clock is running and guests are always closer than you think. Save this for the next birthday that sneaks up on you.