
17 Dollar Store Decorative Craft Ideas That Look Expensive

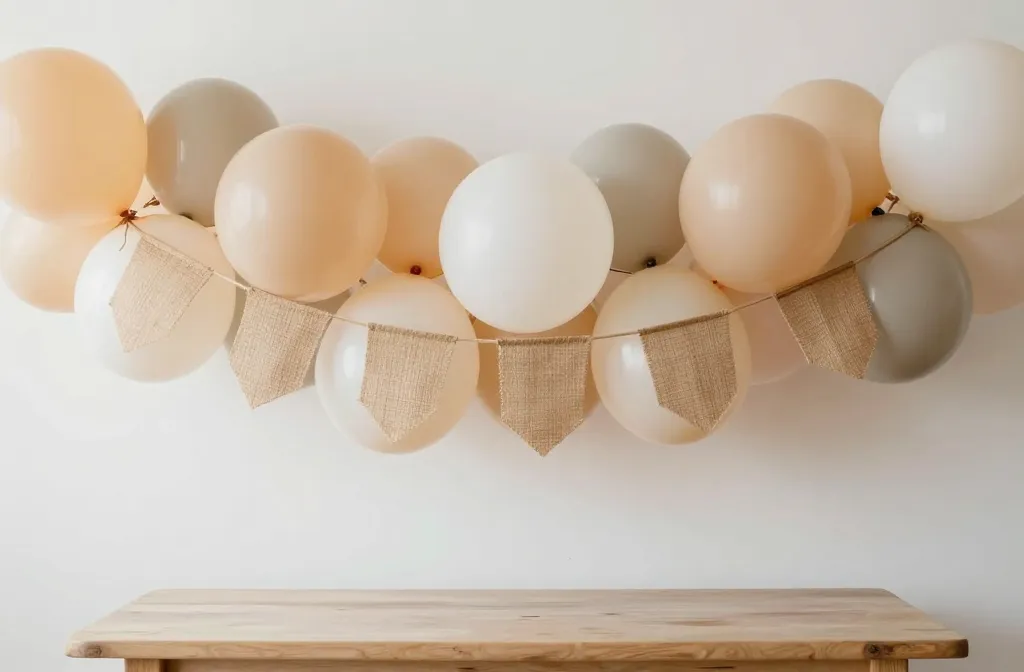
When you’re planning a party on a budget, the challenge isn’t finding ideas it’s making them look polished without a lot of stress. These dollar store crafts prove you can stretch a small budget into big results, with materials that are easy to find and quick to assemble. You’ll get a mix of simple backdrops, table touches, and kid friendly decor you can actually finish before guests arrive. The trick is to keep it practical and reusable where possible. Let’s dive into ideas that look intentional, not frugal, and fit into a busy week.
Each idea stays grounded in what you can get at a dollar store, with clear steps and a realistic timeline. Use the list as a quick shopping list and a 60 minute setup plan. If a step feels too fussy, I’ve included an easier version in the same idea. Ready to decorate with confidence? Here are 17 options you can start today and finish fast.
1. Rustic Balloon Garland With Twine Banner
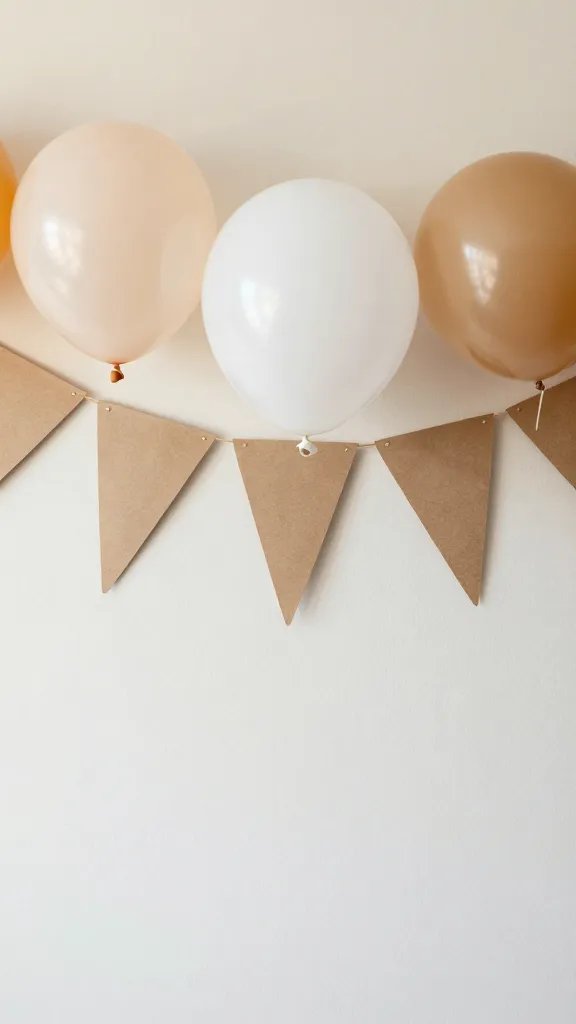
This is the kind of centerpiece that reads expensive in photos but costs little in supplies. Gather mismatched balloons in two colors, a length of twine, and a few binder clips. Inflate the balloons and clip them onto the twine at varying intervals. Add a small pennant banner cut from kraft paper and hang behind the dessert table. It instantly fills vertical space without a lot of glue or mess. The look is soft, rustic, and perfectly suited to casual gatherings. If you want a quicker version, skip the paper banner and just cluster balloons on a doorway or mantel.
2. Tissue Paper Framed Photo Backdrop
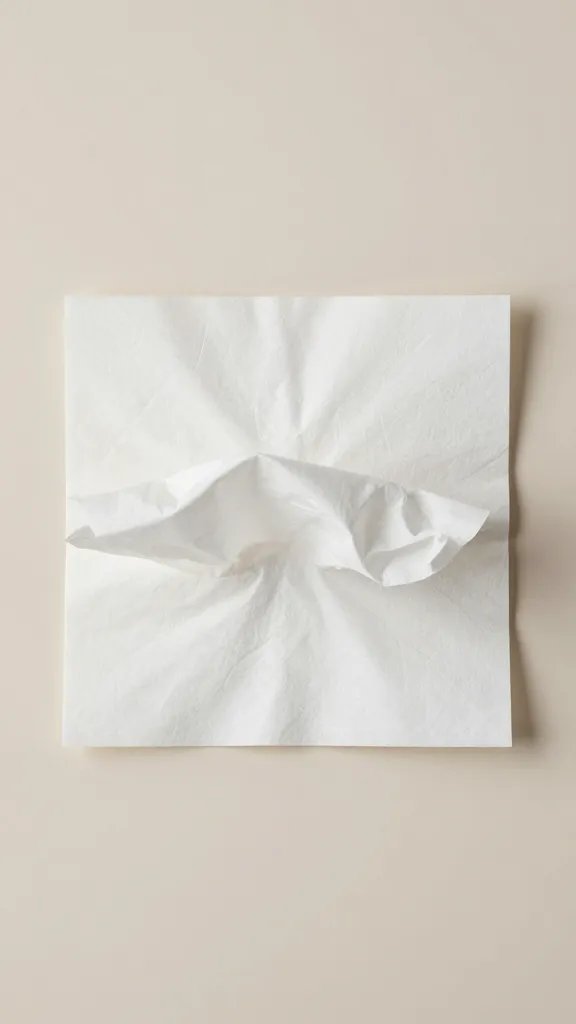
A handful of tissue paper squares, a simple frame, and a glue stick create a wall statement that photographs beautifully. Cut tissue into four or five colors, layer them behind the glass for a windowpane look, or fan them in a gradient from one color to another. Secure with tape or the frame’s existing backing. The effect is bright, soft, and way less fragile than a full paper flower wall. Safety note: avoid loose pieces on the floor where kids might trip. A quick easier version is to use one bold color in a large frame for a solid pop.
3. Jar Vase With Fairy Lights
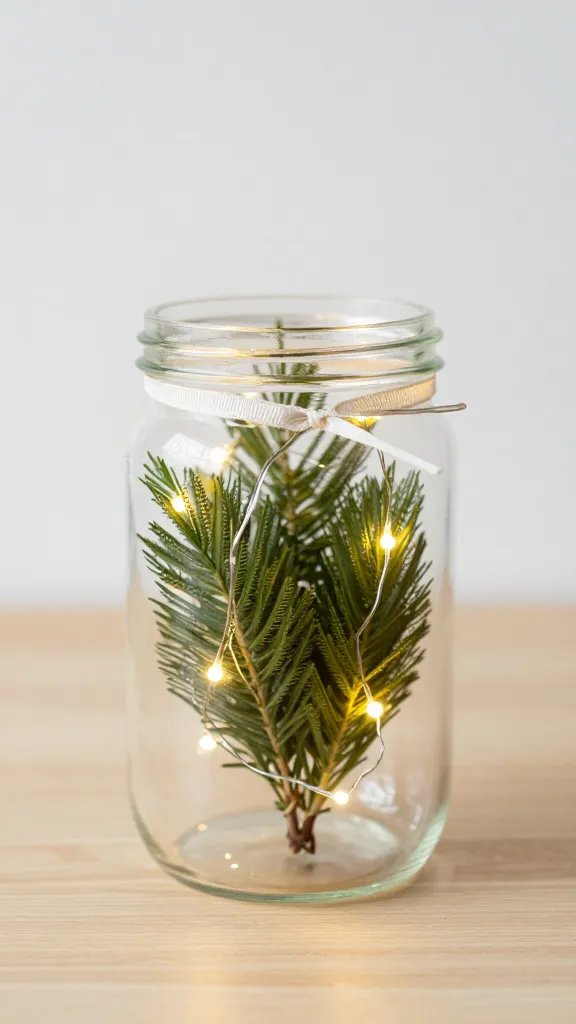
Dollar store jars make chic vases when dressed with a simple ribbon and a few greens from the dollar bin or yard. Fill jars with water, tuck a few greenery sprigs inside, and wrap the neck with twine or ribbon. Add a string of battery operated fairy lights to brighten the display at dusk or for photos. This setup is cheap, portable, and easy to reuse for another event. If you’re short on time, opt for one large jar centerpiece rather than multiple small ones.
4. Glitter Calligraphy Toast Card Stand
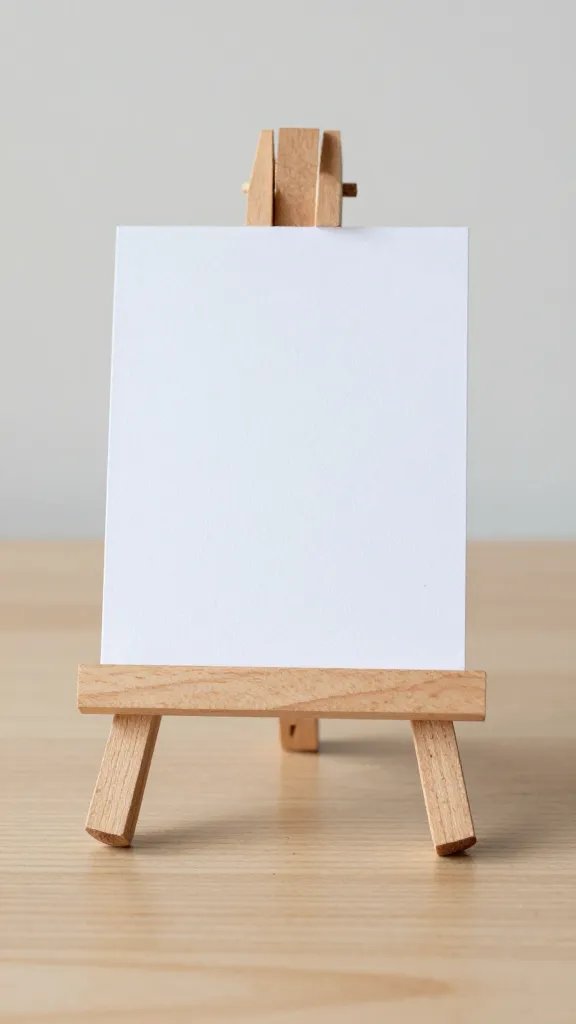
Turn a cheap placemat or cardstock into a decorative toast card holder by folding it into a small easel and dusting the edge with fine glitter from the craft aisle. Secure with a dab of hot glue or double sided tape. The result is a touch of sparkle on a budget, perfect for labeling drinks or dessert flavors. For a kid friendly version, use bold marker writing rather than glitter and keep the glue to a single adult handled step.
5. Paper Plate Tassel Wall Banner
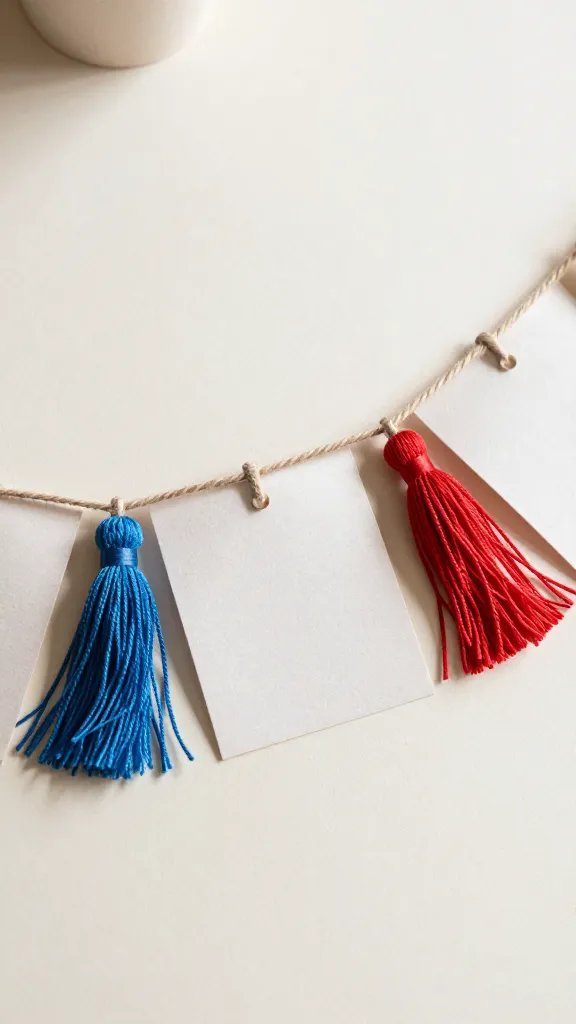
Bright papers and a few paper plates create a festive banner that’s playful and inexpensive. Cut the plates into halves or quarters and stitch or glue them onto a twine strip. Add tassels cut from tissue or crepe paper between each plate piece. It’s a cheerful backdrop for photos and a quick refresh for a birthday wall. A quick swap: use ribbon instead of twine for a grosser, smoother finish in a single afternoon.
6. Candy Jar Display With Ribbon Rounds
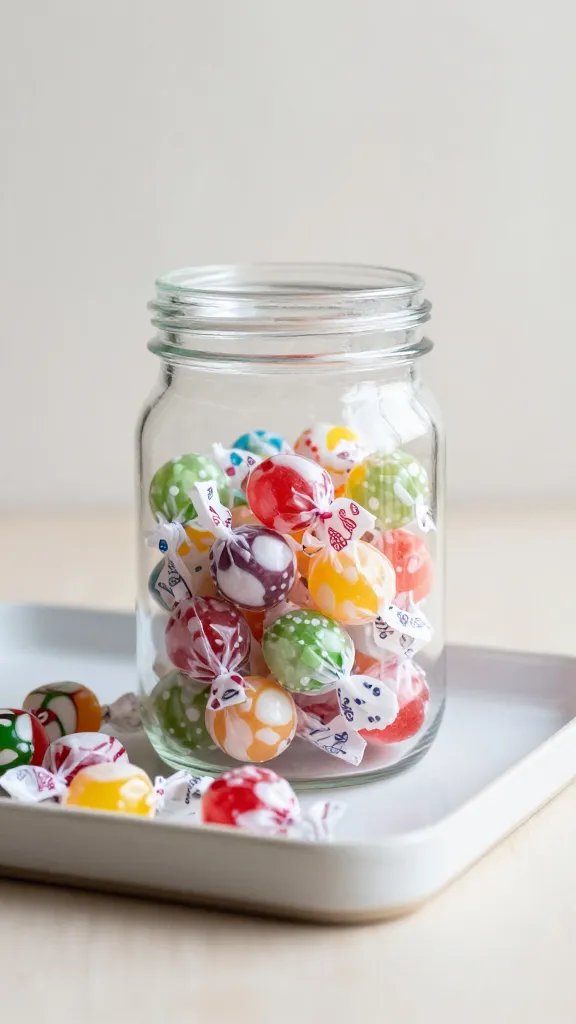
Fill small jars with colorful wrapped candies or jar red Hots for a bold anchor on the table. Top each lid with a round of decorative paper or fabric tied with a ribbon. Group jars in a cluster on a tray or tiered stand to create a candy corner that feels expensive without the expense. If you don’t have a tiered tray, layer jars on a cake stand for height. A faster version is to use one big jar and a trio of smaller ones.
7. Mini Chalkboard Signs At Each Place Setting
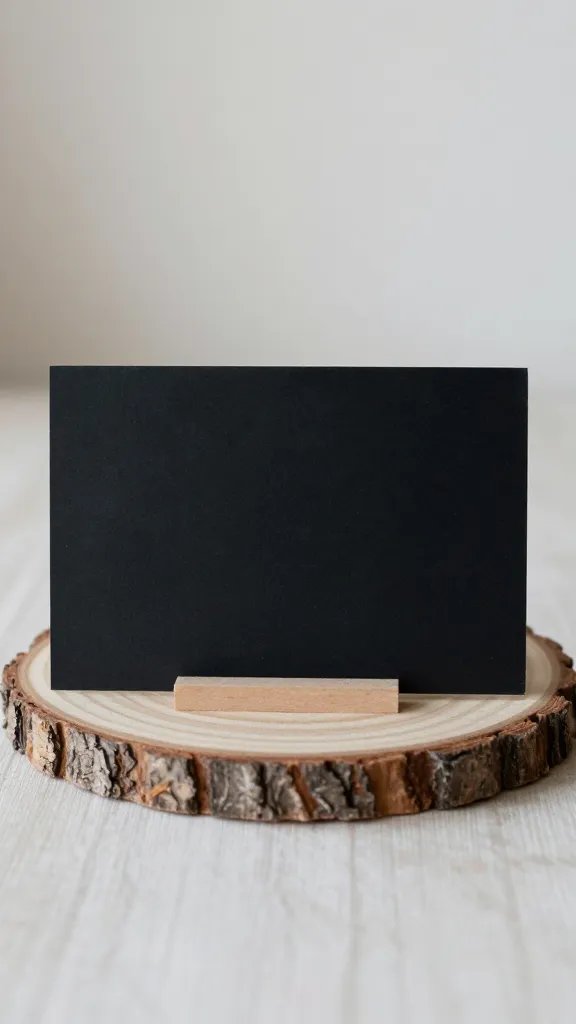
Small chalkboard panels or chalkboard paint on wood slices from the dollar aisle make adorable place cards. Write guests’ names in white chalk or chalk marker and place near each plate. The signs read high end but cost almost nothing when you repurpose leftover craft scraps. For a simpler setup, use printable name tags in a matching color palette and tuck them into small stands.
8. Chevron Ribbon Wall Grid
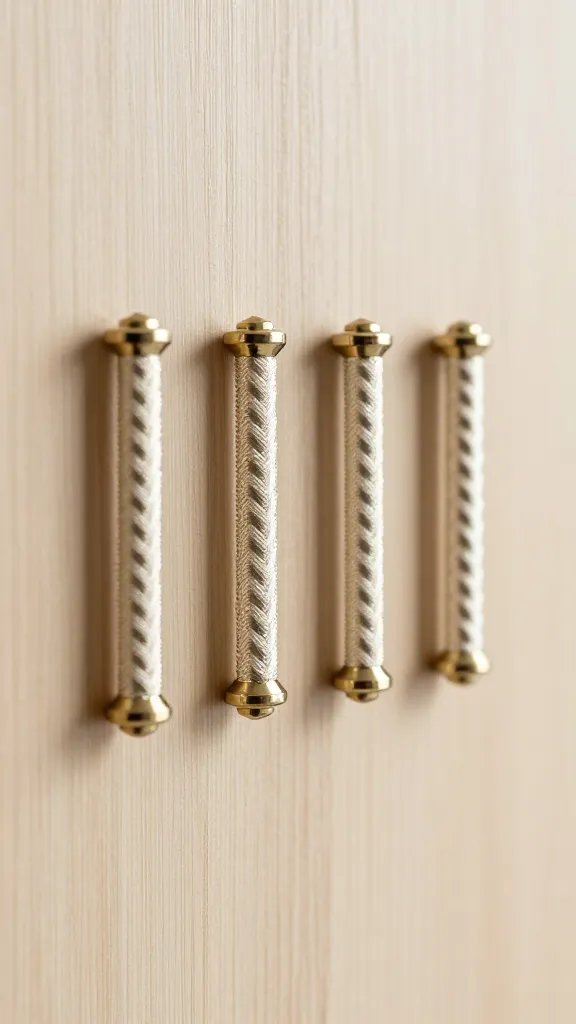
Build a wall grid using a few wooden dowels from the hardware aisle and inexpensive ribbon in two colors. Create a simple chevron pattern by weaving ribbon in and out of the grid. Clip photos or small decor pieces along the lines with mini clothespins. It’s a bold backdrop that stays lightweight and portable. If you want a faster result, skip the grid and run ribbon straight across a door frame for a photo ready strip.
9. Burlap Runner With Painted Dots
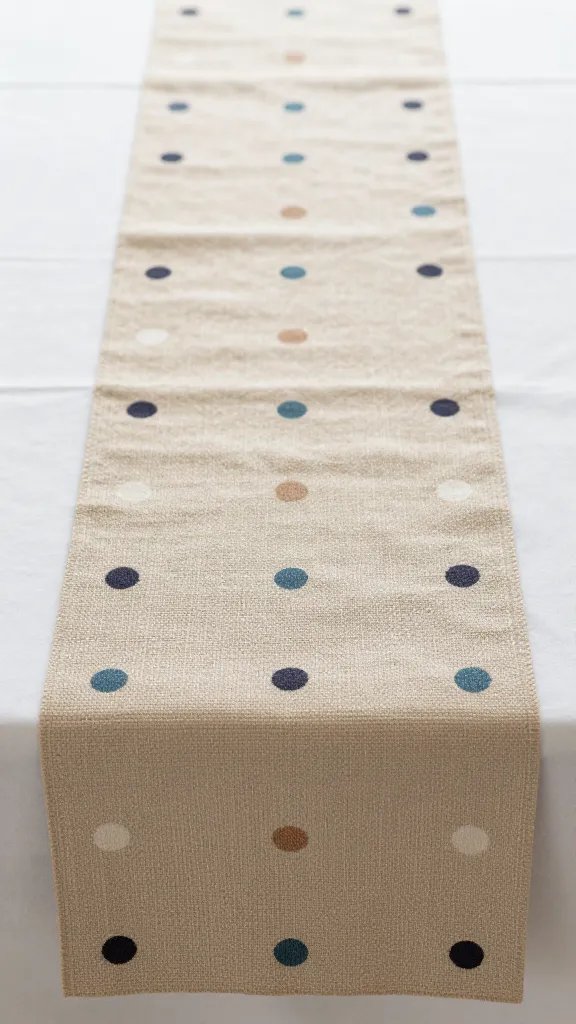
Lay a burlap roll down the center of the table to anchor your décor. Add painted dots with a sponge brush, using two or three colors from your color palette. The texture reads expensive and rustic, especially when paired with simple glassware and white plates. If you don’t want to paint, stick with a solid painted stripe instead. It still looks polished and finishes in under an hour.
10. Paper Lanterns Layered With Tissue Clouds
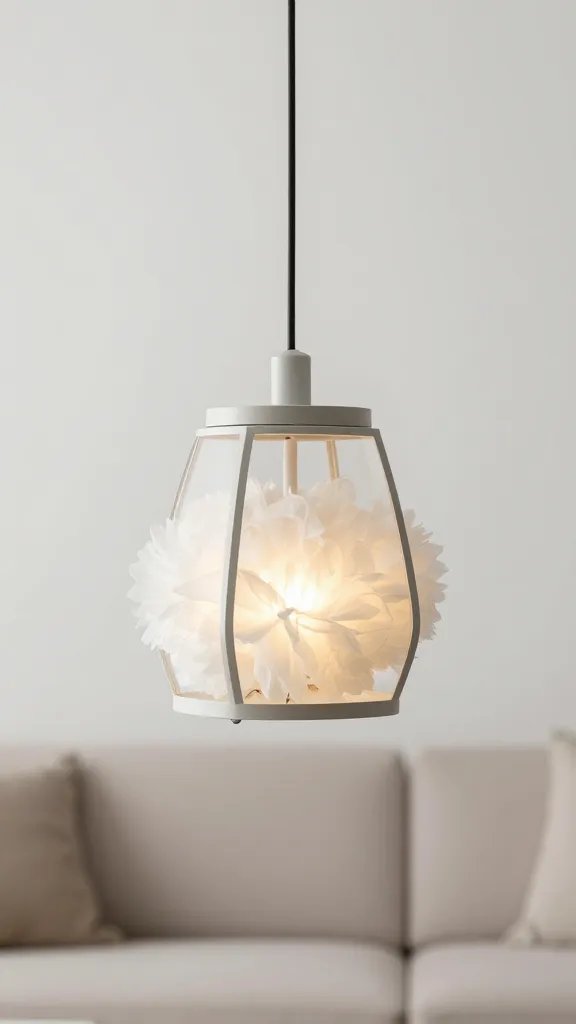
Hang a few inexpensive paper lanterns and float tissue paper clouds above the main area. Inflate the lanterns, then attach puffball tissue pieces to the bottom or sides to create a soft, airy effect. This adds dimension to the room and photographs well. A quick variant is to use all white lanterns with pale blue tissue for a soft, ocean themed party. It’s easy to adapt to any color scheme.
11. Mason Jar Lanterns With LED Tea Lights
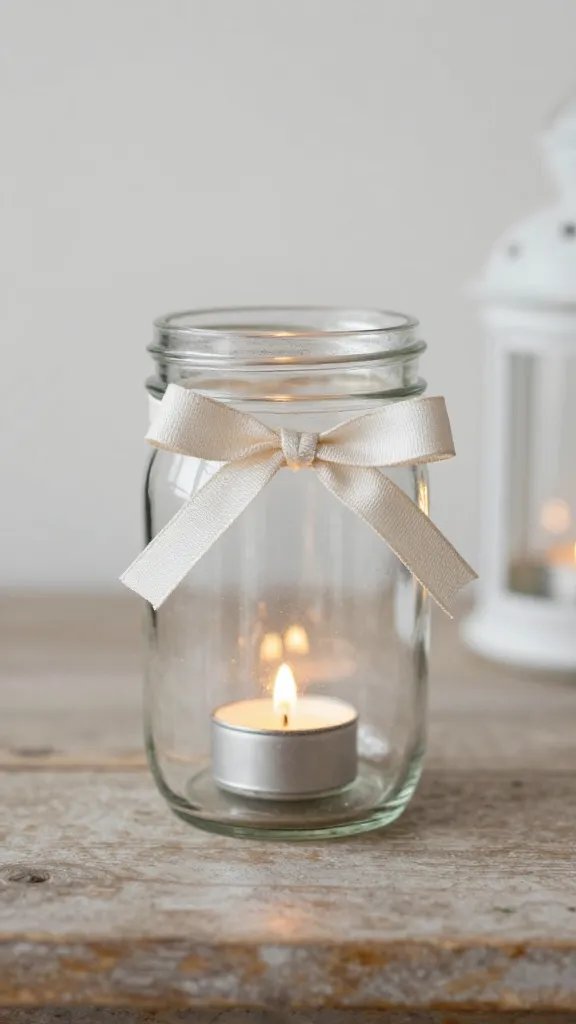
Soap up a few mason jars with a light coat of spray paint and press in an LED tea light. Tie a short ribbon around the neck and place the jars along the buffet or down the center of the table. The warm glow looks more expensive than the price tag suggests, and the jars double as a take home favor. If you don’t have spray paint, brush on a light acrylic glaze and let it dry for a softer finish.
12. Confetti Tape Balloon Stand
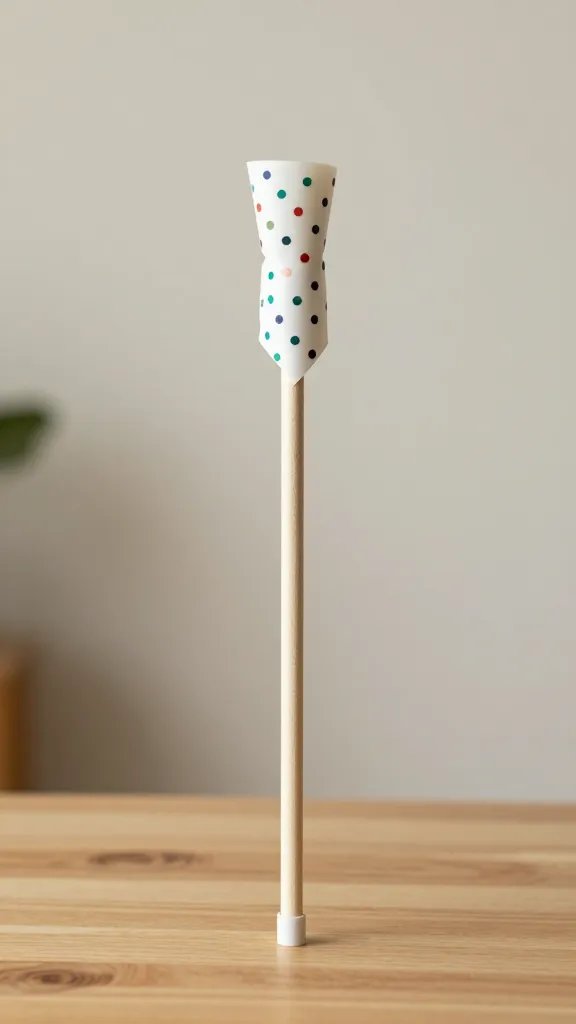
Roll a few pieces of confetti tape into a thin streamer and tape to a wooden dowel to create mini garland rods. Clip a balloon at the top and place the stand on the dessert table. The confetti adds a party vibe without the mess of loose sprinkles. For a quicker version, use solid color balloons tied in clusters instead of the tape garland.
13. Fabric Fringe Party Banner
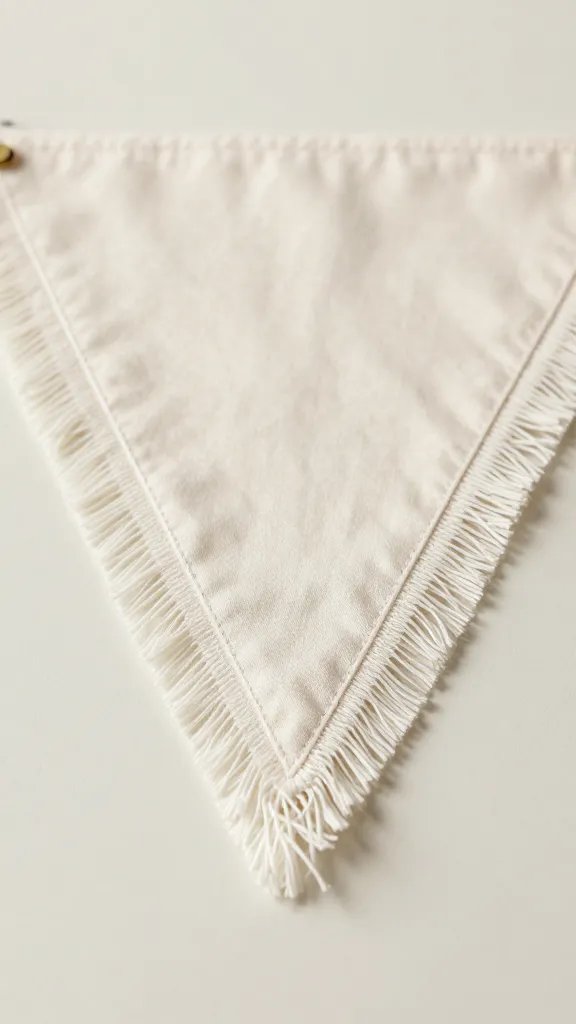
Cut strips of inexpensive fabric in two or three colors and tie them along a length of string. The fringe reads lush and fills space without feeling fussy. Drape it over a doorway or above the cake table as a soft focal point. If you’re short on time, replace fabric with layered tissue paper for a similar effect.
14. Glass beaded stems in centerpiece jars
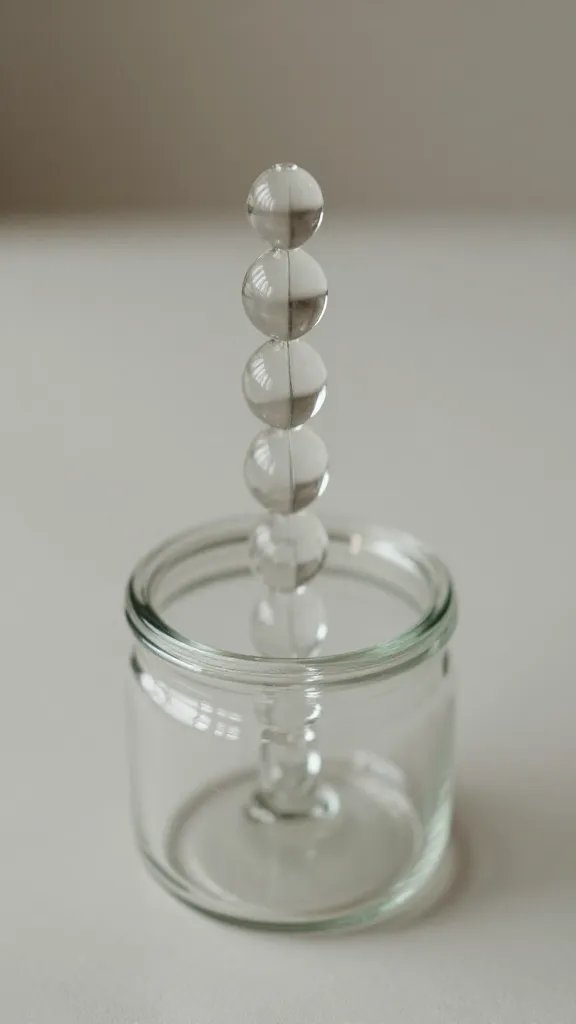
Fill a shallow jar with glass beads to create a weighty, luxe feel. Place a single stem of faux greenery or a small bouquet into the beads so the stems are visibly anchored. The gleam from the beads catches light and elevates the table visually. It’s a small, polished touch that can be repeated along the table for symmetry. If beads aren’t available, use marbles or filler rocks for a cheaper substitute.
15. DIY Photo Frame Gallery Wall
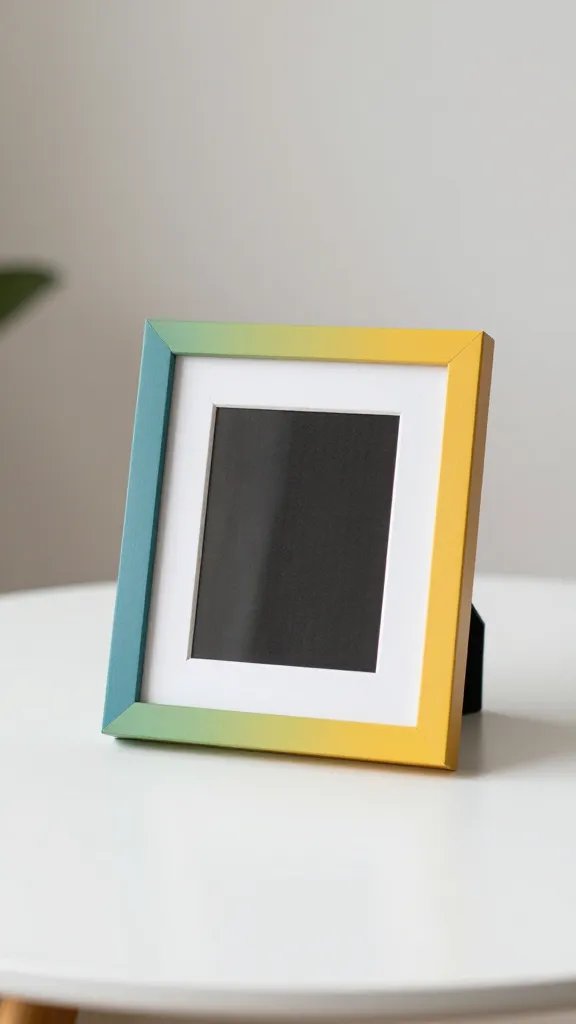
Collect a handful of inexpensive frames, spray or paint them in coordinating colors, and mount a few favorite photos or two color blocks in each. Align frames in a neat grid for a magazine worthy display that doubles as a memory wall. The result is a custom, high end look without paying for a professional display. Want a quicker version? Use one large frame with three photos for a bold focal point.
16. Fabric Covered Cupcake Stand
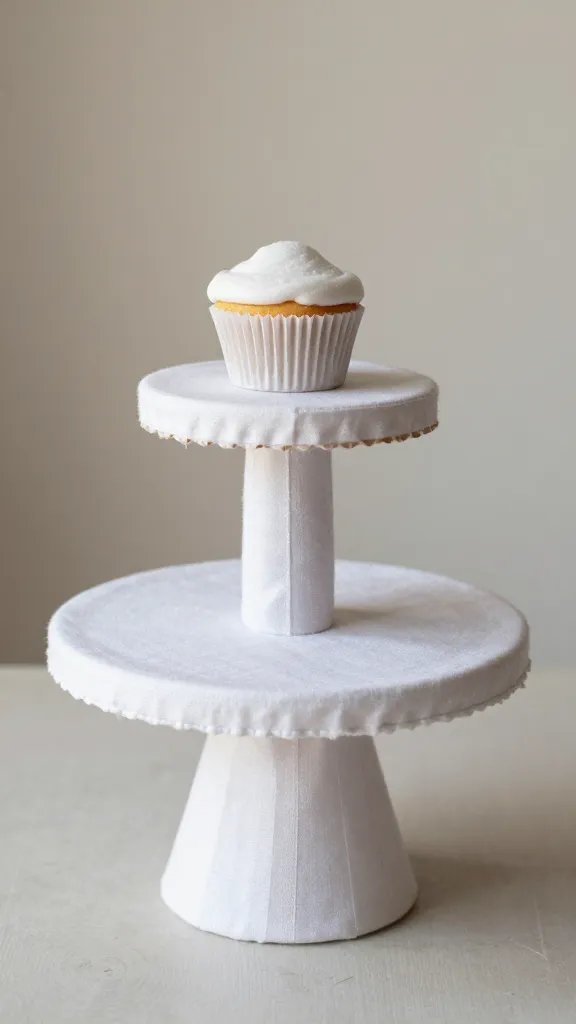
Wrap a small cupcake stand with fabric or ribbon to soften the lines and give a coordinated look to your dessert table. Secure with hot glue or tape and trim the edges. This tiny upgrade makes standard desserts look more intentional. If you don’t have a cupcake stand, make a DIY version with upside down glass bowls and a sturdy laminate base to get the same height and silhouette with minimal effort.
17. Seasonal Swap Centerpiece Tray
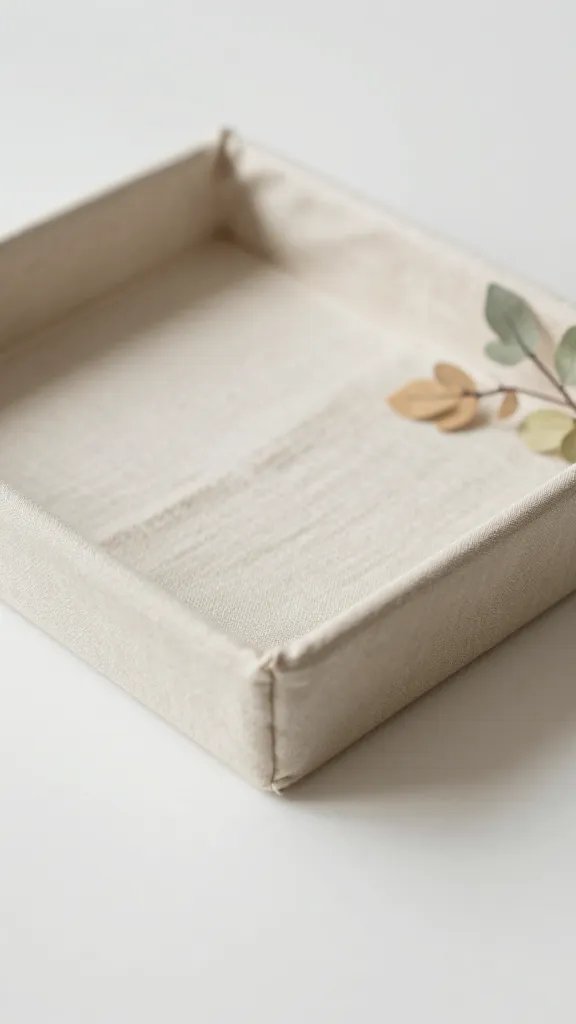
Use a shallow tray from the dollar store, line with a strip of decorative fabric, and fill with a few seasonally colored items: faux leaves for fall, mini pumpkins for autumn, or pastel eggs for spring. It’s a simple, swap friendly centerpiece you can reuse across holidays. If you’re pressed for time, start with one color family and add a few accent pieces to complete the look quickly.
With these ideas you can assemble sophisticated looking décor using mostly dollar store finds. Each approach keeps the plan realistic for a busy week and translates well on camera for Pinterest and social feeds. Save this list for the next party that sneaks up on you.