
16 Dinner Party Ideas for Beginners Hosting for the First Time

You want to host a dinner party without overthinking every detail. A good plan, simple projects, and a sense of calm will carry you through the night. This guide gives you practical ideas you can actually finish this week, not tomorrow or never. Each idea solves a common hosting hiccup and stays friendly to a first timer’s budget and space. Use the steady flow of small touches to make guests feel cared for, without turning your living room into a craft studio. Let’s start with ideas you can pull off in a weekend, even if you’re juggling a million other things.
We’ll weave structure, texture, and color into your table and room with easy, printable steps. Each idea is designed to be copyable today, with clear supplies and time estimates. You’ll notice the flow from quick wins to a few deeper setups that still feel doable. Ready to turn your kitchen table into a welcoming dinner scene? Here are the 16 ideas, all beginner friendly and tested for real life.
1. Build a Petite Photo Backdrop Using Food-Tloor Tissues
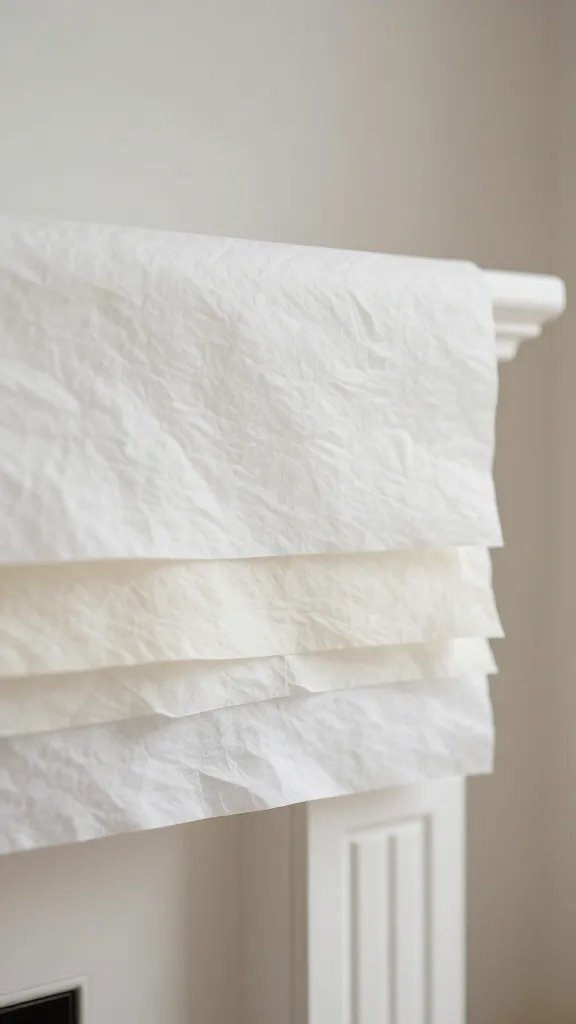
When a dessert table looks bare, a simple photo backdrop can fill space and make photos pop. This idea uses tissue paper and a low-cost frame or string along a mantle. It’s quick, forgiving, and visually warm. It also keeps guests talking about the setting rather than the setup. The trick is layering tones that compliment your menu colors while keeping the pattern loose so it reads as deliberate rather than fussy.
What to avoid: stacking too densely; go for movement and depth instead.
Copy the look: mix two to three tissue colors, cut into squares, and glue in a loose grid.
2. Make a Simple Banner With White Cardstock and Scrap Ribbon
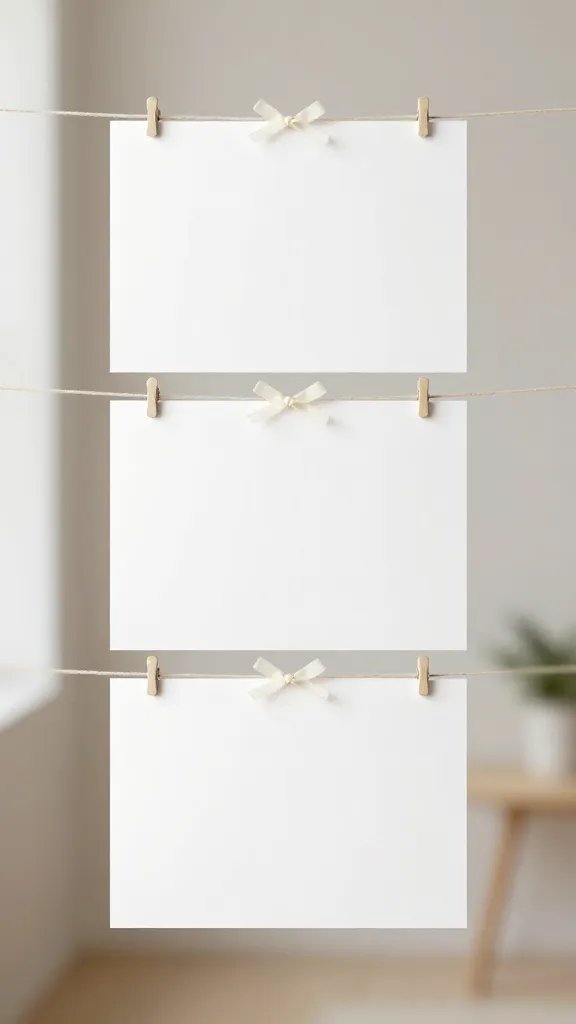
A banner adds a personal touch without a big price tag. Cut white rectangles and string them with whatever ribbon or baker’s twine you have on hand. Letter stencils keep the message readable, and you can reuse pieces for future fêtes. It takes about an hour, especially if you pace yourself with a coffee break between letters. It looks polished and leaves a heartfelt impression without a professional hand.
Make it ahead: assemble letters a couple days before; store flat in a resealable bag.
What to have: white cardstock, scissors, string, tape, letter stencils or freehand writing.
3. Create a Mini Cheese Board Tour With Four Dishes
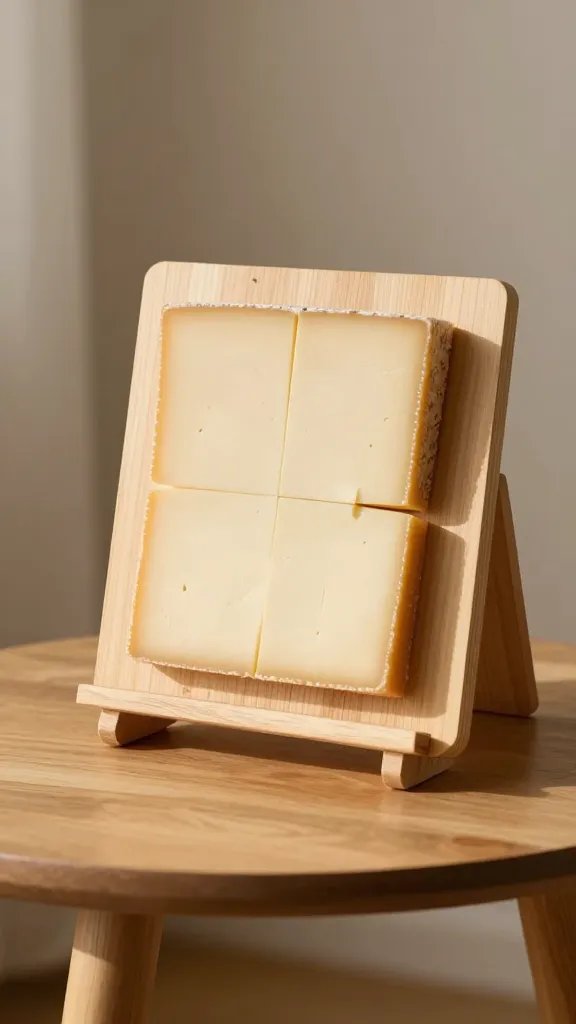
Cheese boards feel fancy but are easy to assemble with a few store shelves of items. Pick four items with varied textures—soft cheese, a crunchy cracker, a fruit, and a savory spread. This keeps guests mingling and gives you a natural icebreaker. It also solves the problem of a missing focal point on the table. Keep the board small enough to fit on a side table so you aren’t rearranging the main dinner setting.
Placement tip: a small cutting board on a stand or a stack of books can elevate the display without crowding the dining space.
Keep it simple: use items you already like and know guests enjoy; the goal is variety, not complexity.
4. Build a Colorful Table Runner From Fabric Scraps
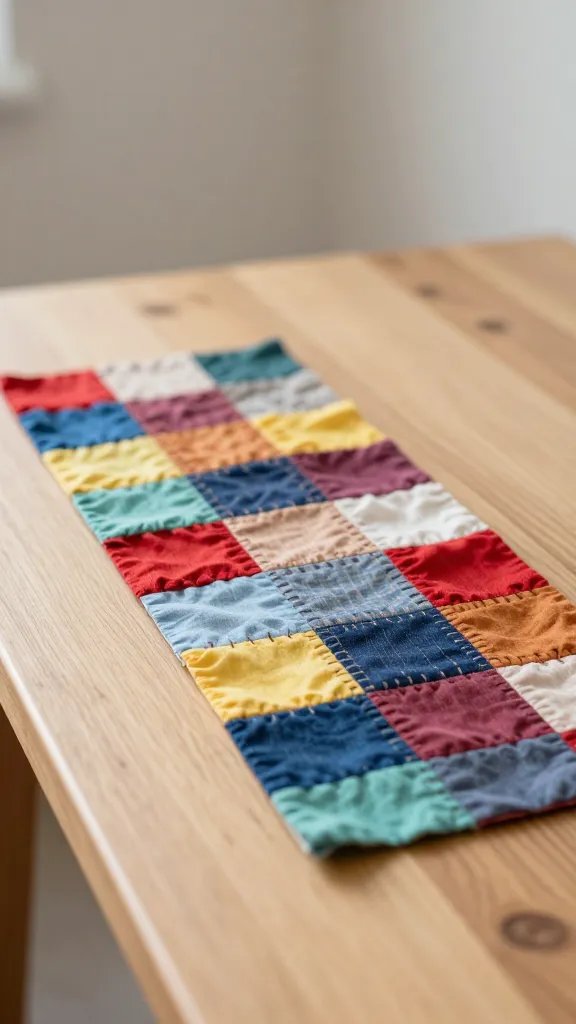
A table runner with color blocks can unify a mismatched table setting. Use fabric scraps or old linens cut into strips and stitched together with a quick run stitch or fabric glue. The result reads intentional, not homemade, and the material is forgiving if you’re not precise. It brings character to the place settings and reduces the pressure to perfectly match every dishware piece.
Safety note: avoid loose threads near hot plates and keep children away from sharp scissors during setup.
Use what you have: reclaimed fabrics create depth and texture without new purchases.
5. Glow Jars as a Simple Mood Lighting Setup
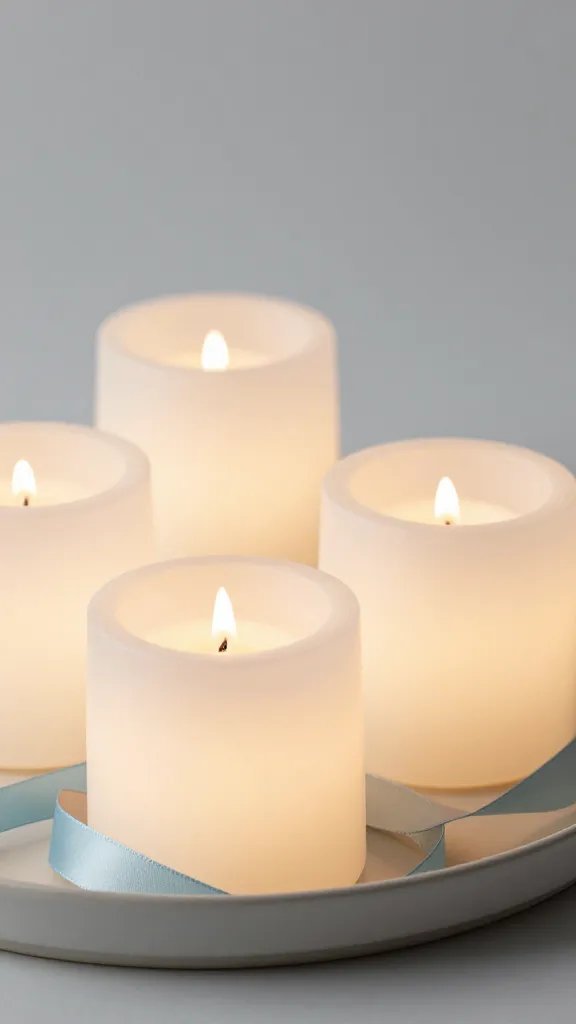
Jazz up your table with a handful of glow jars. Fill small mason jars with battery tea lights, add a few inches of decorative gravel or sand for stability, and tie a ribbon around the lip for a finishing touch. Place them along the table center or on the buffet to create soft lighting without candles. They’re quick to assemble and can be reused in future dinners or as cabinet lights after the party.
Placement tip: stagger the jars at different heights on a tray to create depth.
Time saver: 15 minutes to assemble, then you’re set for future gatherings.
6. DIY Napkin Rings With Twine and Button Clusters
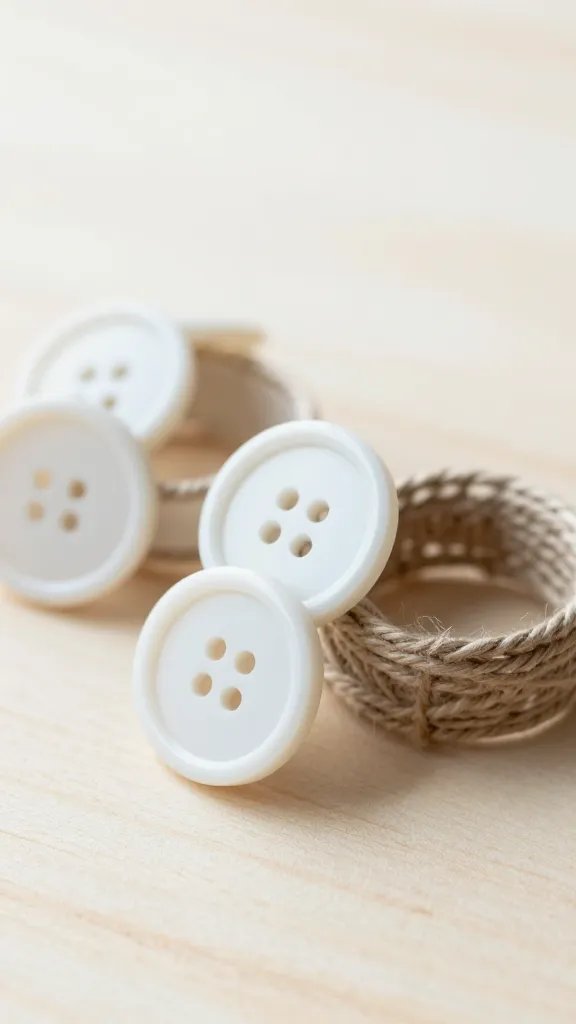
Repurposed buttons and twine can yield charming napkin rings. Hot glue a button in a small knot of twine around a folded cloth napkin. It takes less than 30 minutes to make a handful for a table of eight. The look is rustic and polished at once, and it’s inexpensive enough to do again for other events. If you don’t have buttons, try curled paper beads or fabric loops instead.
Make it ahead: assemble rings a day prior and store flat in a box.
Budget swap: use wooden beads or pebbles for a natural look.
7. Quick Mini Dessert Stand From a Tiered Plant Stand
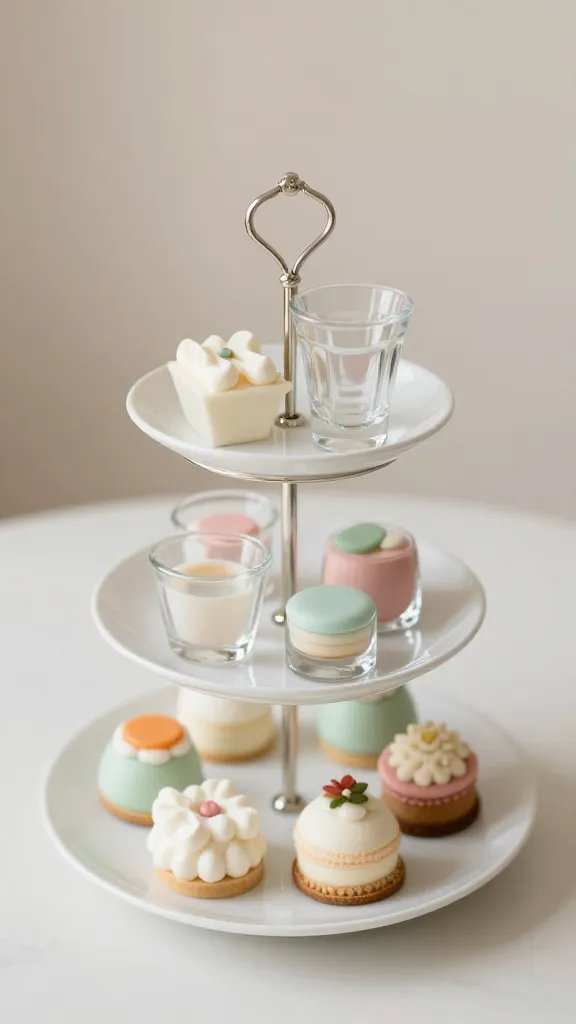
You can assemble a dessert stand by layering small platters on a tiered plant stand or a stack of slightly different heights. It creates a focal point for sweets and draws guests to a natural end of the meal. Use glassware you already own; no needs to buy. The trick is to balance colors and shapes so the eye moves upward without looking cluttered.
Ease note: keep fragile items toward the back or use a tray to catch any spills.
Prep time: 20 to 30 minutes to arrange and level.
8. Herb-Infused Water Station With Labels
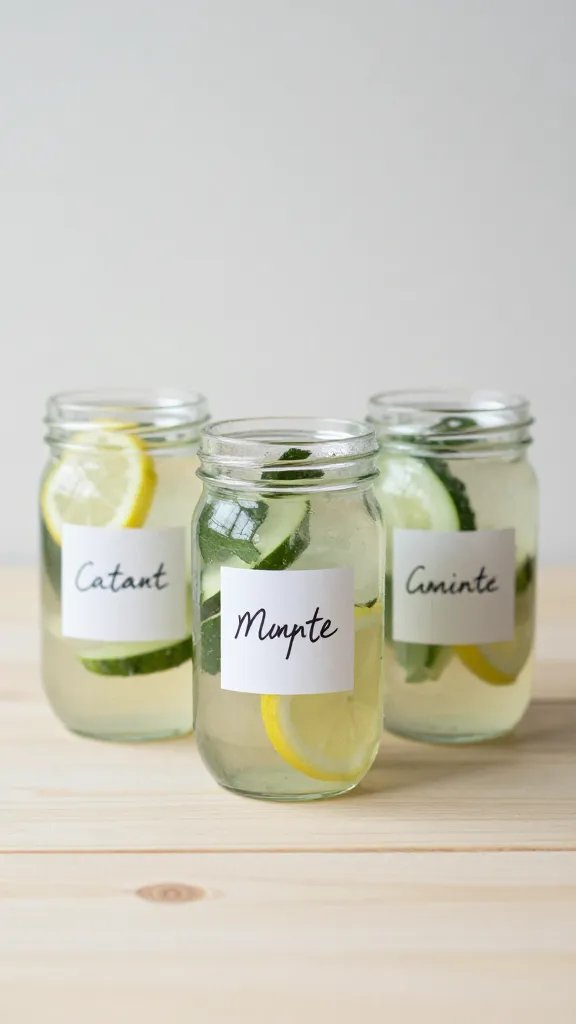
A simple drink station can save you from juggling multiple pitchers. Infuse water with cucumber, lemon, and a few sprigs of mint or basil. Use glass jars with simple hand-drawn labels for easy self-service. It solves the “what to drink?” question and looks crisp in photos. Not only does it taste fresh, it also reduces your workload at the table so you can greet guests with a smile.
Label tip: use a small chalkboard tag for each flavor or color the tops with a marker so guests know what’s what at a glance.
Time saver: plan the infusion the morning of or the night before.
9. Build a Simple Greenery Runner With Potted Plants
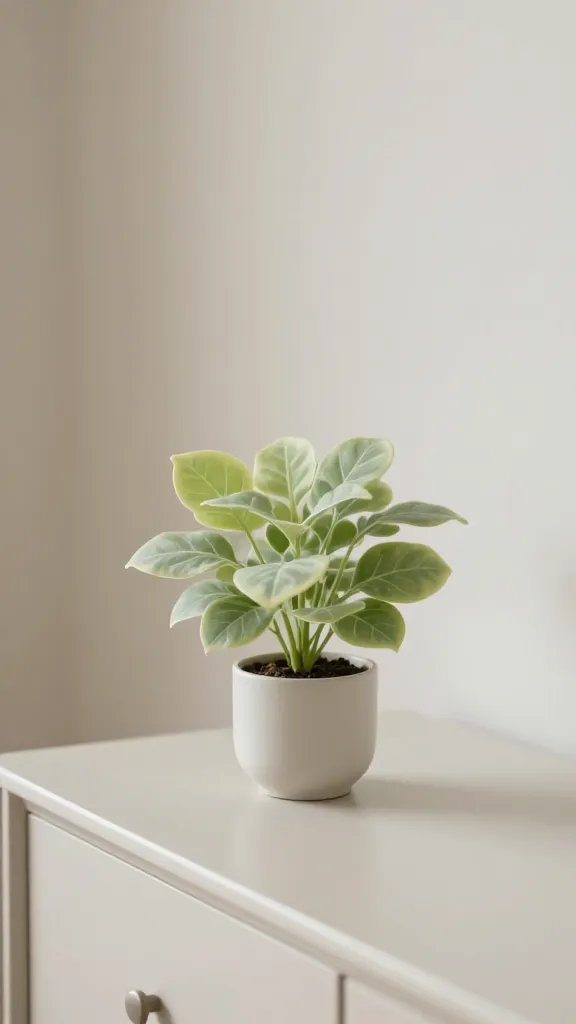
A row of small potted plants or a few bunches of greens can transform a dining space without a big set up. Use on hand plants or potted herbs with a shared color theme, such as pale green or silver. It reads cohesive and fresh and adds a natural scent to the room. Position it as a border for the dining area or along a sideboard to draw guests into the main seating space.
Care note: water a few hours before guests arrive to avoid muddy leaves and a damp table.
Best for: small spaces where large centerpieces won’t fit.
10. Speech Bubble Place Cards Made From Card Stock
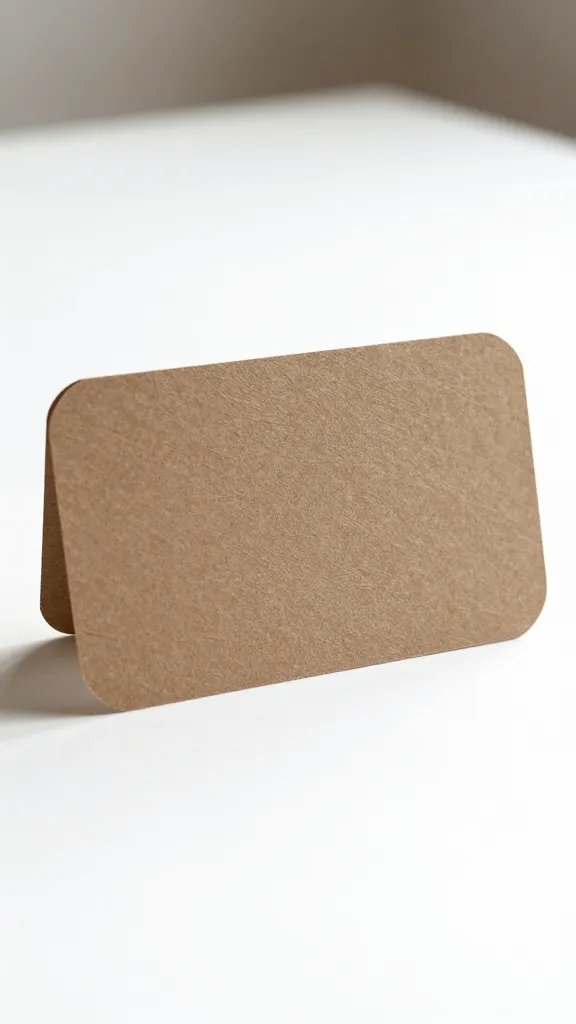
Skip fancy place cards by making light speech bubble shapes from card stock. Write each guest’s name with a fine marker and place them in front of the plate. It’s a tiny detail that makes seating feel intentional and reduces requests for “who sits where?” The game is simple: you can cut out 12 bubbles in 15 minutes and reuse them later.
Safety note: avoid choking hazards—skip small pieces for children’s tables.
Reuse it: save the shapes for next time and switch up the handwriting style.
11. Themed Centerpiece in a Shoebox Shadow Box
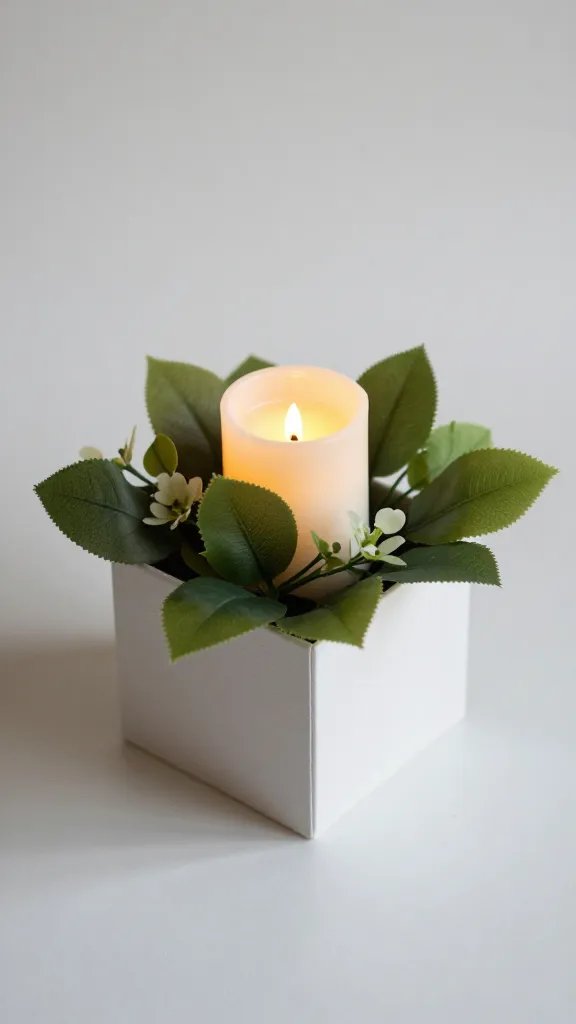
Turn a shallow shoebox into a small keepsake centerpiece. Line it with paper, tuck in a few faux leaves, and place a small candle or LED light. This gives you a controlled focal point without crowding the table’s surface. It’s a compact project that respects a tight budget and a modest dining area while delivering a polished look for photos and for guests who linger after the meal.
Make it easier: a ready-made faux plant and a battery-operated candle cut setup time in half.
Little hands tip: older kids can help arrange inside the box while you handle the hot glue.
12. DIY Coaster Ensemble With Vinyl Scraps
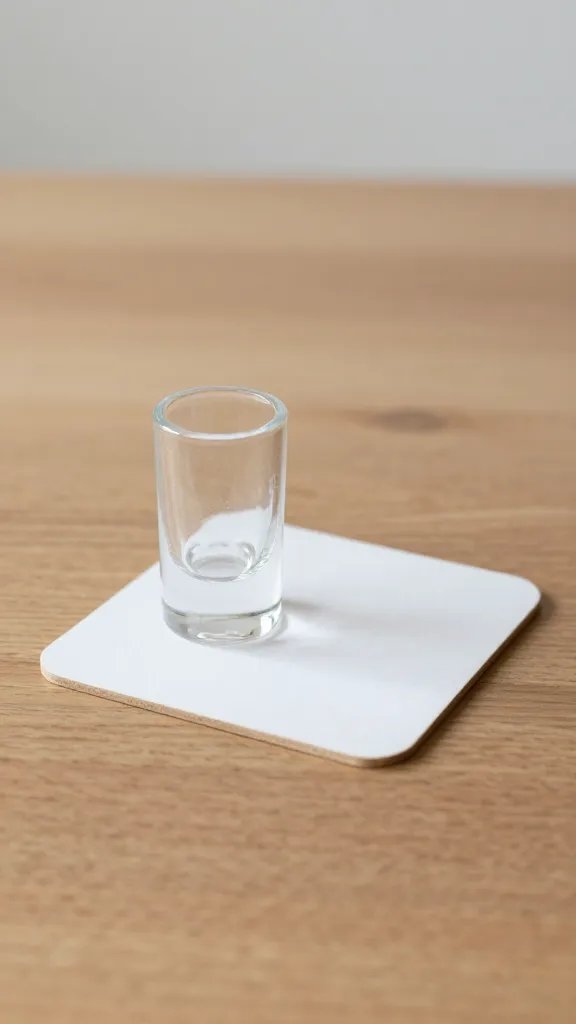
Coasters are practical and pretty when you finish them with a bit of sewing or glueing. Use vinyl scraps or thick felt to make small squares with a stitched border. They protect surfaces and quietly reinforce your theme through color and texture. If you’re short on time, hot glue a felt circle to the bottom of each square to keep things tidy and move on to other tasks.
Make it ahead: cut shapes and stitch or glue edges the day before the party.
Storage tip: keep in a small basket near the entry for easy reuse.
13. Juicy Menu Cards With A Printable Twist
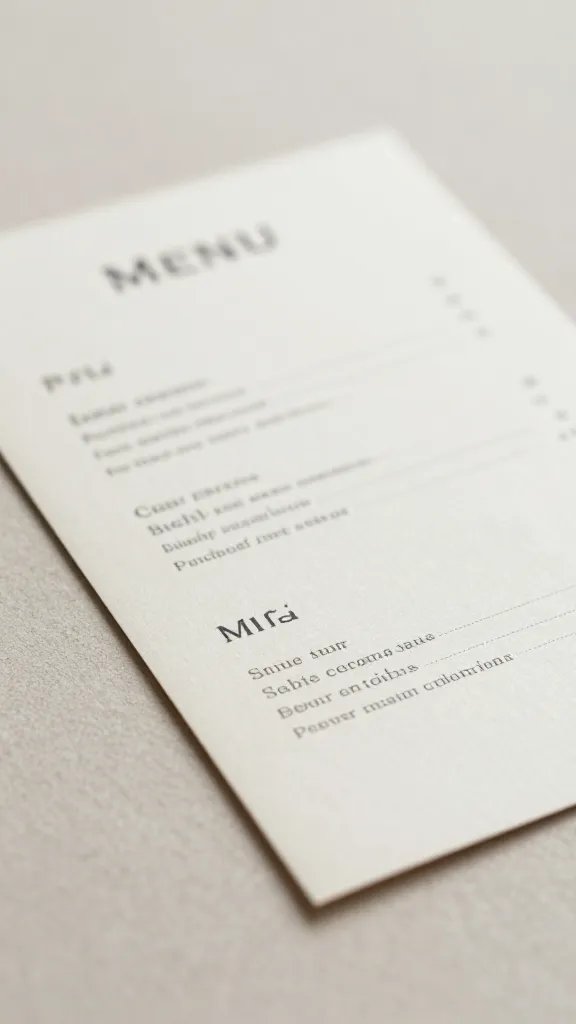
Print simple menu cards on kraft or white paper and place them at the corner of each place setting. List the courses and a note about the dish or the origin. This helps guests know what to expect and makes the dinner feel curated without extra fuss. It’s a tiny piece of paper, but it can go a long way toward a cohesive event feel.
Print & cut: use a standard printer; add a small graphic if you like.
Do this ahead: design and print a few extras for the main counter or buffet area.
14. Tabletop Herb Garden in a Tray
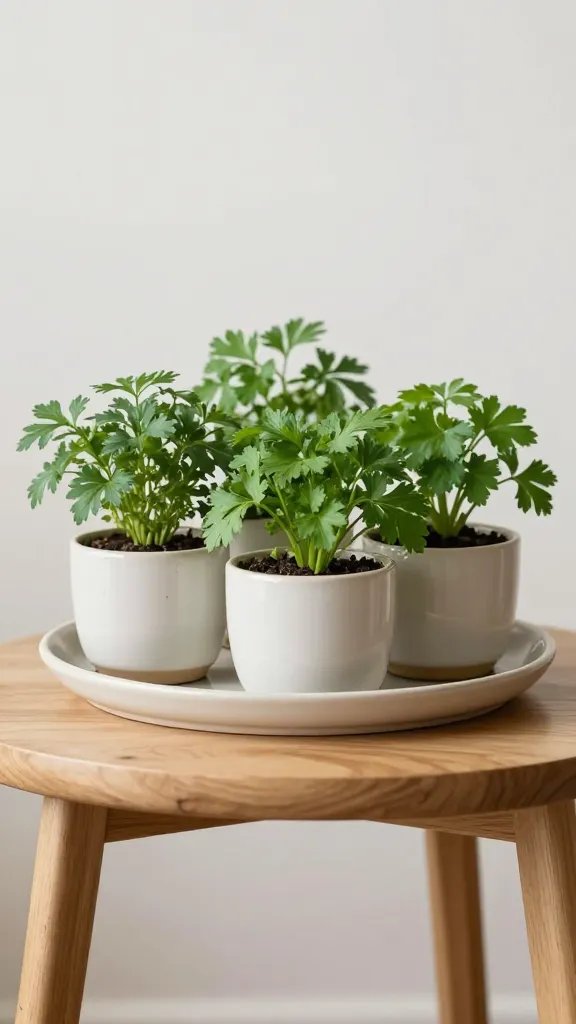
A small tray with several herb pots gives you fresh garnish for plates and a living centerpiece. Choose forgiving greens like parsley or chives and keep the tray on a side table within reach of the kitchen for quick snips as you plate. It’s extra, but it also reduces trips back to the fridge for garnish. This little setup makes your table feel cared for and functional.
Best for: guests who linger after the main course and want to snack with a touch of flavor.
Care note: refresh herbs halfway through the event to keep them vibrant.
15. Five-Minute Table Oomph With Fabric Swatches
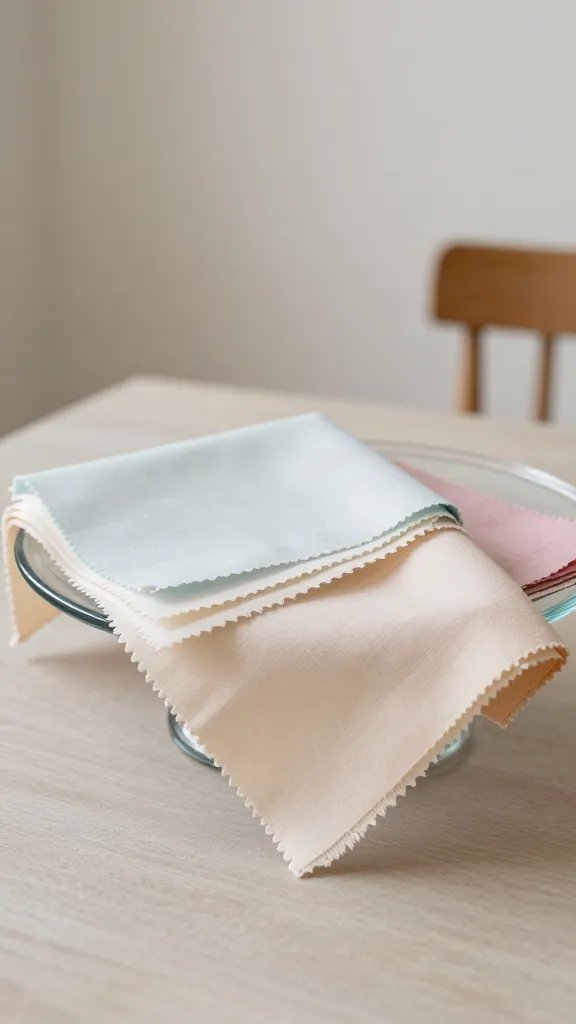
Take a handful of fabric swatches that match your color story and drape them over the edges of a glass cake stand or across a serving tray. It adds color and texture to the dining area without heavy lifting. It is a fast, forgiving way to unify a table that’s seen different sets of dishes or runners. You can swap this effect for a scarf or a scarf with tassels for a different vibe next time.
What to avoid: keep the fabric clean and free from wrinkles to prevent a messy look.
Time saver: 5 minutes to arrange, then you’re done.
16. Dessert-Only Buffet With a Small Chalkboard Menu
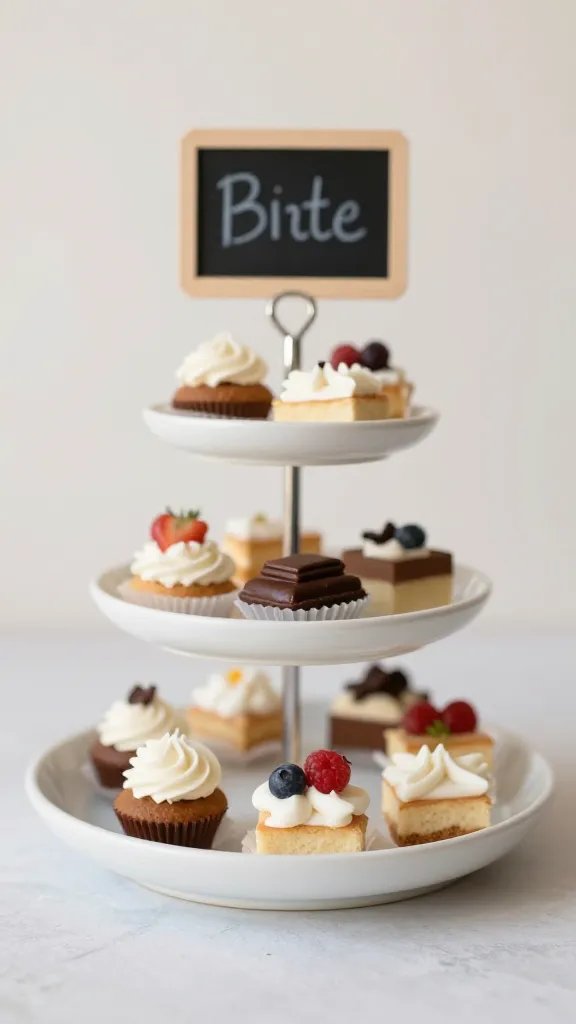
End the night with a small dessert buffet that doesn’t compete with the main course. A shallow tray with a few sweets, a fruit bowl, and a chalkboard sign labeling each item keeps things calm and organized. It works especially well if your kitchen is small or you’re serving a simple menu. The finish line is a dessert spread that guests can serve themselves without a rush or crowding the table.
Safety reminder: place any heavy items toward the back where they won’t be knocked over.
With these 16 ideas, you’ll have a plan that feels doable and invites guests to linger. Pick a handful that fit your space and time, and start early this week. The goal is confident hosting, not perfection. Save this for the next dinner you host, and you’ll be ready with a few well-chosen details that do the heavy lifting for you.