
17 Outdoor Birthday Party Ideas for Summer

Planning a sunny birthday without a full production crew can feel daunting. You want something memorable that doesn’t require a week of prep. This list gives you practical, ready-to-make ideas you can actually finish in an afternoon, with supplies you likely already have or can grab at a dollar store.
Each idea solves a common outdoor party problem, from keeping kids engaged to creating a dessert area that photographs well. Use the rotations to keep the setup feeling fresh and easy to tweak for your space. Let’s start with a few fast wins you can start today and build from there.
1. Sunflower Paper Banner Backdrop
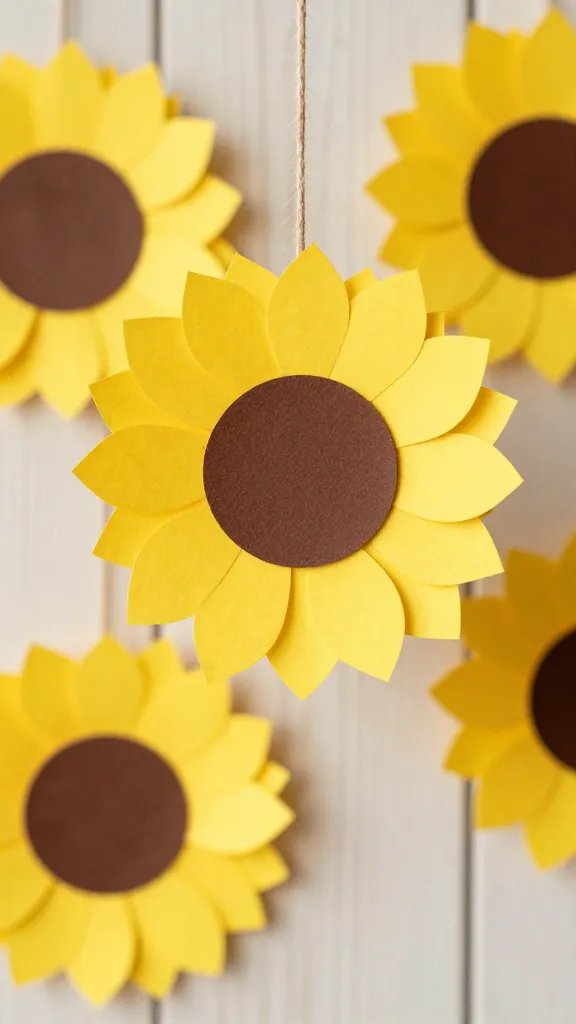
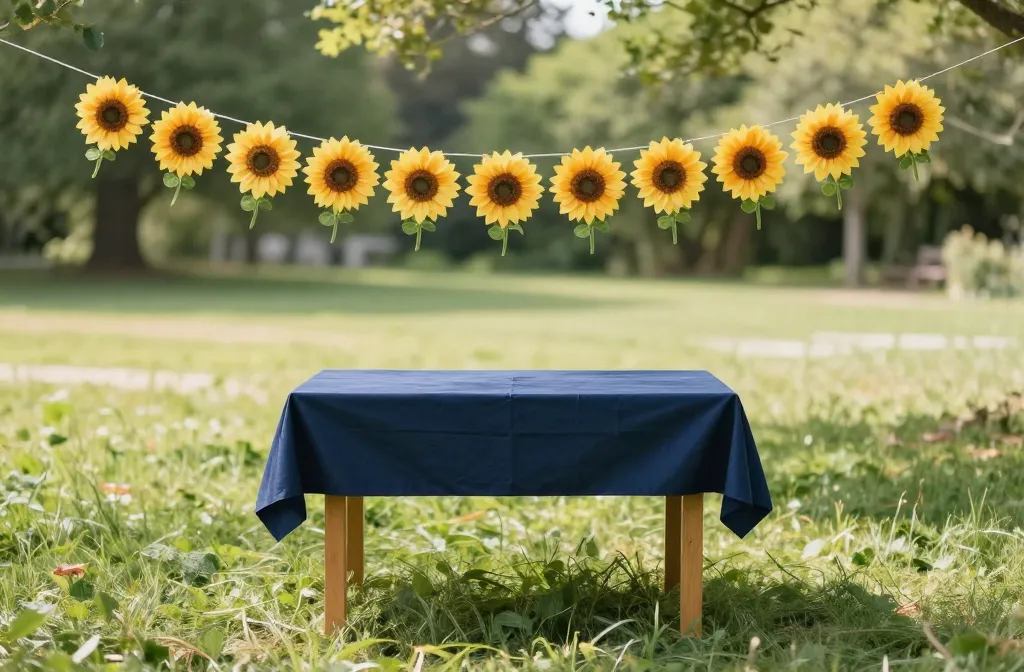
A bright wall needs more than a cake. Create a cheerful backdrop using two dozen circles cut from yellow scrap paper and brown centers. Layer them into a loose sunflower cluster on a length of twine or lightweight fabric. It takes about 40 minutes, using thick craft paper or cardstock. Hang with painter’s tape against a fence or gate for a friendly summer vibe.
Color note: Pair the banner with a navy tablecloth to ground the brightness and keep photos clear.
Copy the look: Use a few real sunflowers in vases for a natural touch that echoes the banner.
2. DIY Ice Cream Cone Crown Station
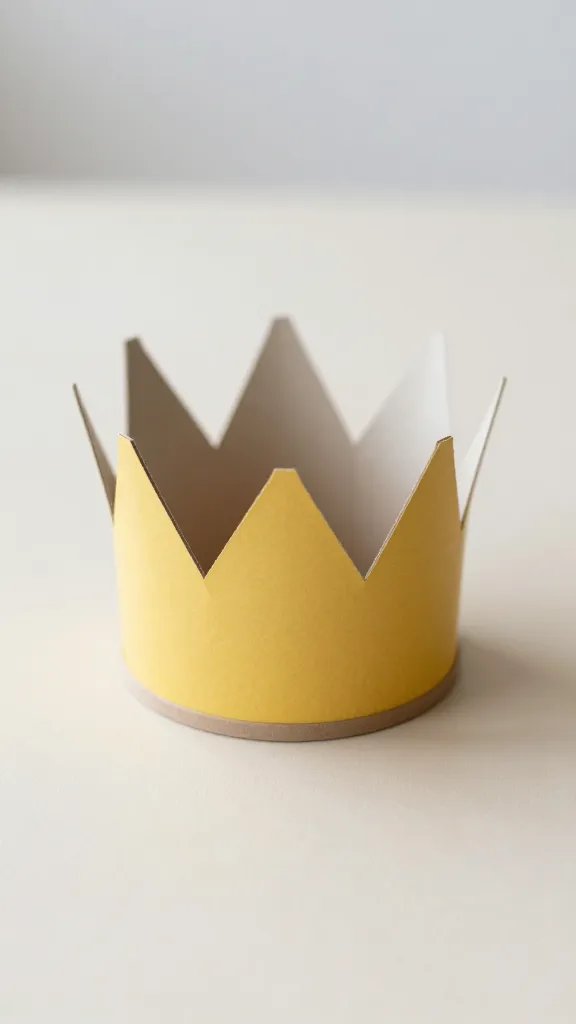
Kids love a little pretend play. Make a crown display from colored cardstock cones glued to a wide strip of cardboard. Each crown gets a small sticker or gem. Set out a tub of ribbon scraps and a glue stick so little hands can decorate their own, then crown holders for quick changes when the line moves. Completion time is about 30 minutes to cut, glue, and place.
Make ahead: Prepare the bases and crowns the day before so assembly is fast on party day.
What to avoid: Use no small beads if children are under three to prevent choking risks.
3. Lemonade Bar With Colored Parasol Picks
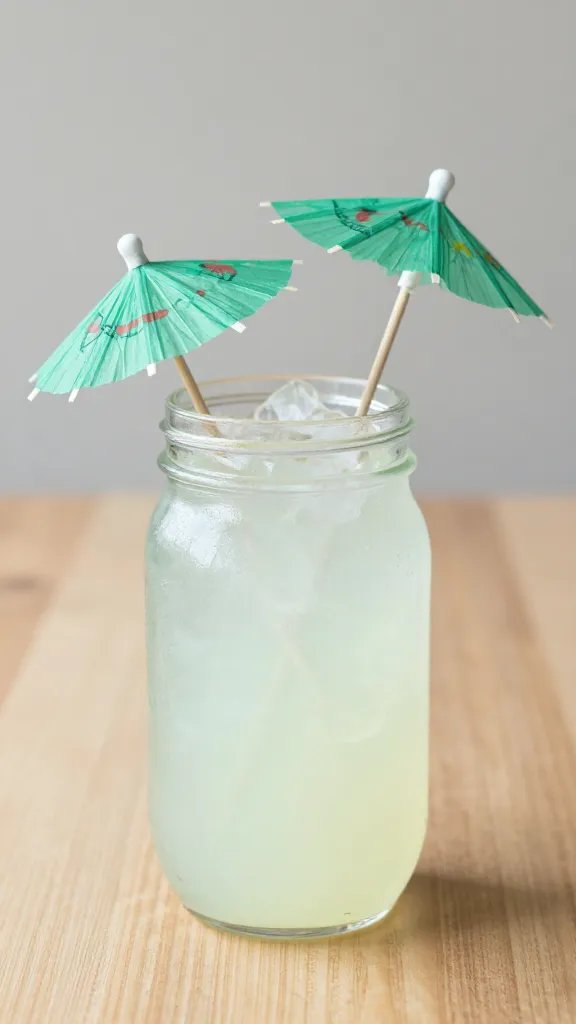
A simple self-serve station keeps adults and kids happy. Brew a large pitcher of lemonade and set out sliced lemons, fresh mint, and cute striped straws. Add a color pop with paper parasols stuck into the rim of tall jars as picks. It’s quick to pull together and looks festive in photos, taking about 25 minutes to assemble the spread and label cups.
Budget swap: Use any fruit you have on hand, like oranges or berries, to tie the palette together.
Hosting tip: Place the bar near shade and a trash bin to minimize mess and heat exposure.
4. Balloon Cloud Wall in the Shade
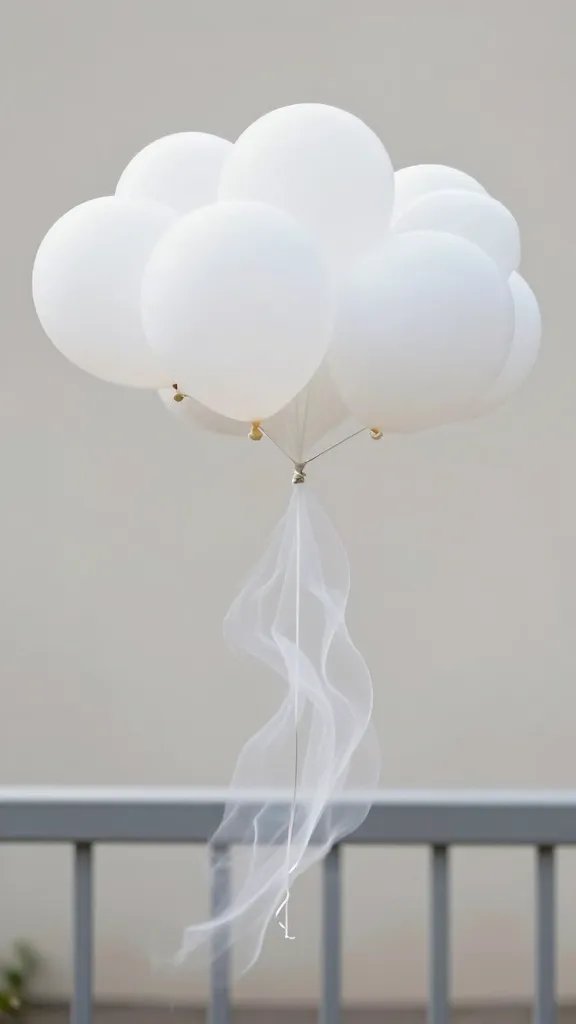
Make a whimsical bathroom-stall-like cloud with a handful of white balloons attached to a lightweight panel or fence. Fill several with air to keep a soft, drifting effect. It takes about 20–30 minutes to inflate and arrange, depending on how large you want the cloud. Tie a few small paper shapes or beach-ready icons to the balloons for extra charm.
Safety note: Keep inflations away from hot lights and be mindful of pets around balloons.
Best for: Small yards or balconies where a soft backdrop helps photos pop.
5. Tinted Jar Light Garden Path
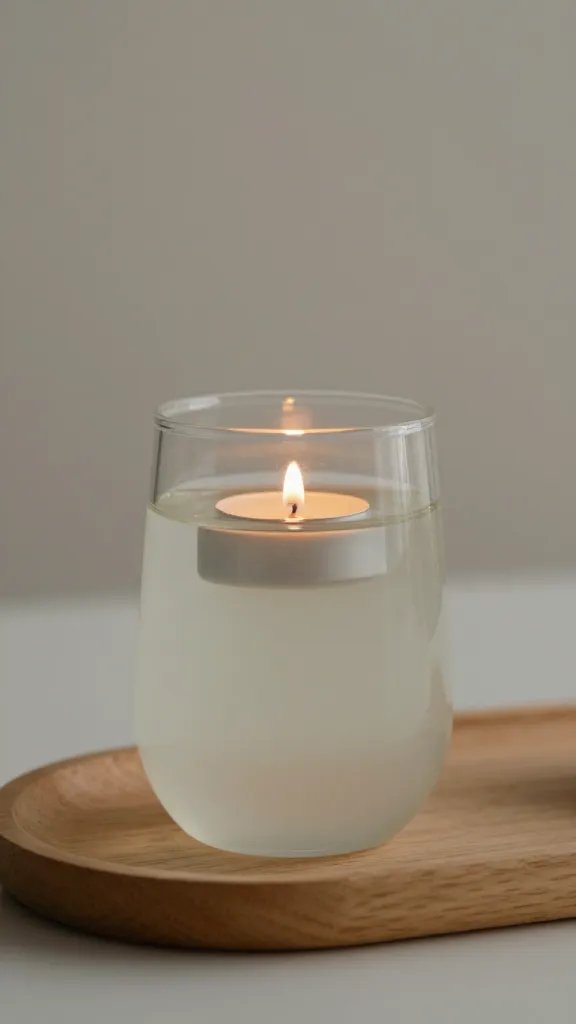
Line a short path or stepping area with glass jars filled with water and a single tea light or LED light. Add a touch of color by tinting water with a drop of food coloring or layering colored beads at the bottom. It glows at dusk and helps guests navigate the space. Expect about 40 minutes for jar prep and layout.
What to have: A tray to collect jars when not in use, and a safe location away from dry grass.
Why it works: The soft glow keeps kids intrigued as the party shifts to evening activities.
6. DIY Chevron Picnic Blanket Corner
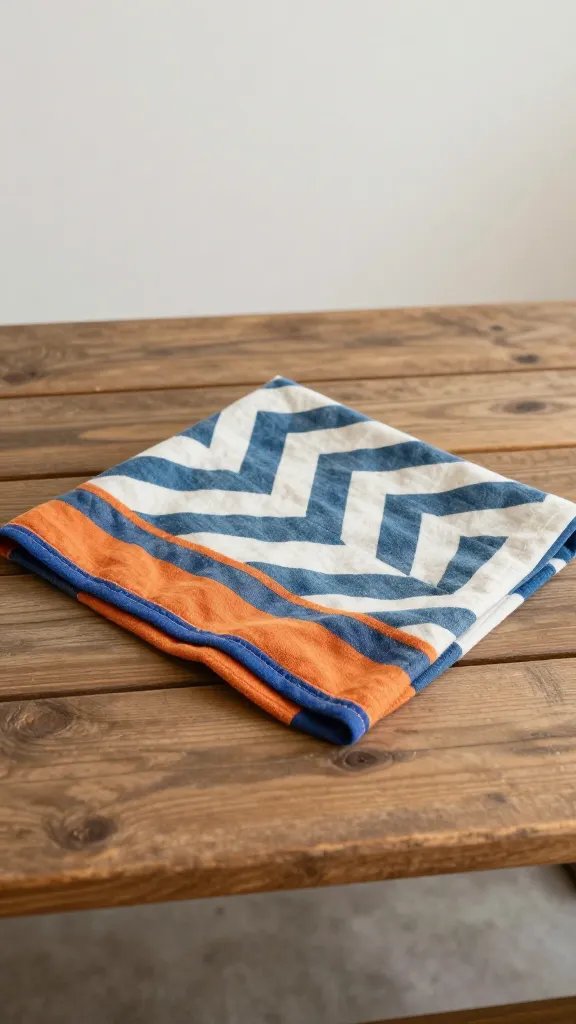
Set out a few square blankets in a complementary color pairing and top with paper plates, napkins, and a small sign that reads “Picnic Time.” Let guests sit, snack, and chat to reduce foot traffic in one busy corner. It takes about 25 minutes to lay blankets, arrange a small snack board, and label items clearly for easy cleanup.
Little hands tip: Pre-fold napkins and place everything in a single basket for quick server passes.
Cleanup tip: Use a large vinyl tablecloth as a ground cover under the blanket area to catch spills.
7. Garden Chalkboard Menu
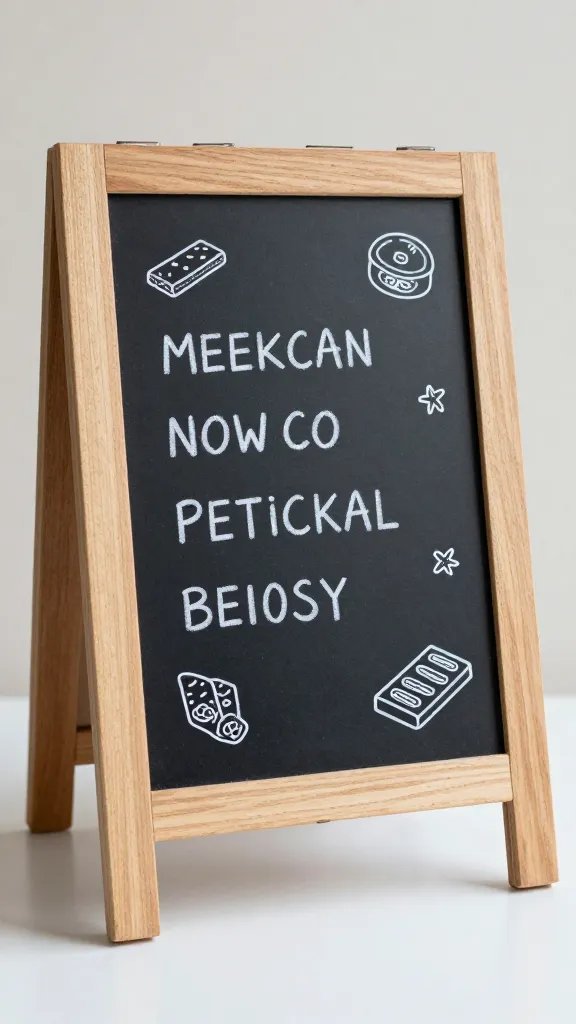
Paint a thrift store frame with chalkboard paint and prop it on a stand. Write a simple kids’ menu with watermelon, cheese stars, and pretzel sticks. It takes about 45 minutes to prep the board, with a quick mock menu for photos first. Kids can also help by drawing a doodle next to their snack on the board.
Use what you have: Reuse a cereal box as a stand if you don’t have an easel.
Copy the look: Pair the menu with a jar of colored pencils for doodles before dinner.
8. Burlap Banner With Painted Dots
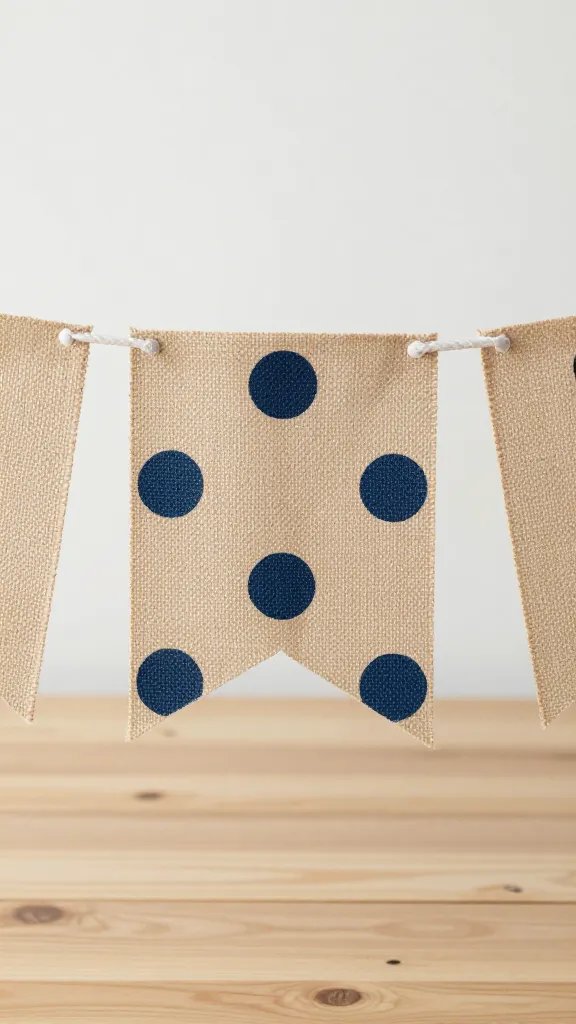
Cut a strip of burlap into a banner; punch or cut evenly spaced holes to thread through twine. Paint bold dots in the party colors every few inches. It dries quickly on a sunny day and makes a rustic-textured backdrop that photographs well. It should take about 40 minutes from cutting to hanging, depending on paint drying time.
Why it looks store bought: The clean dot pattern reads polished, but you did it with simple supplies.
What to avoid: Avoid wet paint near fabrics to prevent bleed.
9. DIY Popcorn Puff Garland
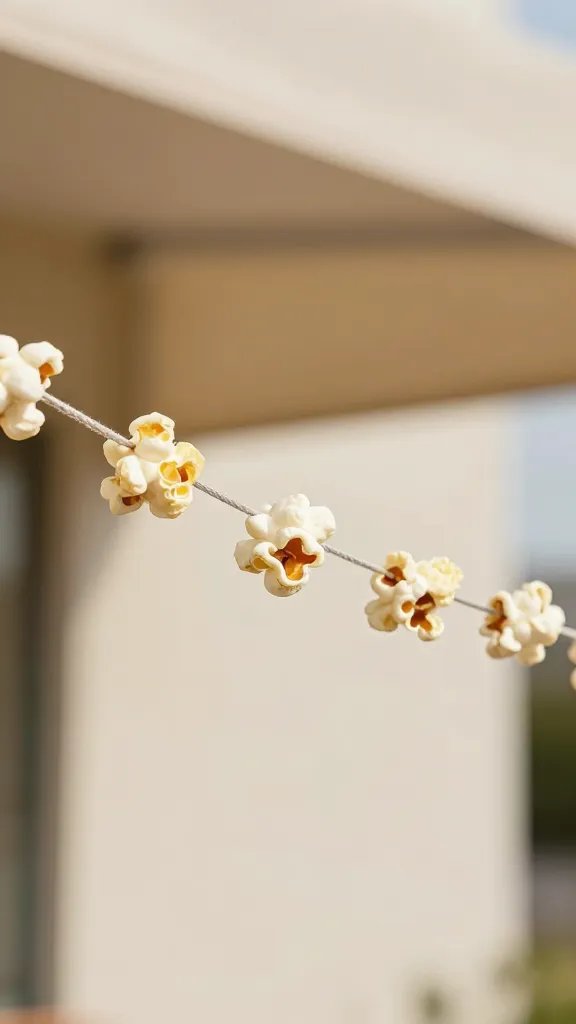
Air popped popcorn threaded onto a long string with a few cereal loops creates a lightweight garland that feels cozy. Stretch it along a fence or under a canopy. It takes about 30 minutes to string, with a small cleanup afterward for any popcorn that breaks or crumbles. This is a playful addition that translates well in photos.
Mess control: Lay a sheet under the garland line to catch stray pieces for easy cleanup.
Best for: Casual backyards where guests can grab a few snacks on their way to games.
10. Cardstock Flower Wall
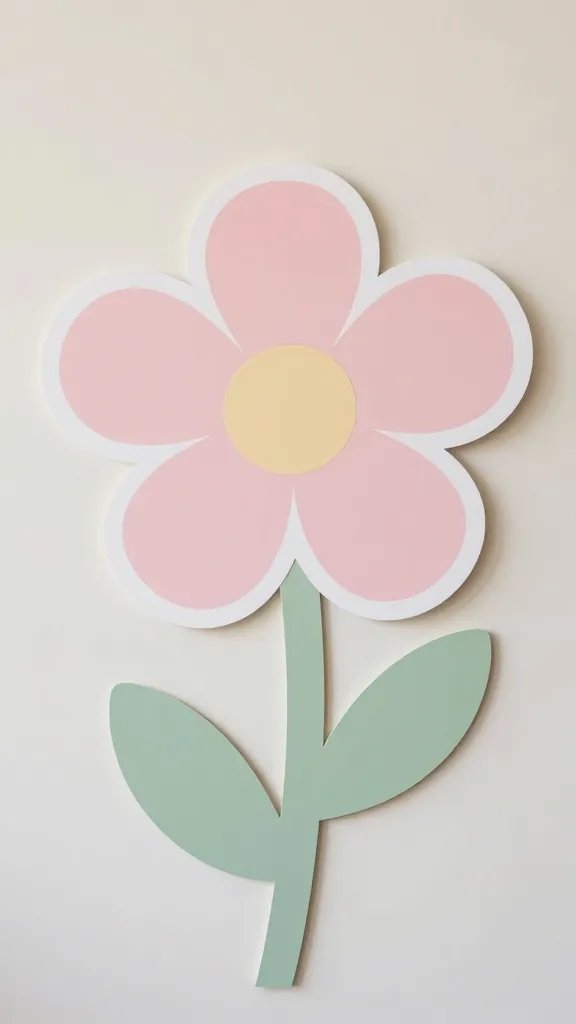
Make oversized flowers from colored cardstock and mount them to a flat surface or a fence. Start with five large blooms and add smaller petals for depth. It takes roughly 60 minutes to cut, arrange, and attach. This wall makes a bold photo backdrop and doubles as a decorative focal point for the dessert table.
DIY hint: Use recycled cardboard as a sturdy backing to save on cost.
Safety note: Ensure bright spikes or sharp edges are not exposed to touching hands.
11. Beach Ball Ring Toss
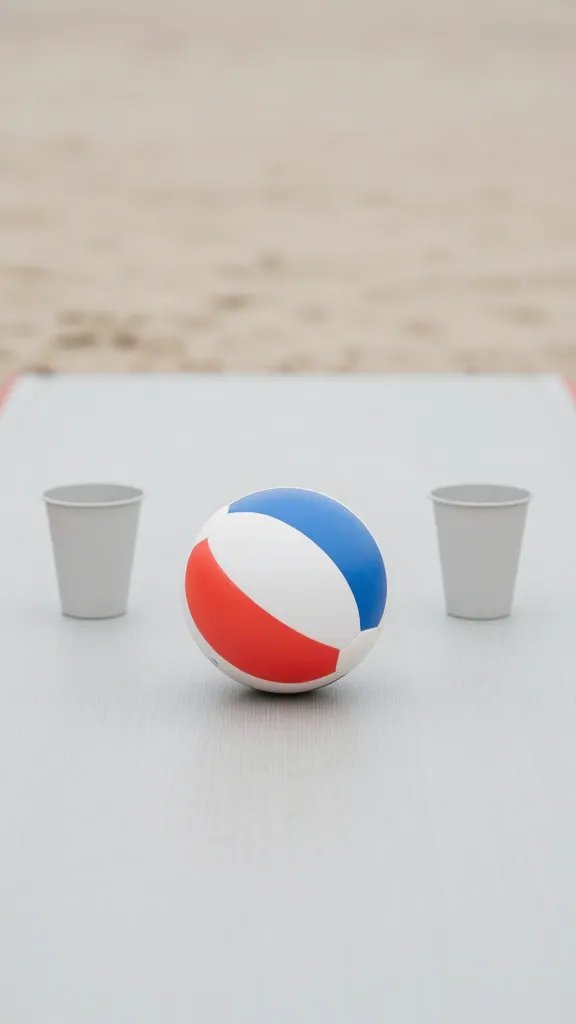
Set up a ring toss using plastic lawn cups and several beach balls. For an extra pop, add color bands by taping colored tape around the ball. The setup takes about 20 minutes and provides a quick, active game that keeps kids engaged. Keep a handful of small prizes for winners to avoid frustration.
Kid friendly: Simplify by letting kids toss from a shorter distance for younger players.
What to have: A safe, soft surface to prevent damage if a ball bounces off a table.
12. Mason Jar Balloons Display
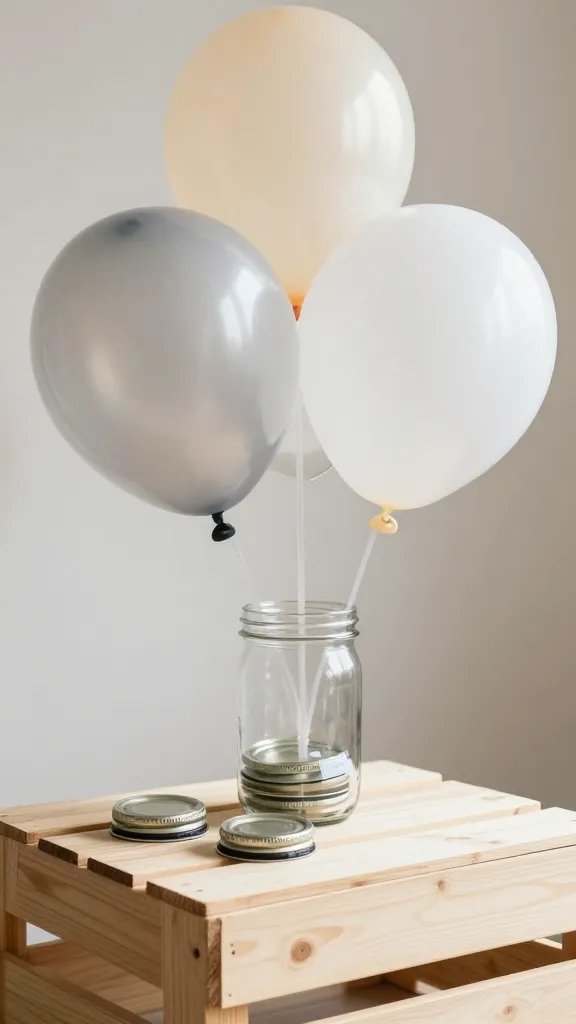
Thread helium-free balloons into wired mason jar lids for a grounded, on-theme display. Attach small weights and place the jars on a wooden crate or a picnic table. It takes about 30 minutes to assemble, with careful handling to avoid glass breakage. The jars provide a sturdy base for a whimsical balloon display without overhanging lines.
Use what you have: Swap colored lids from other jars to vary the look without buying new supplies.
Rotation note: If you don’t want glass, substitute plastic jars and skip the weights.
13. Starry Night Paper Lanterns
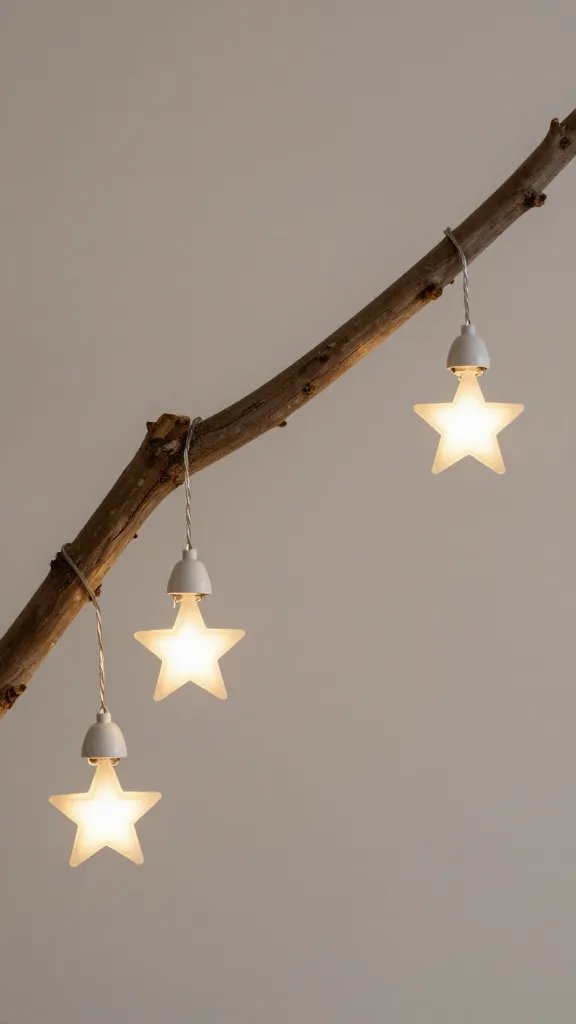
Hang star-shaped or circular paper lanterns from a clothesline or tree branch with twine. A string of lanterns creates a night glow when the sun goes down. It takes about 30 minutes to assemble and hang. Use a light battery-powered string for safety and easier movement if you need to adjust mid-party.
Best for: A backyard with a tree canopy or fence line to suspend the lanterns from.
What to avoid: Do not place lanterns near open flames or heat sources.
14. Water Tables With Colorful Tubs
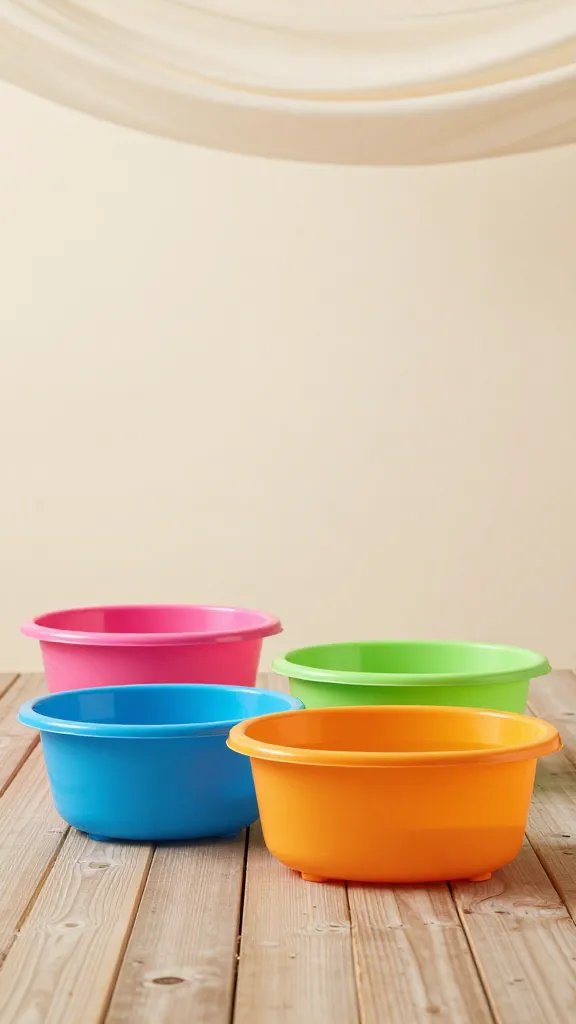
Set up a shallow water play area with a few plastic tubs or kiddie pools. Add colored cups, spoons, and small waterproof toys. It takes about 20–30 minutes to arrange and fill, depending on how many tubs you use. Put a shade cloth or umbrella nearby to keep the water comfortable and plan for a quick drain after the party ends.
Safety note: Supervise closely and avoid small parts that could be choking hazards for younger kids.
Hosting tip: Place the water area away from the food zone to avoid spills everywhere.
15. Craft Stick Photo Frames
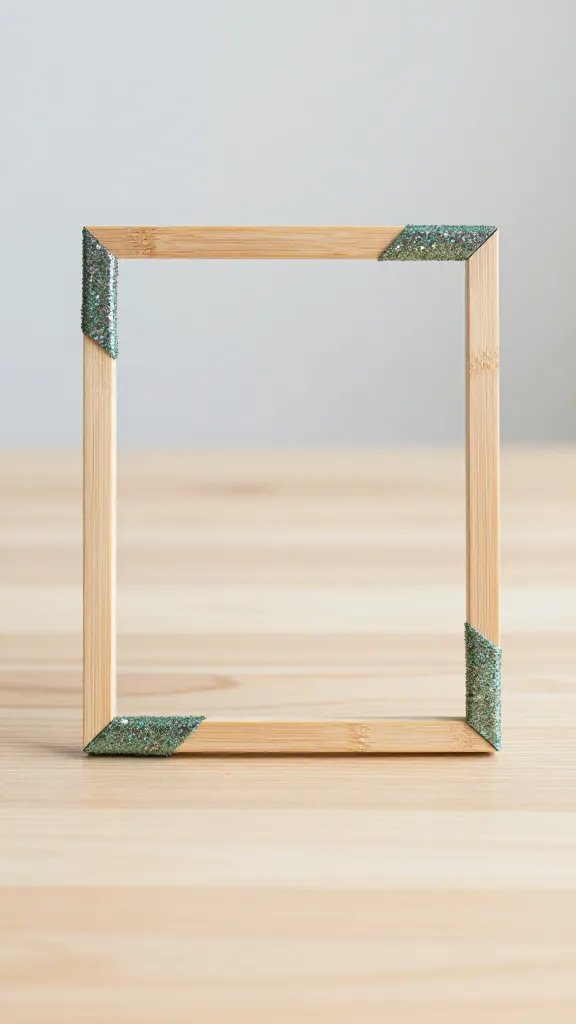
Glue a few craft sticks into a simple frame in a color that matches the theme. Add a printed photo of the guest of honor or a small black-and-white print. It takes about 40 minutes to assemble several frames if you work with a helper. Put a little tape on the back so guests can take their frame with them as a party favor.
Copy the look: A sprinkle of glitter inside the frame keeps it fun, but keep it minimal for photos.
What to have: A handful of glue sticks and a spray of acrylic sealer to finish.
16. DIY Sundae Bar With Paper Bow Tie Toppers
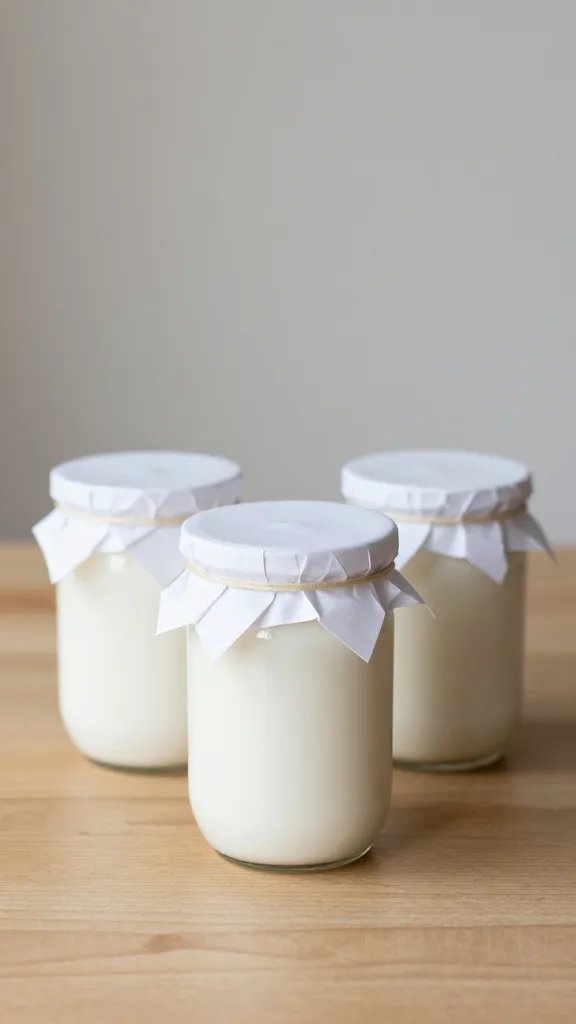
Offer vanilla and chocolate ice cream with toppings in small jars. Create a quick topper for each guest using folded paper shapes glued to toothpicks. It takes about 30 minutes to set up the jars and toppers, then you can label each flavor and topping for easy self-serve. The simple toppers add color and a custom look without extra cost.
Budget swap: Use leftover candy bits to top the sundae jars instead of buying new toppings.
Why it works: It invites kids to customize while giving a cohesive theme to the table.
17. Fabric Flag Garland on a Doorway
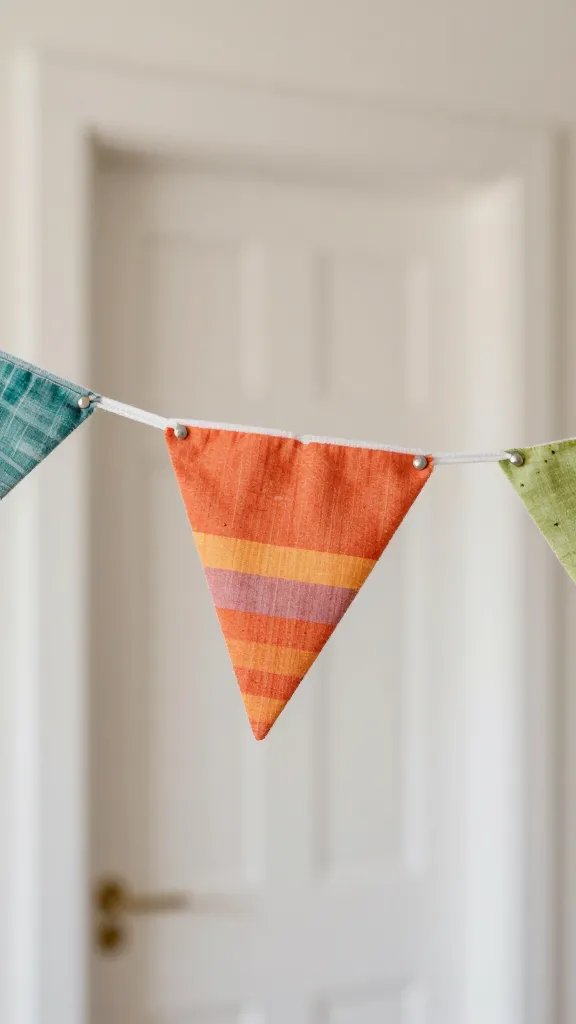
Cut small triangles from scrap fabric in two or three colors and sew or glue them to a length of ribbon. Drape it across a doorway or entry to the party space so guests see a festive welcome as they arrive. It takes about 35 minutes to prepare and hang, and you can reuse the fabric for future occasions. The result is a soft, handmade touch without needing a sewing machine.
What to have: A pair of scissors, a stapler, and a roll of twine make the setup tidy and quick.
Copy the look: Thread a few wooden beads onto the ribbon for extra texture and charm.
Save this for the next birthday that sneaks up on you.