
17 First Birthday Party Ideas for a Small Family

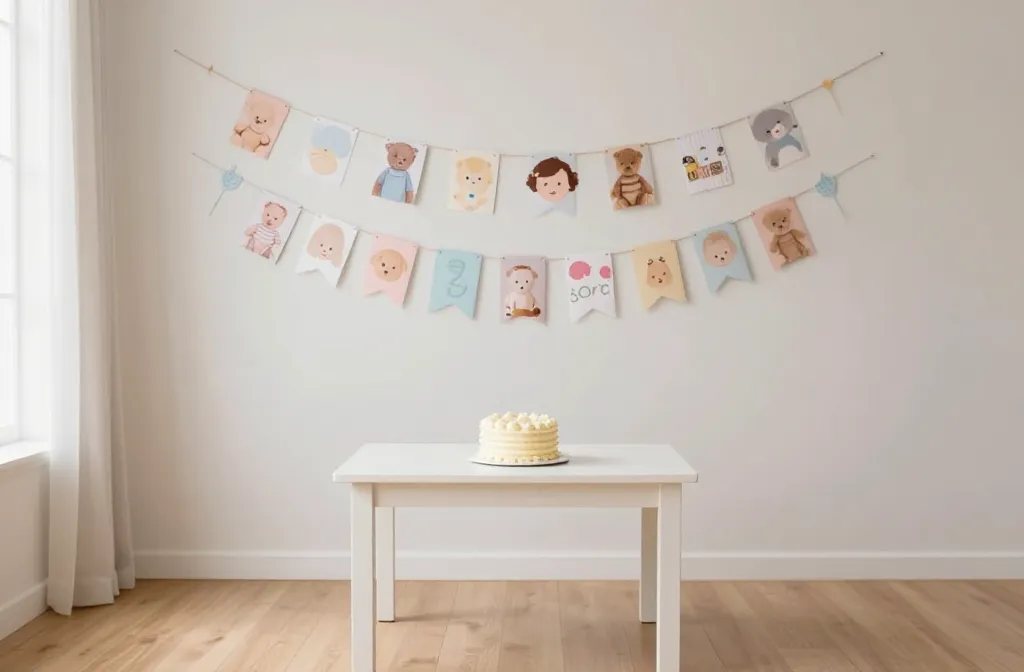
Planning a first birthday with just a few loved ones can feel tight on time and space. You want something charming, doable, and not overwhelming for a small home. This collection offers practical ideas that fit a baseline budget and a quick setup, with simple supplies you likely already have. You’ll find ideas that scale down for a tiny living room or up for a sunlit kitchen table. Each idea solves a common snag—bare walls, short attention spans, or a messy cleanup—so you can finish with a party you’re proud of. Read through and pick the ones that fit your week.
Use these first birthday party ideas for a small family to craft a cozy, photo friendly celebration that feels intentional rather than rushed. Each idea is crafted to be put together in a day or two, with clear notes on supplies and timing. The list leans practical, not Pinterest perfect, so you can actually pull it off this week. Let’s dive into ideas you can copy today with minor tweaks.
1. One-Tier Banner and Photo Wall
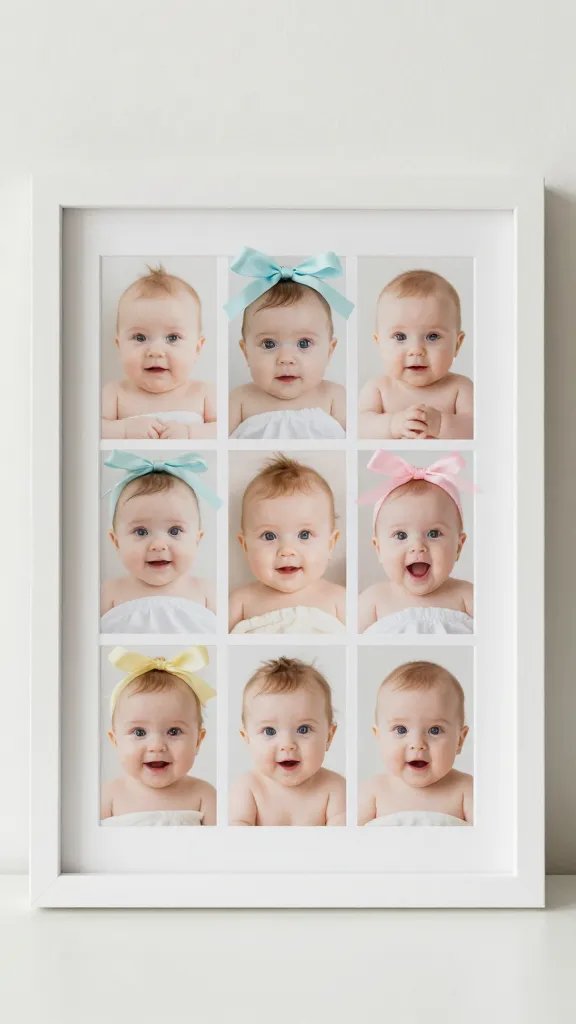
A simple backdrop that makes every photo look purposeful. String a lightweight ribbon or twine across a wall and attach a mini banner using punched shapes or cut letters from scrap cardstock. Fill the wall with a small set of framed photos from baby’s first year and a few stuck-on paper shapes in the party colors. Supplies you’ll need: cardstock in two to three colors, letter stickers or hand-cut letters, a spool of ribbon, tape, and scissors. Time: about 45 minutes to cut, 15 minutes to assemble. Copy the look with what you have on hand to avoid a last minute store run.
Best for: a cozy corner in a small living room, whether you have a couch or floor seating. This keeps the focus on baby and keeps cleanup quick.
2. Quick Paper Garland Trio
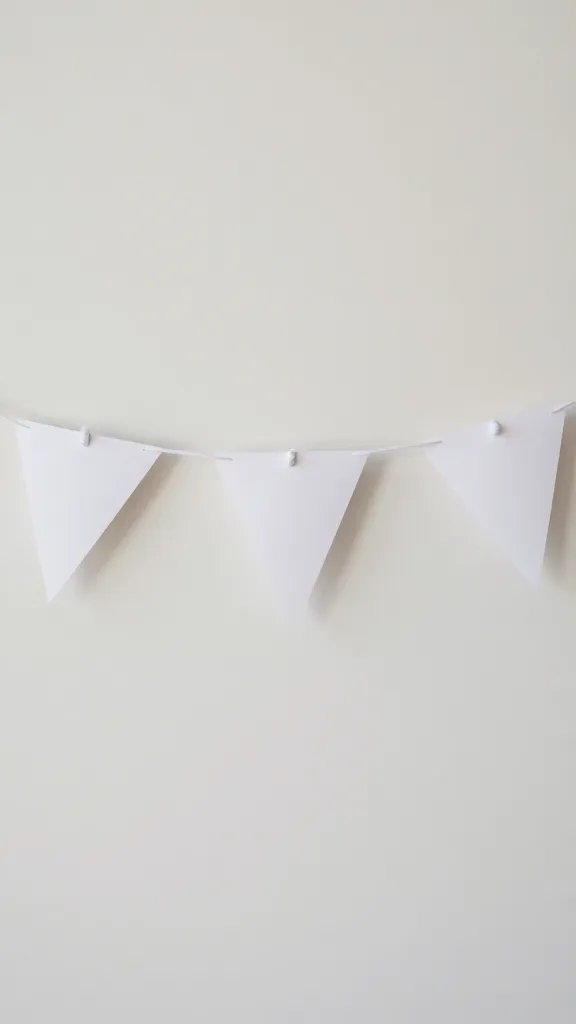
Three short garlands in the room add vertical interest without clutter. Cut 2 inch circles, flags, and stars from colored paper, then string them on three separate threads. Hang behind the cake area or along a doorway. Supplies: colored craft paper, string or thin ribbon, tape, scissors. Time: 30 to 40 minutes. Time saver version: use scrap paper cut into shapes, no measuring required.
Why it works: Multiple light decorations create a festive vibe without filling the space. This is kid friendly and easy to adjust for a small room.
3. Mess-Free Snack Station in a Tray
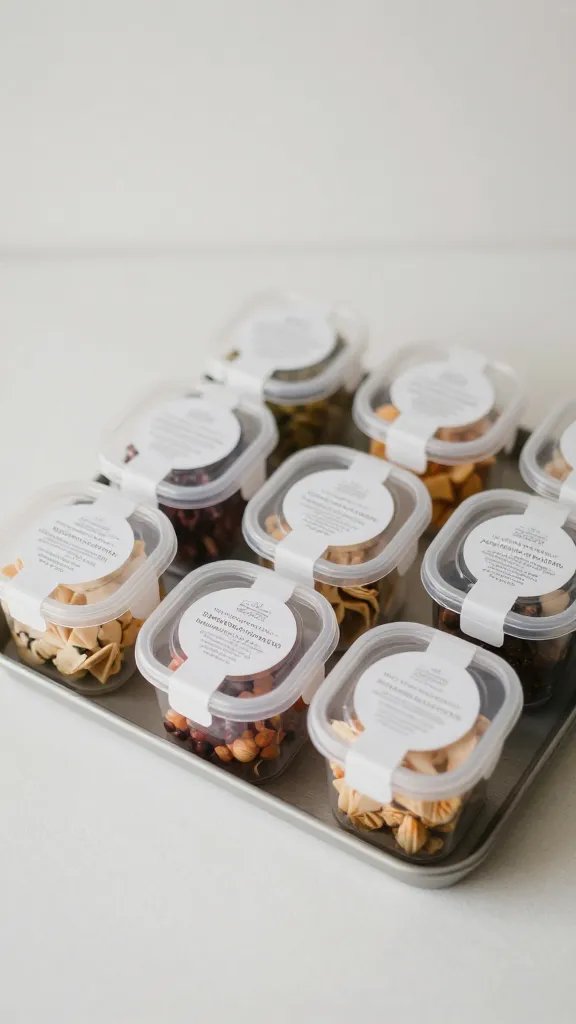
Skip a full dessert table by laying out a single large tray with bite sized snacks and labeled options. Use a few containers such as yogurt cups, fruit slices, mini muffins, and pretzels. Add a small chalkboard tag for each item. Supplies: a large tray, small containers, labels, marker. Time: 20 minutes to set up. Use what you have to swap in whatever snacks you already stock.
Why it works: A cohesive tray reduces table clutter and keeps kids focused on the cake or cake smashing moment later.
4. DIY Paper Cupcake Stand
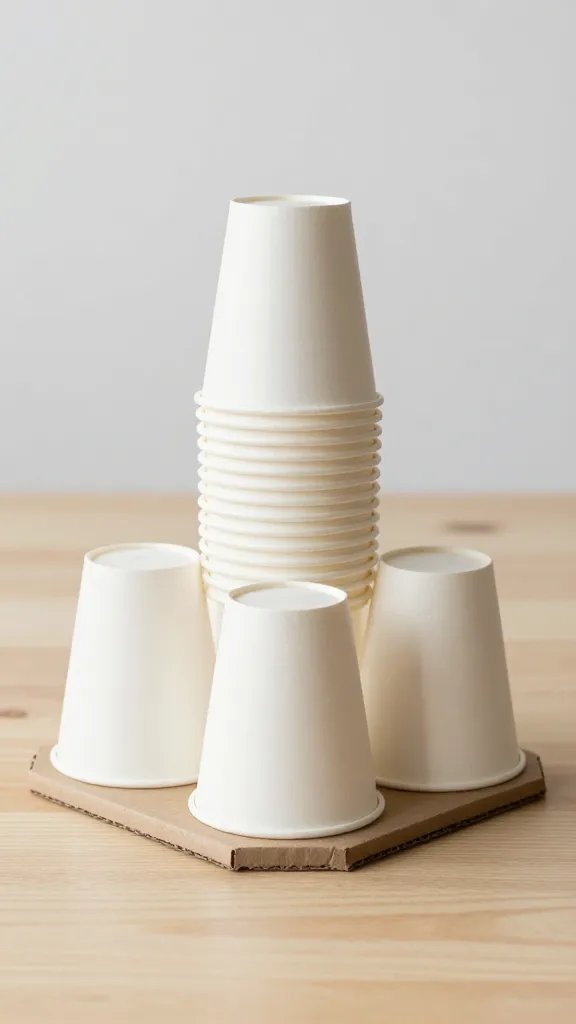
Elevate a few cupcakes on a simple stand made from stacked inverted cups glued to a cardboard base. It looks store bought but costs little and travels flat. Supplies: plastic or paper cups, cardboard circle, hot glue, numbers or decorative bits for the top. Time: 25 minutes to assemble. Make it ahead to let glue dry before guests arrive.
Best for: small spaces where a vertical element helps anchor the dessert area without taking much room.
5. Personalize with Printable Speech Bubbles
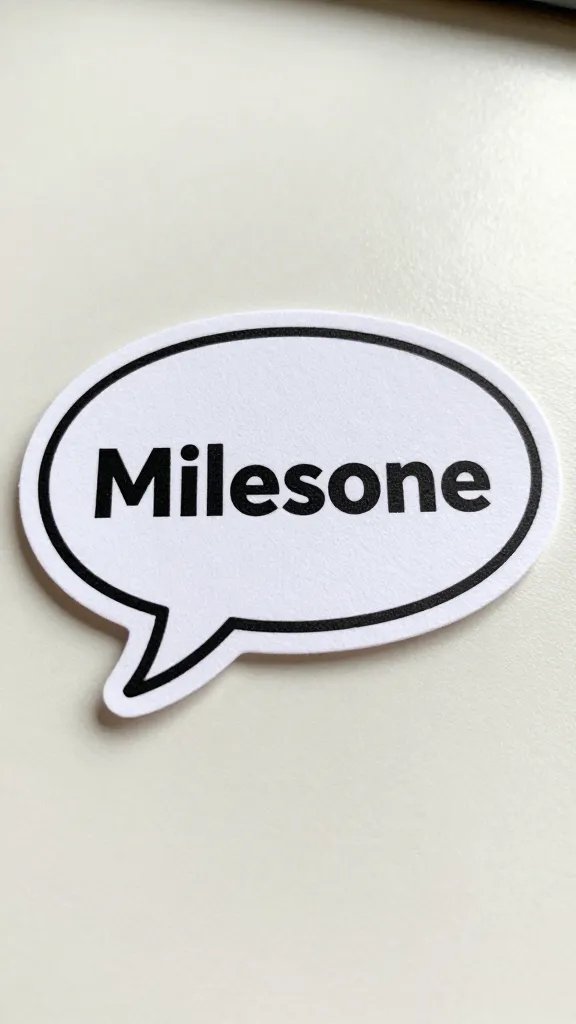
Print tiny speech bubbles with milestones or cute prompts. Tape them around the room at kid height or along the walls near seating. Supply: printer or access to a label program, cardstock, scissors, small adhesive dots. Time: 15 to 20 minutes. Copy the look by using a single color palette and a few repeated phrases.
Why it looks intentional: A cohesive print design makes the whole space feel planned, not ad hoc.
6. Mini Balloon Cloud Backdrop
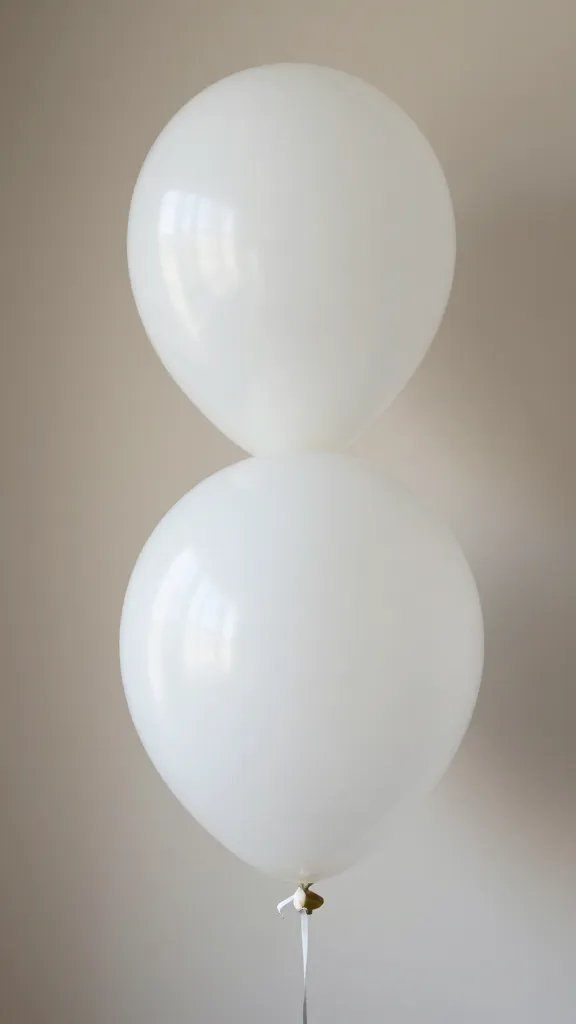
Create a soft cloud effect with a handful of white balloons tied in groups and taped to the wall. Keep it under control by making four small clusters, not a full arch. Supplies: white balloons, fishing line or string, tape. Time: 20 minutes. Safety note keep this away from little crawlers and keep strings short.
What to avoid pulling too hard on balloons or leaving balloons where toddlers can grab and chew.
7. Infant-Friendly Favor Bags
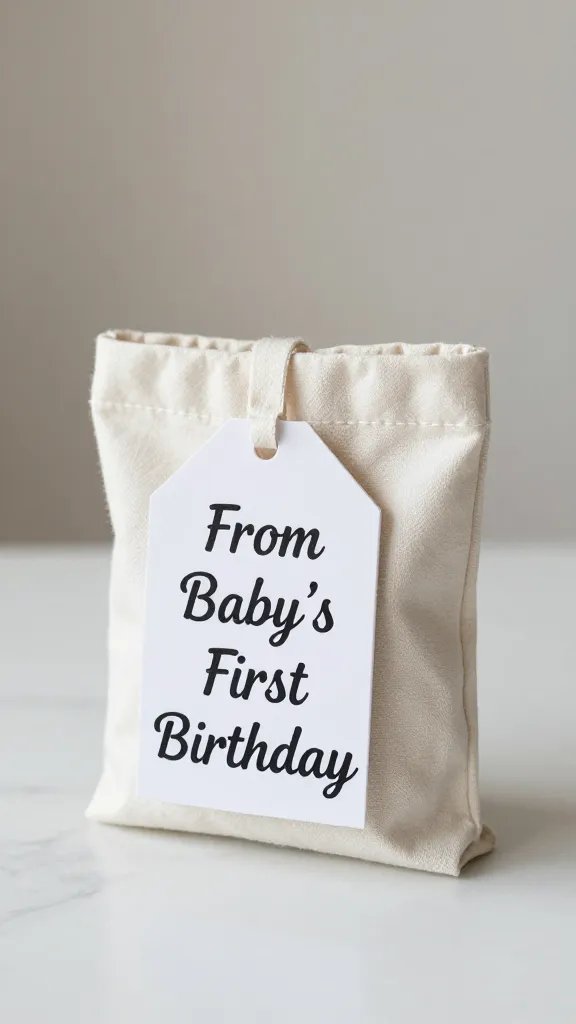
Fill small bags with a few age-appropriate keepsakes: a board book, a small toy, and a sticker sheet. Use a simple printable tag to label “From Baby’s First Birthday.” Supplies: mini gift bags, age-appropriate toys, stickers, and markers. Time: 15 minutes to assemble. Use what you have from previous parties to save money.
Why it works: Favors are short and sweet; guests leave with something tangible without extra clutter.
8. edible Cupcake Toppers from Cardstock
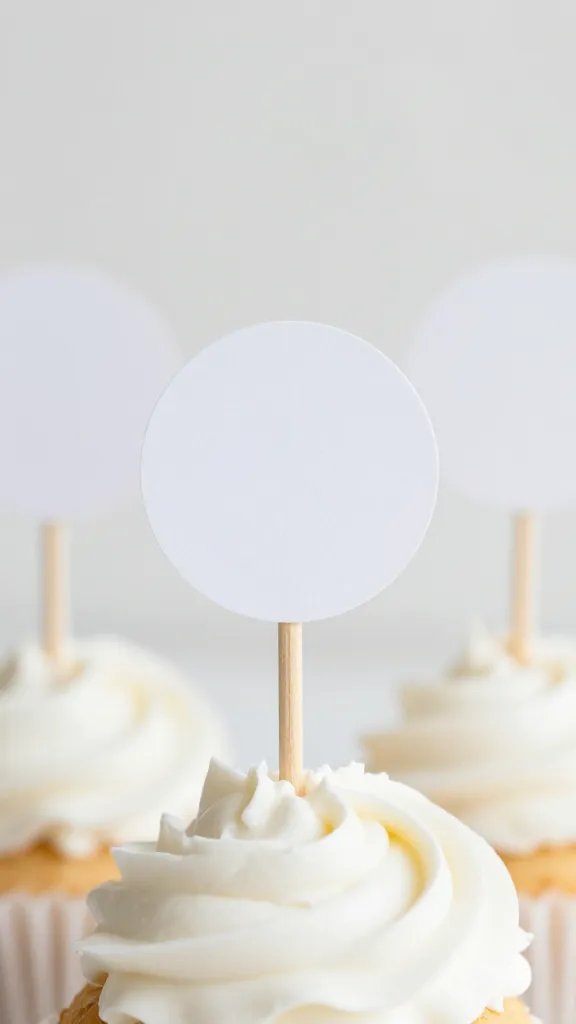
Cut simple shapes from thick paper or cardstock to top a few cupcakes. Glue a toothpick to the back and insert into frosting. Supplies: cardstock, toothpicks, glue or tape, a marker for details. Time: 30 minutes for 12 toppers. Beginner version uses plain circles with a name or number.
Copiable today by tracing circles with a cup lid for a quick template.
9. Little Hands Craft Corner
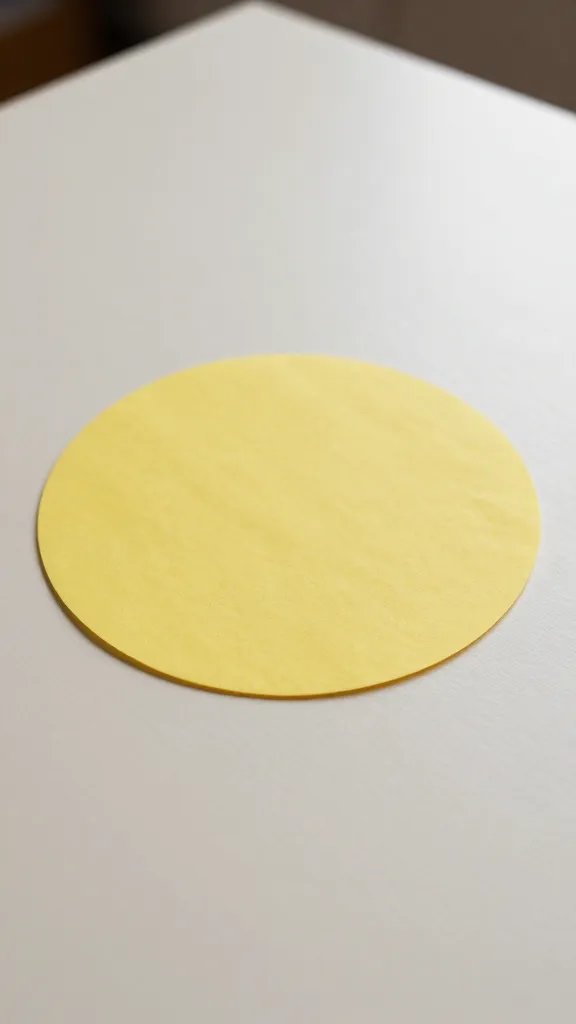
Set up a tiny, supervised craft corner with one easy project: tissue paper circles to decorate a sheet of cardstock. Have pre-cut circles in a few colors and a safe glue stick for kids. Time: 25 minutes for setup; 10 minutes of activity. Safety note keep scissors far away from the kids, and supervise hot glue if used elsewhere.
Why it works: Short activities maintain focus and give you photos of messy, happy hands.
10. Simple Themed Paper Plates Display
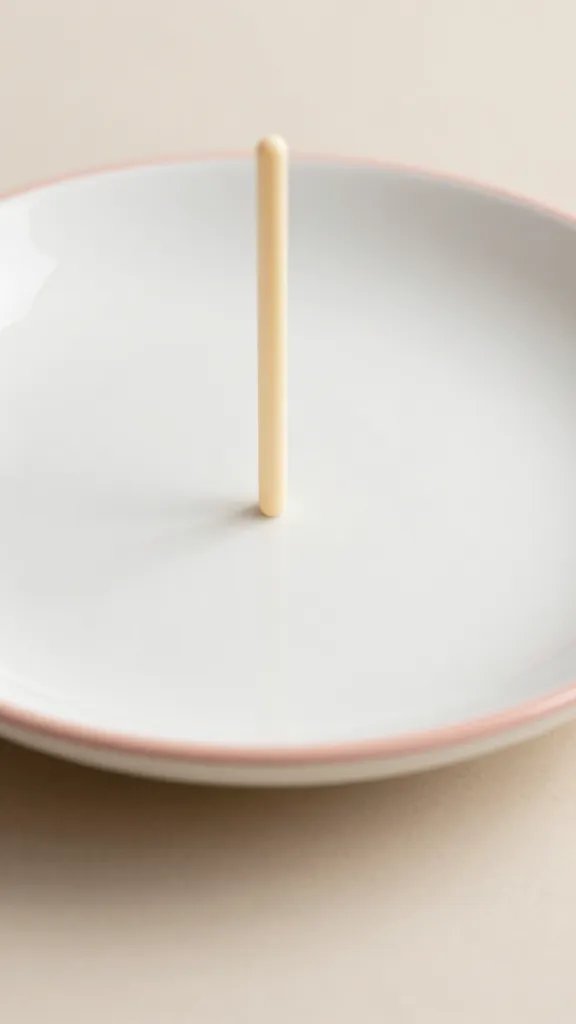
Decorative plates arranged on a vertical rod or inserted into a display stand echo the party theme without extra decor. Use two sizes and a border color that matches the color palette. Supplies: paper plates, a display stand or a dowel with a base, ribbon, and tape. Time: 15 minutes. Best for small spaces that need a focal point.
Copy the look by arranging plates in a candy stripe pattern for a quick pop of color.
11. Baby-Safe Cake Topper in 5 Minutes
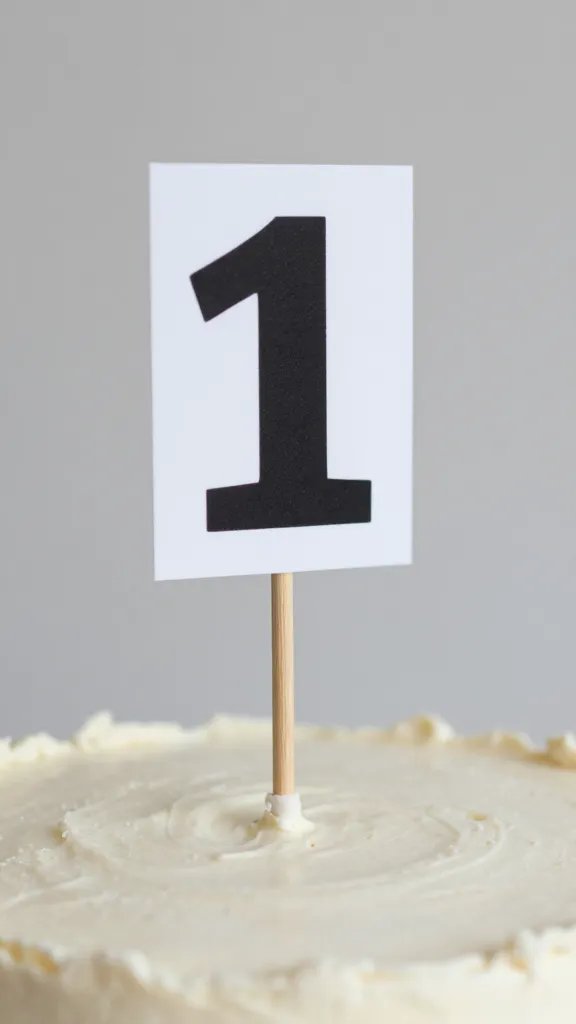
Use a store bought cake or cupcakes and add a quick topper: a printed “1” on cardstock glued to a stick. Keep it simple with two colors that match the theme. Supplies: cardstock, printer or marker, toothpicks. Time: 5 to 10 minutes. Use what you have to swap in scraps.
Why it works: A clean topper makes the cake look finished without a big cake budget or effort.
12. Cozy Photo Nook with a Seat Cushion
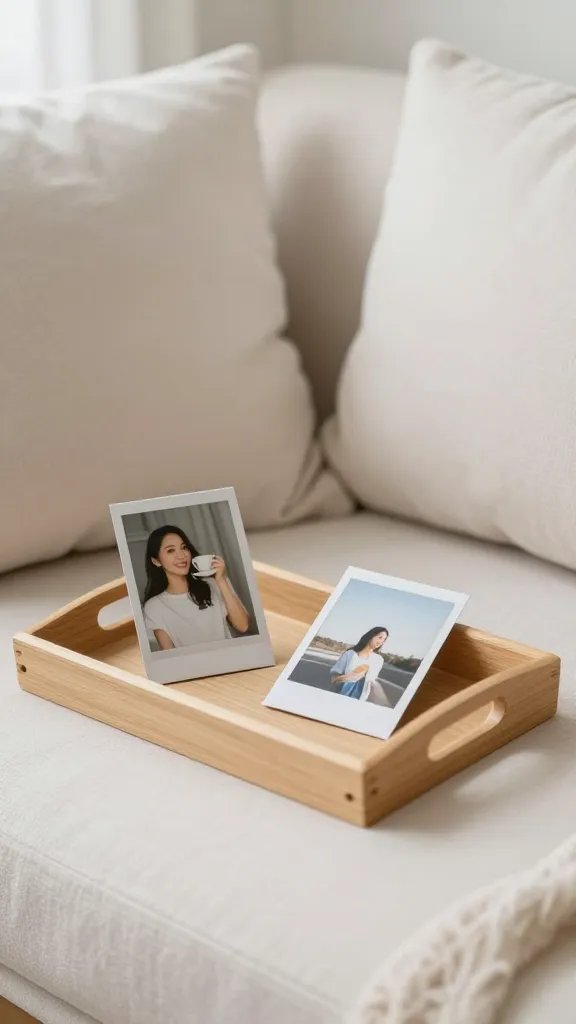
Arrange a small corner with a soft blanket, a couple of cushions, and a tray for photos. Add a small prop basket with hats or tiny bowties for baby and guests. Supplies: blanket, cushions, a small tray, cheap props. Time: 10 minutes to place. Little hands tip add a few finger puppets to entertain while pictures are taken.
Why it works: This quiet space invites guests to relax and snap quick photos.
13. One Pot Marinade and Lemonade Bar
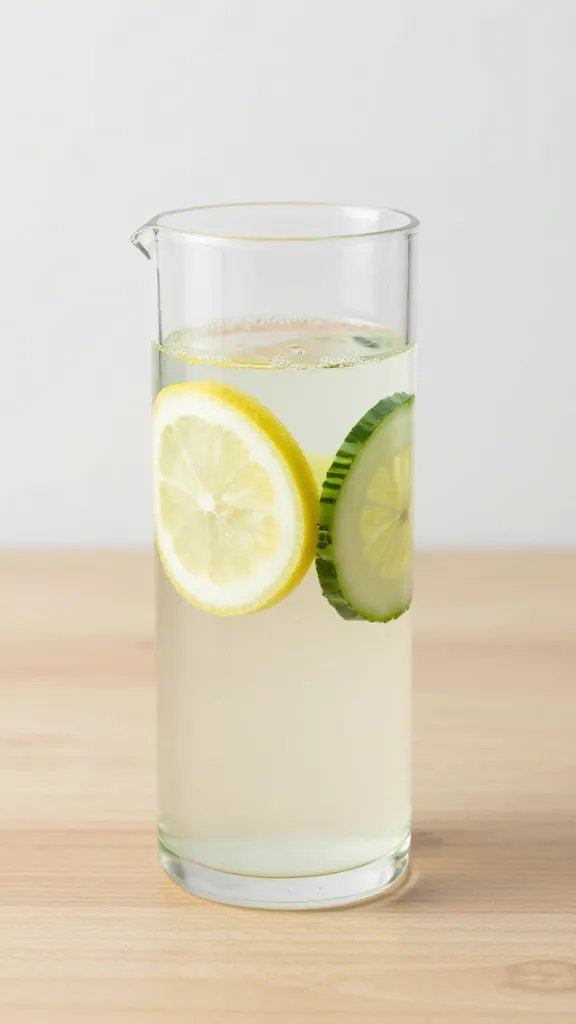
Offer a simple, kid-friendly drink station with lemon water or juice and a small tray of add-ins like cucumber slices or berries. Keep it in a single pitcher or carafe with a labeled tag. Supplies: beverage pitcher, two flavor add-ins, cups. Time: 10 minutes. Budget swap use pre-sliced fruit from the fridge to cut prep time.
Why it works: It’s refreshing, easy to manage, and reduces the need for extra drinkware.
14. Baby Smash Moment Props
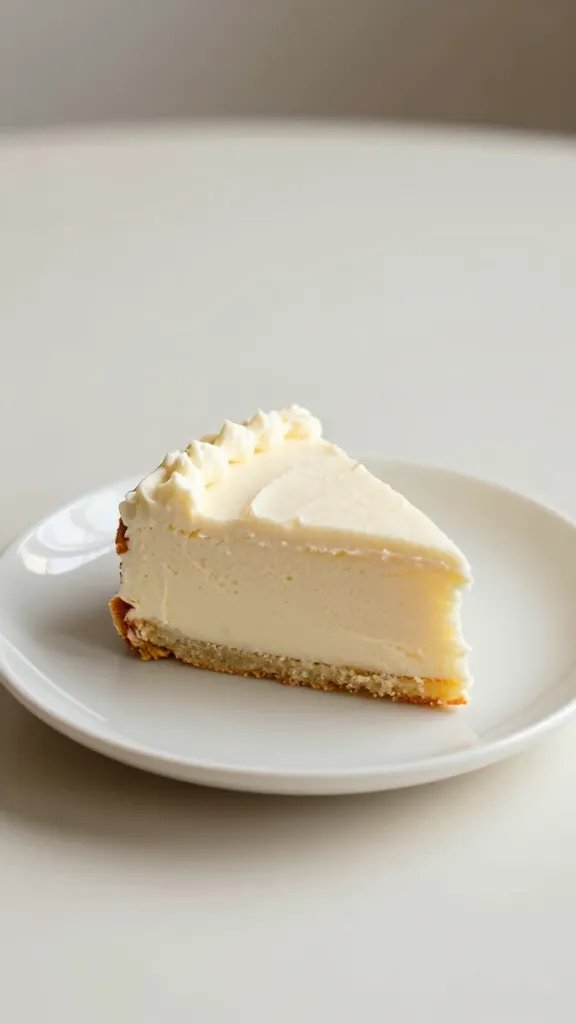
Provide a small, safe cake or cupcake for the moment baby smashes the cake. Use a tiny layer of light frosting and a low dish to minimize mess. Supplies: small cake, frosting, a plate. Time: 15 minutes to assemble on site. Safety note supervise the moment to avoid choking hazards.
What to expect is a few sweet photos and a lot of laughter, with a tiny cleanup afterward.
15. Themed Color Block Table Runner
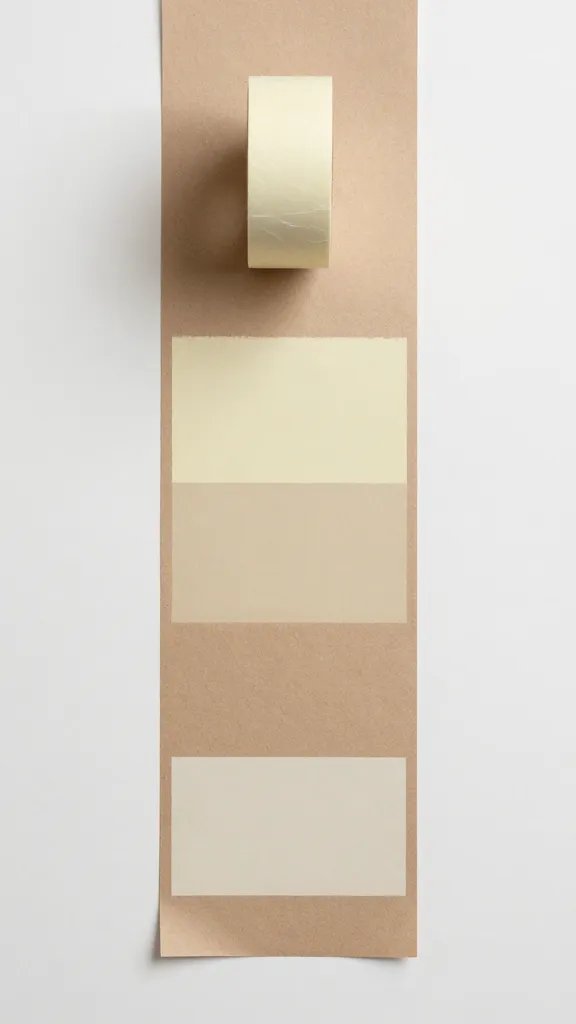
Create a simple table runner using painter’s tape to block color across a roll of kraft or construction paper. Layer two or three colors to match the theme. Time: 20 minutes to apply and dry. Make it ahead by letting colors dry overnight.
Why it looks store bought: Clean lines and a bold palette give a polished look with almost no cost.
16. Story Time Escort Card Clip Gallery
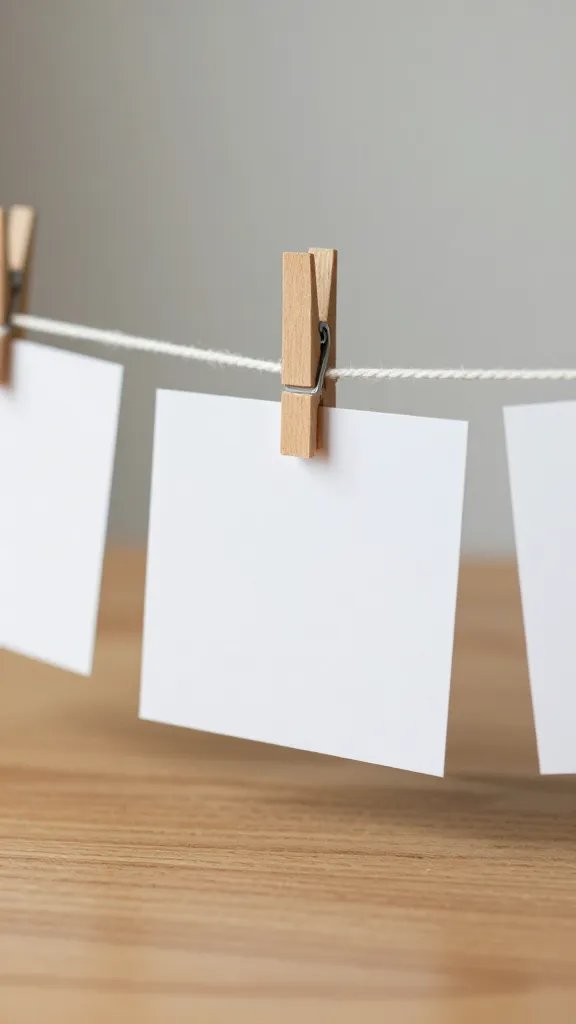
Cut small story cards with a single baby milestone or a favorite family moment. Clip them to a stringed line with wooden clothespins for a mobile-like display. Supplies: printed cards, clothespins, ribbon or string. Time: 25 minutes to assemble. Best for a wall corner or the dessert table.
Why it works: It gives guests a personal touch and makes easy photo backdrops.
17. Two-Color Confetti Fans
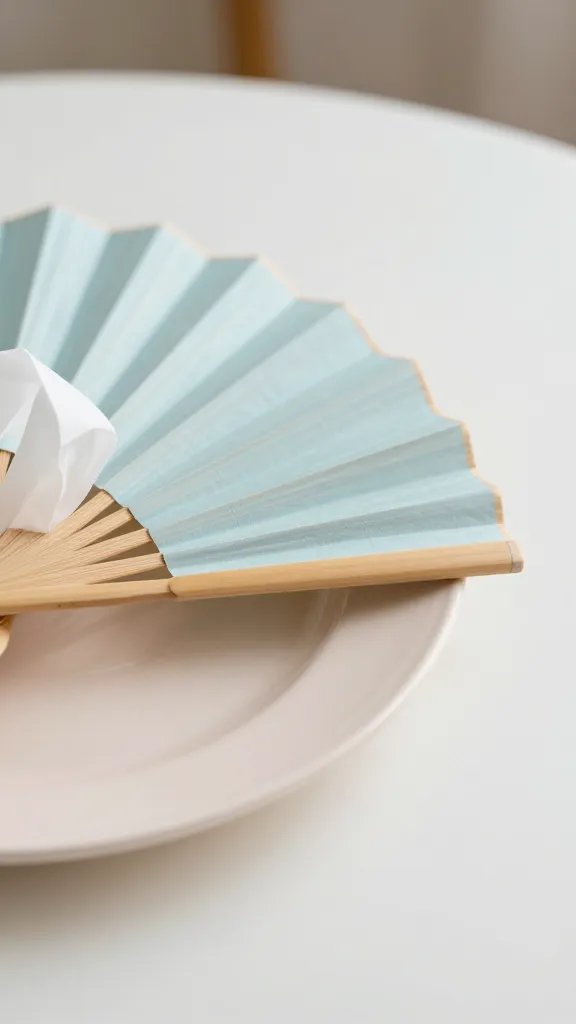
Fold two colors of craft tissue into small fans and place them along the edge of the dessert platter. It adds color without a lot of mess. Supplies: tissue paper in two colors, scissors, clear tape. Time: 15 minutes. Copy the look with a simple color pair from your party palette.
Why it works: A quick, portable decoration that photographs well and stays out of the way of little guests.
With these ideas, you can tailor a first birthday that feels special but remains within reach for a small family. Pick two or three you can pull off this week, and save the rest for a future party to spread out the effort. Keep expectations realistic, and you’ll finish with photos you’ll treasure and a clean home to boot. Save this for the next birthday that sneaks up on you.