
15 Birthday Party Ideas for Adults Turning 30

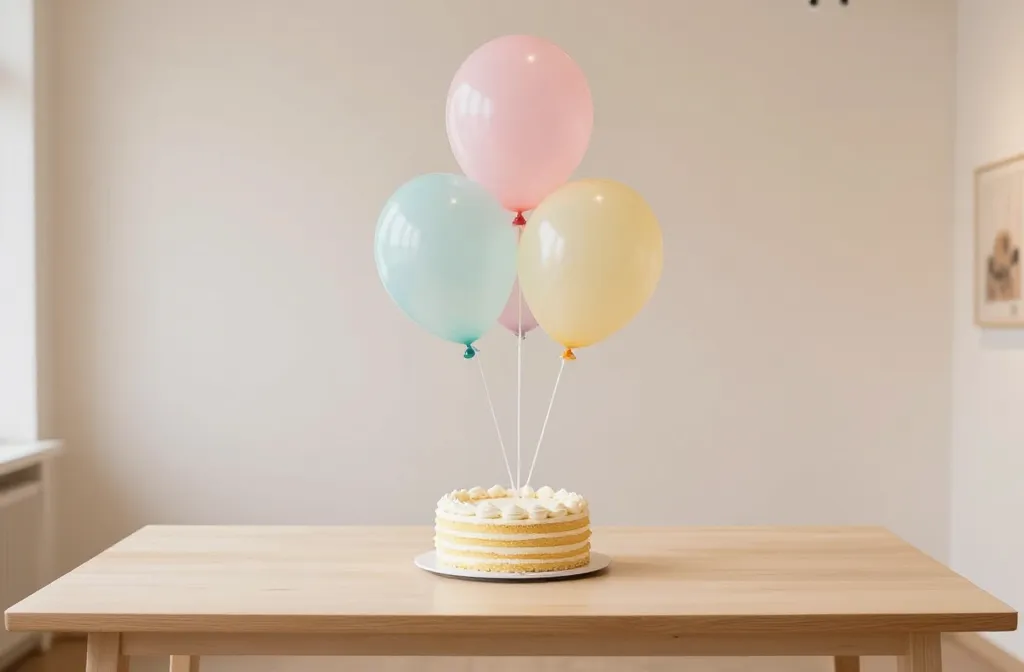
Turning 30 can feel like a big milestone and a busy week all at once. You want a party that feels like you but doesn’t require a full production crew. These ideas fix real pains like a tight timeline, small space, or a budget that shouldn’t look basic. Each idea is practical, easy to pull off in a weekend, and designed to photograph well without stress. You’ll find clear supplies and rough timings so you can pick and mix as your calendar allows. Let’s start planning with intention and a smile.
Below you’ll see fifteen concrete setups and crafts you can tackle this week. They cover quick fixes, easy upgrades, and room friendly decor that reads high end in photos. Keep the party personal and doable, even if you’re juggling work or a tight apartment. The core goal is a stylish, low drama celebration that still feels uniquely you.
1. DIY Balloon Gallery Wall
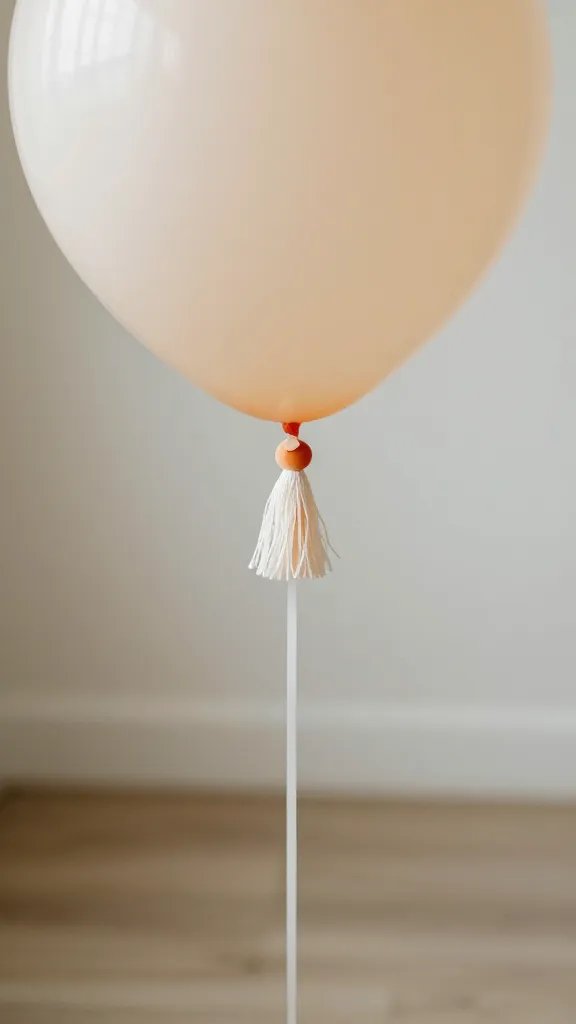
A bare wall can drag the vibe, especially in photos. Build a vertical arrangement of balloons in two to three shades from your color palette, using removable adhesive strips so the wall stays pristine. Mix sizes and add a few paper tassels for texture. This creates a striking backdrop for the cake, gift table, or guest seating without committing to a full backdrop. Budget tip: inflate balloons with a hand pump and do the layout on the floor before hanging.
Placement note: Start at eye level and work outward for a balanced look.
Use what you have: Reuse balloons from a previous party or use a single color with varying opaques to save costs.
2. Sharable Charcuterie Plates on Boards
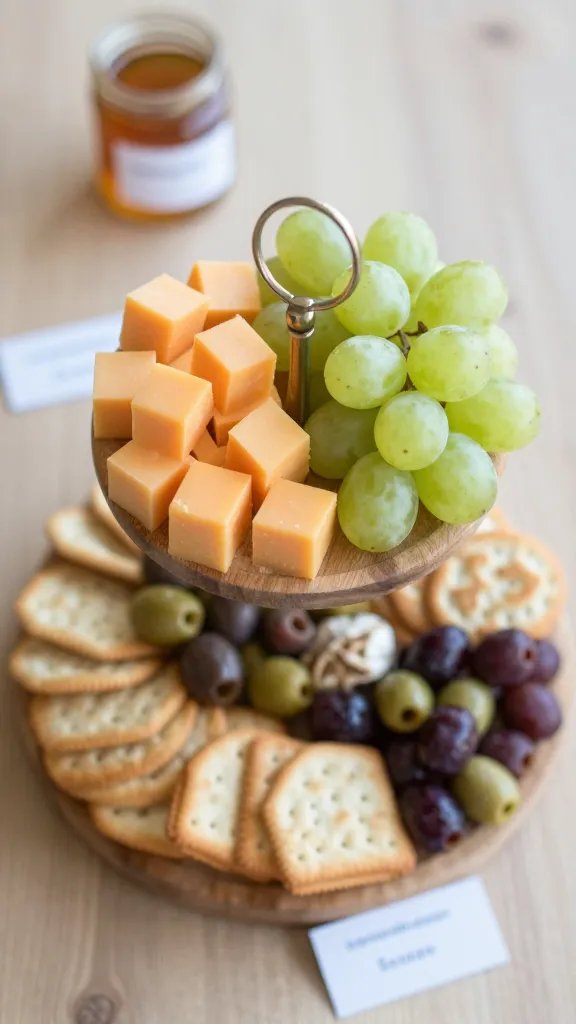
A two tier or staggered board turns grazing into an event rather than a snack run. Keep it tight with a few reliable items: cheddar cubes, crackers, grapes, marinated olives, and a small jar of honey or jam. Lay everything on a wooden board and add a label card for each section so guests can scan and pick. This setup fills the table and photographs well without requiring a chef’s touch. It also travels well if you’re hosting at a friend’s place.
What to avoid: Overcrowding the board makes it harder to reach and messier to clean.
3. Custom Photo Booth Strip Banner
Turn a thin ribbon into a photo strip garland by clipping 4×6 prints to it with small clothespins. Print black and white pictures from your 20s or print recent goofy selfies to spark conversation. The banner doubles as decor and a walk-down-memory-lane activity, giving guests something to do between conversations. If you don’t have a printer handy, digital prints on a tablet make a great stand-in and still photograph nicely against a simple backdrop.
Copy the look: Use a single color for the ribbon and all frames to keep it cohesive.
Best for: a living room or hallway with enough wall space for a long line of photos.
4. Glow Jar Centerpieces
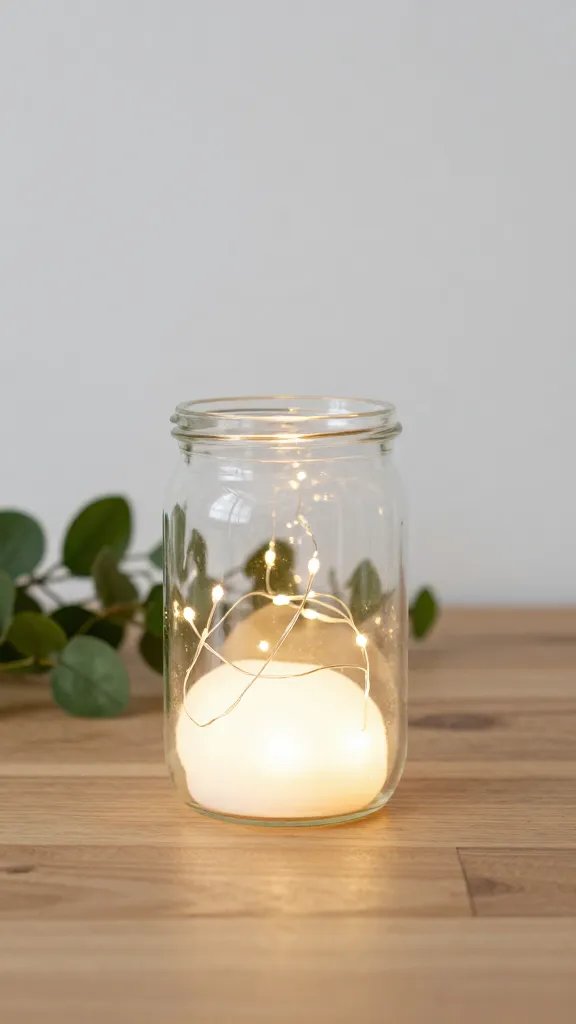
Swap out heavy glass with tidy jars filled with battery powered fairy lights and a few sprigs of greenery or dried flowers. Group several jars of varying heights along the table to create a soft, warm glow that photographs beautifully. A little sand or pebbles at the base adds weight and steadiness so you don’t worry about tipping jars during conversations. It’s easy to assemble, inexpensive, and completely kid friendly in terms of safety when used properly with battery packs.
Safety note: Use LED lights only and keep battery packs away from liquids.
Make it ahead: Place jars on a tray to transport and set them in place in minutes before guests arrive.
5. Mini Chalkboard Menu Cards
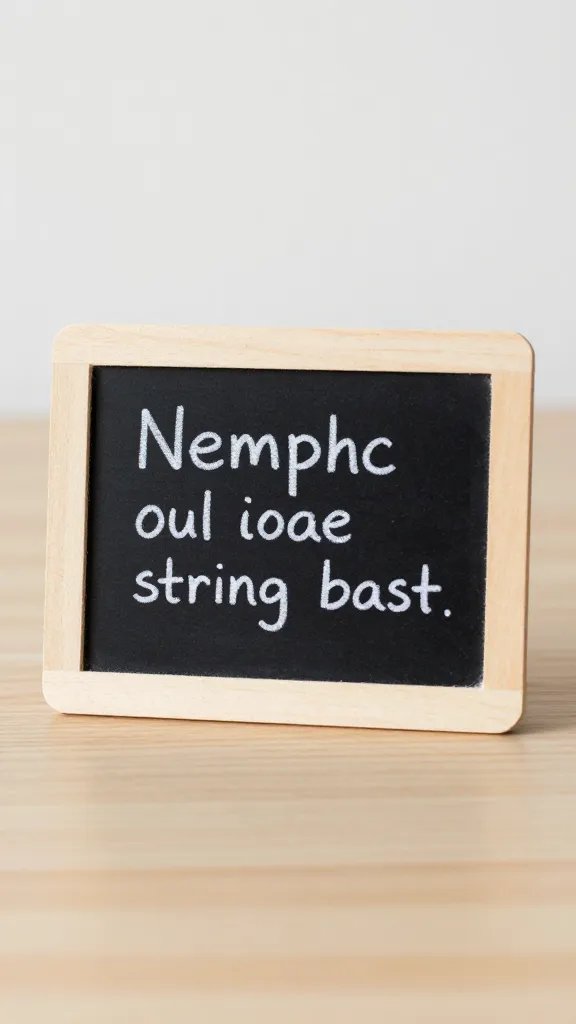
Give each guest a mini chalkboard card with a handwritten note or their name and a fun fact. It personalizes place settings without buying dozens of custom name cards. You can reuse the boards for future events and keep a small pencil often tucked behind the board for last minute edits. The act of writing down a note feels intentional and useful without extra fuss. Keep the message short and legible for photos and quick reads across the table.
Notes on supplies: Small chalkboards or repurposed picture frames with chalkboard paint work well.
6. Custom Confetti Toss
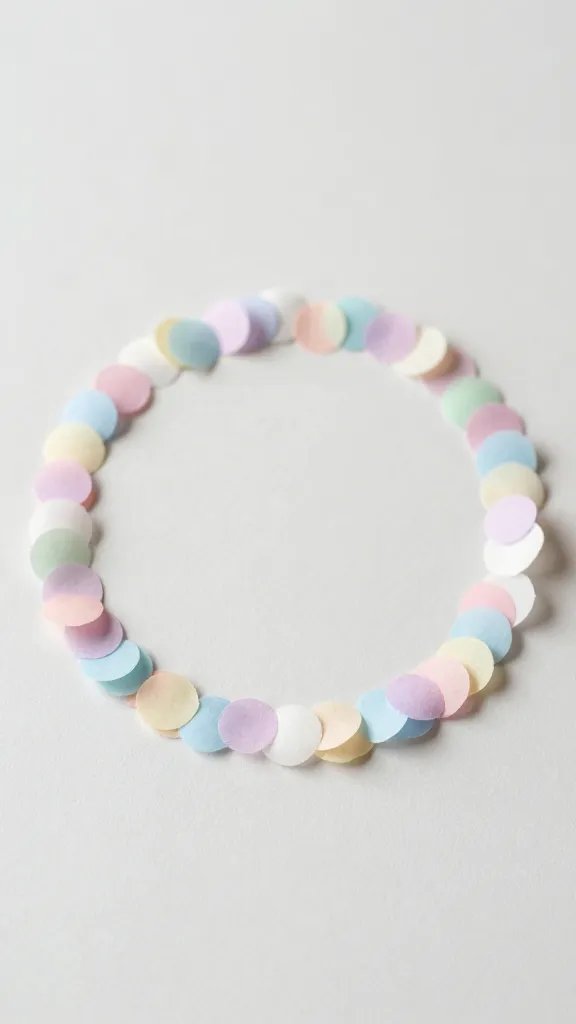
Make a simple confetti toss using your color palette by punching out circles from tissue paper or scrap wrapping paper. Fill small paper cones or transparent cups with a handful of confetti and hand to guests as they arrive. It creates a playful moment for photos and helps keep energy up as people settle in. You can reuse the tissue circles for a later backdrop by layering them on a string or pinning to a cloth wall to create a color block.
What to use: Tissue paper scraps in two to three colors from your theme.
Keep it easy: Use just enough confetti to create a moment, not a mess to clean after.
7. Sip and Sketch Cocktail Napkins
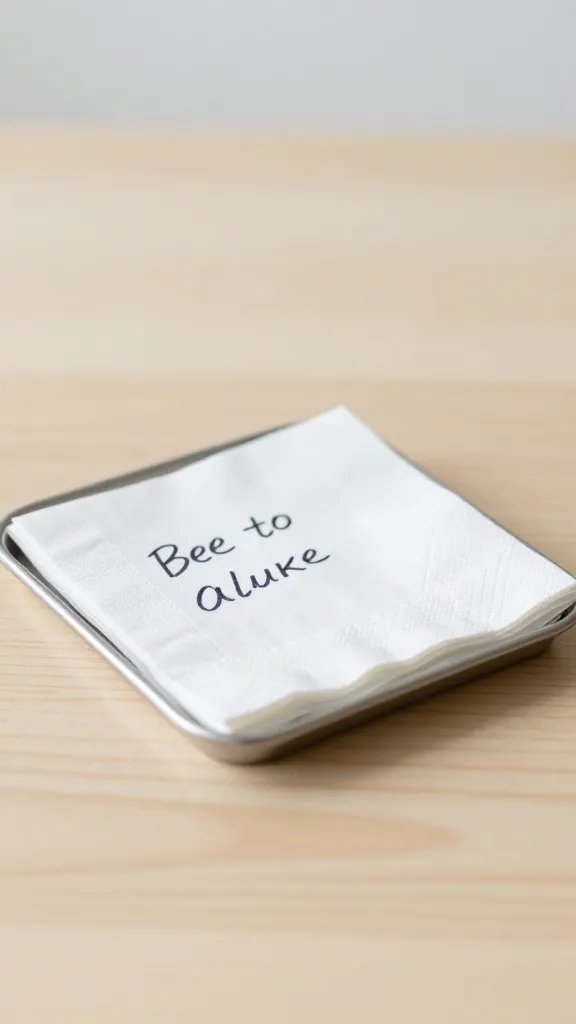
For a low-key, grown-up vibe, print or hand draw small, witty prompts on napkins: “Tell me about your first job,” or “What would you tell your 23-year-old self?” Guests can mingle while answering and the napkin prompts become a conversation starter. It’s a small touch that feels thoughtful without needing a big budget. If you’re worried about ink on napkins, use a simple white marker on dark napkins or write with a paint pen that dries fast.
Better with: A small tray near the drink station to keep awkward questions from becoming a centerpiece.
Time saver: Print prompts on a sheet and cut them; it goes faster than handwriting every piece.
8. Dessert Board Upgrade
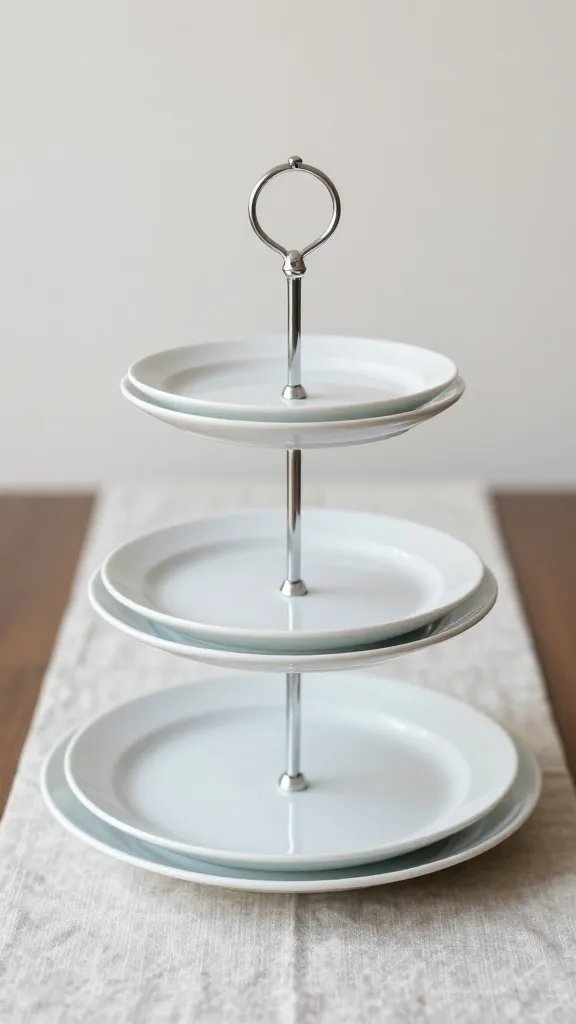
A humble dessert table can look polished with a few well-placed items. Start with a clean, flat backdrop and add one tiered dessert stand, a small cake, and a handful of bite-sized sweets. Arrange with space between items for air and photos. A simple linen runner and a few decorative bowls in your color theme give texture without clutter. If you’re short on time, pick a single dessert to showcase and place a few supporting items around it to create a focal point.
Make it ahead: Bake or buy items a day early and store in airtight containers to keep freshness.
9. Handmade Pinwheel Backdrop
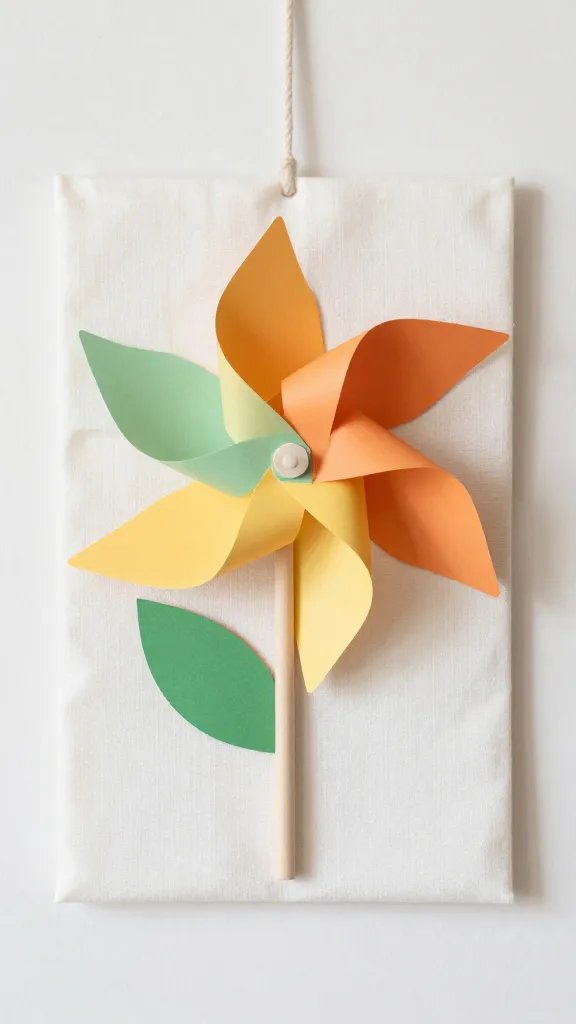
Make a playful backdrop using pinwheels cut from craft paper in two or three colors. Attach them to a low-cost cardboard base or a fabric panel to form a photo-friendly wall. This is simple to assemble in under an hour and can be stored flat after the party for future use. If you want a softer look, swap the pinwheels for tissue paper flowers with a similar color palette. The key is a repeating motif that feels intentional in photos.
What to swap: Tangy color for a more muted, sophisticated tone if desired.
Make it easier: Use pre-cut pinwheel shapes from a craft store to save time.
10. Paper Lantern String Lights
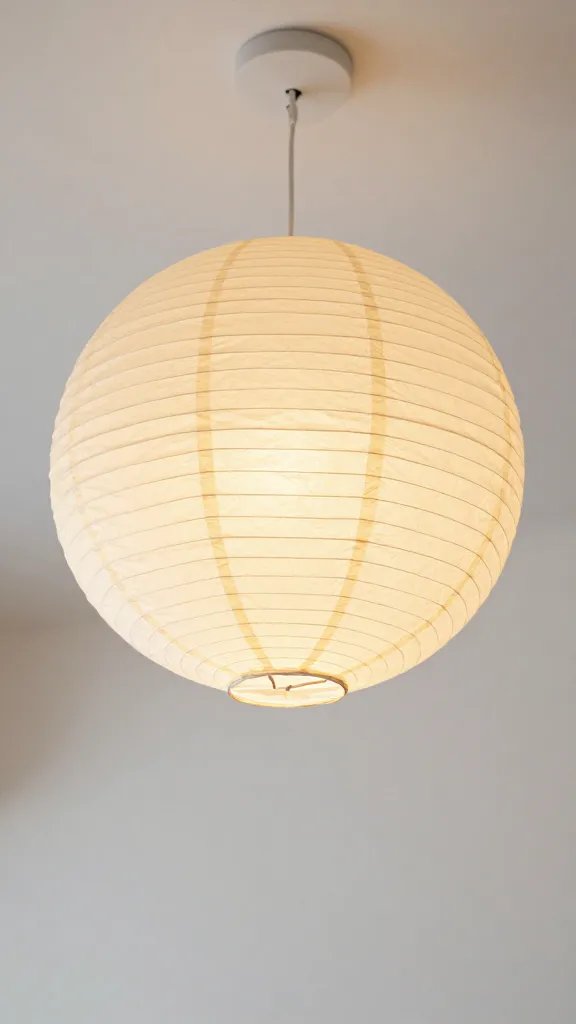
Line a ceiling or a doorway with paper lanterns strung on a thin wire or fishing line. The result is a warm, cozy glow with a simple setup. Choose two complementary colors or go monochrome for a more streamlined look. Keep the line taut and secure with removable hooks so you don’t damage walls. This works well in small spaces too, since the lights draw the eye upward and create the illusion of more room.
Placement tip: Start at one corner and space lanterns about 18 inches apart for even coverage.
Time saver: Assemble lanterns in advance and just hang them when guests arrive.
11. Monogram Dessert Picks
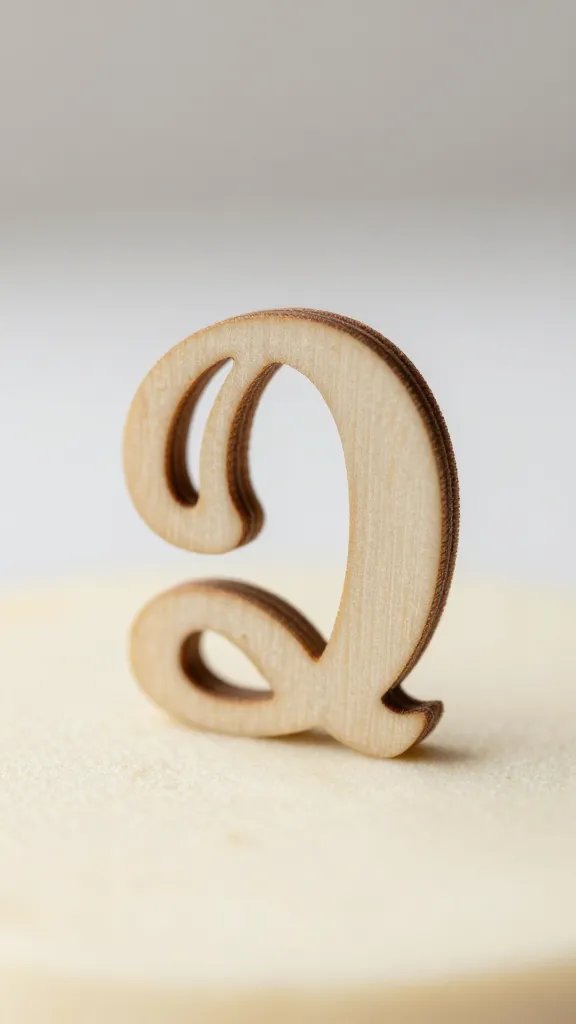
Turn plain desserts into personalized treats with simple monogram toppers. Cut letters from cardstock or use wooden initials and glue them to toothpicks. It’s inexpensive, easy to customize for each guest, and adds a chic touch to the cake or cupcakes. If you don’t have a cutting machine, you can hand-cut letters and seal edges with clear tape for a clean look. It’s a small detail that pays off in photos and keeps the table cohesive.
Purchase tip: Pre-cut letters from a craft store save time if you’re in a rush.
Flavor note: Choose non sticky sticks to avoid crumbs on the frosting.
12. The 30 Minute Craft Corner
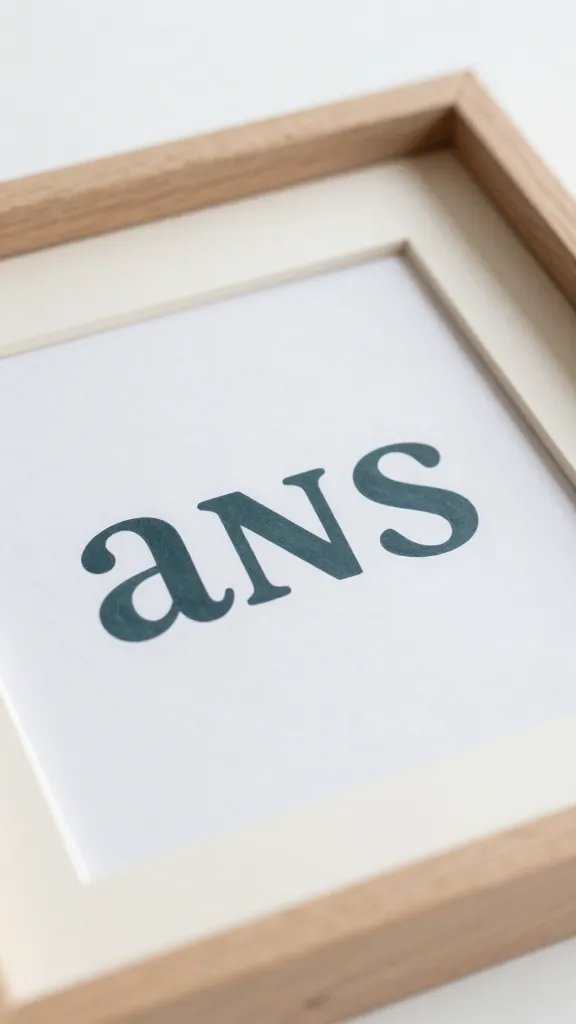
Set up a tiny craft station with one quick project that guests can join for a few minutes. Think framed name art with a single color palette, or custom coasters using cork and decorative paper. Provide all supplies in a single tray with simple, numbered steps. This gives guests a chance to engage without taking over the entire party time. It also yields a keepsake you can take home or gift to the guest of honor later.
Best for: a small corner or edge of the room so it doesn’t interrupt conversations.
Hint: Limit options to two or three so the project stays quick and fun.
13. Night Sky Projection Wall
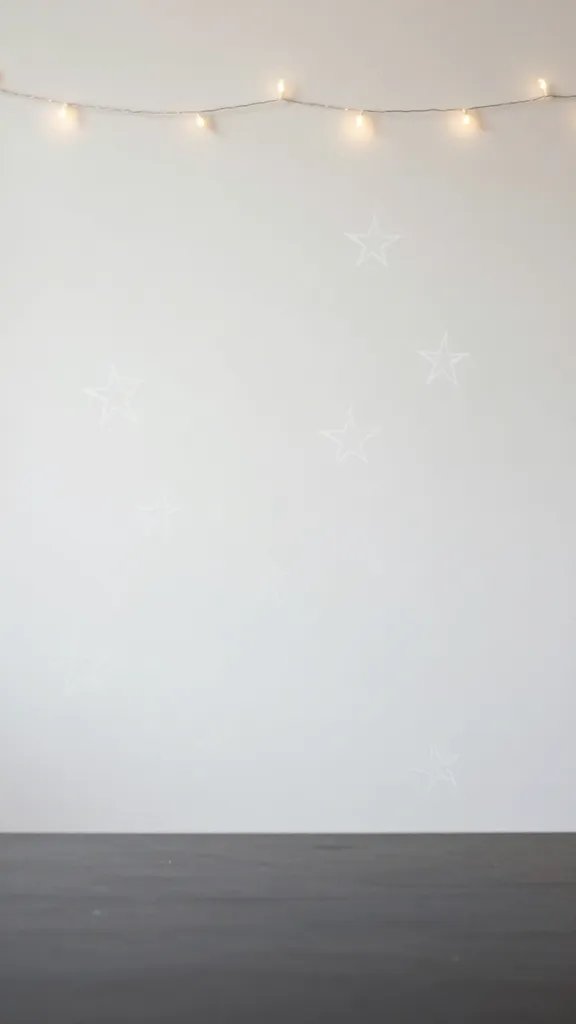
Project a soft starry sky onto a blank wall using a simple projector or a white crayon on dark fabric panel. Pair with string lights and a dark table for a moody, grown-up feel. It looks sophisticated in photos and adds depth to the party without requiring heavy decor. If you don’t have a projector, a DIY starry backdrop cut from metallic paper also works. Keep the colors light and cool for a dreamy effect.
Use what you have: White chalk or metallic stickers work as a DIY alternative.
14. Memory Jar Guest Book
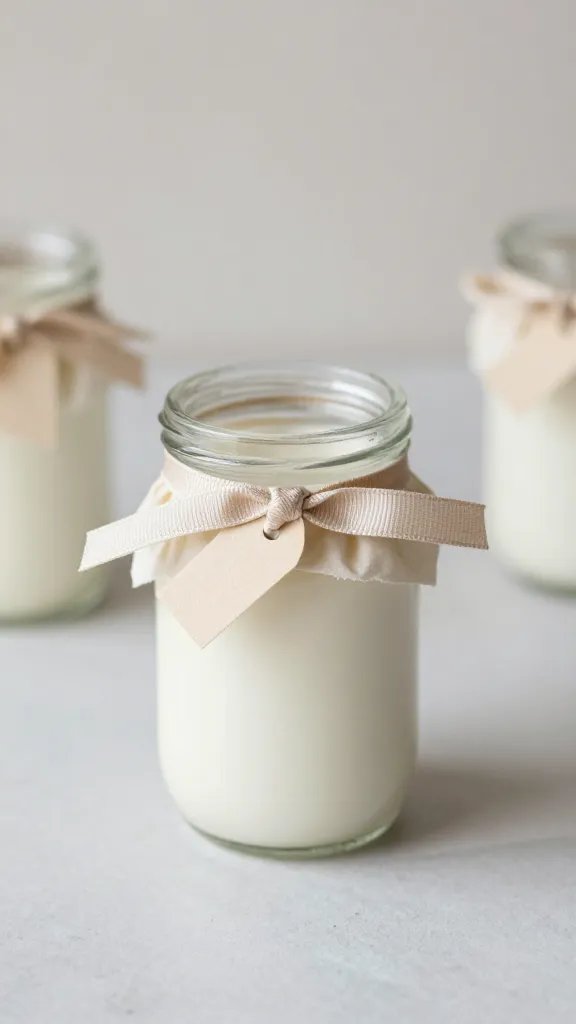
Offer a jar for guests to drop notes into, plus a few prompts like “Best 30th moment” or “Wish for your 31st year.” Place a small pad nearby so people can jot a quick message. It doubles as a keepsake and a conversation starter, and you can read through it later with the guest of honor. Dress up the jar with a ribbon or a small tag that matches your color palette to keep the table cohesive.
Storage tip: Keep the jar accessible on the dessert table for easy dropping during the party.
15. Mini Gift Wall
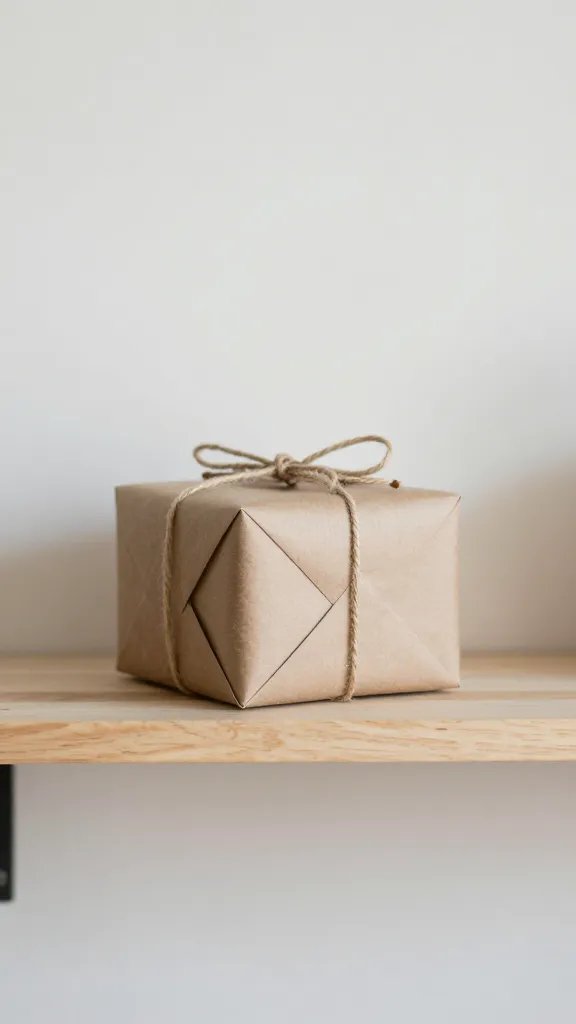
Set up a small wall with wrapped gifts or favors lined up along a narrow shelf or a piece of string hung on a wall. It creates a neat visual line and makes the room feel more finished. If you’re short on space, display just a few high impact favors on a tray with a simple backdrop. The wall reads as thoughtful and organized in photos, and guests appreciate the easy way to grab a small token on their way out.
What to include: A simple gift or keepsake for guests that can be taken home in a small bag.
Endnote: With these ideas, you’ll have a coordinated, stylish party without the last-minute chaos you dread. Save this for the next birthday that sneaks up on you.