
13 Craft Ideas for School Sports Day Banners

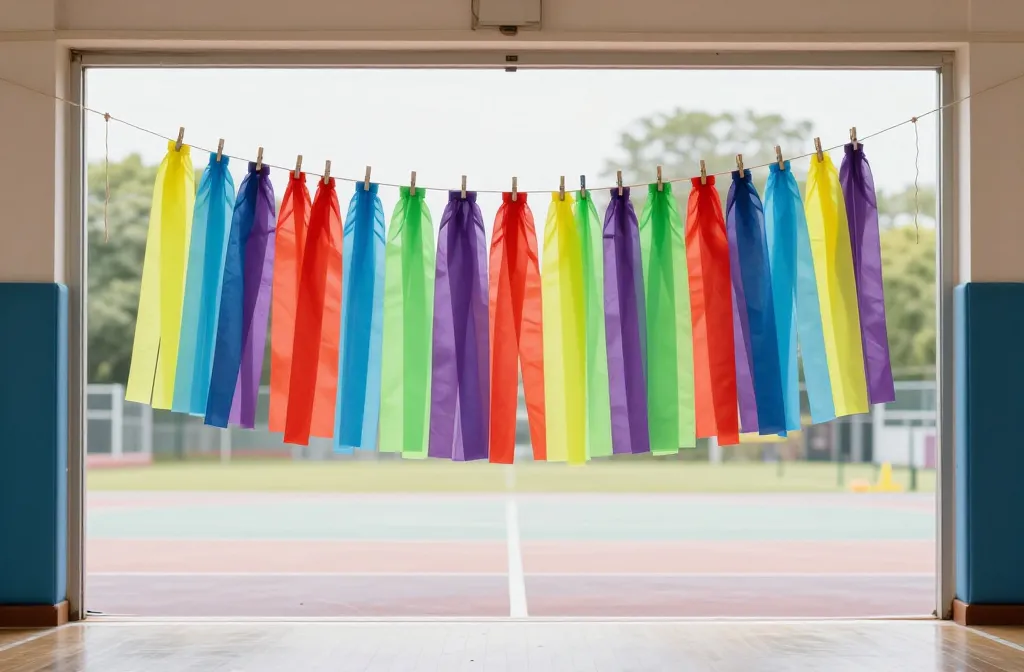
When the bag of markers is empty and the gym smells of glue, you know you need a plan that goes up fast. A banner should grab attention, hold up through the day, and cost little more than a willingness to glue and cut. You want ideas that you can actually finish this week without a full day of prep. Use these ideas to inject team spirit, color, and a little homemade personality into the field or gym door. Each idea solves a common sports day snag, from tight timelines to messy messes, without breaking the bank.
From simple papel craft to fabric flags and chalkboard letters, these banners are built for real life. And yes, you can adjust sizes for a hallway, bleachers, or the finish line. Let’s jump into ideas you can copy today and tweak for your school’s color scheme. buy time and set the tone with a banner that actually reflects the kids’ effort.
1. Neon Flag Streamer Banner
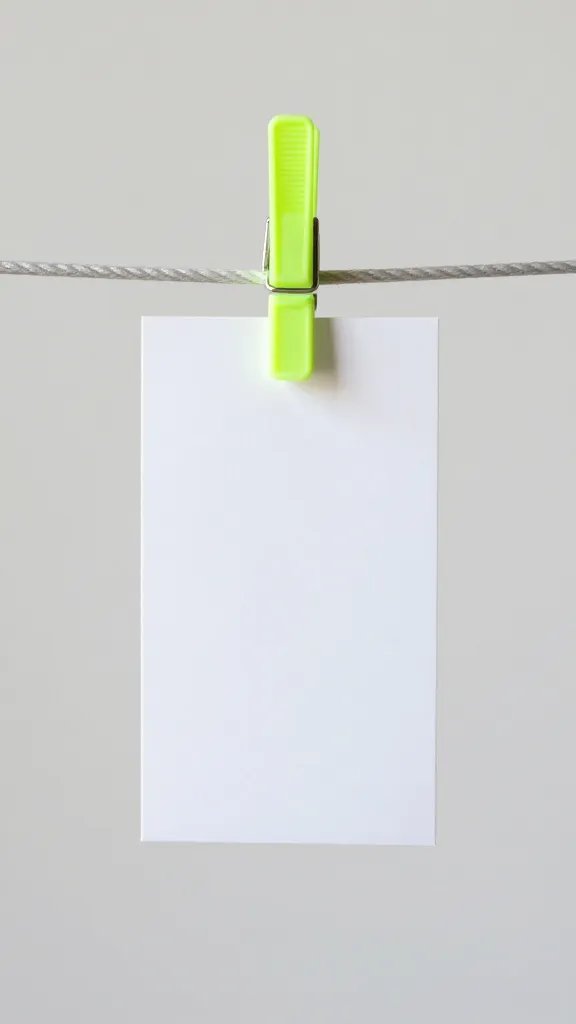
This banner adds high visibility without complicated letters. Tape lengths of bright tissue or lightweight fabric to a clothesline or string across a doorway. Clip a bold team name or numbers with clothespins for easy swap outs between events. It stays light enough to hang indoors and still reads from a distance. The real problem it fixes is a dull, hard to see entry point that no one notices. Time to make: about 30 minutes for a small banner; longer for a larger area. Material note: use sturdy twine, fabric scraps, or ribbon in 2–3 team colors for a punchy look.
Copy the look: Peel and stick letters cut from colored paper or a bold printed word cut from a vinyl sheet to spell the team name.
2. Chalkboard Letter Banner
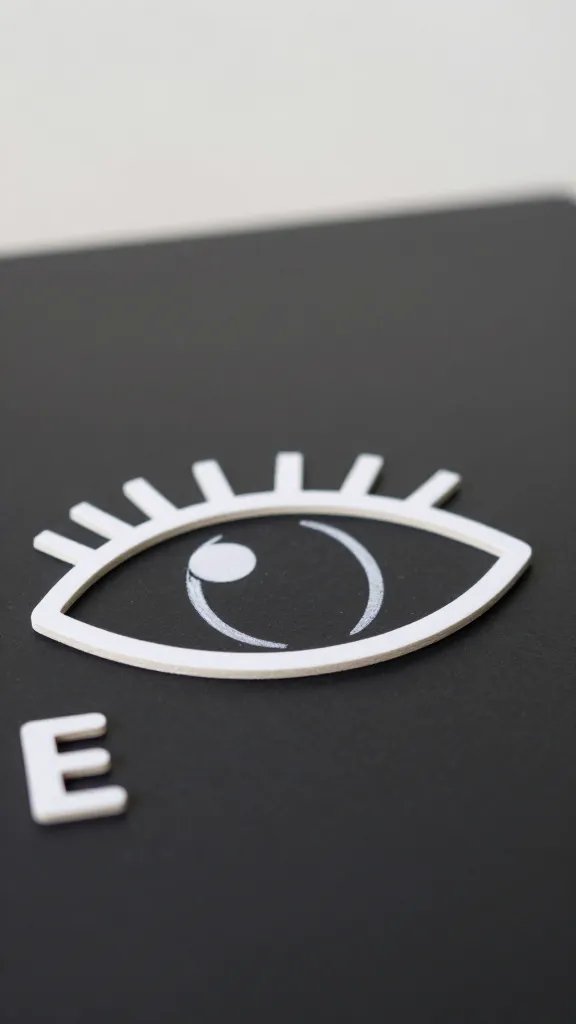
Best for a reusable sign that can be used year after year. Cut large letters from black chalkboard foam or paint a thick wood board with chalkboard paint. Write the team name with bright chalk markers the night before, then wipe clean between events. This solves the problem of unclear, hard to read banners that fade in sun or sweat. Time: 45 minutes for prep and 10 minutes to update between events. What to avoid: choose weatherproof options if banners will be outdoors.
Best for: middle school track days or gym hallways where you want a clean, modern look.
3. Ribbon Pole Banner
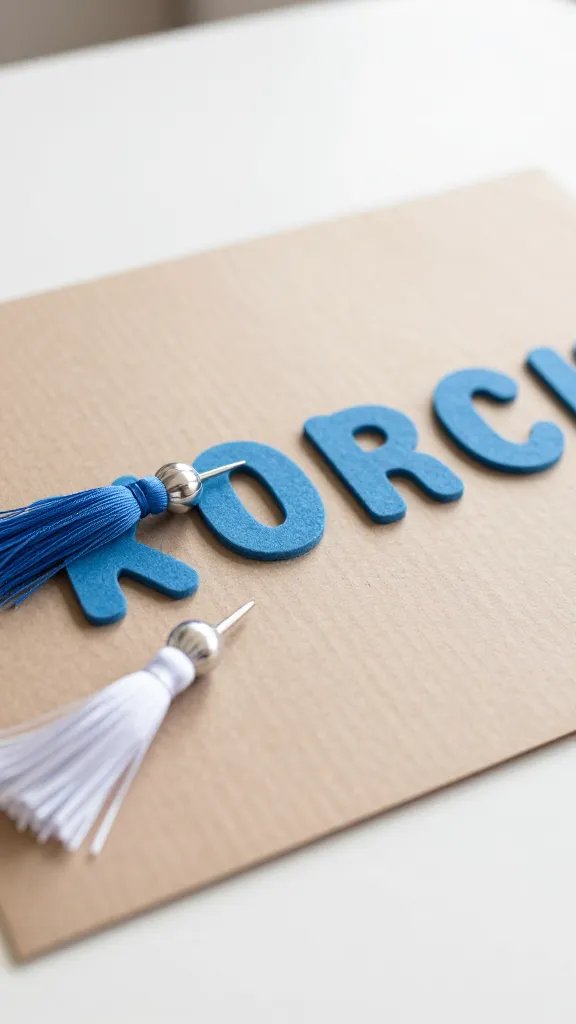
Attach ribbons to a dowel or broom handle and wrap the ends with painter’s tape to protect hands. Create a bold word or team initials with large foam letters or a printed poster board cut into letters. The result is a lightweight, portable banner you can carry on a pole or mount with a single hook. It fixes a common issue of banners that sag or droop on windy outdoor routes. Time: 20–40 minutes depending on size. Little hands tip: let kids help tie ribbons to the dowel with simple knots.
Placement note: hang at eye level for the best photo opportunities and easy reading.
4. Paper Circle Garland Banner
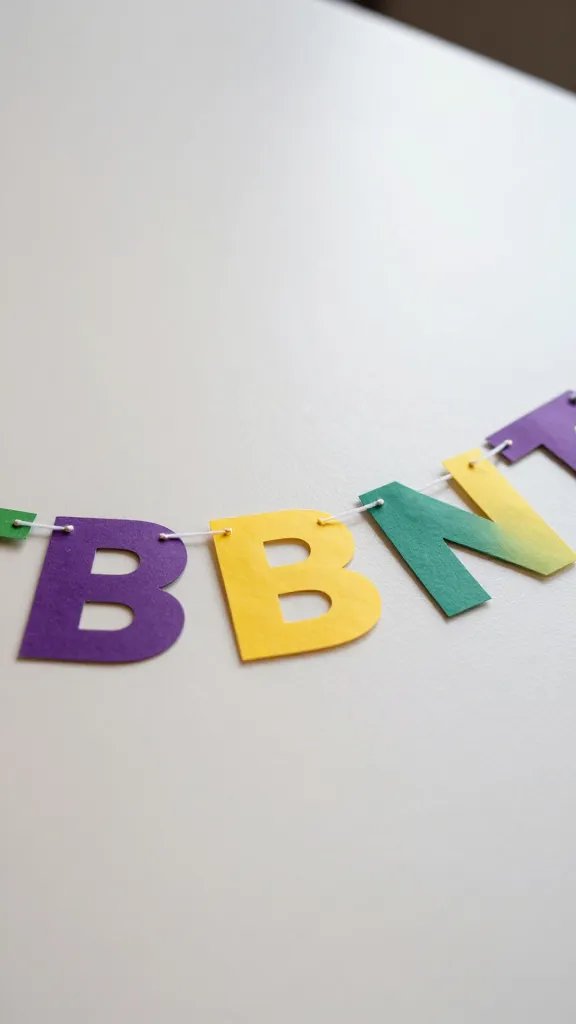
Cut paper circles in team colors and string them into a garland that spells out the team name with large cardstock letters between. It’s light, re-usable, and forgiving if someone bumps it. This approach fixes banners that look flimsy or flimsy signs that get lost in bleacher crowds. Time: about 60 minutes to assemble a full alphabet garland; you can speed up by pre-cutting circles and letters in advance. Use what you have: punch holes with a craft hole punch and run a ribbon through.
Quality tip: space circles evenly and alternate colors for legibility from a distance.
5. Pom Pom Border Banner
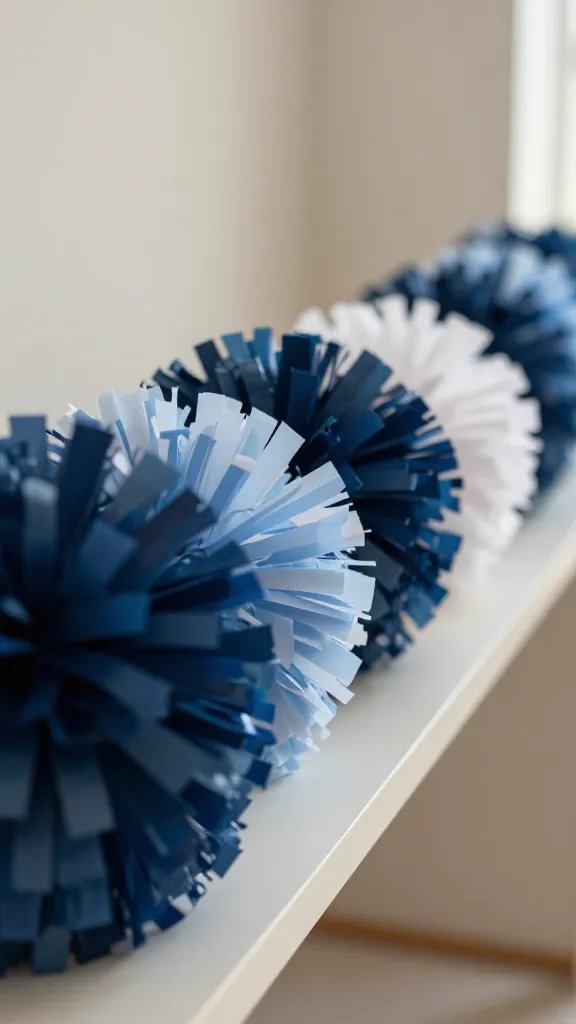
Glue or tape oversized paper pom poms along the bottom edge of a long banner. Top with bold black or white letters cut from craft foam or sturdy paper. It adds texture and movement, catching light and drawing eyes. This idea solves banners that feel flat or boring on sports day bleachers. Time: 40–60 minutes. Safety note: use low-temp glue to keep fingers safe; hot glue may need an adult for younger helpers.
Best for: indoor gym spaces where pom poms bounce slightly with fans or runners passing by.
6. Banner with Painted Athletic Track
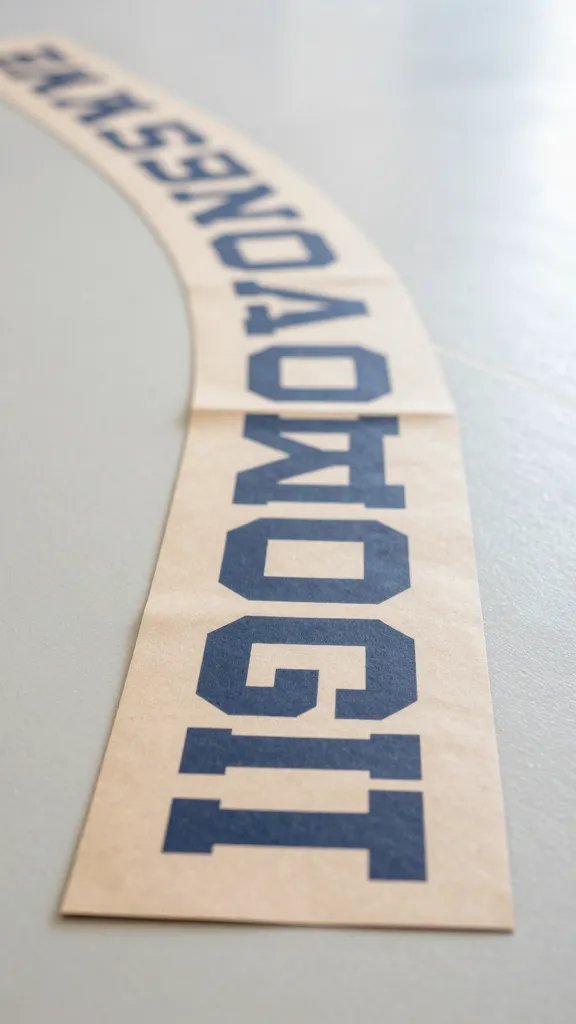
Paint a simple track curve on a long piece of butcher paper and spell out the school name along the inside lane. It reads well from a distance and provides a fun, thematic backdrop. This fixes banners that look generic in a sports setting. Time: 60–90 minutes for a full, crisp line and letters. Color note: choose 2–3 team colors and keep the palette consistent for readability.
Make it ahead: sketch letters first in pencil, then go over with marker or paint the day of the event.
7. Foam Sheet Letter Banner
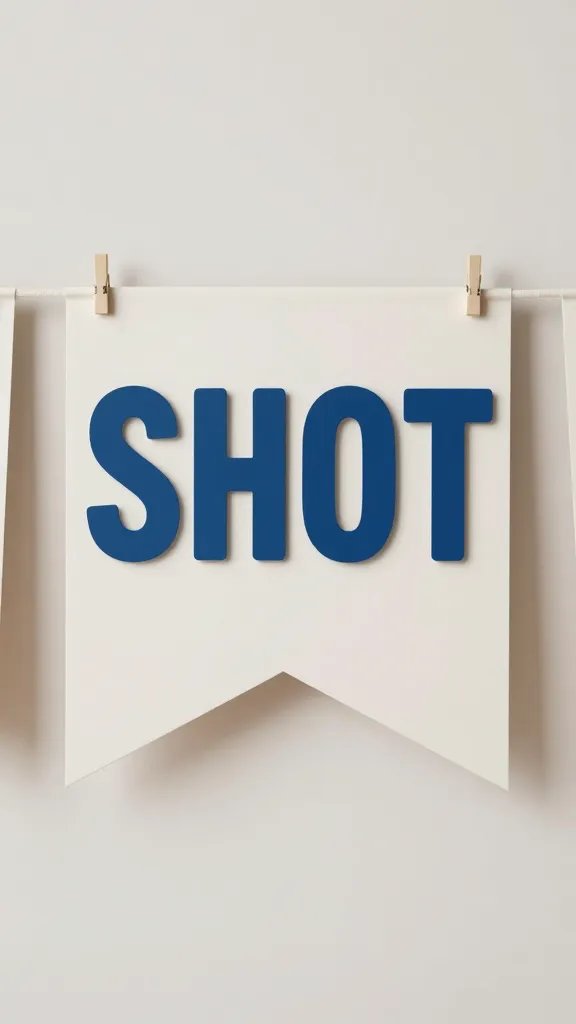
Big, bold letters cut from foam sheets, taped to a background of colored poster board. Use double sided tape or low-temp glue sticks for quick assembly. This approach fixes banners that fade or peel when hung in sun. Time: 30–45 minutes for a short banner, longer for a longer one. Copy the look: glue a small border around each letter to elevate the finished feel.
Make it easier: pre-cut all letters and lay them out on the background before taping or gluing.
8. DIY Garland Wreath Banner
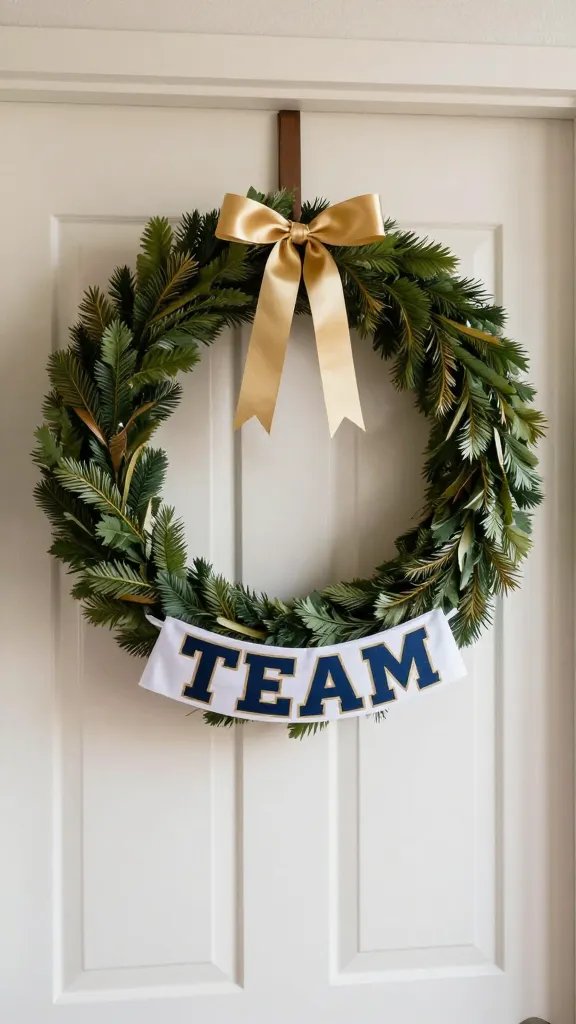
Wrap a circular frame with ribbons or streamers and insert a bold team name scroll printed on cardstock inside. It makes a striking entrance point and can be reused as a finish line décor later. This fixes banners that feel like afterthoughts when you’re short on wall space. Time: 45–60 minutes. Best for: small gym doorways or school hallway corners where space is tight.
Hosting tip: balance the circle with a few pennant shapes on either side to keep symmetry.
9. Jute Banner with Painted Numbers
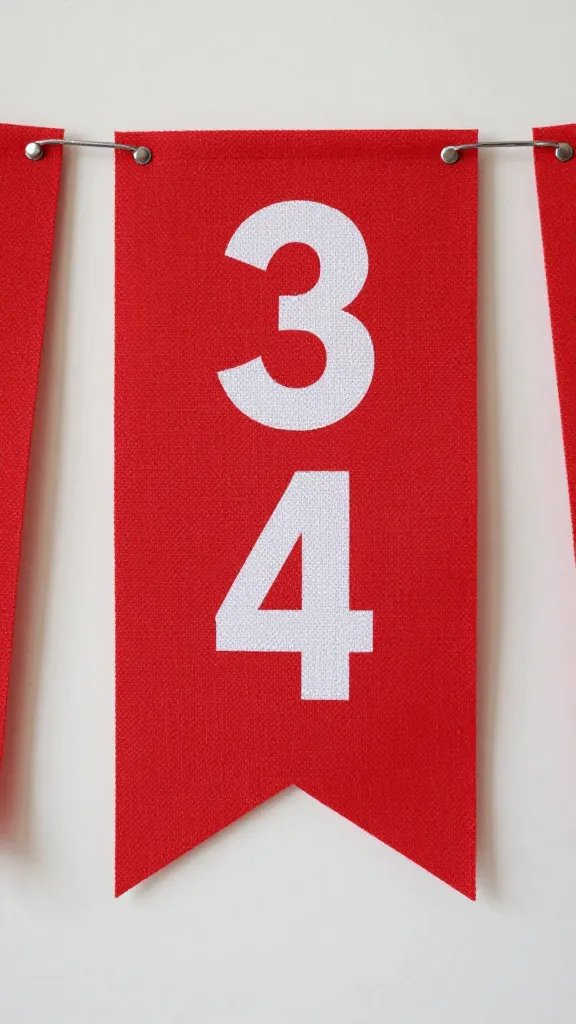
Tack jute or craft twine to a long strip of fabric and paint large numbers for a countdown to events. Pair with a bold team name at the end and a few small accents in team colors. This idea fixes the problem of banners that are unreadable at distance. Time: 60 minutes for layout and painting. Safety note: use washable paints and protect surfaces with newspaper.
What to upgrade: add a light coat of sealant to prevent smudges during rain or humidity.
10. Balloons and Banner Hybrid
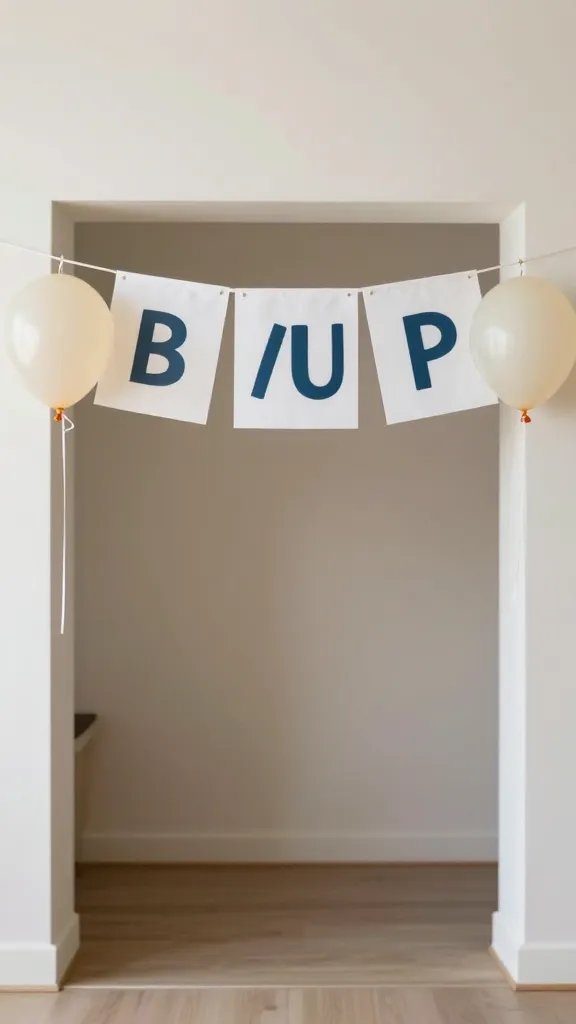
Stretch a banner across a doorway and anchor a few color-coordinated balloons at both ends. Let the letters be printed on a simple poster attached to the banner. This adds height and a party feel without a heavy setup. It solves banners that look bare or flat in photos. Time: 25–40 minutes. Placement note: anchor balloons securely to avoid drifting in wind or air currents.
Budget swap: use inflated balloon shapes cut from foil wrappers to cut costs if balloons are pricey.
11. Fabric Flag Banner
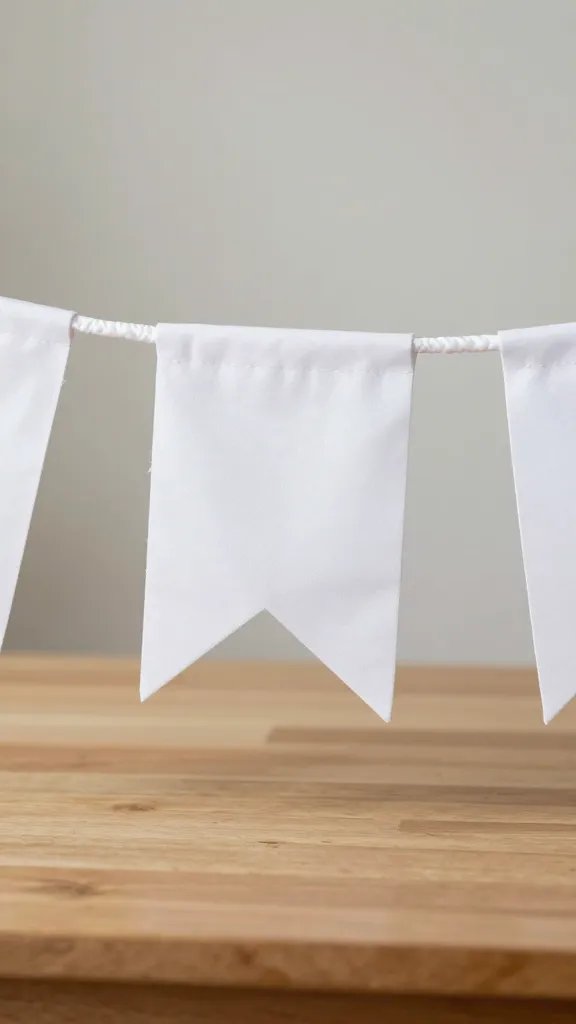
Cut triangular flags from lightweight fabric in team colors and sew or glue to a long cord. Hang across a doorway or bleacher row. The texture gives dimension and looks finished in photos. This is a good fix for banners that look cheap when printed on paper. Time: 60–90 minutes with a sewing machine or hot glue gun. Kid friendly: older kids can help with cutting and stringing under supervision.
Storage tip: roll the banner instead of folding to prevent creases between events.
12. DIY Letterboard Style Banner
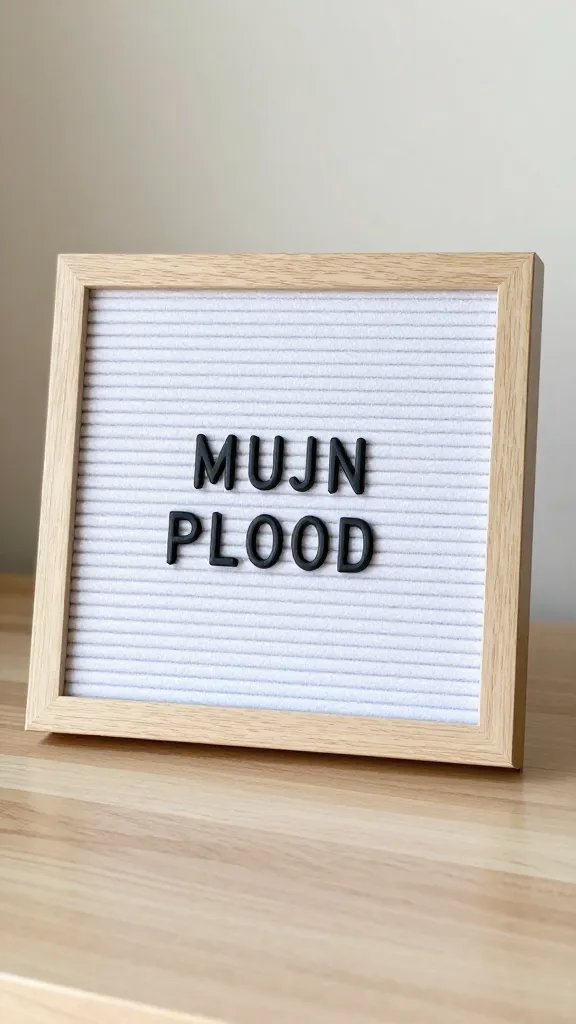
Cut a large piece of poster board and mount individual printed letters from colored paper to spell the team name. Focus on bold contrast between letters and background for legibility. This design tackles banners that read poorly from a distance and keeps costs minimal. Time: 30–45 minutes. Use what you have: you can reuse old letters from classroom displays for a quick setup.
Copy the look: add a simple border with washi tape for a crisp frame.
13. Photo Backdrop Banner
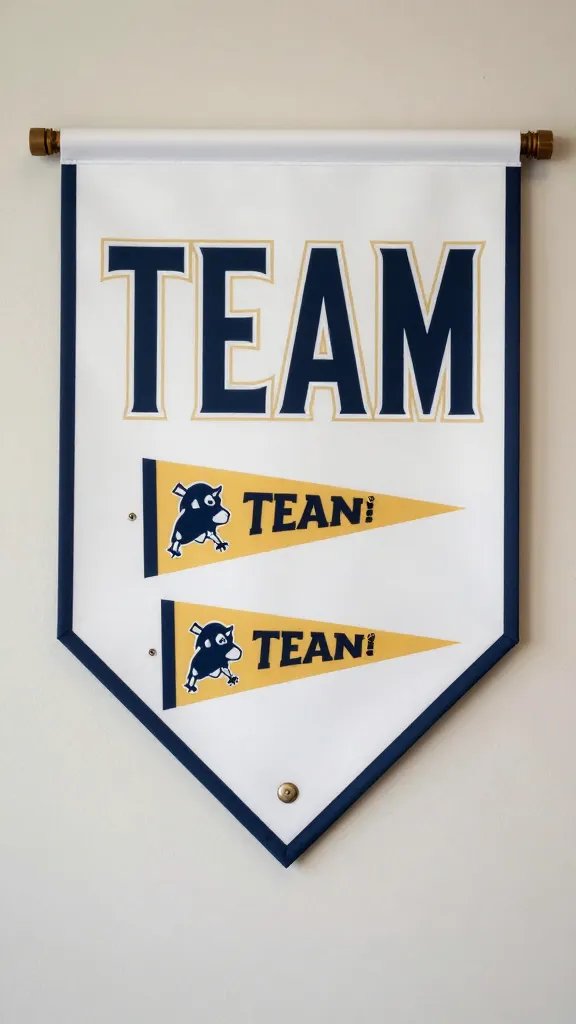
Set up a plain panel as a back wall and decorate with small pennants and a big team name in the center. Add a photo area with a simple prop or two for quick snapshots. This fixes the problem of a banner that looks great in real life but disappears in photos. Time: about 60 minutes to set up; adjust size for spaces. What to include: a few event-specific words like “Sprints” or “Relay” for context in photos.
Safety note: keep small prop items away from the path of runners to avoid tripping hazards.
Conclusion
With these 13 craft ideas, you’ll have banners that read clearly, look intentional, and hold up under a busy day. The right banner can energize teams, guide spectators, and photograph well without stressing you out. Keep a simple plan, pick 2–3 ideas, and tailor them to your school colors. Save this for the next birthday that sneaks up on you.