
13 Craft Ideas for School Graduation Displays

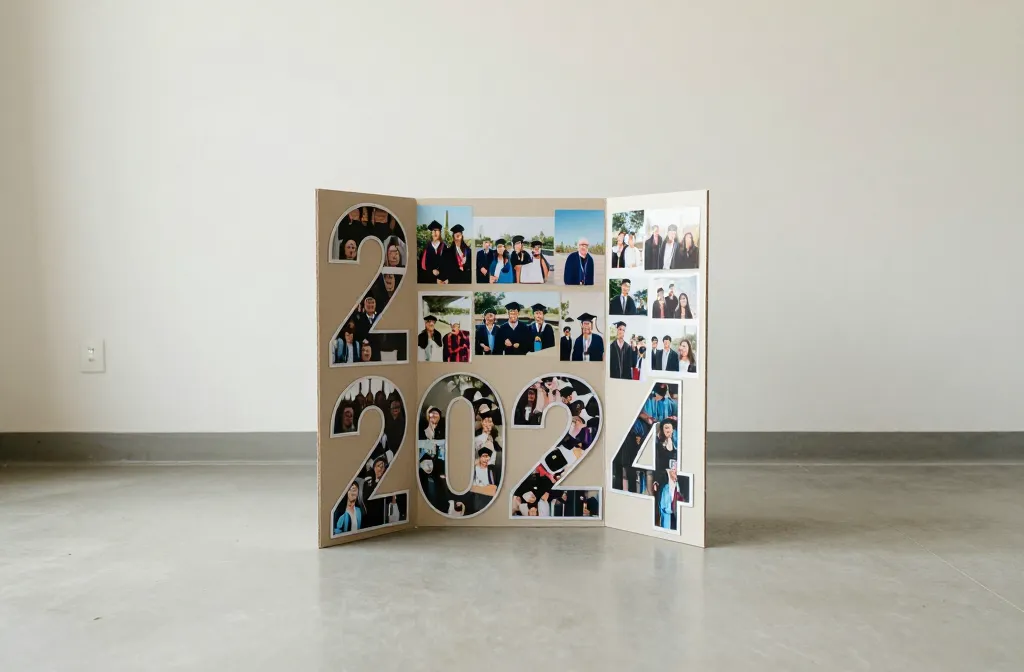
When a graduation date sneaks up, the wall behind the stage can feel empty in minutes. You want something personal, affordable, and easy enough to pull off with a last minute sprint to the craft closet. This list gives you practical ideas that look intentional, photograph well, and can be assembled with common supplies. You’ll find tweaks for small spaces, kid involvement, and faster setups that still feel polished. Use these ideas to build a display that honors the grad without taking over the whole room.
Each idea focuses on a real problem: limited time, tight budget, or a display that ends up looking homemade. A few tweaks here and there make the setup sturdy, reusable, and easy to store after the party. Read through, pick a few you like, and tailor them to your school color, mascot, or memory board. Now dive into the ideas and grab what you already have in the craft stash.
1. Number Photo Wall Banner
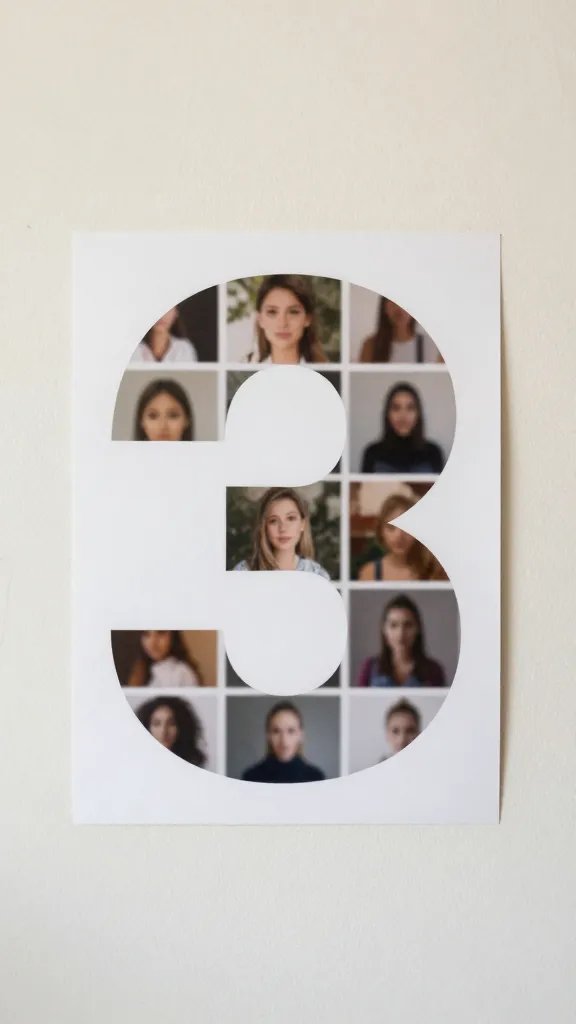
Turn a bold graduation year into a wall feature by framing a row of photos inside oversized numbers. It solves the problem of a flat stage backdrop by giving guests a visual timeline without loud banners. Start with two or three large poster boards cut into the digits you need. Glue or tape photos from kindergarten through senior year behind each digit, or use a single color photo grid for a cleaner look. Attach the digits to a string or a ribbon so you can reposition if needed.
Placement note: Clip each digit to a spine or foam board so you can rearrange without tearing tape. Use what you have: Print wallet-sized photos at home for a low cost and quick turnaround.
2. Chalkboard Toastboard Corner
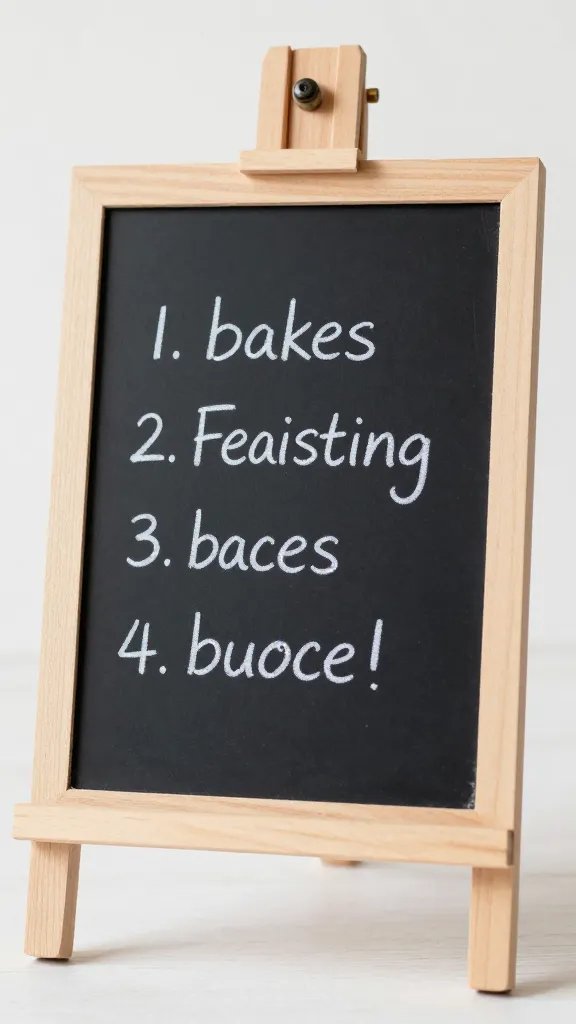
A single small chalkboard or painted plywood panel becomes a place for short captions from teachers, friends, and family. It fixes the “blank wall” problem and invites guests to leave a memory without a whole photo wall. Create a rotating message by taping a small list of prompts next to the board like “Favorite memory,” “Advice for the future,” or “Next chapter.” Use white or chalk color on a black surface for contrast. Place the board near the exit so guests can add notes as they leave.
Copy the look: If you don’t have a chalkboard, use a black foam board and white paint marker. Keep it kid friendly: Have older kids write short notes to limit messy handwriting.
3. Ribbon Color Archive Streams
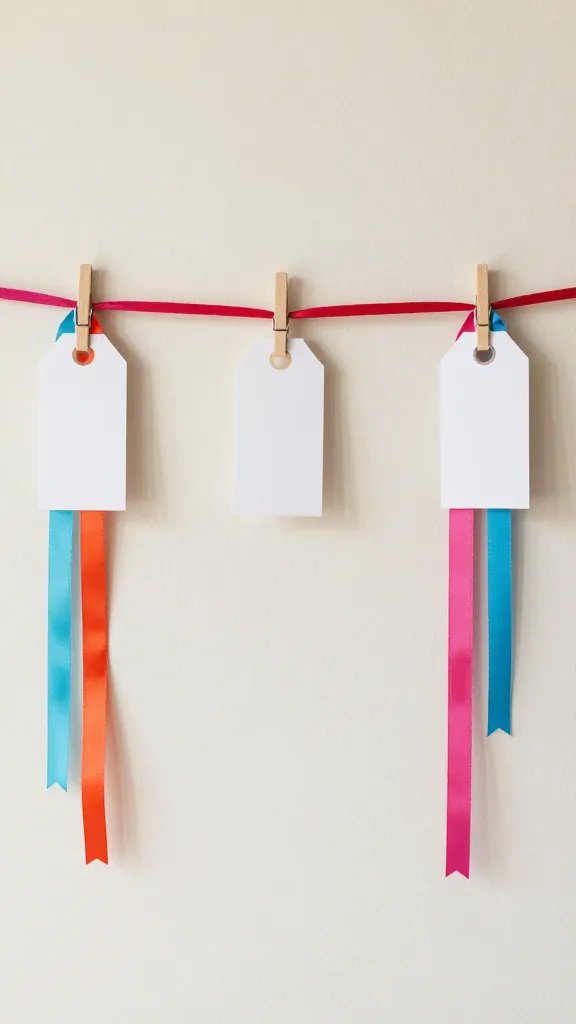
You can create a lightweight, colorful backdrop using long ribbons or strings in the school colors. It solves the problem of a dull wall and looks soft in photos. Cut 6 to 8 ribbons about as long as the height you want the display to be. Mount them to a strip of painter’s tape along the top edge of a wall or a freestanding dowel. Label each color with a tiny tag that states a class memory or achievement. You can swap in new memories each year.
Make it ahead: Pre-cut ribbons and tags, then stack them in a labeled bin for quick assembly during the event.
4. Dollar Store Plaque Gallery
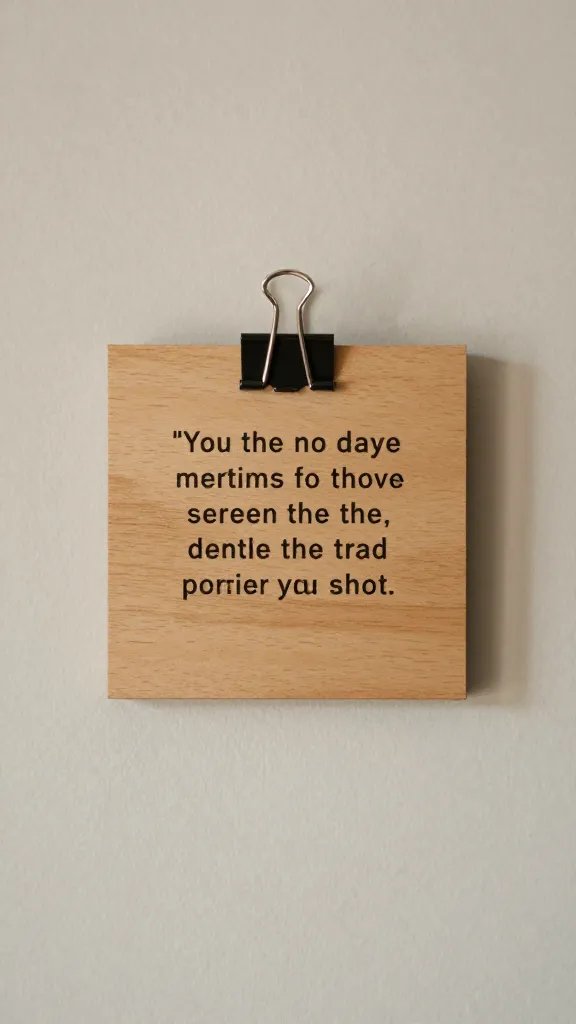
Use a handful of simple wooden or cardboard photo plaques to hold small mementos and quotes. This approach keeps the display grounded and easy to pack away. Paint plaques in the school colors, then clip a favorite quote or achievement per plaque using mini binder clips. Add a few small frames with hands-on photos to broaden the display. The result is a tidy, gallery-like wall that reads as a curated exhibit rather than a collage.
Make it ahead: Apply paint to plaques the day before and let dry flat. Budget swap: Use thrift store frames and remove the glass to keep it light.
5. Floor Banner With Letter Cutouts
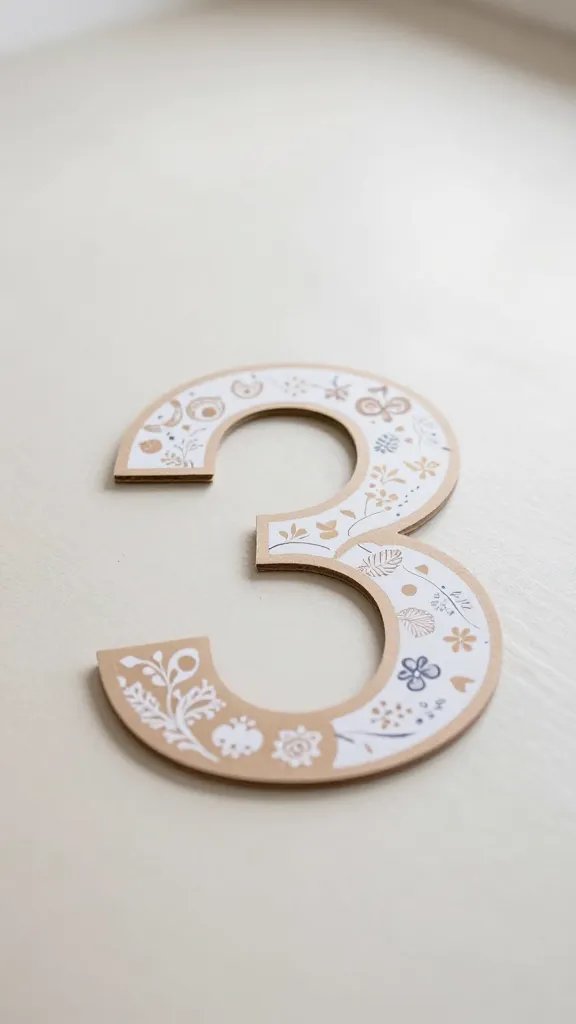
A floor banner made from large cutouts of the graduate’s initials and the year creates a bold focal point near the stage. It fixes the “wall is bare” problem quickly. Cut two to four giant letters from poster board or foam board, then cover with decorative paper or fabric that matches the school vibe. Layer the letters on the floor with a light pathway of small LED lights or battery-powered tea lights to guide eyes toward the stage.
Safety note: Keep lights out of reach of small hands and away from paper edges. One small change: skip the lights and use bold colored tape to outline the letters for a cleaner look.
6. Memory String With Mini Milestones
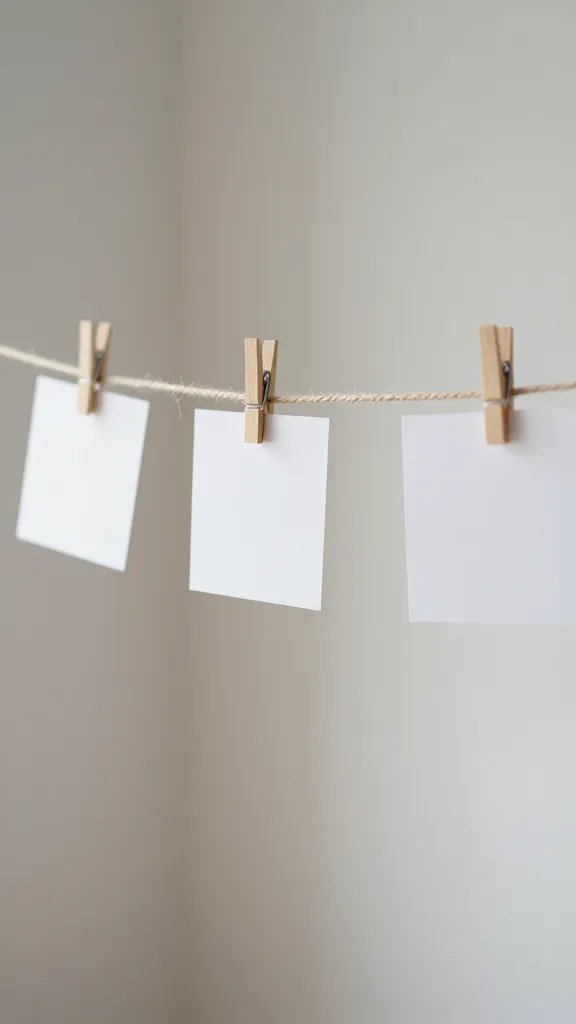
A string of twine or thin rope with small milestone cards becomes a storytelling thread. Each card notes a milestone like “First job,” “College bound,” or “Volunteer year.” It solves the problem of missing personal touches in a display. Print or handwrite four to six cards per string and clip them with mini clothespins to the twine. Hang the string in a U-shape or across a corner to avoid blocking photos, and leave a small marker space for guests to add a future milestone.
What to avoid: Overcrowding the line with too many cards. Best for: A narrow hallway or corner display.
7. Mascot Pom-Pom Garland
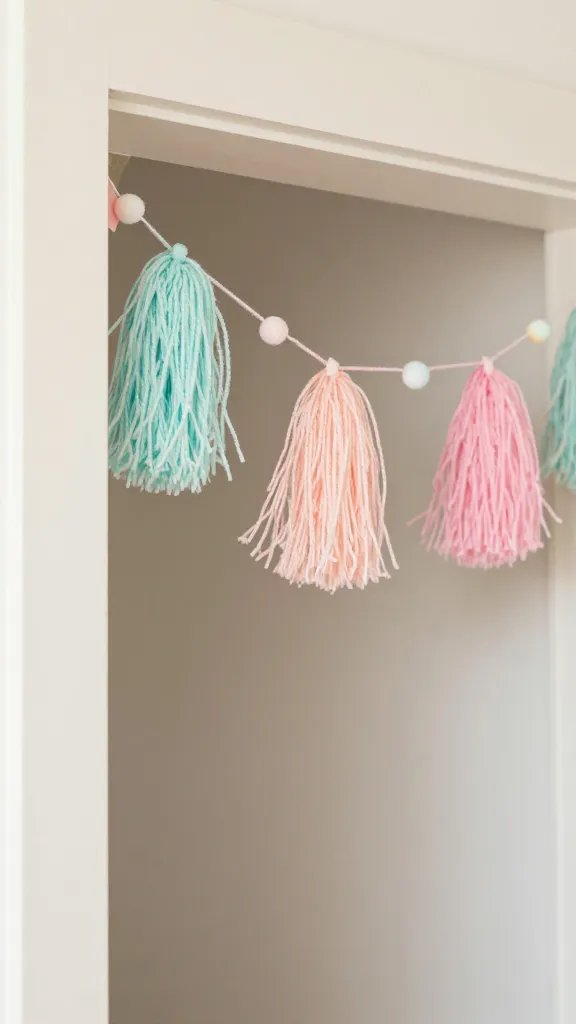
Make a playful garland using the school mascot colors and a few simple pom-poms. It adds texture and color without taking up wall space. Create pom-poms with yarn and wrap them around a thin wire or a long string. Space them evenly and tie a small tag with the graduate’s name and graduation year between sections. Drape the garland along a doorway or above the cake table for a pop of color and a soft, celebratory feel.
Make it ahead: Ball up yarn into small pom-poms the day before and assemble on a pre-cut length of twine. Storage tip: Keep the finished garland in a labeled tote for next year.
8. “Future Plans” Table Top Board
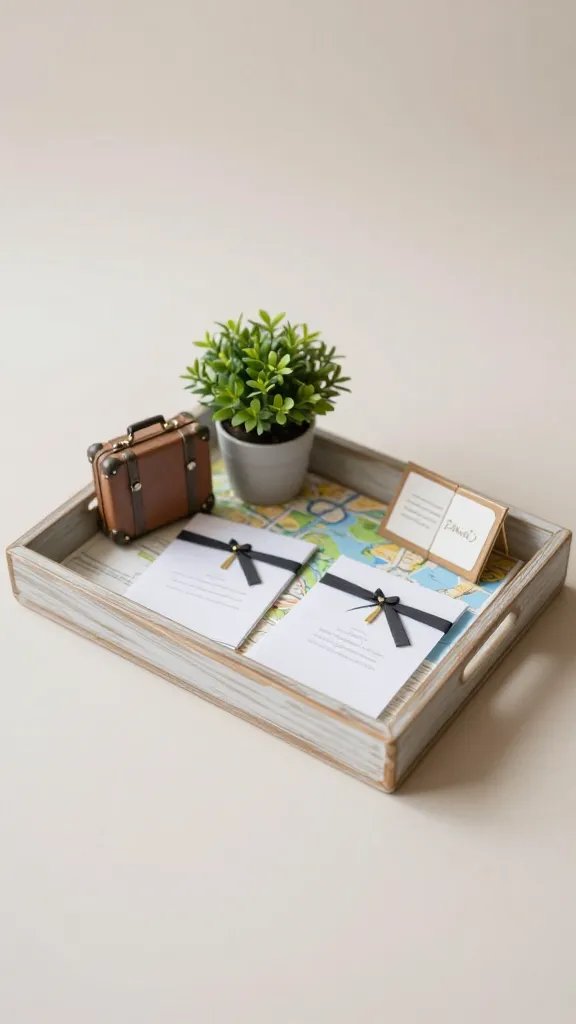
A small board or tray holds tiny props representing future plans—mini diplomas, a tiny suitcase, a map, and a small plant for growth. It solves the problem of a cookie-cutter backdrop by adding a personal scene. Place the board near the dessert table or entry so guests see it first. You can add a short caption with the graduate’s major or school year on a nearby card for context.
Use what you have: Turn a thrifted frame into a tray by lining the back with scrapbook paper and sealing it with clear contact paper.
9. Photo Garland With Yarn Letters
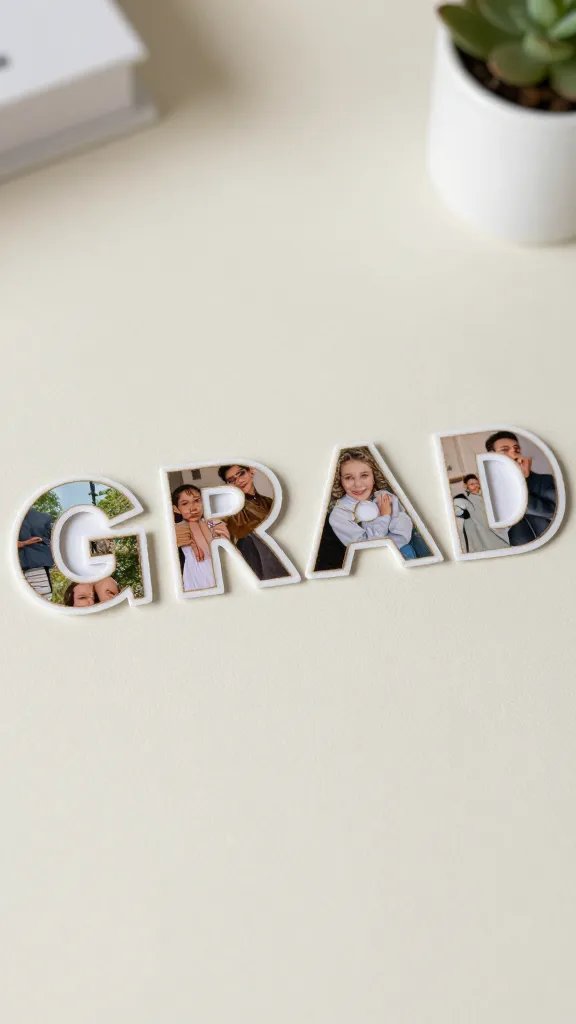
String photos of key moments along yarn cut into large letter shapes spelling a name or word like “GRAD.” It’s a budget-friendly way to fill space and tells a story. Print photos in common sizes and mount them to the back of letter cutouts using double-sided tape or small clothespins. Hang the whole piece on a wall or along a hallway. This is a straightforward, visually strong display that travels well between rooms or venues.
Angle tweak: Use sepia or black and white photos for a cohesive look if you have a mix of print sizes.
10. Paper Flower Backdrop, Two-Tly
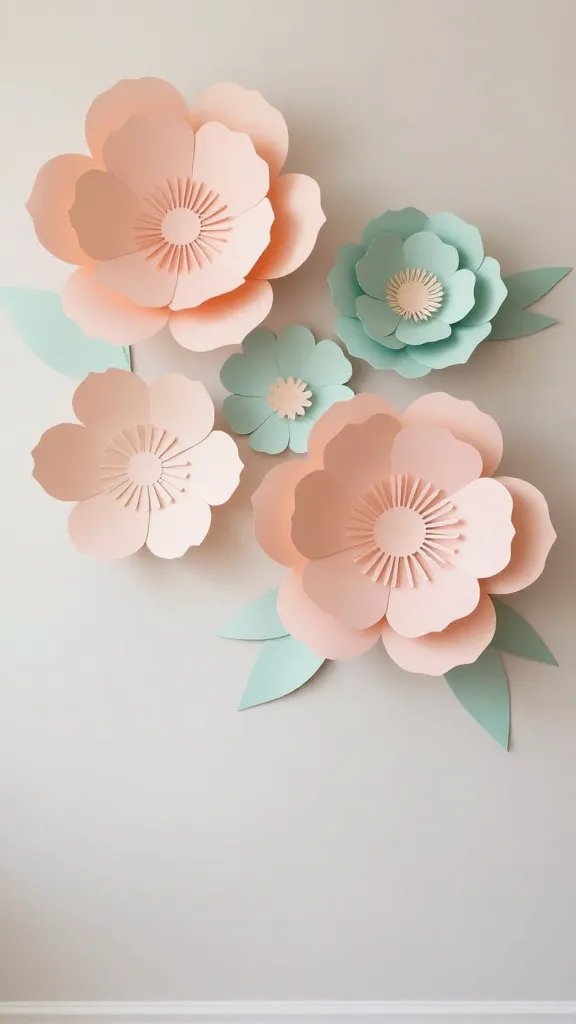
A soft backdrop of large paper flowers in school colors behind the stage reads well in photos and throws a gentle color bloom on the room. Create 8 to 12 large flowers from tissue or crepe paper, glue them to a long strip of poster board or lightweight fabric, and mount to the wall. If you’re short on time, fill the center with a large initial cutout or the graduation year in bold letters. It’s a straightforward, scalable setup.
Make it easier: Use ready-made tissue paper flowers in a coordinating palette to speed up assembly. Price saver: Recycle old wrapping paper into flower petals for a deeper hue.
11. Greeting Line With Card Box
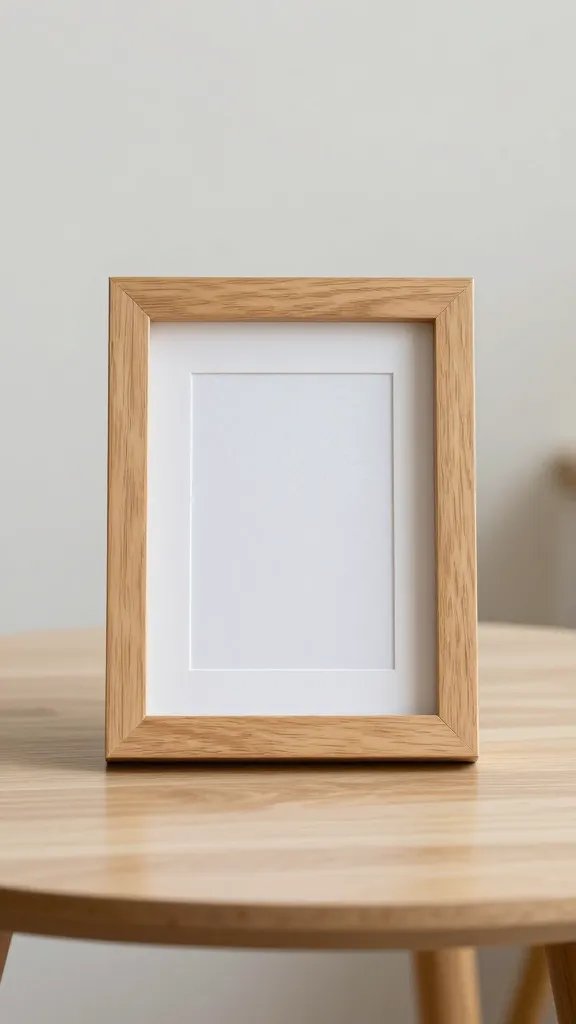
Line one wall with a row of small frames each containing a short message from friends and family. The card box below collects new messages from attendees as they arrive. This approach addresses the lack of personal notes and provides a simple craft project for kids to participate in during an early setup phase. Use a simple wooden frame, a sheet of patterned paper, and a marker to fill the frames. Place the box on a small table with a label to encourage notes.
Safety note: Keep the card box on a stable surface to prevent tipping during traffic.
12. Graduation Quote Curtain
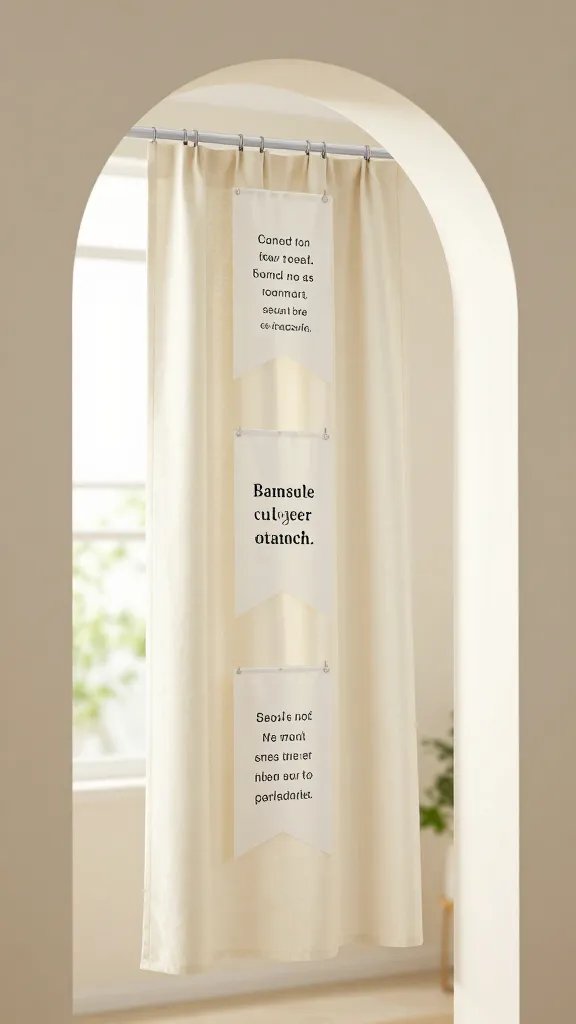
Cut a batch of cardstock flags in the graduate’s favorite quotes or moments, then hang them in a vertical curtain from a doorway. It fills vertical space and creates a photo-ready backdrop without pulling wall space. Write quotes by hand or print them in a bold font, and alternate colors to create motion as guests walk by. Clip tags to connect each card to a string, and finish with a bow at the top for a polished look.
Best for: A doorway or archway that guests pass through as they enter the room. Make it ahead: Punch holes and string the flags the day before.
13. Lighted Doorway Cutout
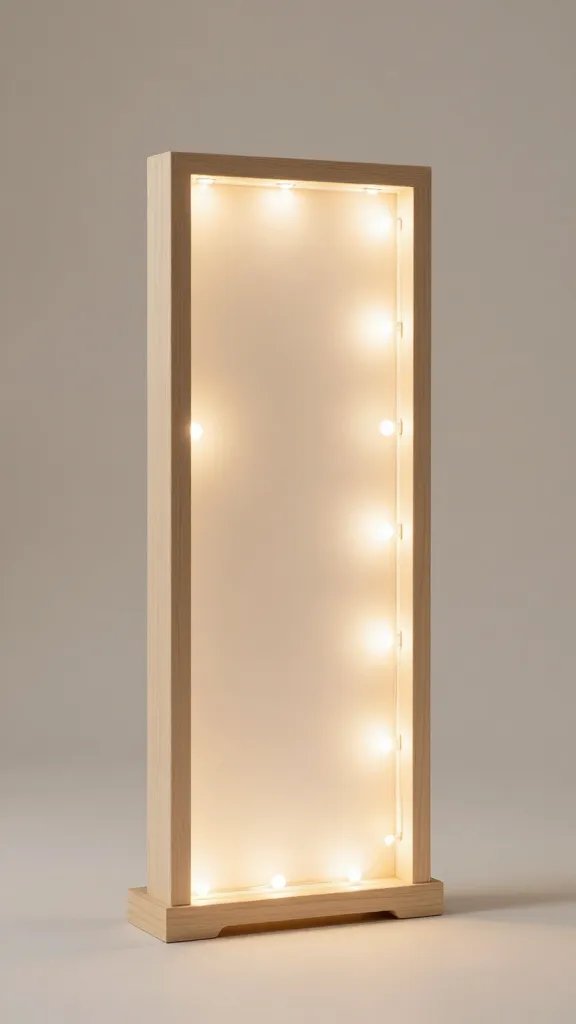
Create a simple doorway cutout in lightweight cardboard or foam board, then wrap the edges with a garland of fairy lights. It makes a striking entry point for photos and can be reused at future events. Paint the cutout in the school colors, add the graduate’s name across the top, and weave a string of lights around the frame. Mount on a portable stand so you can move it to different spots at the venue if needed.
Budget tip: Use battery-powered LEDs under a budget-friendly light strand to keep heat low and wires neat. Placement note: Place away from direct sun to keep colors vibrant longer.
These ideas cover a range of spaces, budgets, and time frames. Pick one to anchor your display and layer in a couple of quick tweaks to make it truly feel personal. You’ll have a photo-worthy setup without wrestling with a massive DIY marathon. Save this for the next graduation that sneaks up on you.