
16 Craft Ideas for School Groups of 30 Students

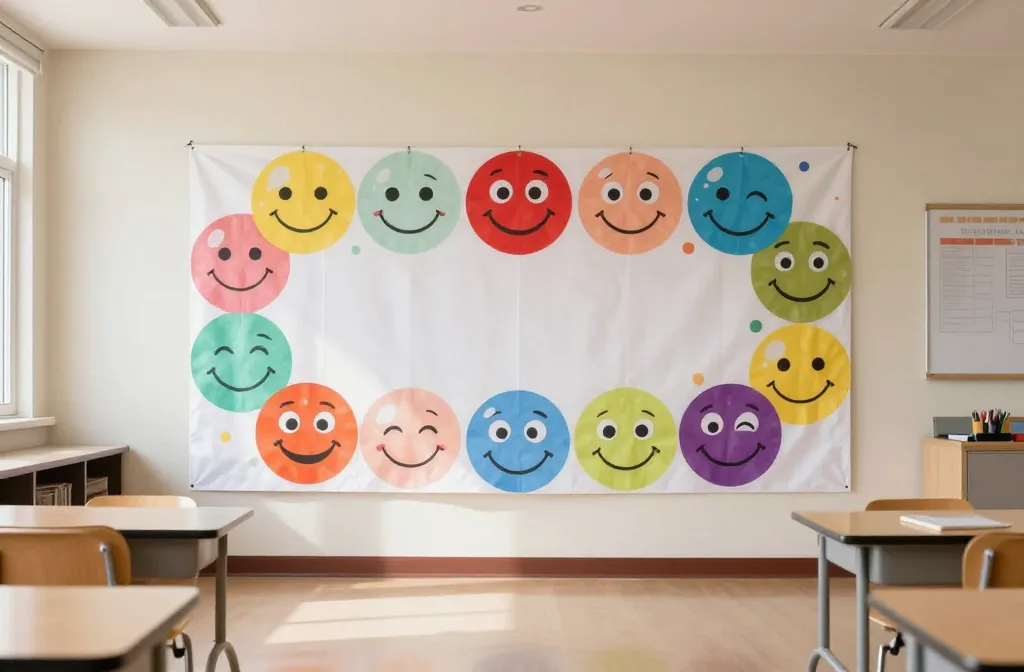
Busy teachers and parent volunteers need fast, friendly ideas that actually fit a crowd. These crafts solve common group planning headaches and stay within a practical budget. Each idea is written so a normal adult can run it with mid sized groups and a little help from older students. You’ll find clear supplies and rough timings so you can pick and mix without a last minute scramble. Use the list as a quick plan for the week, not a single all day project.
Whether you’re chasing something to fill two class periods or a single rainy recess, the ideas here stay approachable and printable. You’ll also see easy upgrades when you have extra time or more helpers. Read through and grab the ones that fit your space and schedule. Each note helps you hit the ground running with a ready to execute craft or setup.
1. Bubble Pop Banner Portraits
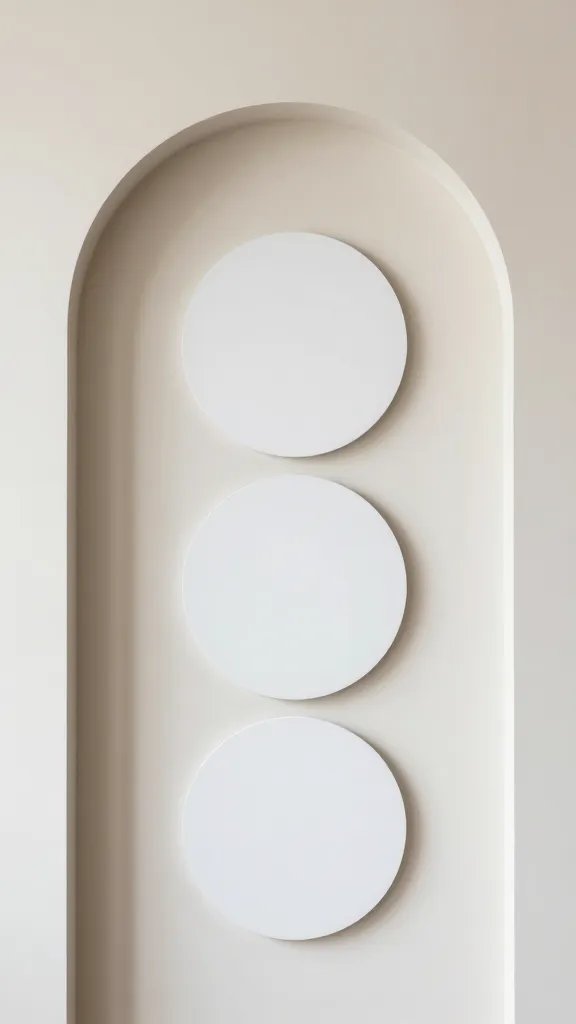
Kids love big, bright color and the chance to be a star in a group photo backdrop. A portrait style banner made from oversized bubbles gives a playful, store bought look without breaking the bank. Use plain cardstock cut into large circles and kids spray paint or dab with markers to create face features or themed accents. Hang the circles in a staggered arch across a wall for instant drama. Time saver: pre cut circles and set up a color station so groups rotate through quickly.
Color note: Use the school colors to tie it to the event and reduce the need for extra decor. This works great as a quick photo booth if you leave a small props station nearby.
Use what you have: If spray paint is scarce, color with markers and finger paint for a softer look.
2. DIY Tape Resist Chalkboard Signs
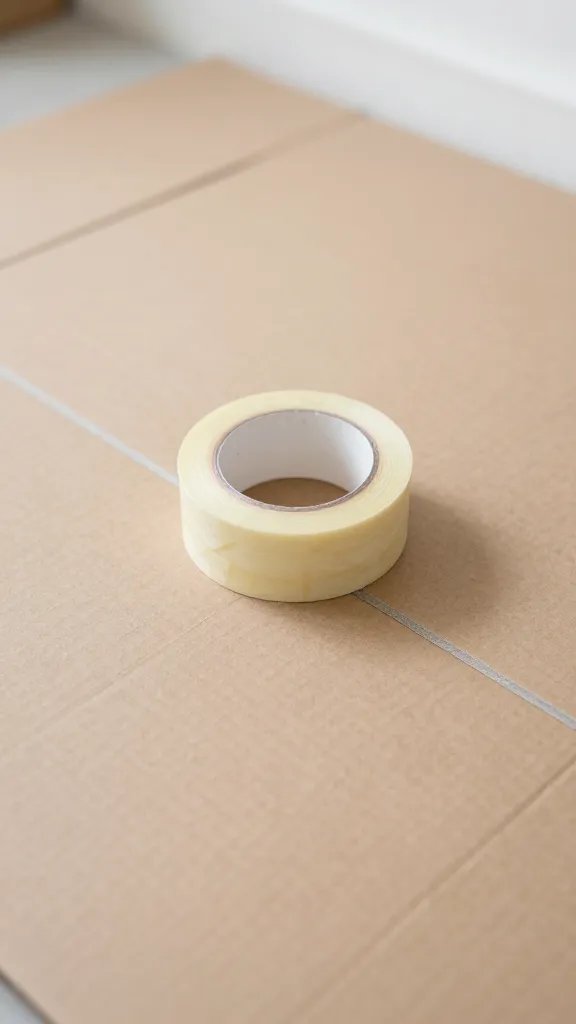
Students stretch painter’s tape across sturdy cardboard to create a relief pattern, then brush on chalkboard paint. When dry, peel away tape to reveal bold lines. Write class rules, welcome messages, or theme mottos in chalk. This keeps small hands busy and ends up as a reusable prop that can be re labeled for future events. Prep several boards in advance and let groups choose a sign to decorate during a short rotation.
Why it works: It gives every kid a moment to contribute and keeps cleanup predictable. A single bottle of chalkboard paint covers many boards and lasts through several sessions.
- Base: cardboard or foam poster boards
- Main supply: painter’s tape and chalkboard paint
- Detail: chalk or white paint for lettering
- Finishing touch: a string or ribbon to hang signs
Safety note: adult supervision recommended when using paint and tape removal.
3. Paper Cone Flower Garden
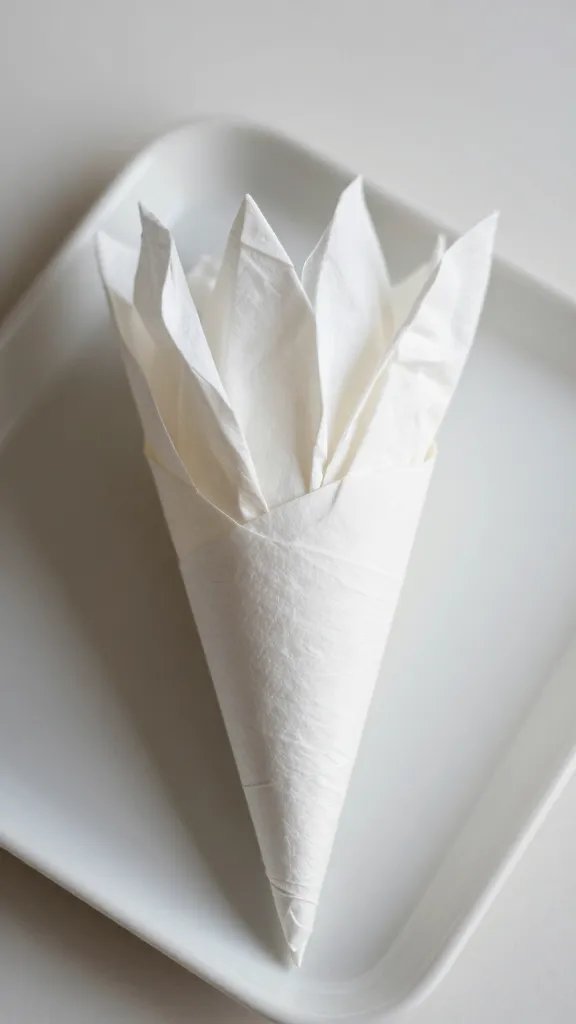
Turn a handful of colored paper into a garden of simple flowers mounted on paper cones. Kids scrunch tissue or crepe to create petals, then glue to a cone stem. Display the finished cones in a rectangular tray or a cardboard box with shallow holes for stability. It’s a charming centerpiece or a dotted path around a room. Time wise, you can have a flower station ready with pre cut cone shapes and the rest handled by kids in a 15 minute window.
Best for: a garden themed party or a spring literacy activity. You can swap colors to reflect the season or school colors.
Copy the look: Use sturdy colored card stock to keep petals looking neat longer.
4. Sticker Mosaic Wall
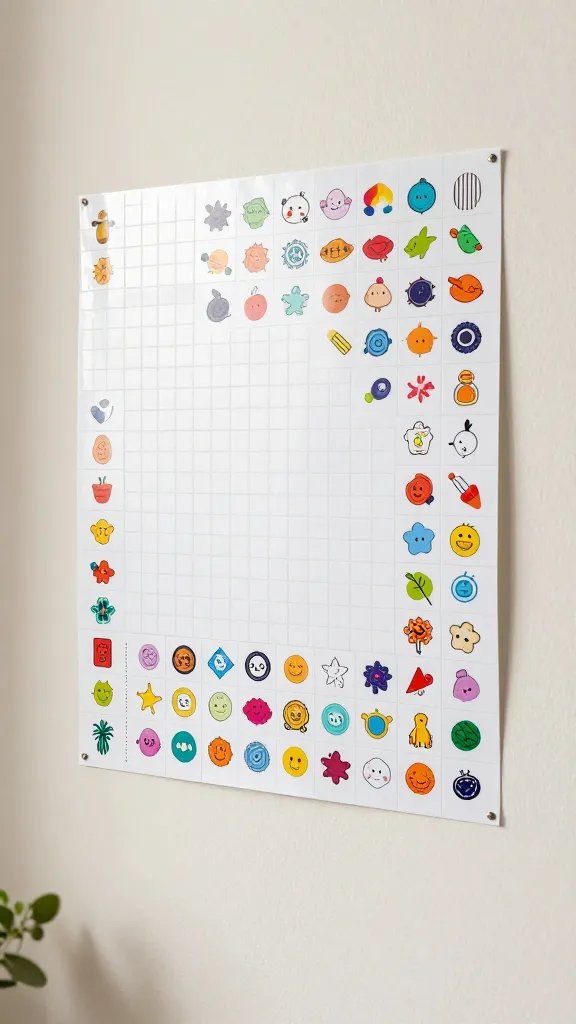
A blank paper wall invites big, bold art without messy glue. Provide sheets of sticky back paper and a tray of assorted stickers in different shapes and sizes. Students place stickers in a controlled grid to create a large mosaic that reads as one cohesive artwork. Rotate groups in to finish a section, then step back to admire the collective piece. This is fast to set up and easy to curate even with a crowd. You’ll appreciate the low cleanup too.
Why it looks store bought: The uniform grid and tidy edges give a polished effect without heavy labor. Consider laminating the final mosaic for display.
- Base: large sheets of sticky back paper
- Main supply: assorted stickers
- Placement note: set up a taped grid on the wall to guide placement
- Cleanup tip: keep a roll of wipes handy for sticky fingers
Skip this: if you need a mess free option with no adhesive residue.
5. Mini Balloon Arch on a Doorframe
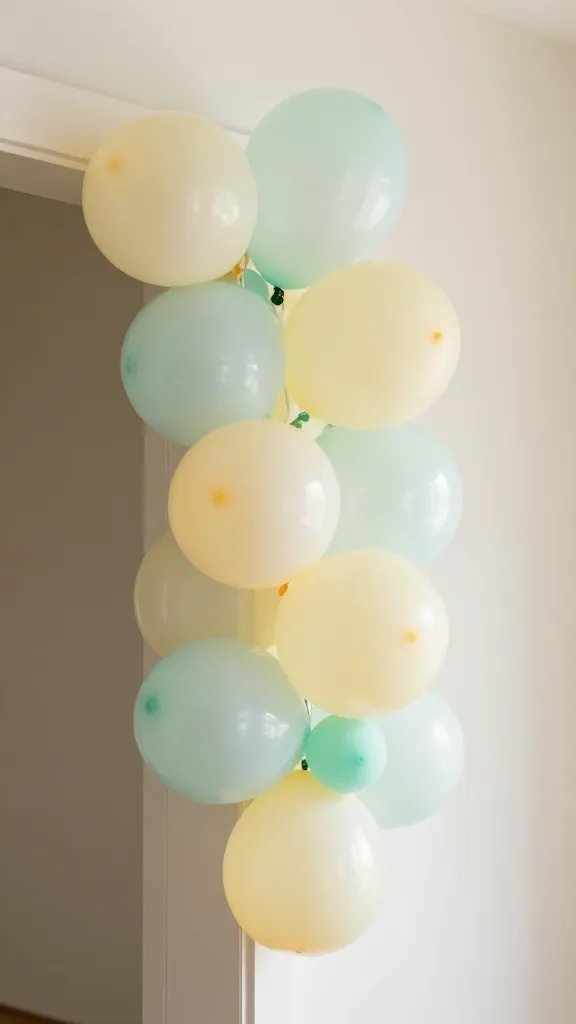
A small balloon garland can transform a doorway into a celebration without committing to a full arch. Inflate balloons in two or three colors and twist into clusters using fishing line or a pre threaded balloon strip. Secure at the top by tying to a strip of painter’s tape on the doorframe. It’s quick, dramatic, and easy to dismantle after the event. A simple step up is to add a lightweight banner across the top with a themed message.
Best for: entryways where a grand entrance is wanted but space is tight. Use a small helper team to keep things moving fast.
Safety note: avoid small balloons for younger kids to prevent choking hazards; supervise all popping or tying activities.
6. Cardboard City Scapes
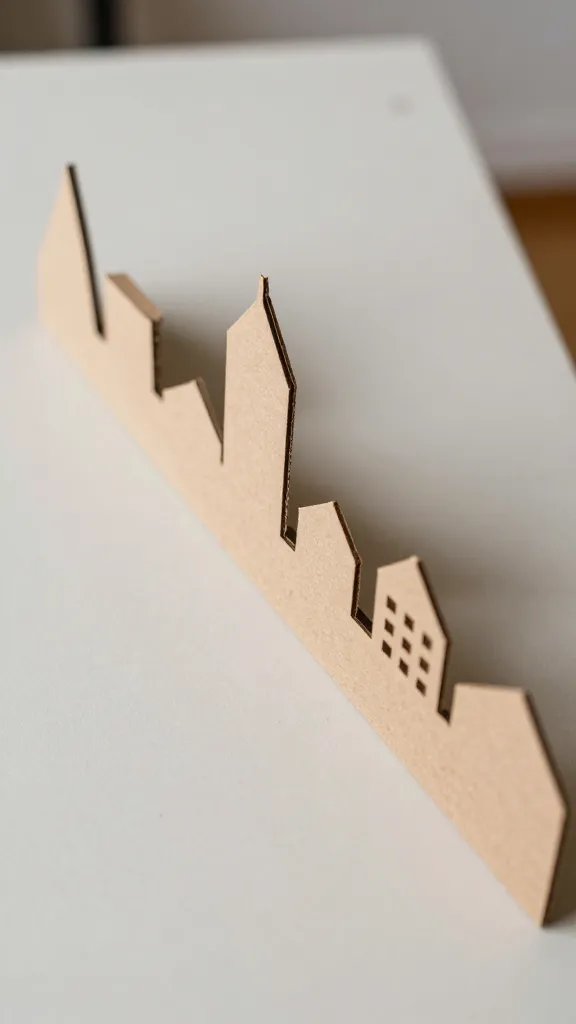
Cut simple skyline shapes from cardboard and tape them to a long table or a wall at kid height. Let students color or decorate with markers, stickers, and foil scraps. Use a common theme like “future city” or “seaport,” then let the groups assemble small buildings into a city grid. It’s a cooperative project that looks impressive in photos, but stays light on time if you limit each student to one building piece. A neat trick is to pre draw a city grid on poster board for alignment.
Little hands tip: provide blunt scissors and safety rulers to keep corners neat and prevent frustration.
- Base: large cardboard panels
- Main supply: markers and colorful paper scraps
- Detail: foil or metallic tape for windows
- Placement note: tape to wall or set on a long table for easy viewing
Make it ahead: cut a few building shapes in advance to model the look.
7. Washable Marker Marble Run Tray
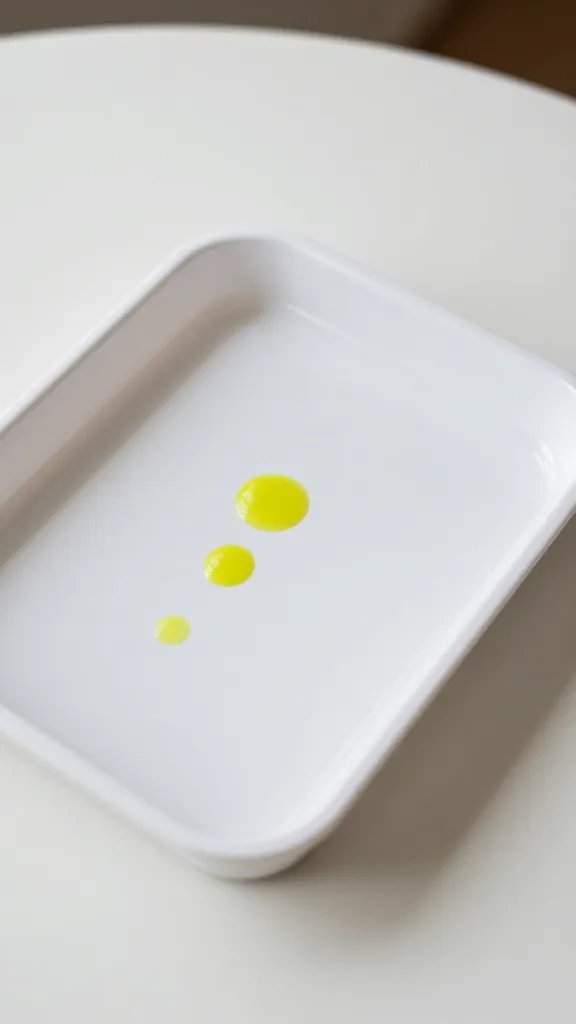
Fill a shallow tray with a thin layer of water and a few spots of bright washable markers. Students tilt the tray to let the colors swirl into marble like patterns. After it dries, seal with a clear contact paper or mod podge to keep the artwork intact. It’s a quick and captivating activity that doubles as a small collaborative art piece when multiple trays are used side by side. Rotate groups so all students get a turn at the tray.
Time saver: mark a dry time on the tray so groups know when it’s ready to be preserved.
Copy the look: use inexpensive trays from the dollar store to keep costs down.
8. Fabric Banner Letters
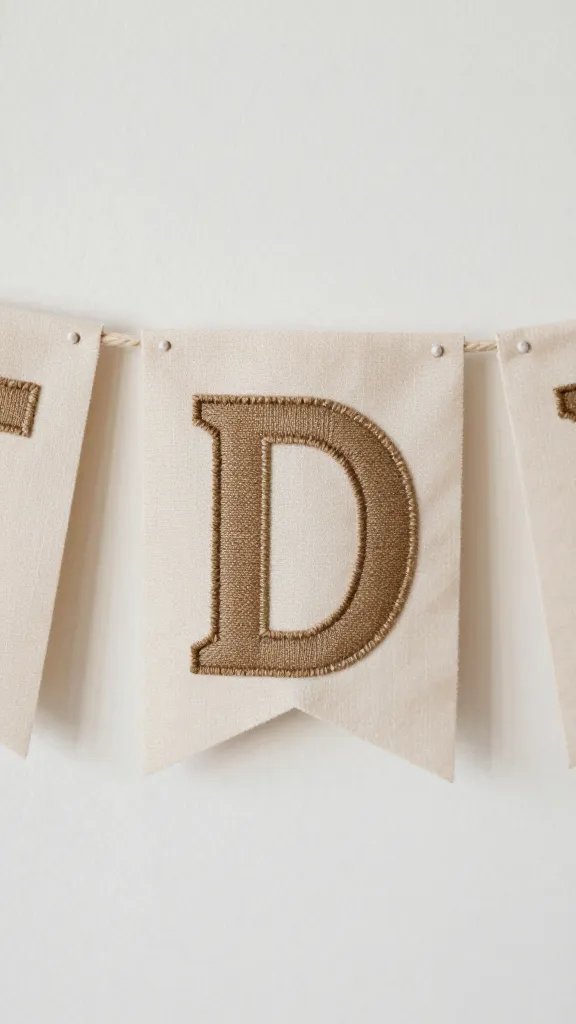
Cut large letters from sturdy fabric scraps and sew or glue them onto a ribbon or twine to spell out a message. This project looks polished but is forgiving: you can hot glue or staple the letters onto the string and let students add stitched details with a simple running stitch. Use two colors for contrast and attach the banner to a wall or entry arch. It’s a quick, scalable way to decorate without creating a mountain of paper craft waste.
Why it works: Fabric feels substantial in photos and reuses well for future events. If sewing sounds heavy, a no-sew approach with fabric glue is perfectly fine.
- Base: fabric scraps
- Main supply: ribbon or twine
- Detail: embroidery floss for simple stitches
- Finishing touch: clothespins to hang letters
Use what you have: old banners or fabric from a thrift store can yield many letters.
9. Cork Bulletin Board Collage
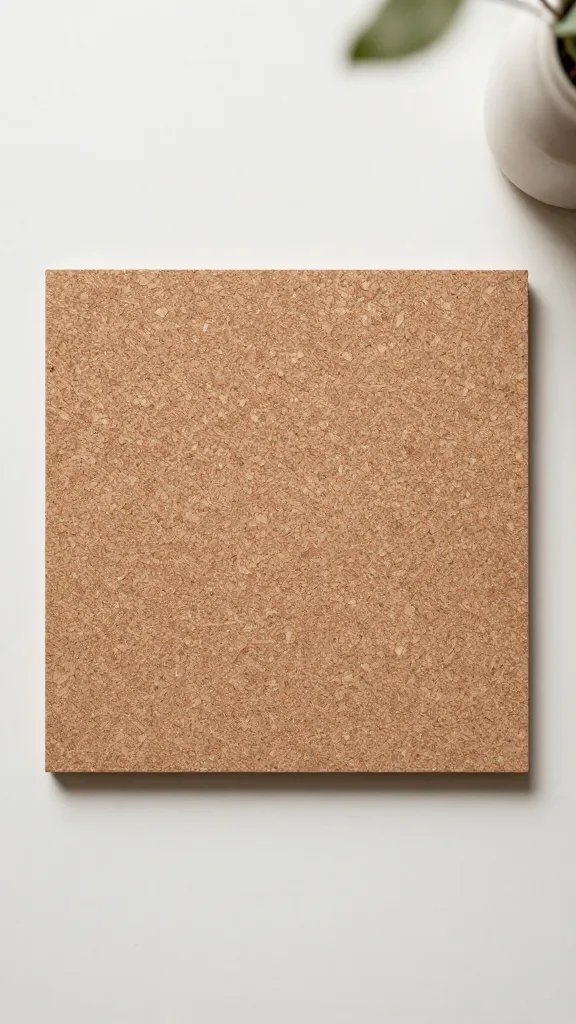
Offer a loose pile of cork tiles and a selection of decorative papers, fabric scraps, and photos. Students arrange a themed collage on a larger backing board. Glue on securely and add a border of tape or a painted frame. The result is an exhibit worthy piece that doubles as a learning display if you add a small caption for each cluster. It’s calm, cooperative, and forgiving for mixed ages. Rotate groups to maintain momentum.
Best for: a quiet, reflective corner or gallery style display in the school hallway.
Copy the look: pre cut backing boards save time and keep the layout tidy.
- Base: cork boards
- Main supply: decorative papers and photos
- Detail: glue sticks or hot glue (adult supervision)
- Placement note: mount boards on a low wall or stand on tables
Safety note: keep sharp tools away from younger students.
10. Paper Straw Garland Advent Calendar
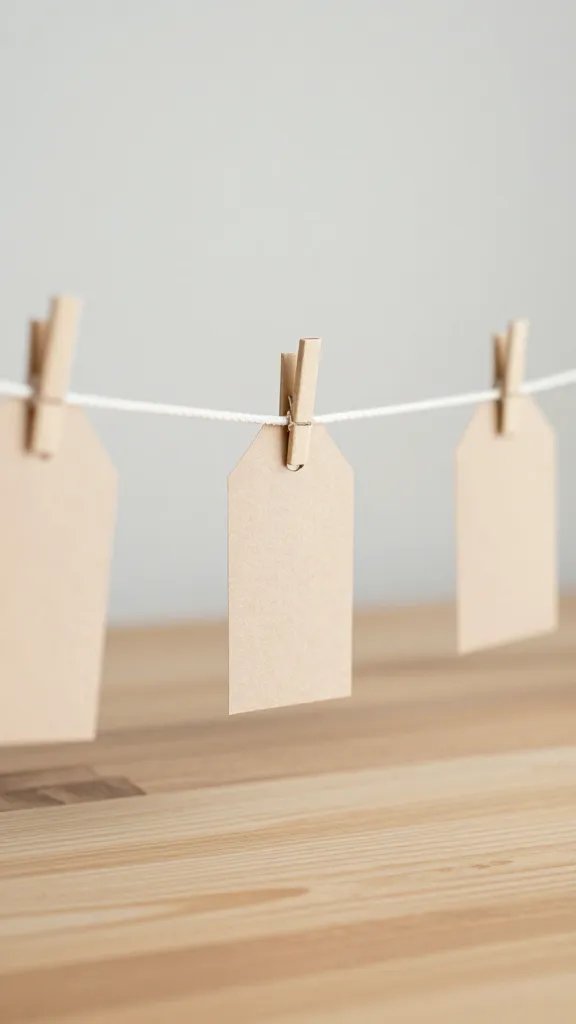
Thread paper straws and small tags onto a long ribbon to form a color rich garland that also does double duty as an advent style countdown. Each tag can hold a simple task, a tiny riddle, or a permission slip for a class reward. Pre make the tags with numbers or a simple prompt and let students hang them in order. It’s quick to assemble, visually appealing, and perfect for a last week planning bump.
What to avoid: too many tiny parts that get lost among the crowd. Keep components large enough for easy handling.
Make it ahead: print and cut tags a day early to save time on the day.
11. Felt Monster Garlands
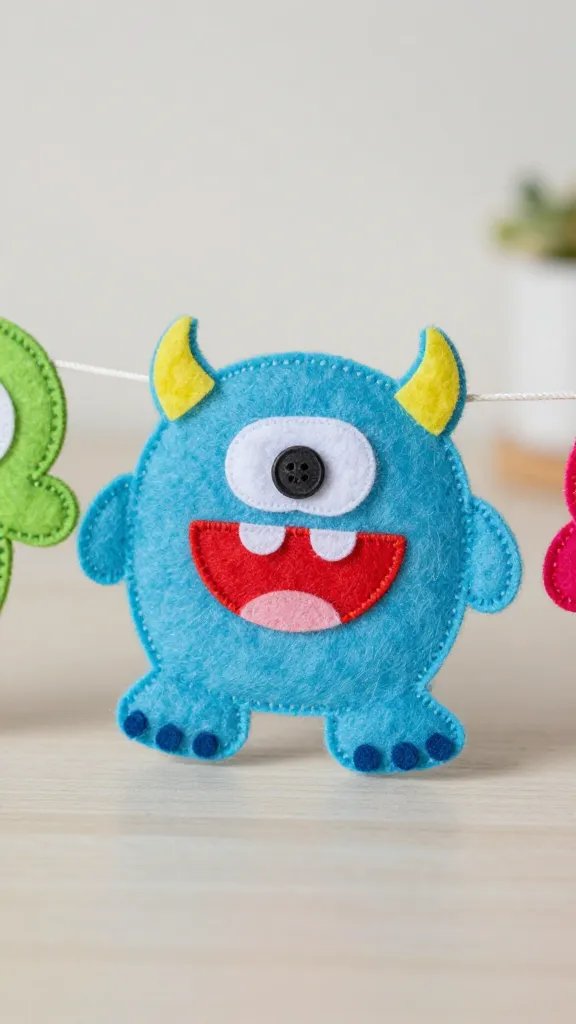
Cut friendly monster shapes from felt and string them along a length of twine. Use bright eyes and stitched mouths for character. This soft décor is kid friendly and surprisingly durable. Students help glue features or sew tight blanket stitches around the edges. Drape the garland across a doorway or along a table edge to add whimsy without clutter. It’s a repeatable idea you can scale for different spaces by adjusting the length.
Little hands tip: use fabric glue for quick setting and less mess.
- Base: felt in assorted colors
- Main supply: twine or ribbon
- Detail: blanket stitch or glue for facial features
- Placement note: pin or tape at both ends to secure
Safety note: avoid small parts that could be choking hazards for younger kids.
12. Cookie Cutter Stamps
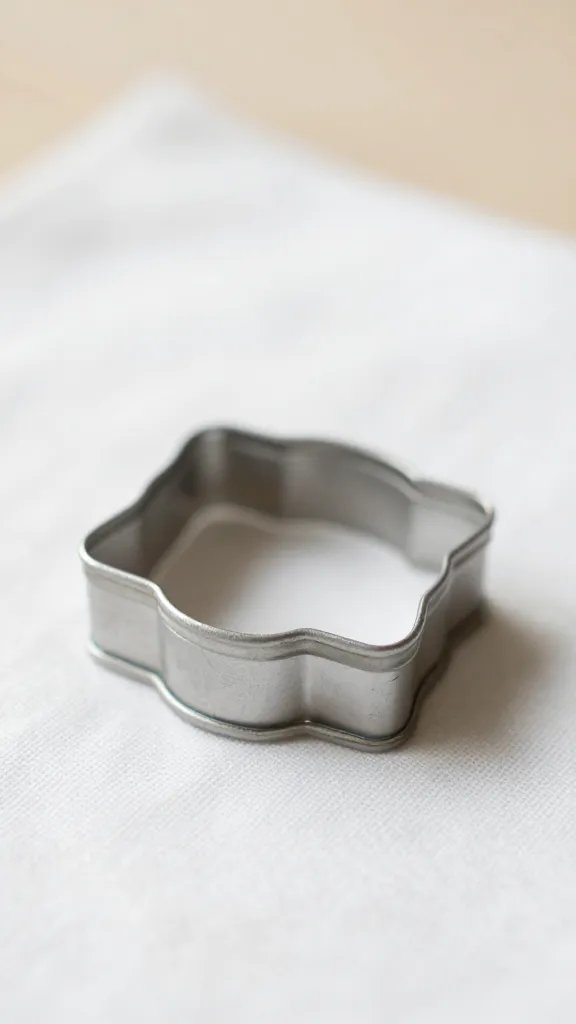
Dip plain metal cookie cutters into washable paint and stamp them onto long strips of butcher paper or white muslin. This yields a playful pattern that can later be used as gift wrap or wall art. Let groups rotate through stamping stations and limit the number of impressions per person to keep the lines neat. It’s a low mess, high color activity that scales nicely for a big group.
Why it works: simple tools translate to quick results and clear results in photos. If you want a seasonal twist, switch to fall leaf shapes or winter stars.
- Base: poster paper or muslin strips
- Main supply: metal cookie cutters and washable paint
- Detail: a clean plate for paint dipping
- Color note: use two to three contrasting colors
Make it easier: pre plate paint to reduce time at the station.
13. Button Snowflake Collage
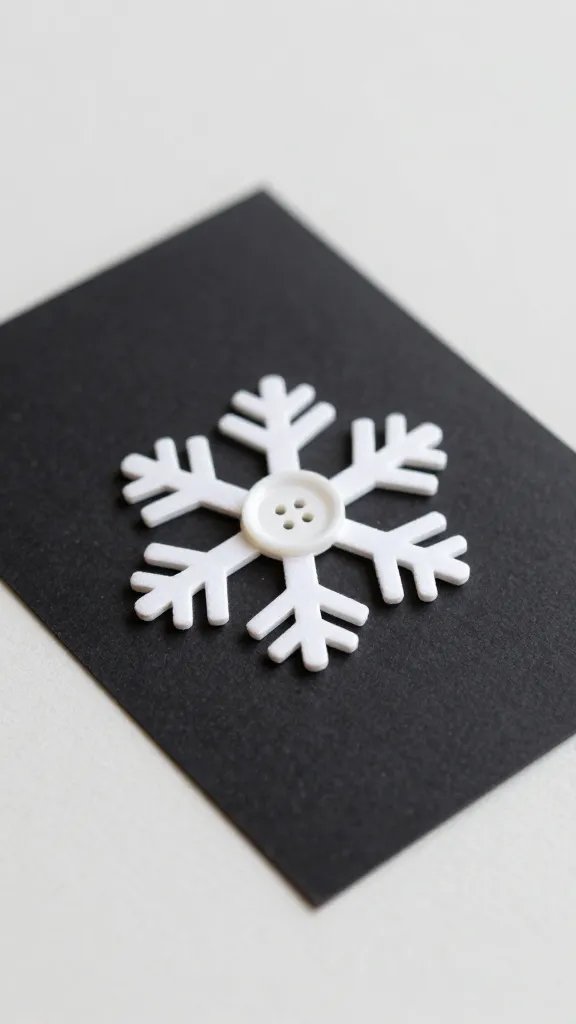
Gather assorted buttons in blues and whites and arrange them into a snowflake pattern on a black or white cardstock backdrop. Glue secure and let the kids explain their design choices aloud for a quick speaking moment. Frame or mount the finished pieces on a wall as a winter display. This project is calm and has a built in storytelling moment for a short program.
Best for: a winter theme or a science unit on crystallography, with a fun art angle.
Safety note: adult help with hot glue or strong adhesives is recommended for tiny buttons.
14. DIY Jar Lanterns
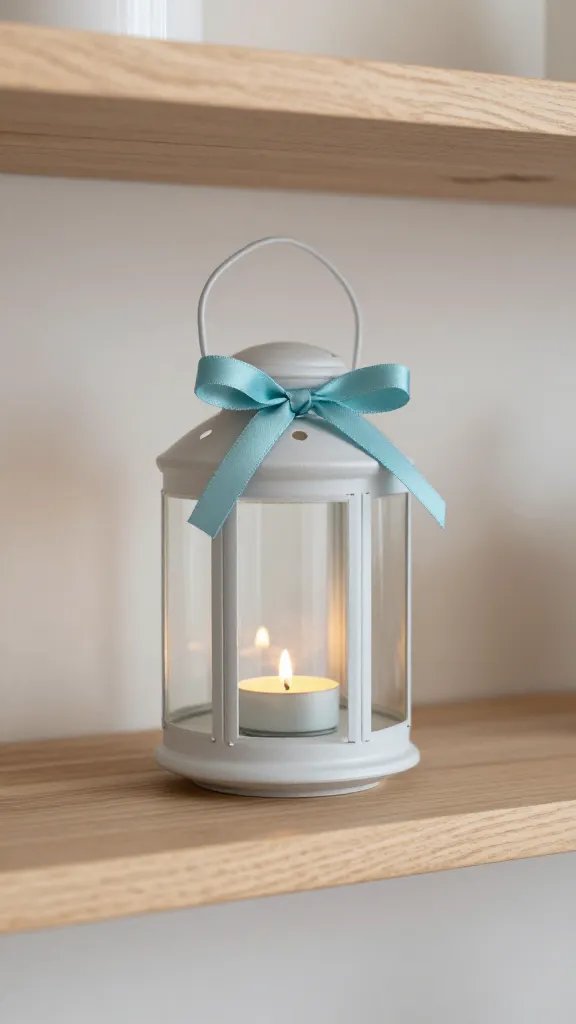
Fill clear jars with tea lights or battery powered LEDs and decorate with paper scraps, ribbons, and tiny charms. Line them up on a shelf or along a window to create a warm glow. If candles aren’t allowed, glow sticks inside jars work well too. This is a simple setup that groups can assemble quickly and remove just as fast when the event ends. Use tissue paper to add color blocks without bulk.
Why it works: soft lighting elevates a room and photographs beautifully. A quick swap is to paint the outside of the jar with chalk paint for a frosted look.
- Base: mason jars or recycled glass jars
- Main supply: tissue paper or decorative paper
- Detail: battery powered LEDs
- Safety note: keep heat sources away from paper decorations
Copy the look: thrift store jars are a budget friendly option.
15. Poster Board Flags Parade
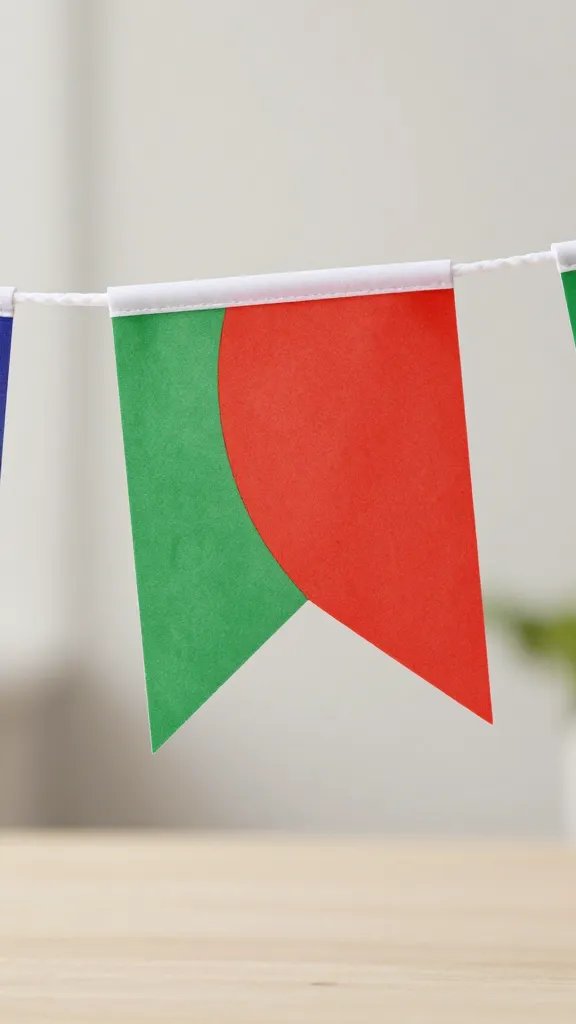
Have students color and decorate small flags that are then mounted on a string to form a festive parade banner. Attach the flags to a length of ribbon or cord and hang across a room or along a bench. This idea scales up by simply adding more flags and a longer string. It’s quick to assemble, and the flags provide a cheerful, dynamic backdrop for photos or a short performance.
Placement note: leave space between flags so each color can shine and be easily seen in photos.
- Base: poster board or lightweight cardstock
- Main supply: markers, crayons, or colored pencils
- Detail: double sided tape for easy mounting
- Finish: hole punch and ribbon for hanging
Make it ahead: cut and decorate flags a day before to save time on the event day.
16. Salt Dough Name Tags
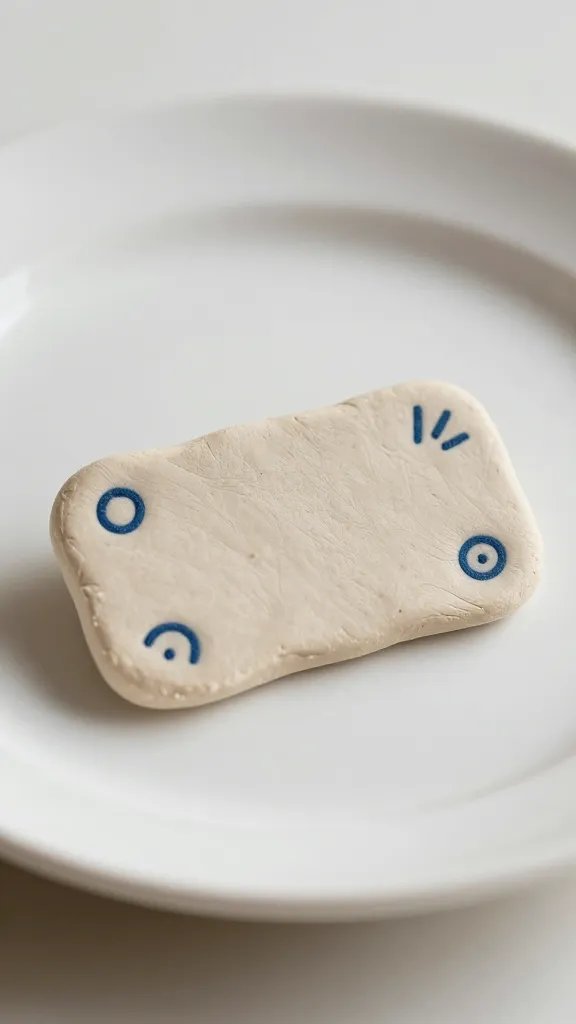
Mix a simple salt dough and roll it flat, then cut out name shapes with a cookie cutter. Bake to harden, then paint and seal. Students can decorate each tag with doodles or symbols related to a theme. Thread a string through a hole and wear the tags as lanyards or hang them on a wall as a classroom display. It’s a tactile, sensory project that keeps interest and gives a practical keepsake.
Why it works: dough crafts feel tangible and teach patience as they dry and bake. If you’re short on ovens, air dry overnight for a similar effect.
- Base: salt dough (flour, salt, water)
- Main supply: acrylic paints
- Detail: brushes and markers
- Finishing touch: twine or ribbon to hang
Safety note: supervise dough handling to avoid choking hazards for younger kids.
Conclusion
These crafts are chosen to work with groups of 30, so you can mix and match without stressing about time or materials. Each idea offers a clear path from supplies to setup and a simple cleanup. Keep a small clock handy and assign roles to trusted students or helpers. Save this for the next classroom craft day and you’ll have a ready made plan at your fingertips.
Save this for the next birthday that sneaks up on you.