
16 Craft Ideas for Kids Using Only Recycled Items

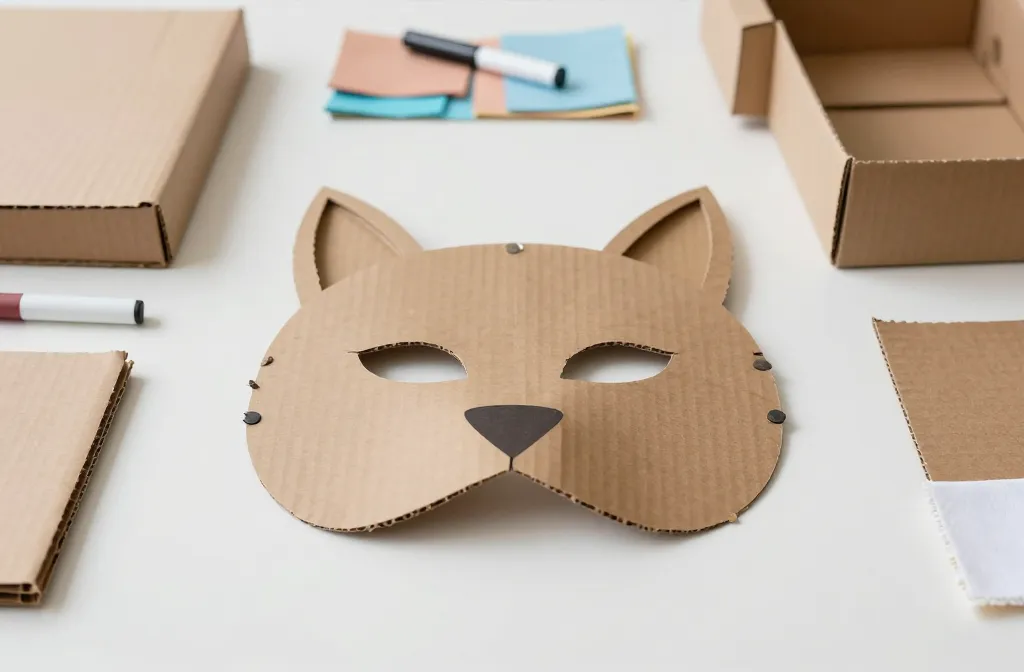
Parents want projects that feel purposeful, not messy, and that fit a tight budget. The right recycled craft can buy you kid-friendly focus and a little brag-worthy decor, without a big cleanup bill. These ideas prove you can turn trash into treasure with simple supplies, quick steps, and a dash of imagination. Each one solves a real party or at-home crafting snag, from boring prep to cluttered cleanup to short attention spans. Read on for 16 concrete, ready-to-make ideas you can start today.
Use these ideas to spark creativity without buying new materials. They’re designed to be produced in small bursts, in a single afternoon, or as a quick party setup. The keyword is variety, and to keep your feed fresh, I’ve tweaked materials and approaches for each idea. Let’s dive into the list and pick a couple to try this week.
1. Cardboard Animal Masks
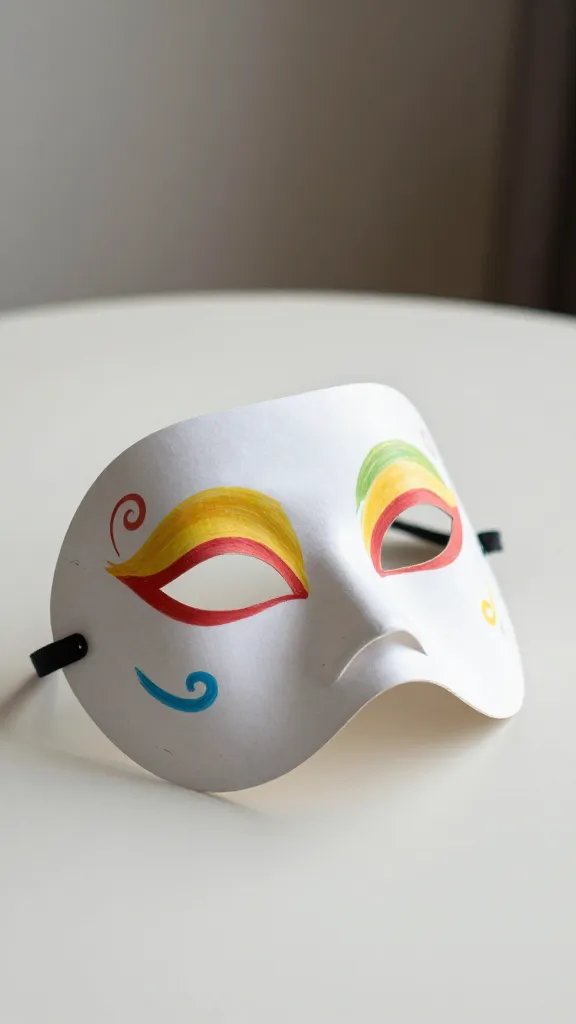
Kids love dressing up, and cardboard is a forgiving canvas. Cut simple animal faces from cereal boxes, then let kids color with markers and decorate with leftover fabric scraps, yarn, and bottle caps. A headband or elastic string finishes the masks without needing extra purchases. This idea tackles party dress-up gaps and a bored afternoon by inviting collaborative crafting and pretend play. If you want a faster version, skip the base mask and simply decorate paper plates as animals. This keeps the activity quick and kid friendly.
Why it works: Simple shapes are easy to duplicate and safe for small hands.
- Base: cardboard cereal box panels
- Main supply: colored markers or crayons
- Detail: fabric scraps, yarn, and bottle caps
- Finishing touch: elastic or a headband
Make it ahead: Cut shapes a day before and store flat for quick assembly.
2. Jar Lid Letters Banner
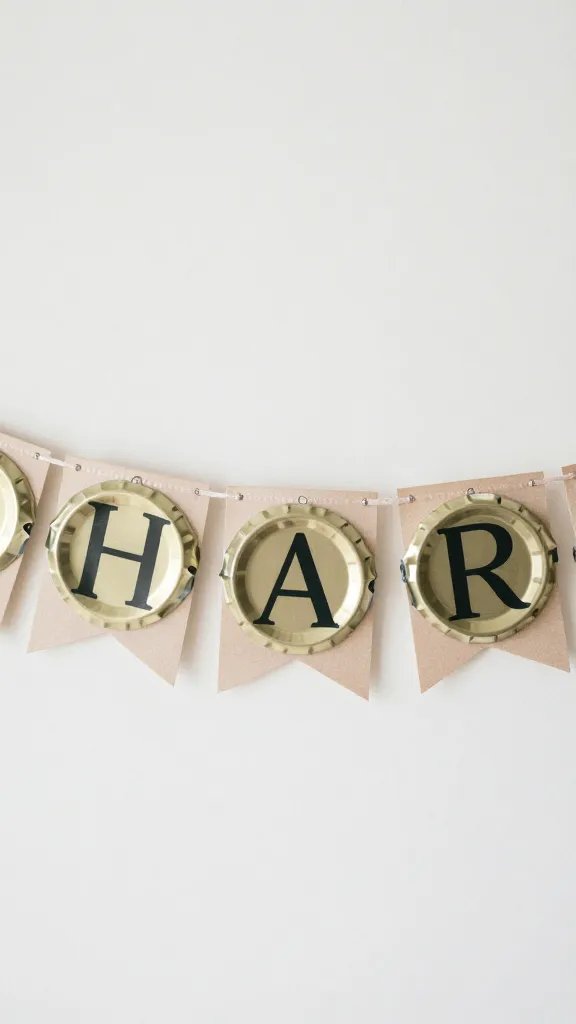
Grocery store lids stack up fast, and they glow with a little paint. Clean lids become a playful banner spelling the birthday kid’s name or a simple word. The project stays compact and looks polished in photos, a common hurdle when a party is near. If you’re pressed for time, make just a one-word banner with three or four letters instead of a full name. It’s a fast, affordable way to fill wall space without buying new decorations.
The make: Paint and glue the letters onto ribbon or string; hang with existing hooks. It can be assembled in under an hour by one adult with kids assisting.
Copy the look: Use milk bottle caps as round embellishments between letters for texture.
- Base: metal jar lids
- Main supply: acrylic paint in solid colors
- Color: ribbon or twine
- Placement note: hang away from direct sun to prevent fading
3. Fabric Scrap Game Mats
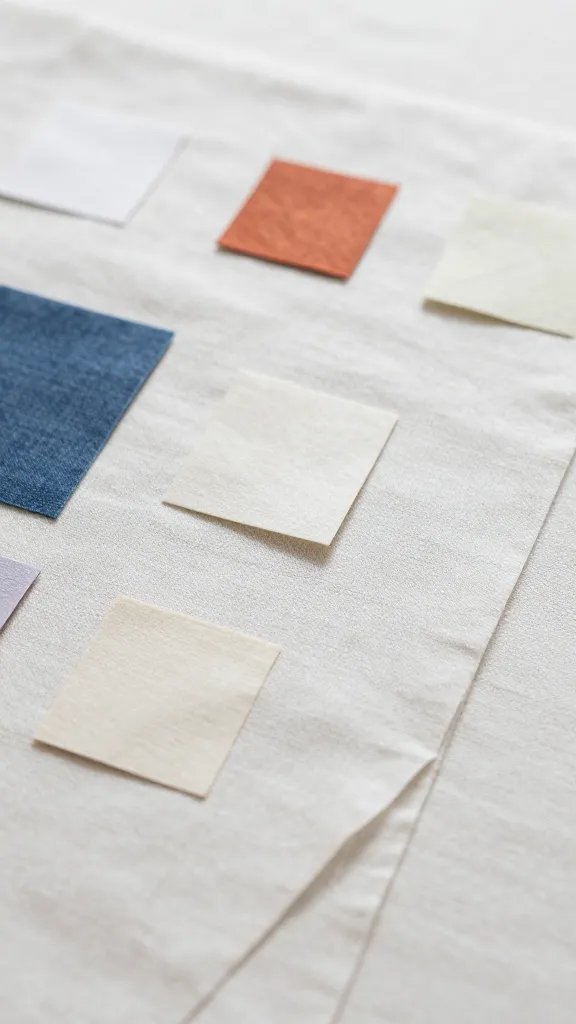
Turn old fabric scraps into touch-friendly mini game mats for a wind-down activity. Sew or glue scraps onto a large piece of sturdy fabric or an old tablecloth to create different game zones: color matching, memory with fabric swatches, or simple hop-and-step paths. This helps tired feet and keeps little hands busy after party games. For a faster version, glue fabric patches to a cardboard box lid and use as a portable mat. It works great in small spaces and cleans up easily.
Best for: Toddlers and early elementary guests at a birthday gathering.
Why this works: Fabric textures are engaging and forgiving for young crafters.
- Base: scrap fabric pieces
- Main supply: fabric glue or sewing supplies
- Color: assorted fabric colors
- Cleanup tip: place a plastic drop cloth under the work area
4. Paper Cup Garden
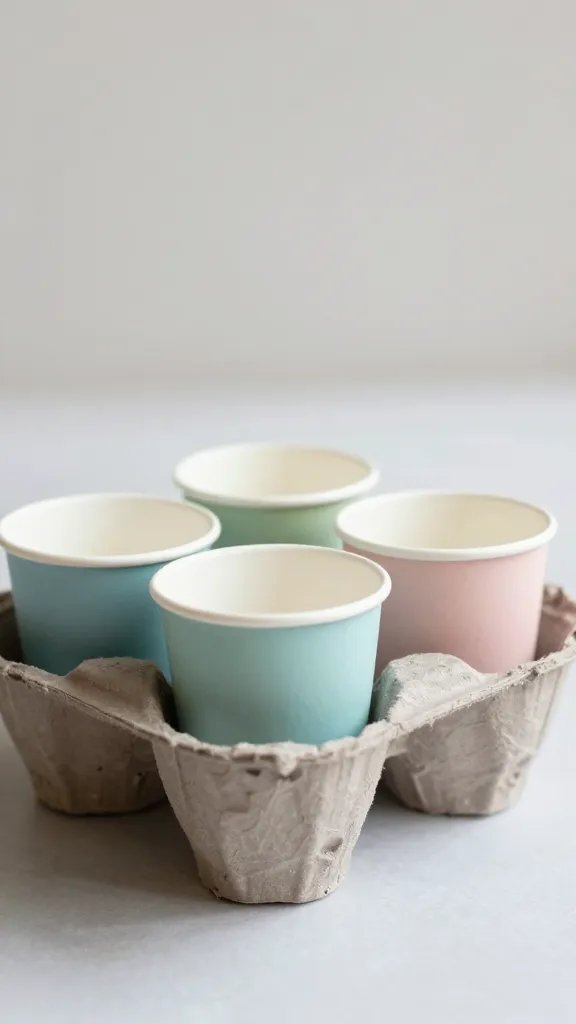
A quick way to repurpose cups is to turn them into a tiny garden scene. Paint or decorate cups with markers, plant a small artificial leaf or fabric stem, and glue them into a reused shoebox window or a cardboard planter. It gives kids a tangible take-home craft and a perfect little centerpiece for dessert tables. If you’re short on time, skip plants and make a cup city with stacked cups as tiny houses. It’s a neat, compact project that can be done in batches.
Why it looks store bought: Clean, coordinated colors and neat lines elevate the look of a simple cup project.
- Base: paper cups
- Main supply: acrylic markers
- Detail: plant stems or fabric leaves
- Finishing touch: a light coat of clear glue for durability
5. Recycled Magazine Collage Collars
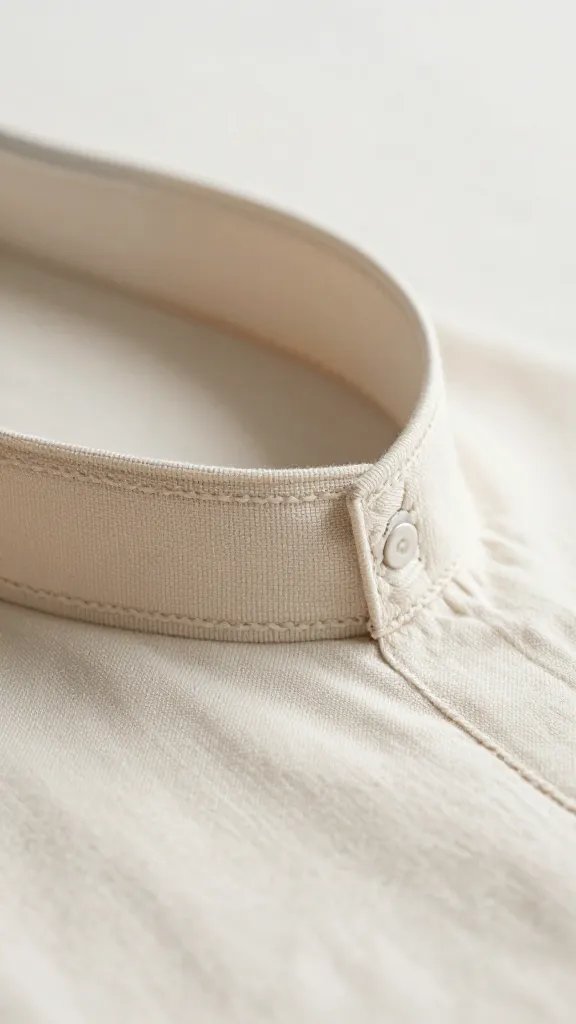
Magazines can be sculpted into wearable collars for a costume touch. Cut thin strips, weave or layer them into a flexible collar shape, and glue to a soft backing such as a piece of fabric or old T-shirt collar. This crafty accessory is a hit for a party photo booth and uses only recycled pages. If you need a quicker version, create a simple paper scarf by weaving strips into a loop and securing with tape. It’s one of those small details that looks thoughtful in photos.
How to finish: apply a light spray sealant or glue to keep strips from fraying too much.
Why it works: Easy to cut and assemble, with a bold graphic result.
- Base: old magazines
- Main supply: glue or mod podge
- Color: mixed magazine colors
- Safety note: supervise scissors for younger kids
6. Cardboard City Blocks
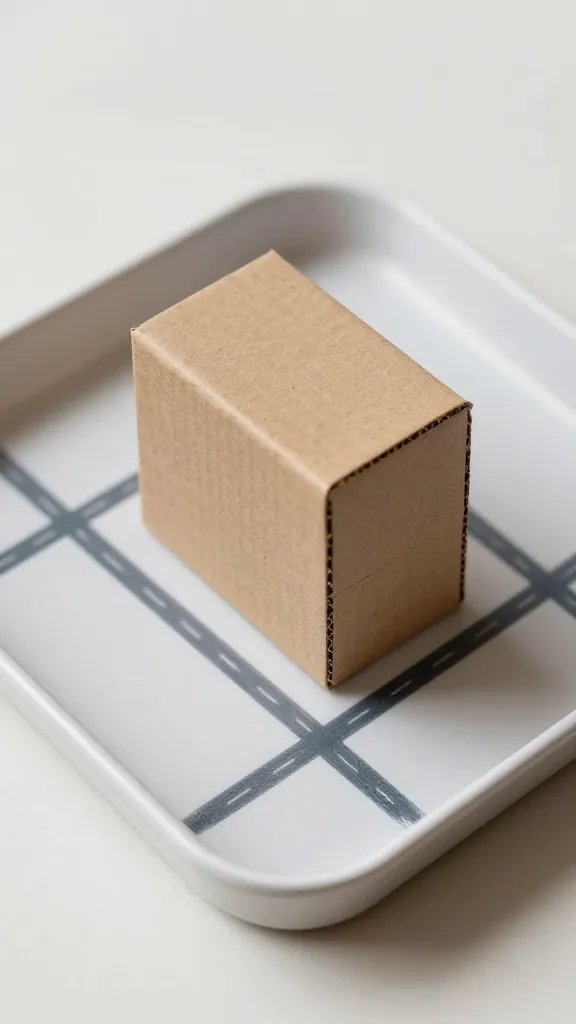
Use clean cardboard to build a tiny city. Cut blocks, roads, and rooftops; kids can paint, label, and arrange a mini town on a large tray. This setup gives a printing press of play—kids can rearrange to plan a parade, a district, or a park. It’s also a quick backdrop for photos. For a shorter version, prepare a single block city in a shallow box and let kids add details with markers and sticker dots to designate streets and parks.
Best for: Mixed-age groups at a casual party or playdate.
Why this works: Cardboard is forgiving, easy to cut, and costs next to nothing.
- Base: cardboard cartons
- Main supply: box cutter or scissors (adult supervision)
- Detail: marker labels and sticker dots
- Storage tip: keep blocks in a labeled tote for future use
7. Egg Carton Creature Parade
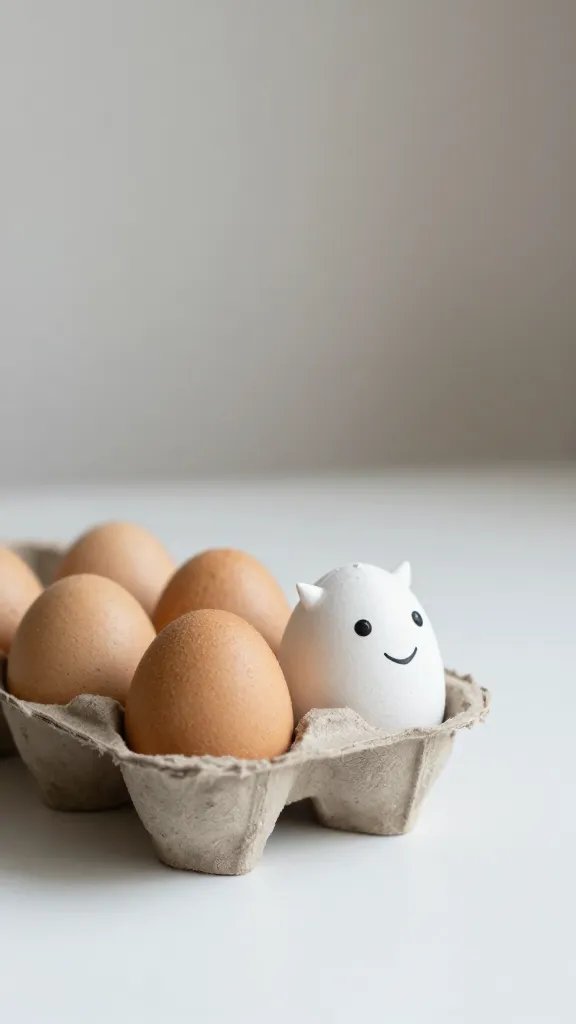
Rinse and dry a dozen egg cartons, then cut and paint each cup to become a tiny creature. Glue wiggly eyes from scrap paper or buttons, plus pipe cleaner antennae for flair. Line them up on a string as a garland or display them as a mini parade on a table. It’s an easy, satisfying project that teaches color and symmetry, and cleanup is manageable. For a faster option, create a few larger creatures from halves of cartons instead of the full cups.
Copy the look: Use tissue paper scraps for bright accents and a quick pop of color.
Why it works: Small pieces break down into lots of personalities, keeping kids engaged.
- Base: egg cartons
- Main supply: acrylic paint or markers
- Detail: googly eyes or cut paper eyes
- Finishing touch: ribbon tails or pipe cleaner limbs
8. Sticker-Only Wall Collage
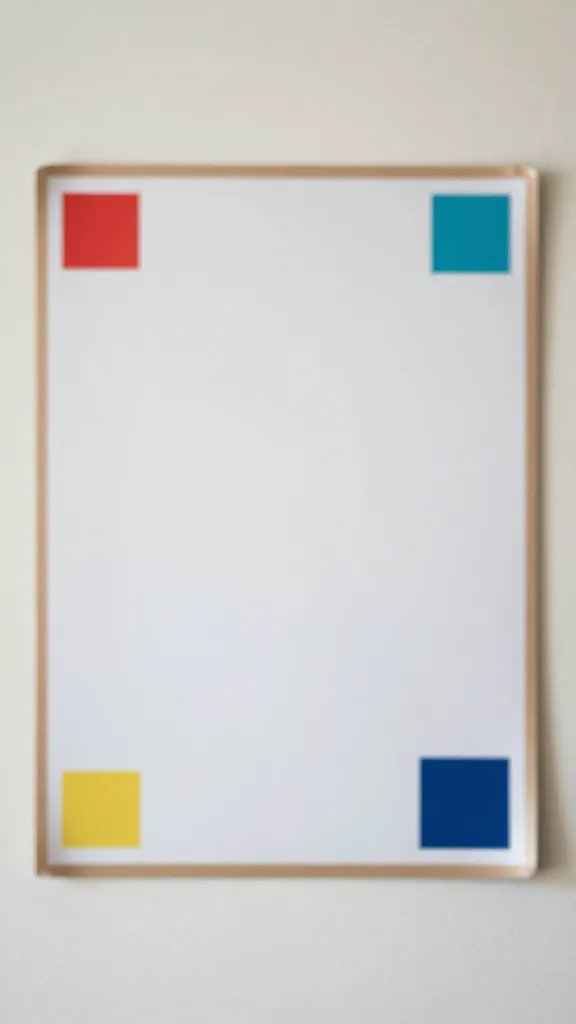
If you’ve got a stash of leftover stickers, create a large wall collage on a reused poster board or cardboard. Kids can place stickers to form shapes, letters, or a scene. It requires almost no prep and gives instant visual impact for photos. For a quicker version, limit the project to a color-block mosaic using a single theme, like animals or flowers. It’s a calm activity between games and can be left on the wall as party decor until the cake.
Place carefully: Use painter’s tape to outline a simple shape, then fill with stickers.
Why it works: No mess, no glue battles, and plenty of color.
- Base: poster board or large cardboard
- Main supply: sticker sheets
- Color: assorted sticker colors
- Storage tip: save the finished collage in a box for future use
9. Bottle Cap Bingo Tiles
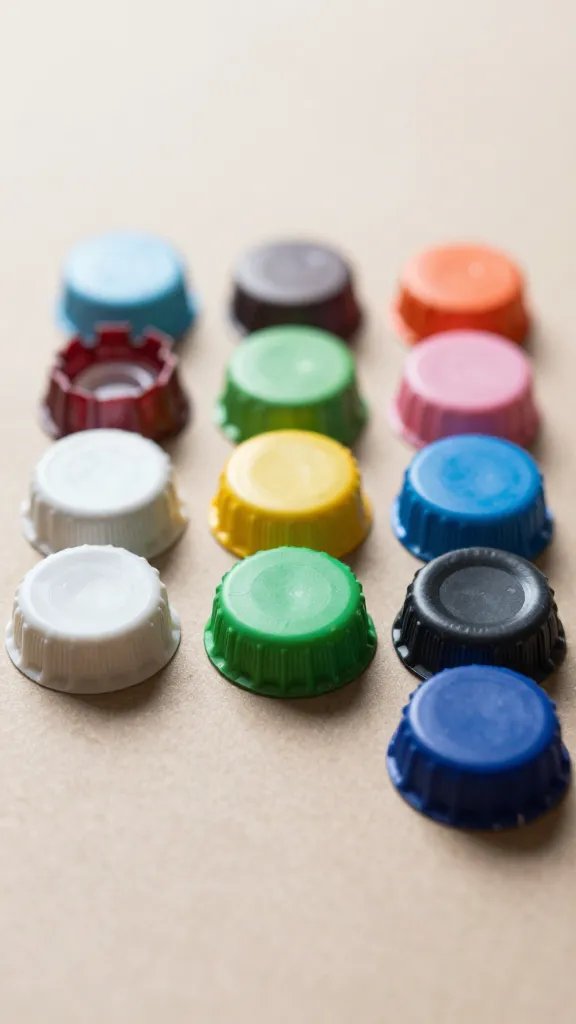
Glue bottle caps to a sturdy cardboard sheet to form a bingo grid. Print small color dots on stickers or paper and place under caps as the call-out. Kids cover their matching colors with small buttons or beads. It’s a low-prep, high-engagement game you can play while waiting for snacks or during a lull between activities. If you’re pressed for time, pre-assemble five or six tiles for quick play with the kids taking turns calling out colors.
Why it works: Tactile pieces hold attention, and the game is familiar and easy to learn.
- Base: cardboard sheet
- Main supply: bottle caps
- Detail: color stickers or dots
- Mess control: keep a small tray handy for beads
10. Upcycled Bead Monograms
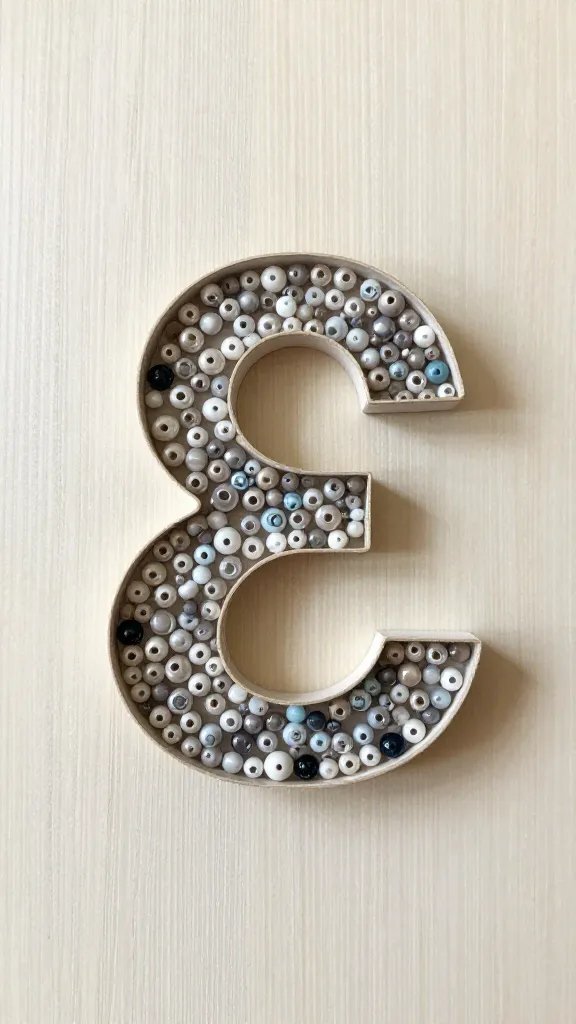
Use large letter cutouts or stencils from cardboard, then fill the inside with a mosaic of old beads, buttons, or small trinkets. Glue in place and finish with a coat of clear glue to hold everything steady. This makes a striking piece of wall decor that can double as a party keepsake. If you’re short on beads, use chunky pasta shapes or colorful pebbles to create a bold pattern instead.
What to avoid: apply glue in a well-ventilated area and supervise younger kids with small pieces.
Why it works: It builds a visual focal point from everyday leftovers.
- Base: cardboard letters or monogram shapes
- Main supply: assorted beads or buttons
- Finish: clear craft glue
- Safety note: supervise tiny pieces for younger children
11. Tin Can Wind Chimes
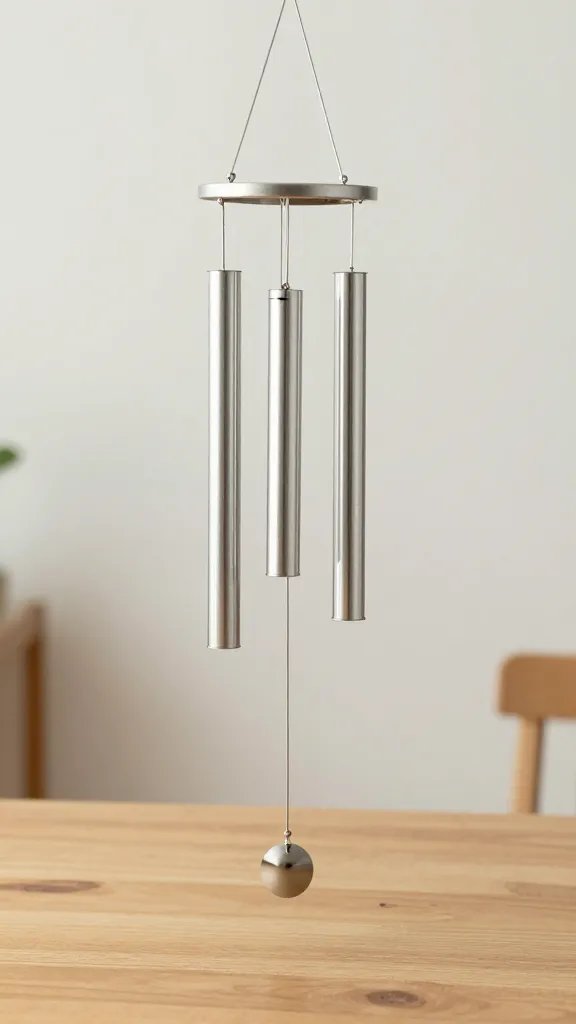
Rinse and dry tin cans, then layer with strings and scrap ribbons to form chimes. Small bells or beads can be threaded onto the strings for a gentle sound. Hang the wind chimes near a window or outside area to add a gentle, musical vibe to the party. If you want a faster take, use a single can and a few threads to create a minimalist version that still catches the breeze nicely.
Double note: Be mindful of sharp edges; sand or tape lids for safety before kids handle them.
Why it works: Reuses metal and fabric while producing a pleasing sensory effect.
- Base: tin cans
- Main supply: strings, beads, and ribbons
- Detail: small bells (optional)
- Safety tip: wrap edges with tape for kid safety
12. Sock Puppet Corner
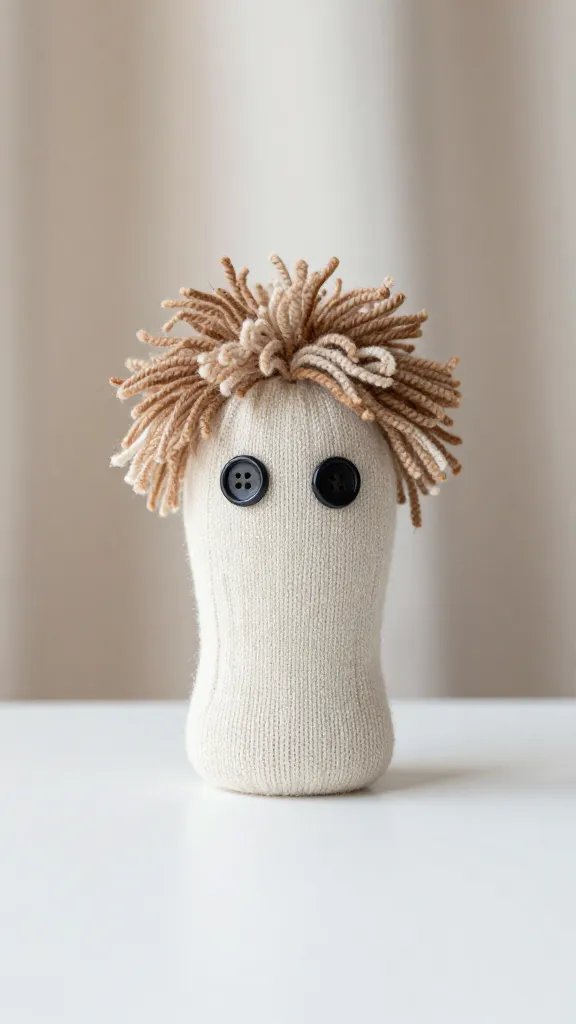
Turn old socks into playful characters with fabric scraps, yarn hair, and button eyes. Glue or sew on features, then mount on a simple stage using a cardboard box with a fabric backdrop. This setup doubles as a mini performance space for a quick show after snack time. If you’re short on time, keep a few ready-made sock puppets on a tray for kids to customize with markers and stickers instead of full assembly.
Why it works: Easy to personalize, and kids can collaborate on a troupe of characters.
- Base: old socks
- Main supply: fabric scraps and yarn
- Detail: buttons and markers
- Storage tip: keep puppets in a labeled bin for future play
13. T-Shirt Tie-Dye Mini Sacks
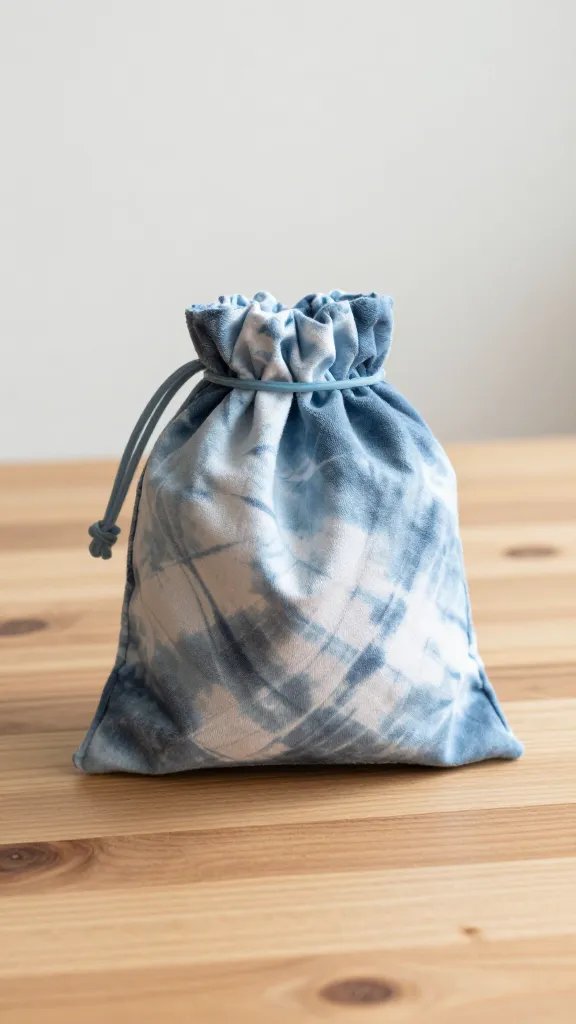
Use old T-shirts or fabric scraps to create mini tie-dye sacks with a few simple folds and rubber bands. If you don’t want to dye, use permanent markers to create color blocks on sacks and turn them into small gift bags or party favors. It’s a quick project that yields a pair of usable party giveaways. For safety, supervise the dyeing or marker step and place newspapers under the work area to catch any color bleed.
Make it ahead: Let dyeed sacks dry overnight to prevent colors from transferring onto clothes.
Why it works: Uses fabric remnants and yields a practical favor kids will actually keep.
- Base: old T-shirts or fabric scraps
- Main supply: dye or markers
- Detail: rubber bands for patterns
- Cleaning tip: rinse with cold water and air dry
14. Cardboard Photo Frames
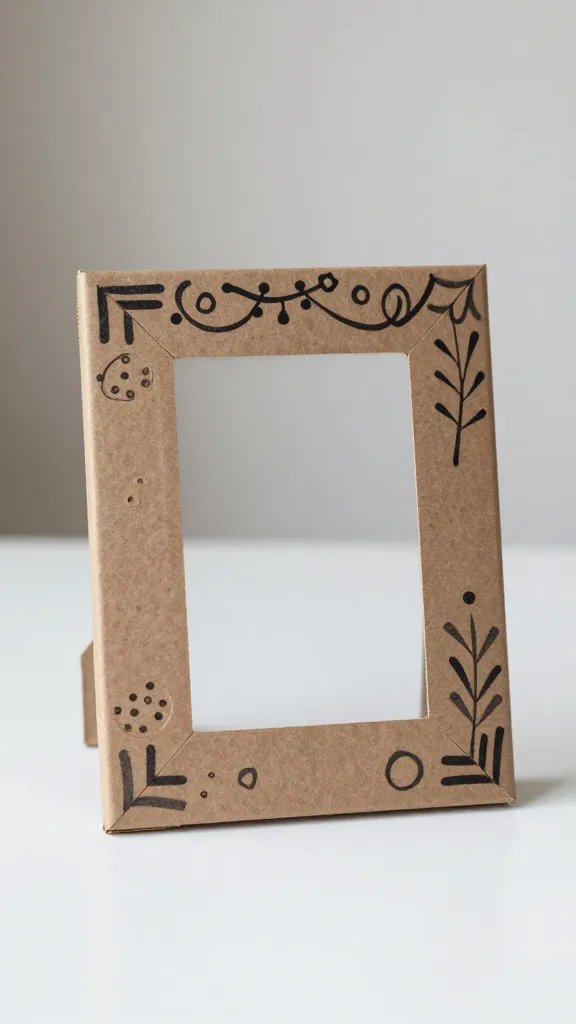
Cut cardboard into a frame shape, then decorate with leftover wrap bits, tissue, and scraps. Add a photo or a simple printed image, and finish with a layer of clear glue on top to seal. This gives guests a tiny, keepsake-worthy frame to take home and a place for a group photo at the end of the party. If you’re pressed for time, pre-cut the frames and have kids only decorate the border and tape in a photo later.
What to avoid: tiny embellishments that may come loose and pose a choking hazard for younger kids.
Why it works: A compact craft that doubles as a party memory.
- Base: cardboard frames
- Main supply: leftover wrap or tissue
- Detail: glue and a photo or printed image
- Safety note: use larger pieces to reduce choking risk
15. Recycled Ribbon Pom-Poms
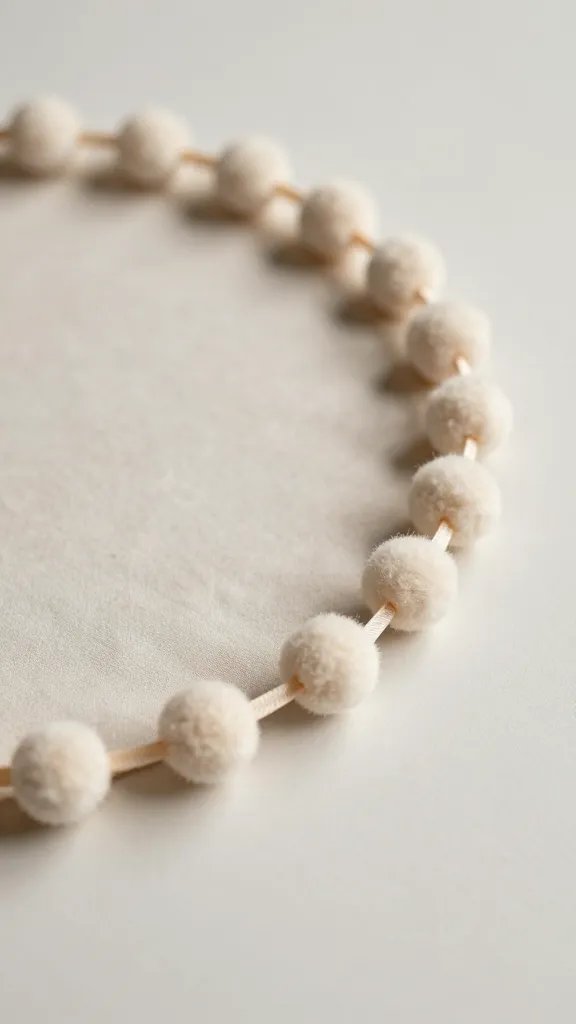
Cut ribbons from old gift wrap or fabric scraps into short lengths, tie them into small pompoms, and glue them onto a paper or fabric circle to create a bright garland or table runner. It’s a quick way to add color and texture to any space. If you want a simpler version, make pom-poms from yarn scraps and skip the ribbon entirely for a softer look.
Copy the look: Layer pompoms on a string to create depth and motion in photos.
Why it works: Very forgiving and fast with big visual payoff.
- Base: fabric circle or cardboard
- Main supply: ribbon or fabric scraps
- Detail: scissors for precise cuts
- Storage tip: keep in a labeled bag for future use
16. Plastic Spoon Shadow Puppets
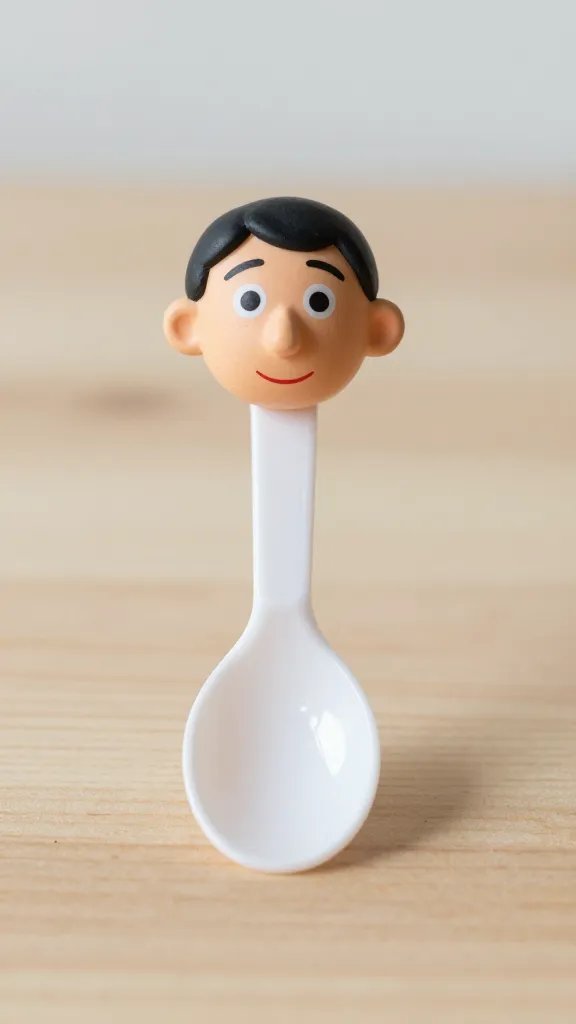
Use clear plastic spoons as puppets by painting or marker-drawing faces on the concave side. Attach a small cardboard cutout for a hat or hair, then prop them on sticks or skewers to perform a tiny shadow puppet show against a wall or screen. It’s a small-scale activity that fits into any living room or kitchen corner and is perfect for a post-snack wind-down. If you’re short on time, limit the set to three or four ready-to-go puppet characters.
The detail to steal: Use a simple paper backdrop and a flashlight to cast big, friendly shadows for photos.
Why it works: It uses minimal materials with a big storytelling payoff.
- Base: plastic spoons
- Main supply: markers and cardstock cutouts
- Detail: glue or tape to attach parts
- Safety note: supervise small parts for younger kids
These sixteen ideas prove you can repurpose everyday scraps into crafty, kid-friendly activities. They cover quick wins, portable setup, and small-space friendly projects, so you can pick one that fits your needs this week. Save this for the next birthday that sneaks up on you.