
15 Craft Ideas for Kids Who Do Not Like Crafting

If your kid bristles at gluing, cutting, or glitter, you’re not alone. You want simple activities that still feel creative and cute for photos. This list keeps craft time quick, low mess, and high reward, so kids who resist crafting can still join in the fun. You can mix and match ideas for a party, a weekend project, or a quick setup that looks thoughtful without taking over the afternoon. Use the ideas as stepping stones, not obligations, and tailor colors to your theme. Let’s jump in with options that respect tiny attention spans and a busy kitchen table.
Each idea is designed to be doable today with common supplies. If a step feels too fiddly, I’ve included an easier version or a swap you can try. The goal is to finish before the kids drift to something else, not to turn your living room into a full workshop.
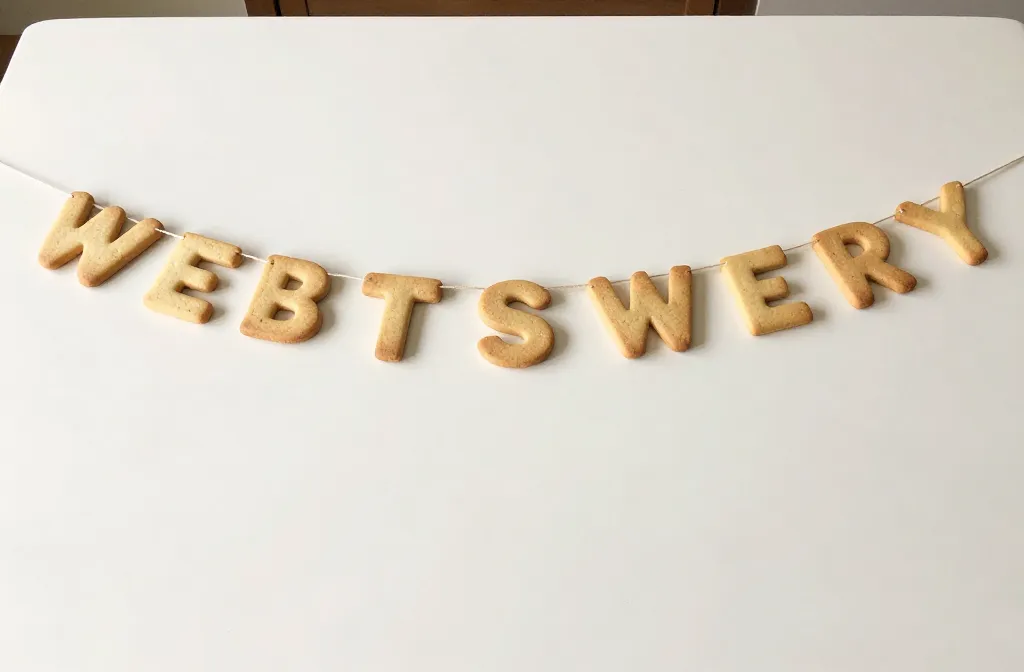
1. Quick Cookie Banner with Printed Letters
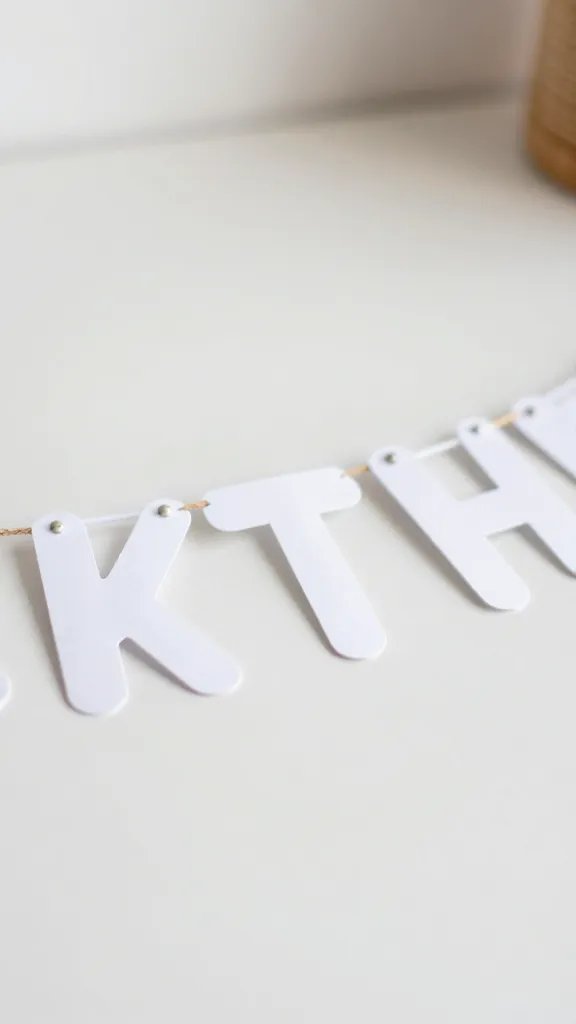
A banner that looks polished without sewing or fuss helps a little party feel special in minutes. Print bold letters on white card stock, cut into shapes, and string them with kitchen twine. All of the pieces sit on the table at eye level for small hands to manage or assist with. If you want a little sparkle, add a few repeat shapes in a metallic marker. The key is keeping sizes consistent so it reads neatly in photos.
Copy the look: Use a pair of scissors for straight edges and a simple hole punch for threading. Finish time: about 20 to 30 minutes, depending on how many letters you need.
2. Tape-Only Wall Marker Tree
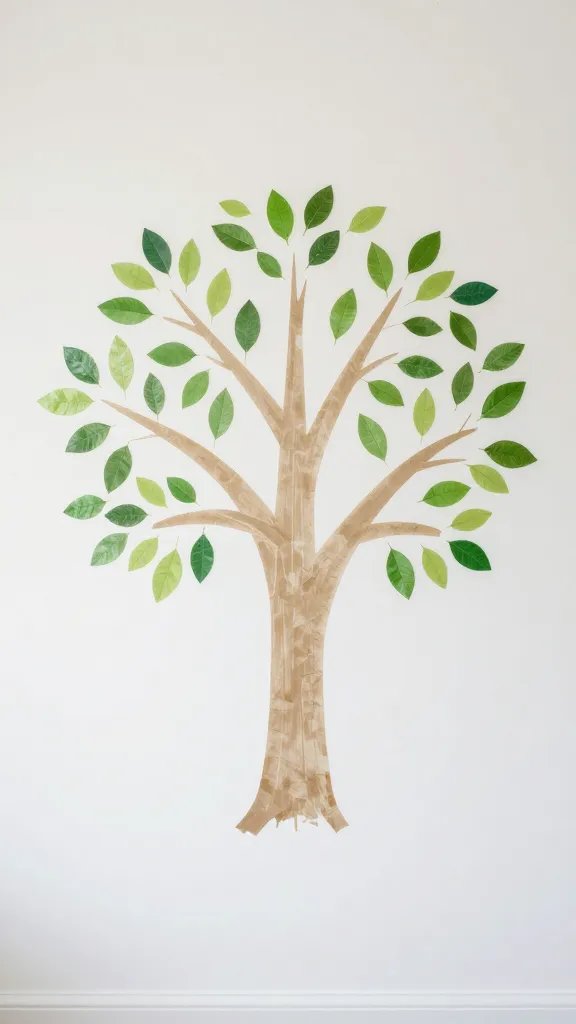
No glue, no scissors required for this one. Draw a simple tree silhouette with painter’s tape on a wall or a poster board, then give kids two sticker sheets or leaf shapes cut from colored paper. They press the shapes onto the tree to “decorate” it. It feels collaborative and easy to reset if things get fussy. A quick upgrade is to give each child a color and let them earn a tiny badge for adding their color leaf.
Placement note: Use painter’s tape that peels cleanly to avoid wall damage. Time: 15 to 25 minutes depending on leaf count.
3. Balloon Dots Backdrop Without Helium
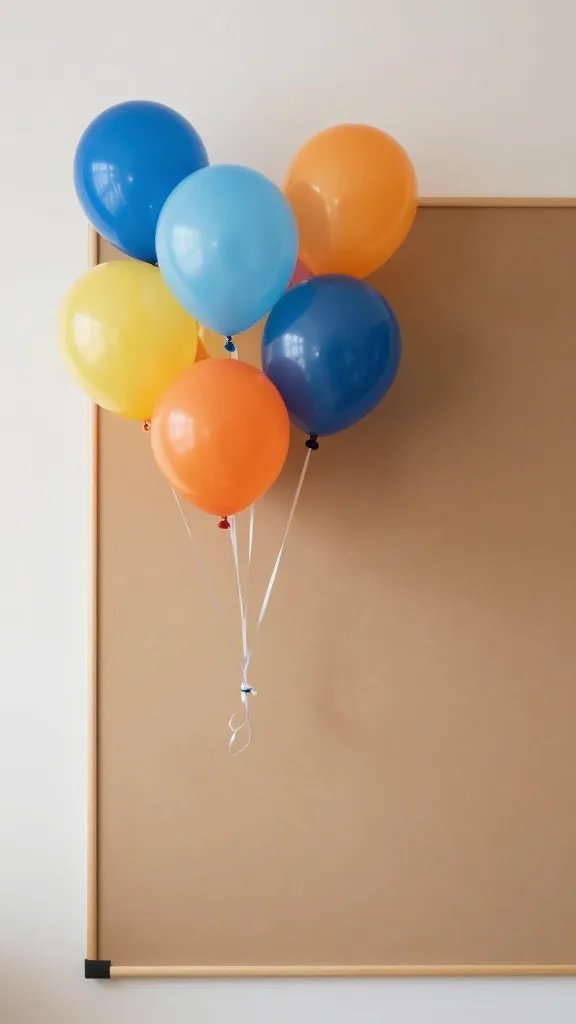
A simple backdrop can transform a table and photos with almost zero craft skill. Inflate a batch of balloons to different sizes and tape them onto a bulletin board or a dedicated wall in a loose grid. Kids help by picking colors and deciding where to place each balloon. If you don’t want to chase floating pieces, use a string of inflated balloons anchored with tape to a wall or a board. This looks ready for photos in under an hour.
Use what you have: Ribbons tie balloons to a held pinboard for a cleaner finish. Time: 30 to 45 minutes for setup and placement.
4. Sticker Sheet Mosaic Journal
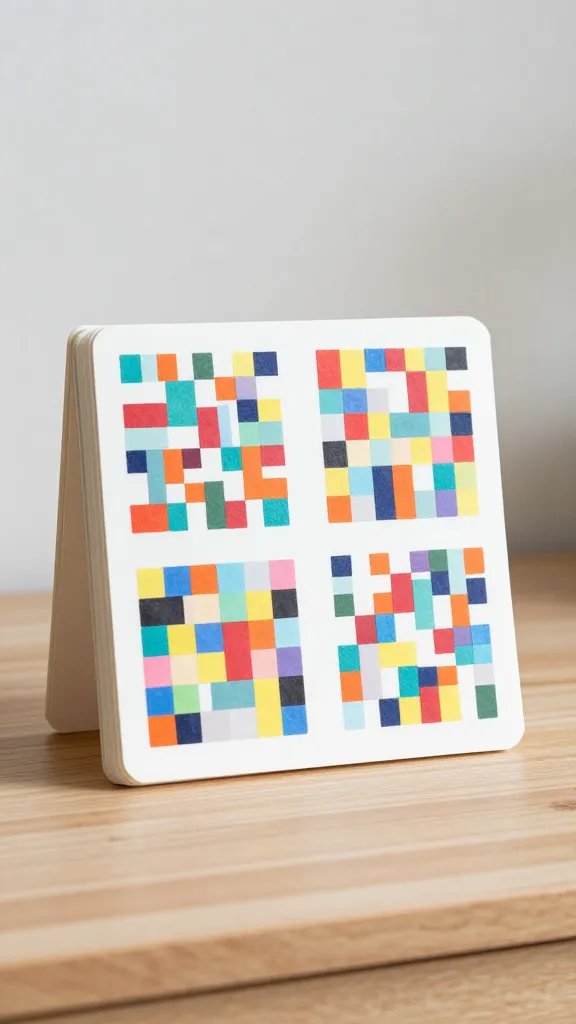
Give each kid a small notebook and a sheet of stickers. They fill a few pages with color blocks by placing stickers in a grid pattern. It’s quiet, has a clear finish, and creates a mini keepsake. For a cooperative twist, assign a shared notebook and rotate pages so each child adds to the mosaic on every page. Keep scissors out to reduce mess, or offer pre cut shapes if kids want more structure.
What to avoid: Too many tiny pieces that get lost. Time: 15 to 25 minutes to complete a page or two.
5. Painted Paper Airplanes as Place Cards
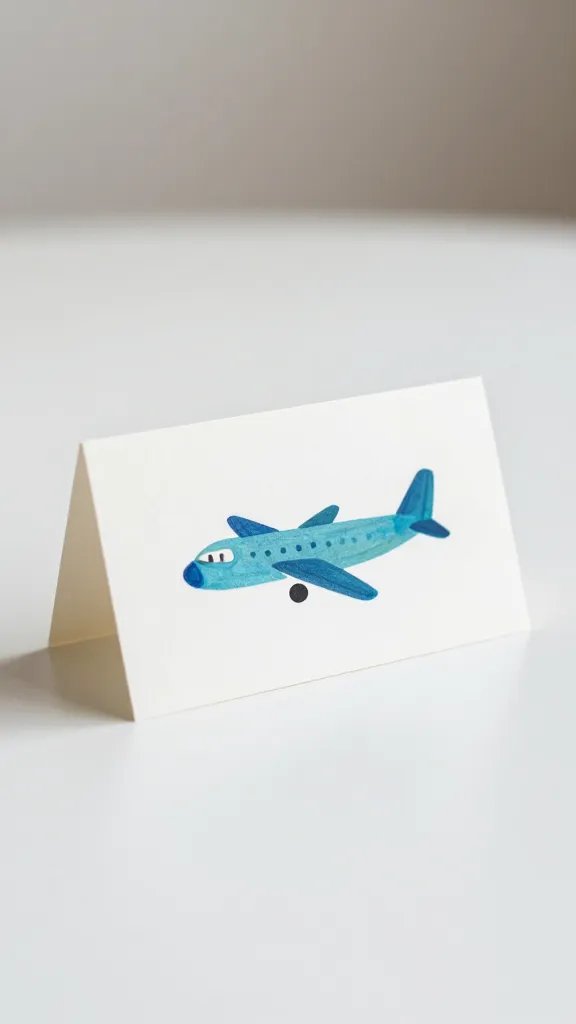
Cut simple airplane shapes from sturdy craft paper or card stock, then let kids paint or color them. Write names on the wings with a thin marker and use a light bottom weight to set them on a garland or dessert table as place cards. It’s simple, decorative, and the craft feels mixed with a party setup rather than a static project. If you’re short on time, color the planes in one or two colors and skip the writing until later.
The detail to steal: Use a contrasting marker for the name so it remains legible from across the table. Time: 20 to 30 minutes.
6. Paper Plate Monster Faces
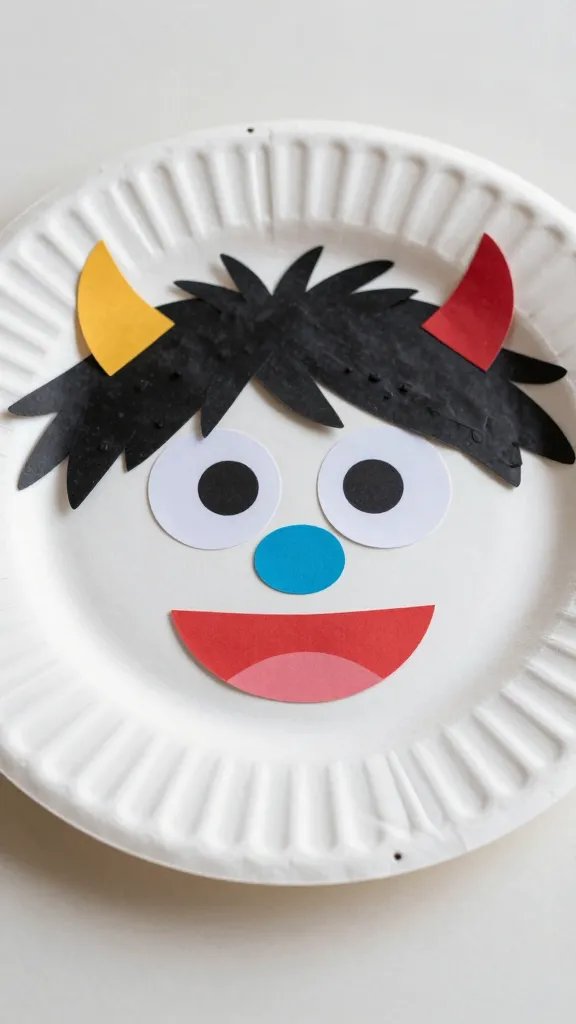
Turn a plain white plate into a friendly monster with a few scraps of colored paper, wiggle eyes, and a dab of glue. Have kids mix and match features to create their own character. This is a quick setup that scales up with the number of kids and keeps mess in check since you’re using plates. If glue feels messy, use double sided tape to secure features instead. This is a small, quick win that stirs imagination without pressure.
Mess control: Put a sheet of parchment or a reused paper under the plate to catch glue drips. Time: 15 to 25 minutes total.
7. Ribbon Wand Photo Props
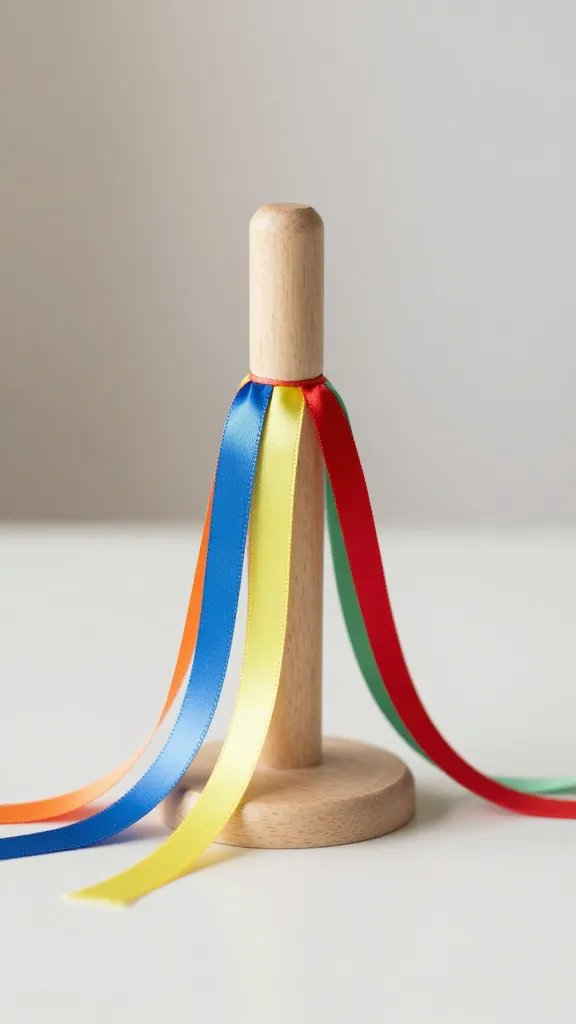
Cut a few lengths of ribbon and tie them to dowel or a sturdy straw with a gentle knot. Kids wave the wands in front of a photo backdrop for silly portraits. No drawing required, just a bit of color and movement. You can pre-cut ribbons to avoid fraying and let kids pick their own color combo. If you have a small space, use a low chair as a prop stand so the kids can stand or kneel for photos.
First step: Thread ribbons onto the base and secure with a tight knot. Time: 10 to 15 minutes for a handful of wands.
8. Color Block Card Garland
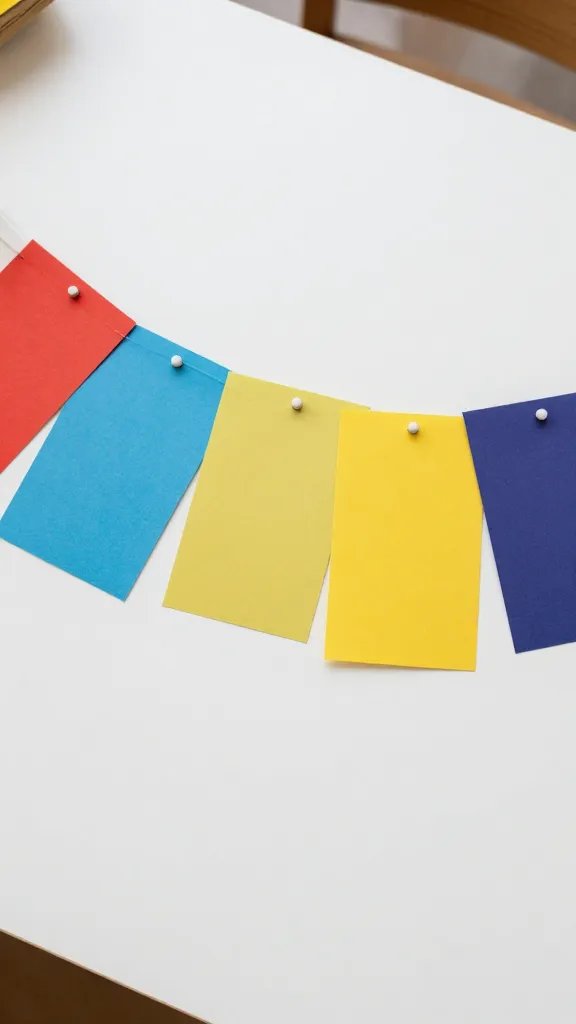
Grab a handful of thick card stock in your theme colors. Cut into rectangular blocks and punch holes in the corners. String them into a garland that drapes over a table or a doorway. The kids can choose colors and placements for a personal touch. If you want a neater look, tape the ends to a string rather than threading them all the way through. This keeps the project quick and forgiving if lines aren’t perfect.
Use what you have: Recycle old greeting cards by cutting out color blocks. Time: 20 to 30 minutes depending on the number of blocks.
9. Chalkboard Word Banner
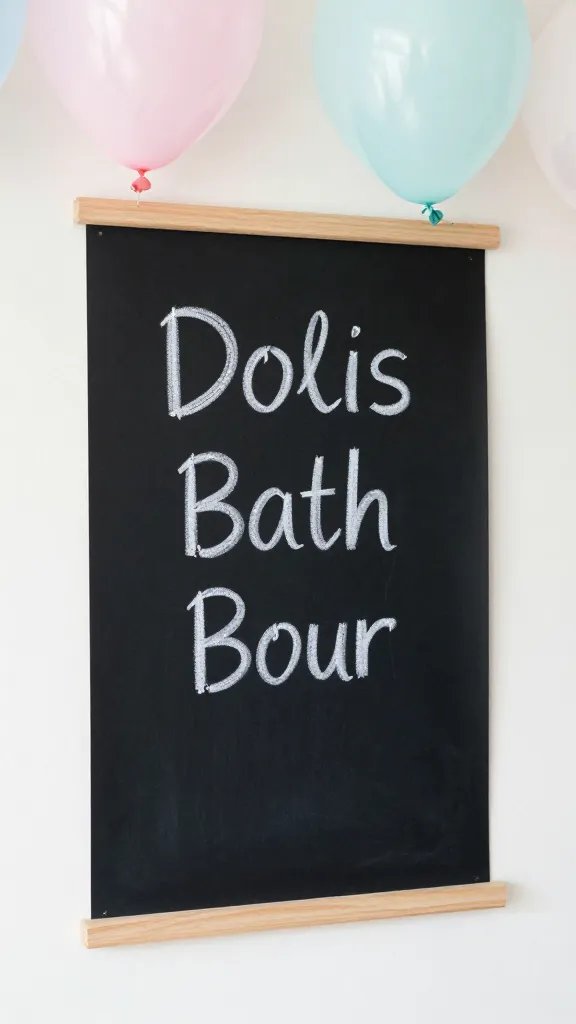
Set up a small chalkboard or a painted paper banner and invite kids to write single words that describe the party or their mood. If you don’t have chalk, use white crayon on dark paper for a similar effect. The banner reads like a playful mood board, and it doubles as party decor. Keep the words short and legible for sharing on social afterward.
What to avoid: Too small lettering that’s hard to photograph. Time: 15 to 20 minutes to draft and decorate.
10. DIY Confetti Jars with Safe Sequin Alternatives
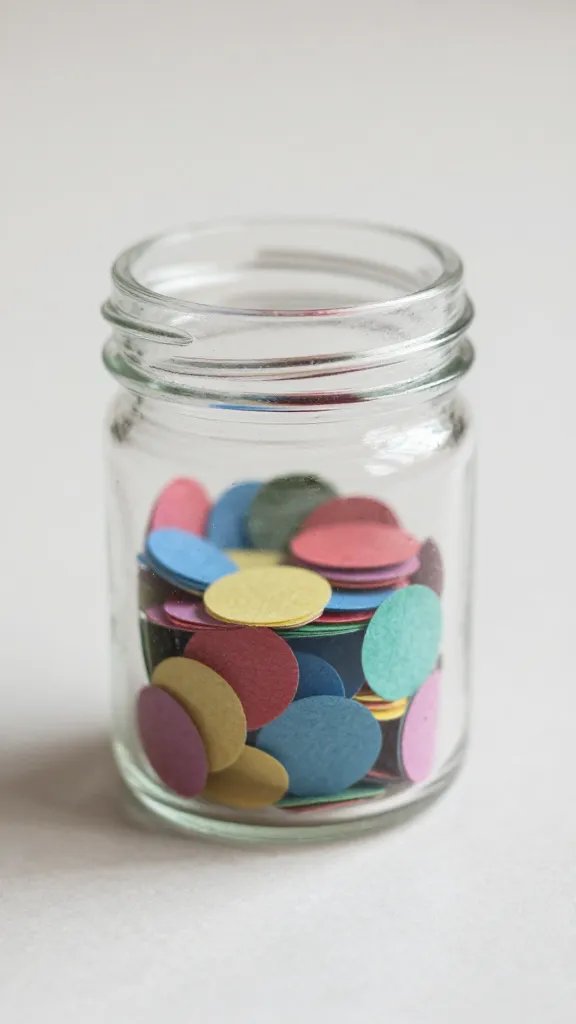
Use small, pre-made confetti shapes or paper circles in your color palette. Fill clear jars with them, then seal with a lid. Kids can decorate the lid with washi tape or stickers. It’s a tiny craft that ends up as a cute party favor or table centerpiece. If you want a scented option, add a few drops of essential oil on a cotton ball tucked under the lid, ensuring this is safe for all attendees.
Safety note: Avoid loose small pieces that can be a choking hazard for younger kids. Time: 15 to 20 minutes.
11. Felt Shape Garland on a Corridor Wall
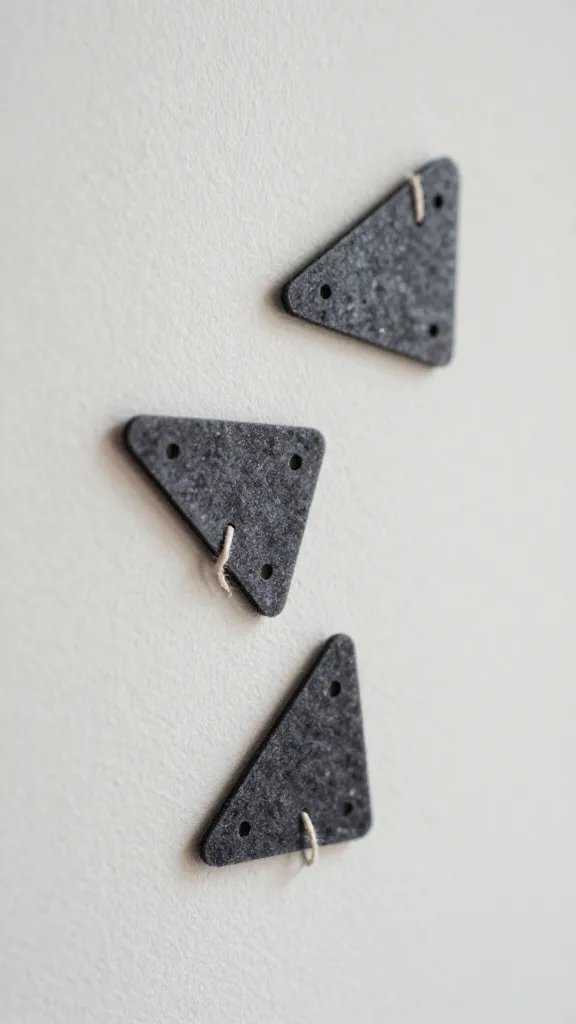
Cut simple shapes from felt and punch holes along the top edge. Let kids slide a string through to form a garland that can hang on a wall or a door. Felt shapes stay flat and don’t shed glitter, which makes this a calmer option for busy homes. If you don’t have felt, card stock works as a substitute. Glue is optional; you can simply use a stapler for quick assembly.
Make it easier: Pre-punch holes and pre-cut shapes, then let kids assemble. Time: 15 to 25 minutes depending on the size.
12. Sticker Glow Jar Night Light
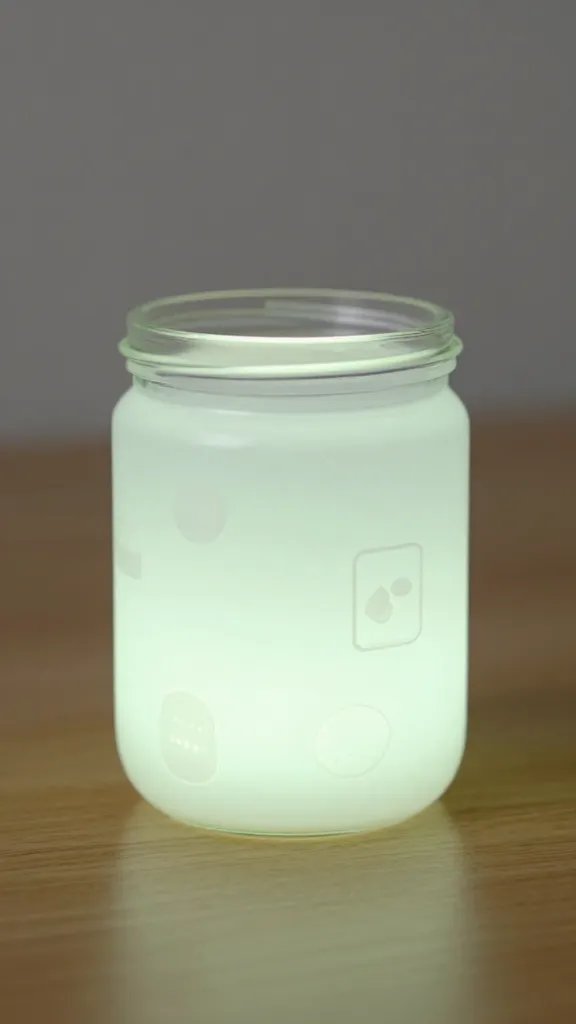
Fill a small jar with glow-in-the-dark stickers or simple translucent shapes. Add a low-watt LED tea light or a small fairy light inside the jar for a soft glow. Kids place shapes on the outside to create a design that glows when the lights go down. This doubles as a calm-down activity and a cozy decor piece for bedtime or a late party wind-down. If you don’t have glow stickers, use metallic markers on the jar for a soft sheen.
Warning: Do not leave an open flame unattended near paper or fabric. Time: 20 to 30 minutes.
13. Mini Chalkboard Signs with Quick Messages
Supply small chalkboards or picture frames with black paper and a piece of chalk. Kids write short messages or draw simple icons to label foods, stations, or games. This is a fast setup that makes a party feel organized without heavy planning. If you want more guidance, pre-write a few prompts on a sticky note near the board to spark ideas for kids who stall.
Copy the look: Use a white chalk marker for crisp lines on dark boards. Time: 10 to 15 minutes for several signs.
14. Paper Bag Puppets with a Twist
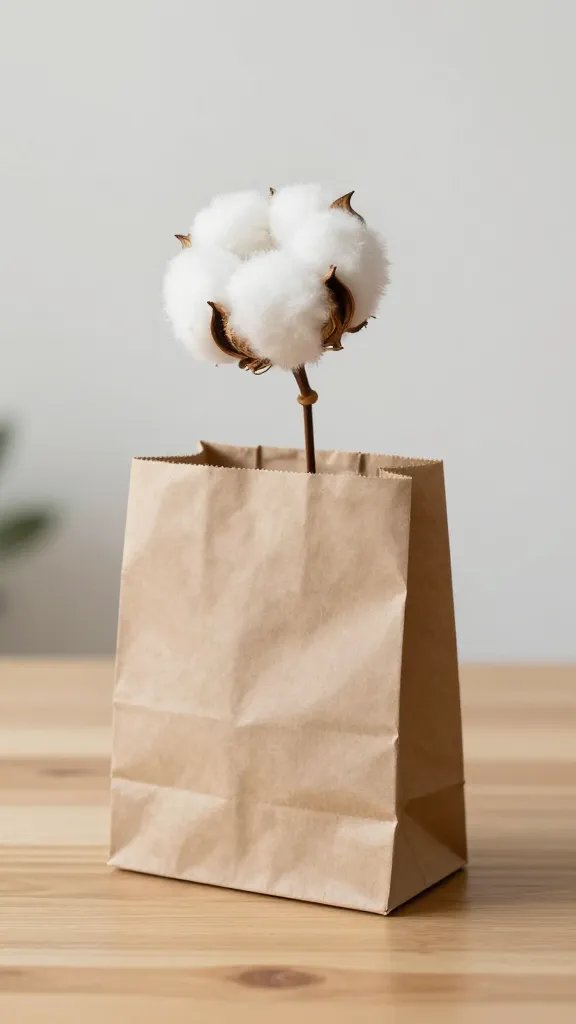
Fill a paper bag with a tiny amount of cotton or tissue to form a fluffy puppet head, then add eyes and a mouth with a marker. You can glue a small fabric scrap for a hat or hair if you want more texture. The result is a friendly puppet theater prop that doubles as a simple party activity. If kids want to perform, set a tiny show after snack time and let each child introduce their puppet.
The detail to steal: Keep glue to a minimum and use tape to fix small features. Time: 15 to 25 minutes depending on crowd size.
15. Jar Lid Medallions on a Silver Tray
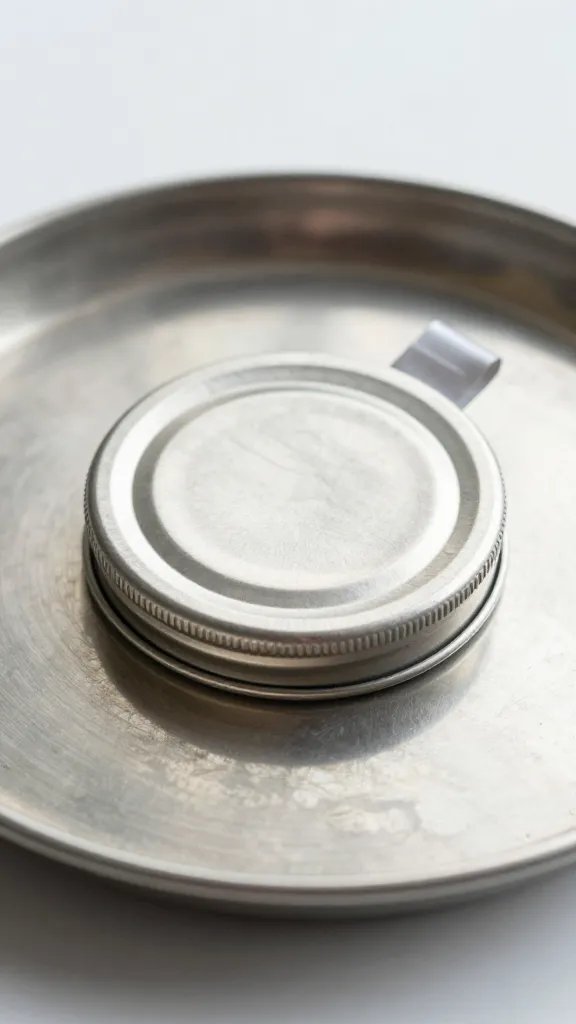
Reuse metal jar lids as a base for quick medallions. Let kids color with markers, stickers, or a dab of paint. Thread a ribbon through the lid’s hole to wear as a medal or to decorate the dessert table. This is a small, tidy finish that ties the party theme together without a heavy craft load. If you don’t have lids, use bottle caps or punch out circles from cardboard and cover with foil for a similar effect.
Time saver: Pre-punch holes and lay out color kits so kids can pick and go. Time: 15 to 20 minutes.
Conclusion
These ideas prove you can craft with kids who resist it, without turning the party into a full-on workshop. Each one is practical, quick, and easy to adapt to a small space or big crowd. Keep the setup light, offer choices, and let the kids lead with color and placement. Save this for the next birthday that sneaks up on you.