
14 Craft Ideas for Kids and Grandparents to Do Together

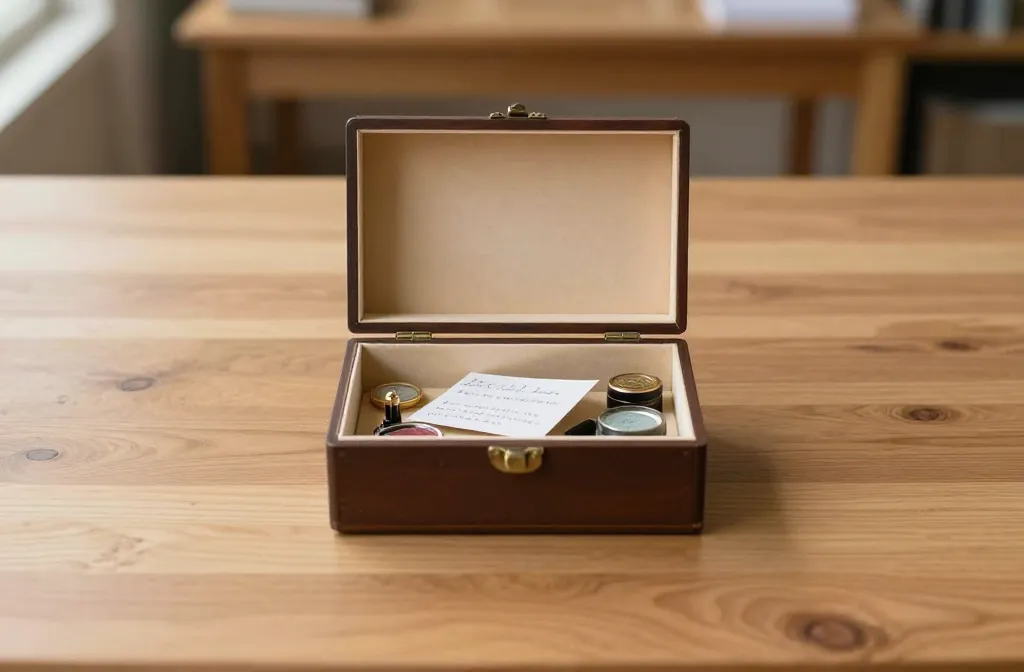
When the calendar is tight and the house is full, the easiest plans fall apart fastest. You want activities that keep kids engaged and grandparents smiling, without a big mess or a thousand supplies. These ideas fit real life: small budgets, simple steps, and quick wins you can finish before guests arrive or in a single cozy afternoon. You’ll find projects that work with what you have and that adults can help steer without taking over. And yes, they’re all kid and grandparent friendly, so everyone stays part of the fun.
Each idea below solves a common hurdle: boredom, clutter, or the dreaded “what now?” moment. Use them as a toolkit for any family gathering, school event, or rainy day. Let’s jump into craft time that actually fits into real life with real people.
1. Shadow Box Time Capsule
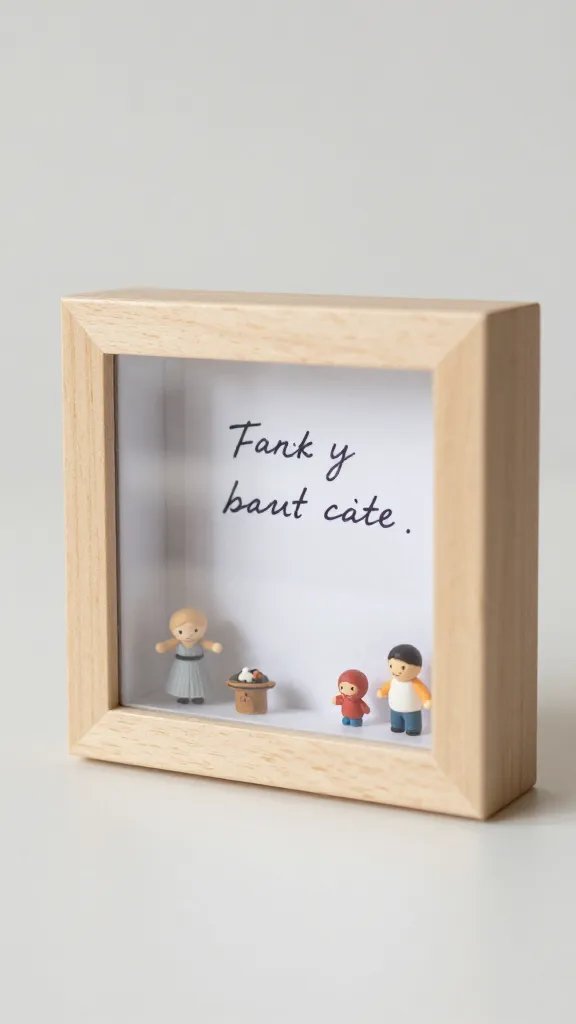
A tiny treasure box becomes a shared memory reel when kids and grandparents add items from today plus a note they each write. The problem it fixes: a party that feels flat and fleeting. Supplies are simple: a small wooden or plastic shadow box, a handful of trinkets, a pen, and a sticky label to seal. It takes about 20 to 30 minutes. Place the box where it can be opened later for a surprise peek. This is a calm project that invites conversation and keeps a memory growing after the day is over.
Use what you have: Pull from a shared photo album or a kit left over from another project to fill the box.
Copy the look: Use a neutral frame and a single color label to keep it tidy on display.
2. Embroidered Paper Flags
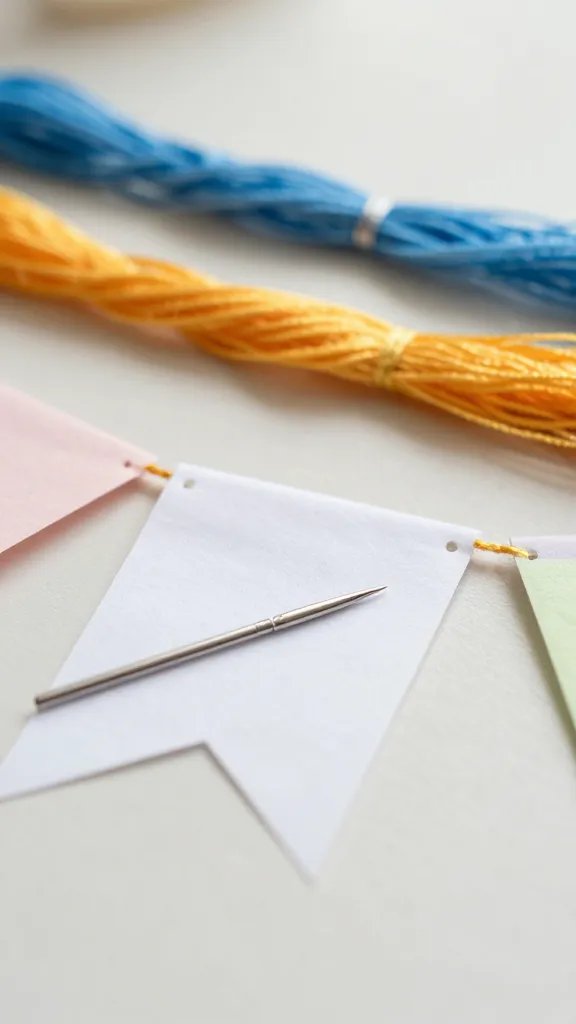
Stitching needles can scare kids, but a plastic needle with a blunt end and simple loop stitching makes this a safe, satisfying activity. The real problem solved here is the post party decor that looks homemade but not sloppy. You’ll need thick scrapbook paper, embroidery floss in two colors, a plastic needle, scissors, and a string to hang. It takes about 30 minutes to create a small banner. Grandparents guide the stitching while kids choose color combinations for each flag. The result is a fan shaped banner you can reuse for birthdays or backyard meals.
Kid friendly: Let kids pick a color motif and punch the hole guides with a paper punch.
What to avoid: Keep floss trimmed to avoid tangles during setup.
3. Nature Print Cards
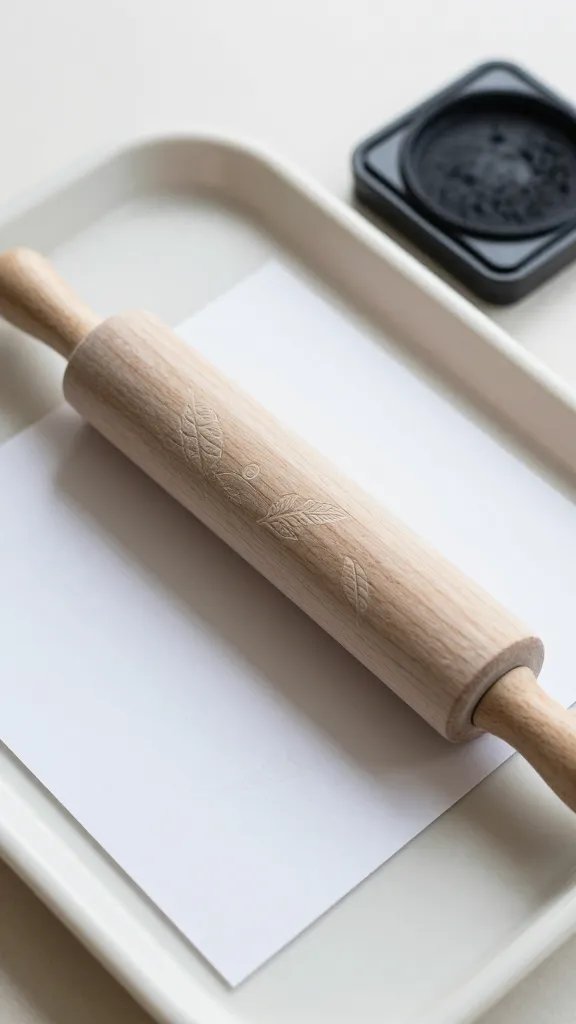
Collect leaves, petals, and twigs during a brief walk, then press them onto cards with ink or paint to make a tiny greeting set. The problem it fixes: a last minute host gift or thank you notes that feel thoughtful without being complicated. Supplies: blank white cards, washable ink pad or paint, a rolling pin or brush to press, and a tray for mess control. Plan 25 minutes for the whole set, including drying time. Grandparents arrange the prints; kids add color dots or tiny drawings with markers. The finished cards look personal and easy to mail or tuck into gift bags.
Best for: a short nature walk after lunch to gather textures.
Cleanup tip: Use a tray to catch paint and tape a sheet of newspaper under the work area.
4. Button Flower Cards
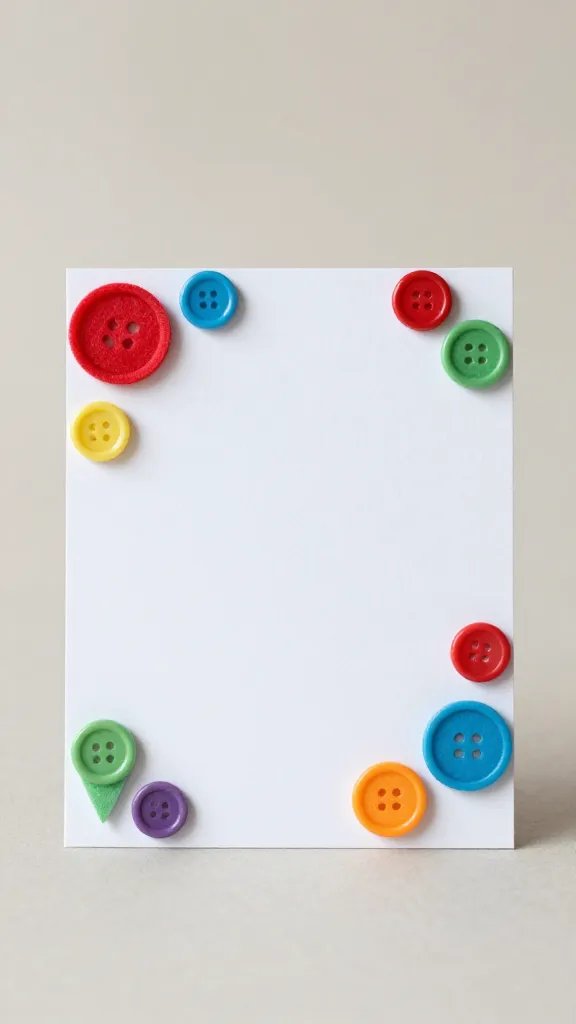
Flatten a few old felt shapes into flower shapes, then glue buttons in the centers for a cheerful bouquet on card stock. The real problem addressed: a batch of plain greeting cards that feel uninspired. Supplies: felt scraps, a spool of craft glue, a small pile of colorful buttons, and blank card stock. It takes about 25 minutes. The project scales up or down easily: more colors for a brighter bouquet, or fewer pieces for a quick note. Grandparents show how to thread and glue; kids decide the color mix and placement to build confidence.
Why it works: The tactile glue and button shapes anchor attention and foster fine motor practice.
Safety note: Use a glue that dries clear and keep small buttons away from the youngest children.
5. Tissue Paper Kite Wall Decor
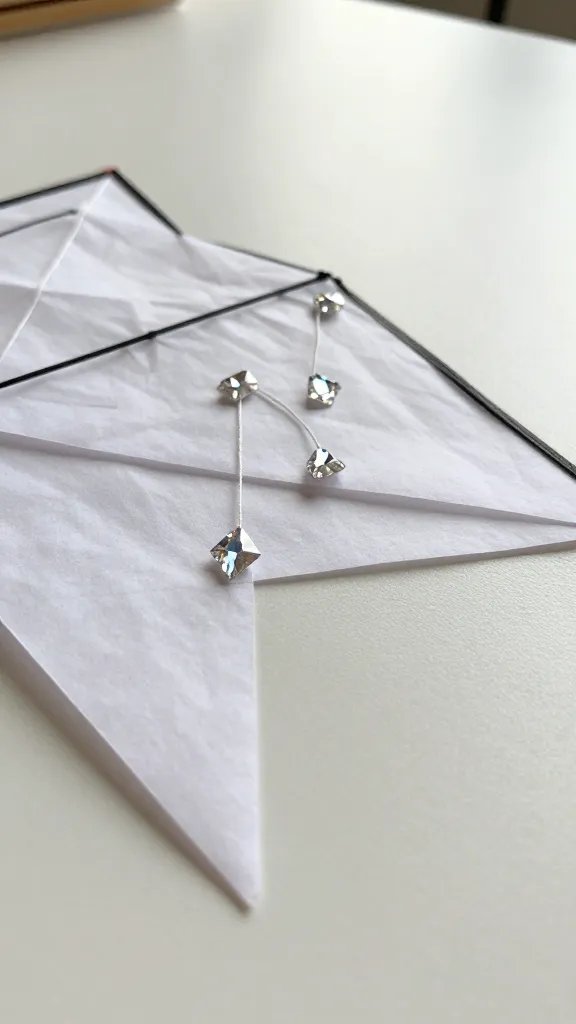
Turn folded tissue into a hanging wall piece that moves with a gentle breeze. The problem solved: a temporary backdrop that looks festive without buying a full banner set. Supplies needed: tissue paper in two or three colors, scissors, string, and a piece of cardboard as a base. About 20 to 30 minutes to assemble. Cut tissue into diamond shapes and layer them to create a chevron or fan effect. Attach to string and tape to a wall or doorway. Grandparents trace the shapes while kids layer the colors for a playful effect.
Best for: a quick hallway decoration that can be left up a few days.
Scheduling note: Make extras to brighten a small entryway or to reuse later with a different color plan.
6. Mini Photo Magnets
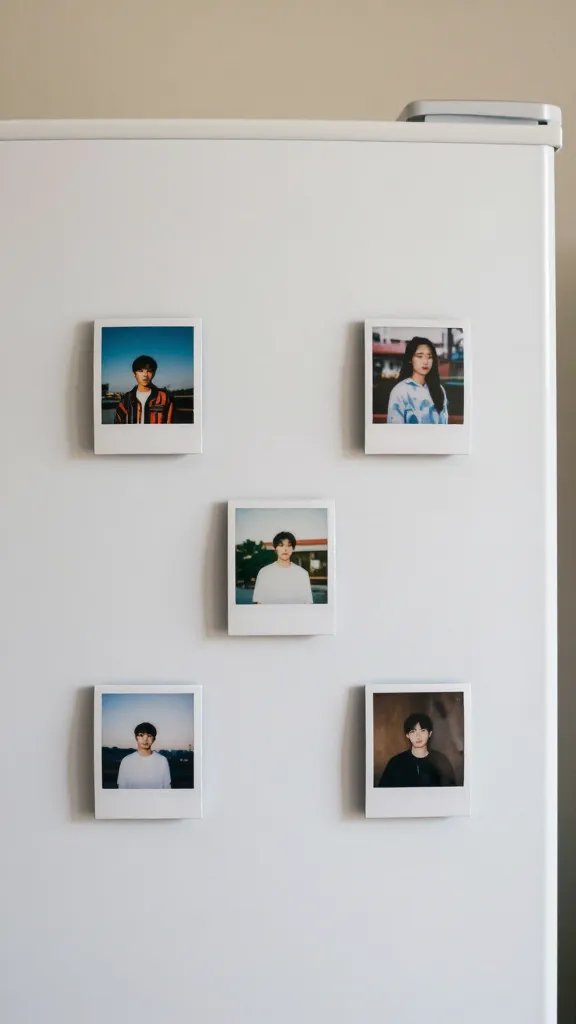
Family photos become fridge art with a simple magnet kit. The real problem solved: a fridge that looks bare at a gathering or a way to display memories without frames. Supplies: printed mini photos (wallet size or 3×3), magnetic disks or strips, and craft glue or double sided tape. About 15 to 25 minutes. Trim photos to size, attach magnets on the back, and seal with a tiny dab to keep from peeling. Kids pick which photos to use; grandparents help measure and line them up for a neat grid.
What to avoid: Avoid heavy magnets that could scratch the fridge surface.
One small change: Use printable magnetic sheets to create a magnet board for future photos.
7. Sock Puppet Parade
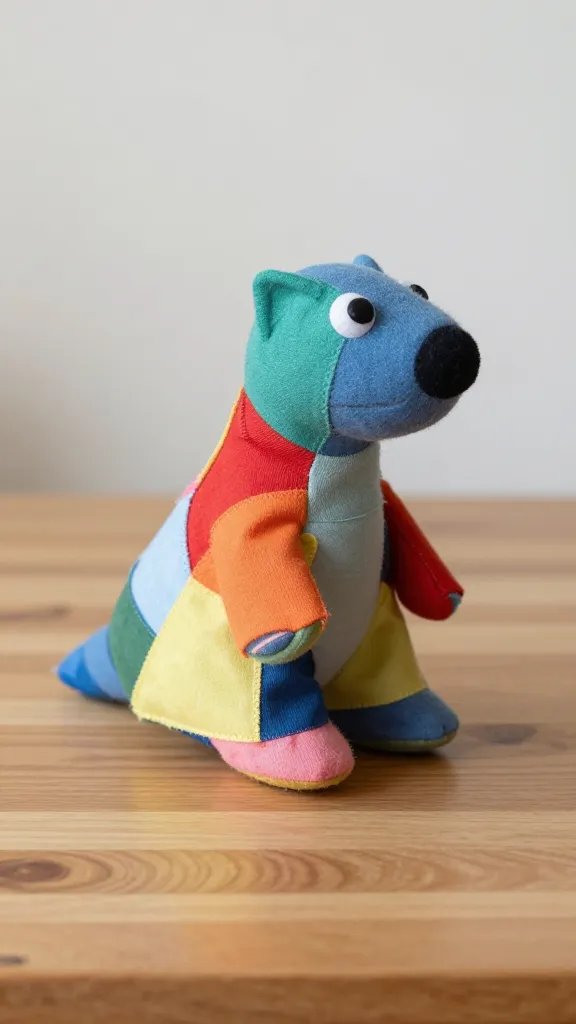
Use old socks and a few fabric scraps to create silly puppets, then stage a little parade. It fixes the problem of a short attention span by giving kids a quick build and a show. Supplies: old socks, fabric scraps or felt, a small amount of glue, markers, and scraps of yarn for hair. About 30 to 40 minutes. Grandparents lead the building while kids design faces and outfits. The parade can run around the living room or be a short skit after a snack. A quick cleanup follows and a few keepsakes can be stored in a box for later play.
Make it ahead: Clip a few extra puppets ready for a spontaneous show on rainy days.
Safety note: Use fabric glue instead of hot glue for delicate corners where hands have less control.
8. Painted Jar Lanterns
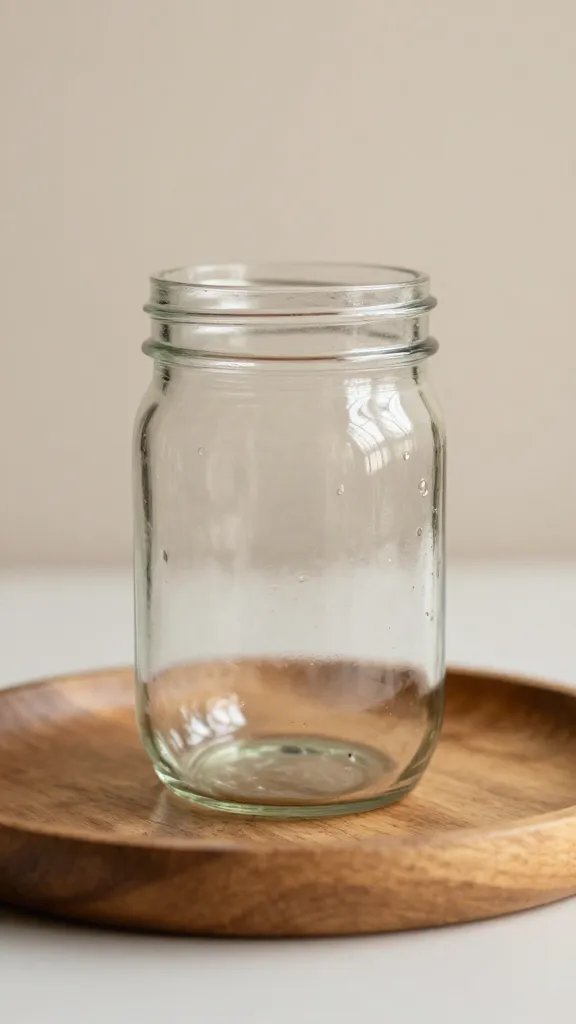
Plain jars get transformed with a splash of color and a tea light. The real problem solved: mood lighting for a cozy party setup without buying new lanterns. Supplies: clean Mason jars, acrylic paint, a thin brush, and a votive candle or LED light. About 30 minutes plus drying time. Paint a simple stripe or dot pattern so even younger kids can contribute. Grandparents help with safe placement of candles and set up a small display on a tray for easy cleanup.
What to avoid: Do not use real candles near paper or fabric decorations.
Copy the look: A two color palette keeps the display cohesive and photo friendly.
9. Paper Plate Garland Alphabet
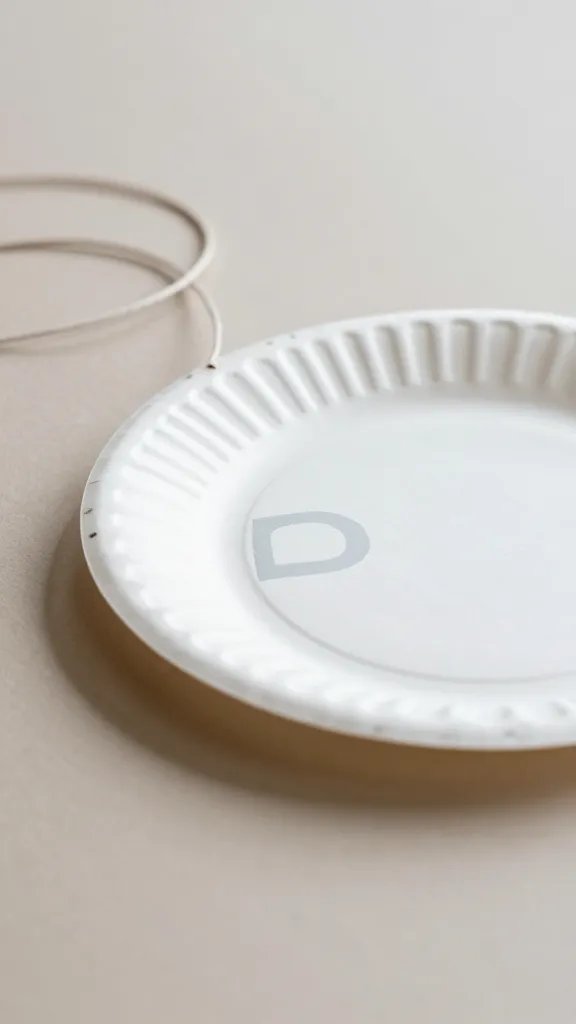
Turn paper plates into a playful garland by cutting them in half and writing letters on each. The problem it fixes: a bare wall that needs a touch of whimsy without heavy decor. Supplies: paper plates, scissors, marker, string or ribbon, and a stapler or tape. About 30 minutes. Each person picks a letter and decorates a plate half. String the halves in order for an easy learning theme that doubles as decor. Grandparents lead the cutting and kids route the letters in a fun order for a mini alphabet lesson.
Best for: a learning corner that doubles as a party focal point.
One small change: Swap the plates for sturdy cardboard cutouts if you want the garland to last longer.
10. Foam Sticker Mosaic Frames
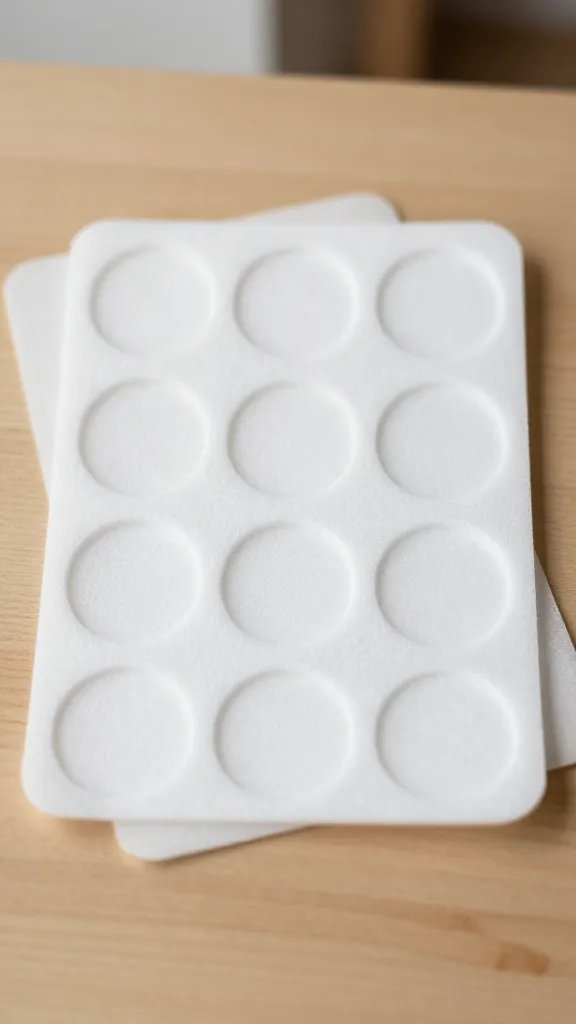
Turn plain frames into color punch by filling them with a mosaic of foam stickers. The real problem solved: a gift or display piece that looks thoughtful without breaking the bank. Supplies: inexpensive frames, a sheet of foam stickers, a glue stick if needed, and a sample photo to place inside. About 20 minutes. Kids arrange colors and shapes while grandparents trim edges and secure the backing. The result is a cheerful, ready-to-hang piece that can fit any room with a quick change of the photo inside.
Use what you have: Frame samples from a studio closet or thrift shop keep costs down.
Safety note: Small foam pieces pose a choking risk for the youngest children; supervise closely.
11. Ribbon Tie Vote Banner
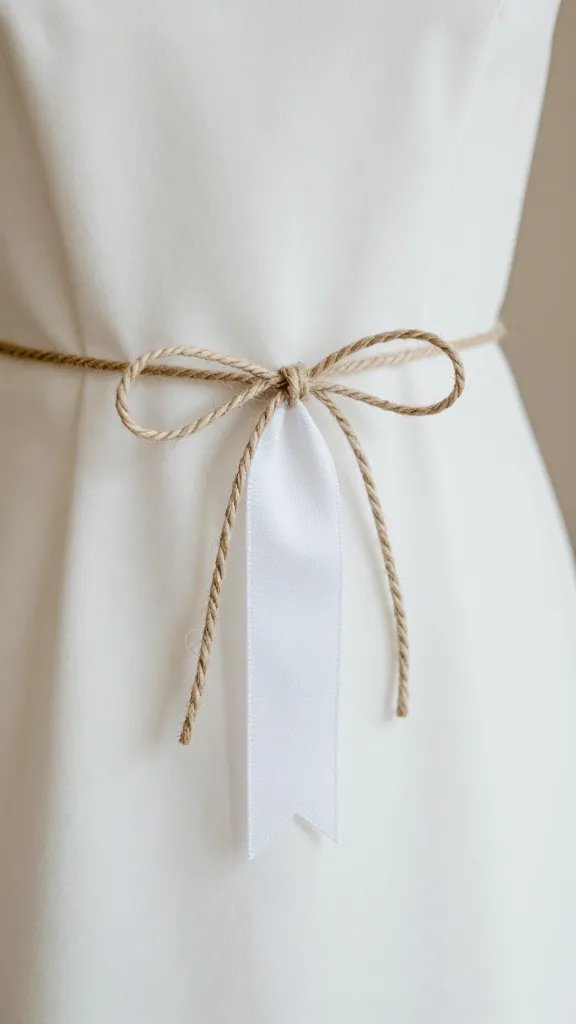
Make a simple banner by tying ribbons onto a length of yarn. The problem fixed: a decorative accent that looks deliberate but is quick enough to finish right before guests arrive. Supplies: ribbon scraps, a long string or twine, and a marker to date or title the banner. About 15 to 25 minutes. Each person ties a ribbon and signs the back with a tiny initial. Hang across a doorway or mantle to create a festive moment without fuss. Grandparents mentor the tying while kids decide color order.
Best for: a small room setup with a personal touch.
Cleanup tip: Keep a small trash bag nearby for ribbon ends so you don’t drift into a ribbon avalanche.
12. Cardboard Castle Playset
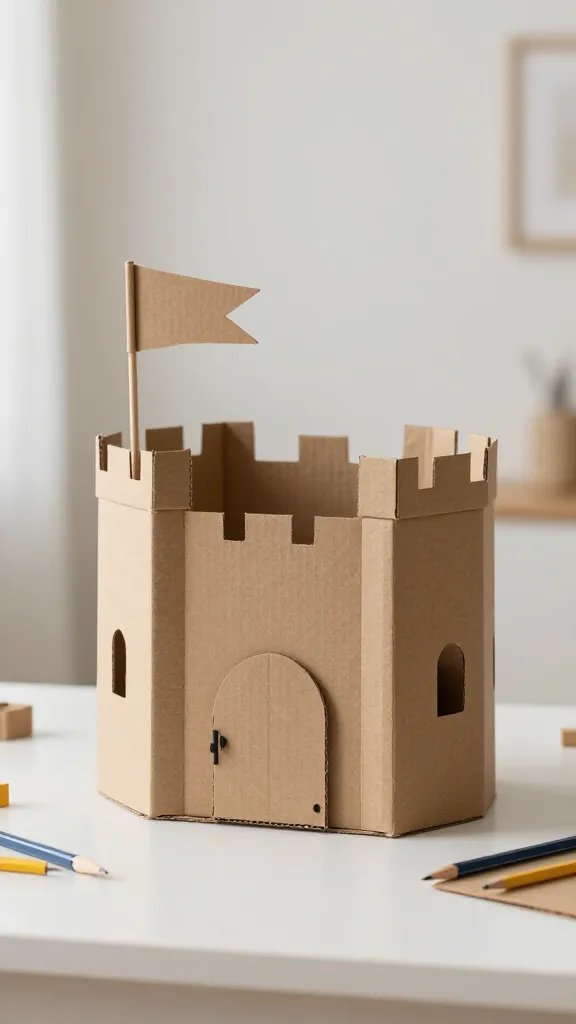
Turn a cardboard box into a mini fortress that families can decorate together. The problem solved: a busy day needs a tiny, long-lasting project that doesn’t cost much. Supplies: one medium cardboard box, markers, scissors, and sticker sheets or paper scraps for details. About 40 minutes. The box becomes a castle with doors cut in the front and a flag on top. Kids color and decorate while grandparents help with foldouts and stability. It doubles as a toy afterward or a cozy backdrop for a photo moment.
What to avoid: Avoid sharp edges; trim with adult supervision only.
One small change: Add a printed printable banner to top the castle for a party theme.
13. Chalkboard Menu Panels
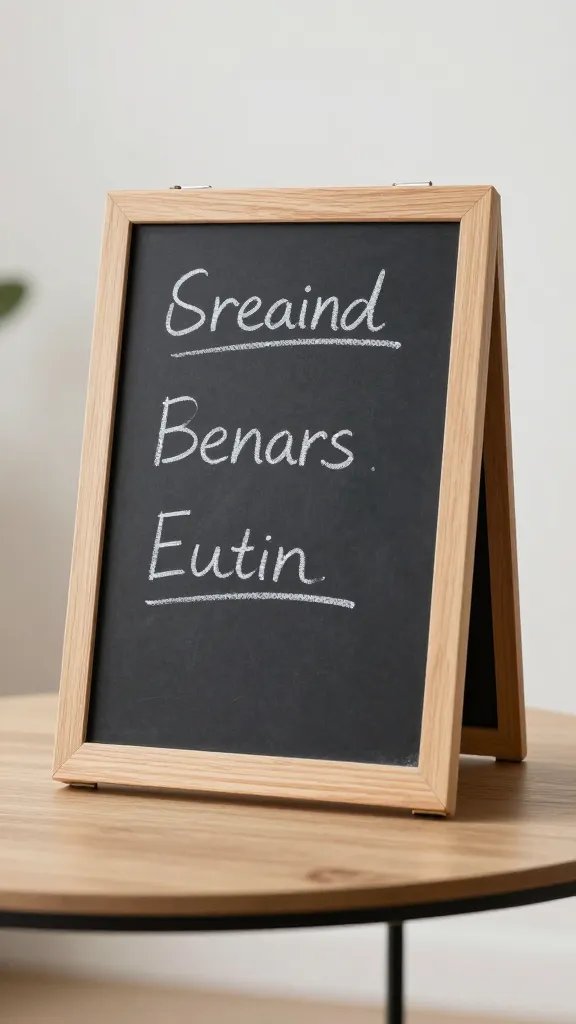
Flip a few small panels into reusable menus for a pretend cafe or party snacks. The real problem solved: keeping meal times calm at a busy gathering. Supplies: small black chalkboard panels or picture frames with chalkboard paint, chalk, and a few printed labels for reference. About 20 minutes. Kids draw a few dishes or drinks, while grandparents help with neat lettering and placement. The panels sit on a coffee table or hang on a wall, adding a focal point that is both practical and playful.
Safety note: Use kid-friendly chalk and a damp cloth for easy erasing between shifts.
14. Fabric Stamped Napkin Rings
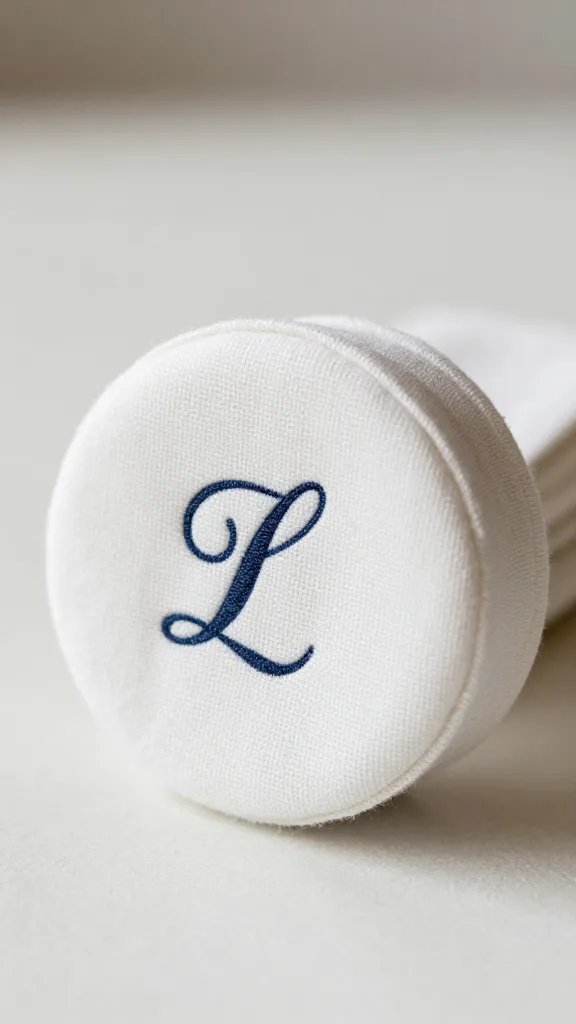
Cut scraps of fabric into small circles or squares and stamp with a family initial or motif. The problem solved: a place setting that looks curated without a lot of fuss. Supplies: fabric scraps, an ink pad or fabric paint, and a set of elastic napkin rings or simple looped ribbon. About 25 minutes. Kids stamp while adults help align and dry. The result is a cozy, personal touch on the table that travels well for potlucks or family dinners.
Use what you have: Use old nursery labels or fabric scraps from a previous craft to keep costs down.
With these 14 ideas, you’ll have a ready-to-go toolkit for engaging kids and grandparents alike. Each project is chosen to be doable, budget friendly, and quick enough to finish in a single session. Save this for the next birthday that sneaks up on you.