
16 Cardboard Craft Ideas Using Toilet Paper Rolls

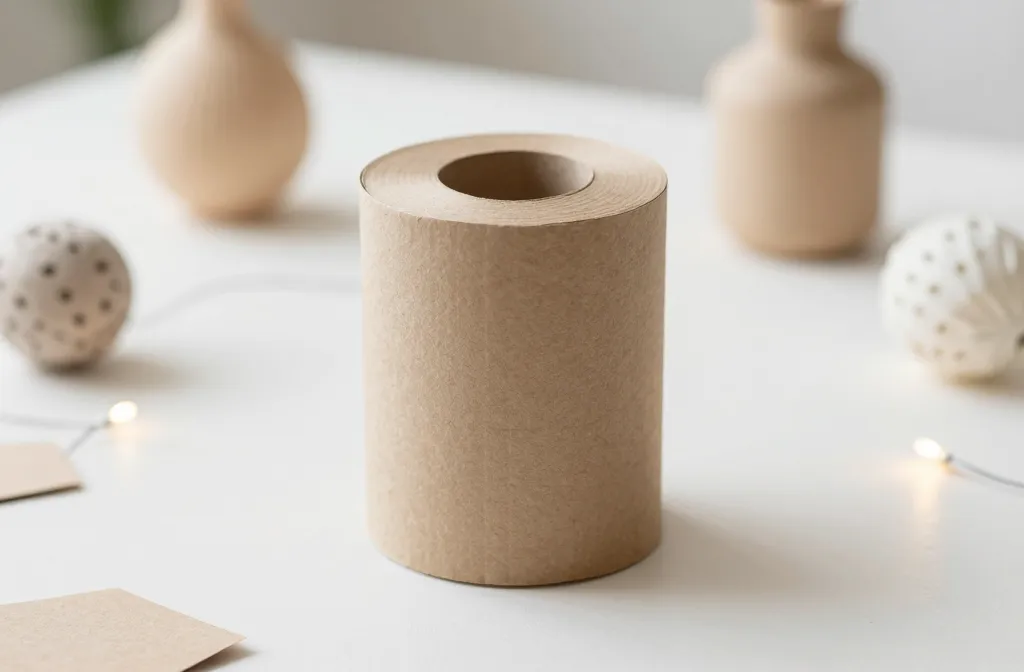
When guests arrive in two hours and the party budget is tight, you reach for the simplest materials with the biggest impact. Toilet paper rolls hide in plain sight, and they can become the glue of your table, decor, and kid activities. This set focuses on practical, fast builds you can actually finish today or tomorrow, especially if you raid the recycling bin first. Each idea solves a common party snag—bare dessert tables, slow kid activity, or a crowd-friendly craft that looks polished. You’ll find quick steps, clear supplies, and a realistic timeline tucked into each section. Now let’s choose 16 practical ideas and get crafting.
1. Little Lanterns From Cardboard Tubes
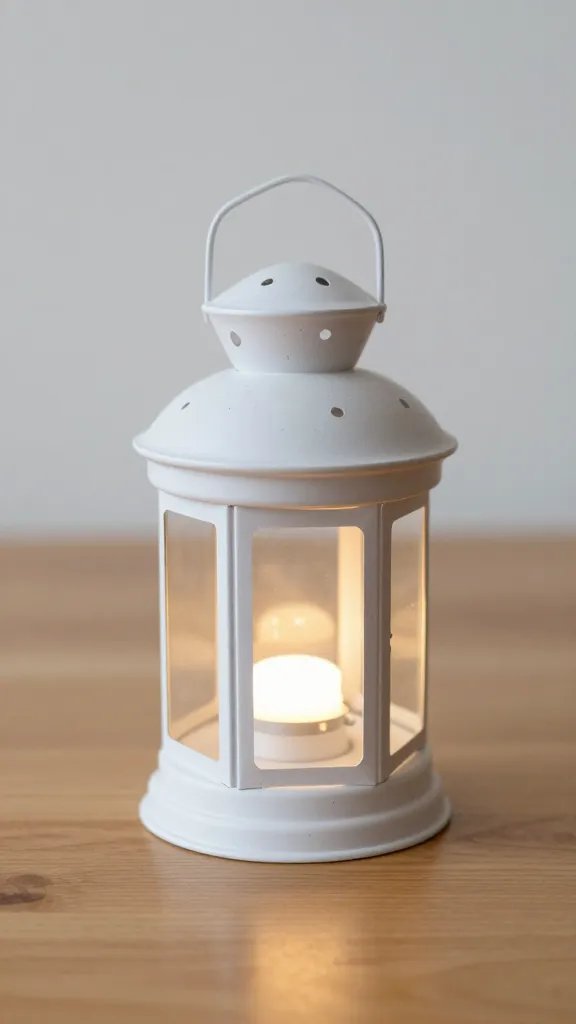
Twinkling lights dress up a dessert table, but store bought lanterns can break the budget fast. Turn toilet paper rolls into tiny lanterns by cutting slits around the sides and inserting battery LEDs. A dab of acrylic paint colors the shade, and a yarn loop makes for hanging. This is a tidy, kid-friendly project that takes about 20 minutes.
Copy the look: Use metallic paint or chalky finish for a soft glow. Color note: Pick a single theme color to keep the display cohesive.
2. Party Scorer Banners From Recycled Rolls
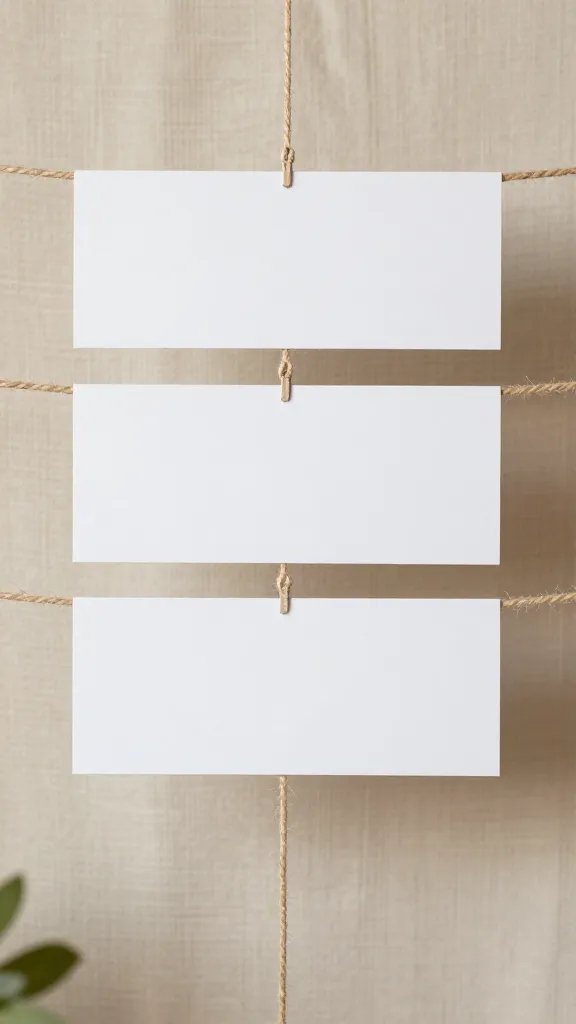
Blank walls look flat in photos and in real life. Create a string banner by cutting each roll open into thin panels, then paint with two complementary tones. String them along twine with gaps to let light peek through. It takes about 25 minutes to assemble, plus drying time.
Best for: Quick backdrop for cake or gift table. Placement note: Hang from a tension rod to avoid wall damage.
3. Pencil Holders With a Twist
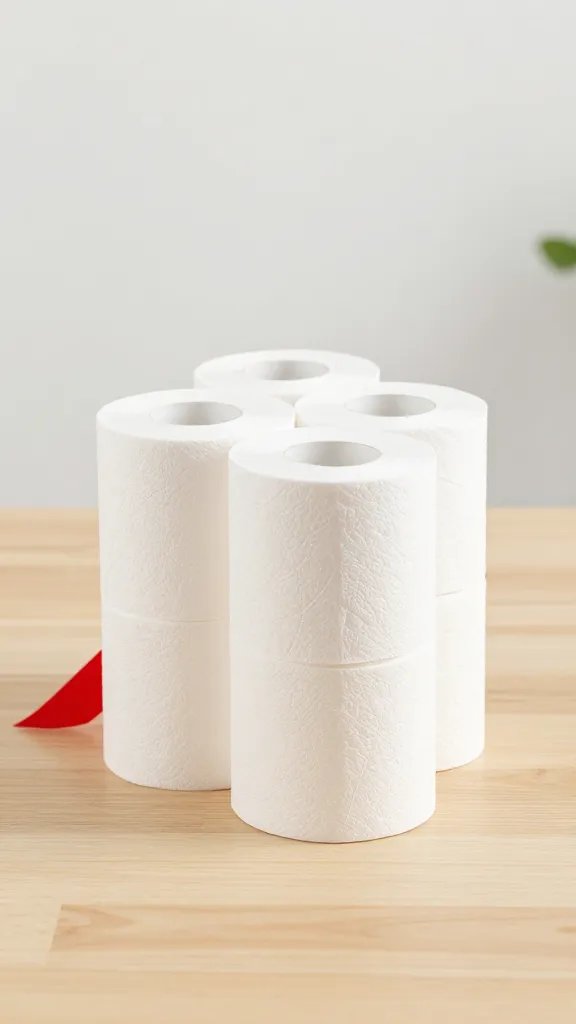
Toilet paper rolls become sturdy, colorful pencil holders for a craft station or gift table. Glue four rolls into a square, wrap with decorative paper, and add a bright ribbon to hide seams. Fill with crayons or small favors. This saves space and reduces clutter at a busy party. It takes about 30 minutes, with tape and glue as the main tools.
What to reuse: Use leftover gift wrap scraps for a quick wrap. Storage tip: Keep a few ready-made in a bin for future playdates.
4. Mini Gift Boxes From Simple Cylinders
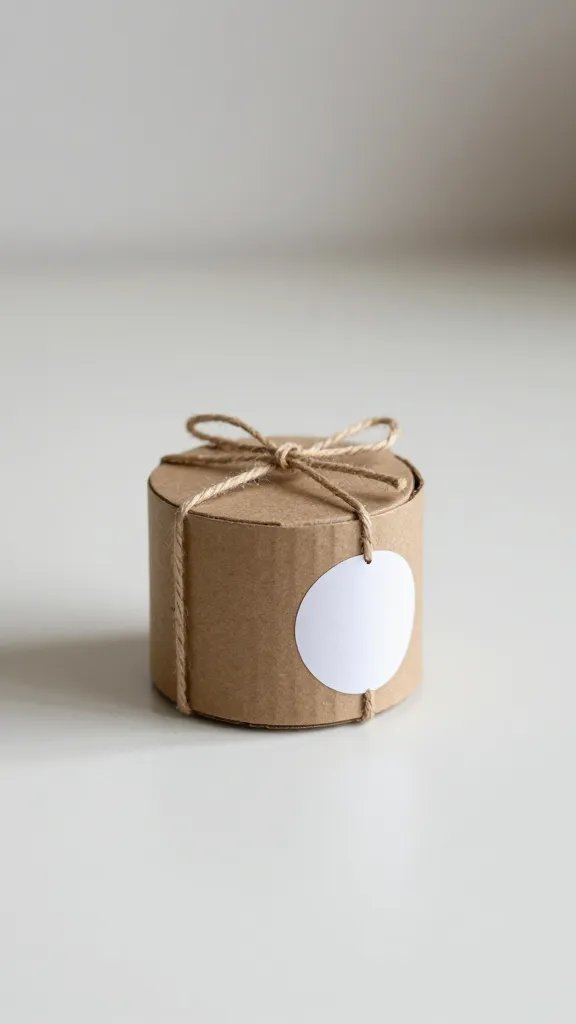
Paper cylinders become tiny gift boxes for party favors. Cut a few rolls into short sections, cover with patterned paper, and tie with twine. Add a tiny sticker as a seal and tuck a small treat inside. This is a beginner-friendly project that finishes in under 40 minutes.
Kid friendly: Let little hands do the coloring and sticker work while adults handle glue.
5. Flower Wall Orbs From Strips
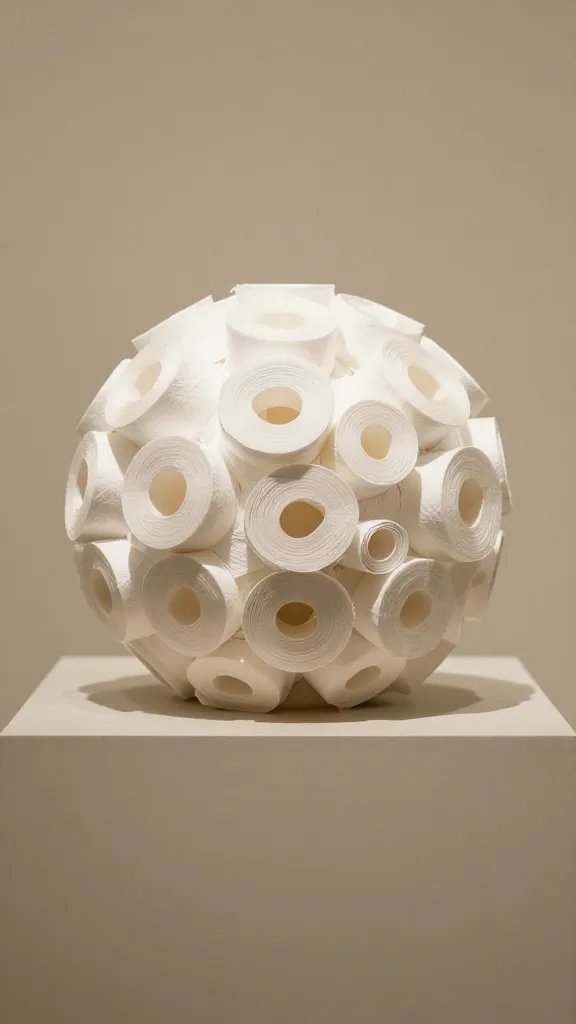
Cut strips from toilet paper rolls and curl the ends to create petals, then glue into circular shapes. Layer several on a wall to form a soft flower wall that photographs well. It’s a budget-friendly centerpiece that can be assembled in under an hour, with a light spray of color to brighten the space.
Thrift swap: Use gift wrap curls instead of paper strips for a different texture. Decoration tip: Place on a tall stand for varied heights.
6. Napkin Ring Rings For The Table
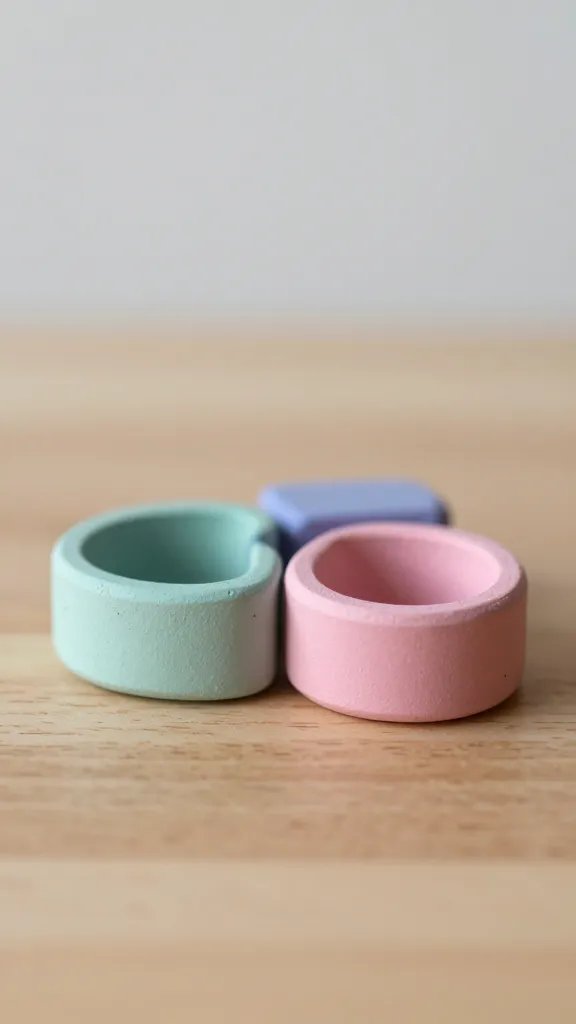
Slide a paper strip around a roll and glue into a ring, then paint in the party color. Thread with a small tag or name card for a seating plan that’s easy to scan. The setup takes about 20 minutes plus drying time, and you can batch several at once to save time.
Use what you have: Recycle ribbon scraps for a quick bow. Cleanup tip: Keep a small cardboard tray to collect bits during assembly.
7. Cardboard Rosettes For Wall Decor
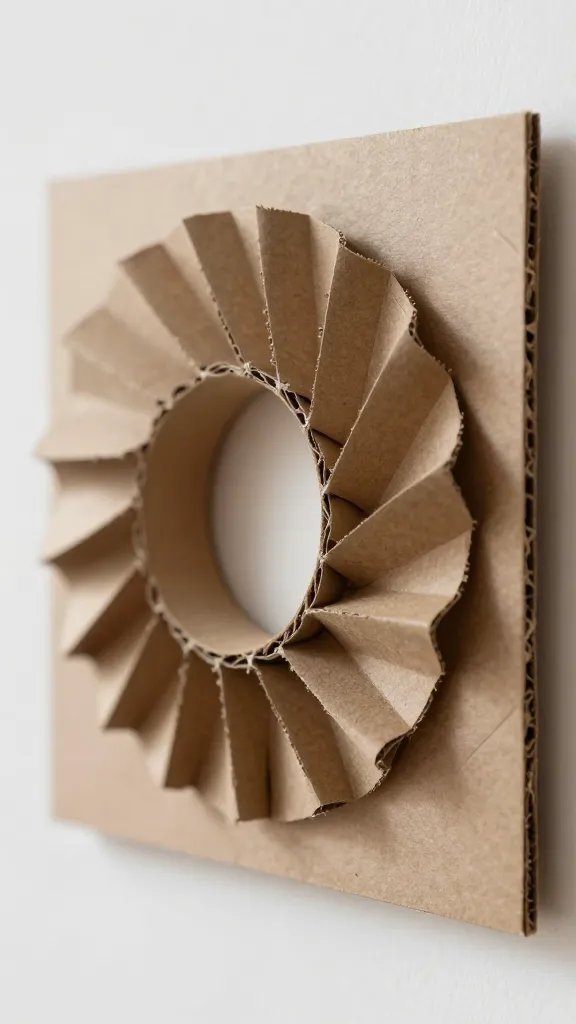
Flatten a roll, cut a spiral, and roll it back into a rosette shape. Glue to a cardboard backing or directly to the wall for a cheerful focal point. This is a fast way to add color and texture, and you can make a string of rosettes to decorate a dessert table in about 45 minutes.
Best for: A photo backdrop that’s easy to update between seasons. The detail to steal: Vary sizes for depth.
8. Bird Feeders For Outdoor Fun
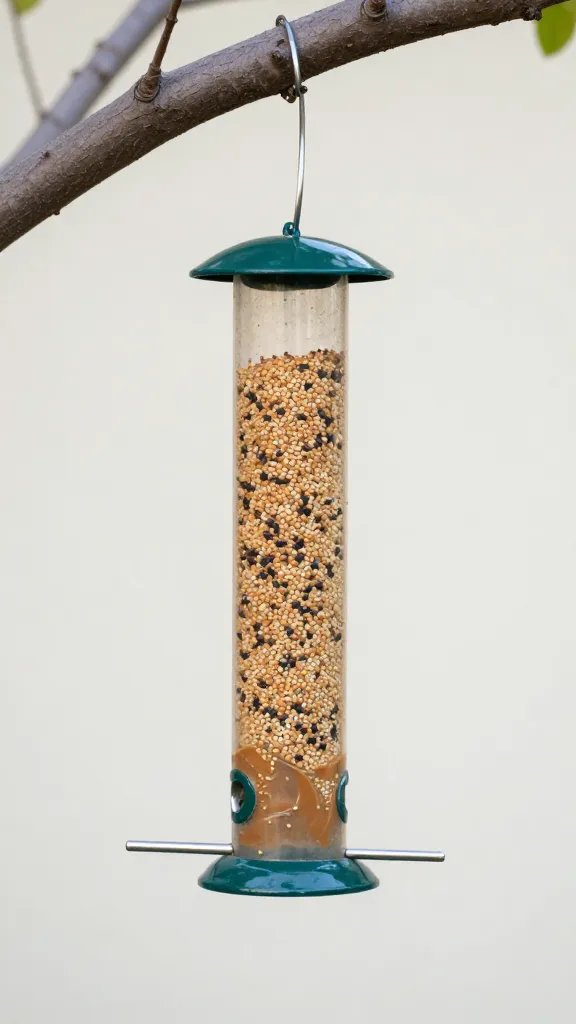
Turn tubes into tiny outdoor feeders: cover with peanut butter (or a kid-safe alternative), roll in bird seed, and hang from a tree. It’s a simple two-step craft that keeps kids busy outside and gives guests something to watch later. This idea is weather dependent and best in daylight play.
Safety note: Use a sturdier string and avoid small parts that could be swallowed by younger kids.
9. Table Centerpiece Spheres
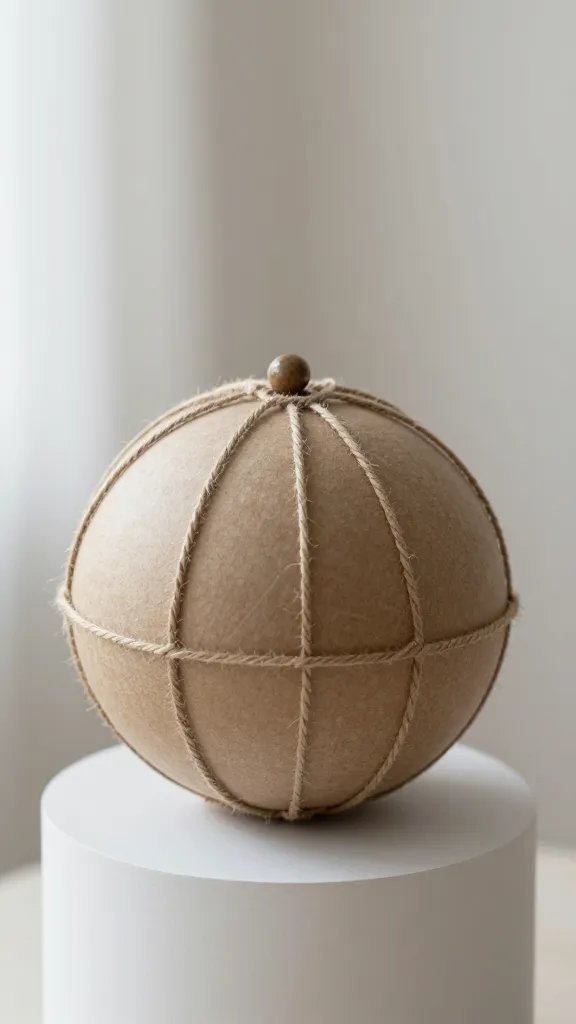
Stack two or three tubes, glue into a ball shape, and wrap in twine or ribbon. Add a button or bead accent to the center. You’ll have a rustic centerpiece that can double as a take-home favor if you nest a small candy inside. Time depends on how meticulous you are, typically about 35 minutes.
Placement note: Place on a small cylinder stand to lift the sphere for better sightlines.
10. Party Crowns For The Kids
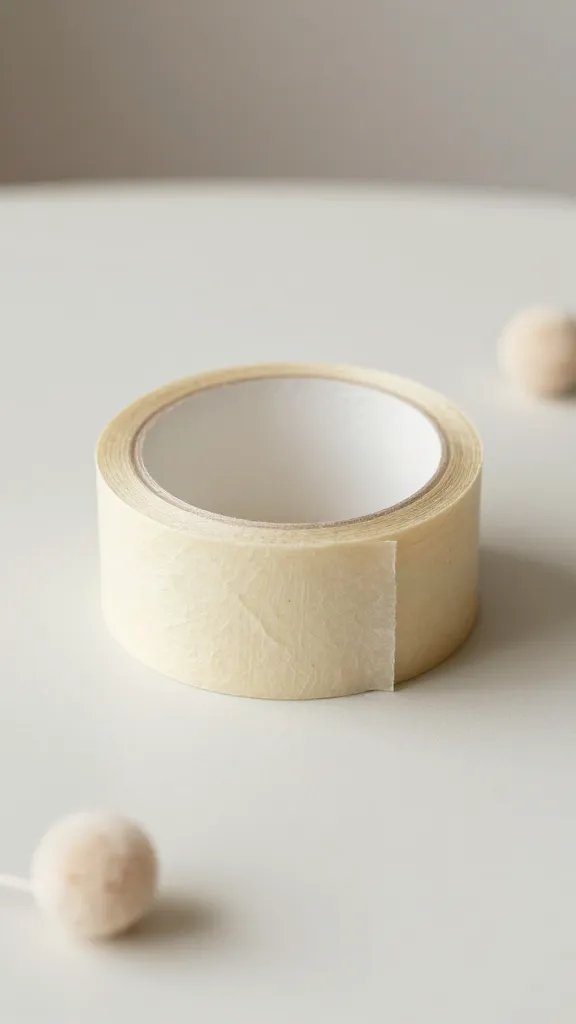
Cut a band from a roll, decorate with washi tape, markers, and small pompoms. Attach with a strip of ribbon and tie behind the head for a safe, kid-friendly crown. Plan about 25 minutes to decorate a handful for a group game or crown-making station.
Make ahead: Pre-cut bands and store flat so the kids can finish the decorating on arrival.
11. Photo Props On a Roll
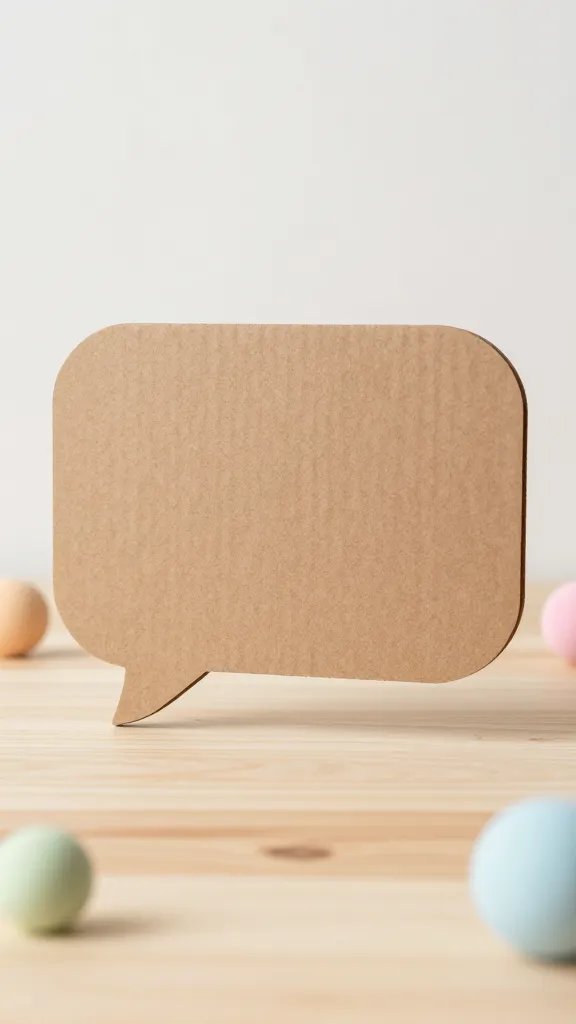
Shape rolls into speech bubbles or shapes with a bit of cardboard and tape. Mount them on sticks to hold up behind guests for quick silly photos. It’s a clever, cost-saving prop that takes about 20 minutes to assemble with kids helping glue and decorate.
What to avoid: Don’t mount too close to kids’ faces; keep it adjustable and safe.
12. Wall Garland With Cutouts
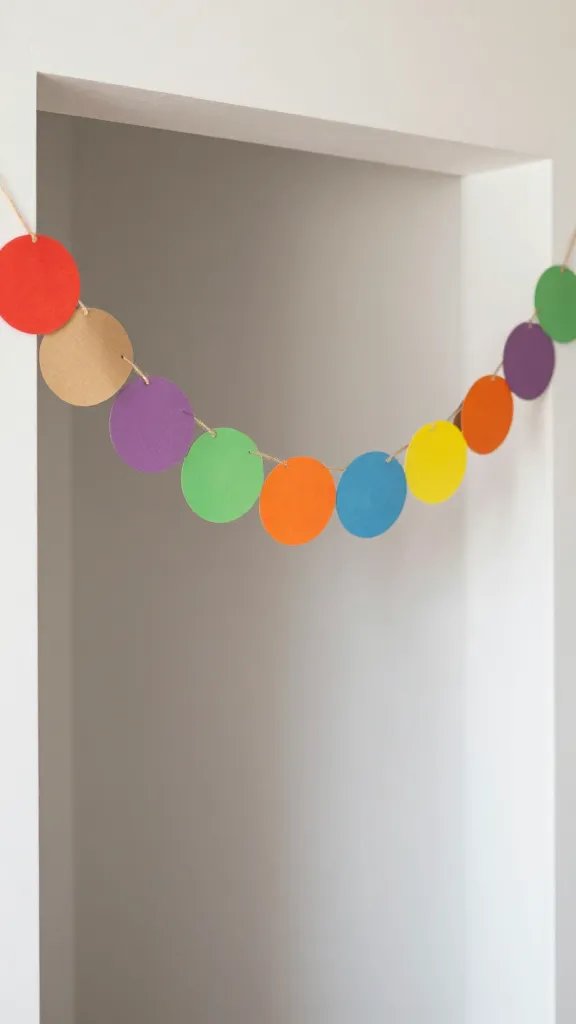
Cut circular holes into rolls, paint in bright colors, and link with twine to form a garland. This goes up fast and looks polished in photos. Plan on about 30 minutes to string and space evenly, then hang along a doorway or dessert table.
Supply run: Cardstock circles and a roll of baker’s twine are enough to finish this in one sitting.
13. Seed Tape Ornaments
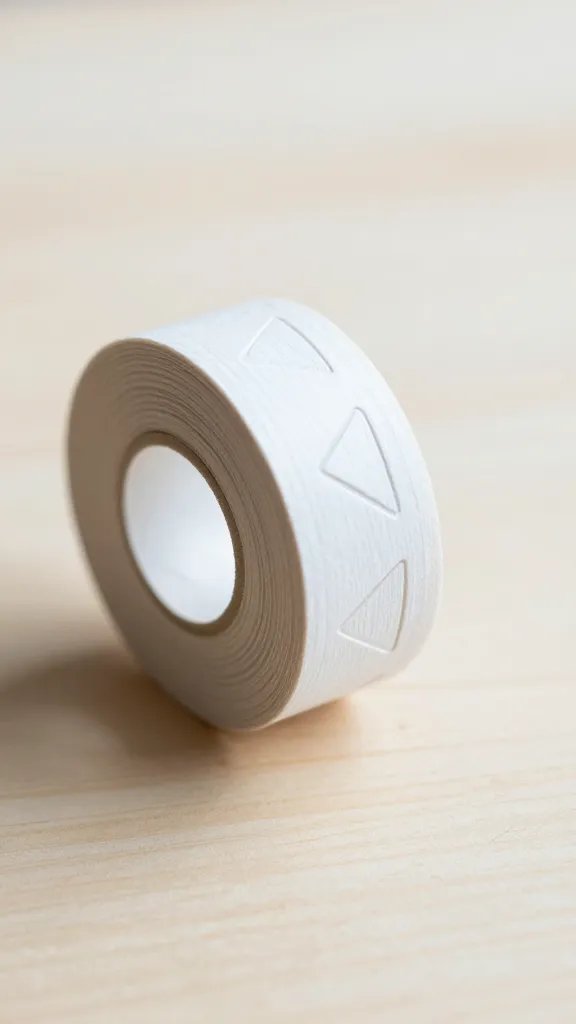
Dip rolls in paint, stamp with small shapes, and dry to create a set of lightweight ornaments for a kid-friendly tree or table display. It’s a short project that yields multiple keepsakes, taking around 40 minutes if you work in batches.
Best for: A winter or holiday party; swap in seasonal colors for year-round use.
14. Tiny Maze Rings
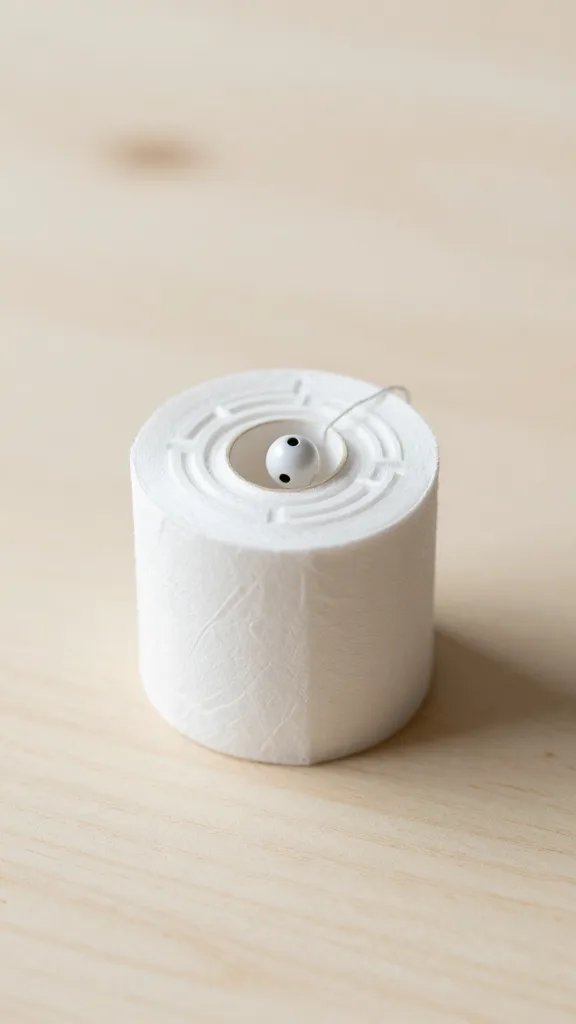
Cut a roll into rings, poke a small bead in the center, and thread with a fine string to form a mini maze for a game table. It’s quick to assemble and doubles as a party favor, finishing in about 25 minutes.
Use what you have: Any leftover beads or sequins add sparkle without extra price.
15. Color Block Stamps For Place Cards
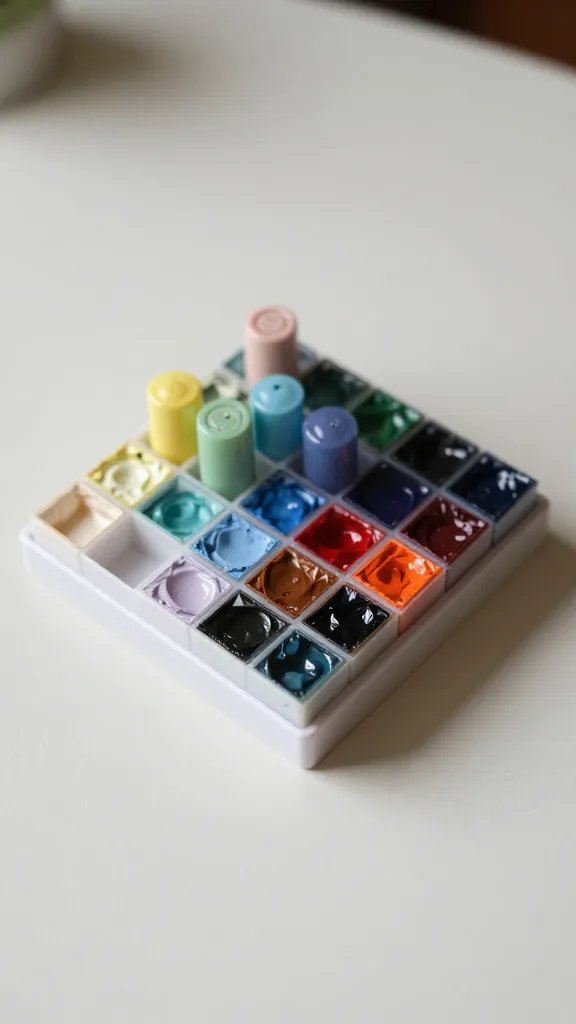
Slice a roll into small blocks, dip in paint, and stamp onto place cards or banners. The effect is clean and modern, with a quick clean up and dry time. Expect 20 to 30 minutes to complete a set for a small table.
Time saver: Prepare a little paint tray station so several guests can stamp at once.
16. Ribbon Wrapped Orbs
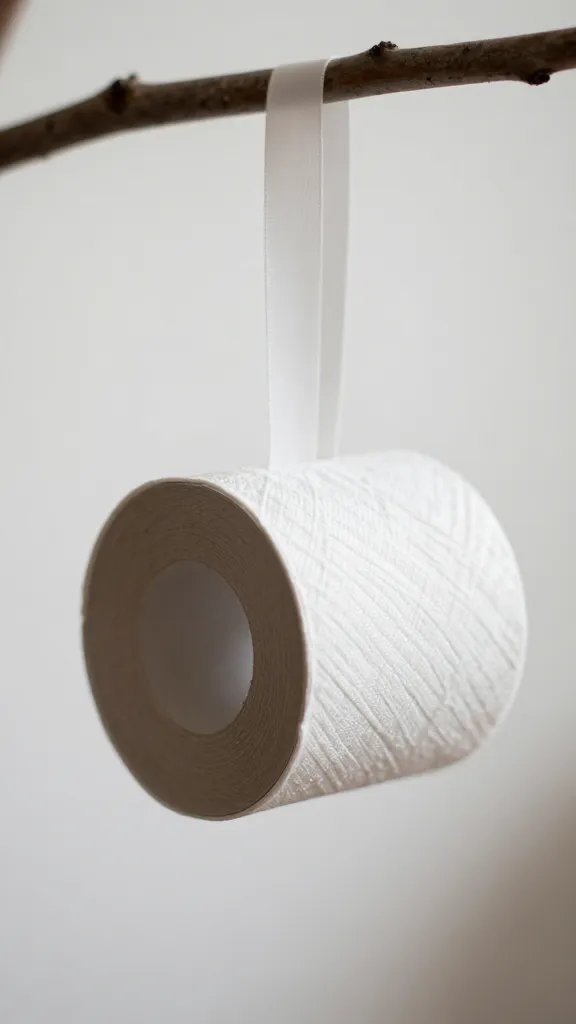
Wrap a hollow roll with ribbon or fabric strips, secure with hot glue, and hang from a branch or across a wall to make a soft, yarn-like orb. This simple texture adds depth and warmth to any party space, finishing in about 30 minutes.
Safety note: If using hot glue, supervise kids and keep hands away from nozzle tips.
These ideas take everyday cardboard and turn it into party-ready decor, kid activities, and thoughtful favors. They’re designed to be quick, budget friendly, and makable in a home setup without a giant craft room. Save these for the next birthday that sneaks up on you.