
17 Cardboard Craft Ideas for Party Decorations

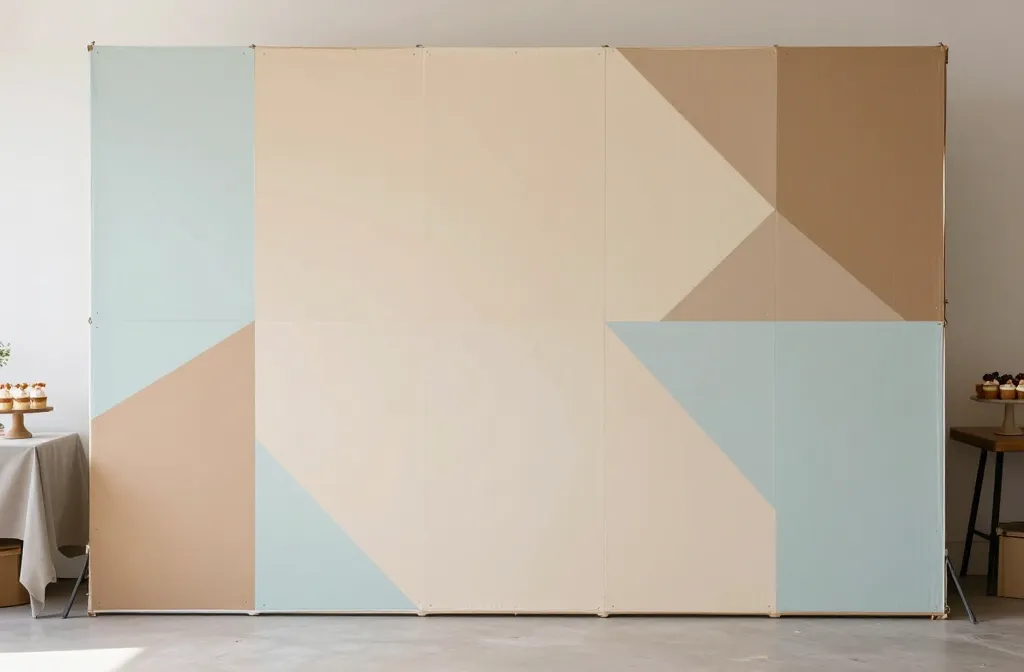
Staring at a bare room is the real party hangover before guests arrive. You want big impact without big expense or a month of prep. Cardboard is your friend here, offering shape, scale, and color you can control.
These ideas solve common party bottlenecks: budget limits, quick setup, and décor that photographs well without looking rushed. Each concept includes plain terms for supplies and roughly how long it takes to pull off. Read through and pick the ones that fit your space and timeline.
1. Cardboard Balloon Backdrop
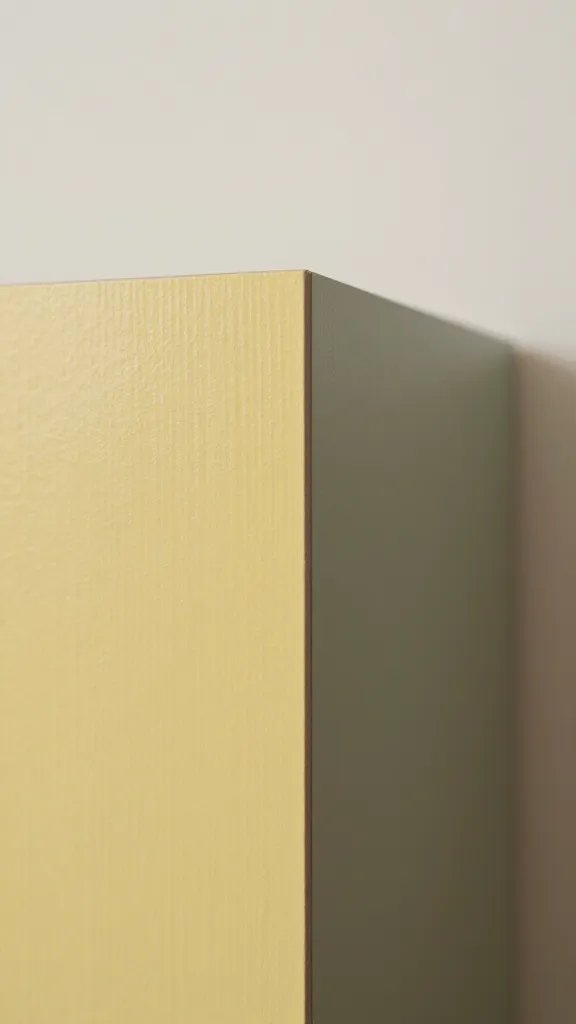
A plain wall can fall flat in photos. A backdrop made from large cardboard panels cut into geometric shapes and painted in your theme color instantly elevates the dessert table. It’s light to move, easy to customize, and can be assembled in an afternoon. Use a scrap piece of fabric or a curtain rod to hold it behind the cake stand.
Color note: Choose two to three shades that read well in photos and stay with them across the setup.
Why it works: It creates a focal wall that can be reused for future parties or as a photo spot.
2. Cardboard Letter Garland
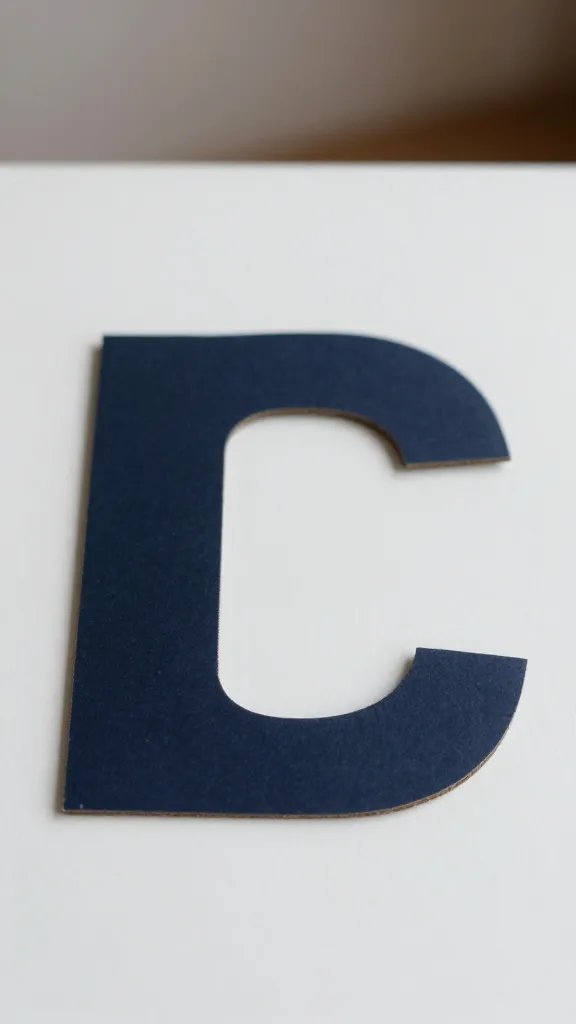
Cut large letters from sturdy cardboard to spell a name or age. Paint them in bold colors, then string with twine or ribbon. It’s inexpensive, lightweight, and the letters can be stored flat for next time. This can be done in an afternoon and placed above the cake table or along a hallway wall.
Copy the look: Distress the edges slightly for a handmade vibe that photographs warmly.
Why it works: Personalizes the space without a lot of fuss or cost.
3. Tiered Cardboard Cake Stand
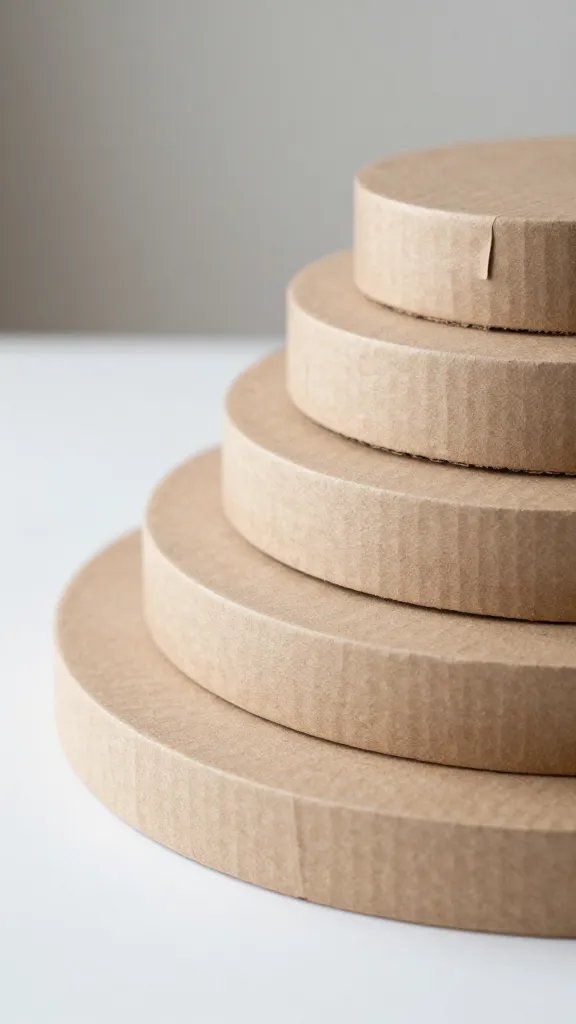
Stack flat cardboard rounds like cake layers to create a multi level stand for cupcakes or favors. Glue together with hot glue, then wrap with kraft paper or paint in a few layers of color. It’s sturdy enough for real treats and easy to break down after the party.
Base material: two to three rounds of cardboard, one smaller on top, plus a dab of glue.
Why it looks store bought: Clean edges and a simple palette keep it polished.
4. Cardboard Banner Bunting
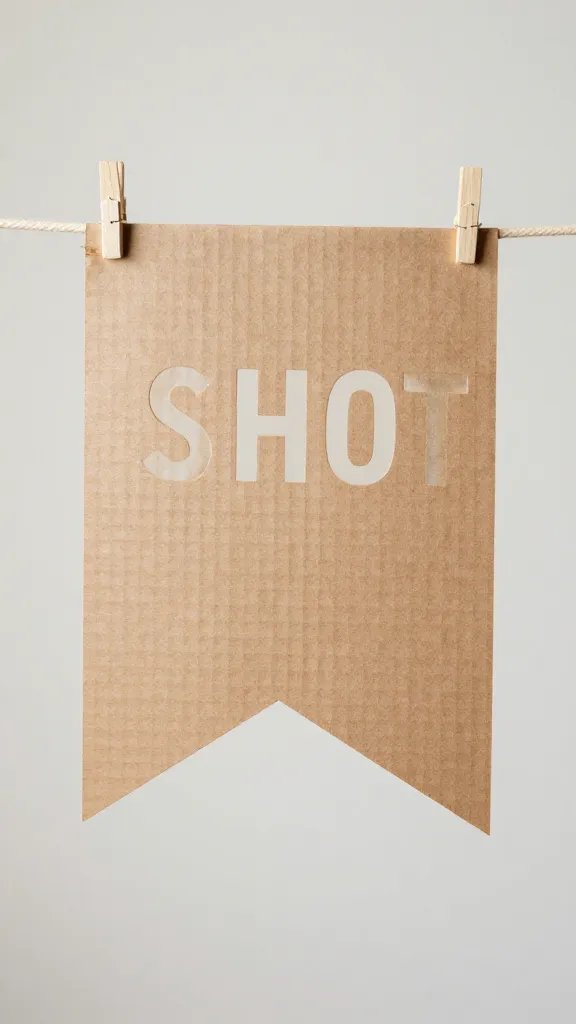
Cut flag shapes from thin cardboard, punch holes, and string them along a length of ribbon. Use a stencil to paint letters or shapes matching your theme. Hang along the wall or above the food table to add height and color in minutes. A single long piece can cover a lot of wall space.
Make it ahead: Paint or decorate the flags the day before the event so they dry flat.
Best for: Small spaces where you need a visual anchor without blocking flow.
5. Paper Grid Wall with Cardboard Accents
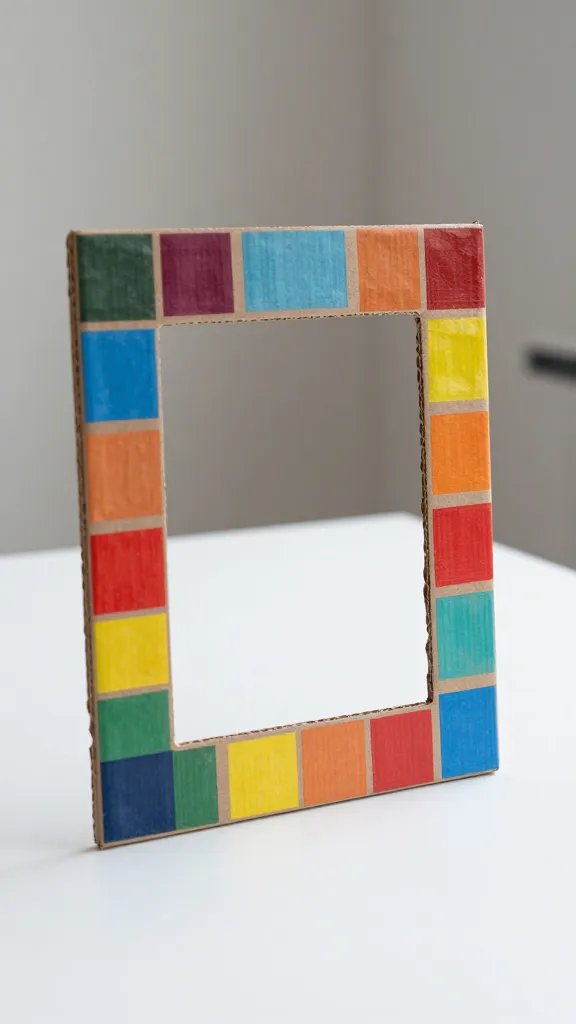
Construct a shallow grid frame from cardboard strips and fill the panels with coordinating solid color squares. It serves as a backdrop for photos and can hold lightweight props like hats or masks. It’s quick to assemble and easy to reuse by swapping out color squares for other events.
Color note: Use a limited palette to keep it cohesive.
Why it works: Adds structure to a blank wall and doubles as a prop station.
6. Cardboard Cloud Mobile
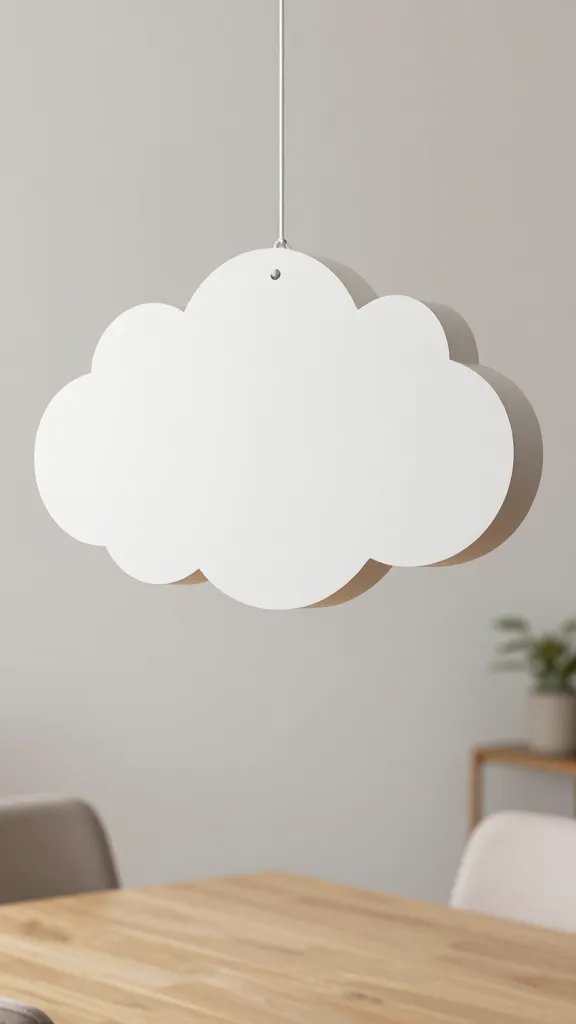
Cut cloud shapes from cardboard, paint soft white and pastel tones, then hang from string at varying lengths. Cluster them over the dining area or drift them above the cake table for a whimsical touch. The lightweight shapes are easy to assemble and move, and they pack away flat.
Little hands tip: Younger helpers can trace shapes and cut along the lines with supervision.
Why it works: Softens the space without taking up floor space.
7. Geometric Cardboard Centerpiece Towers
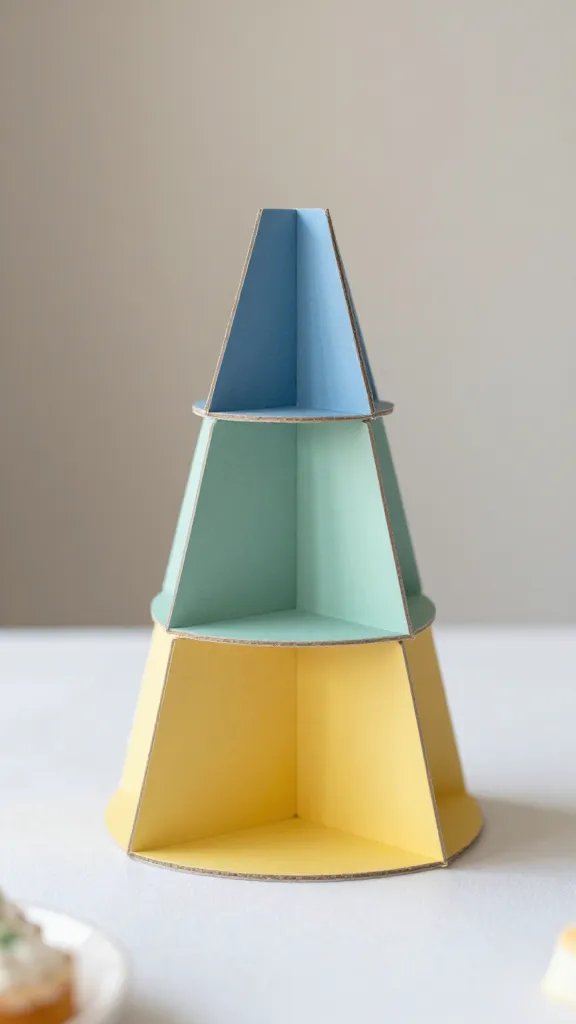
Build small towers from stacked cardboard boxes or mailers, painted in two or three colors. Add a thin led light or battery tealight inside to create glow after dark. Place them around the dessert table for height and dimension. They break down into flat pieces for easy storage.
Safety note: If using lights, supervise and keep cords away from edges and kids’ reach.
What to avoid: Overloading a single tower can topple; keep bases wide enough for stability.
8. Cardboard Photo Frame Wall
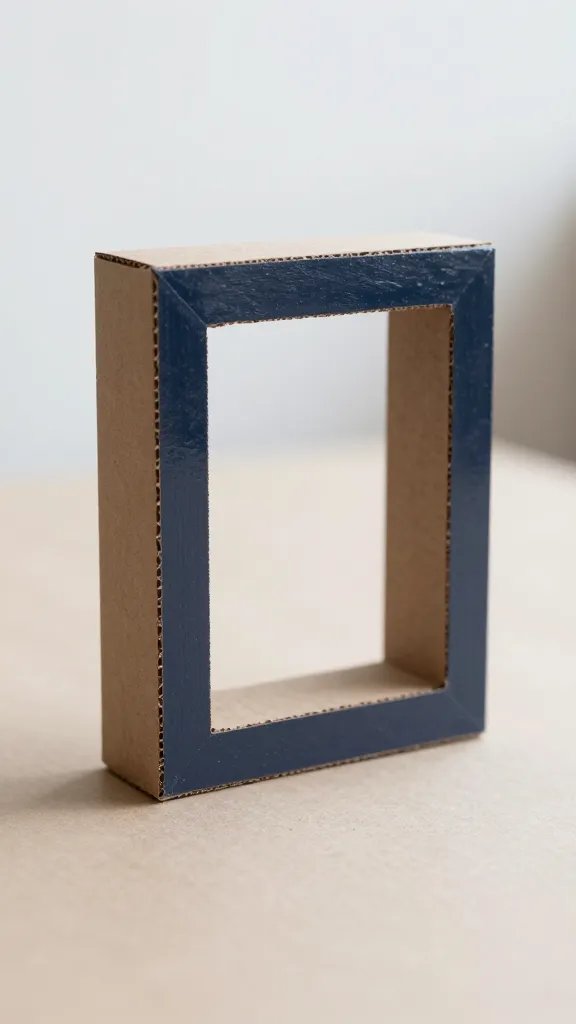
Cut out oversized photo frame shapes from thin cardboard and paint in bold colors to create a dedicated photo wall. Leave space in the center for guests to pose with props. This idea is fast, portable, and reconfigurable when you host a different theme later in the year.
Format tip: Tape frames to a flat surface or use removable mounting putty for quick changes.
Best for: A fast photobooth alternative in any room.
9. Cardboard Corner Arches
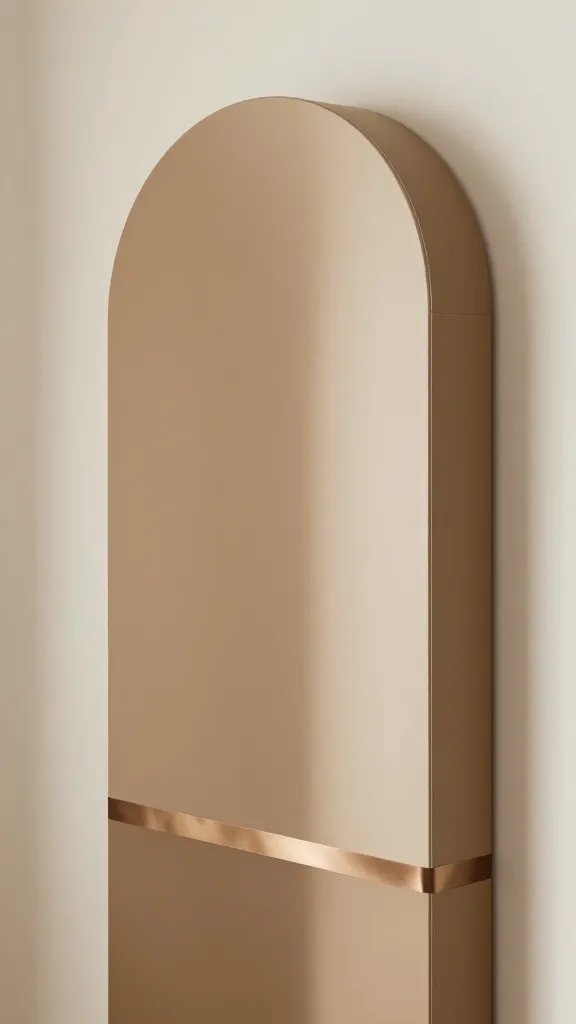
Make two tall cardboard panels and connect them with a curved top to form a lightweight arch. Paint in two colors and add a ribbon or tassel fringe along the curve. It’s dramatic but packable, turning an ordinary corner into a party entrance. Great for small spaces where a full balloon arch is too heavy.
Budget swap: Use leftover gift wrap scraps to cover panels for a two-tone look.
Why it works: Instant moment of arrival for guests without a lot of logistics.
10. Cardboard Inverted Display Shelves
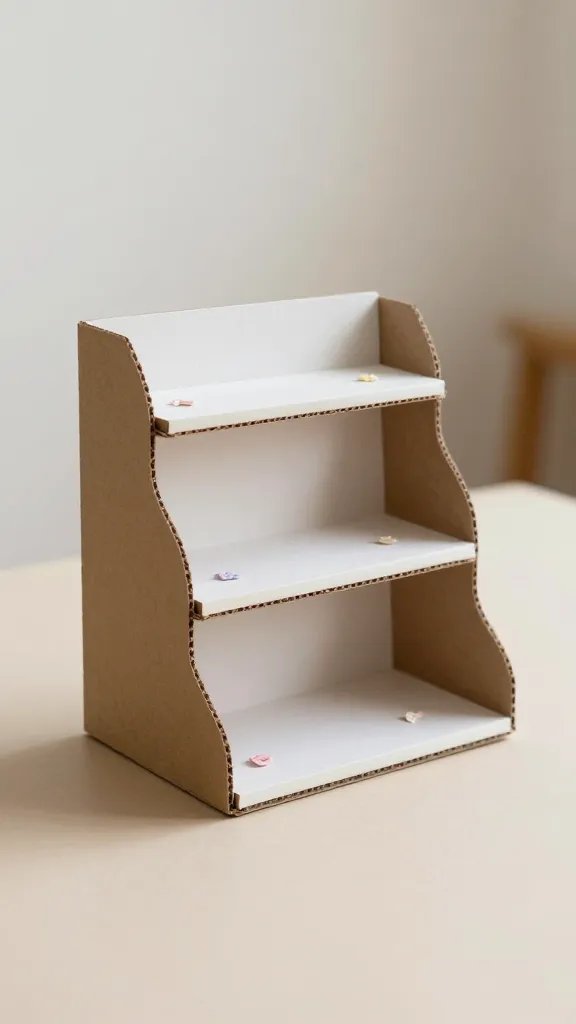
Cut shallow shelves from cardboard and mount to a wall or stand on a table. Display mini favors, cupcakes, or toppers in a tidy display that photographs nicely. You can paint the shelves to match the party palette, then top with a simple banner or letters.
Use what you have: Corrugated scraps add texture without extra cost.
Why it looks store bought: Clean lines and even spacing give a professional feel.
11. Cardboard Cutout Centerpiece Silhouettes
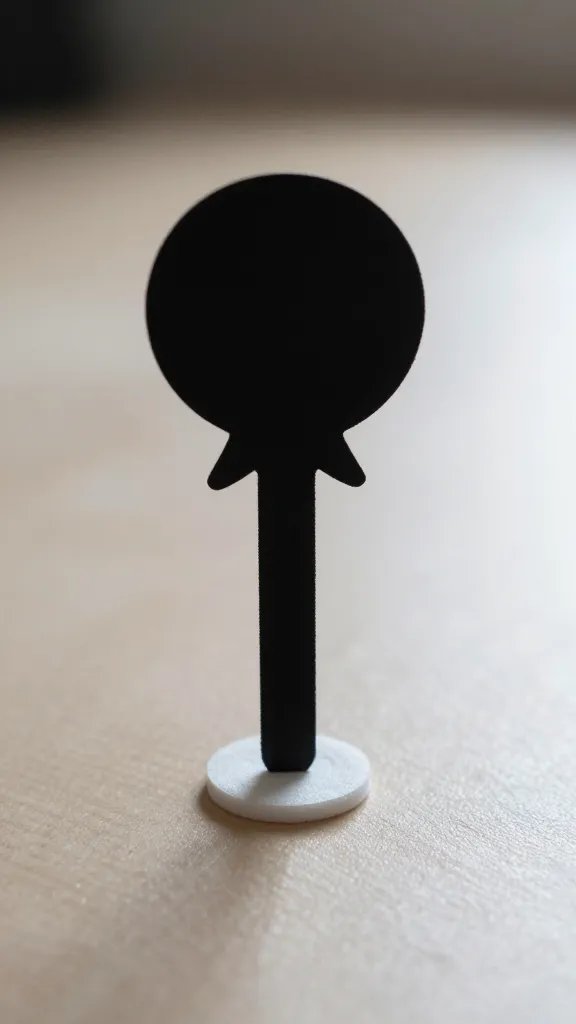
Cut large silhouettes relevant to the theme (stars, animals, or shapes) and mount them on sticks. Place them in foam blocks under a cake or around a centerpiece to create height and focus. They’re light, easy to store, and you can reuse shapes for future parties by painting a different color.
How to attach: Use hot glue to secure to the stick, then cover with a small amount of tissue or fabric to hide joins.
What to avoid: Too many small pieces can look busy; keep it simple.
12. Stackable Cardboard Lanterns
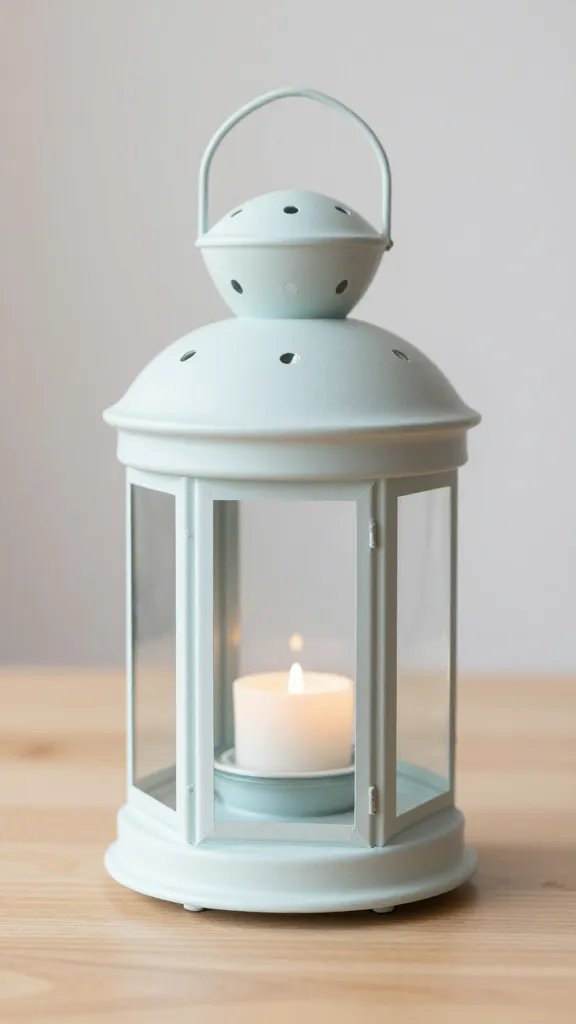
Create hollow lanterns by cutting circles with slits and folding edges inward. Stack two or three in different sizes and paint a single color for a cohesive glow. Place string lights inside to illuminate softly after dark. They store flat and reassemble in minutes for another party.
Safety note: Avoid open flames; use LED lights only.
Why it works: Soft lighting adds warmth without a lot of cost.
13. Cardboard Chalkboard Signs
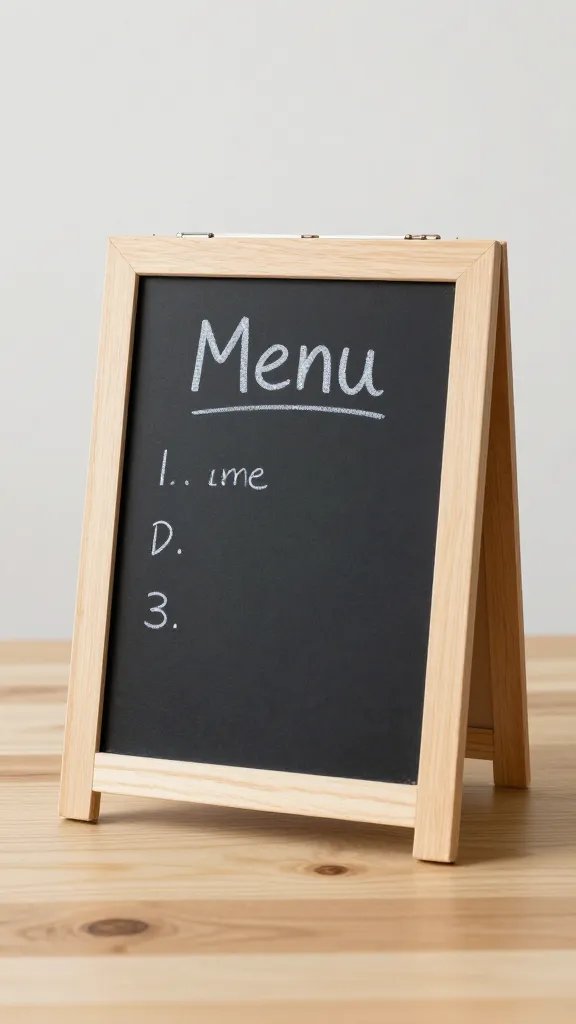
Paint small cardboard panels with chalkboard paint and label food stations, game rules, or the schedule. It’s inexpensive and adjustable, so you can swap messages as plans evolve. Lean panels against a wall or hang with string to add a touch of whimsy to the room.
Best for: Quick way to guide guests and reduce chaos during a busy setup time.
Copy the look: Finish with a thin border in a contrasting color for crisp readability.
14. Folded Cardboard Fans
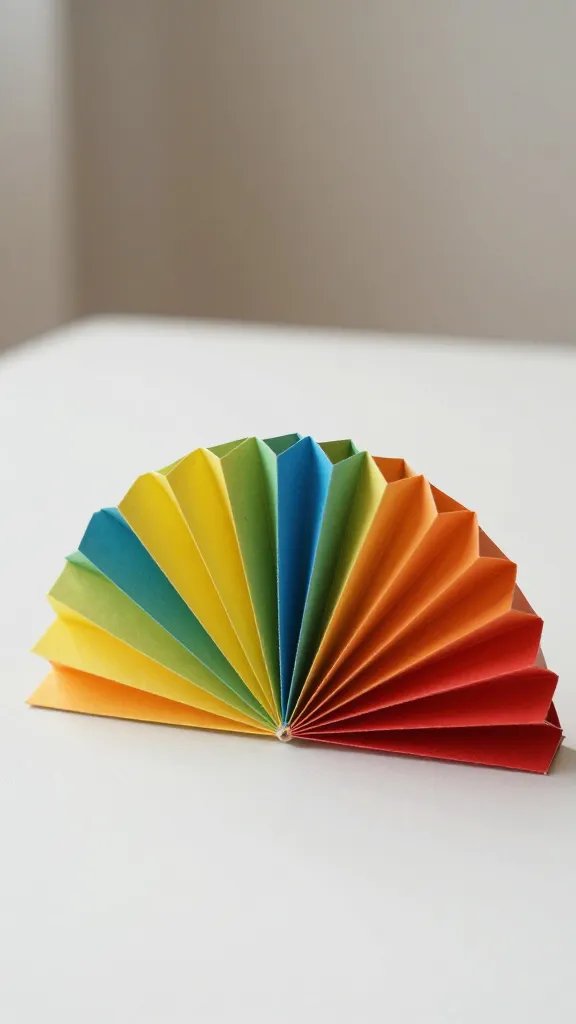
Cut fan shapes from sturdy cardboard and accordion fold them, then attach to a string along the wall. Alternate colors and sizes for a playful fringe that catches the eye in photos. This is a simple craft that goes up fast and stores flat for later use.
Where to place: Line across a buffet or dessert table for instant framing in pictures.
Why it works: It adds movement and color without bulk.
15. Cardboard Chandelier of Shapes
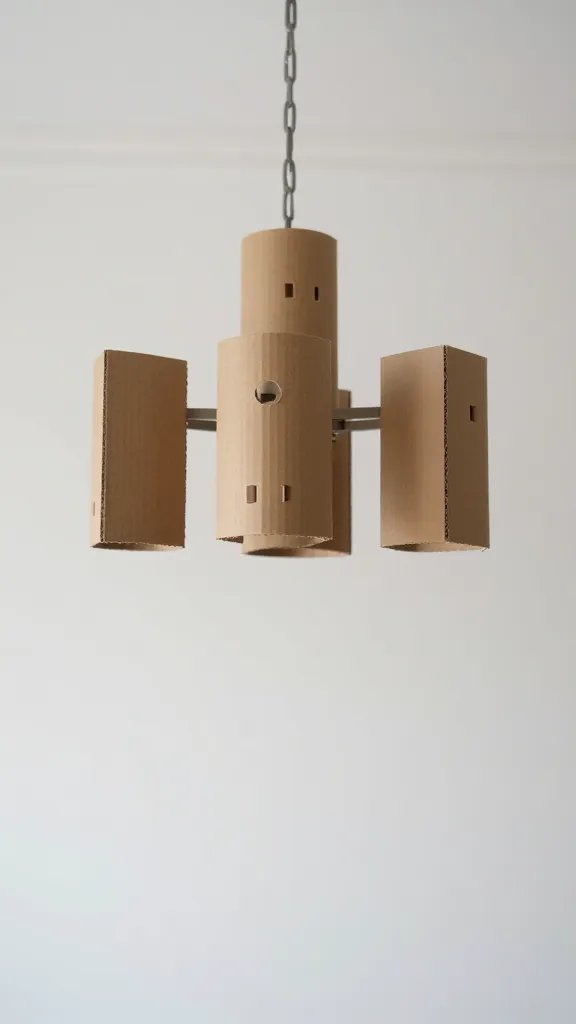
Cut circles, diamonds, and stars from cardboard, then hang from a single line at varying lengths to create a hanging chandelier. Paint all pieces in coordinating tones and cluster them toward the center of the room. It reads as a statement piece in photos and costs little to execute.
What to avoid: Make sure nothing swings into guests; secure with string to a fixed point.
Best for: A high impact focal point when space is limited.
16. Cardboard Beverage Caddy Stand
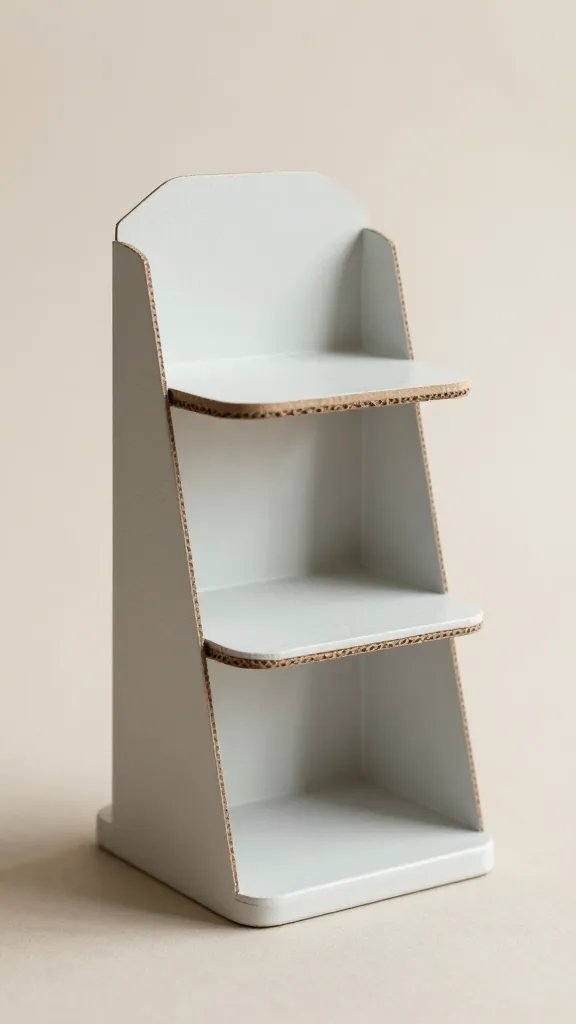
Construct a small three or four tier stand from stacked cardboard pieces to hold cups and napkins. Paint in a single color with a contrasting top edge for definition. It keeps drinks and supplies accessible and neat, reducing the chance of a cluttered table as guests mingle.
Make it ahead: Glue the tiers in place and let dry overnight before loading with items on party day.
Why it works: Practical display that looks coordinated rather than chaotic.
17. Cardboard Kids Craft Station Barrels
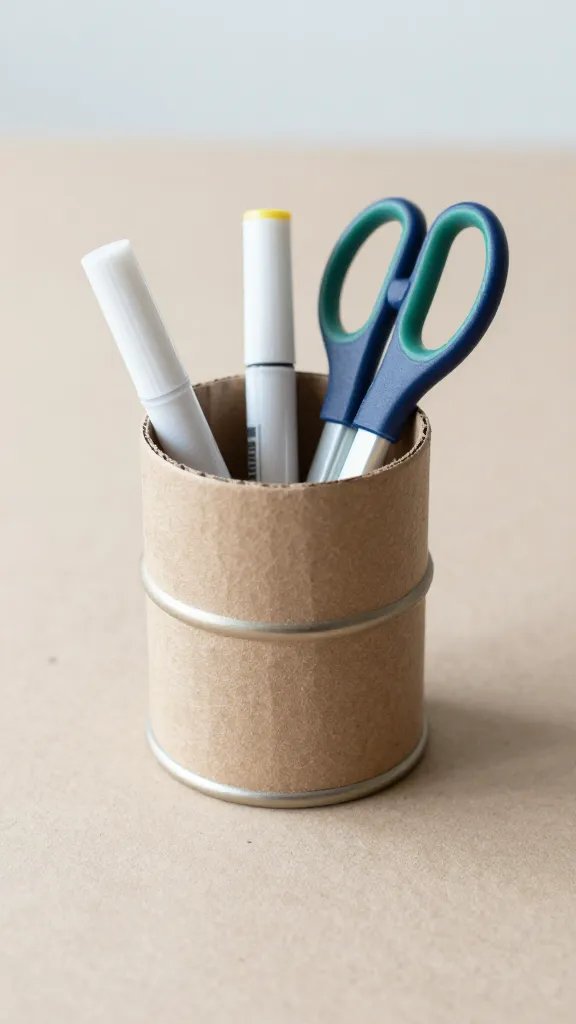
Shape small cardboard barrels or crates to hold markers, stickers, and scrap paper for a mini craft corner. Decorate with a simple pattern and a couple of color pops to invite kids to settle in. It’s a compact, budget friendly setup that keeps little hands busy without a constant adult handoff.
Safety note: Limit tiny bits and keep scissors out of reach of younger children; provide kid safe tools and supervision.
What to upgrade: Line the area with a disposable plastic table cover for quick cleanup.
Conclusion
Cardboard gives you shape, scale, and color without breaking the bank. Pick a few ideas that fit your space and time, batch build what you can, and mix in statement pieces for photographs that pop. These low effort, high impact setups help you reclaim party weeknights. Save this for the next birthday that sneaks up on you.