
17 Cardboard Craft Ideas for Halloween Costumes

If you’re pinning ideas in a pinch, cardboard is the friend you want on hand: cheap, sturdy, and endlessly moldable. The real hurdle is turning a plain box into something kids will actually wear and want to move in. This list fixes that by giving you concrete, fast builds that look polished and stay comfy all night. You’ll find ideas that scale for a few kids or a whole class, with clear supplies and rough timing so you can plan a busy weekend without panicking. Ready to turn scrap into character? Let’s dive into the ideas.
Each idea is designed to be doable this week, with a real problem solved by a simple build. The core materials include cardboard, scissors, and a little tape, plus paint or markers for quick finishing. A few ideas use fabric scraps or felt for comfort; others lean on paper details for speedy results. Keep scissors sharp, a glue gun handy, and a flat surface you can step away from when little hands need a rest. Now the fun begins with the first quick build.
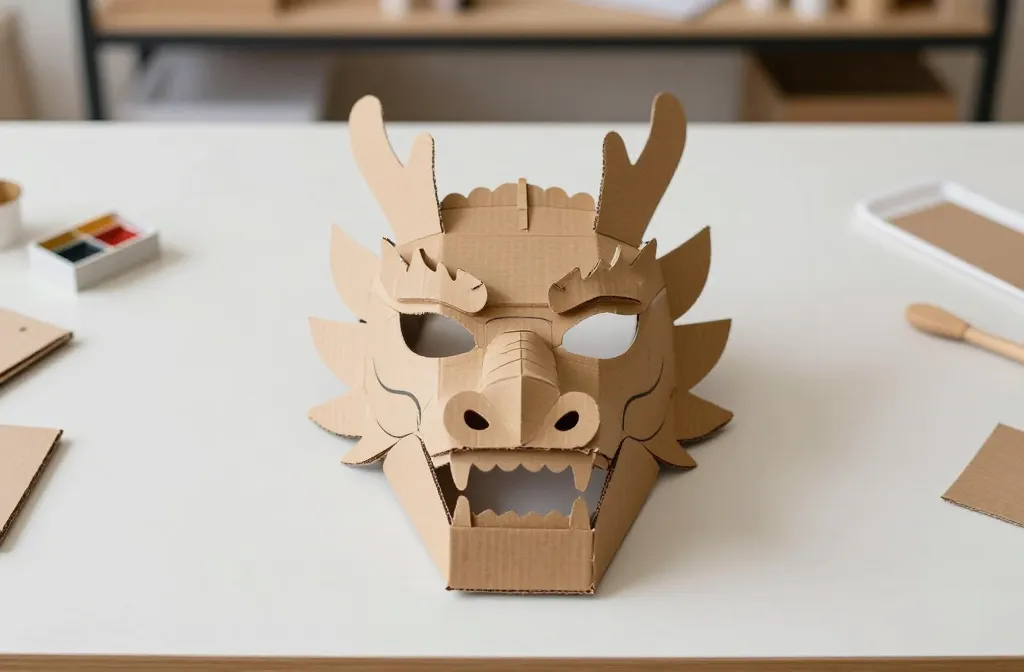
1. Cardboard Dragon Head Mask
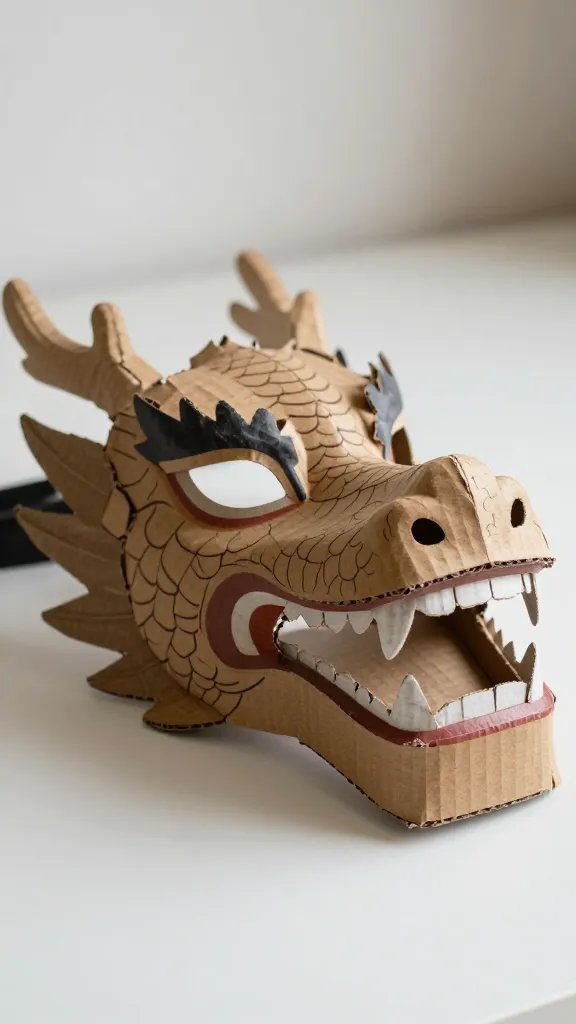
Your party crowd will love a dragon head that sits on the shoulders rather than a full helmet. Start with a sturdy cereal box cut into a curved dome that fits over the forehead. Cut eye holes and a snout shape, then layer with cardboard scales glued in place. Use a rope handle or elastic to keep it secure. A few painted details and a row of paper teeth complete the look. This is easy to trim for kid size or scale up for a teen costume. Safety first: avoid sharp edges and secure any loose pieces with extra glue.
2. Space Ranger Bubble Shield
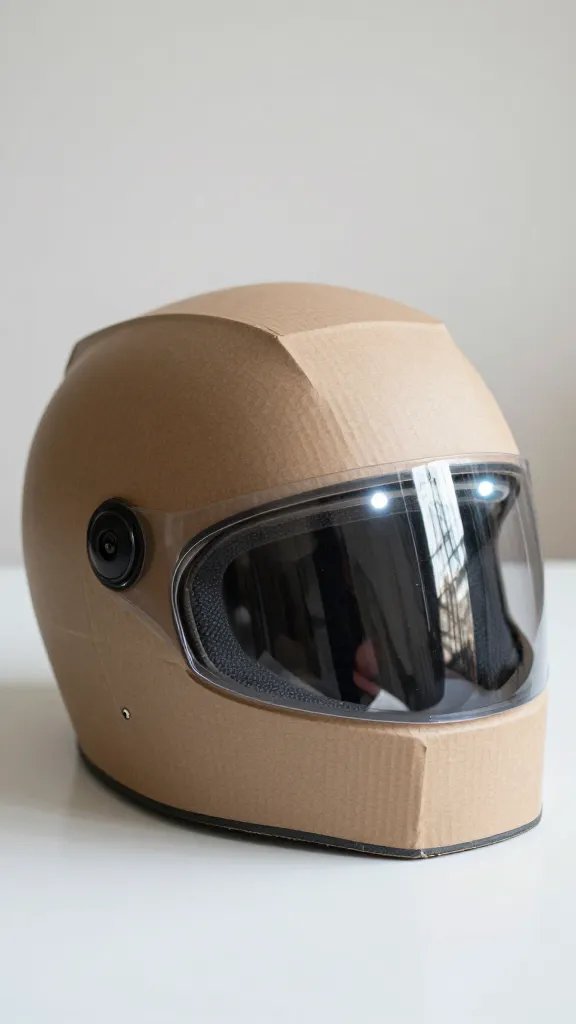
<pThis shield idea uses a large cardboard circle cut from a shipping box, taped to a foam ring for stiffness. A clear plastic sheet is stapled or taped to the front to resemble a bubble. Paint a space emblem in bold colors and add small LED lights around the rim for a glow. The shield is light enough for kids to hold and big enough to create a dramatic silhouette. If you don’t have LEDs, use silver marker accents for a starry vibe.
3. Pirate Hat Tricorn From a Box
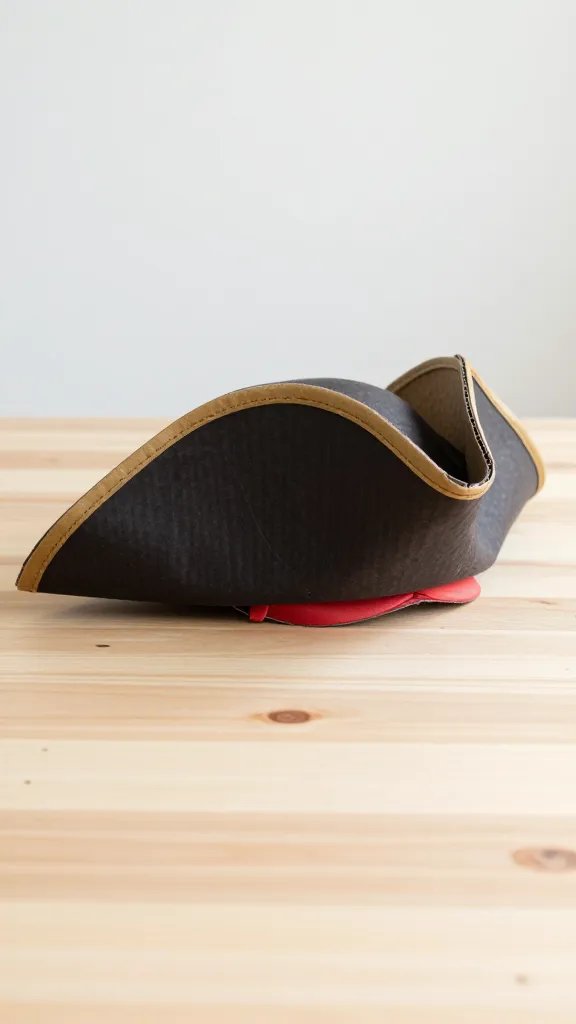
<pA pirate look is fast with a triangular box folded into a classic tricorn. Cut a hat brim from a thick box, glue two smaller triangles to form the crown, and add a faux buckle with scraps of foil or cardboard painted gold. Decorate with a strip of red fabric or a faux parrot perched on the brim. The trick is to keep the edges smooth with light sanding or a quick coat of glue, then seal with a layer of tape to prevent shedding during a busy night.
4. Monster Finger Tentacles
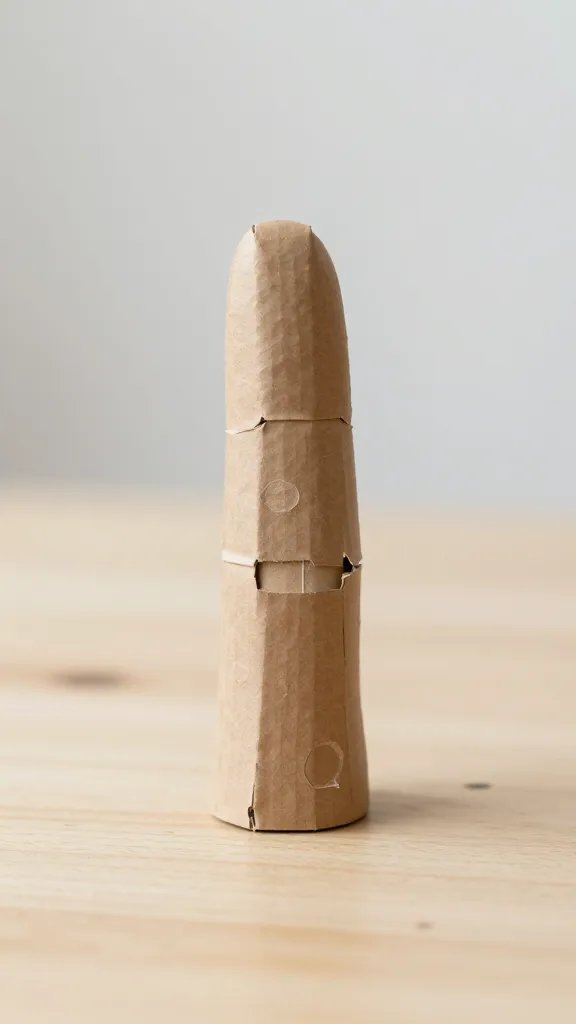
<pThis set uses long cardboard tubes painted in neon or dark tones, attached to a simple cuff made from a strip of cardboard wrapped with tape. Each finger tube can be wrapped with crepe paper or tissue for texture. Add small teeth cut from white cardboard along the base of the cuff. It’s a fun layering piece that can pair with a plain hoodie for a quick, comfortable costume. The main challenge is keeping the tubes secure, so reinforce with hot glue at the base.
5. Robot Apron Chest Plate
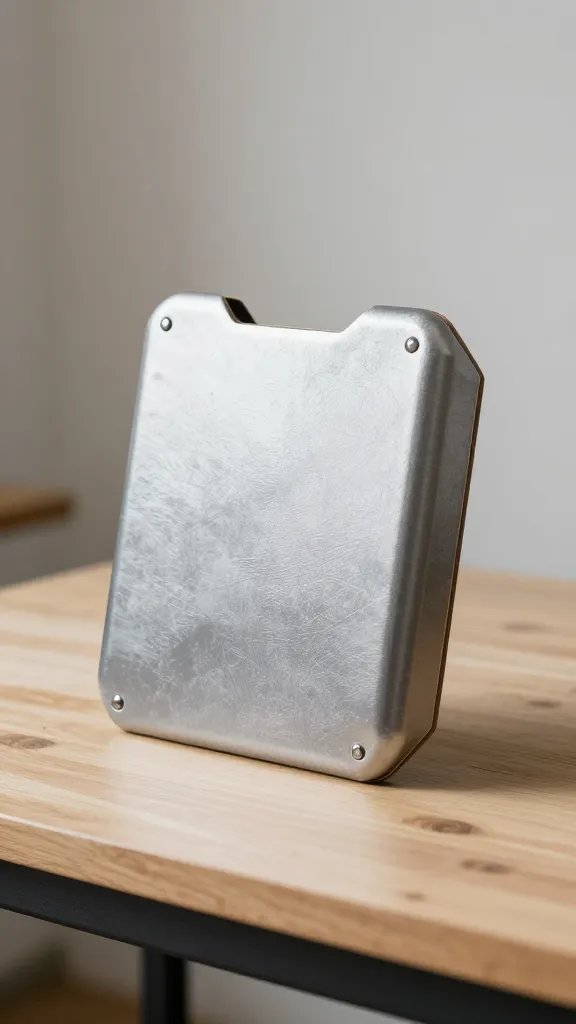
<pTransform a cardboard rectangle into a robot chest plate that can be worn with a simple apron or tunic. Create a cut-out panel for a keypad look using leftover foam, bottle caps, and small beads as faux buttons. Paint a metallic finish with a quick dry brushed technique. Attach a fabric strap across the shoulders so the plate sits comfortably on the chest. This option is easy to replicate in multiple sizes and looks polished in photos.
6. Fox Ears And Tail Set
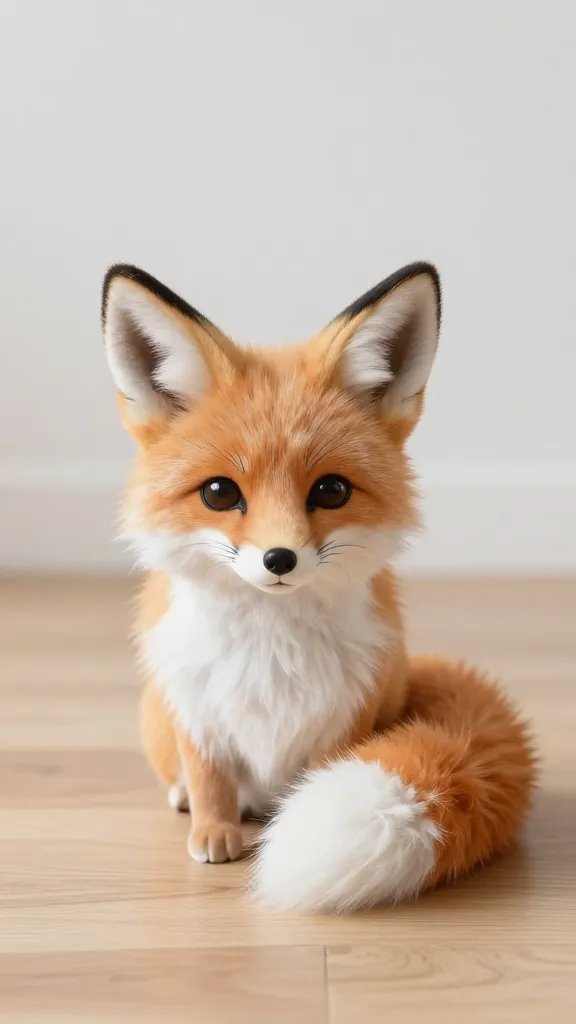
<pCut two triangle ears from a small box, mount them on a headband with hot glue, and add a tail by rolling a strip of cardboard into a tube and wrapping it in felt or fabric. Attach faux fur to the ears and tip of the tail for texture. A few orange and white paint accents bring the look together. If a headband feels flimsy, use a lightweight plastic cap or a thicker cardboard strip as the base for stability.
7. Ghost Cloak With Cardboard Ring
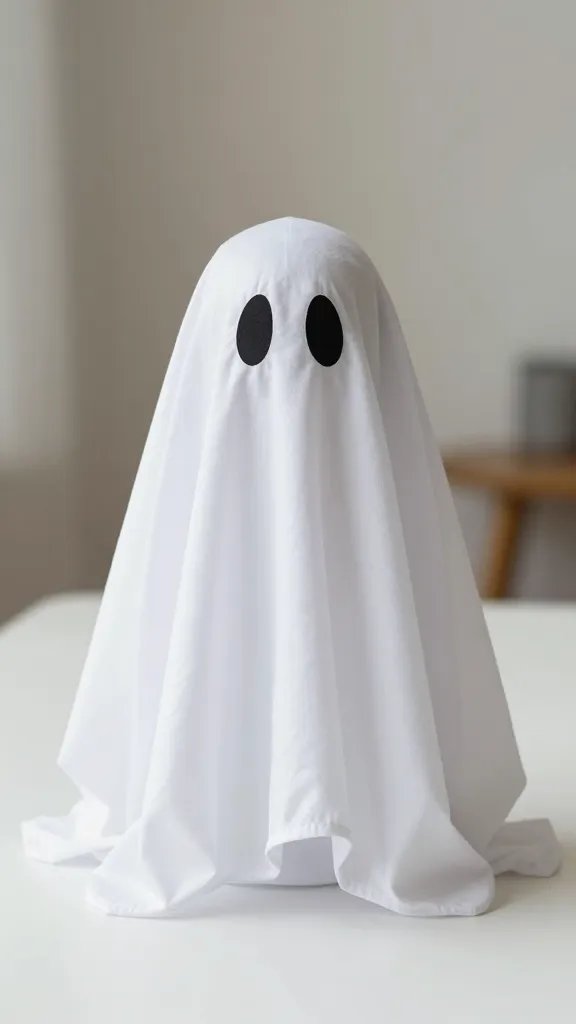
<pThis easy ghost uses a circular cardboard ring as the neck brace and a white bedsheet or fabric to drape over it. Cut two eyeholes and let the fabric pool at the bottom for the classic floating effect. Glue the ring to the top of a simple bodice or hoodie so the cloak stays in place as kids move around. The ring keeps the sheet from dragging and adds a crisp silhouette for photos.
8. Beetle Carapace Shield
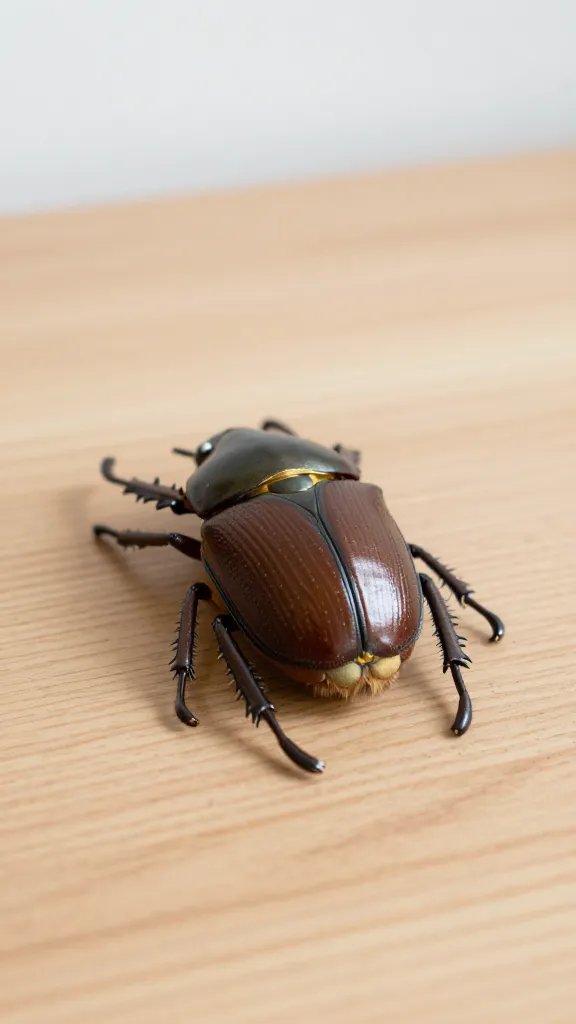
<pA shield shaped like a beetle shell gives a strong silhouette. Start with a large oval from a box, add ribbed lines with a Sharpie, and glue on a row of loopy pipe cleaners for texture. Attach a belt or strap so it can be worn at the shoulder. Paint two tones of metallic green or copper for a realistic finish. The real trick is keeping the edge smooth with a light sanding before painting.
9. Wizard Hat With Subtle Cardboard Rim
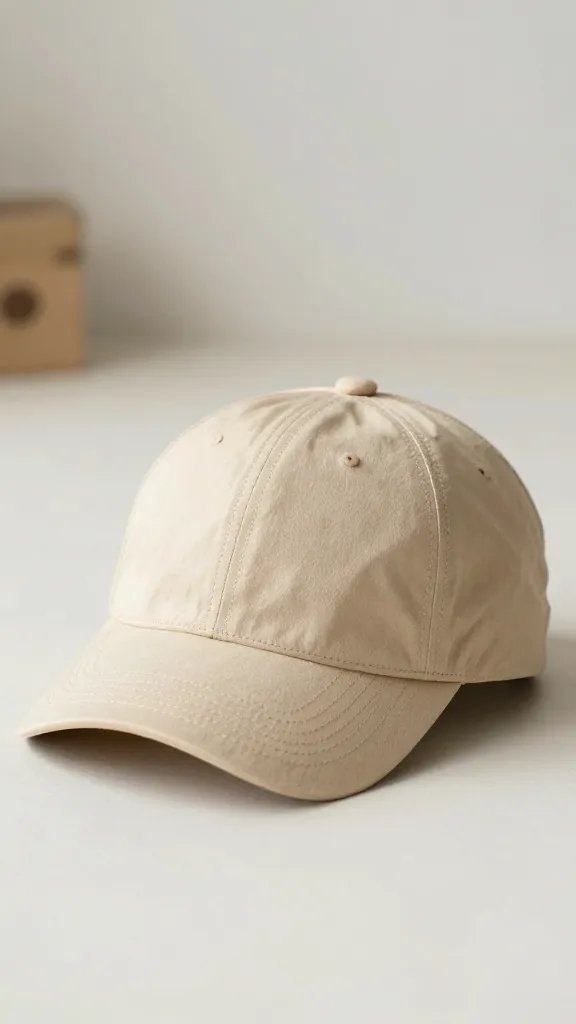
<pA tall cone hat is instantly recognizable. Cut a cone from cardboard, score a grid on the surface to help bend the sections, and glue a circular rim to the base. Decorate with glitter-free stars using white or pale blue paint. Add a removable sash made from fabric scraps for a splash of color. Keep the inside clean by lining with a scrap of tissue or old fabric so it’s comfortable to wear all night.
10. Skeleton Rib Cage Chest Piece
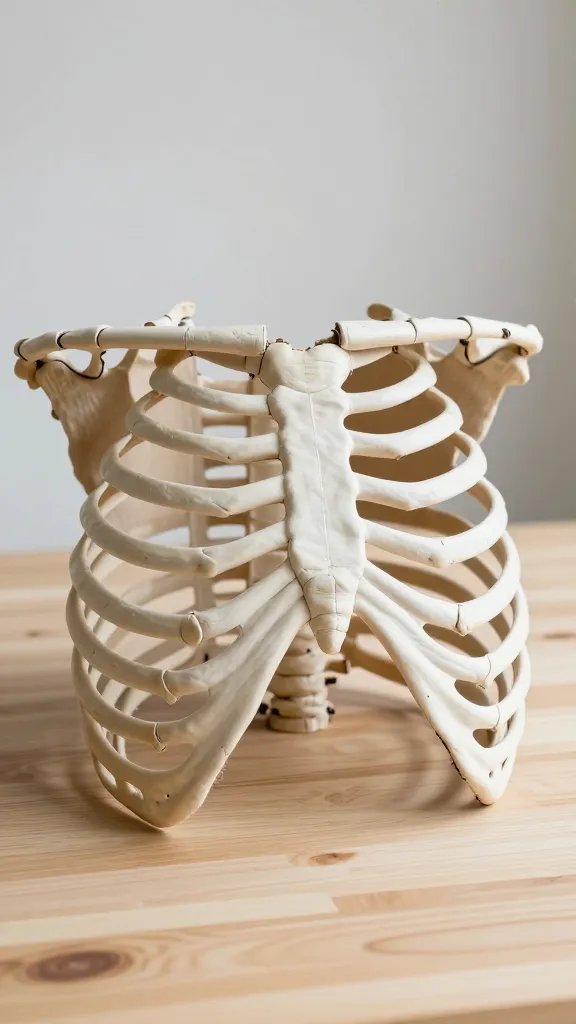
<pThis design uses a cardboard rectangle as the base, with white pipe cleaners forming rib shapes glued in a grid pattern. Paint the bones with white acrylic and leave the space around them dark for contrast. Attach a simple strap to go over the shoulder, so the piece sits flat on the chest. The payoff is a striking silhouette that reads from a distance, great for photos and quick to assemble after a long day of prep.
11. Dragon Tail With Scaly Segments
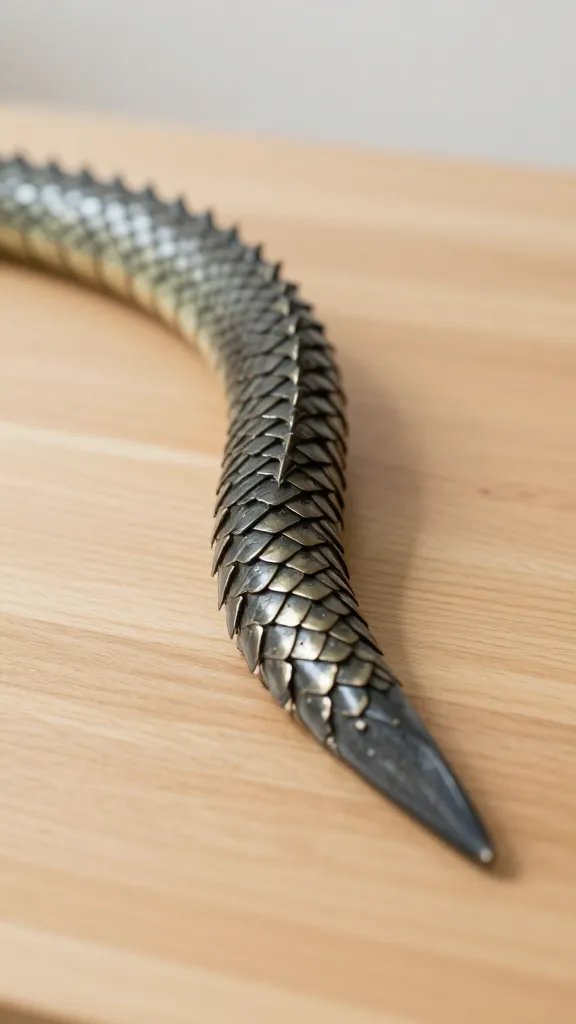
<pCreate a tail from a cardboard tube covered in paper or felt scales. Cut slits along the side to mimic joints, and secure a belt loop at the top so it can hang from the waist. Use a soft fabric lining inside the cone to prevent scratching, especially for kids with sensitive skin. A simple clip or Velcro helps the tail stay in place during movement, an easy fix for an otherwise ambitious piece.
12. Serpent Hood With Eye Slits
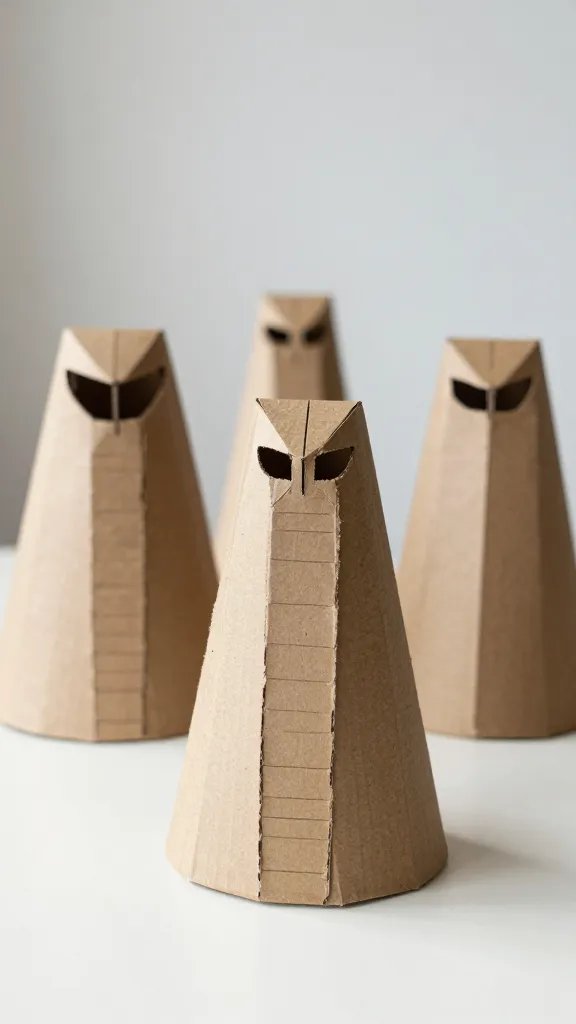
<pThis hood uses a box turned into a hood shape with a front opening for the face. Paint scales along the hood for texture and use bold green or gold accents to mimic a serpent’s shimmer. Attach a lightweight cardboard hood brim to shade the eyes and prevent glare in photos. The key is keeping the eyes visible and ensuring the hood sits comfortably on the head with a soft edge around the neck.
13. Knight Shield And Helmet Combo
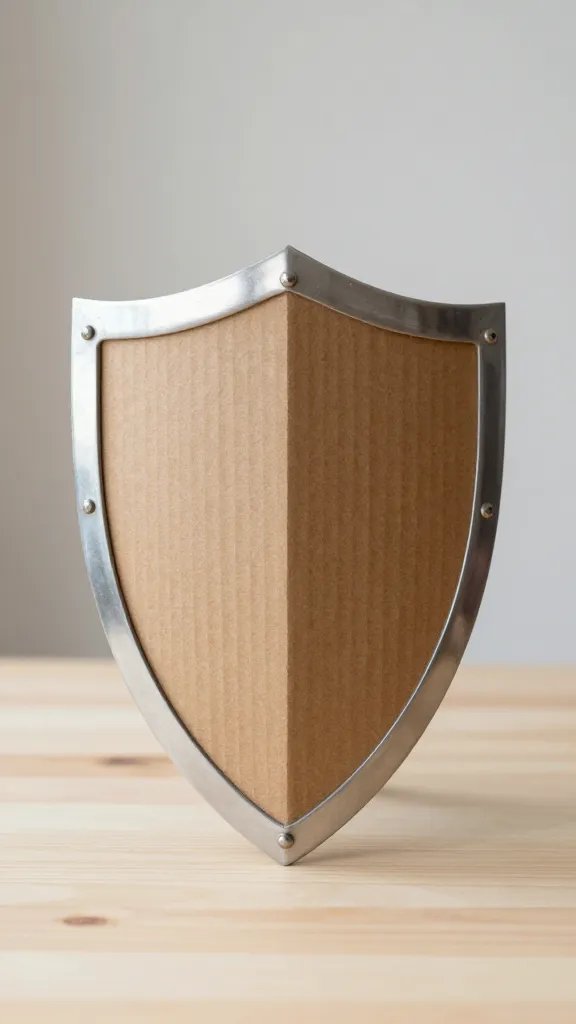
<pStart with a small cardboard box cut to form a helmet top and a larger shield. Split the helmet into a neck guard and a visor, then add a metal look with silver paint and a few dark line accents. The shield can be strapped across the chest with a simple belt. This two-piece approach keeps weight down while delivering a striking, cohesive look from head to midsection, ideal for quick group outfits.
14. Vampire Cloak With Folded Bat Wing
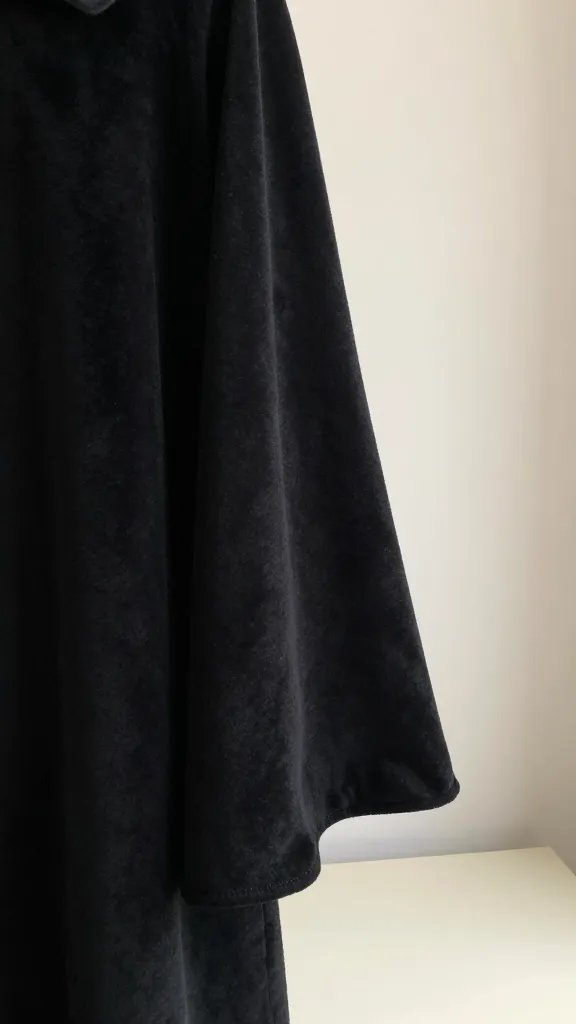
<pCraft a cape from a thick piece of cardboard and drape a black fabric over it. Add a pair of wing-shaped cutouts to create a bat silhouette when the cloak moves. Attach a simple collar to the neck to help the cape sit high and open. Paint dark red fangs on the inside edge for a pop when the cape parts. This keeps the center of gravity low so kids can move around without tripping.
15. Medusa Hair Crown With Cardboard Snakes
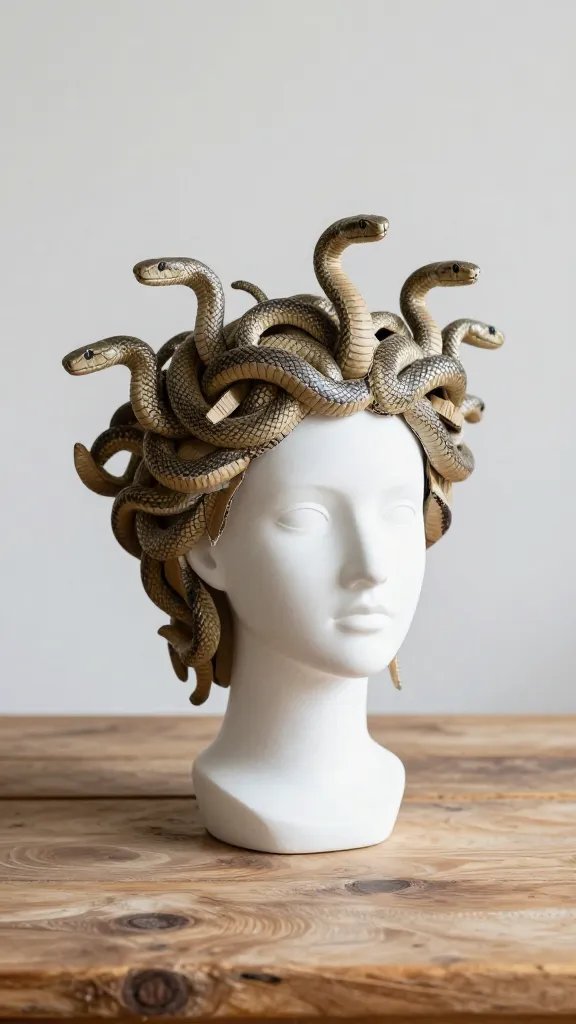
<pMake a circular crown from cardboard and wrap it with strands of green yarn or ribbon for a serpentine effect. Create multiple small snakes by twisting foil or paper strips and painting them with metallic green. Attach the snakes to the crown with hot glue and scatter a few bead eyes for character. The result is a dramatic affect without heavy pieces on the head.
16. Skeleton Hood With Box Jaw
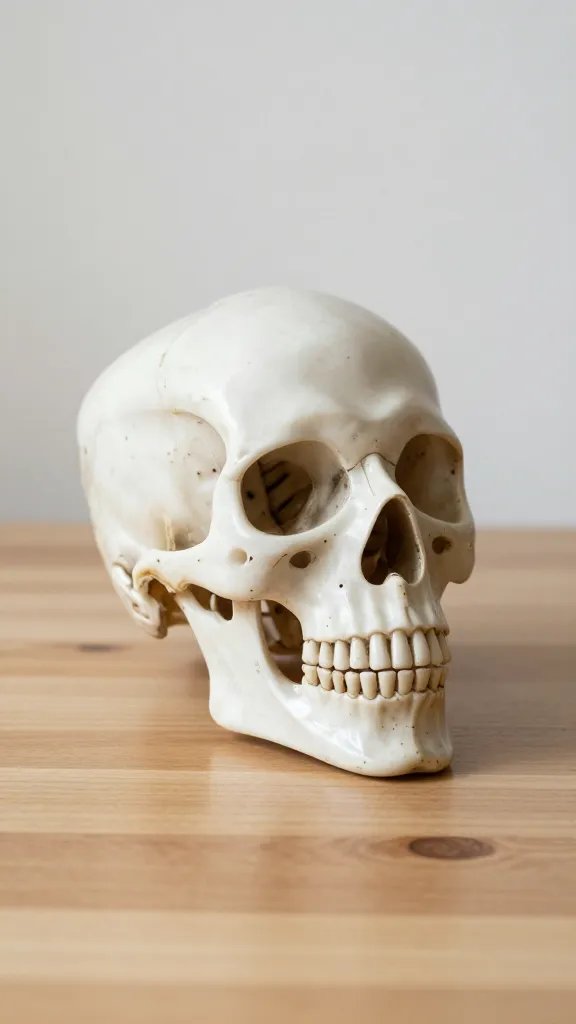
<pA hood from sturdy cardboard plus a jaw piece creates a spooky silhouette. Cut a box into a hood shape that fits over the head and add a jaw section that can snap on or off with a simple tab. Paint the teeth white and line the jaw with black to create depth. This is a fun, theater-like prop that moves well with the wearer and looks great in photos without heavy construction.
17. Mummy Wrap Bib Or Neckpiece
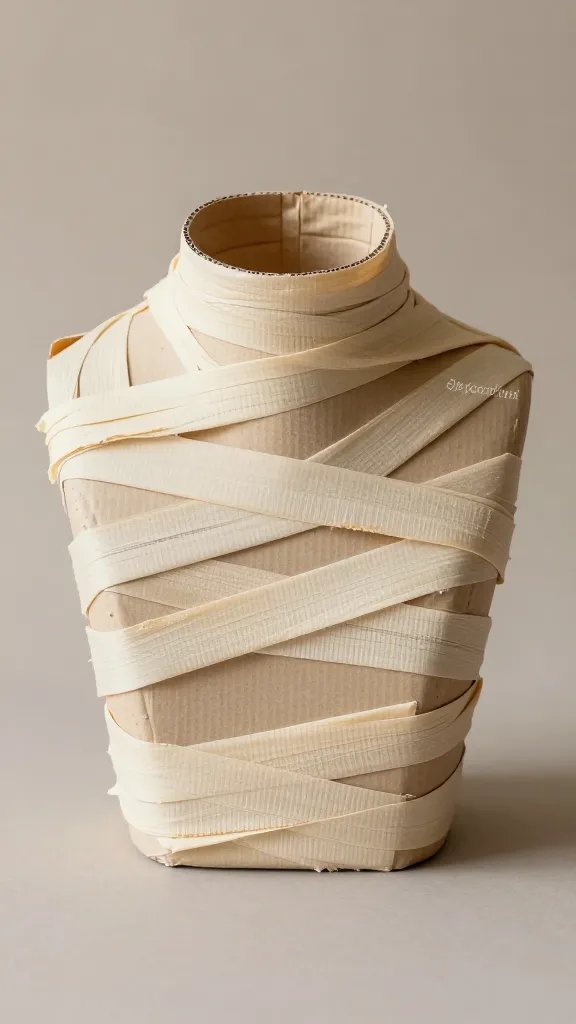
<pWrap a large strip of torn cardboard or kraft paper around the neck as a bib and layer with narrower strips to simulate aged bandages. Secure with tape on the back and finish with a thin scarf to hide the seams. Lightly distress with brown marker to add depth. This lightweight piece sits comfortably and reads clearly from a distance, perfect for quick group costumes or a last minute addition to a store bought outfit.
With cardboard, you can tailor each piece for comfort, size, and your band of little helpers. The key is to test fit early, keep edges smooth, and secure all moving parts. Friendly reminders: supervise hot glue use, avoid small choking hazards, and keep a clear path for kids to move in their costumes. Save this for the next birthday that sneaks up on you.