
15 Craft Ideas for Teens Who Love Sports

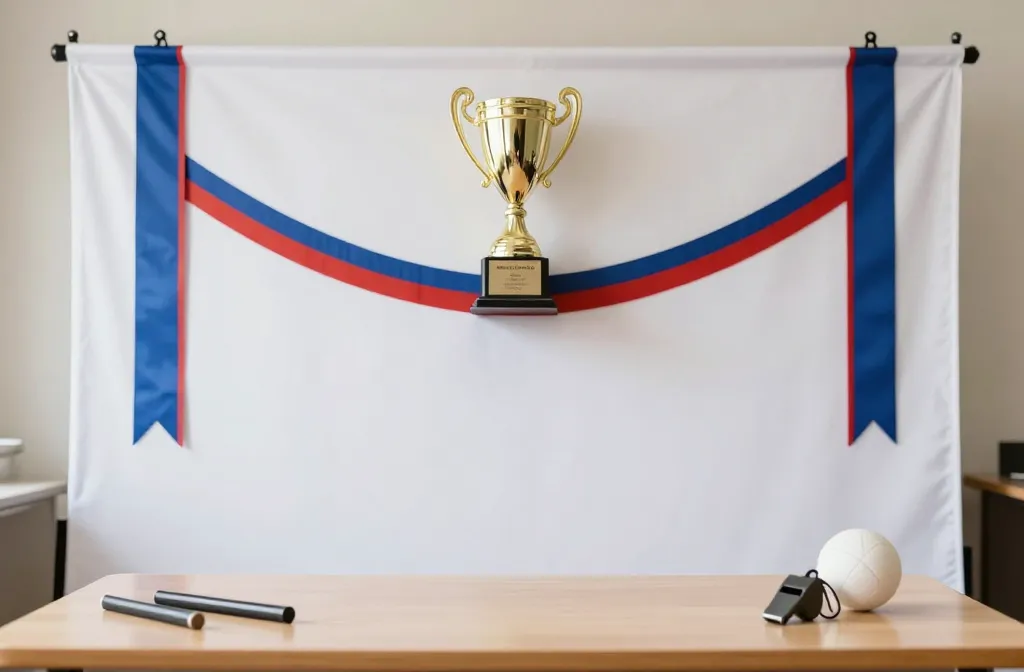
Teens who love sports want quick, budget friendly crafts that fit a game day or a party. This list gives practical ideas that mix athletic vibes with easy setups, so you can glue, paint, and hang something together this week. Each idea solves a real party hurdle, from space constraints to time crunches, without turning into a DIY marathon. You’ll find color, texture, and chances for team themed touches that read polished, not homemade. Let’s dive into ideas you can actually pull off in a weekend.
These ideas rotate through different materials and setups so you can swap in what you have on hand. If you’re short on time, I flag quick routes and safer options for younger helpers. Ready to level up a teens party with sports flair? Here are fifteen concrete, copyable ideas you can start today.
1. Net Ribbon Goal Banner
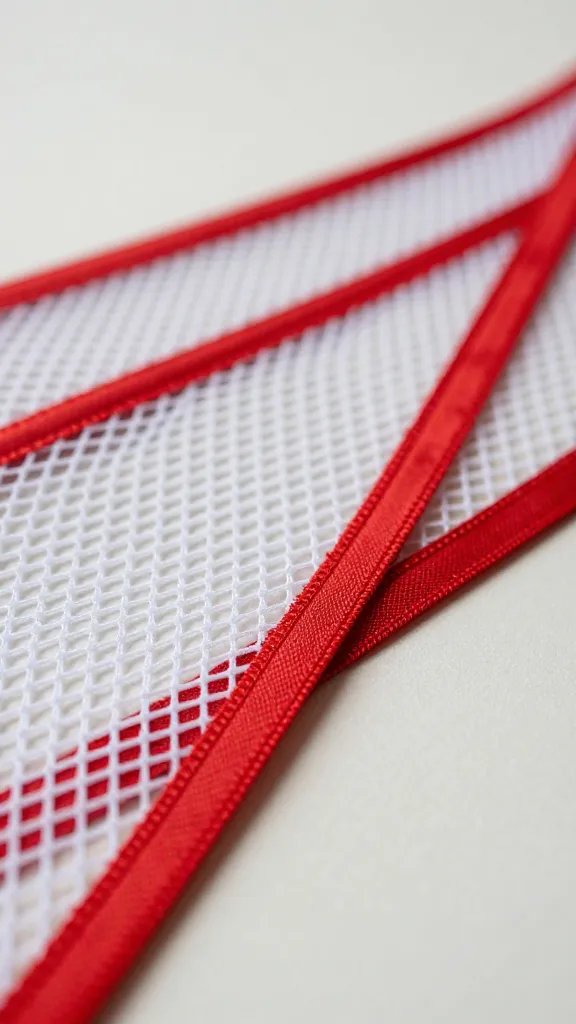
Create a stadium feel with a net style banner hung behind the main table. Use lightweight white mesh or painter’s netting and loop red or black ribbon through to form a grid. Cut out pennant shapes from colored cardstock and attach with mini clothespins. This reads as a sports backdrop without a big print run. Supplies are simple: netting, ribbon, scissors, pennants, and clothespins. Time estimate: about 45 minutes.
Theme note: If you lack netting, substitute white cheesecloth for a softer, breeze friendly look. Copy the look: balance color blocks on alternating pennants to mimic team colors.
2. Chalkboard Locker Room Signage
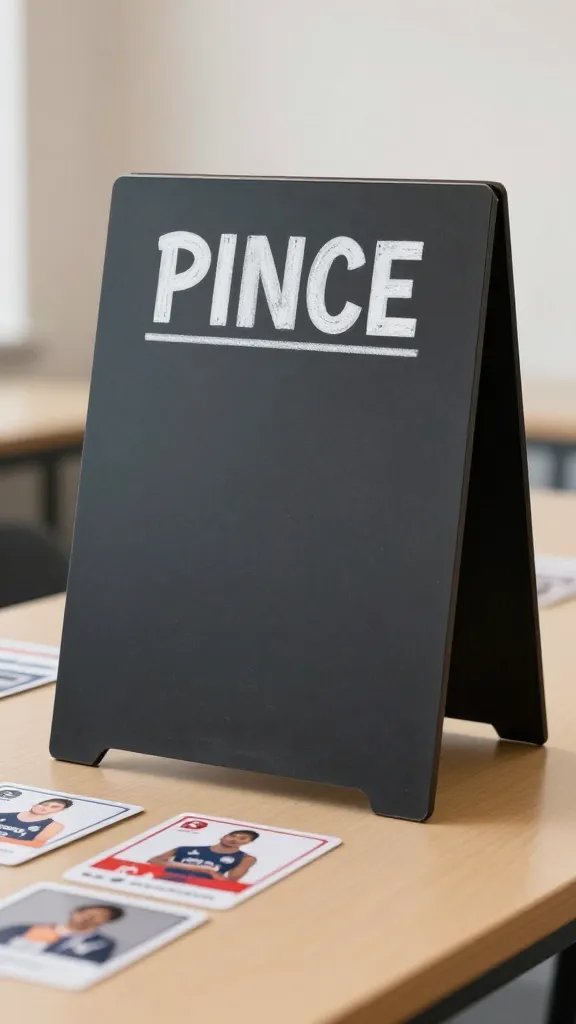
Turn a small chalkboard into a mini locker room display. Draw a bold header like Team Aline and add a few player cards with names, roles, and small stats. It acts as a playful welcome and a party timeline. Supplies are a chalkboard sign, chalk markers, printable name cards, and tape. Time: 20 to 30 minutes.
Copyable today: Use printable name cards you trim to fit the chalkboard. Why it works: it gives instant photo props and a sense of order for a fast paced party.
3. Frisbee Photo Coasters
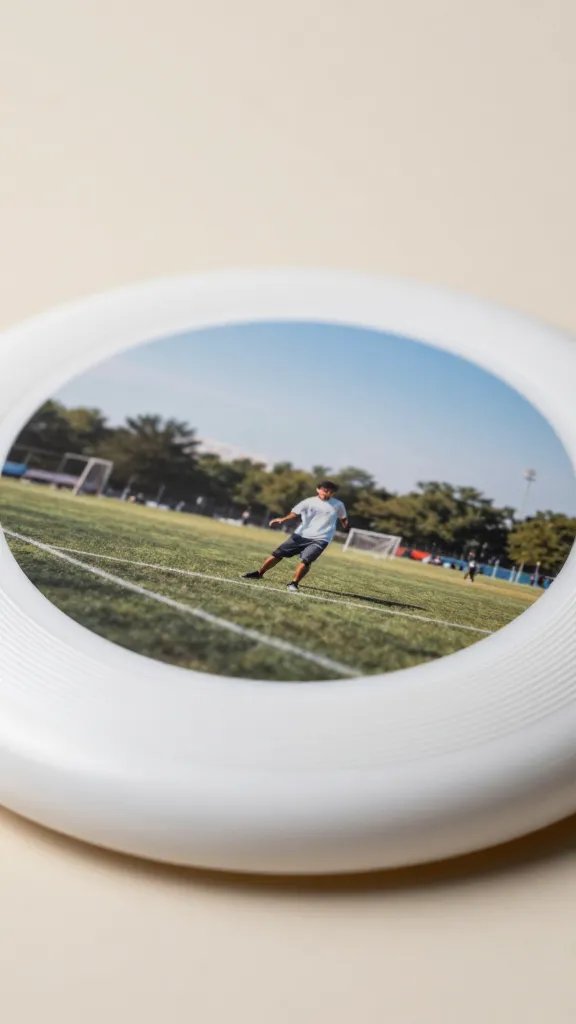
Turn small disposable placemats or cork coasters into frisbee style photo props. Attach a circular print of a favorite athlete or team logo to a plastic lid, then seal with Mod Podge. Cut a slit to slip in a phone stand or small clip so guests can snap action shots. Time about 60 minutes with drying. Supplies: coaster bases, printed photos or logos, Mod Podge, scissors, water based sealer.
Safety note: a kid friendly version uses only stickers and tape, no glue gun needed. What to avoid: avoid small sharp edges on a frisbee label.
4. Sock Ball Garland
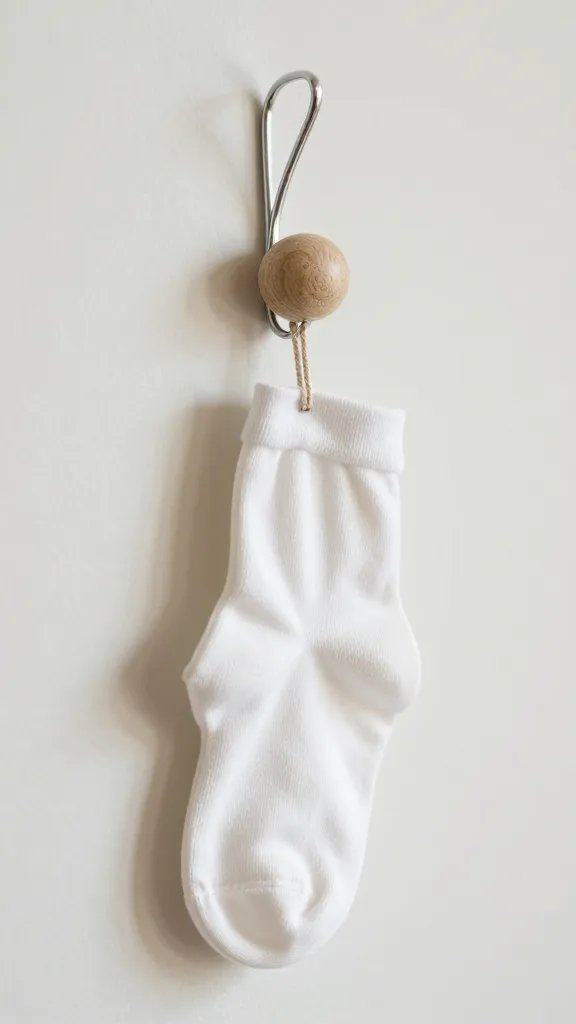
Fill a few long strands with bright felt balls or DIY pom poms to echo a ball string. String them at different lengths across a corner or above the snack table. It’s a small space fix that brings color and texture without crowding the floor. Supplies: felt balls or pompoms, thread or fishing line, needle, scissors. Time: 30 to 40 minutes for a three strand garland.
Place it: anchor at both ends with removable tape to protect walls. Budget swap: use curled paper strips as cheaper pom poms.
5. Mini Stadium Cupcake Stadiums
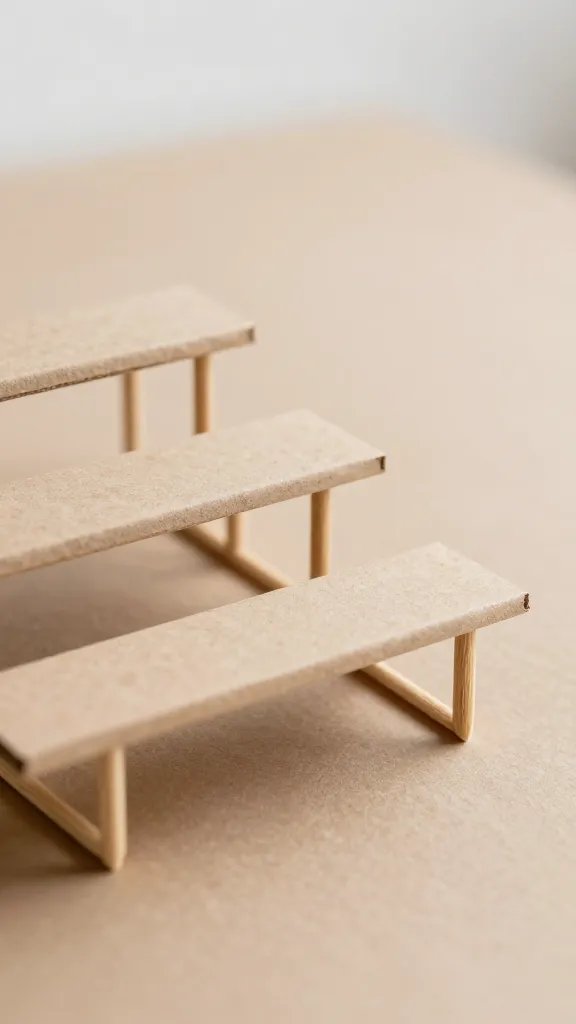
Set up single serve cupcake toppers with mini bleachers made from cardboard and a toothpick supported banner. Build a simple tier with folded cardboard to hold one extra cupcake and a tiny flag. It looks like a tiny arena without much fuss. Supplies: cupcakes, brown paper, toothpicks, markers, and sticky tape. Time: 40 minutes from bake to assemble.
What to prepare ahead: bake cupcakes one day before and frost simply so decorating goes fast. One small change: swap white paper for team color cups to streamline cleanup.
6. Helmet Mini Chalkboard Tags
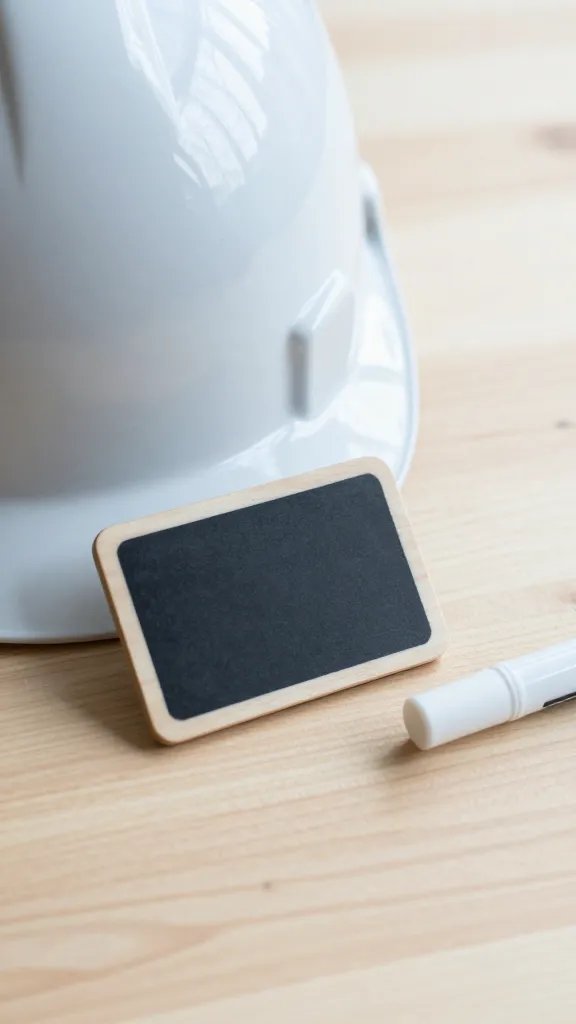
Decorate small chalkboard labels shaped like helmets to mark flavors or seating. Paint miniature helmet shapes on wood or cardboard and add a chalkboard panel to write guests’ names or flavor notes. Attach with removable adhesive to desks or cups. Time: 40 minutes. Supplies: small helmet cutouts, chalkboard paint or panels, chalk markers, adhesive strips.
Use what you have: for a budget option, use recycled plastic bottle caps as helmet tops and a scrap of cardboard for the body.
7. Team Bandana Table Runner
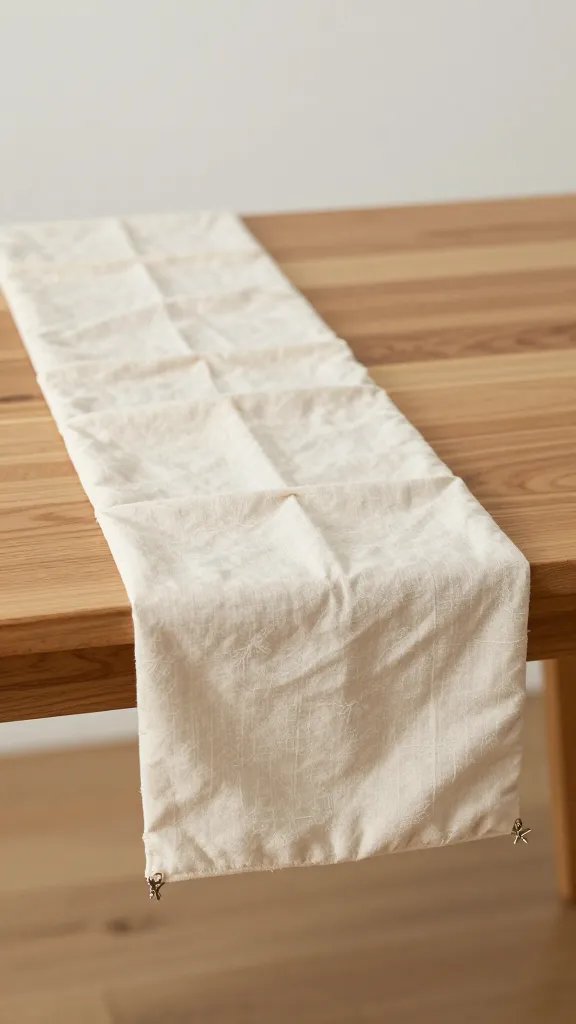
Lay a runner made from a couple of team color bandanas down the center of the table. Fold and drape to create soft pleats, then pin lightly with decorative clips. It brings color, texture, and a sense of team pride without a lot of setup. Time: 15 to 20 minutes. Supplies: two bandanas, clips or pins, tape for edges.
Make it ahead: press the bandanas beforehand so they lay flat. Big space fix: use a wide runner in place of a full tablecloth to keep things light.
8. Scoreboard Chalk Art Wall
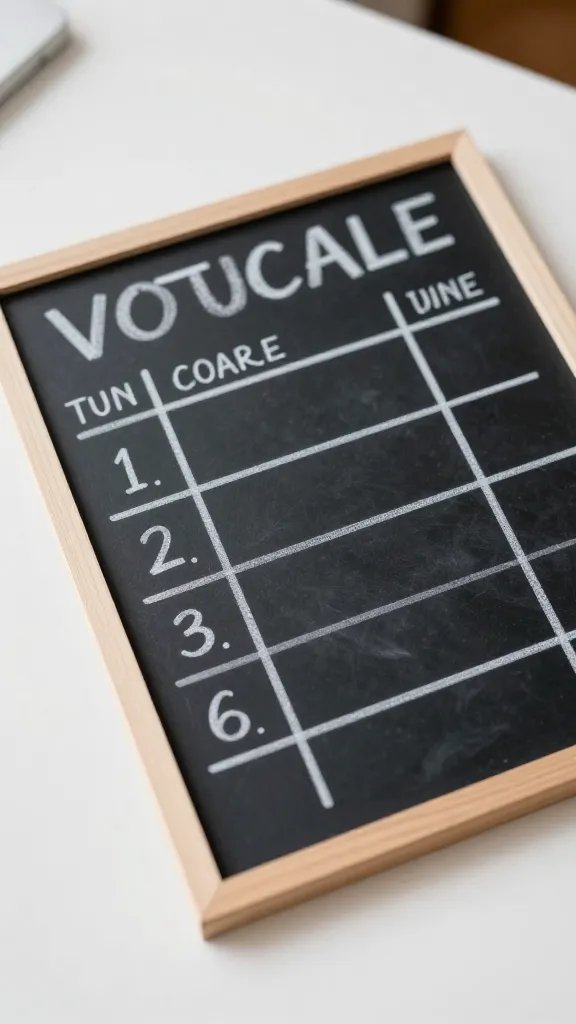
Design a simple scoreboard on a wall with chalkboard paint or a large poster board. Mark categories like “Goals,” “Assists,” and “Team Spirit.” Encourage teens to add their own tallies during the party. It reads as interactive decor and a live scoreboard for fun. Time: about 30 minutes. Supplies: chalkboard paint or poster board, chalk, tape, marker for headings.
Why it works: it doubles as a photo backdrop and a party activity. Safety note: keep chalk away from carpets and clothing to avoid mess.
9. DIY Medal Garland
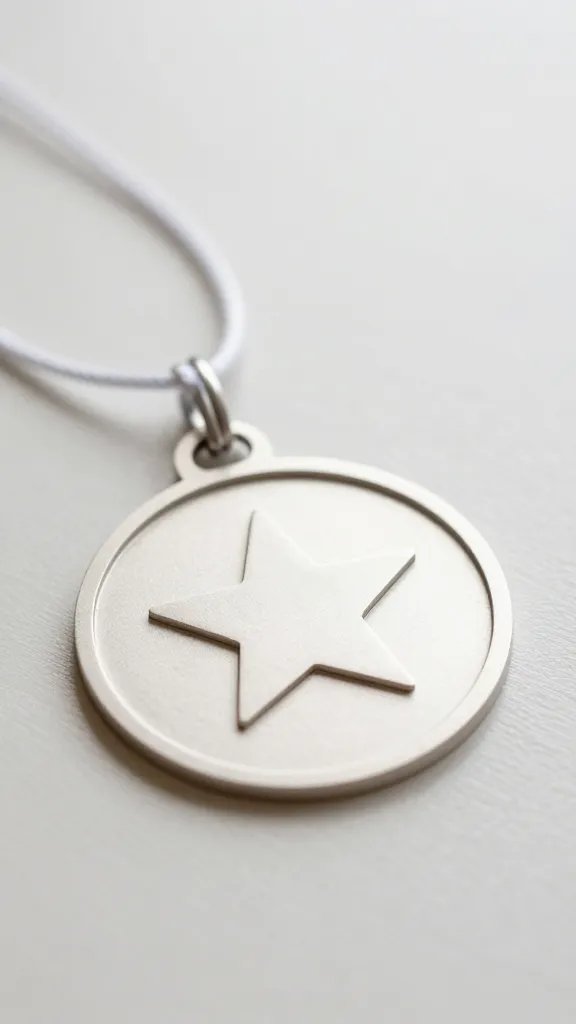
Cut circles from colored foam sheets or cardboard and punch holes to string into a garland. Add a simple star or sport icon on each medal with a marker. It creates a celebratory vibe and doubles as party decor and a keepsake. Time: 25 to 35 minutes. Supplies: foam sheets or cardboard, punch holes, strings, markers or stickers.
Make it easier: pre punch holes and pre-cut shapes to speed up assembly. Storage tip: save the garland flat in a bag for future use.
10. Wristband Ribbon Bracelets
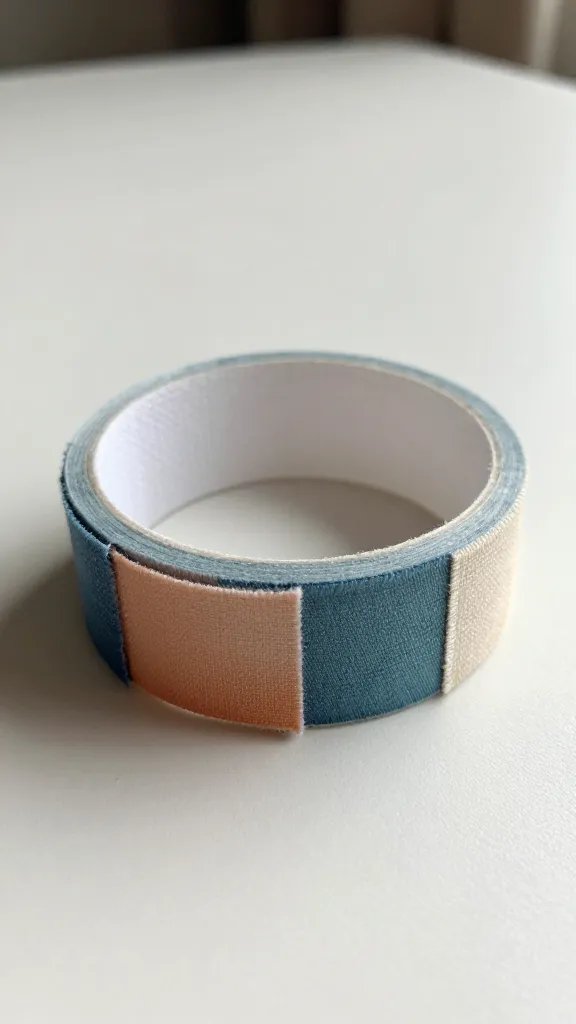
Turn bent paper or fabric into sporty wristbands that spell out names or team numbers. Use fabric scraps or masking tape to create bands with a safe, soft feel. Attach with a simple knot or velcro for easy removal. Time: 20 minutes. Supplies: fabric scraps or thick paper, scissors, tape, optional velcro strips.
Kid friendly: pick simple shapes and keep tiny parts away from younger kids. Why it works: wearable decor invites photo moments without adding clutter.
11. Ball Park Snack Flags
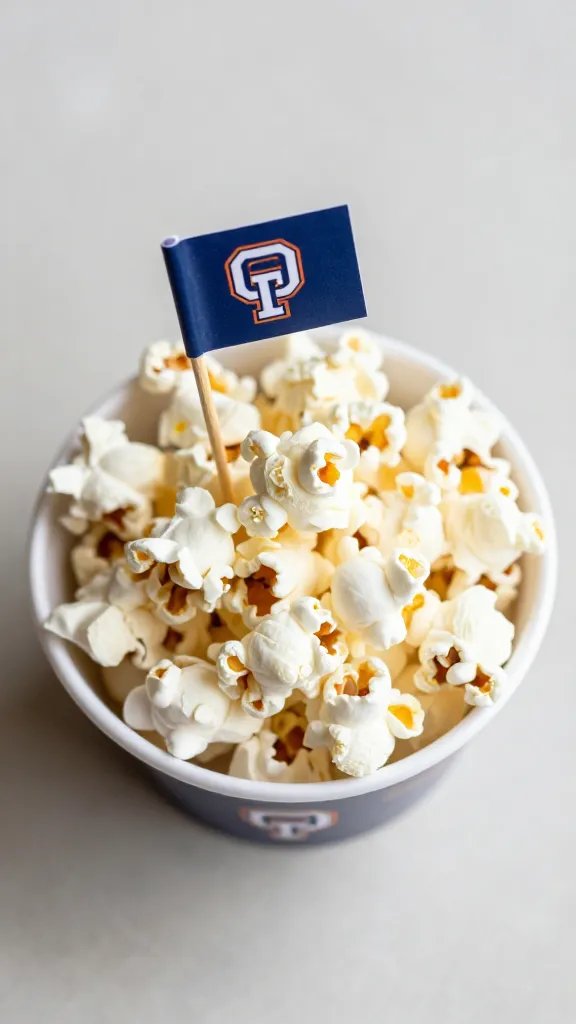
Make tiny flags on toothpicks with printed team colors or simple initials. Insert into bowls of popcorn or veggie cups to bring a stadium vibe to snacks. Time: 15 minutes. Supplies: toothpicks, cardstock, printer or markers, tape and glue.
Use what you have: use magazine cutouts or colored paper if printing isn’t handy. Safety note: supervise children around sharp sticks.
12. Jersey Style Napkin Envelopes
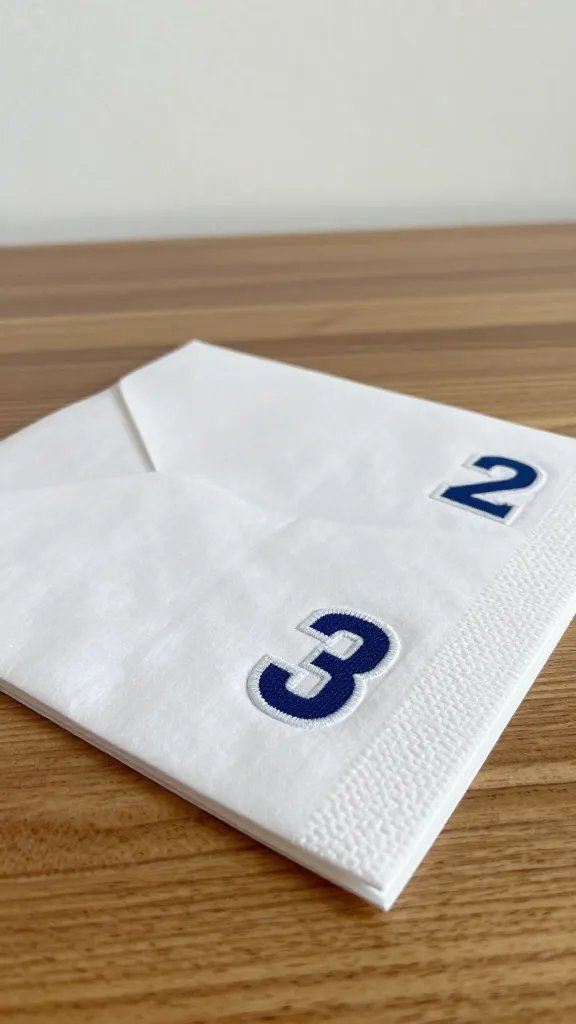
Fold napkins into small envelope shapes and add a fabric patch to mimic a jersey number. Slide a fork and napkin inside for a neat, sporty place setting. Time: 20 minutes. Supplies: cloth napkins, fabric patches or stickers, glue or double sided tape, scissors.
Copy the look: use color blocks that resemble your team’s home kit. Make it ahead: pre fold and store flat to keep shapes crisp.
13. Referee Stripe Backdrop
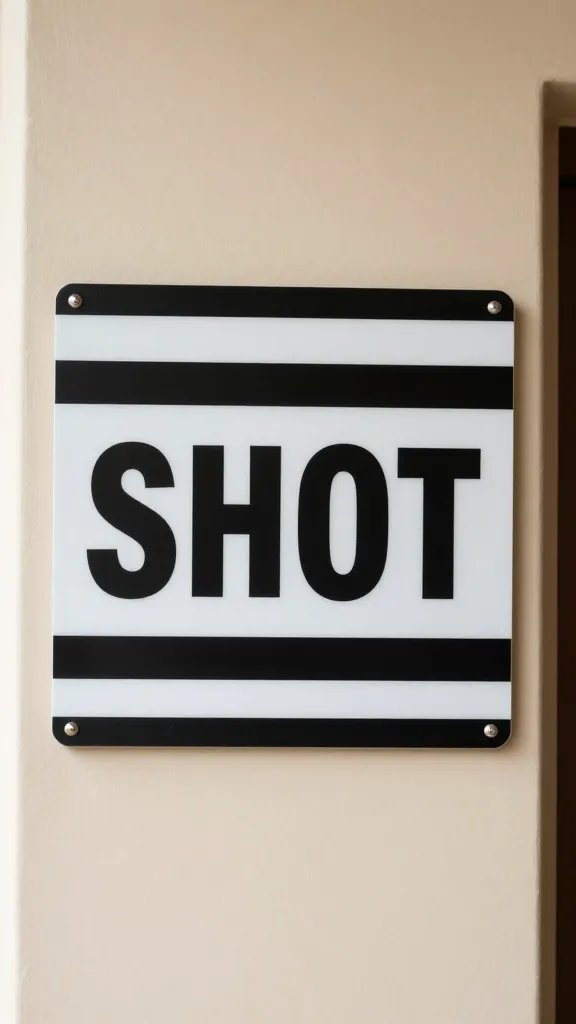
Ribbon or crepe paper to create alternating black and white stripes along a door or wall. Add a bold “Referee” sign at the top for instant game day drama. Time: 30 minutes. Supplies: black and white streamers or ribbon, tape, scissors, poster board for the sign.
What to avoid: ensure the backdrop is secure so it does not sag during photos. Best for: small spaces where a full banner is too much.
14. Water Bottle Stadium Towers
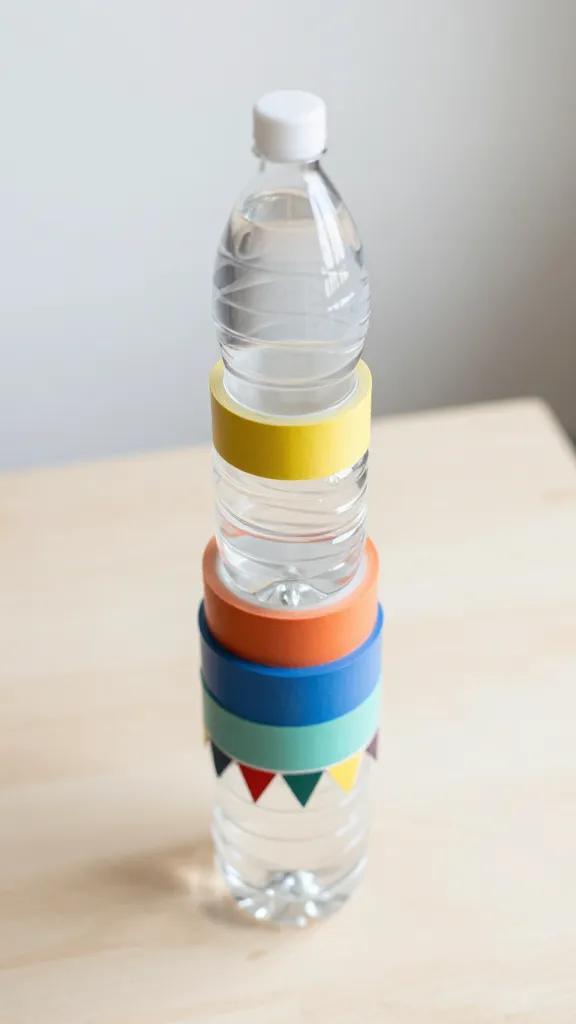
Stack water bottles into a simple tower and wrap with team color tape. Top with a small pennant to brand the tower as a mini stadium. It makes hydration easy and looks polished in photos. Time: 20 to 30 minutes. Supplies: empty plastic bottles, tape, team color masking tape, small pennants.
Make it ahead: rinse bottles and dry completely the day before. Safety note: avoid glass and keep stacks short to prevent tipping.
15. Sport Jersey Pinatas
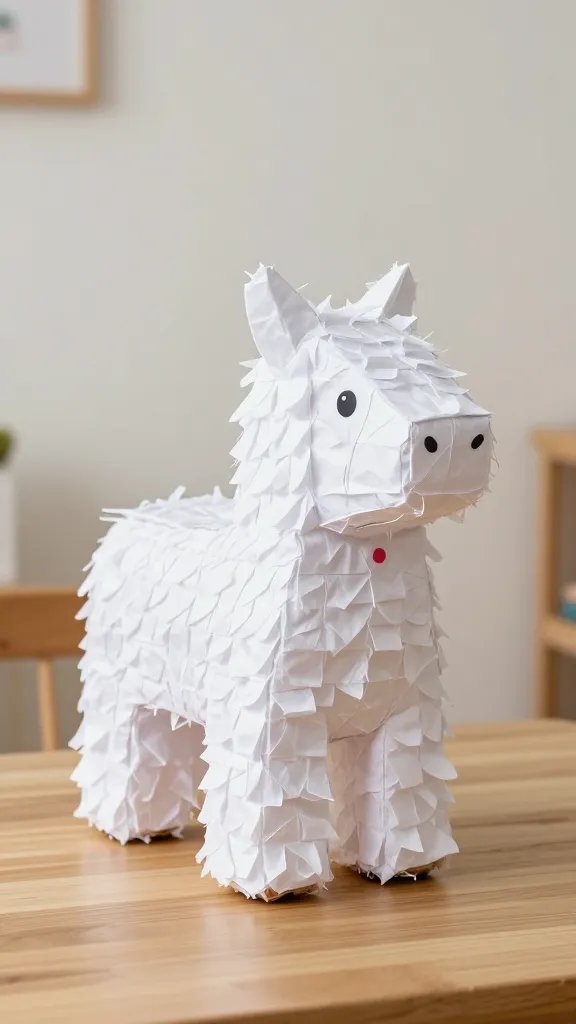
Fill a small paper mache jersey with lightweight candy or confetti and a few plastic streamers. Hang as a playful centerpiece and for a quick piñata moment after a game. Time: 1 to 2 hours including drying. Supplies: paper mache jersey, tissue paper, string, lightweight candy or confetti, tape.
Kid friendly: skip candy and use confetti only for a mess controlled moment. Cleanup tip: lay a tarp beneath before you pop the top to catch spills.
With these fifteen ideas, you can stage a teens party that feels coordinated and energetic, without a big budget or a long to do list. Pick a handful that fit your space and available time, then run with them. Save this for the next birthday that sneaks up on you.