
15 Cardboard Castle and Fort Ideas for Kids

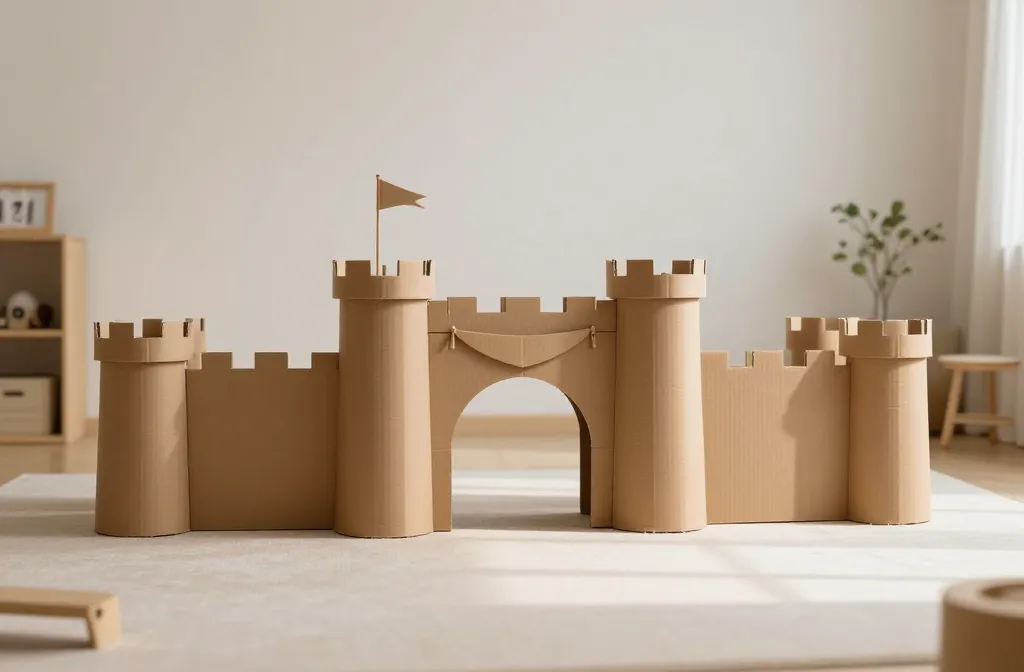
When a play space is tiny and a party is near, it can feel like a fortress of budget and time constraints. The real challenge is turning plain cardboard into something kids actually want to play in, not just admire for five minutes. You can build excitement and keep attention with simple, sturdy ideas that kids can help with and that store away neatly. This list shows 15 practical cardboard castle and fort ideas you can make this week, using common supplies and a little planning.
Each idea fixes a real kid friendly problem, from lack of interactive set pieces to a party that looks cute in photos yet stays affordable. Read through for quick builds, safer finishes, and small space friendly options. Let’s dive into ideas that work in real homes, not just in magazines.
1. Cardboard Drawbridge Doorway
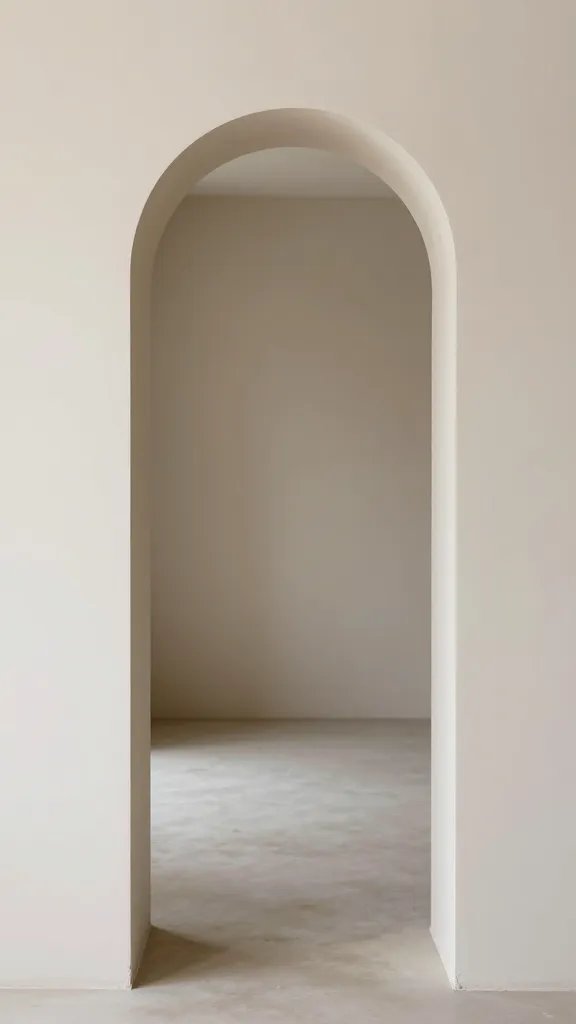
Turn a doorway into a tiny castle gate by adding a freestanding cardboard arch and a flap that kids can lift to pretend cross the moat. It feels grand without crowding the room. Clear, simple steps help keep the project moving and minimize glue mess. Use a piece of kraft paper for a banner that reads “Welcome to the Castle.”
What to avoid: heavy tape that peels paint off walls. If you swap in foam bricks, the wall stays light and safe for little hands.
2. Dragon’s Keep Balcony Loft
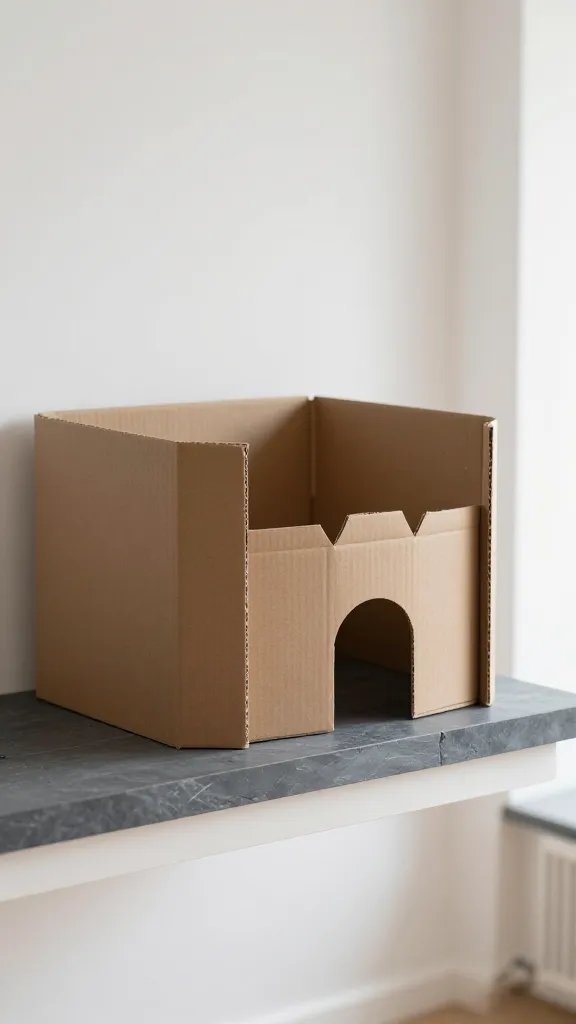
Stack two or three large boxes to create a two level fort with a lookout window. Cut a rectangular balcony opening for a pretend dragon perch. The goal is a mini fortress that kids can climb into, not a risky climb. Keep the catty corner edges softened with painter’s tape wrapping. A paint job with brown and slate gray adds depth without looking homemade.
Best for: small living spaces where vertical play adds value. A simple tarp roof helps weather any birthday rain.
3. Turret Party Plates Banner
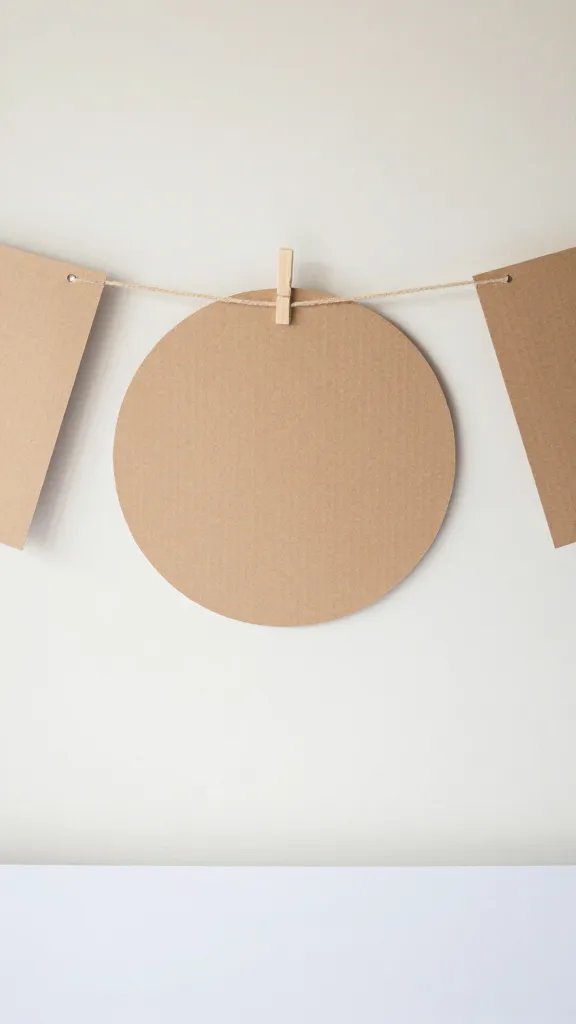
Make four round turrets using foam plates and cardboard tubes, then string them into a circular banner. Each turret holds a tiny flag and a safe faux stone texture is drawn with markers or crayon. The banner sits above a dessert table or a play corner. Supplies stay inexpensive, and assembly is quick enough for kids to enjoy a finishing touch together.
Copy the look: wrap cardboard tubes with colored paper to unify the color scheme. This idea travels well for classroom parties too.
4. Paper Mache Castle Wall Backdrop
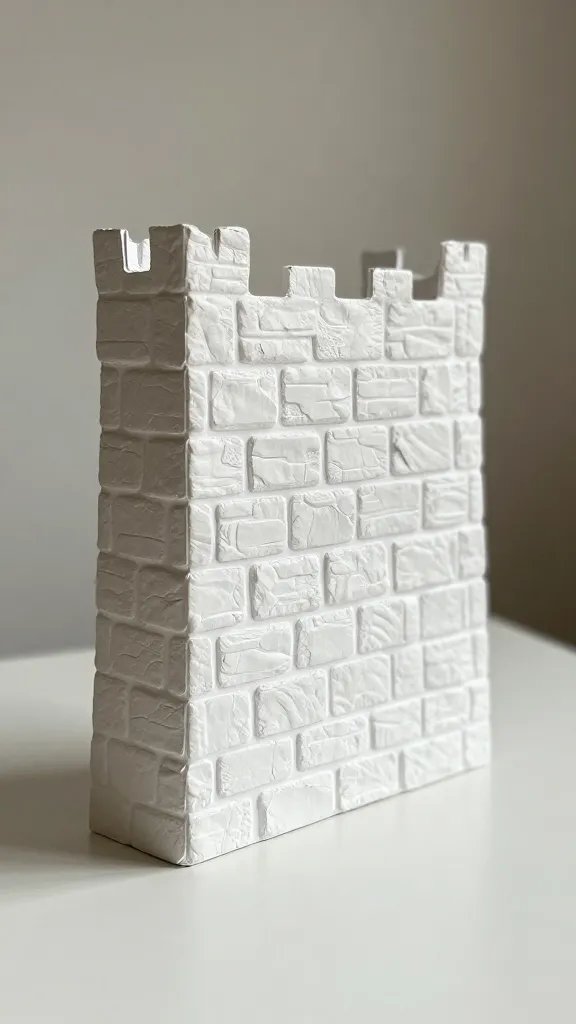
A lightweight backdrop made from layers of newspaper and flour paste gives a strong castle feel without heavy cardboard. Paint with two tones to create faux stone walls, then add a row of battlements along the top. It isn’t a full prop, but it reads well in photos and anchors the scene for a party. Set it behind a cake or snack table for drama that’s easy to assemble.
Usage note: guard edges with tape so everyone can lean in for pictures without tearing.
5. Drawn-on Treasure Chest Cave
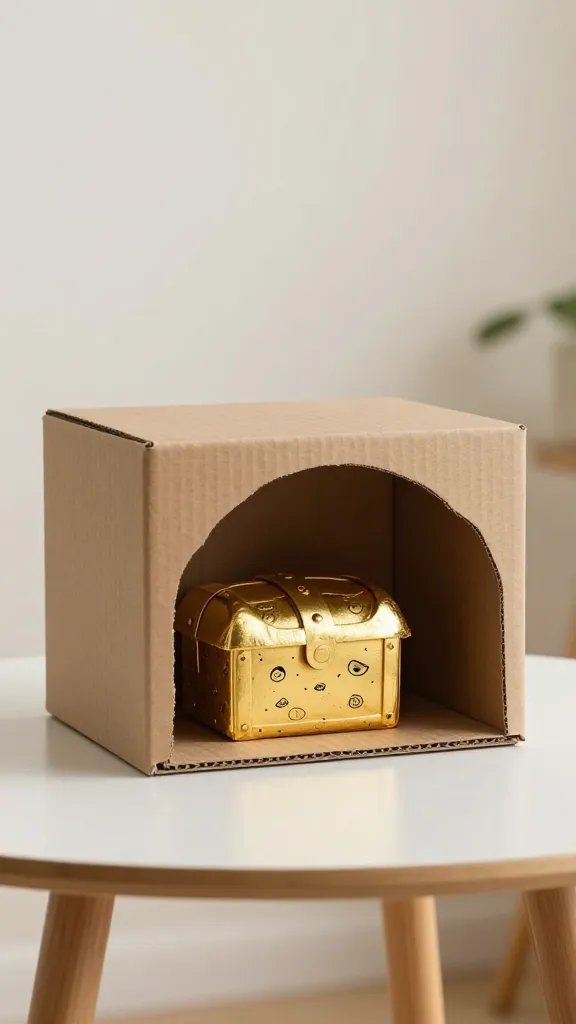
Cut a shallow recess in a large box to resemble a cave. Use brown paper or paint to cover, then draw treasure shapes and a gold coin lid with a marker. Kids can step inside for pretend play, and parents get an instant photo moment. This keeps things affordable and easy to reset between games. A removable lid can double as a pretend treasure chest picnic lid.
Safety note: smooth all edges with tape to avoid snags on clothing.
6. Moat Boat and Bridge Arena
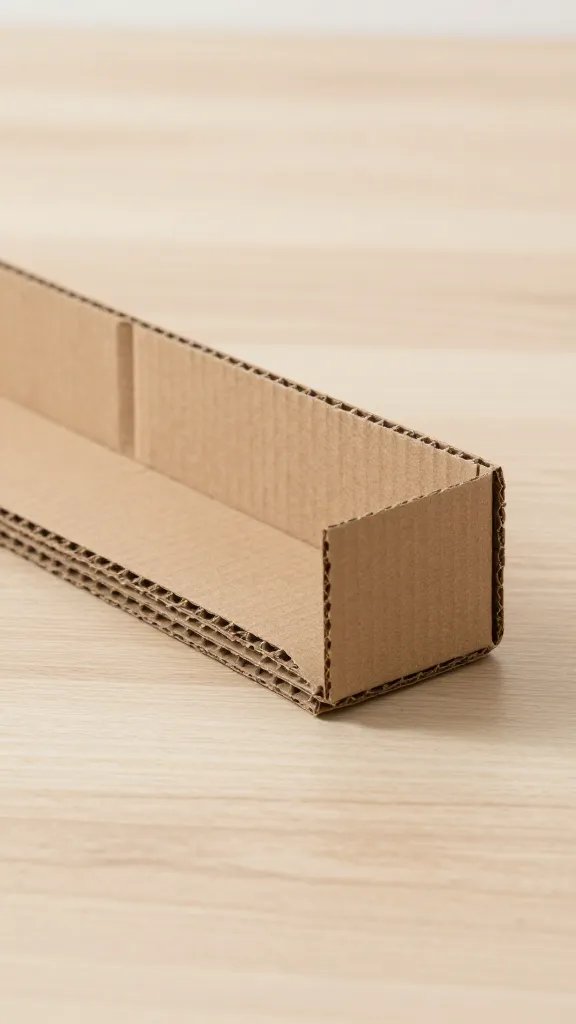
Use a long cardboard strip as a play bridge and a small pool liner as a faux moat base. The fort sits on one side with a pretend pirate or knight crew. The setup works indoors and outdoors, and the water-safe moat is a visual cheat more than a real moat, so use a plastic tray under it. Kids will love racing toy boats under the bridge as part of the game.
Small space fix: place the bridge along a wall so you don’t block traffic in a busy room.
7. Castle Window Snug Tent
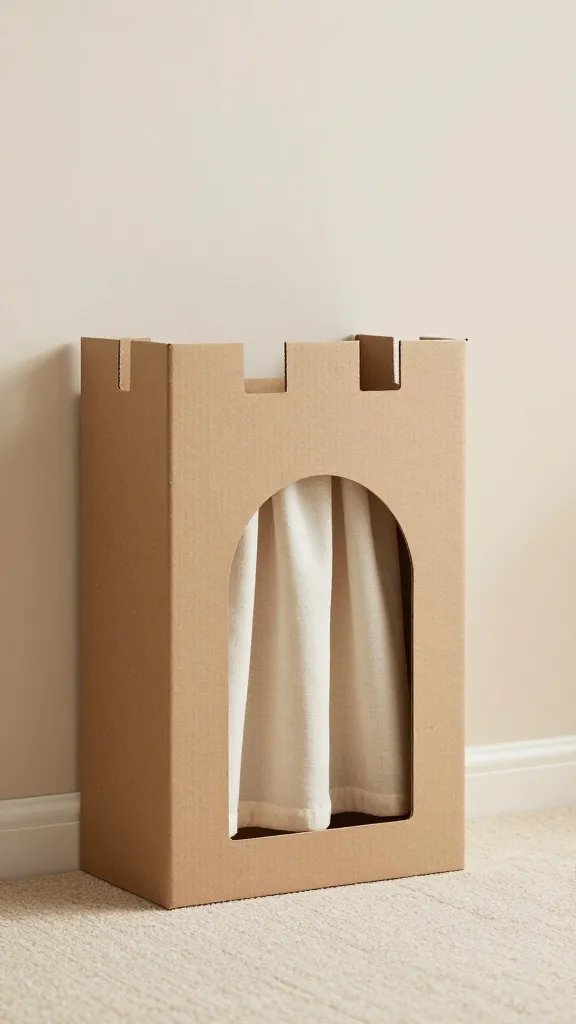
Turn a box into a tented nook with a castle window by cutting a small arch and one or two window slits. Tie a fabric curtain across the front to simulate a royal door. A simple leaf or star garland across the top adds whimsy. This is a quiet corner where kids can retreat with a book or a toy while others craft nearby.
Kid friendly: use a flexible fabric that is easy to clean and store when guests leave.
8. Knight’s Shield Wall Panels
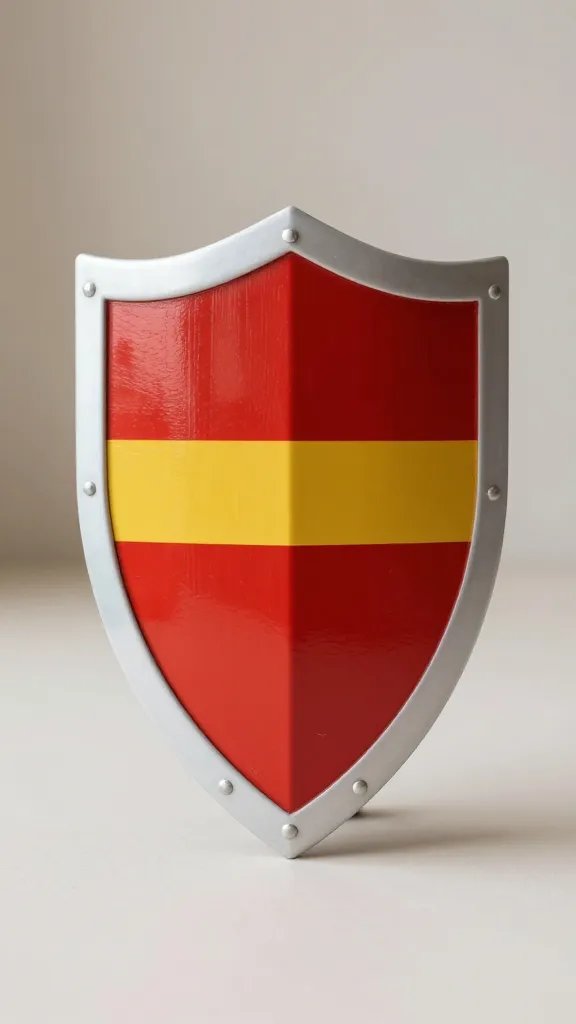
Craft several flat panels from cardboard, then decorate with metallic sharpies for a shield wall. Kids can pose behind them for photos or flip them to hide and seek. Mount panels on a low stand or set on the floor as a barrier for a pretend arena. The setup provides color and action without creating a heavy construction project.
Why it looks store bought: bold color blocks and simple metallic ink make it pop on camera.
9. Cardboard Balcony Parade Route
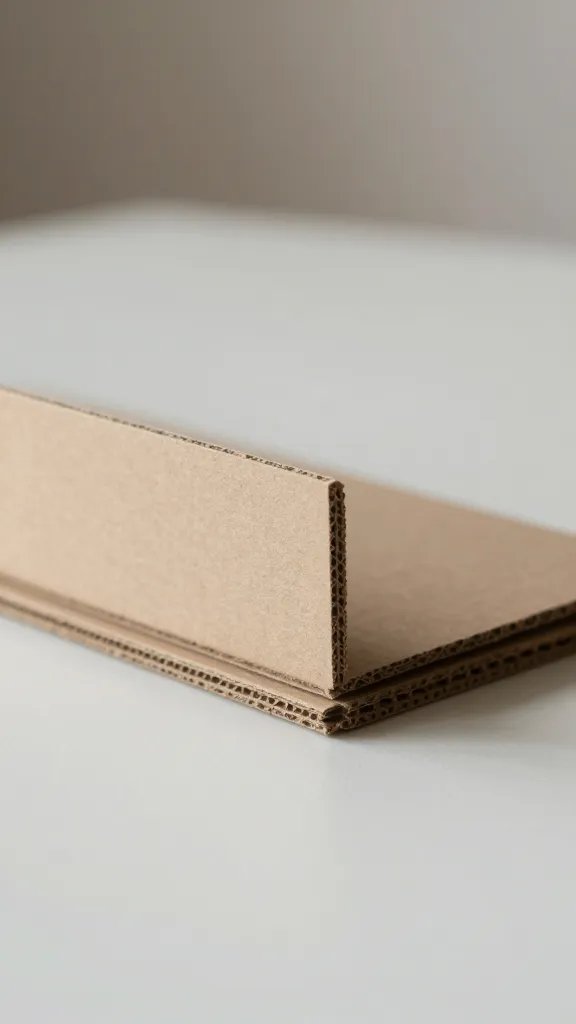
Create a mini parade route with a raised cardboard balcony for parade banners. Cut a strip and prop it on a small tiered base so kids can walk under or over it. Color with family brushes in two or three tones to keep the look cohesive. This idea adds motion to the party and a photo moment that doesn’t require extra staffing.
What to avoid: oversized banners that block traffic or noses for kids to bump into during a game.
10. Fairy Tale Archway Entrance
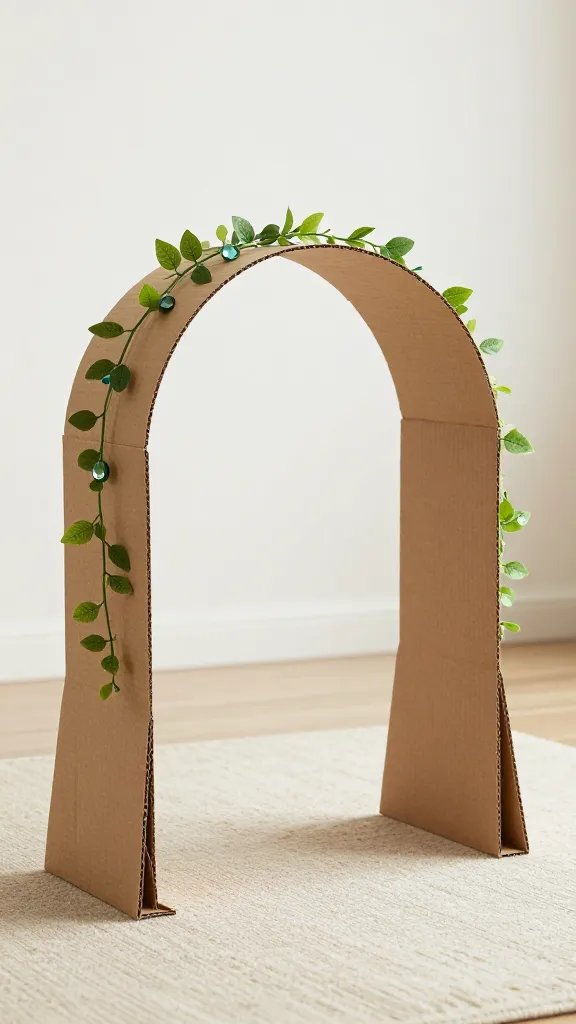
Build a graceful arch using a pair of cardboard triangles and a curved top. Decorate with paper vines, faux gems, and a faux stone finish with gray markers. Place a small rug beneath to create a castle foyer. This structure adds a dramatic entrance for guests and doubles as a backdrop for cake photos.
Placement note: keep the base light with a few flaps for stability rather than a bulky bottom that could trip guests.
11. Fortress Fencing Panels
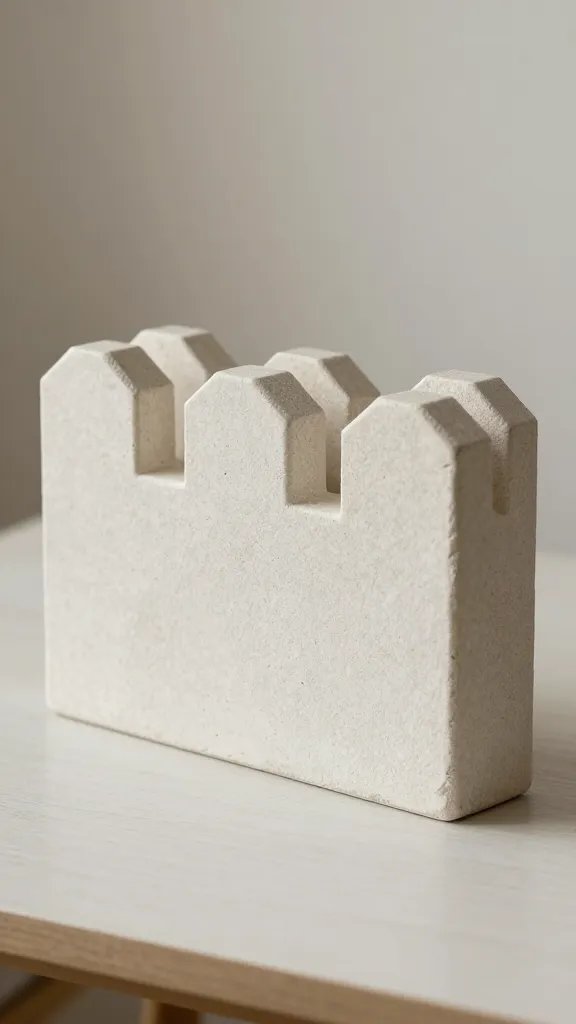
Make modular fence panels from thin cardboard and connect with craft twine. Kids can rearrange sections to form a courtyard or a perching spot for stuffed animals. The panels are lightweight and easy to store flat. Use paint or markers to create a stone pattern on each panel for a cohesive castle look.
Play tip: set a small relay race where kids move a toy knight through the sections for a little action.
12. Towering Cardboard Turret Lamps
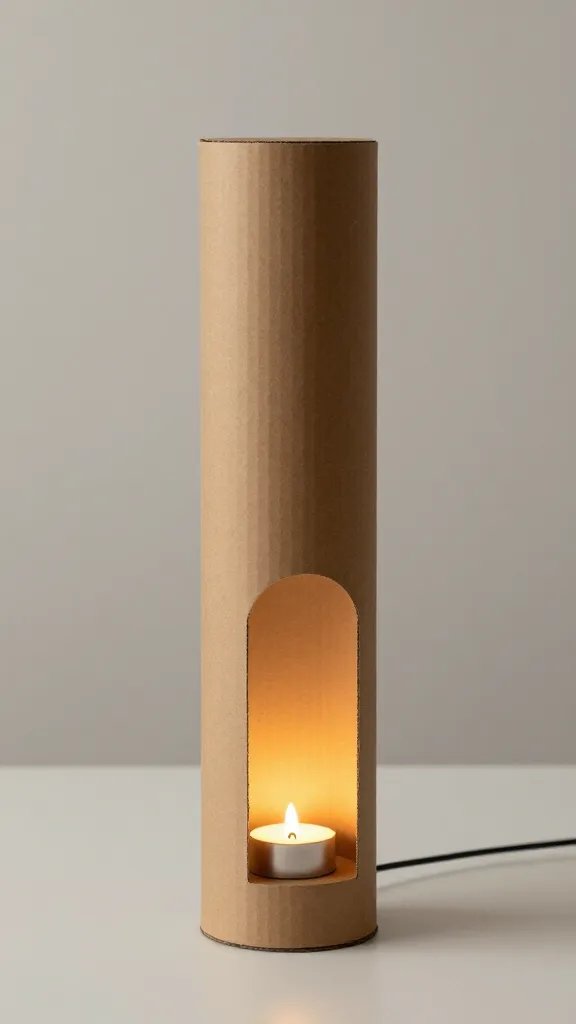
Cut tall cylindrical turrets from tall boxes and cap them with flat lids. Wrap in crepe paper or tissue for texture and place a safe LED tea light inside for a soft glow after dark. The glow adds drama to the fort without heat, and kids love watching shadows on the walls as the party winds down.
Safety note: never leave lit candles or open flames near cardboard.
13. Castle Dress-Up Corner
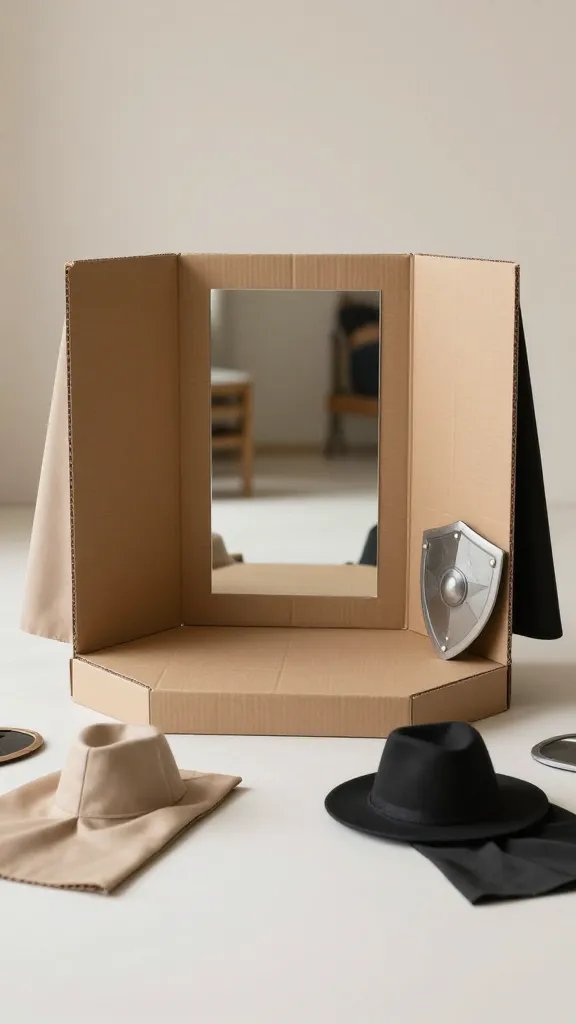
Provide a small cardboard stage with a mirror and a few simple capes, hats, and shields cut from cardboard. The goal is to encourage imaginative play and photos. A simple banner above reads a heroic phrase. This idea doubles as a dressing area and a prop station that keeps kids busy while adults mingle.
Make it ahead: pre-cut all pieces and store in a bin for quick setup before guests arrive.
14. Hidden Passageways and Secret Doors
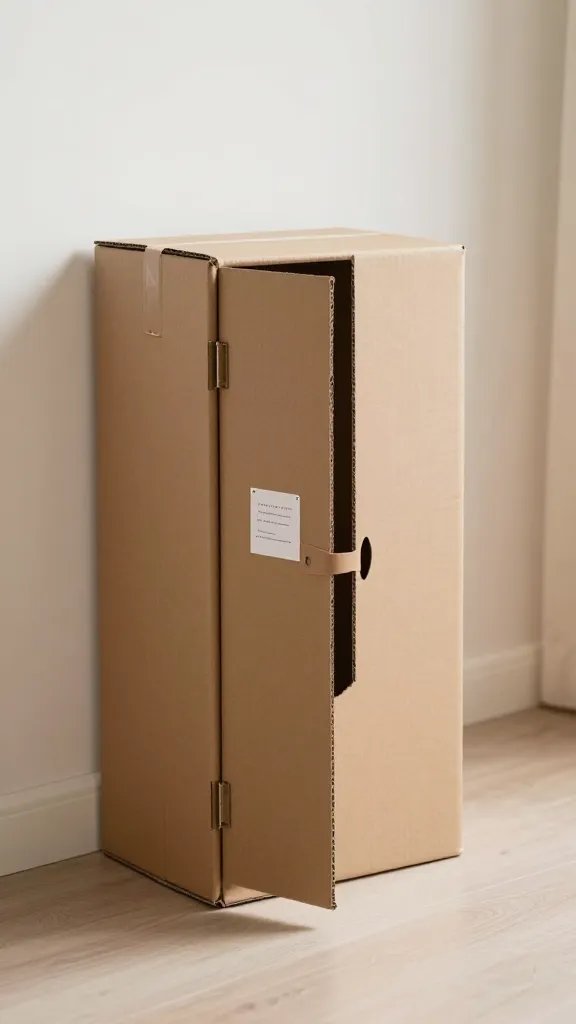
Cut a few small flaps into a large box to create pretend secret doors. Add a few clues or riddles on slips of paper tucked behind the flaps. Kids can explore the fort and pretend to discover a hidden room. It lengthens the playtime and gives you a little interactive treasure hunt.
What to save for later: keep the clues simple so younger children can enjoy the game too.
15. Castle Courtyard Rug Fort
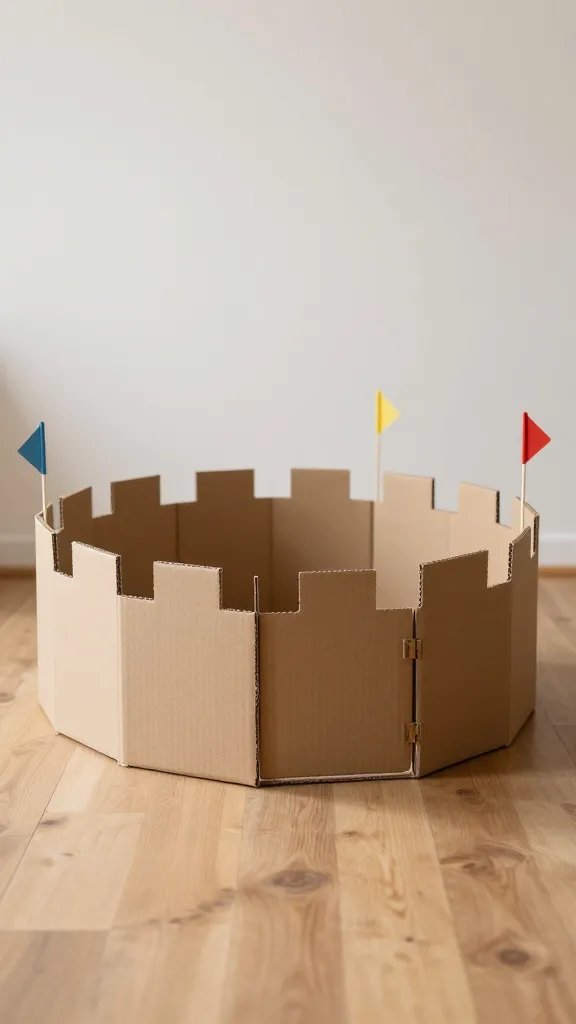
Lay a large cardboard base as the castle courtyard and arrange smaller panels to form a fence and a gate. Place a soft rug inside for a comfy play area. A few cardboard flags on skewers add a pop of color and a sense of celebration. This is a compact setup that packs away flat when the party ends.
Cleanup tip: flatten all panels and stack with the rug rolled nearby for quick storage.
With a little planning, these 15 cardboard castle and fort ideas build fast, hold kids’ attention, and fit into small spaces. Keep safety in mind, enlist a helper for cutting and gluing, and you’ll have a party space that feels magical without breaking the bank. Save this for the next birthday that sneaks up on you.