
13 Paper Craft Ideas for a Small Craft Budget

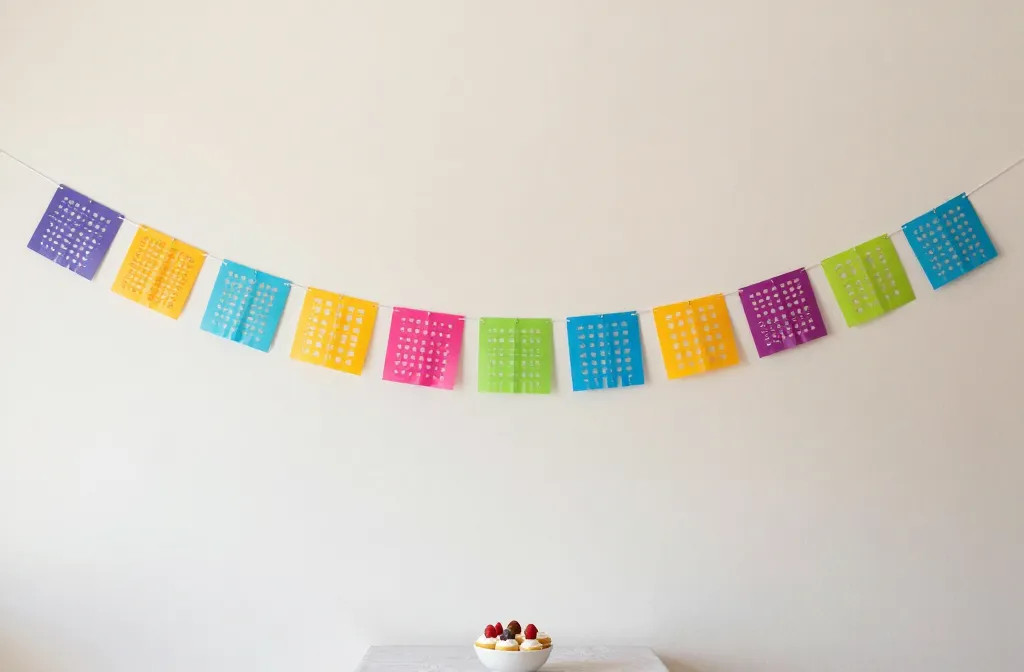
Short on time, short on funds, but big on party spirit? These paper ideas stay within a tight budget and still look polished in photos. Each pick solves a common party snag, from a bare dessert table to a restless crowd, with supplies you likely already have or can grab at a dollar store. Use the ideas as a quick setup plan that you can adjust to your space. You’ll finish with something charming, not chaotic.
These 13 paper craft ideas for a small craft budget fit into a single afternoon or evening, and they scale up or down for a kid party or a adults-only gathering. Let’s dive into ideas you can actually make this week.
1. Colorful Paper Banner Garland
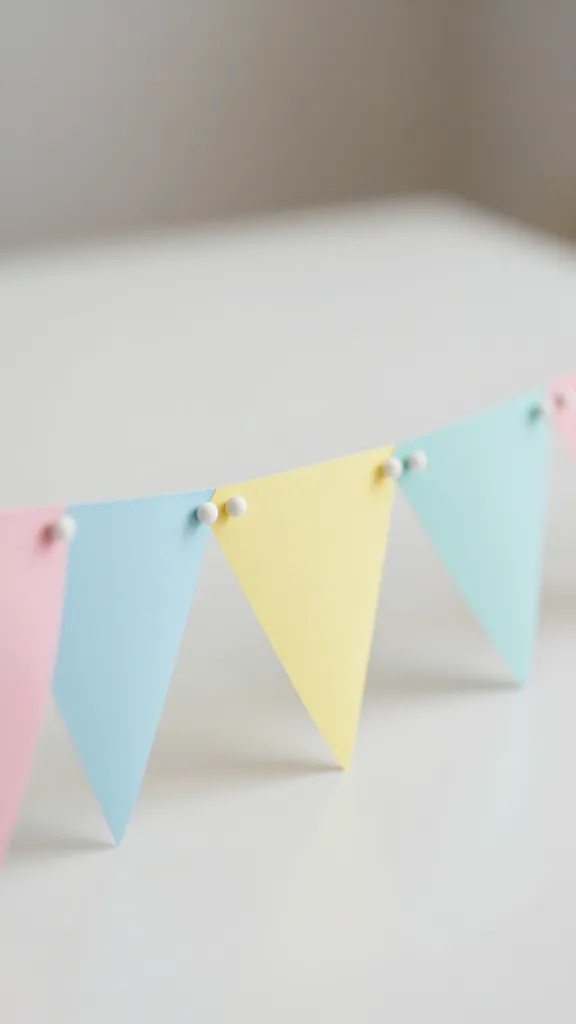
A plain room reads as empty when dessert is set out. A simple garland adds color, defines a party zone, and photographs well. Cut rectangles or triangles from a stack of colored paper or scrapbooking paper. Punch holes at the top and thread with ribbon or string. Space the pieces evenly, then drape across a wall or mantle. If you have a theme, pick three coordinating hues to keep it cohesive. Time: about 40 minutes for a 6-foot garland; leave it hanging to reuse at future gatherings.
Usage note: Use what you have to avoid buying new paper.
2. DIY Paper Cupcake Toppers
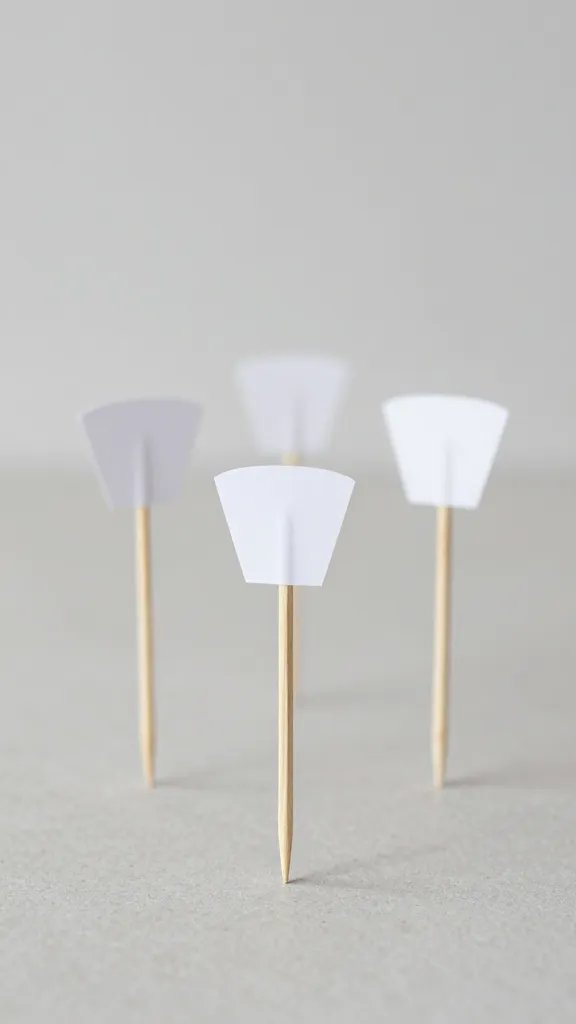
Flat cupcakes can look dated on a dessert table; these toppers bring instant interest. Cut small circles or shapes from scrap paper, glue to toothpicks, and add a contrasting edge with a thin marker. For a coordinated look, choose a single motif like stars or polka dots in two colors. Place toppers sparingly on cupcakes and in mini stacks for height variation. This quick project is perfect for a last minute bake sale or party in a small kitchen.
Copy look: Keep shapes uniform and use a consistent color palette for a polished effect.
3. Paper-Plate Photo Booth Backdrop
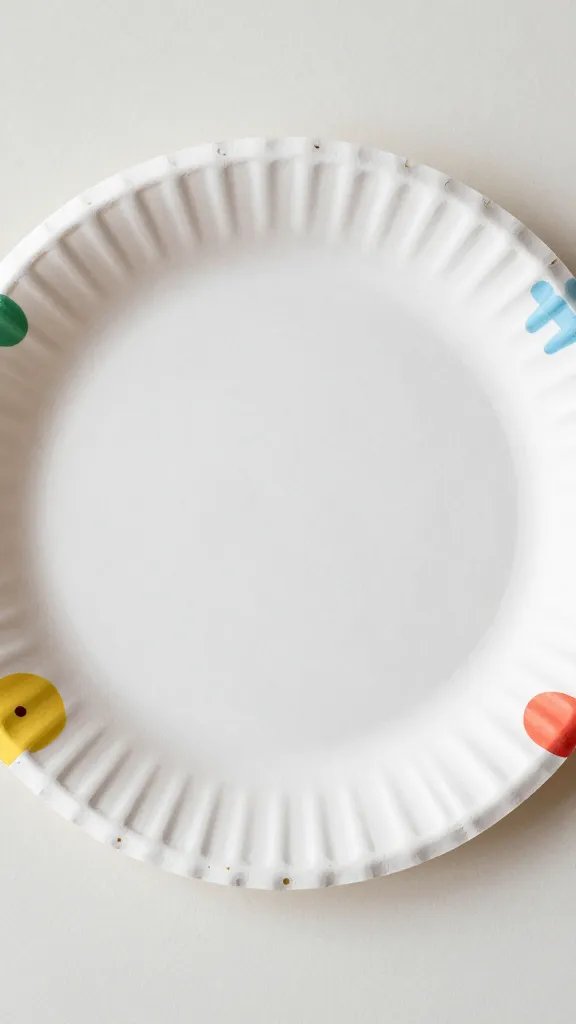
A photo wall helps guests capture memories without a professional setup. Take clean paper plates and staple or tape them to a large sheet or string across a blank wall to form a circle collage. Add cutouts in two or three colors to echo the party theme. Keep the design playful with different plate sizes and occasional cutouts. It’s quick to assemble, easy to store, and can be reused for future gatherings. Time estimate: 45–60 minutes for a small wall.
Why it works: It fills the space without expensive decor while giving guests a fun photo area.
4. Mini Paper Gift Bags as Favors
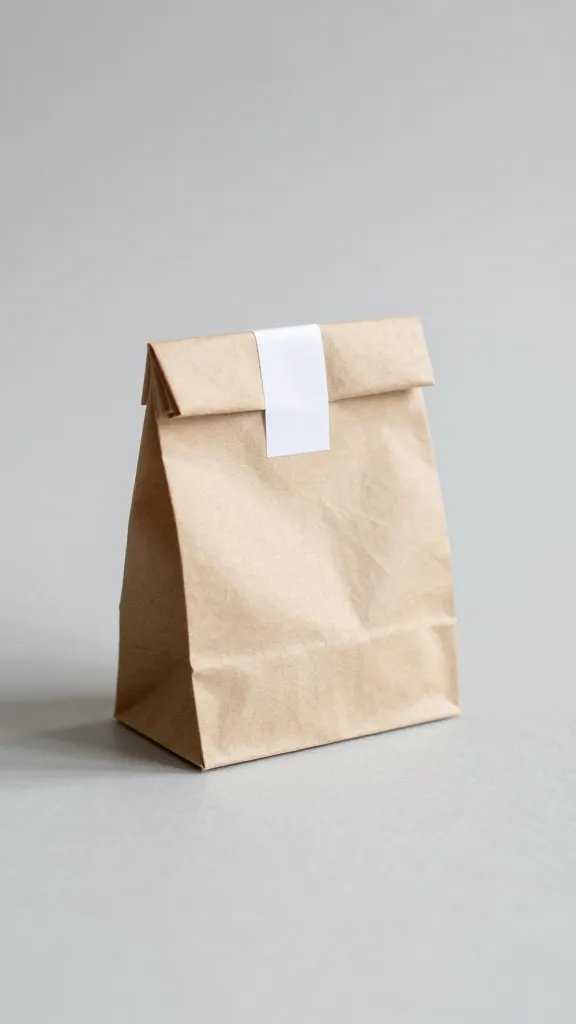
Small favors feel special when wrapped in simple paper. Create tiny bags from rectangular scraps; fold the top and seal with a sticker or small sticker seal. Fill with dollar-store goodies or homemade treats. Add a name tag with a marker or a printed label if you have a printer. The bags are not only budget friendly but also easy to personalize per guest. Time: 30–40 minutes for a dozen bags.
Dollar store swap: Look for craft paper packs or tissue sheets to stretch your supplies.
5. Tissue Paper Rosettes
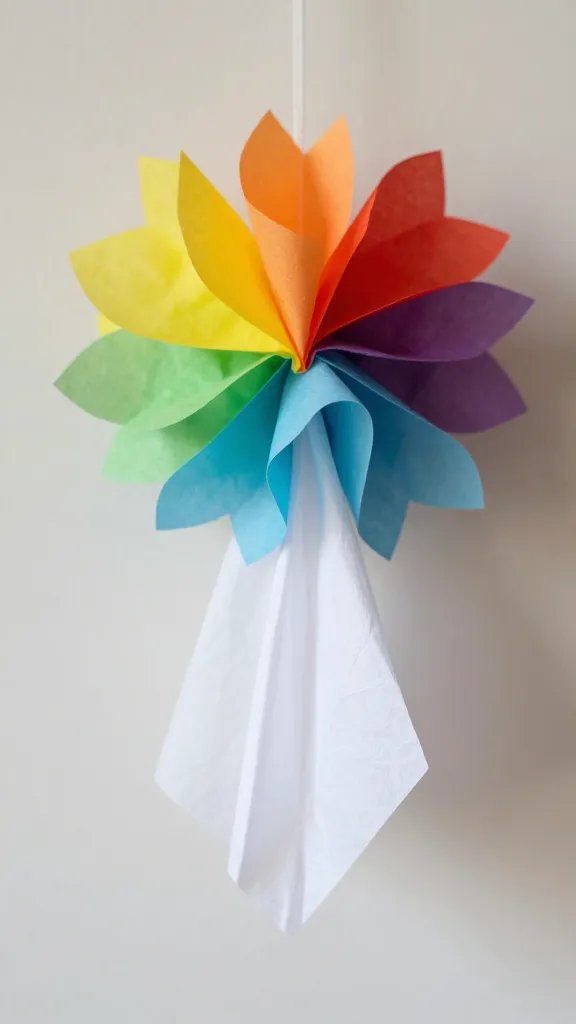
Rosettes made from tissue paper give a festive look without breaking the bank. Stack layers in two contrasting colors, glue at the center, and fan the layers to form a flower. Attach to a wall, doorway, or chair backs for a quick party moment. If you don’t have ribbon, string a thin paper strip through the center and hang as a garland. Time: 20–30 minutes for several rosettes.
Missed item: Use long sheets of scraps to make big rosettes for a bold backdrop.
6. Pom Pom Wall Using Paper
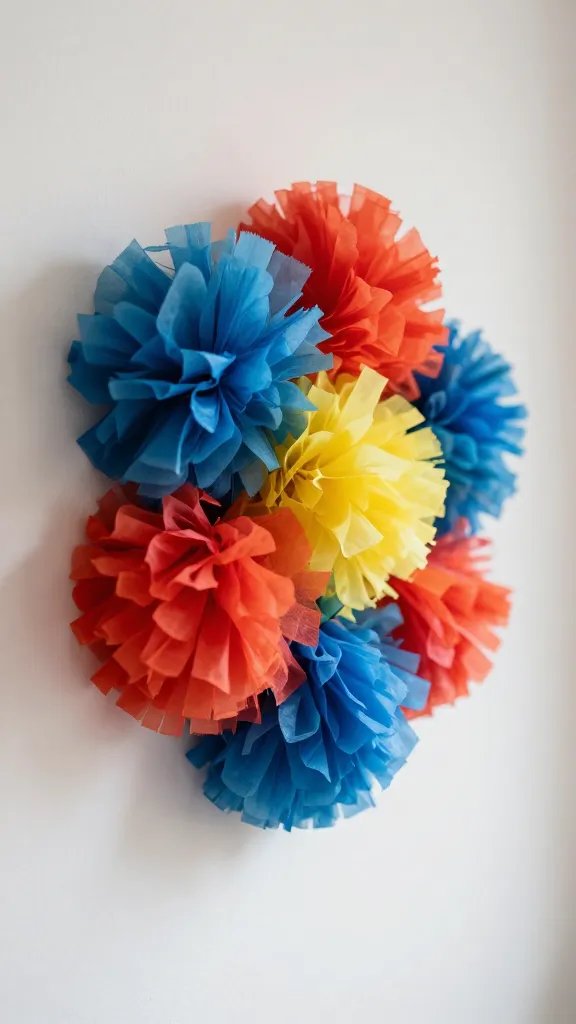
Colorful tissue or standard craft paper can become soft pom poms when folded and fluffed. Create a small cluster near the dessert area or above the cake table to soften a kitchen-light. Make several sizes for depth. Attach with removable adhesive putty so you can reuse the pieces later. This is a simple, forgiving project that comes together quickly, especially when you work with a friend. Time: 40 minutes for a 5 by 6 foot display.
Safety note: Avoid loose strings near food prep areas to keep things tidy.
7. Paper Letter Banner
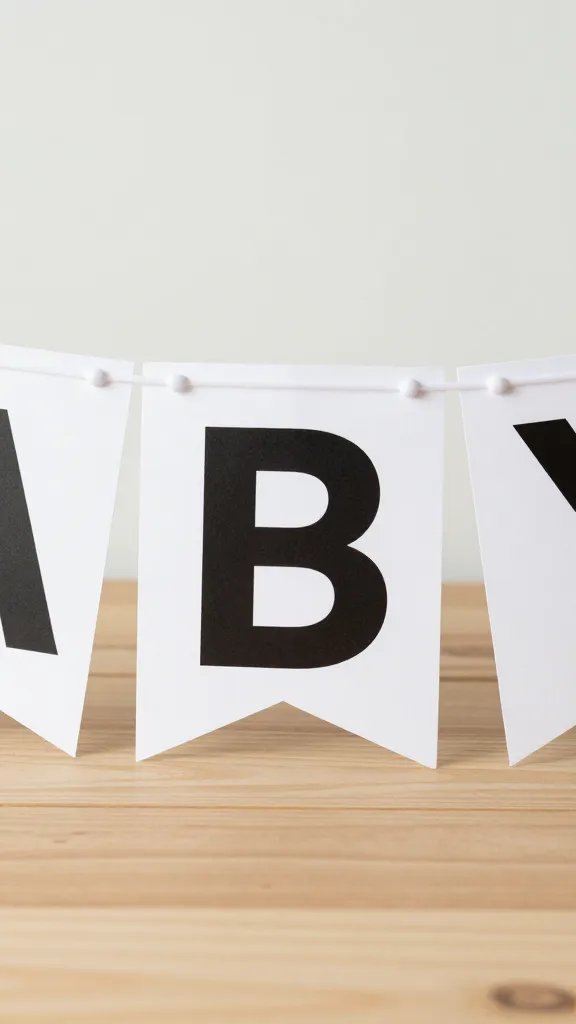
Personalize the party with a banner that spells the guest of honor’s name or a short phrase. Cut letters from sturdy poster board or thick craft paper, paint or color the edges, and string together with ribbon. If you prefer a monochrome look, pick one color and add a contrasting outline. It’s easy to adjust for a small space and you can reuse the letters for future events. Time: 60 minutes for a short message.
Use what you have: Scrapbook letters or leftover chipboard work just as well as brand-new shapes.
8. Paper Lantern Mobile
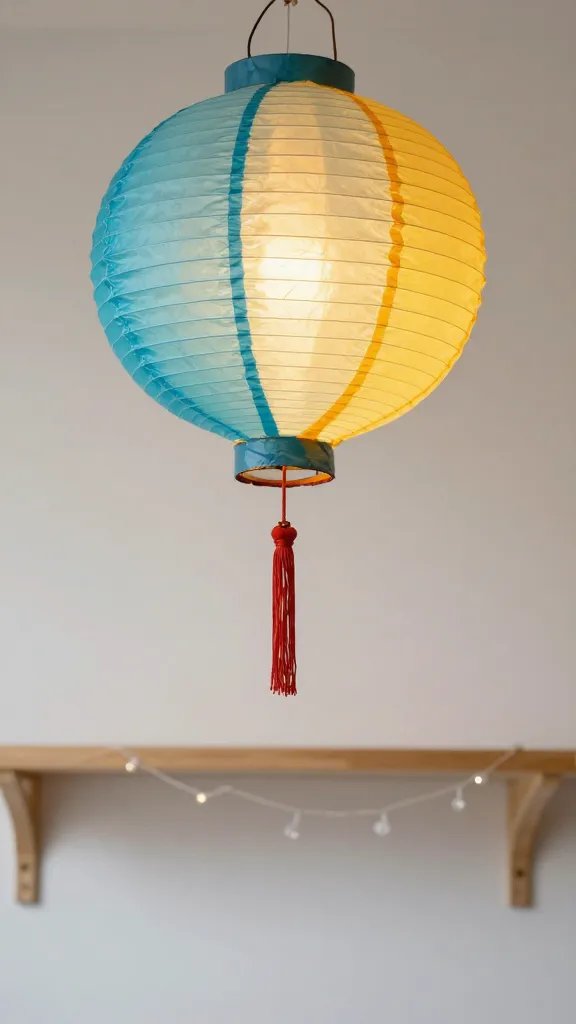
Lanterns can brighten a corner without a lot of weight or cost. Use paper lanterns in two colors, add tassels cut from paper strips, and hang from a ceiling or doorway. If you don’t have a hook, place a dowel or stick extended from a shelf and tie the lanterns with string. Keep the arrangement tight for a neat silhouette. Time: 20–30 minutes for a three to four lantern arrangement.
Theme swap: Change colors to fit any party vibe, from birthday to baby shower.
9. Paper Confetti Garland
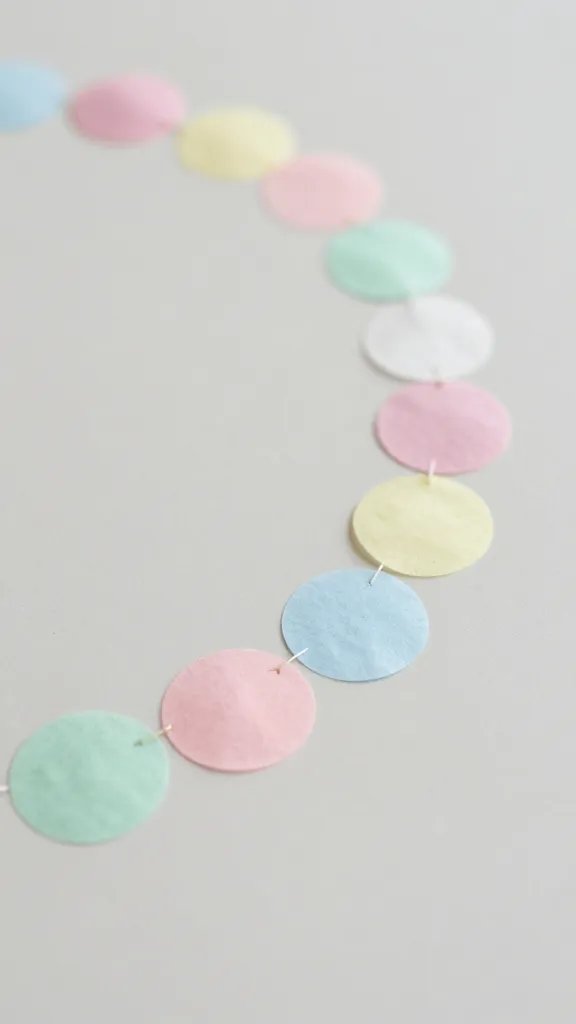
Confetti garlands feel festive and are cheaper than loose confetti you sweep up later. Cut small circles or shapes from colored paper, then string them with a fine thread or fishing line. Space pieces evenly and secure with a knot at each end. It’s a subtle touch that catches light and looks good in photos. Time: 25–35 minutes for a short garland.
Cleanup tip: Lay a sheet under your work area to catch scraps and reuse them later.
10. Bookmark-Wold Place Cards
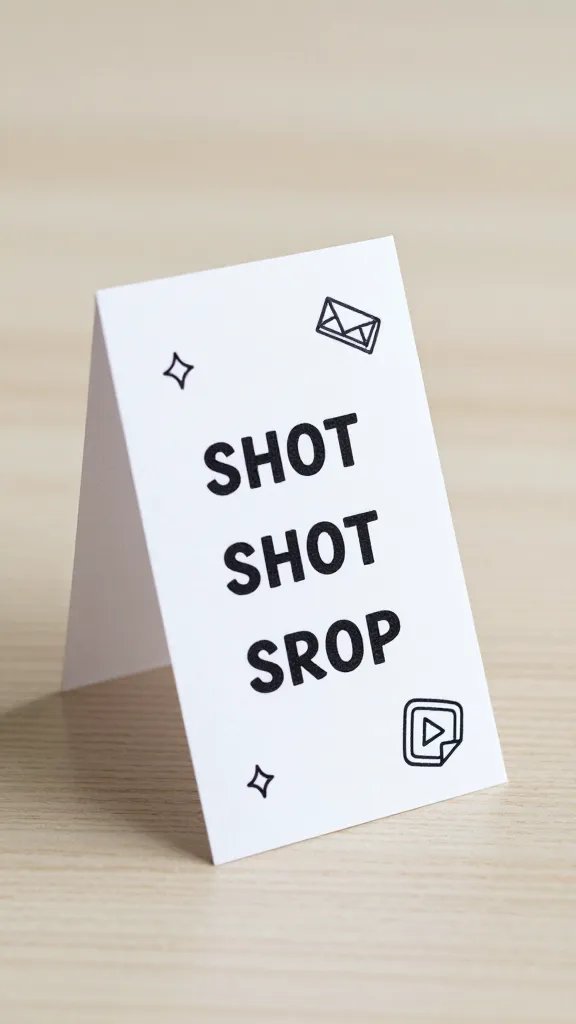
Turn folded paper into practical place cards that double as bookmarks for guests to take home. Write names on the front in a bold marker and add a small doodle or sticker for flair. Use a color theme that matches your decor for cohesion. Place at each setting to give the table a tidy, inviting look without expensive table décor. Time: 20–30 minutes for 12 guests.
Little hands tip: Have a teen or adult handle writing the names to avoid smudges.
11. Paper Cake Topper Silhouette
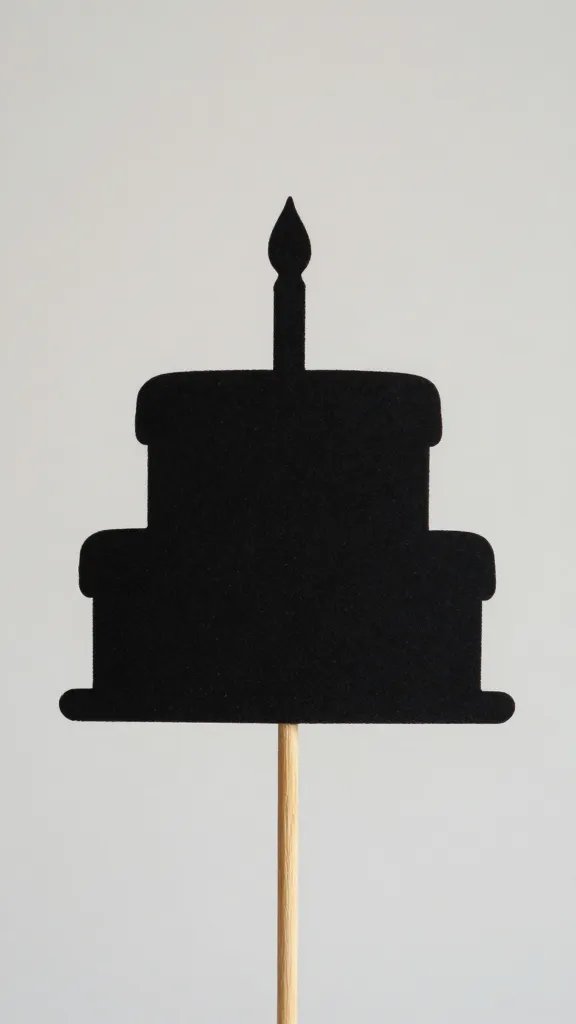
A silhouette cake topper adds height without a trip to the bakery section. Cut a simple shape from thick paper or cardstock, mount on a toothpick or small skewer, then insert into the cake. For a cohesive look, pick two colors and use them for a few toppers on different cake layers. Time: 15–20 minutes.
Best for: quick cake upgrades that photograph well without a lot of fuss.
12. Folded Paper Flowers on a Wire Frame
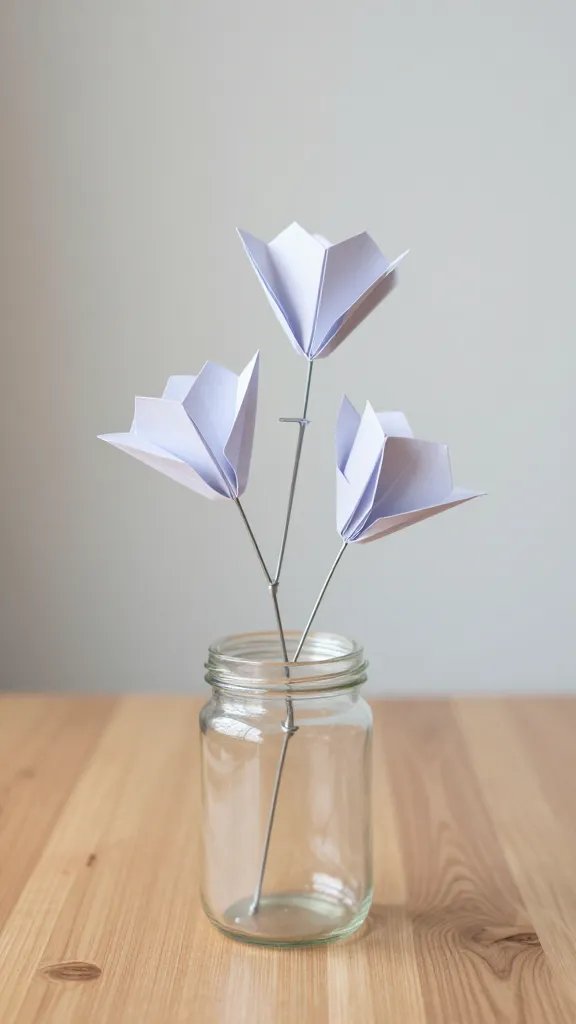
Folded paper petals around a thin wire to create standing flowers you can place in a jar. Use two or three colors to echo the party theme. Insert the stems into a foam ball or a narrow vase, and you have a subtle centerpiece that costs little and looks polished. Time: 45–60 minutes for a cluster of six to eight flowers.
Two color palette: Keeps it cohesive while you can reuse the stems for other decor.
13. Newspaper Hexagon Wall Panel
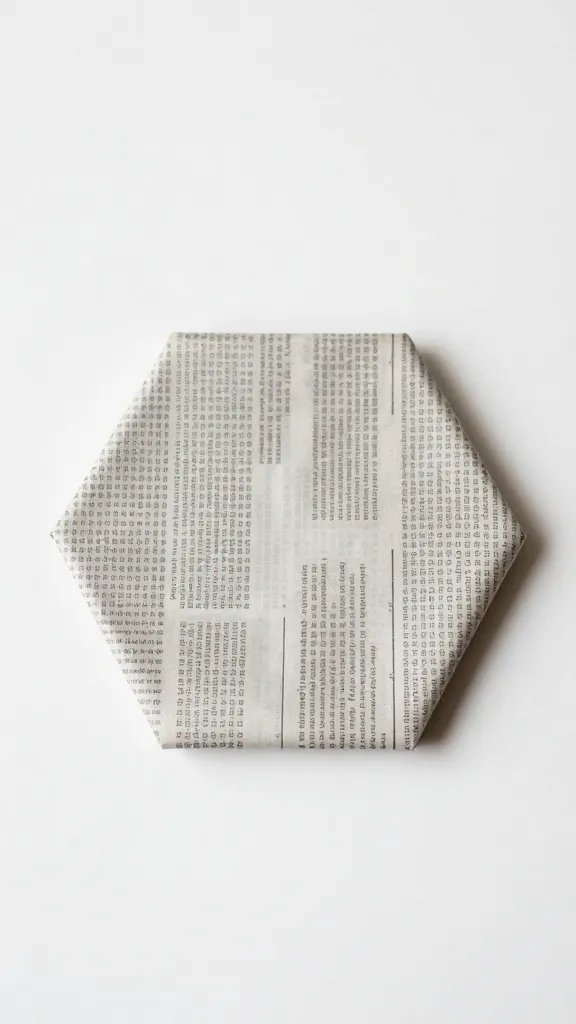
Rebel against plain walls with a panel of geometric shapes cut from newspaper or comic pages. Cut hexagons, then glue to a grid backing or string them as a loose curtain. It brings texture and curiosity without a high price tag. If you have a black and white theme, this will anchor the look beautifully. Time: 60–90 minutes for a small panel.
What to avoid: Attach with removable tape to keep walls safe and clean.
With a few simple supplies, you can stage a cohesive look that feels intentional rather than thrown together. Pick three ideas to anchor your party setup, then sprinkle in a couple of quick accents as guests arrive. The key is to work in stages, and reuse pieces where you can. Save this for the next birthday that sneaks up on you.