
15 Paper Craft Ideas for Beginners With Just Scissors

When you need party decor fast and on a tiny budget, paper crafts with scissors are your best friend. These ideas solve real problems: last minute guests, a bare dessert table, or a room that needs color without a big mess. You’ll find simple, copyable steps and time estimates so you can whip things up tonight or tomorrow morning. Each idea is beginner friendly and designed to travel well from idea to finished piece.
Use these ideas to jump start a cohesive look with minimal supplies. The goal is to feel accomplished, not overwhelmed. Read through and pick a couple that fit your space and timeline. Here are 15 ideas you can actually make this week.
1. Paper Cone Party Hats

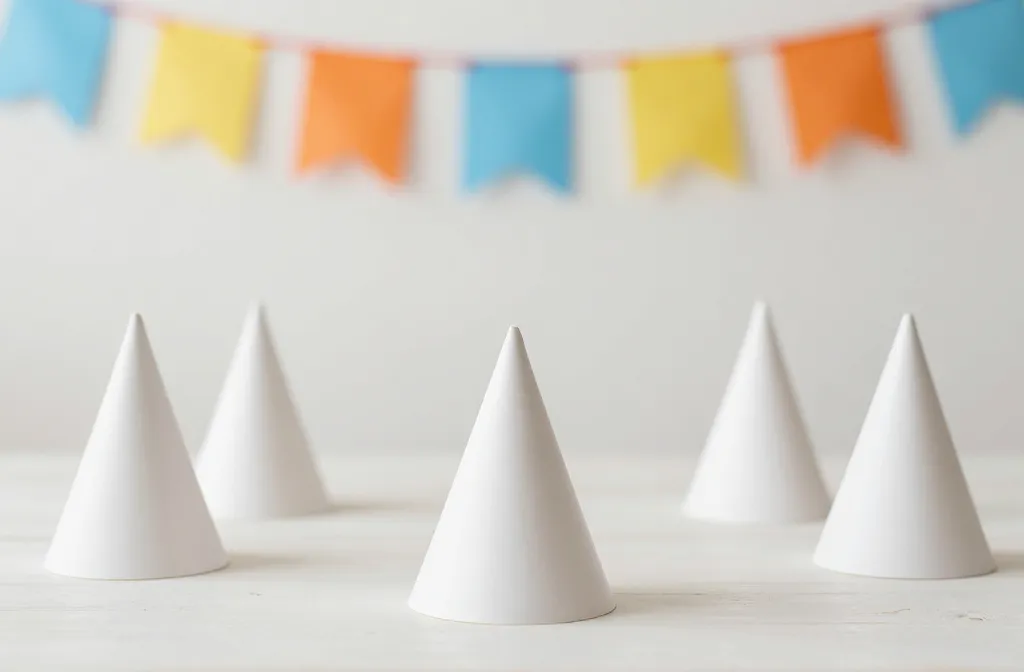
These little cone hats add height to a dessert table and give guests something to wear for photos. They’re basically just folded paper with a glued tip and a strip to tie under the chin. Supplies include colored craft paper, scissors, tape or glue, and string or ribbon. Time estimate: 20 minutes for a batch of six. If you want a calmer look, skip lining with extra color and use a single tone.
2. Banner Letters Cut From Cardstock
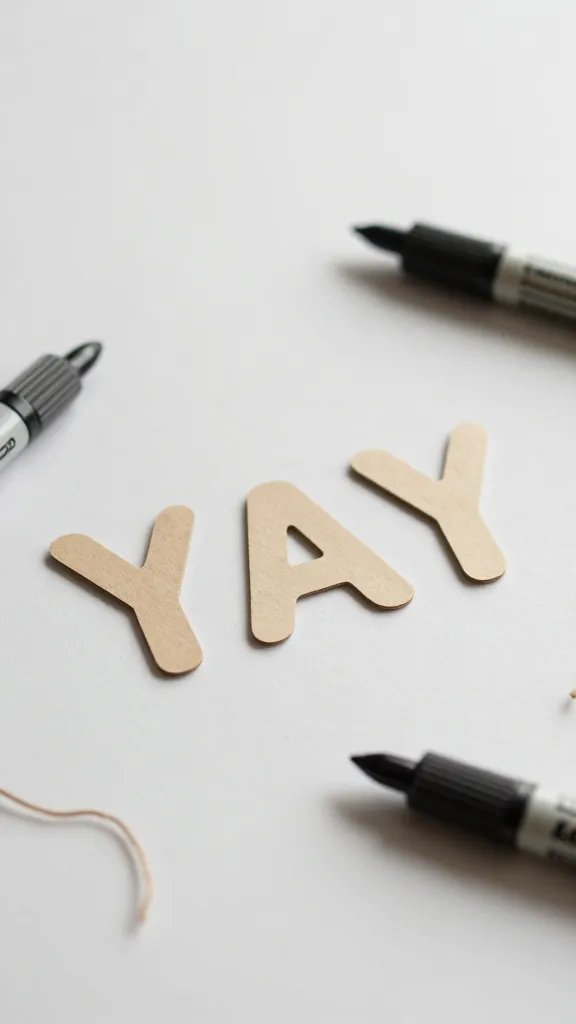
A small banner spelling a name or word can transform a plain wall. Cut each letter from sturdy cardstock, string them with twine, and add a few dots or a border with a marker. Supplies: cardstock sheets, scissors, hole punch or needle, twine. Time: about 25 minutes for a simple “YAY.” For a faster version, print letters on colored paper and skip extra decoration.
3. Tissue Paper Rosettes Without Glue
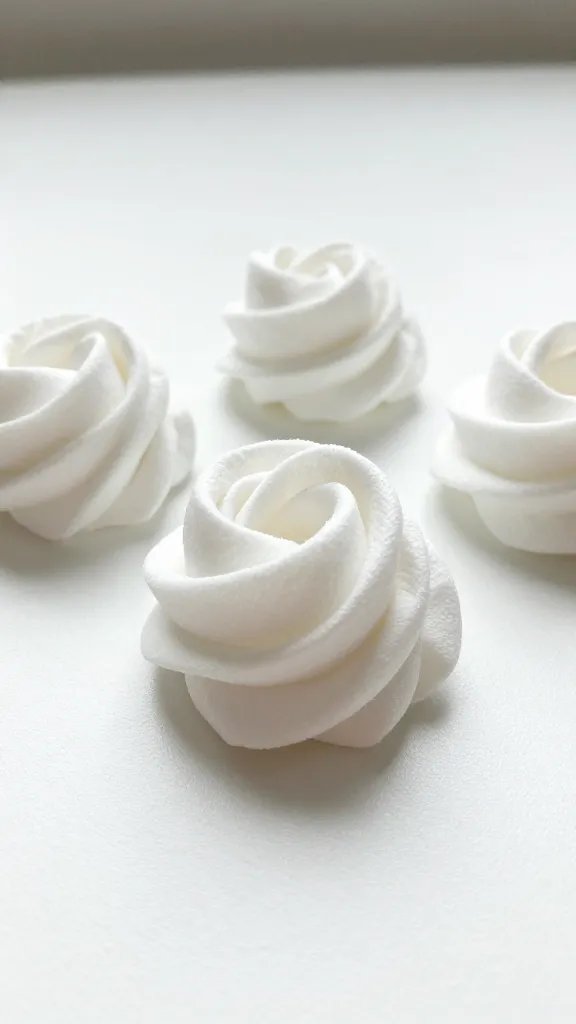
Rosettes bring a party vibe without a big mess. Cut circles from tissue paper, stack them, accordion fold, then secure the center with a brad or string. Shape into a flower by gently lifting petals. Supplies: tissue paper, scissors, string, stapler or brad. Time: 15 to 20 minutes for a small set. A simple alternative uses folded paper fans instead of petals for a flatter look.
4. Paper Cloud Garlands
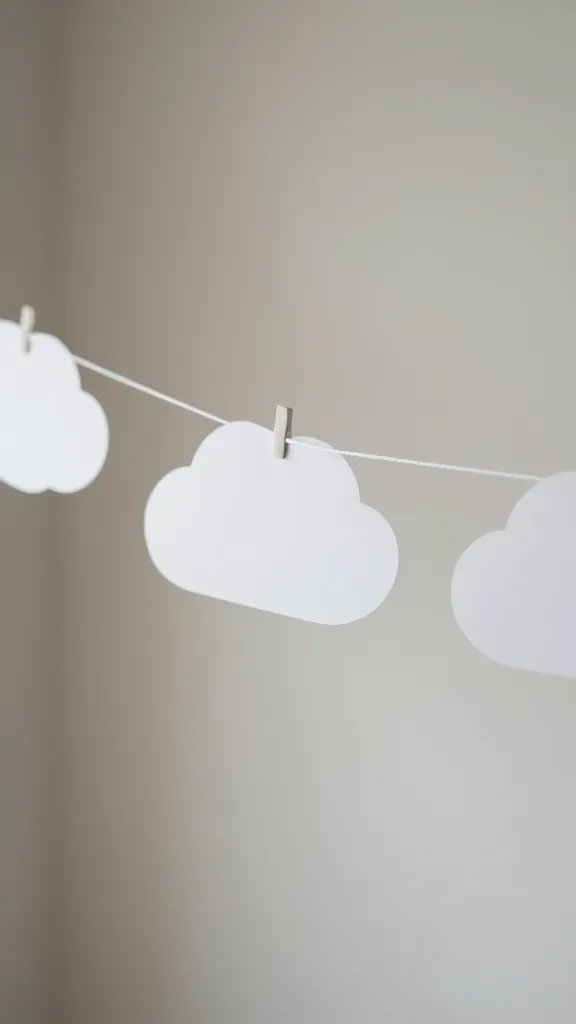
Fold white paper into rounded cloud shapes and string them across a wall or table. It’s a soft, airy backdrop that photographs well. Supplies: white printer paper or craft paper, scissors, needle or glue, twine. Time: 25 minutes for a 6-foot garland. If you’re short on white, use light blue or gray instead for a sky theme.
5. Mini Flag Picks From Scrap Paper
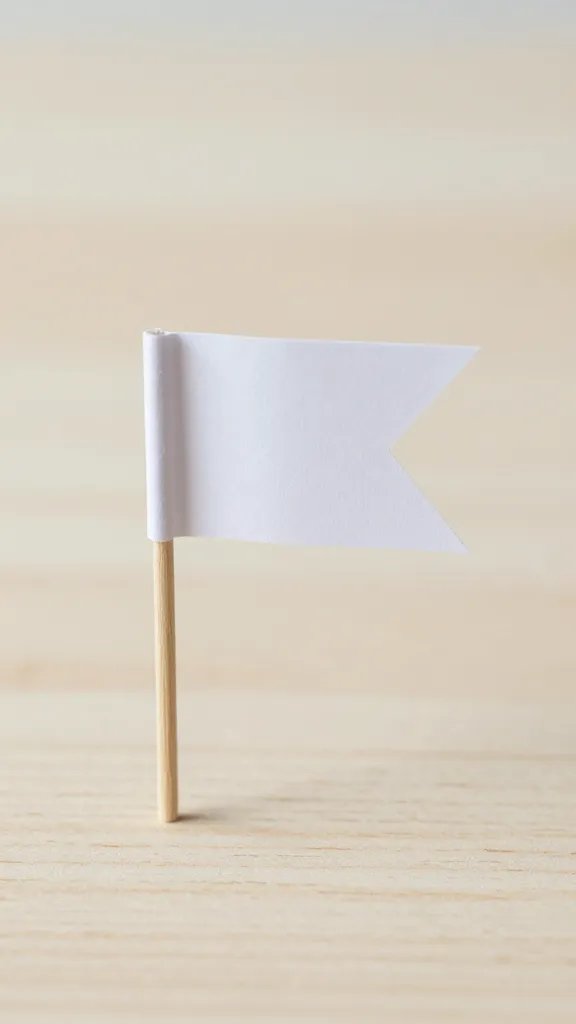
Tiny flags on sticks spruce up cupcakes, fruit, or a cheese platter. Cut triangles from scrap paper, punch a small hole, and glue to skinny skewers or pretzel sticks. Supplies: card stock, scissors, wooden skewers, tape or glue. Time: about 12 minutes for 12 flags. For extra color, back flags with a contrasting color.
6. Geometric Paper Mobiles
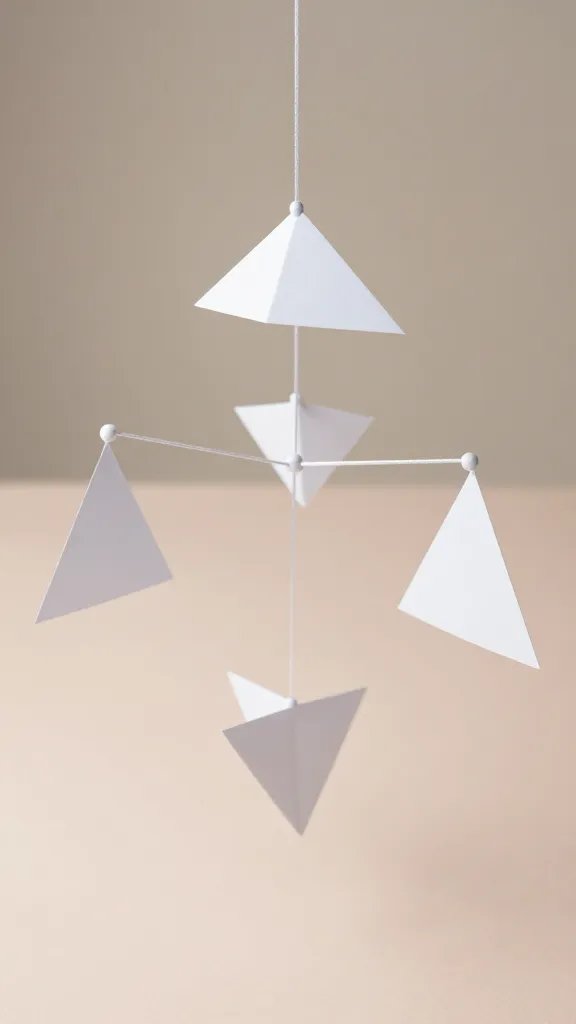
Triangles or diamonds layered on a string create a lightweight mobile that floats above a dessert area. Cut shapes, punch holes, and thread onto string in a staggered pattern. Supplies: colored paper, scissors, string, tape. Time: 30 to 40 minutes for a two-foot mobile. Start with one color and add a second for interest if you have more time.
7. Cupcake Toppers Made From Paper Circles
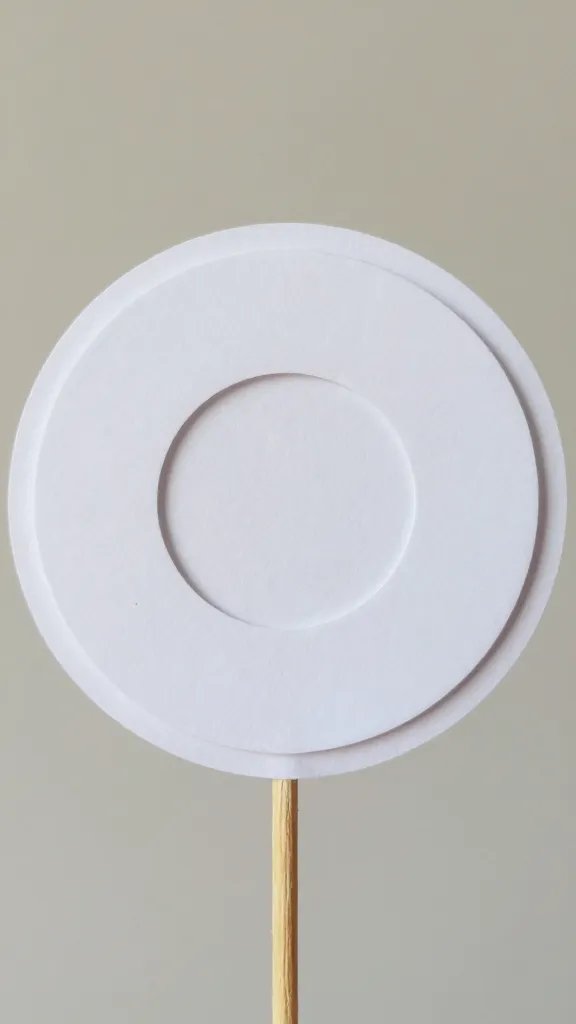
Turn circles into cute toppers by layering two or three circles with a small cutout in the center. Glue a toothpick in the back and you’re done. Supplies: tissue or patterned paper, scissors, toothpicks, glue. Time: 15 minutes for a dozen toppers. If you need less fuss, mount one circle per topper and place a tiny sticker or gem in the center.
8. Paper Lantern Strings
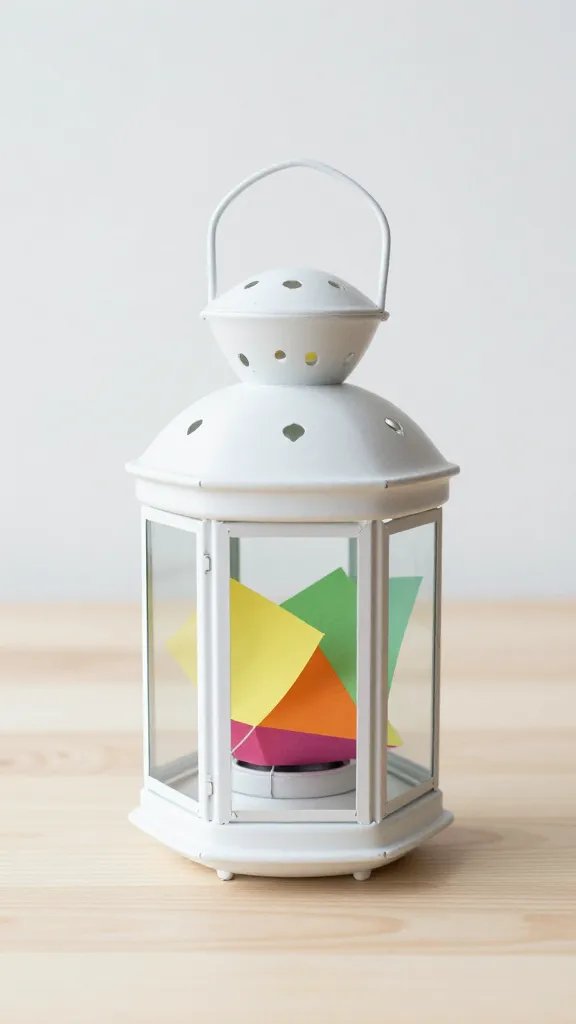
Fold and cut paper into lantern shapes, then string them along a wall or entryway. They fold flat for easy storage and transport. Supplies: colored paper, scissors, glue, string. Time: 20 to 30 minutes for a 10-foot string. For a calmer look, choose two coordinating colors and skip patterns or extra trim.
9. Book Page Wall Panels
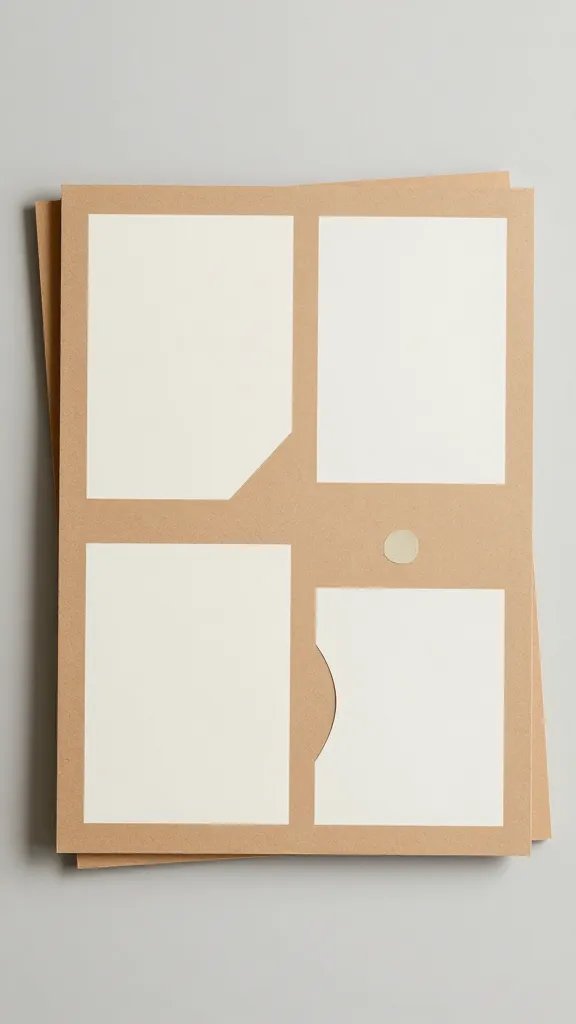
Old book pages or sheet music turned into panels give a nostalgic vibe without buying new decor. Cut into shapes, glue to a larger sheet of kraft paper, and mount as a grid. Supplies: book pages or music sheets, scissors, glue, poster board. Time: 40 minutes for a nine-panel display. If you don’t have book pages, magazine pages in a color family work too.
10. Straw Flags for a DIY Drink Station
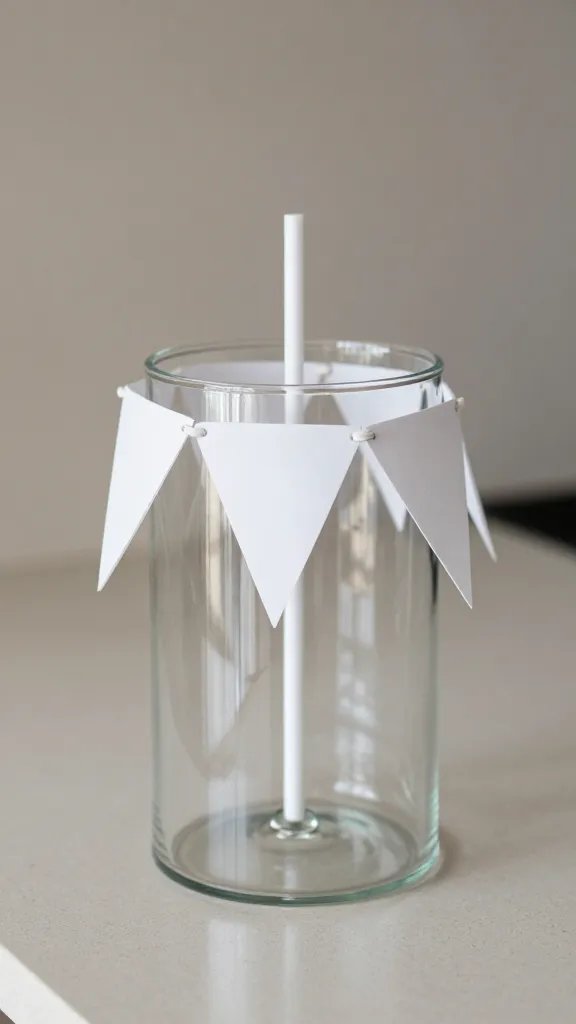
Attach small paper pennants to straws to dress up a beverage station. Cut triangles from scrap paper, glue to each straw, and add a dot or initial if you like. Supplies: paper scraps, scissors, straws, glue. Time: 10 minutes for 12 straws. A quick safety note: avoid small beads or buttons near drinks; keep the tops simple.
11. Paper Flower Backdrop (Two-Layer Version)
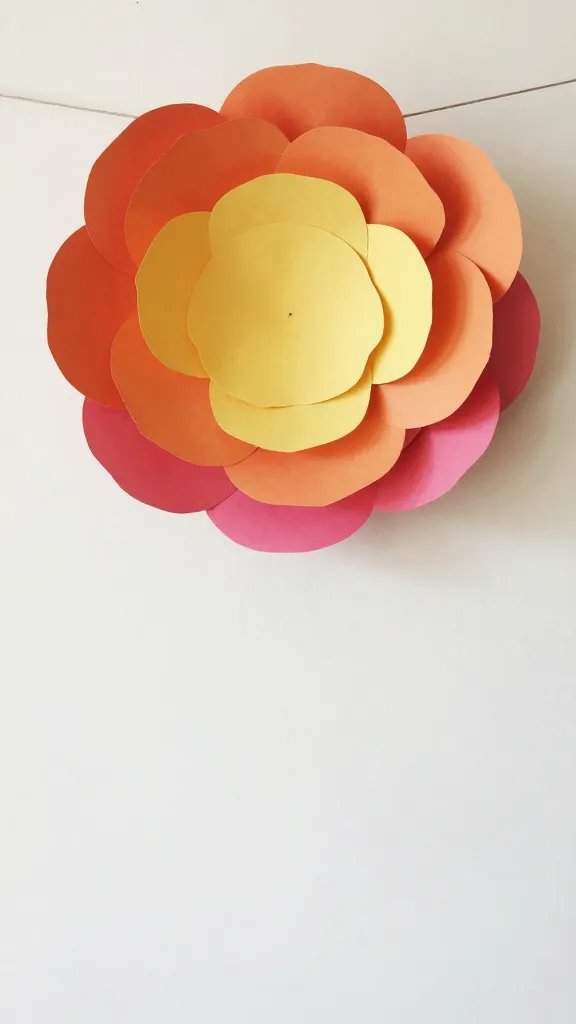
Two-layer flowers are sturdy and photograph well. Cut a large circle for the base, then a contrasting petal layer. Glue onto a length of string or cardboard stripes mounted on wall. Supplies: colored paper, scissors, glue, tape. Time: 45 minutes for a 4-foot backdrop. If time is tight, make just five large flowers and space them out.
12. Sparklers of Color: Paper Tassels
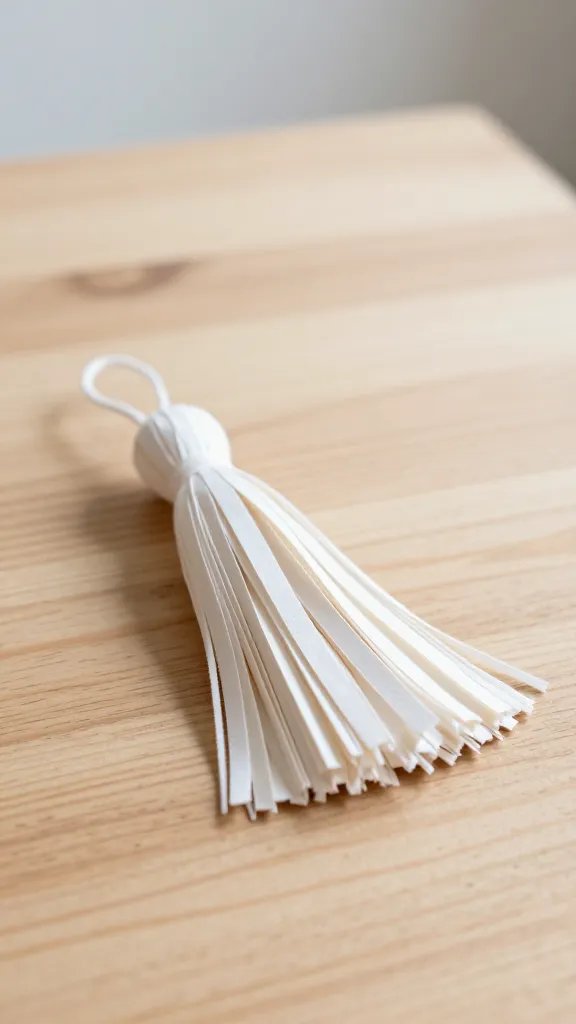
Paper tassels add motion and color. Cut long strips, fold, and twist to create a tassel. Attach to string for a dynamic garland. Supplies: tissue or construction paper, scissors, string, tape. Time: 20 minutes for a 6-foot tassel line. If you’re short on time, use solid colors and skip multiple fringe cuts.
13. Simple Photo Booth Props

Cut out speech bubbles, glasses, or mustaches from colored paper. Glue to sticks or skewers for a quick photo booth station. Supplies: colored paper, scissors, glue, sticks. Time: 15 to 20 minutes for 8 props. For a cleaner look, back shapes with a second color before cutting them out.
14. Chalkboard Style Name Tags
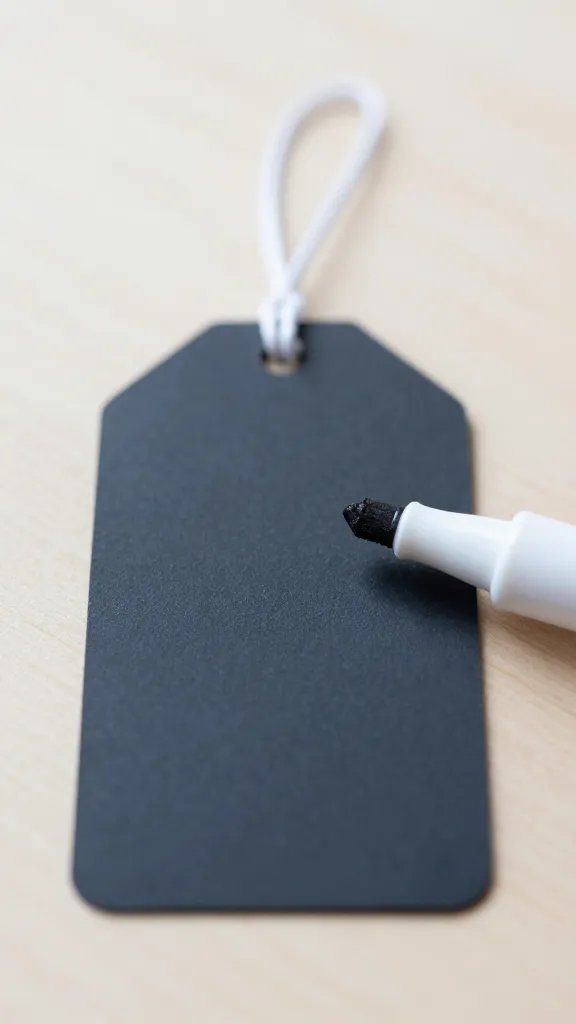
Cut small rectangles, cover with a darker backing, and leave room to write names with chalk or a white pen. Attach with a string to cups or chairs. Supplies: black or dark paper, scissors, white marker or chalk, string. Time: 12 minutes for ten tags. If you don’t have chalk, a white gel pen works well on dark paper.
15. Corners of Color: Paper Corner Confetti
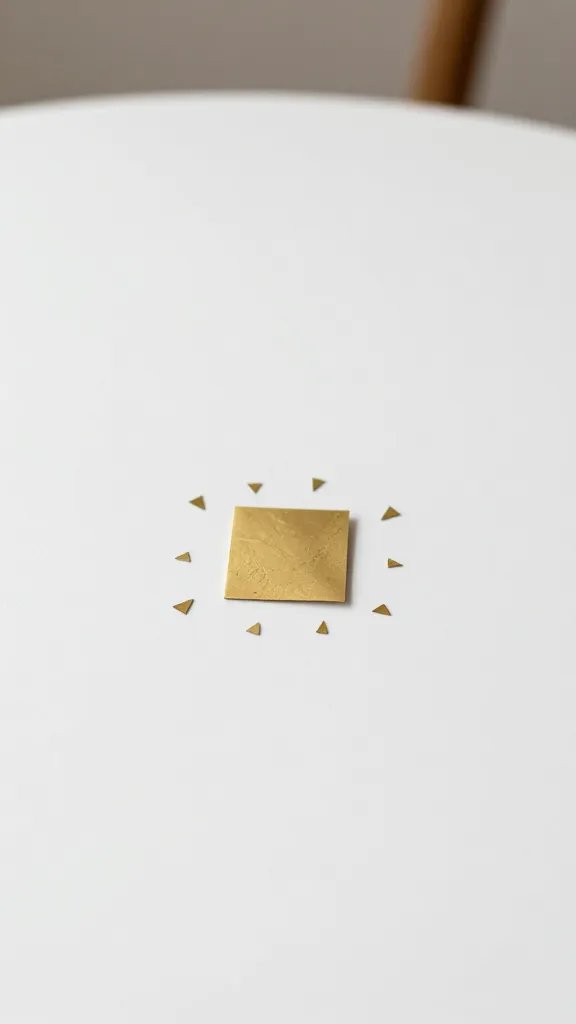
Make small confetti shapes by cutting tiny squares and triangles from leftover scraps. You can sprinkle them on tables or use as a light wall shimmer. Supplies: assorted scrap paper, scissors, tiny containers or bowls. Time: 8 to 12 minutes for a small batch. A quick tip: store confetti in a sealed bag for future mini celebrations.
With a few minutes and a pair of scissors, you can build a cohesive look that photographs well and keeps kids engaged. These ideas stay practical, affordable, and simple enough to fit into a busy week. Save your favorites for the next birthday that sneaks up on you.