
16 Decorative Shelf Craft Ideas for Renters

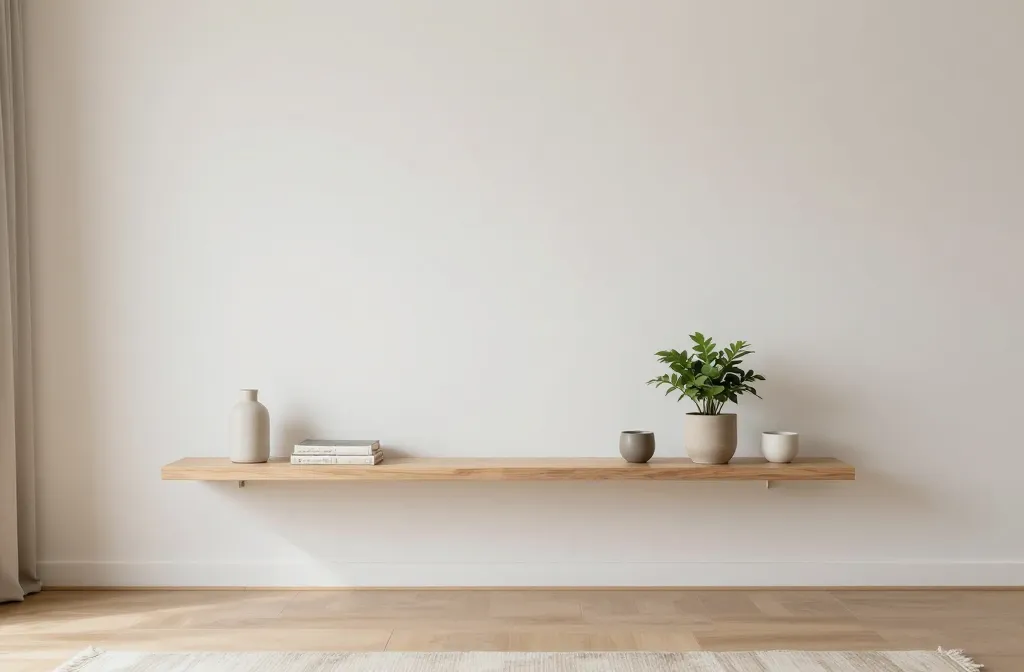
When you rent, every inch of shelf space feels precious and every project must come down cleanly. A few smart, small-scale ideas can make a big impact without damaging walls or drilling holes. You want things that look thoughtful and finished, not salvaged from a yard sale pile. This collection focuses on quick wins you can actually pull off this week, on a tight budget and with limited space. You’ll see color, texture, and a sense of layered display that makes a room feel styled, not cluttered. Each idea includes concrete steps you can copy today, plus safety notes where they apply.
Grab a shelf, a few everyday supplies, and a tiny bit of whimsy. The goal is to feel organized and inviting, not fussy. Let’s start with a few practical upgrades you can do in under an hour, then move into more creative displays that still work in a small rental.
1. Layered Floating Book Nook
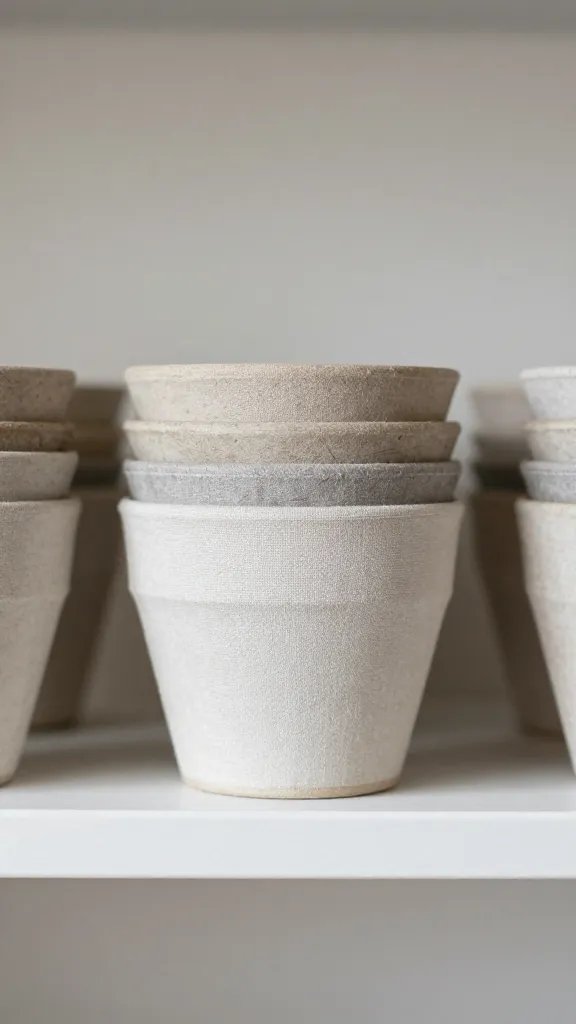
Your shelves deserve a cozy corner. Create a vertical “nook” by laying a few old magazines or a folded piece of lightweight fabric as a back layer. Stack a couple of favorite tiny planters and a sculptural trinket to add height variation. The effect reads like a tiny micro-ecosystem in plain sight, and it hides mismatched book spines behind a themed foreground. This works best on a shorter shelf with a single focal plant.
Budget swap: Use a piece of scrapbook paper as a back panel to introduce color without bulk.
Why it works: It creates depth and interest without permanent changes.
2. Cloth Banner Shelf Backdrop
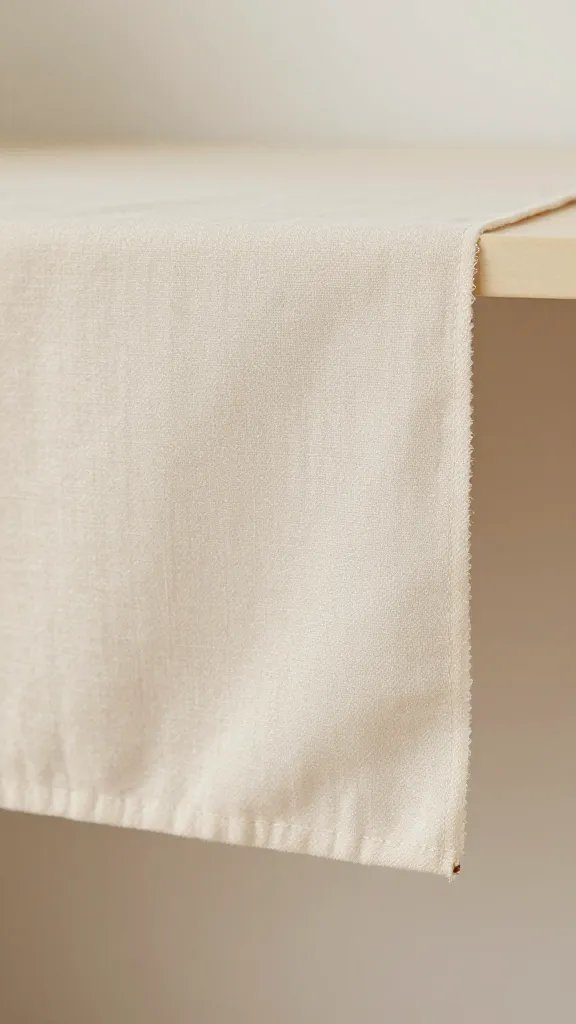
Stretch a small piece of fabric across the back of a shelf to soften the display and hide the wall behind. Clip the fabric to a lightweight rod or tape it in place with painter’s tape. Use two colors that echo the room’s palette. A tiny bouquet in a jar and a couple of height varying objects on the front edge completes the look in minutes.
Use what you have: A scrap of curtain fabric or a scarf works just fine.
Make it ahead: Press and smooth fabric before you hang to avoid wrinkles on show.
3. Mini Chalkboard Label Swap
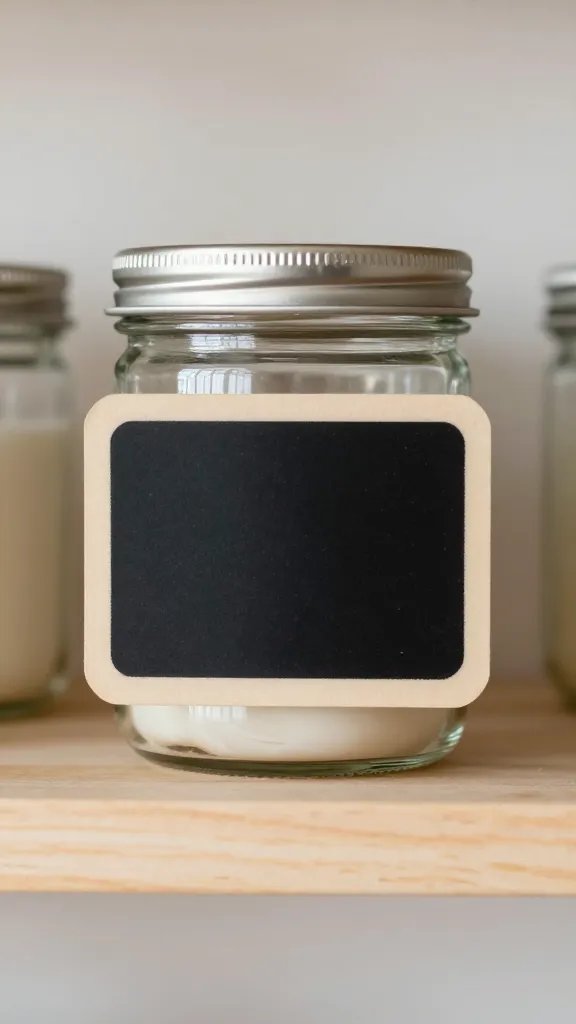
Give shelves a guided tour with simple labels. Cut small chalkboard cards or repurpose a business card chalkboard. Label jars, baskets, or plants, then pop them into place. It reads well in photos and keeps you organized. You can write notes like “weekly herbs” or “kid art.” This is ideal for a compact kitchen shelf or living room unit.
What to avoid: Use a light hand with chalk so you can wipe clean without residue.
4. Button-Overflow Garland
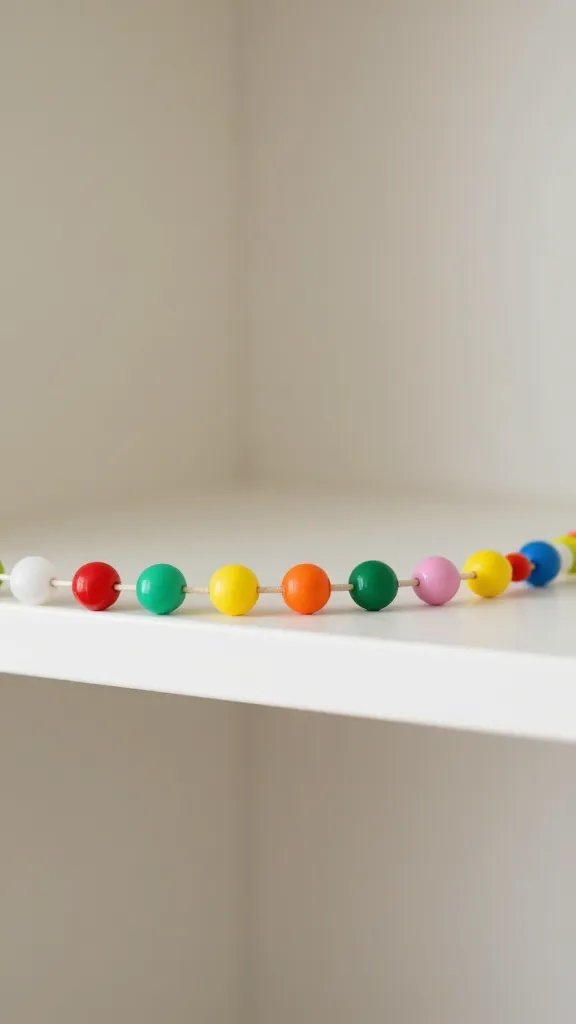
Thread a long string with a handful of brightly colored buttons and drape it along the front edge of a shelf. It adds a pop of color and a playful texture without taking over. If you don’t have buttons, use bottle caps or beads from a craft stash. Keep the garland to a single line so it doesn’t look busy.
Copy the look: A row of tiny thimble jars with a similar tint below creates cohesion.
Safety note: Keep strings away from small hands to avoid pulling or choking hazards.
5. Cardboard Mini Gallery
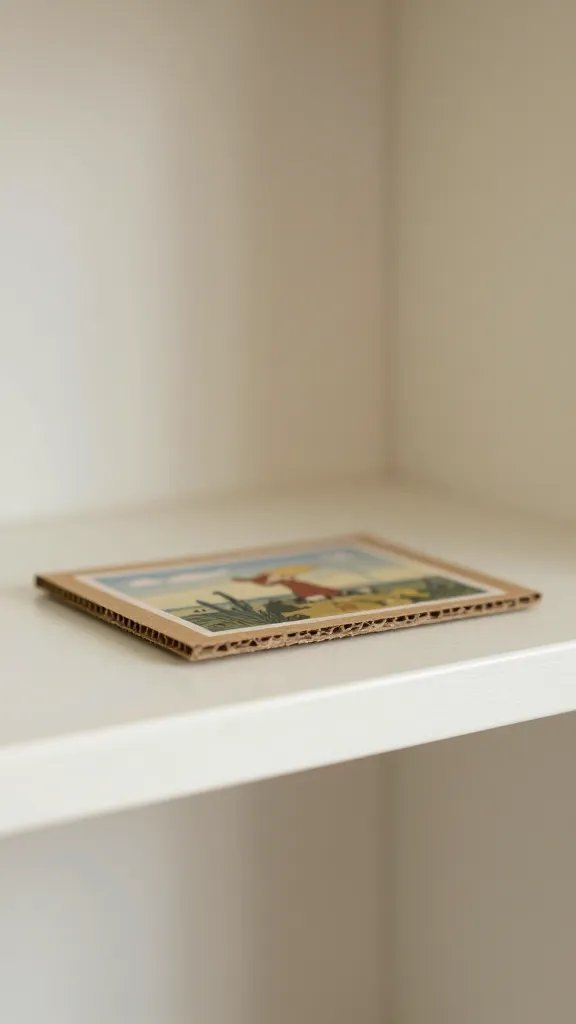
Cut a few small mats from cardboard and mount tiny prints or doodles behind clear sleeves (or taped to the cardboard with washi tape). Stand them upright on a shelf to form a mini gallery. Rotate art weekly for a fresh look without buying new decor. This is perfect for renters who want to personalize without damage.
Make it easier: Use item pictures you already own and print them in a consistent size.
The detail to steal: A thin painted edge around the cardboard elevates the look.
6. Glass Jar Garden on Display
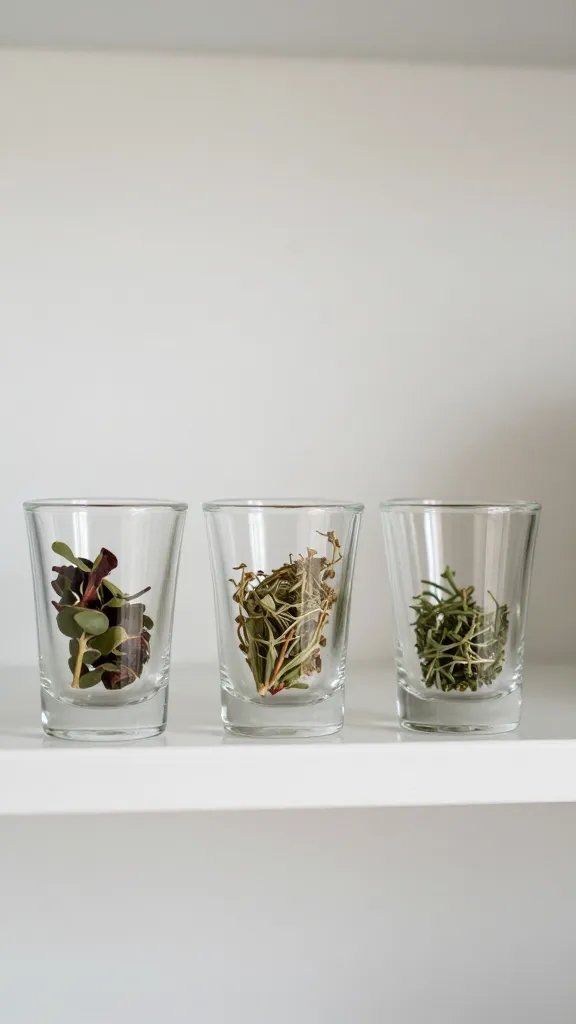
Line up a row of small glass jars with fresh cut herbs or a tiny succulent in a layer of moss. Label each with a washable marker on a jar tag. A little greenery brings life to any shelf, and you can rotate plants as they grow. Keep jars away from direct heat sources and choose light soil to avoid spills.
Best for: A sunny kitchen shelf or bright living room unit.
Cleanup tip: Wipe jars between waterings to keep glass sparkling.
7. Fabric Clip Mobile Behind the Shelf
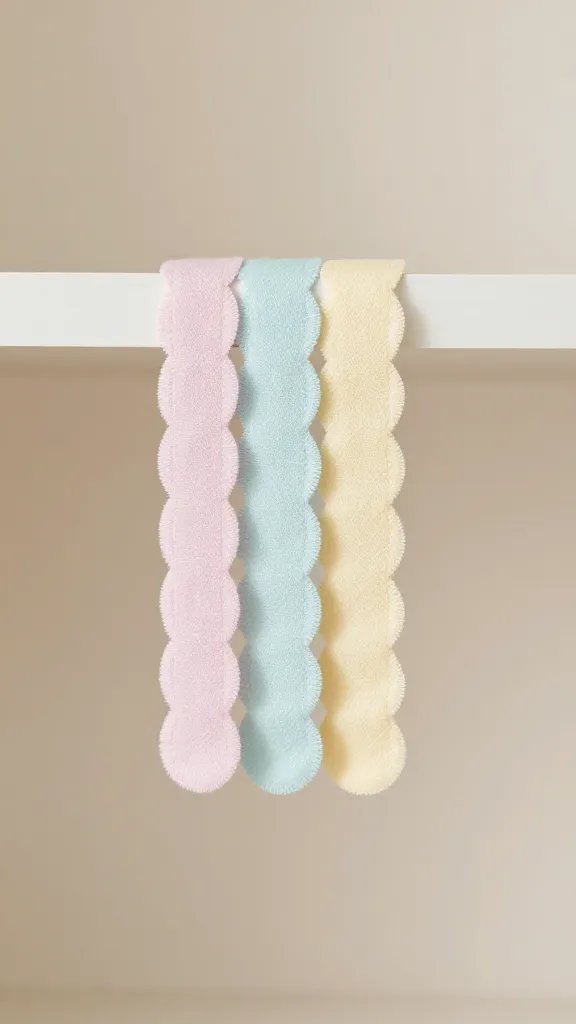
Attach a few short lengths of fabric to a thin wire or string and clip them to space behind a shelf. It creates a gentle, textured backdrop that catches light and adds dimension. This project uses leftovers and takes under 30 minutes.
Use what you have: Scalloped or ribbed fabric adds interest with minimal effort.
Why it works: It softens the shelf line and reads as a considered display.
8. Photo Strip Shelf Sync
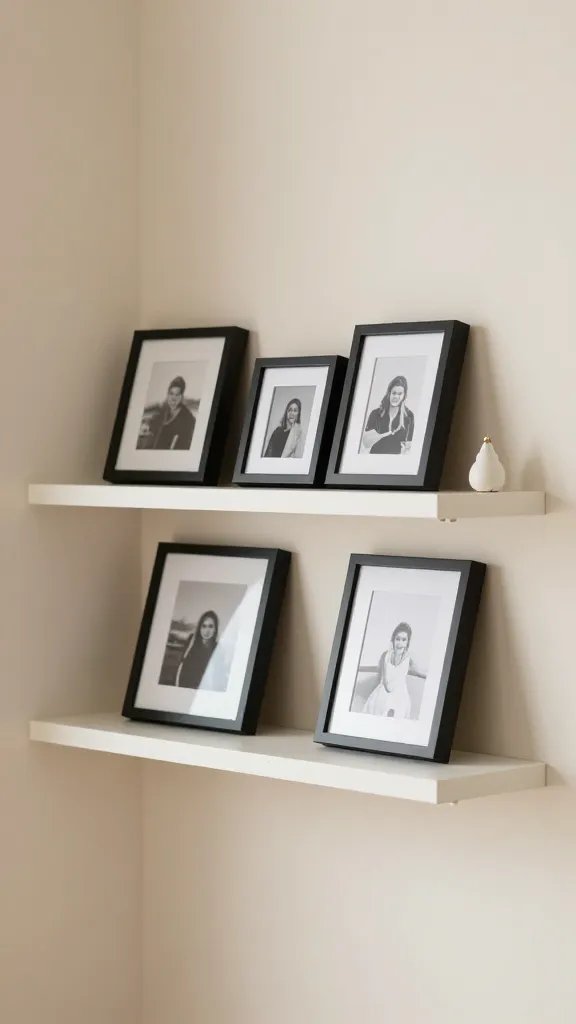
Line up a slim row of black and white or color photos in a single line, using tiny frames or taped prints. Keep the photos the same height for a tidy, gallery feel. Rotate a few images each season to refresh the vibe without touching walls. For a kid-friendly version, swap in family selfies or art made by children.
Copy the look: A subtle border around each photo helps unify the display.
Place smartly: Space frames with small decorative objects to avoid crowding.
9. Balloon Accent Shelf Tie-Ins
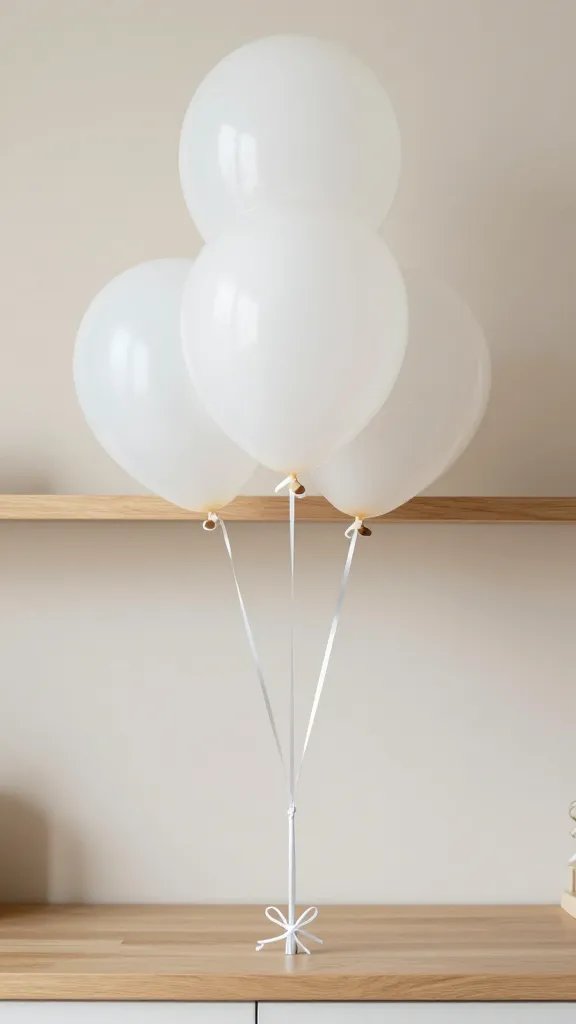
Inflate a few small balloons and anchor them with thin white string to the back of a shelf for a playful edge. Tie on a few paper tassels or ribbon trails to echo a party vibe without a full setup. This works well on a bookshelf used for gatherings and can be taken down quickly.
Safety note: Do not use balloons around small children who might chew on pieces.
Make it ahead: Inflate and tie off balloons a few hours before guests arrive so they settle neatly.
10. Tented Mantel Accent
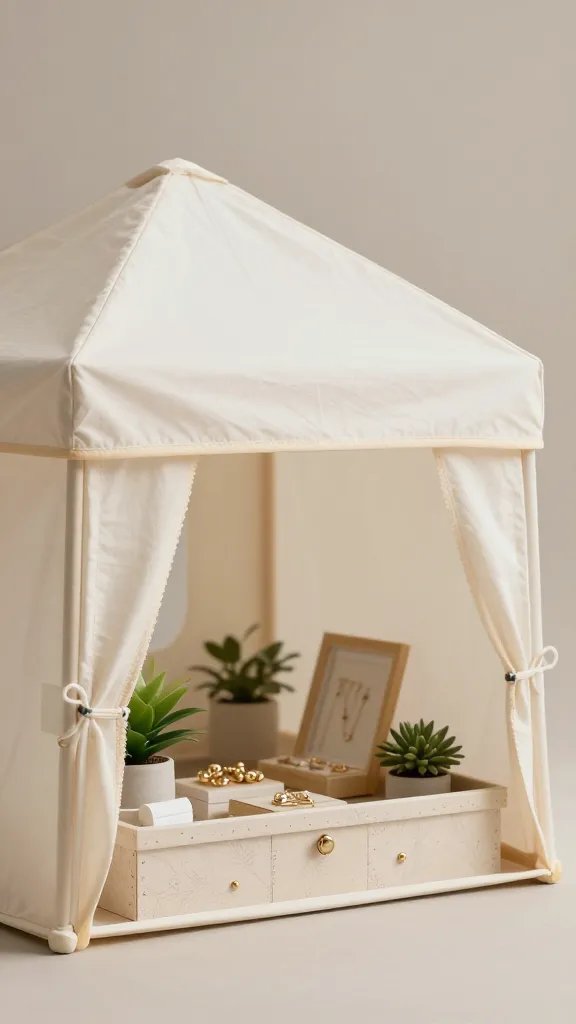
Create a small, tent-like display by draping fabric over a decorative box and letting it create a shallow pocket for jewelry, tiny plants, or books. The material becomes a soft backdrop and adds an architectural feel without heavy mounting. Keep the base stable so the “tent” stays in place during traffic.
Best for: Narrow shelves with lots of small items.
What to swap: Try a striped fabric for a bold, modern look.
11. Corkboard Clipboard Wall Swap
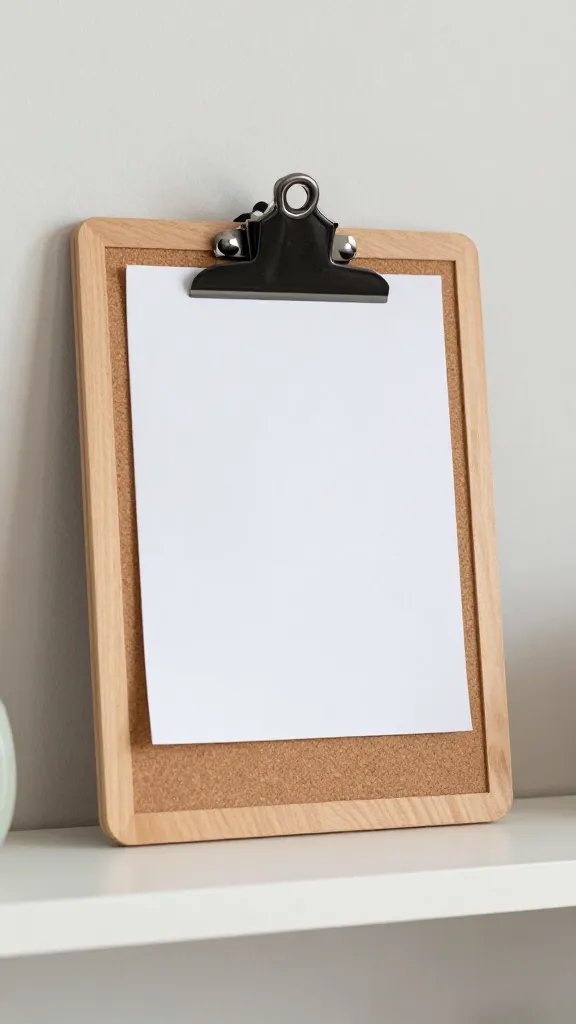
Attach a corkboard or clipboard to a shelf edge using removable adhesive and clip art, notes, or seasonal reminders. It’s a compact way to keep track of party ideas, menus, or schedules. You can switch contents in minutes, and it leaves no wall marks when you remove it later.
Use what you have: A cheap clipboard and a sheet of decorative paper do the trick.
Time saver: Pre-cut a few themed inserts for quick swaps.
12. Lace Layered Shelf Edge
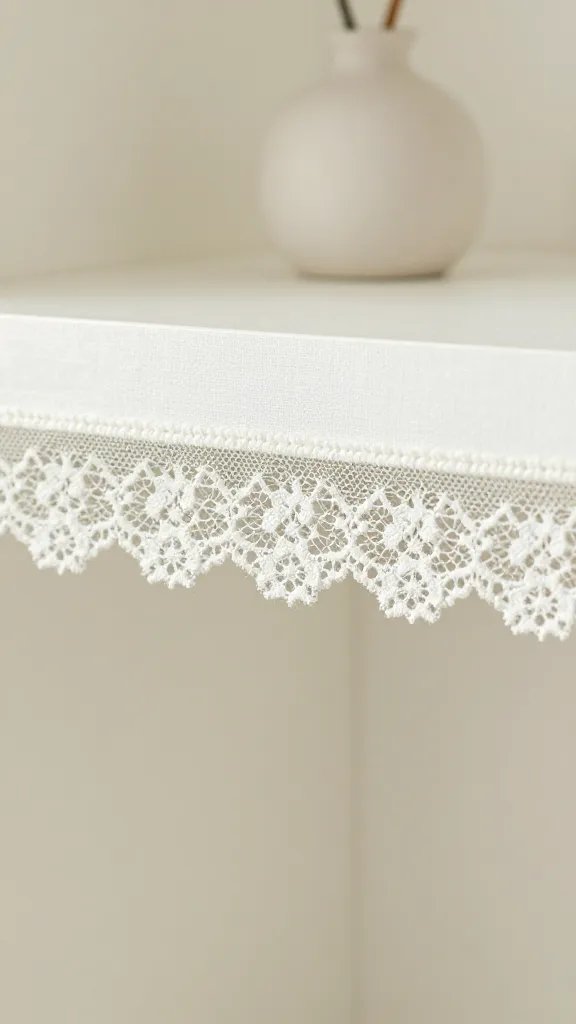
Lay a length of lace along the front edge of a shelf for a delicate frame. Place a few small vases or glass trinkets on top, ensuring the lace doesn’t slip. The combination creates a soft, vintage feel without a lot of bulk. This is especially nice on white or pale shelves.
Where to start: A remnant of lace from a thrift store is often enough to cover several shelves.
Safety note: Check that the lace isn’t near heat sources to avoid catching.
13. Miniature Terrarium Shelf Kit
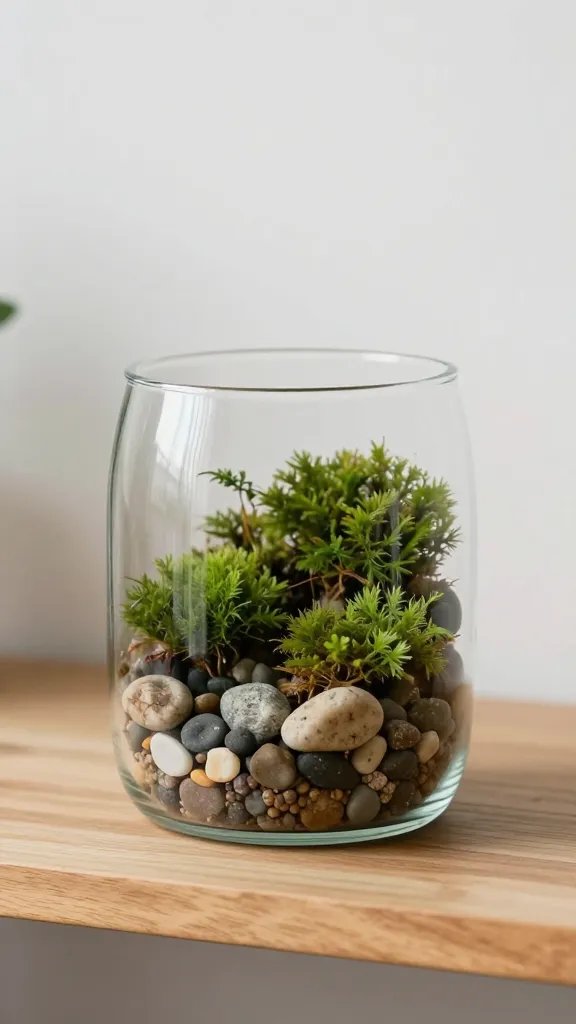
Roll a small glass terrarium into a corner of a shelf and fill with tiny pebbles, moss, and a miniature figurine. If you don’t have a terrarium, improvise with a thrifted glass jar and a few decorative stones. It’s a quiet focal piece that can be updated with seasonal finds.
Best for: A shelf that doubles as a coffee table display.
DIY tip: Use a plastic plant instead of real soil for less mess.
14. Fabric Pocket Display
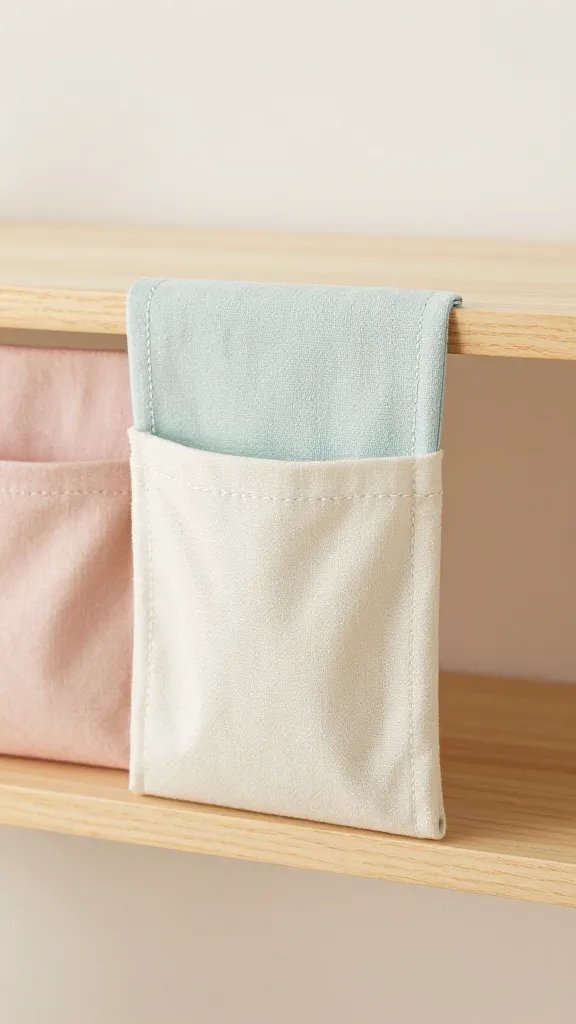
Sew or glue small fabric pockets to a strip of sturdy fabric and tuck lightweight trinkets inside. Drape this along a shelf edge for a soft, organized look. It’s child-friendly and easy to adjust as your collection grows.
Make it ahead: Prep pockets in a single afternoon, then hang for a quick refresh.
Location tip: Place on a shelf near seating so guests notice the texture from eye level.
15. Sticker Matrix Wall Budgets
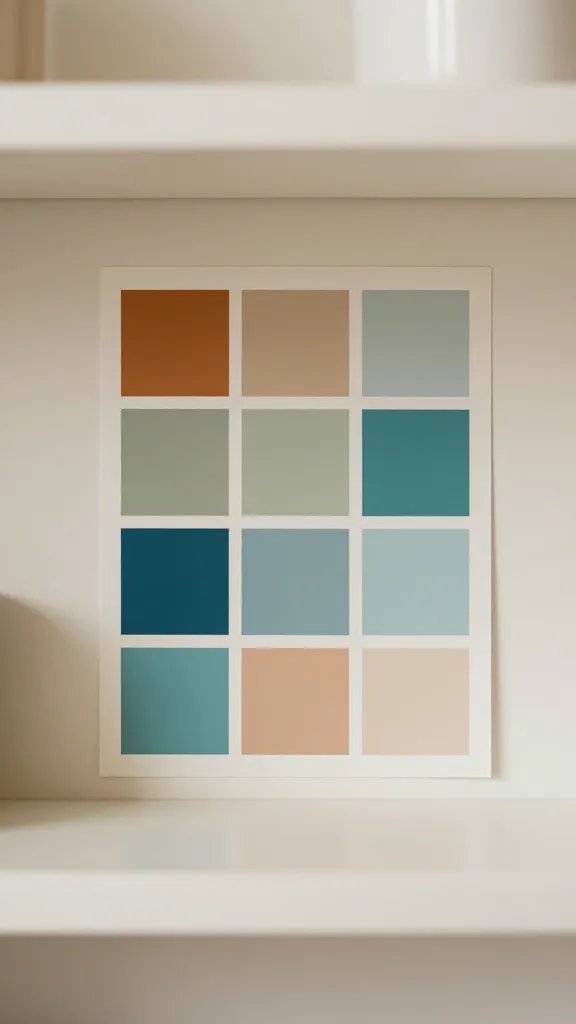
Place a grid of small, removable stickers or decals along the back of a shelf. Reward the look with a few color blocks that echo the room. This approach is budget friendly and instantly changes the shelf’s mood.
Color note: Stick to two to three colors to avoid visual clutter.
What to avoid: Overlap patterns that distract from display pieces.
16. Paper Lantern Corner
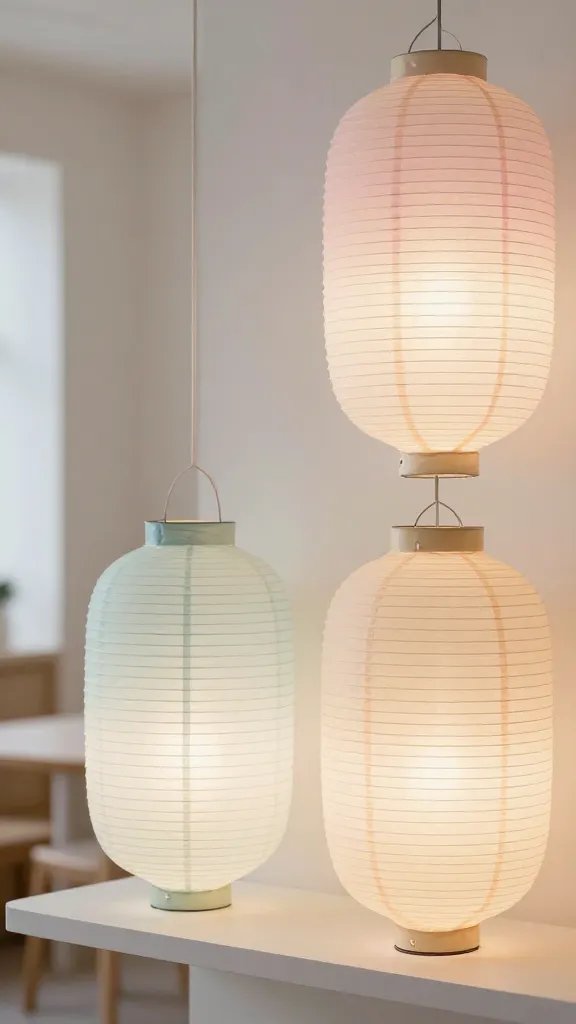
Set a small cluster of paper lanterns on a shelf to create soft, diffused light. Choose varying sizes and a unified color family for cohesion. This adds height, glow, and a party-ready feel without plugging in extra lamps.
Best for: A shelf that sits near a seating area for ambient light.
Safety note: Keep lanterns away from open flames and heat sources.
You can mix and match these ideas to fit different shelves and seasons, keeping your rental space feeling curated without permanent changes. Save this list for the next quick spruce up on a busy week.