
13 Cardboard Craft Ideas for a Summer Camp Day

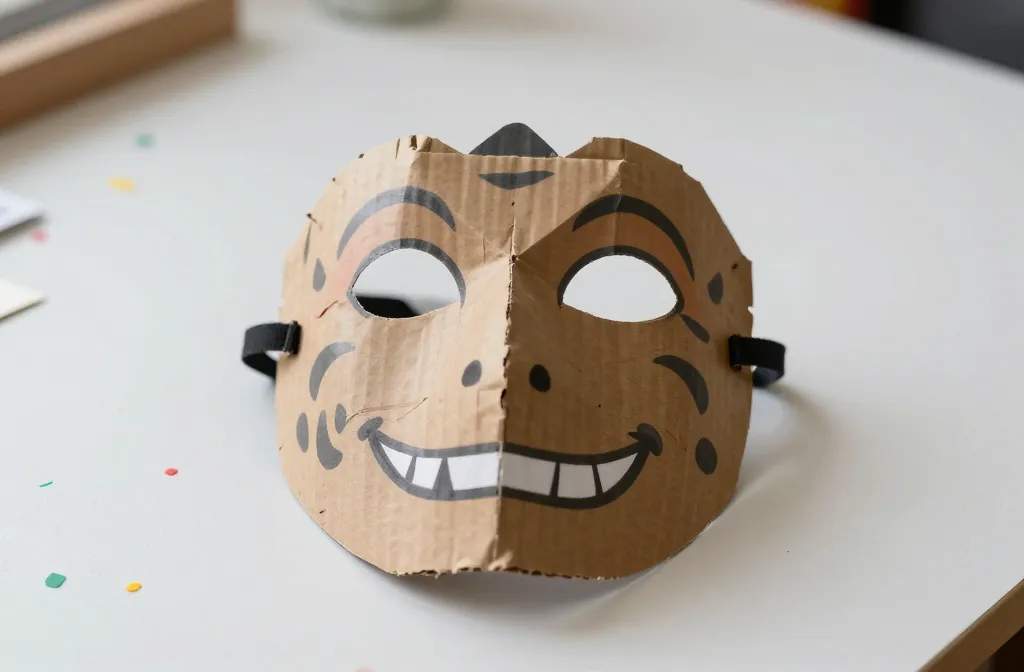
Camp days run on a tight schedule and even tighter budgets. Kids crave hands on projects that come together fast, look neat, and don’t beg mom or dad to raid the craft closet. Cardboard is your secret weapon here: light, cheap, and endlessly adaptable. The idea list below gives you ready to go setups that build interest, hold attention, and clean up with minimal drama. You can mix and match these between stations or take them straight to a single big craft. Each idea solves a common camp day hurdle and fits into a two hour block or less. Let’s get the camp buzzing with color and texture.
Across these ideas you’ll see variations on the same core moves so you can flex to your group size and space. If you’re short on time, pick 3 to 5 that can run in parallel and save the rest for a follow up day. And yes, some steps require adult help; that’s noted where needed. Now, the 13 ways to turn cardboard into camp craft gold.
1. Cardboard Dino Masks
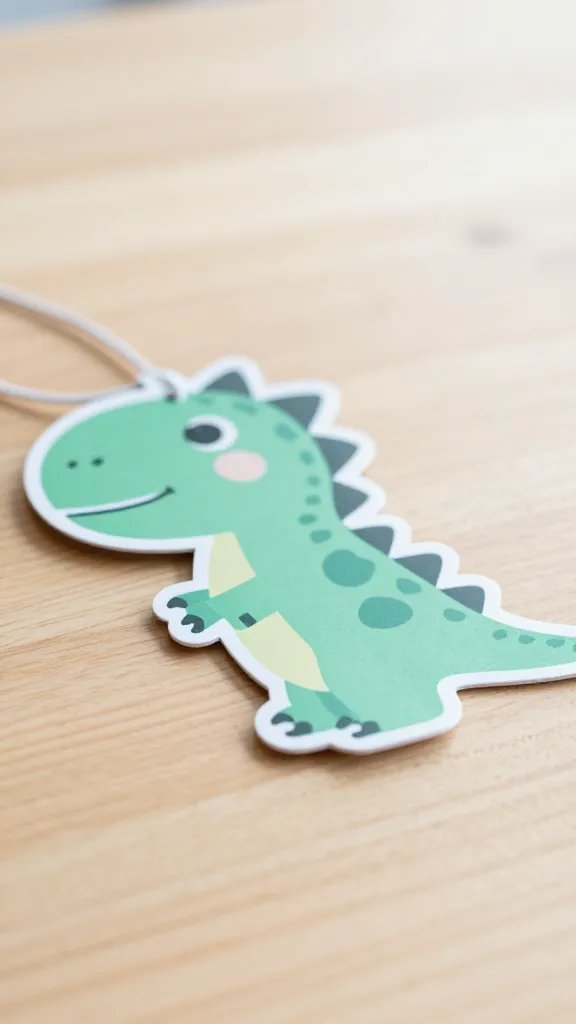
Kicking off with a simple, high participation project: mask making. Cardboard feels sturdy enough for kids to wield safely, and you can pre-cut a rough head shape to speed things up. Let kids trace a simple dino outline or draw their own; add a pair of elastic strings and a few painted details. The aim is quick assembly, not perfect sculpture. A quick browse through the snack table can keep this project moving as kids switch from painting to wearability.
What to reuse later: Keep the mask cutouts in a labeled bin for a future scavenger hunt or reuse for a theater day.
Safety note: Use blunt scissors for kids and supervise all cutting with adults nearby.
2. Floating Ship Sails
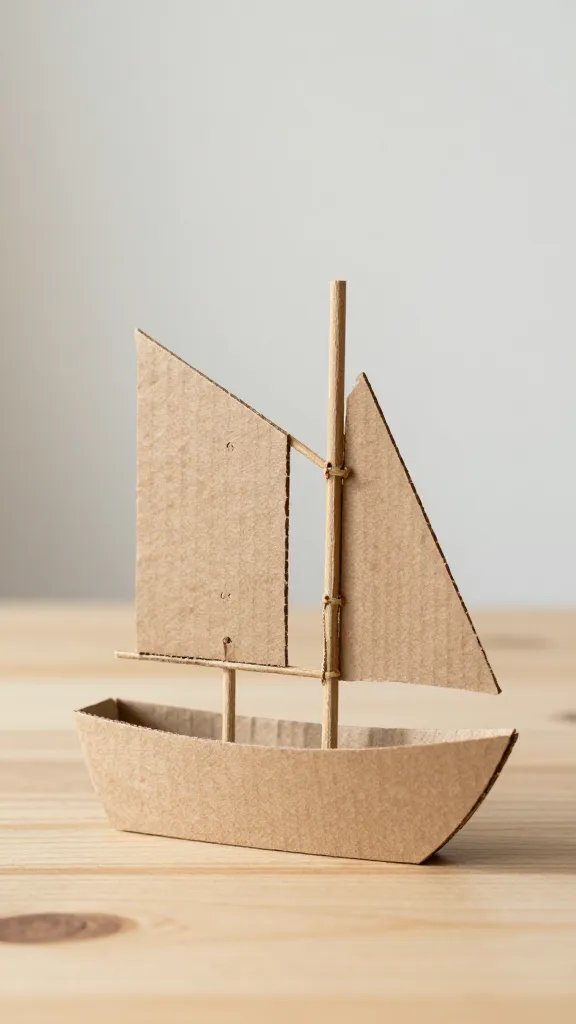
Give kids a small cardboard boat hull and have them attach sails made from painted cardboard rectangles. It’s a maker moment with a tiny water influence—best paired with a kiddie pool or a flat tray of water for a quick test float. This project scales up or down: bigger sails for more drama, or fewer pieces for younger groups. It also doubles as a simple display piece for a camp showcase or photo backdrop.
Make it ahead: Pre-cut hulls and sail shapes to reduce setup time.
Use what you have: Leftover string or fabric scraps make good rigging.
3. Cardboard Mini Palettes and Paint Brushes
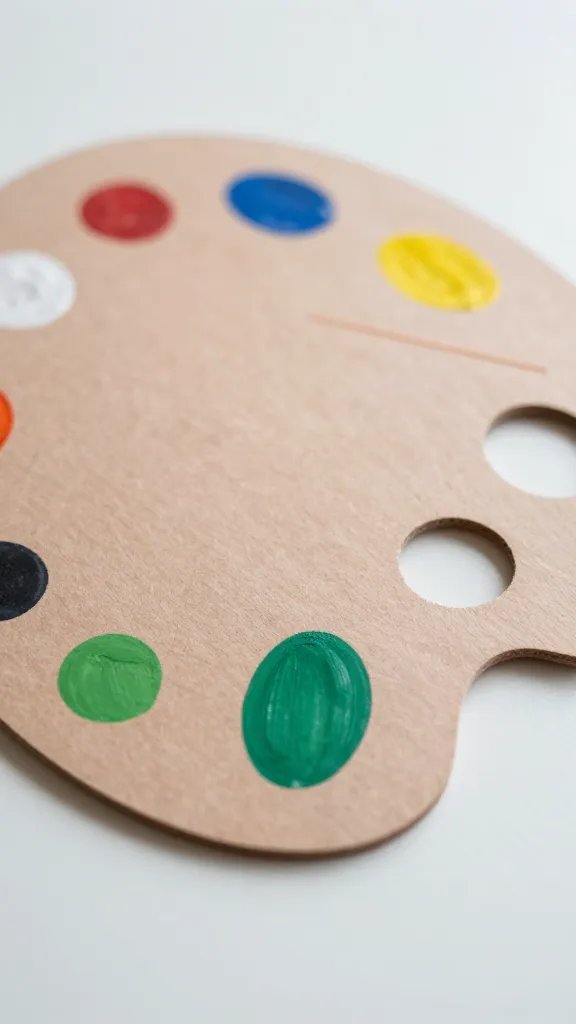
Turn scrap cardboard into tiny palettes and matched brush handles. Kids can cut small oblongs, decorate with markers, and slot in a thin stick for a handle. You end up with a cute, functional set that doubles as a take home favor. A quick dot of paint on a separate plate can keep the activity moving—no need to mix paints at the table. The result looks thoughtful in photos and stays with kids after the day ends.
Copy the look: A few bright colors on each palette read as a designed craft when photographed.
Mess control: Lay a disposable table cover to reduce cleanup time.
4. Cardboard City Blocks for a Skyline Challenge
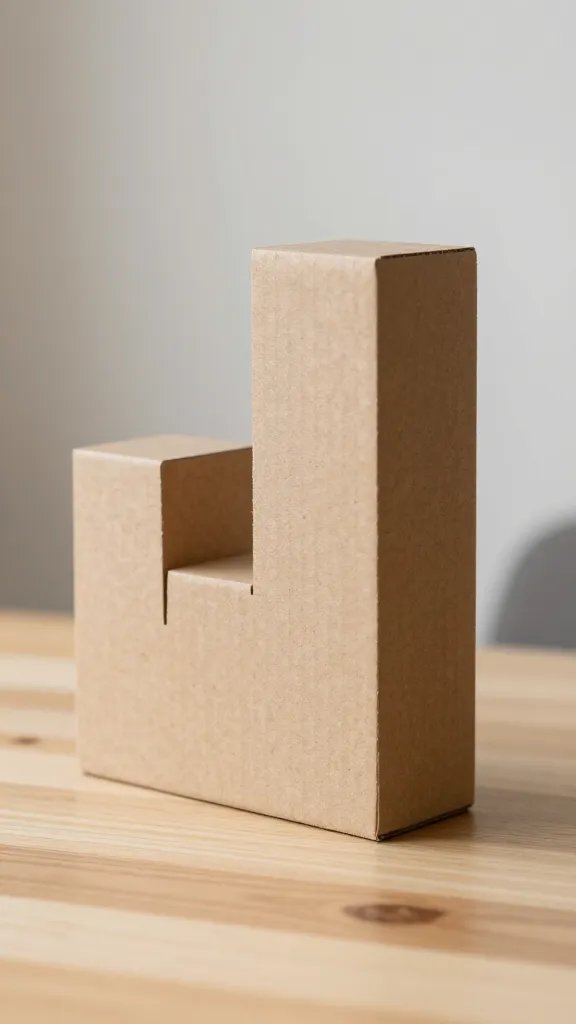
Scale up a city skyline by cutting cardboard into varied heights and painting them. Kids line up blocks to build a cityscape, then snap photos from a fixed angle to create a dramatic display. This idea teaches balance, planning, and color coordination in one go. If space is tight, run it as a quick competition: who builds the tallest or most colorful block row in ten minutes?
Best for: Outdoor or sunny indoor corners where shadow play can be captured in photos.
Trade-in tip: Use cereal boxes to make sturdier towers without extra cost.
5. Tepee Tents from Cardboard Tubes
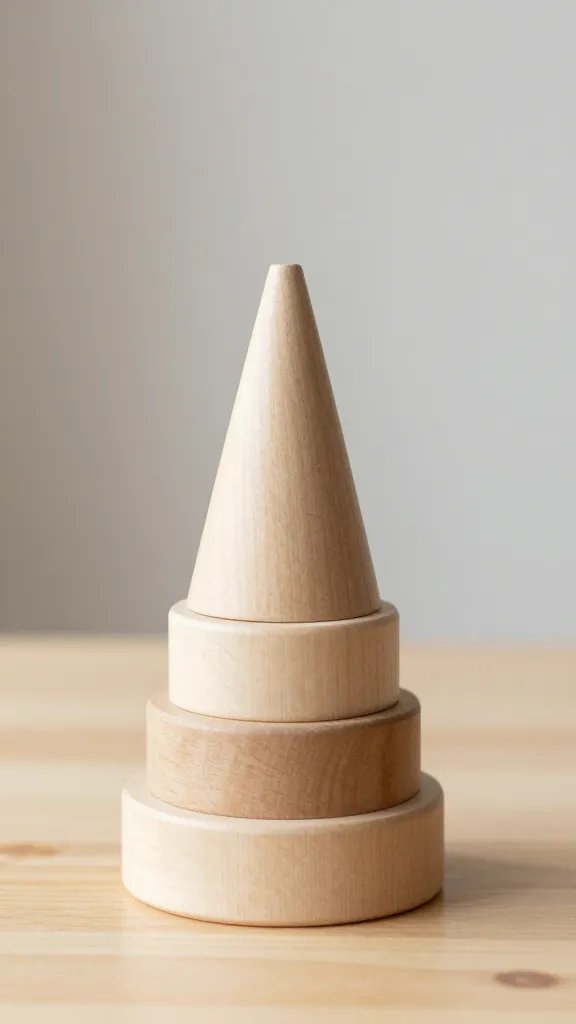
Slice large cardboard tubes into ring-shaped rings, stack them into a cone, and tape with a few pieces of tape. Kids decorate their tents with markers or stickers and use them as a cozy reading nook or pretend camp. Tepee shapes are forgiving for little hands and create instant zones for storytelling or quiet time. The key is a simple base so the tents stay upright during play.
Make it ahead: Pre-cut rings and the cone structure so kids can focus on decorating and assembly.
Small space fix: Place tents along a shaded wall to minimize crowding in a tight room.
6. Cardboard Bug Hotels
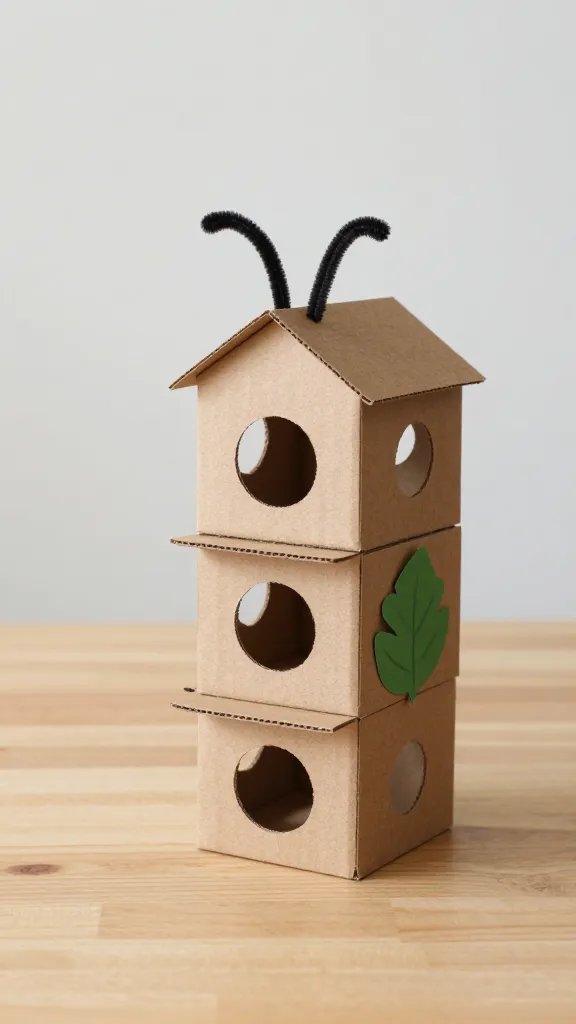
Encourage little builders to craft habitats using stacked cardboard pieces with holes for pretend insects. They can glue on paper leaves, pipe cleaners for legs, and draw little bug faces. The result is a tactile, three dimensional centerpiece for a nature corner. It teaches kids about ecosystems while staying playful and imaginative. After the day, these tiny hotels can be stored in a labeled tote for a future nature walk activity.
Safety note: Avoid small, loose items that can be choking hazards for the youngest group.
Why it works: Kids see immediate results from simple shapes and textures.
7. Glow in the Dark Night Sky Wall Panels
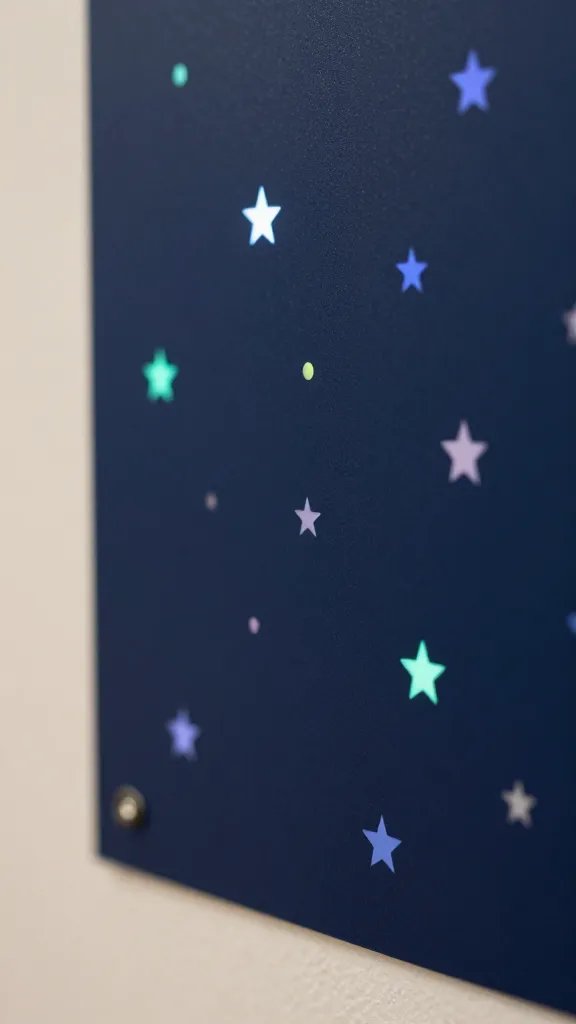
Cut cardboard into large panels and paint a night sky with stars, then apply glow in the dark stickers or paint for twinkling effects when lights go out. This setup works best as a quick, quiet corner project. It gives campers a shared backdrops moment for photos of their night sky scene. If you want more impact, set panels up as a backdrop for the end of day announcements or a campfire story circle.
Best for: Evening programs or dimly lit corners for a dramatic look.
Color note: Use a dark blue or black base to maximize glow.
8. Cardboard Pinwheels and Sun Catchers
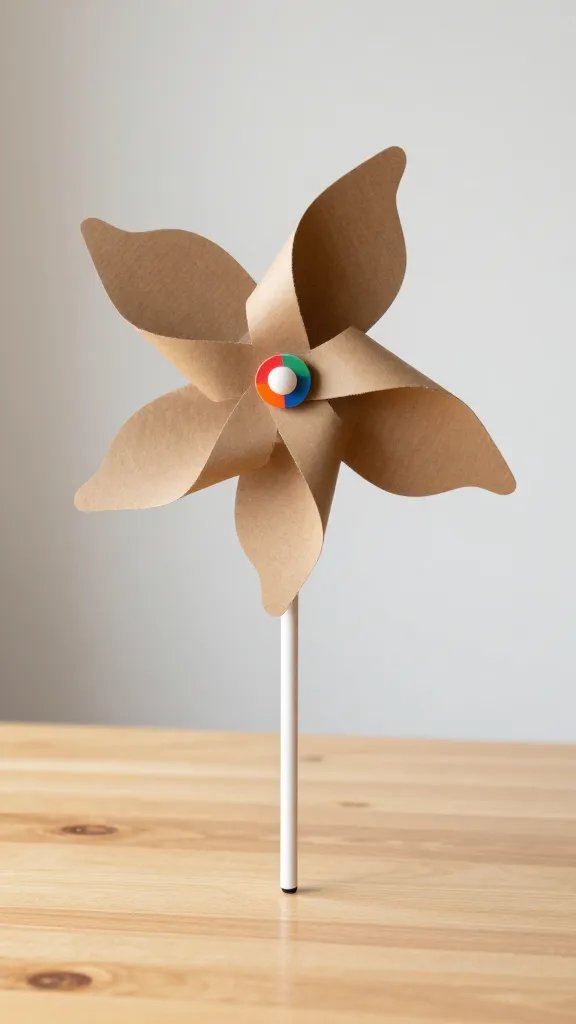
Cut simple shapes from cardboard, attach to sticks, and add a colorful center using markers or stickers. For sun catchers, punch a hole and hang a thin string; place them near windows to catch light. The project moves fast and looks cheery in photos. It also gives kids a tiny sense of accomplishment with a visible, moving result as pinwheels spin in a breeze.
Make it ahead: Pre-punch holes and cut blades so kids can focus on decoration.
Kid friendly: Keep blade edges blunt and supervise any use of scissors.
9. Cardboard Bead Loom Wall Art
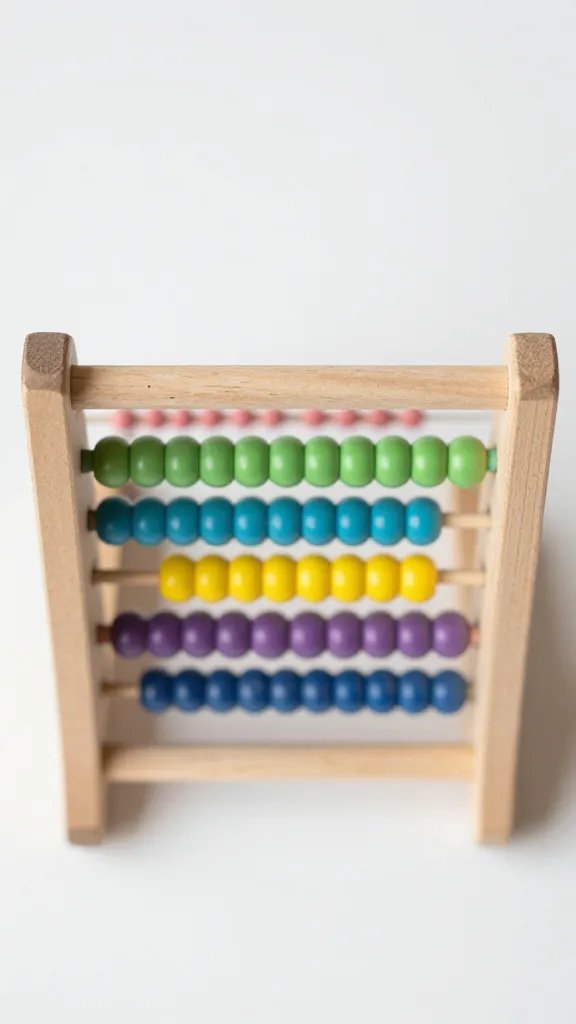
Stretch a few long bands of string across a cardboard frame and weave colored cardboard beads or cut shapes. This low tech loom creates a collaborative wall piece for the group. It keeps hands busy and yields a ready to hang art piece that can be photographed against a bright backdrop. You can scale the loom to fit a wall or keep it portable for a station that travels between rooms.
Copy the look: A handful of primary colors makes a bold statement on the wall.
Cleanup tip: Lay down parchment or old newspaper to keep strings from snagging on sticky surfaces.
10. Cardboard Castles and Bridges
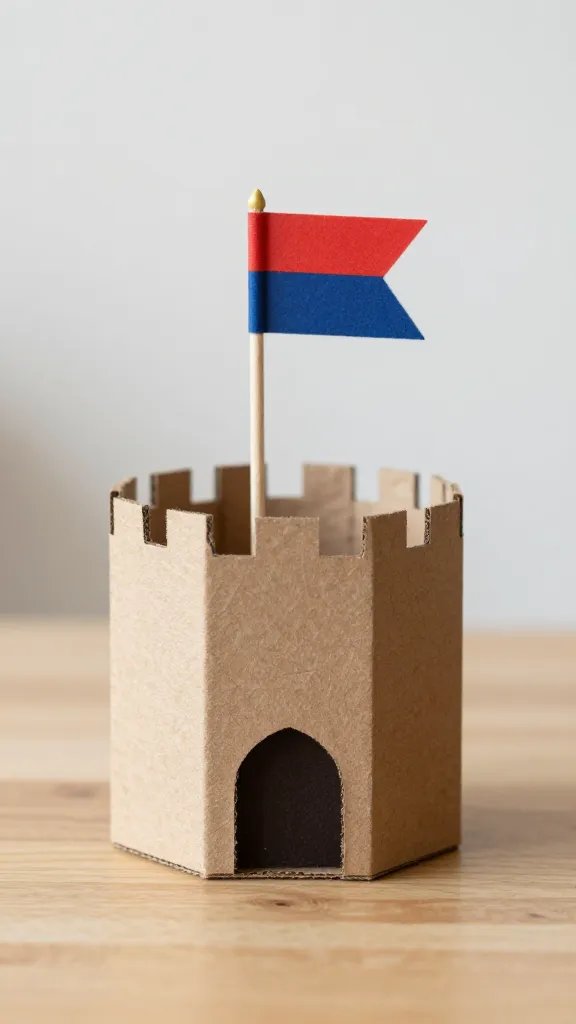
Build modular cardboard blocks into castles and bridges. Kids can customize towers with flags made from paper scraps and markers. This project encourages teamwork as groups build connected sections that form a miniature kingdom. When the structures are finished, stage a pretend parade or a photo booth with the finished set as the backdrop. It’s practical as a large scale project that still feels manageable for smaller groups.
Best for: Midday block time when kids need a longer challenge.
Use what you have: Reuse flat cardboard from packing boxes to extend the buildable area.
11. Cardboard Photo Booth Props
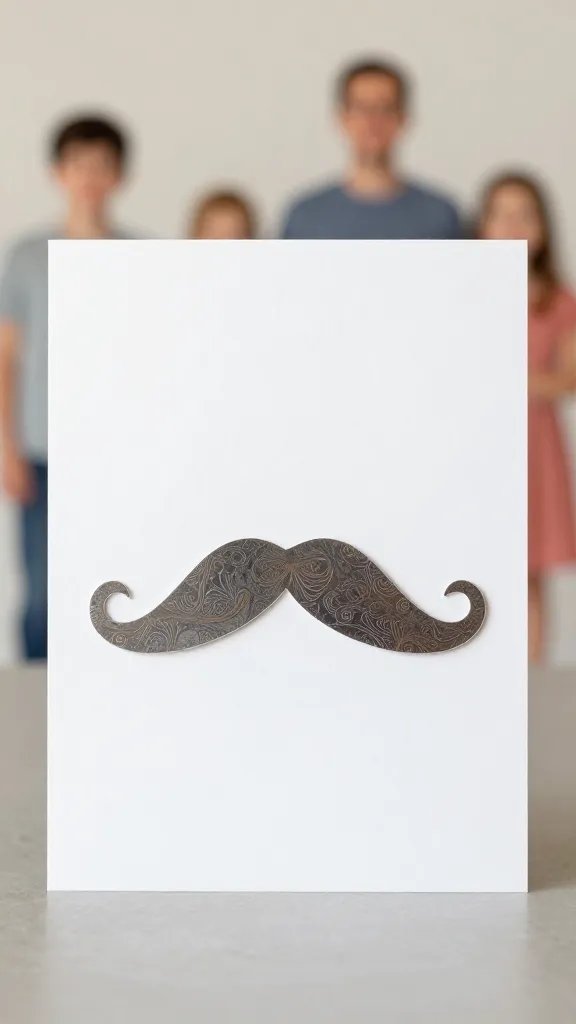
Stock up on large cardboard cutouts like mustaches, hats, and wands, then let kids decorate with markers, foam shapes, and tape. Create a simple backdrop with a painted paper banner or a strip of colored cardboard. The props are light, easy to store, and revive energy in a quiet moment of the day. Pair with a quick photo walk where kids grab a prop and pose for a group shot.
One small change: Add a few reflective pieces like foil or metallic stickers to catch light for fun photos.
Hosting tip: Have a dedicated photo corner with a simple phone stand if you want instant shared photos.
12. Cardboard Rocket Launchers
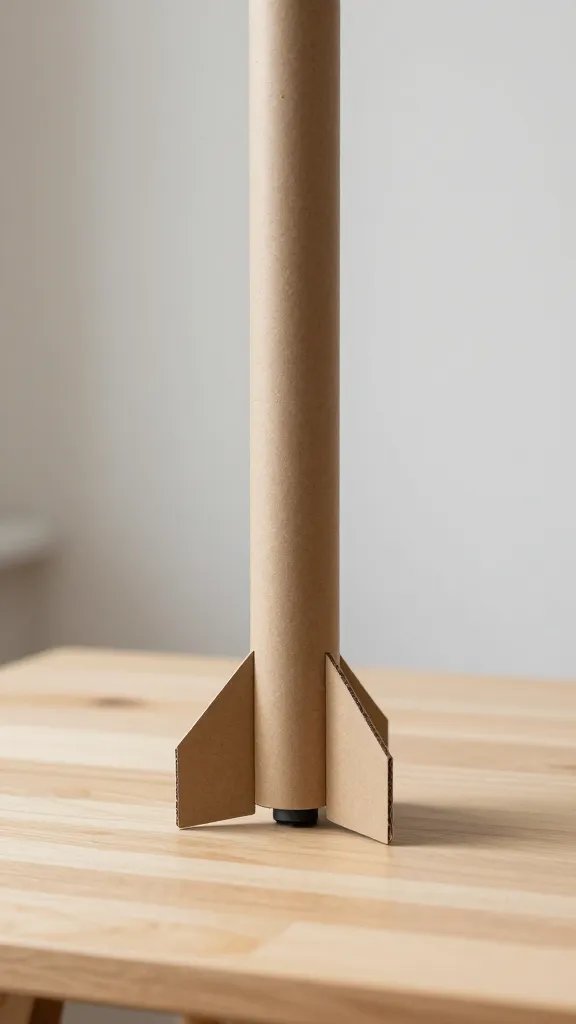
Cut cardboard tubes into rocket shapes, decorate with tape and paint, and attach a base so they stand upright. Stage a pretend launch with a puff of air from a straw or a gentle push. It’s a quick and dynamic activity that delivers a sense of motion and achievement. Keep the launch area clear and use a tarp or tray to catch any project debris for easy cleanup.
Safety note: Use a gentle prop blast and supervise any safe air puff methods for younger kids.
Time saver: Pre-cut rocket shapes and bases to speed setup.
13. Cardboard Banner Bunting Parade
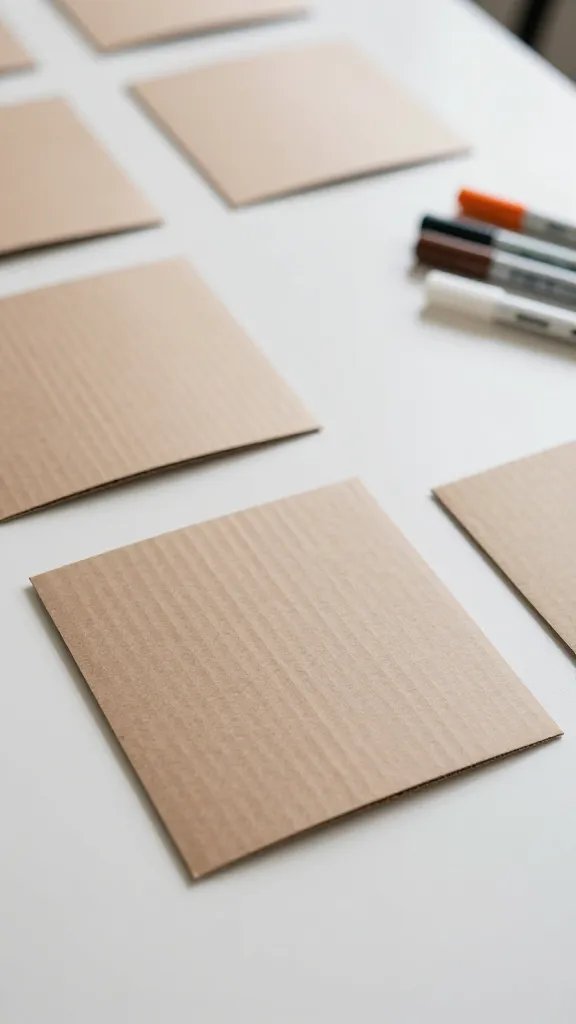
Cut banners from cardboard and string them into a long bunting. Let kids decorate each piece with paint, stamps, or markers, then hang the banner in your camp space. This final touch ties the day together and gives you a ready photo backdrop for the wrap up. It’s a soft way to cap the day with a tangible memory that’s easy to store for next time.
Placement note: Attach the bunting to a tension rod or existing wall fixtures so you don’t disturb paint or wallpaper.
Made ahead: Trace and cut all banner shapes ahead of the session to cut down on stop and go time.
With these 13 cardboard ideas, you can cover a full summer camp day without stretching your budget or your patience. Pick three to run in parallel, or stretch one into a longer activity if you have a quiet corner. The key is to keep materials simple, stations clearly labeled, and the flow moving so campers stay engaged from start to finish. Save this for the next birthday that sneaks up on you.