15 Surprise Party Ideas for Parents

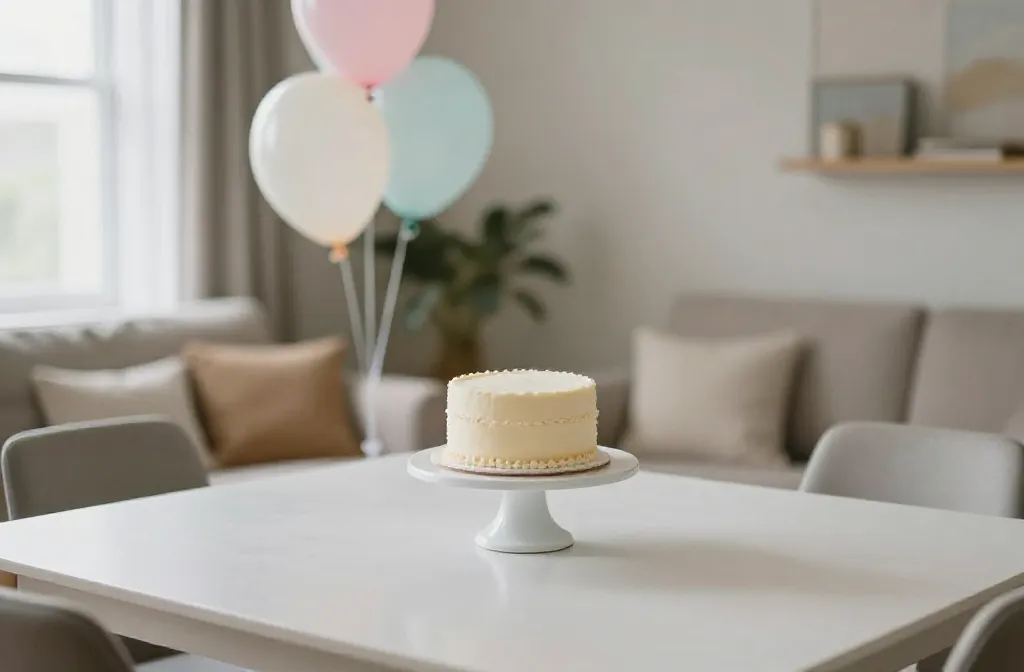
Parents often arrive with a wish for a low drama, high impact celebration that happens in a snap. The clock usually says two days until the party and the budget is friendly but tight. This guide uses practical, doable ideas you can set up this week, with clear supplies and realistic timelines. Use the ideas to spark a plan that feels thoughtful without burning you out. You’ll find variations for small spaces, quick crafts, and budget swaps that still look polished.
Each idea focuses on a specific problem parents commonly face at a last minute party—things like a bare dessert table, tired kids, cluttered corners, or decorations that don’t survive more than a photo. Read through and pick a few that fit your space and crew. Let’s start with momentum that doesn’t fade as guests arrive.
1. Quick Photo Booth Backdrop With Personal Flair

When the wall looks bare, a quick backdrop can anchor photos and boost energy. Use a roll of kraft paper or a simple fabric drop and clip family photos from the past year along a string with clothespins. Add a name banner made from scrap cardboard painted in the theme colors, plus a few balloons on either side to frame the area. The result is a warm, personal stage that takes about 45 minutes to assemble and 10 minutes to tweak once guests arrive.
Placement note: Position near the entrance so guests glance up as they walk in. Color note: Keep the palette to two main colors to avoid visual clutter.
2. Tea Time Dessert Station on a Budget

A dessert table can look sparse if it’s not layered with variety. Create a mini tea party vibe using a few bowls of cookies, cupcakes, and a simple fruit platter. Use a tiered cardboard display for height and line up a row of small mason jars filled with lemon tea and water. Label each treat with a small tag you print on scrap paper. It takes about an hour to set up, including a quick tidy refresh before guests arrive.
Use what you have: Reuse glass jars from jam or pantry storage instead of buying new. Safety note: Keep hot beverages off the main table and supervise young kids around sugar displays.
3. Simple Banner With Personal Milestones

Cut letter shapes from colored cardstock and string them with ribbon or twine to spell out a short, friendly message. Between letters, tuck small photos or keepsakes from the child or parent’s year, like a coupon for a family movie night or a drawing from the kid. It’s a 40-minute craft that doubles as decor and a memory file for later. Hang above the cake table or along the main wall.
Copy the look: Create a second short banner for photos on a different wall so you don’t crowd one space with all the color.
4. One-Color Balloon Garland That Stays Put

Inflate balloons in your chosen color and assemble a simple garland along a doorway or the dessert table using a length of fishing line. Tie each balloon to a small weight or a strip of double-sided tape on the wall to keep it in place. This takes about 30 to 45 minutes once you’ve gathered the balloons. A single color keeps the look chic and not chaotic.
Best for: Small spaces where a full backdrop would feel crowded. Cleanup tip: Pop balloons after the party and store the line in a tube for later reuse.
5. Party Favor That Feels Personal

Prepare tiny favor bags with a handwritten note and a small, inexpensive token like a sticker sheet or a mini plant. Place them at each place setting so guests have something to grab on their way out. It’s a quick, thoughtful touch that reads well in photos and requires about 20 minutes of assembly. You can skip the label if you’d rather keep it ultra simple.
What to avoid: Overloading with items that end up in a drawer. Kid friendly: Choose sturdy, non-mailable items that kids can appreciate on arrival or departure.
6. Snack Board With a Few Surprises
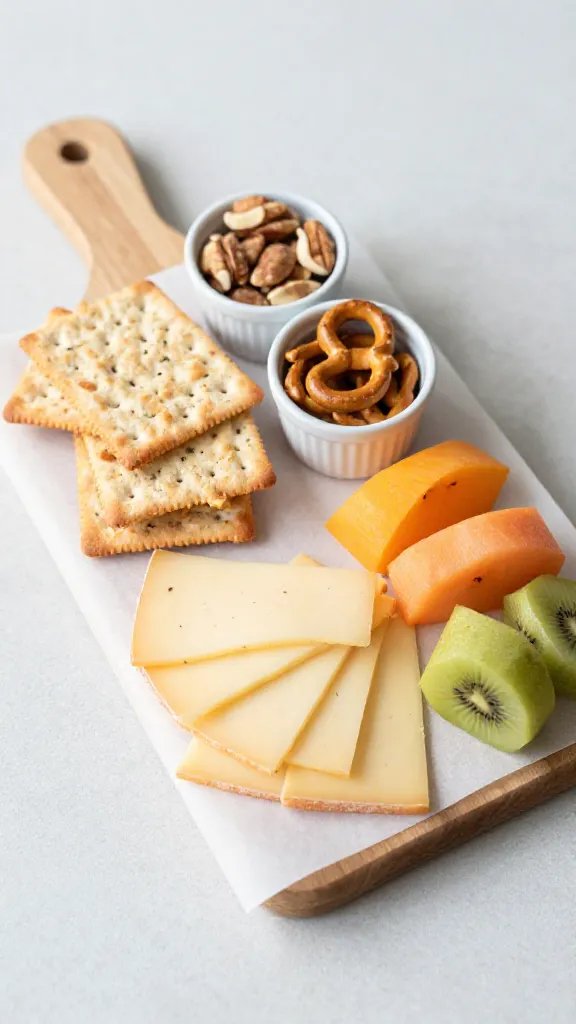
Create a small grazing board using a mix of crackers, cheese slices, fruit, and a small dip. Add a few unexpected items like pretzel sticks or roasted nuts in tiny cups. Use a cutting board or a lazy Susan to keep it visually organized. The whole thing comes together in under an hour and looks great in photos with minimal fuss.
Use what you have: Repurpose a baking sheet as a secondary serving tray to mirror the main board. Mess control: Lay a sheet of parchment to catch crumbs and keep cleanup quick.
7. Kids’ Craft Corner That Doubles as Decor

Set up a small table with simple, quick crafts—stickers, paper shapes, and pre-cut cardstock. Offer kids the chance to make a small banner or decorate place cards. It keeps little hands busy for about 20 minutes and yields share-worthy photos with their own creations. Have a parent rotate as the activity lead to keep things moving smoothly.
Safety note: Use kid-friendly scissors and supervise the glue stations to avoid messes near electronics or heat sources.
8. The Two-Color Table Scape That Reads High End

Focus a table arrangement using two colors: a bold shade and a neutral. Layer a table runner, napkins, and a few small decor pieces in those tones. Add a few fresh flowers in a simple vase to bring life without clutter. It looks polished, costs little, and takes 25 minutes to arrange. This approach keeps the party feeling intentional rather than rushed.
Placement note: Center the arrangement so it’s easy to reach for guests without crowding talking space.
9. Mini Lanterns for Soft Lighting

Fold paper lanterns from craft paper in two sizes and place them along the edge of the dessert table or at the entryway. If you don’t have lanterns, create a few pom poms and hang them from a string. The effect is soft and welcoming, especially in late afternoon or early evening. The whole setup takes about 40 minutes to make and hang.
Dollar store swap: Use grocery store tissue paper and tuna cans as the weight to keep costs down.
10. Family Timeline Wall
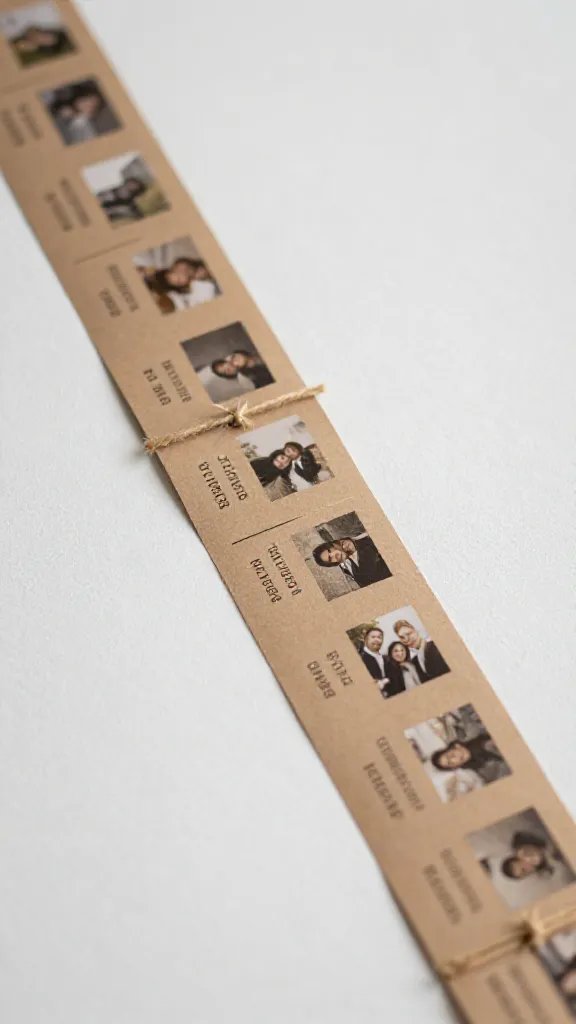
Gather a handful of photos from different years and mount them on a long piece of kraft paper or a corkboard using washi tape. Label the years and add a caption in a contrasting color. It’s a quiet feature that invites conversation and can be prepared in an hour or two. The effect is warm and personal without requiring a large footprint.
Best for: A mid-size living room wall. Keep it simple: Limit to 8 to 12 photos for a clean look.
11. Snack Cups With a Twist

Fill small disposable cups with snack mixes and label each with a small tag matching the party theme. Line them along the dessert table for easy grab-and-go treats that cut down on table clutter. It’s inexpensive and quick to assemble—about 30 minutes, including washing cups after use. The neat setup keeps kids and adults happily snacking without interruption.
What to avoid: Overfilling cups so they spill while carrying them. Storage tip: Keep extra cups and snacks ready for a mid party refresh.
12. Cozy Corner With Floor Pillows

Place a few floor pillows and a soft throw in a corner to create a relaxed space for adults to chat while kids nap or color. It can be assembled in about 15 minutes and adds a homey touch that many guests will notice in photos. A small lamp or string lights add warmth without turning the room into a playground.
Small space fix: Keep the area near a power outlet for a gentle glow in the evening.
13. The Surprise Pop of Color Centerpiece

Fold several simple tissue paper tassels in two or three bright colors and attach them to a soda bottle or a plain vase as a centerpiece. It’s a quick craft that yields a bold visual impact for under an hour. Place the centerpiece on the dessert table or entryway to catch eyes as guests arrive.
Color note: Choose colors from the party palette to ensure cohesion across decor.
14. Tea Light Mason Jar Lanterns

Fill mason jars with a few battery powered tea lights and a handful of decorative pebbles or colored sand. Group jars in odd numbers on the dining table or lining a doorway for soft illumination. It takes about 30 minutes to assemble and adds a gentle glow that photographs well in evening light.
Safety note: Use battery powered lights and supervise near kids who like to inspect every jar up close.
15. Front Door Surprise With a Passport Theme

Greet guests with a small welcome poster and a pretend passport they can stamp at a station near the door. Keep the station simple: a small logbook, a couple of ink pads, and a few fun stamps. It buys you time for last minute prep and creates a playful first impression as guests enter. Set this up in about 25 minutes and enjoy the smiles as people arrive.
What to swap: If you don’t have stamps, use stickers or simple doodles to create a passport look.
With these practical ideas, you can assemble a thoughtful surprise that fits a busy parent schedule while keeping decor fresh and friendly. Save this for the next birthday that sneaks up on you.