
13 Craft Ideas for School Valentines Day Cards

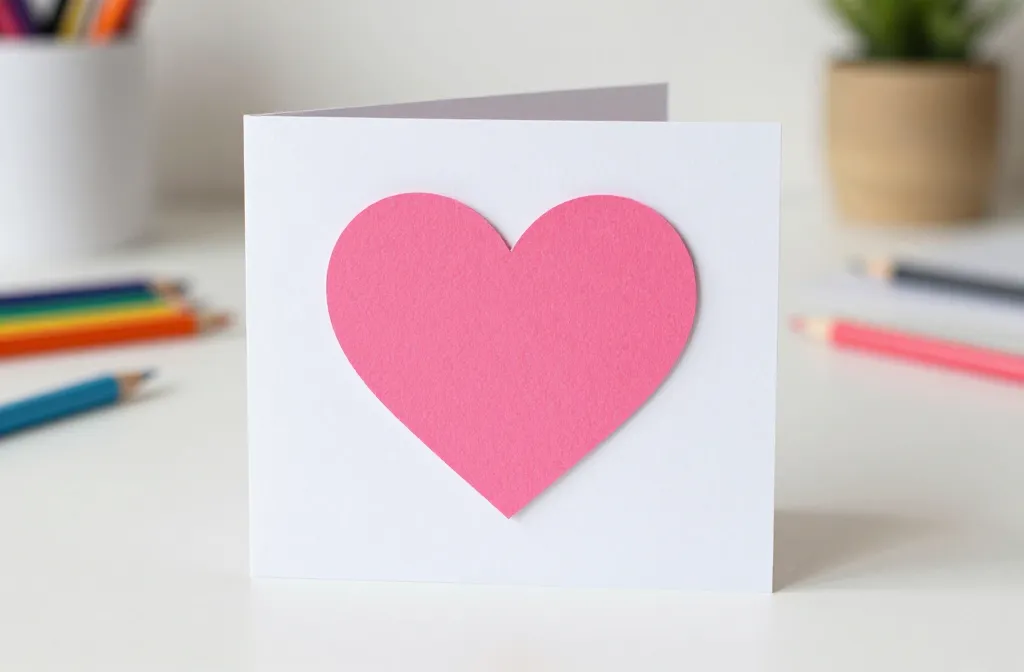
Kids want cards that feel personal, not prefab. You’re juggling time, a tight budget, and the deadline to finish before the class party. The core idea here is to give you reliable, quick, kid friendly options that still look thoughtful when the kids hand them out. Each idea solves a common problem: messy glue, boring store bought cards, or cards that won’t survive in a backpack. You’ll find clear supplies, realistic timelines, and easy tweaks for different ages. Now, here are the ideas, in a sequence that moves from simple to a touch more involved.
These 13 craft ideas for school valentines day cards mix color, texture, and a little humor to keep interest high. You can mix and match based on what you have in the craft closet this week. Let’s dive in and get the kids excited about giving handmade notes.
1. Heart Shaker Cards
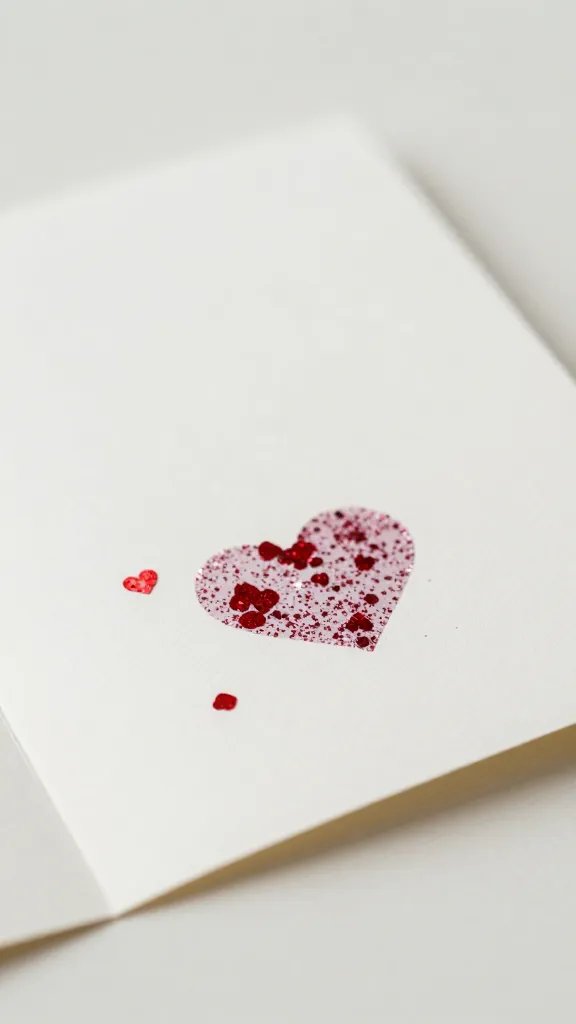
Shaker cards feel fancy but are surprisingly doable with a plastic mini envelope window and a few scraps. The real problem they solve is dull, flat valentines that don’t engage the kid making them or the recipient opening them. Supplies are simple: cardstock in two colors, a clear plastic sheet or an old window envelope, pre-cut heart confetti, glue, scissors, and a strip of double sided tape. It takes about 20 to 30 minutes per card plus dry time for any glue. Use bright pinks and reds, or mix in a pop of teal for contrast.
Copy the look: Use a small heart cut from washi tape to seal the shaker window for a tidy finish.
Why it works: It adds motion and a tactile element that holds a kid’s attention longer than a flat card.
2. Printable Mini Bookmarks
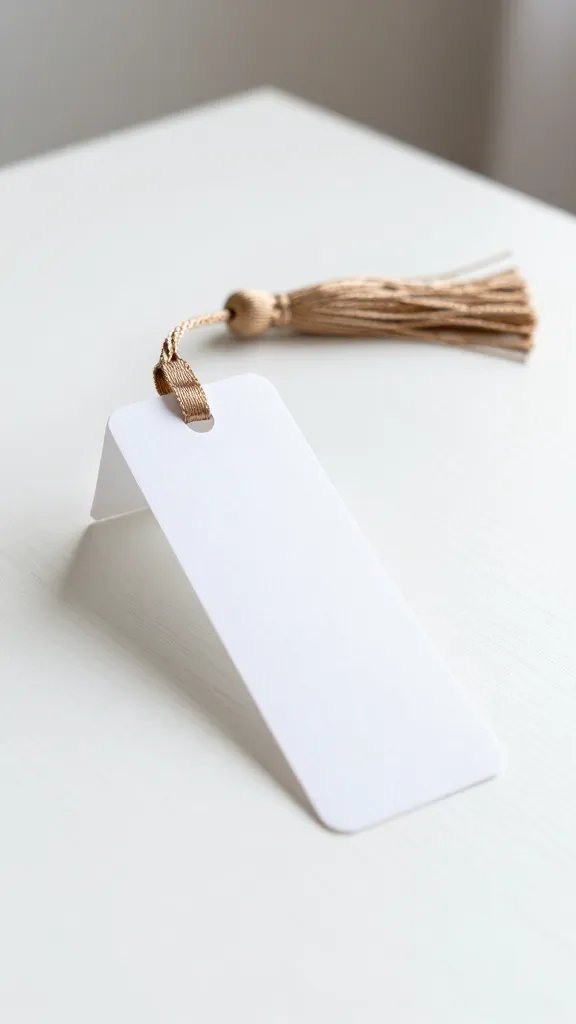
Sometimes the simplest idea wins. Create tiny bookmarks that tuck into the card so the recipient can reuse them in class. The problem solved: a gift that doubles as a classroom tool, not extra clutter. Supplies: cardstock strips, printer for mini printables, a few stickers, glue stick, and ribbon for a tassel. It takes about 15 minutes per bookmark plus 5 minutes for printing. Print a set of cute valentines or doodles, then punch a hole in the top and thread a short ribbon.
Make it ahead: Print the designs in advance and cut all strips at once to save time.
Color note: Choose a few coordinating color combos to keep the set cohesive.
3. Paletteed Paper Hearts
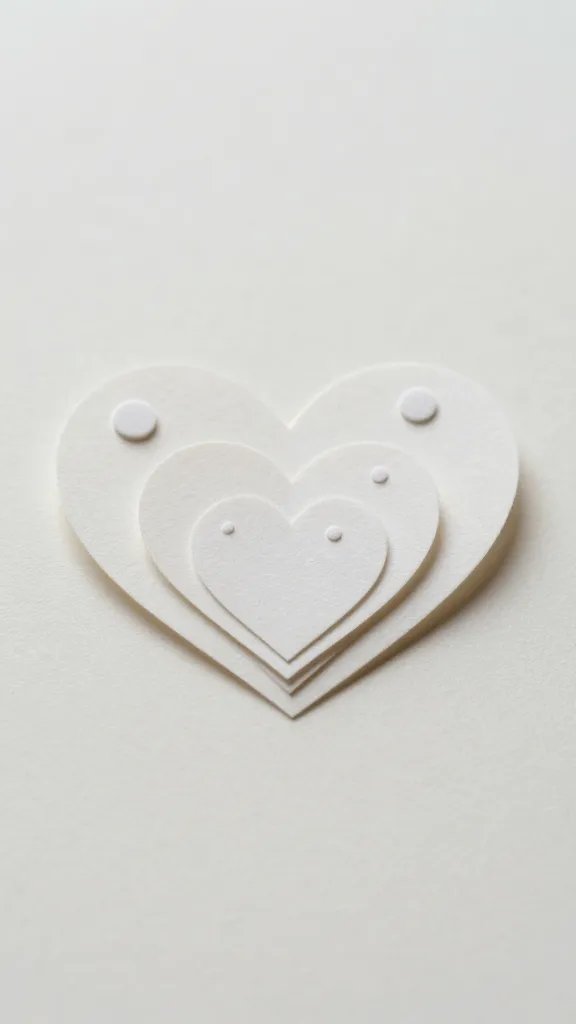
Trios of small layered hearts create a simple, modern vibe that looks polished without being fussy. The problem this solves is a batch that looks homemade or sloppy if slapped together. Supplies are straightforward: scrap paper in at least two colors, a glue stick, scissors, a sheet of cardstock for base, and a thin marker for outlines. Plan about 20 minutes per dozen cards. Cut hearts in three sizes, layer with foam dots for dimension, and draw a fine outline for a crisp edge.
Use what you have: Reuse old newsletter or scrap book paper for the hearts to keep costs down.
Best for: Classrooms with a range of ages; the kids can handle the cutting while adults help with glue.
4. Sticker Scene Cards
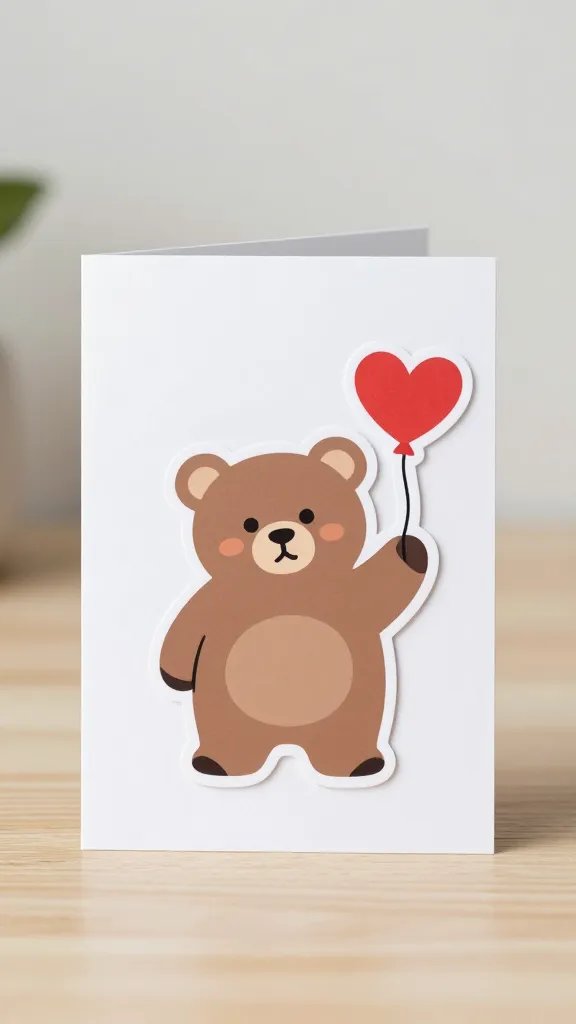
Stickers are a proven time saver and you can tell a tiny story with a few simple elements. The problem solved: kids finish early and run out of ideas. Supplies: blank cards, an assortment of sticker sheets (heart, emoji, animals), markers for tiny scenery touches, and a glue stick. It takes about 10 to 15 minutes per dozen cards. Build a tiny scene on the front, like a bear with a heart balloon, and print a short message inside.
Why it works: Visual appeal plus quick assembly keeps multiple kids engaged in one session.
Safety note: Watch for small stickers near younger siblings who might put them in mouths.
5. Clothespin Valentines
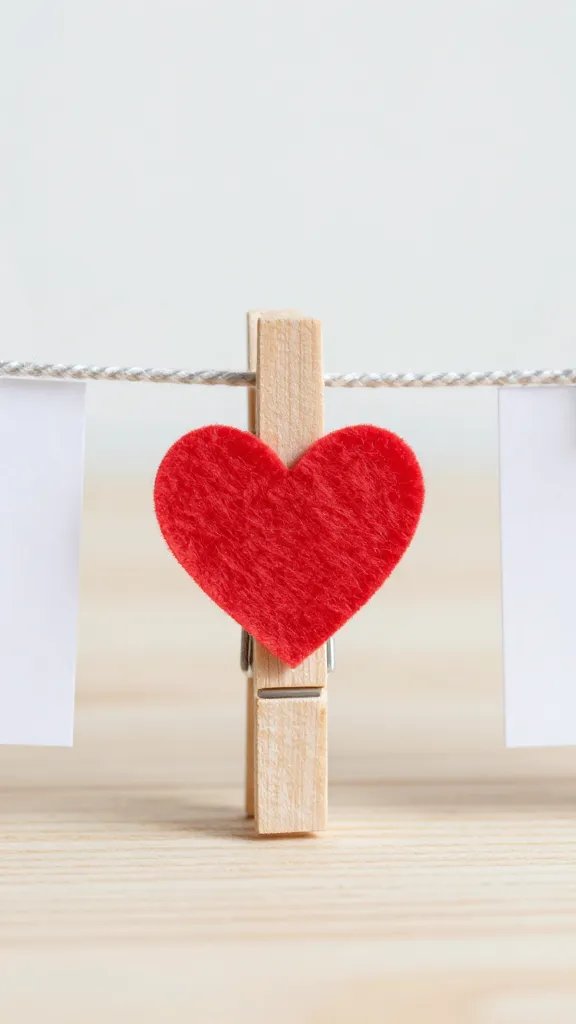
Turn a simple wooden clothespin into a tiny card holder. The problem: a flat stack of cards that slides out of backpacks, getting bent. Supplies: small wooden clothespins, washi tape, mini cards, and a few stickers or buttons. Glue on a little felt heart and wrap the top with a strip of washi. It takes about 20 minutes to assemble a batch of 12. This serves as both a card and a tiny keepsake that kids can clip to a notebook.
Copy the look: Keep the tape pattern consistent for a cohesive batch.
Mini version: If you’re short on time, skip the extra decorations and just decorate the clip with a single sticker.
6. Pop Out Valentine Faces
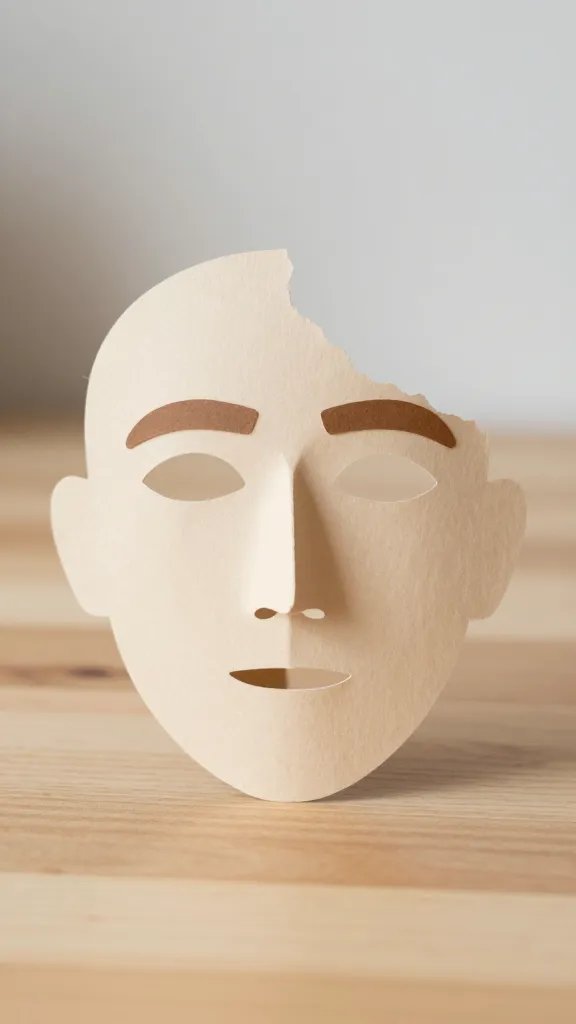
A little surprise inside each card keeps attention and gives a laugh. The problem solved: a batch that feels interactive rather than just handed over. Supplies: folded card stock, a selection of scrap paper for hair and features, safety scissors, glue, and a few brads or folded paper flaps to make the pop out. Plan 25 to 35 minutes per 12. Use contrasting colors for face features so each face reads clearly from a distance.
Make it ahead: Cut all faces in advance; pre-draw simple facial expressions for speed.
Placement note: Place the pop pierce near the top so the face pops when the card is opened.
7. Heart Stamps and Washi Glow
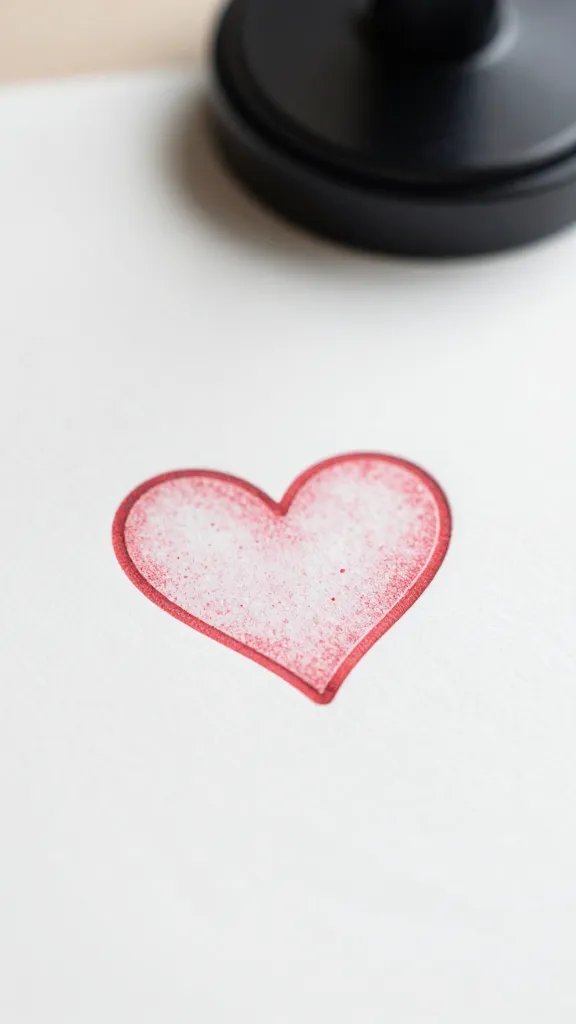
Stamping adds a polished look without needing perfect handwriting. The real problem solved: messy text printing or indecipherable handwriting on a classroom card. Supplies: stamp set with small hearts or use a homemade potato stamp, ink pads, washi tape, and smooth card stock. It takes about 15 minutes per dozen once you get the hang of stamping. Finish with a thin border or a small doodle in the corner.
What to avoid: Too much ink can bleed through thin cards; test on scrap first.
Budget swap: Use markers instead of ink pads if you don’t have stamps.
8. Candy Swap Cards
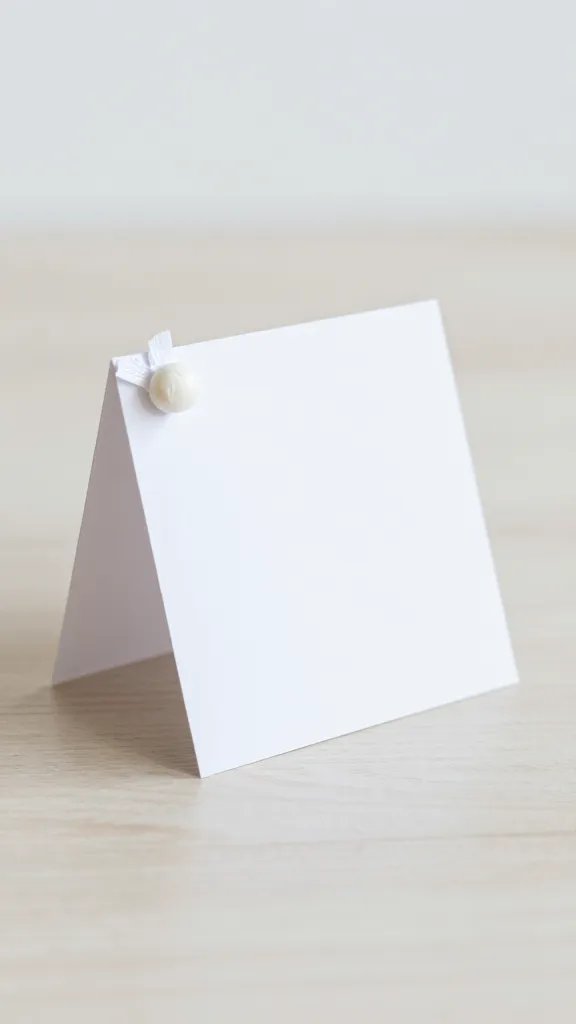
Attach a tiny, wrapped candy to the card for a sweet surprise. The problem solved: a simple treat that doesn’t melt or crumple in a backpack. Supplies: blank cards, a box of small individually wrapped candies, and a short tag with a valentine message. Time: about 12 to 18 minutes for a batch of 12. Use glue dots for fast assembly and to avoid soggy glue on the candy wrappers.
Safety note: Check school policy on candy and choking hazards for younger kids.
Hack: Tape the candy to the inside of the card so the wrapper stays clean.
9. Button Bouquet Cards
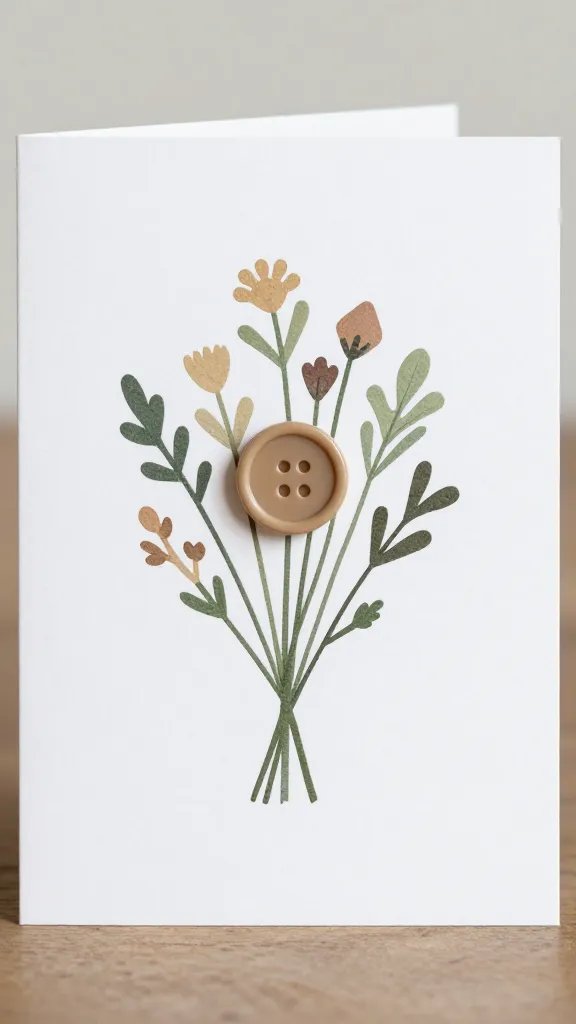
Buttons make a tiny bouquet on the card front. The problem solved: a cute, dimensional look without heavy embellishments. Supplies: blank cards, a small paper stems or cardstock strips, color buttons, and a dot of hot glue for securing. It takes about 20 minutes to assemble a batch of 12. Lay out a quick bouquet sketch on scrap paper first so colors don’t clash.
Safety note: Use a low temp glue gun with adult supervision for younger kids.
Spacing tip: Leave a little white space around each bouquet so the card doesn’t feel crowded.
10. Linens and Lace Cards
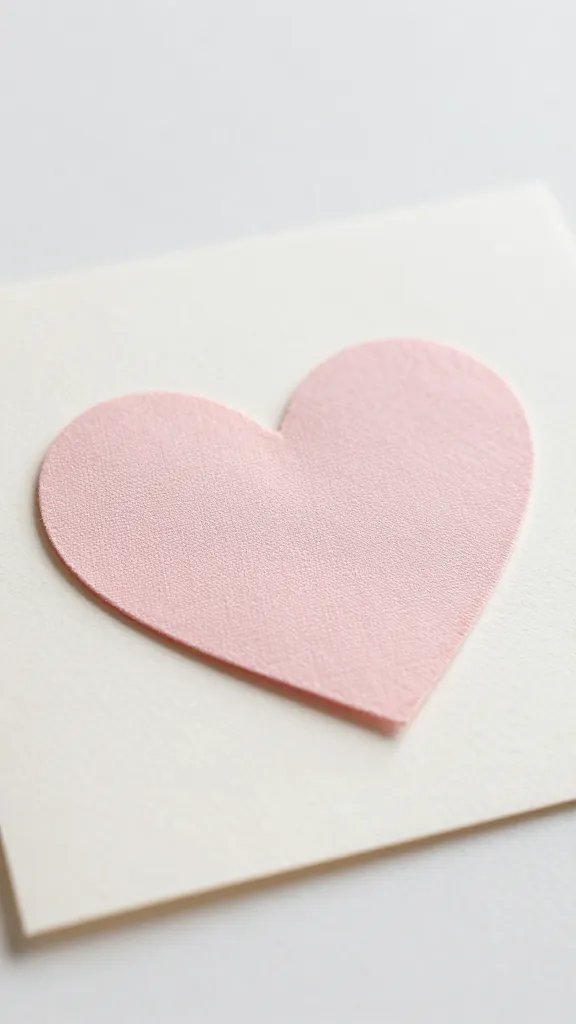
Soft fabrics create a gentle, hand crafted feel. The problem solved: paper only cards can feel stark; fabric adds warmth. Supplies: pre-cut cardstock, small fabric squares or ribbon, fabric glue, and a few flat embellishments like beads or buttons. Time: 10 to 20 minutes per batch. Glue a small fabric heart onto the front and finish with a stitched border drawn with a marker for texture.
Make it ahead: Iron the fabric pieces to remove wrinkles so they lay flat on the card.
Color tip: Use one bold color for the heart and keep the rest neutrals for a refined look.
11. Sock Puppet Valentines
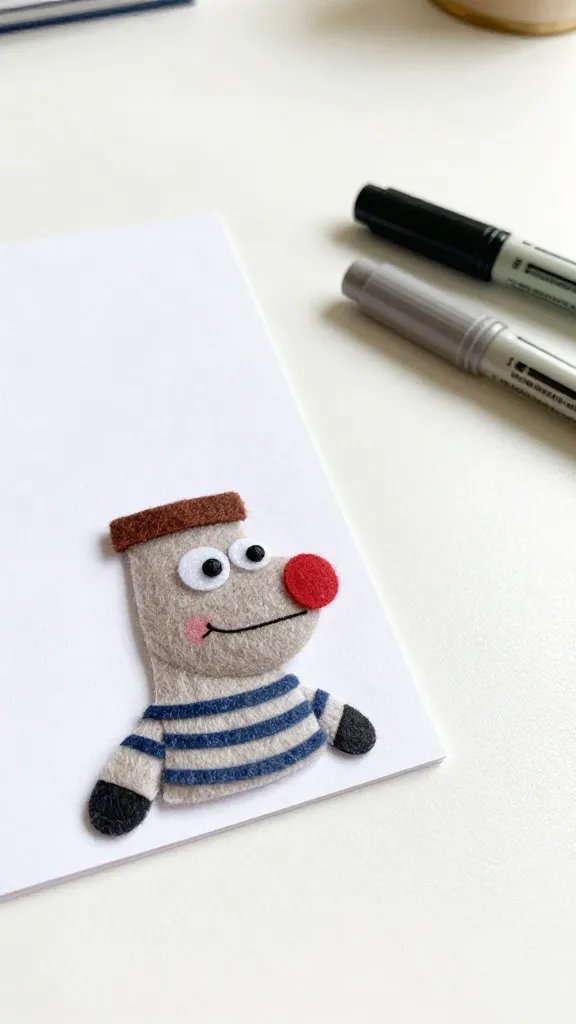
Two finger puppets on a card make the idea playful and memorable. The real problem: kids want a card that doubles as a little toy. Supplies: felt scraps, a pair of kids’ socks or small fabric scraps, glue, scissors, and a marker. It takes 25 to 35 minutes per batch because you’re assembling tiny puppets. Secure the puppet to the card edge with a simple glue dot and add a cheeky message inside.
Kid friendly: Let kids select colors and draw tiny faces with a marker.
Cleanup tip: Keep a small bin of scraps to reuse on future cards.
12. Felt Accent Heart Cards
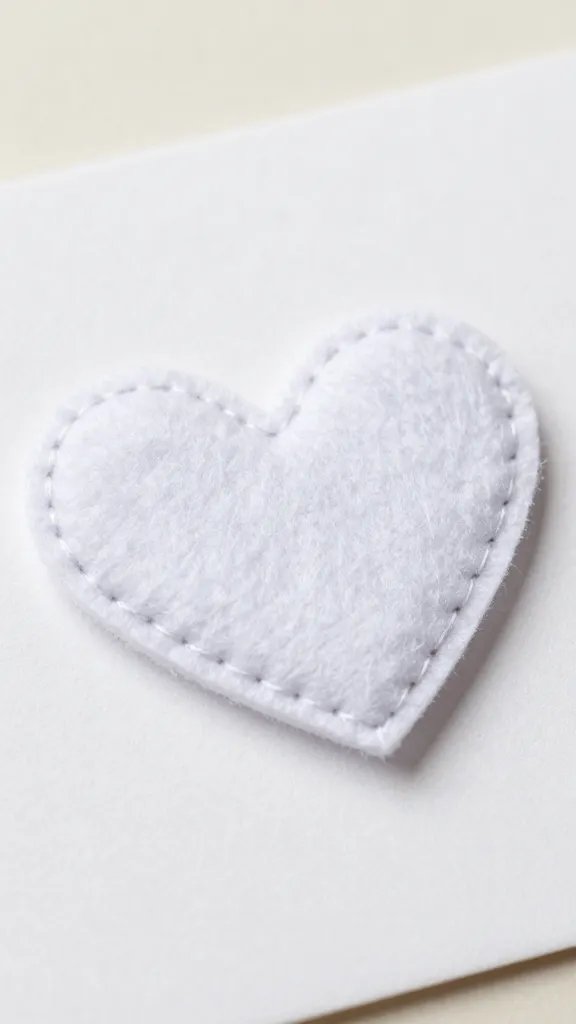
Felt adds a soft, premium feel without a big price tag. The problem solved: cards look plain when printed on standard paper. Supplies: felt sheets in contrasting colors, white glue, sharp scissors, and a few tiny beads for eyes or details. Time: about 15 to 25 minutes per batch. Cut hearts from felt and glue to the front in a stacked, overlapping arrangement. A stitched outline with embroidery thread elevates the look.
Safety note: Use child friendly scissors and supervise hot glue if used for any extra details.
Extra: If you don’t have felt, cut soft fabric scraps from old clothes and glue them down instead.
13. Button Letter Cards
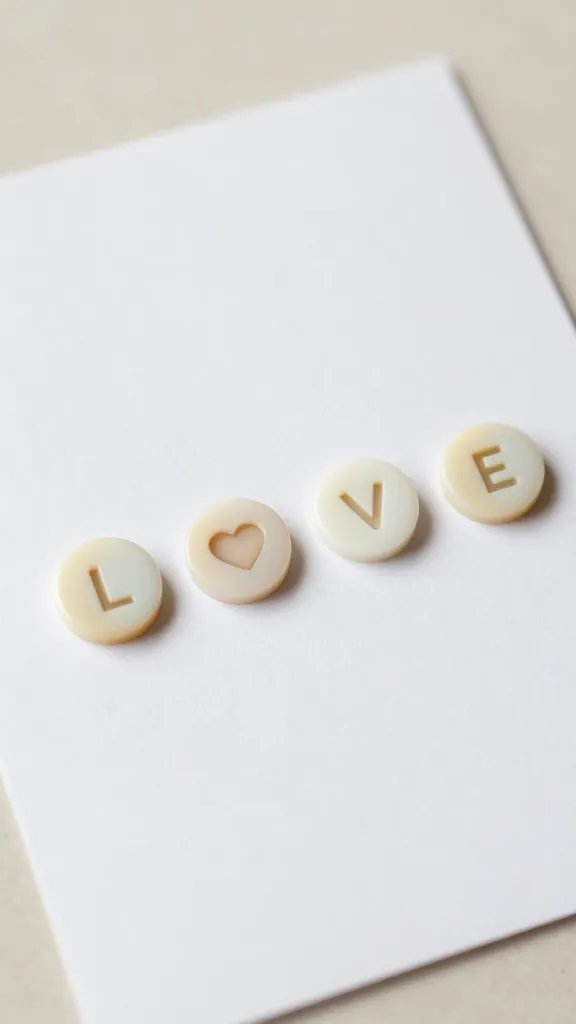
Plan a message with a grid of tiny hearts and a single letter formed from buttons. The problem solved: a decorative card that’s still readable and easy for kids to assemble. Supplies: blank cards, circular flat buttons, a thin pen for outlining letters, glue, and a small ruler for alignment. It takes about 20 minutes per batch. Align buttons in a neat row to spell the recipient’s name or a short word like “LOVE.”
Copy the look: Outline each letter in a fine black marker before placing buttons for clean edges.
What to avoid: Clump of buttons in one corner can look busy; spread evenly across the card for balance.
With these 13 craft ideas for school valentines day cards, you can tailor to your time and supplies while keeping the results sturdy and kid friendly. Save a few to adjust for younger classmates and a couple that adults can help with when the pace slows. The key is keeping it simple, with a clear finish line in sight. Save this for the next birthday that sneaks up on you.