
13 Housewarming Party Decoration Ideas for a Bare Home


Moving into a new place leaves walls blank and pockets a little lighter. You want a warm welcome without hours of work or a big budget. This list offers fast, practical decor fixes you can pull off this week, with simple supplies and clear steps. You’ll get a more polished look than a bare room, plus setups that photograph nicely for your new home post. Use these ideas to feel at home in under a day, even if you started with nothing but boxes.
Each idea solves a real issue: lack of focal points, small spaces, or a crowd-friendly setup that stays neat. Read through, pick a few that fit your space, and customize with what you already own. Let’s start turning that bare home into a welcoming place to gather.
1. Paper Framed Photo Garland

A blank wall or entry nook screams for a personal touch. Create a lightweight garland by clipping small photos or notes to a length of baker’s twine. Use a few frames with craft paper backgrounds to echo your color scheme and keep things cohesive. It’s quick to assemble and easy to adjust as you settle in.
Layout note: Space photos about 6 inches apart and alternate black and white with color images for balance. This sits nicely behind a welcome table or near the sofa for a casual gallery feel.
Copy the look: Swap in magazine clippings or kids’ drawings to keep it personal and affordable.
2. Balloon Wall Banner

A simple balloon cluster can anchor a corner and define party space without buying a big backdrop. Choose two coordinating colors and twist balloons into small clusters, then tape along a wall in a gentle arc or straight line. Leave room for guests to mingle in front of it, not behind it.
Placement note: Use removable adhesive to protect walls. Keep the arch low to avoid obstructing sight lines to snacks or seating.
Budget swap: Use dollar store balloons and a mirror as a reflective backdrop to amplify color without buying a full arch kit.
3. Fabric Banner With a Welcome Message
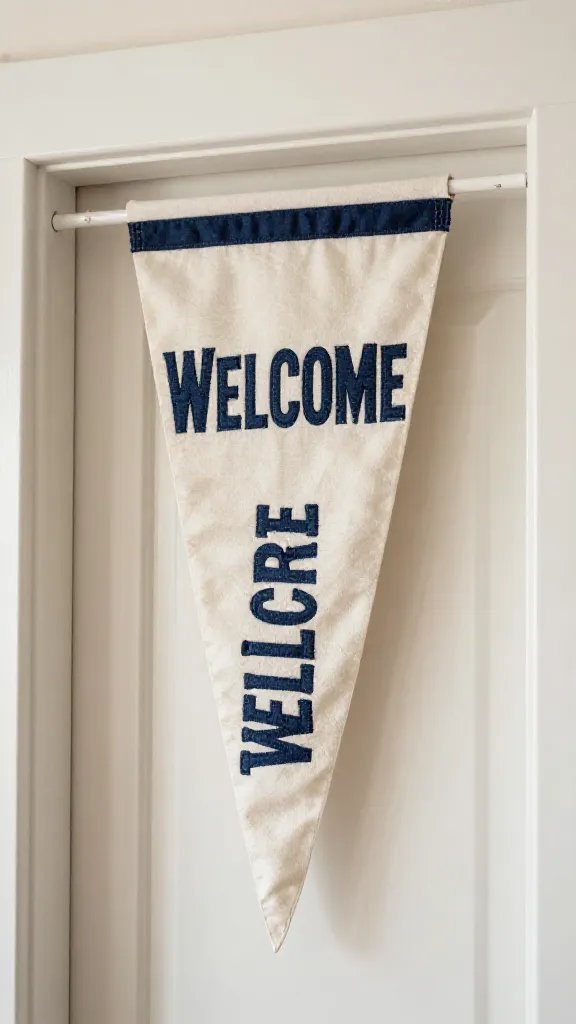
Skip a paper banner that’s hard to reuse. Cut a few fabric scraps into pennants and string them across a doorway or window. Use fabric paint or fabric markers to spell a simple welcome message. It looks softer than paper and can be saved for future gatherings.
Stay safe: Only use low heat to set ink if you iron the banner. Let it air dry fully before hanging to prevent stains on walls or hands.
Make it ahead: Do this in an afternoon so the paint has time to cure and you’re not rushing the night before guests arrive.
4. Sideboard Tea Light Glow

A small table or cabinet can become a warm focal point with a simple tea light display. Line the surface with a strip of kraft paper, then place glass jars filled with battery operated tea lights, dotting with a few votives for variety. Add a jar of fresh flowers or a small potted plant for life.
Safety note: Use flameless lights and keep all candles away from fabric. This setup takes about 20 minutes to arrange and looks inviting in photos.
Use what you have: Recycle jam jars or spice bottles as mini votive holders to cut costs.
5. Mini Chalkboard Welcome Sign

Give guests a warm greeting with a tiny chalkboard at the door. Write a personalized note or a simple “Welcome home” message. Tie a ribbon to the top to hang from a door knob or lean on a console. It’s charming, practical, and ready to reuse for other gatherings.
Make it easier: Use a laminated printable if you don’t own a chalkboard, then write with white chalk marker for a similar look.
Best for: Small entryways where a sign adds personality without crowding the space.
6. Layered Table Runner and Jars

Even a bare table can feel intentional with a layered look. Cover the surface with a neutral table runner, add a second contrasting fabric strip, and scatter a few glass jars filled with flowers or fruit. Throw in a small tray for napkins or utensils to keep things organized and photo-ready.
What to avoid: Overcrowding the surface. A clean, purposeful arrangement reads well in pictures and is easy to replicate later.
Reuse tip: Save the fabrics for future birthdays or seasonal table settings to stretch your decor dollars.
7. DIY Paper Lantern Garden

Hang a handful of tissue paper lanterns at different heights for a soft, dimensional ceiling display. Choose two to three colors from your palette and deflate completely when not in use, saving space for guests’ coats and bags.
Time saver: Inflate all lanterns at once using a handheld pump to avoid hand fatigue. This setup comes together in under an hour once you’ve got the lanterns and string.
Best for: A larger room where the ceiling line needs a gentle focal point rather than a bulky centerpiece.
8. Mason Jar Snack Center With Labels

Dress up a corner with glass jars of bites and snacks labeled in a single script or print. Use a tray or wood board as a base so everything feels cohesive, and top with a simple “Help yourself” sign. This not only looks organized but makes grabbing a plate and a snack painless for guests.
Supply note: Use lids and rings from old jars to create a snug, recycled look. Label with a white chalk marker on kraft paper tags for a rustic vibe.
Time estimate: About 25 minutes to wash, label, and arrange.
9. Rug Corner Cozy Nook

Transform a bare corner into a cozy seating nook using a rug, a couple of cushions, and a throw. This invites guests to settle in, chat, and digest with a backdrop you can style with a small plant or a framed print. It’s a small footprint that makes a big vibe shift.
Placement tip: Use a low pile rug to keep feet warm but comfortable and prevent tripping. It also photographs nicely in a wide shot of the room.
Simple upgrade: Add a lightweight throw blanket and a few coordinating pillow covers you already own for a pulled-together look.
10. Cardboard Backdrop With Painted Stripes

Build a simple backdrop by leaning a large cardboard sheet against a wall and painting vertical or diagonal stripes in two colors. It’s a forgiving texture for photos and can be easily repurposed as a wall panel later.
Make it easy: Use painter’s tape to keep lines clean and a foam brush for faster coverage. Drying can be sped up with a warm room and fans.
Shade note: Pick colors that harmonize with your room’s existing tones to avoid clashing in photos.
11. Fabric Swatch Curtain Tiebacks

Turn leftover fabric into simple curtain tiebacks to give windows a finished look. Cut strips of fabric, punch holes at the ends, and thread through existing curtains. A few swatches gathered at the edge of each window frame creates a soft, collected feel without adding clutter.
Why it works: It adds texture and warmth with almost no cost and little effort. The result reads as thoughtfully styled rather than thrown together.
Best for: Rooms with plain blinds or solid drapes needing a touch of personality.
12. Chalkboard Menu Board
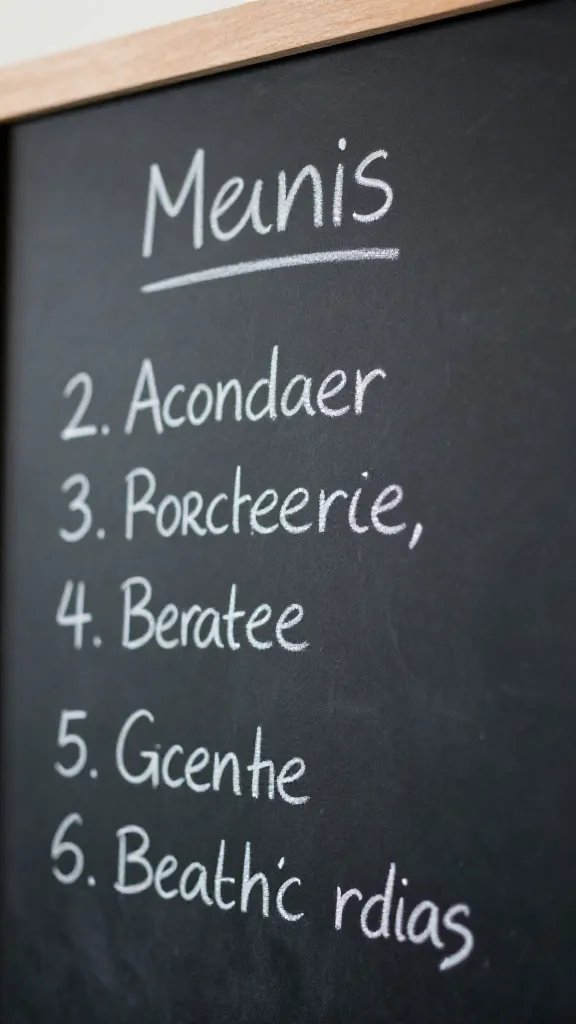
For a small party, a chalkboard menu can guide guests to coffee, snacks, or the coat rack. Draw a simple layout listing what’s available and where to find it. It’s a friendly way to reduce questions and keep your flow smooth as people arrive.
Safety note: Use non-toxic markers and avoid liquid chalk on wooden surfaces to prevent staining. This one takes about 15 minutes to set up and can be reused for future gatherings.
Copy the look: If you don’t own a chalkboard, print a mini menu on kraft paper and prop it on a cute easel for a similar effect.
13. Seasonal Swap Centerpiece

Choose a small, movable centerpiece that can be swapped with seasons or holidays. A metal tray with a plant, a bowl of seasonal fruit, and a few decorative objects keeps things flexible and ready to change with little effort.
Best for: Small gatherings where you want one adjustable decor element rather than multiple items. It remains usable for future parties with a quick update of elements.
Storage tip: Keep the centerpiece components together in a bin so you can pull them out again next time.
You’ve got a dozen practical ways to greet guests without cluttering or overspending. Pick a couple that fit your space, and you’ll see your bare home become a welcoming stage in no time. Save this for the next birthday that sneaks up on you.