
14 Decorative Craft Ideas for Beginners With No Tools

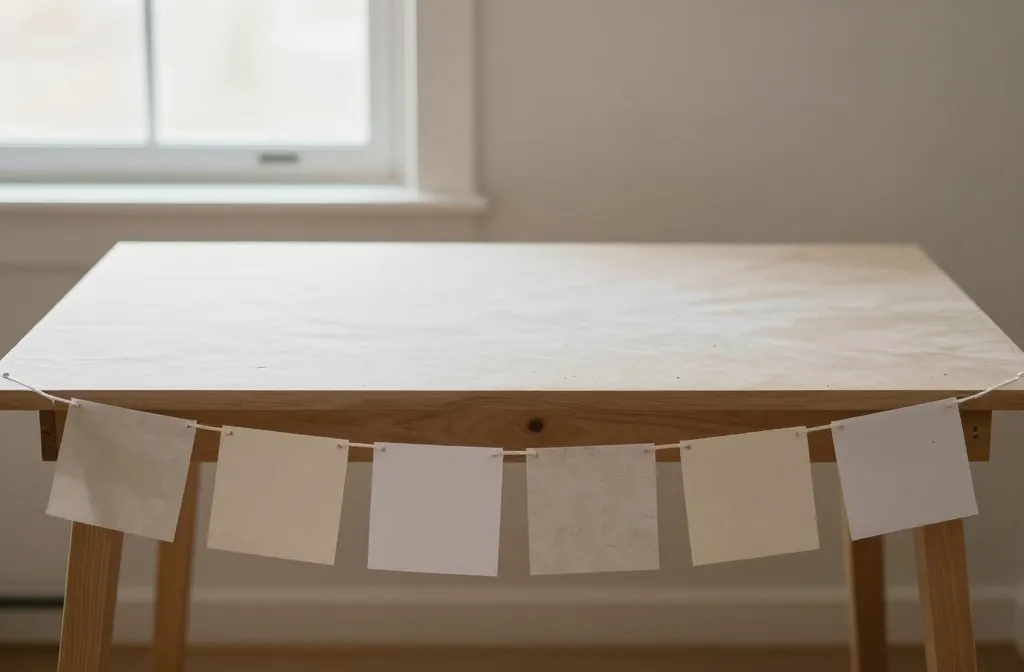
That empty wall, bare table, and last minute party plan hangups are exactly what you want to fix fast. You don’t need a toolkit or a full afternoon to make space look intentional and festive. These ideas solve common party clutter and budget headaches with supplies you likely already have. Each idea is doable today, with clear steps and no special equipment. Read fast, pick a few you can start now, and save the rest for later when you’re setting up for the next get together.
All of these ideas emphasize simple materials, quick assembly, and a look that feels thoughtful rather than thrown together. You’ll find practical tweaks you can adapt to any theme, from kids’ birthdays to casual gatherings. Let’s jump in and pick the ones that fit your space and time this week.
1. Quick Paper Banner With a Personal Twist
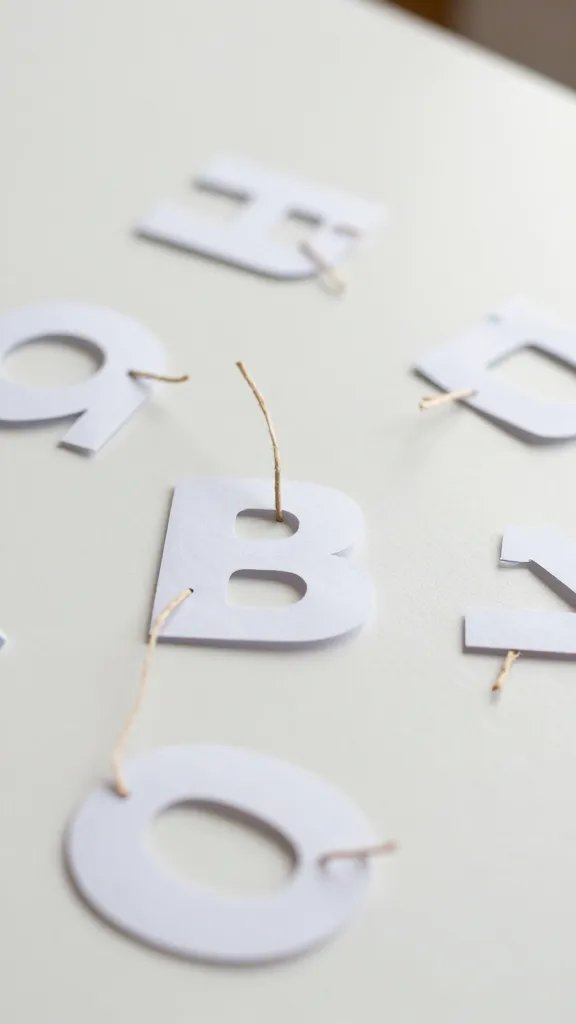
A banner instantly elevates a dessert table or photo wall, but not if it takes all afternoon. This one uses inexpensive paper and a simple loop to hang. Cut letters from any sturdy paper, punch two tiny holes, and thread through twine. Space the letters to read your message and finish with a few scraps of ribbon or string for texture. The whole setup takes about 30 to 40 minutes if you work steadily, and you can reuse the letters for future events by swapping out the message.
Best for: Small spaces, kid friendly decor, quick setup. Keep extra letters handy for last minute changes.
2. Fabric Scraps as a Soft Backdrop
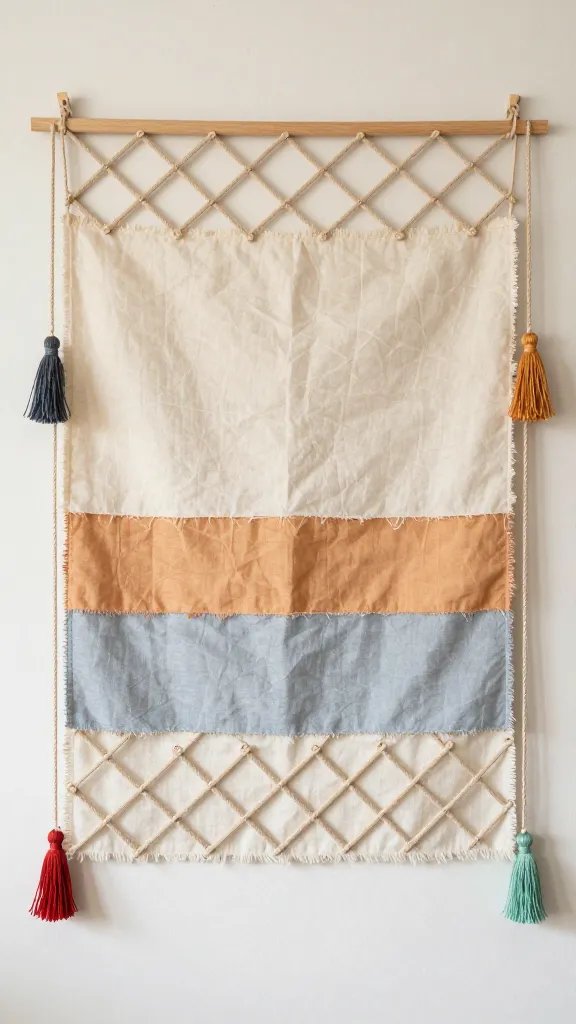
Gaps behind a cake table look less stark with a fabric scrap backdrop. No sewing needed—just tear or cut pieces from old sheets or old tablecloths and pin to a wall with removable tape or tape arranged in a lattice. Layer different colors for depth, and finish with a few lightweight tassels made from the leftover fabric. This comes together in under an hour and can be taken down cleanly, with no fabric waste if you reuse the pieces later.
Use what you have: Mix two or three colors and recycle old fabrics you already own.
3. Balloons With Confetti Tape Peeking Through
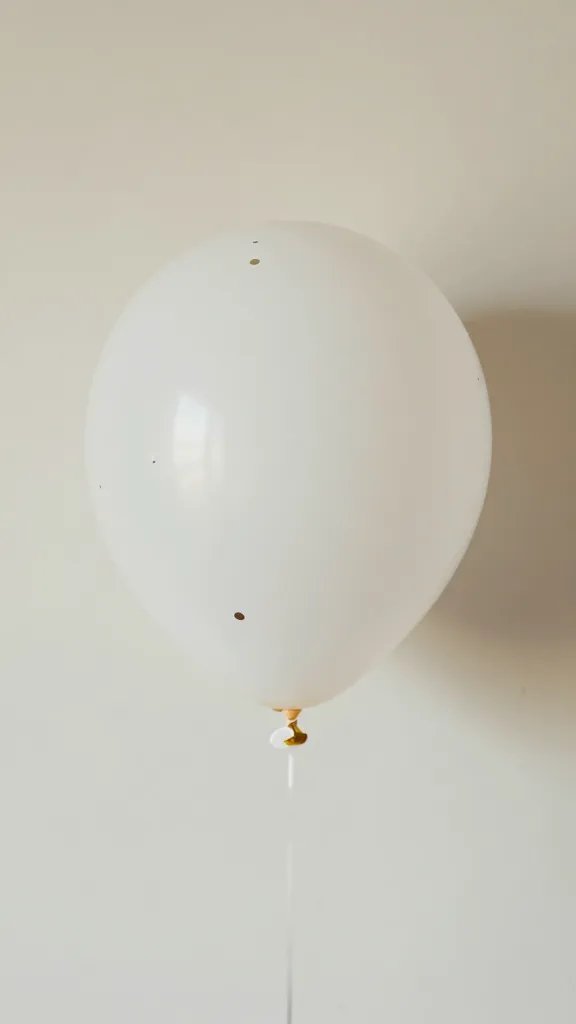
Balloons are a party staple, but a plain bunch can feel bland fast. Inflate balloons and attach a strip of confetti tape along the seam near the knot. Tape the strips to a wall or drape them over a chair back for a quick, celebratory look. It requires no special tools beyond a roll of tape and a pair of scissors. The effect is playful and inexpensive, and you can scale it up for a larger room by repeating the same setup in a grid or arch with minimal effort.
Safety note: Keep balloons out of reach of curious little hands and supervise children around the strings.
4. Jar Vases With Everyday Flowers
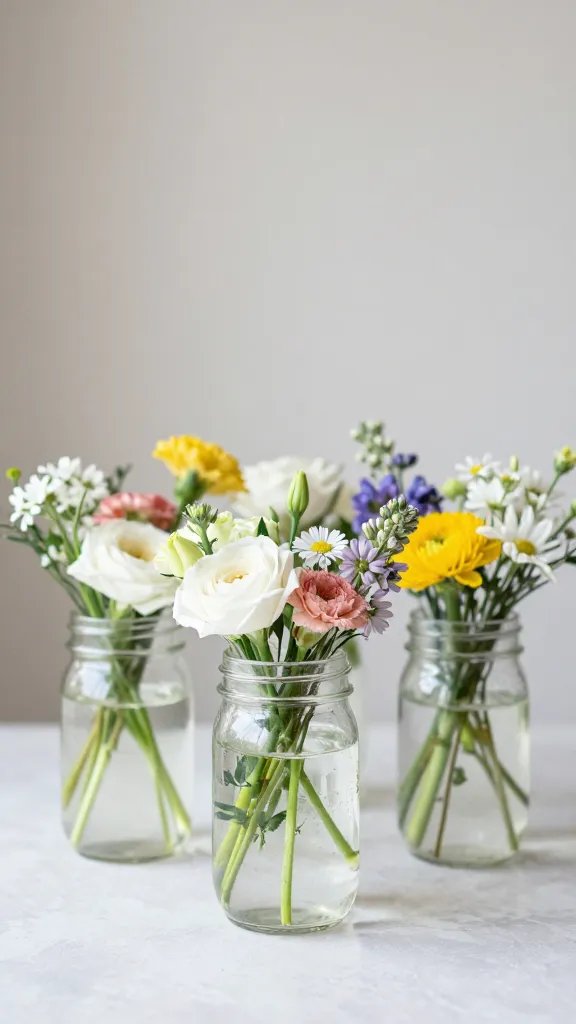
Grab a few glass or mason jars from your cupboards and fill them with water and fresh cut flowers or even sprigs from your garden. Tie a ribbon or a strip of twine around the neck to give a finished look. If you don’t have fresh blooms, a few branches of greenery or even colored pencils stuck in floral foam wrapped in paper can mimic a bloom-like vibe. Place the jars on the dessert table or along the entryway to create a soft, natural touch without buying decor.
Placement note: Group three jars of different heights on a tray to add dimension without crowding the space.
5. Greeting Card Place Cards Reimagined
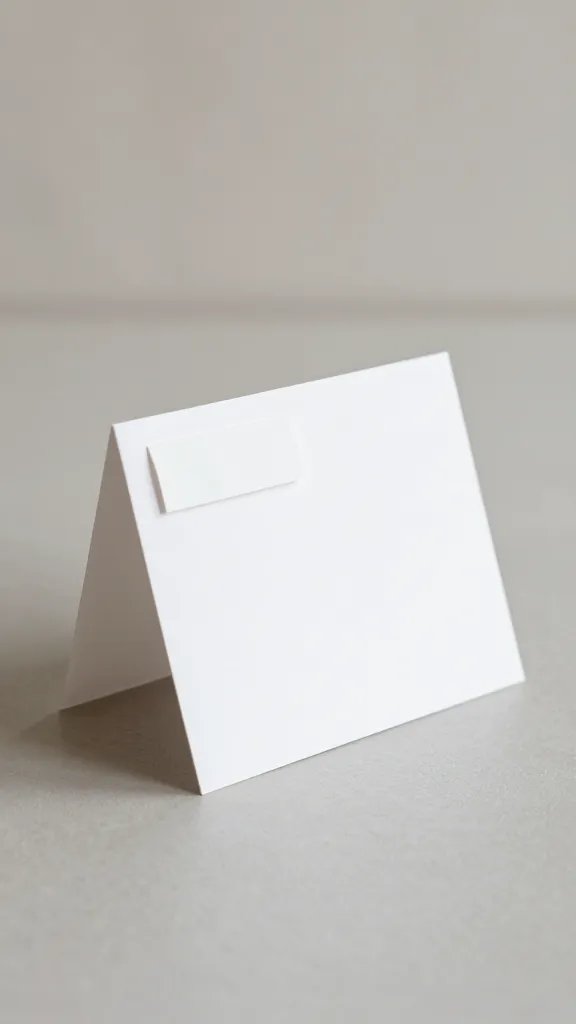
Turn simple folded cards into charming place cards without writing on them. Write names on small scraps of paper and tuck them into the card folds or clip them with a paperclip. Leave the cards nearby as a keepsake for guests to take home. This approach lines up with a budget-friendly mindset and avoids last minute panic about seating. If you don’t have cards handy, use folded construction paper or sticky-notes with names placed on the edge of a plate.
Copy the look: Use the same color family for all cards to feel cohesive.
6. Paper Fan Wall in Two Tolds
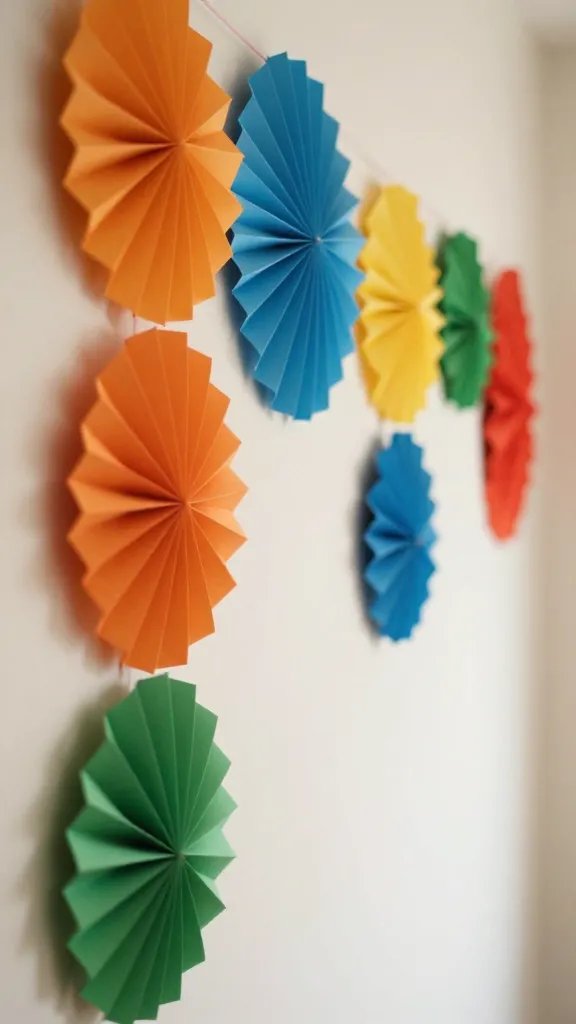
Simple paper fans can be lined up to create a soft backdrop behind a cake or dessert display. Use any sturdy scrap paper or even grocery-store wrap paper folded into fans and secured with a dab of glue or tape. Space them evenly along a string or directly on the wall. For a more finished feel, alternate colors and sizes. This setup takes under an hour and uses materials most people have on hand, creating texture without clutter.
Place it smartly: Start at the center and work outward for a balanced look.
7. Chalkboard Notepad Banner Without Chalkboard

Turn a sheet from a chalkboard-friendly packet or a black cardboard sheet into a writable banner. Use a white crayon or chalk marker to write a short message, and hang with string or ribbon. For a kid-friendly option, let children add a few doodles on the edge. The result reads personal but not messy, and it’s easy to wipe clean and reuse for future parties.
Little hands tip: If kids help, keep the message short for easy correction and quick cleanups.
8. Glow Jar Lights With Battery Tea Light
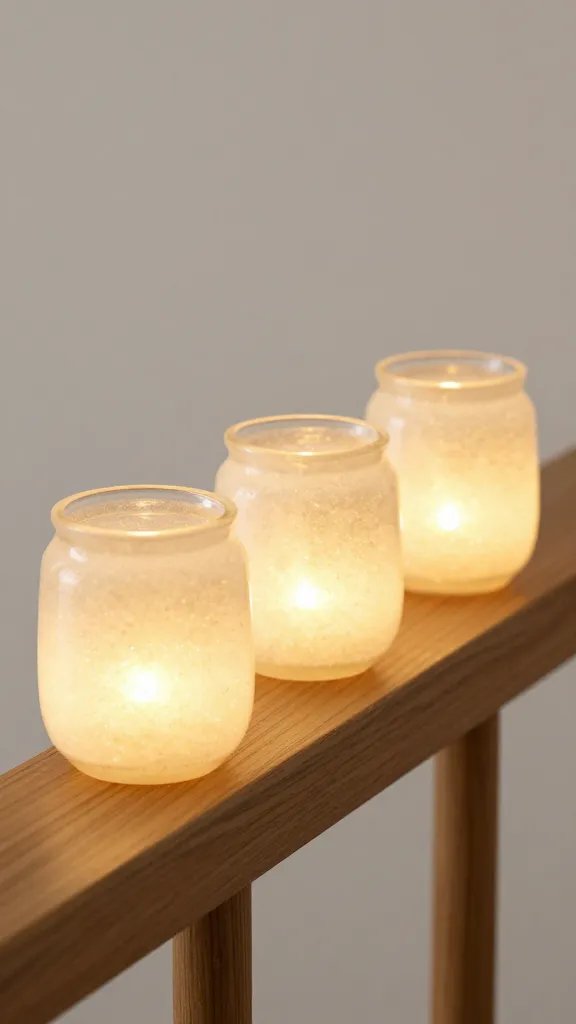
Fill small jars with loose tea light batteries and a bit of glitter or tissue scraps. Place the jars along a stair rail or as a centerpiece for a soft glow. It’s a safe, no-sparkling setup that adds warmth to the room without requiring tools. The jars can be wired with simple tape, and you can reuse them for a cozy mood at future gatherings or movie nights with friends.
Safety note: Use LED lights only; avoid open flames near paper or fabric.
9. Seated Photo Corner With a Fabric Backdrop
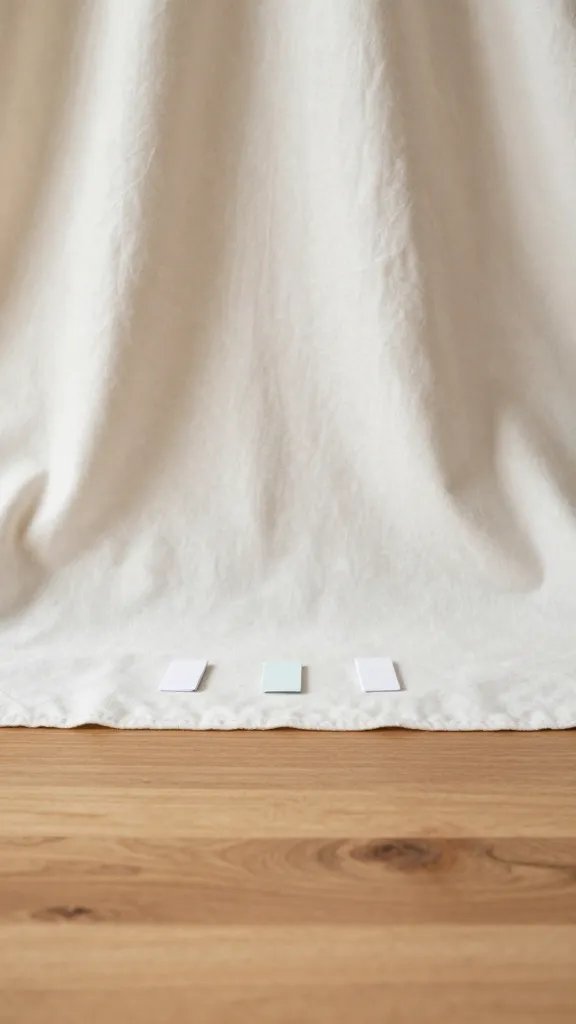
Create a mini photo corner using a small fabric piece as a backdrop, a couple of props, and a phone stand or tripod. Tape the fabric to a wall in a small corner and add a couple of props from around the house. A phone or camera can be used to snap quick memories. This setup helps guests mingle and gives you social-ready pictures without needing a full photo booth kit.
Best for: Small apartments or tight spaces where a big backdrop isn’t possible.
10. Cardboard Crown or Buttons Garland
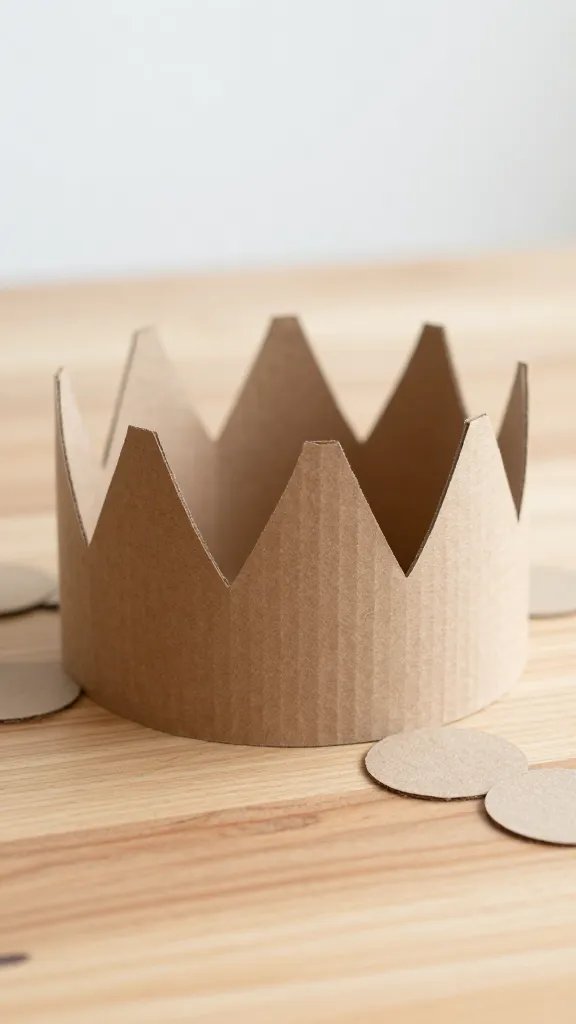
Cut simple crown shapes or circles from leftover cardboard and string them together with yarn or ribbon. Paint or color with markers if you like, then drape across a wall or above a doorway for a playful touch. This project is quick, uses scraps, and can be done in stages as you tidy up different areas. You can reuse the pieces for future events or cut a new set to customize for upcoming themes.
What to avoid: Avoid sharp edges; trim any rough spots before stringing.
11. Food Label Flags With Toothpicks
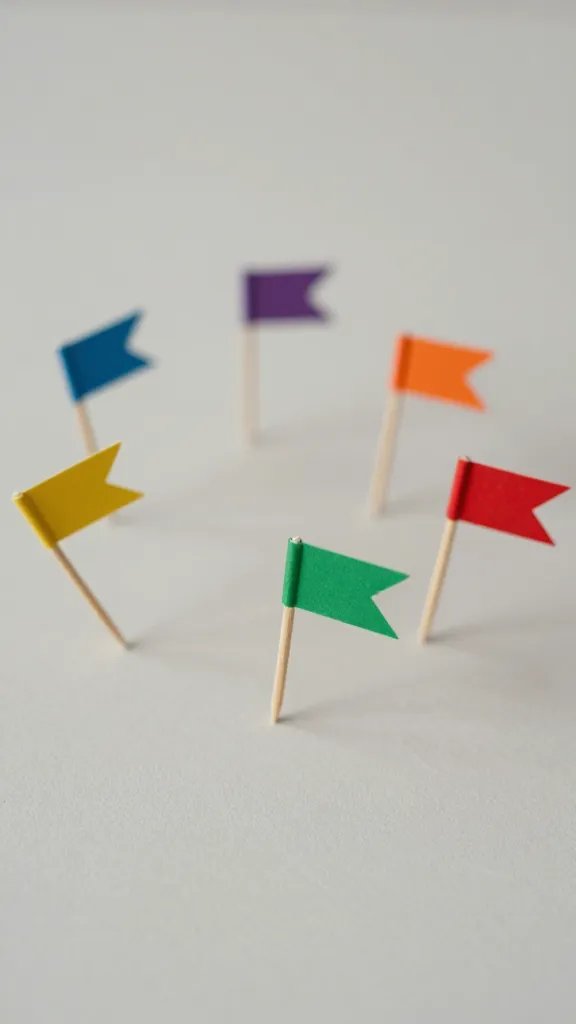
Cut small rectangular notes from scrap paper and write the name of each treat. Attach to toothpicks with a dab of glue or tape, and insert into bowls or on top of desserts. It helps guests know what’s there and adds a splash of color to a boring dessert table. This is a fast upgrade that you can finish in under 20 minutes and you can reuse the flags in future gatherings by changing the labels.
Use what you have: A handful of papers in a color family looks coordinated without buying new supplies.
12. Ribbon Curtain From One Drawer Pull
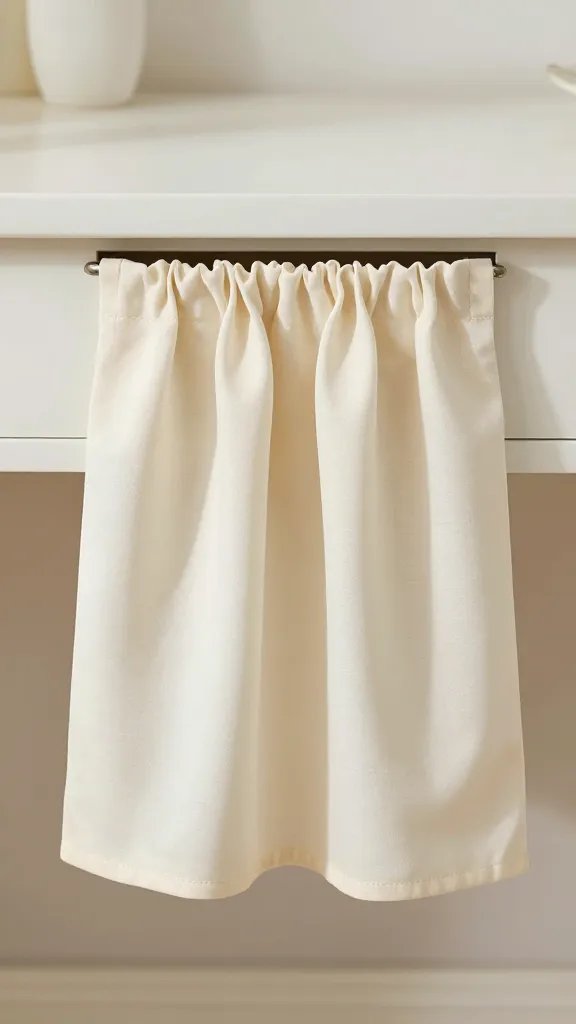
If you have a long curtain rod or a tension rod, thread a few ribbons or fabric strips through it and hang as a soft curtain behind the cake or near the entry. It adds movement and color without a big investment. The setup takes about 15 to 20 minutes and can be adjusted as needed. You can reuse the ribbons for future parties or tie the fabric pieces into a bow for a different look.
How to store: Roll the ribbons gently to avoid creases for next time.
13. DIY Confetti Pouch Clouds
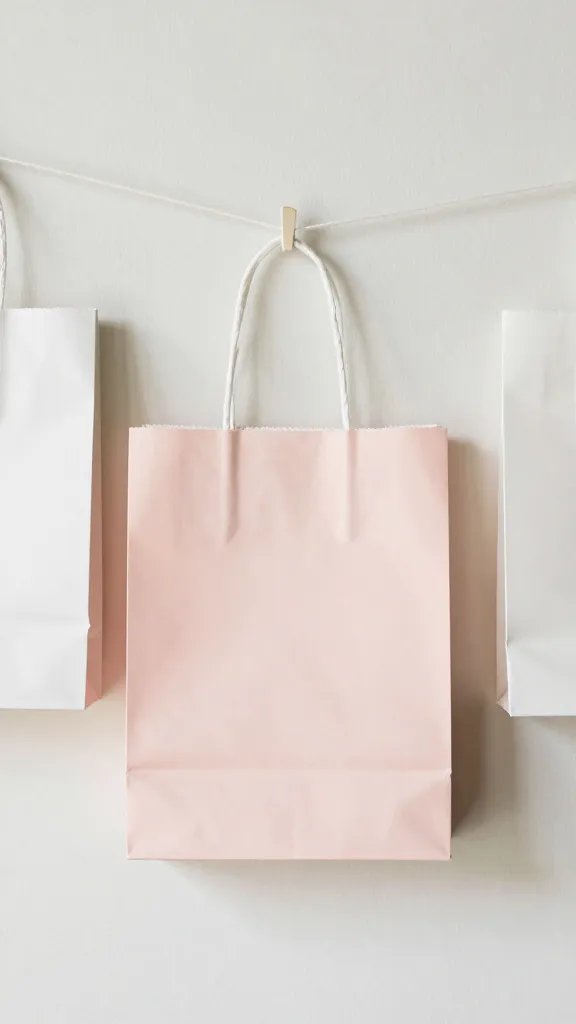
Fill small paper bags with a pinch of confetti or colored paper scraps and clip shut with a simple staple or tape. Hang from a string at varying lengths to create a playful ceiling accent. This idea is light in cost and big on impact, turning a dull ceiling into a decorative feature without needing tools or a trip to the store. It’s quick, and you can assemble while catching up with guests.
Safety note: Keep confetti away from kids who may put small pieces in their mouths.
14. Upcycled Letterboard Messages With Found Letters

If you have a chalkboard, a letterboard, or a set of magnetic letters, arrange a message using found letters from around the house. Layer colors by placing different letter sizes and fonts on the board, then wipe clean between uses. It’s a flexible centerpiece that can be updated weekly, and you can even store it flat between events to save space. The payoff is a polished sign without buying new decor.
Copy the look: Choose a single color family for all letters to keep it cohesive.
With these 14 ideas, you can decorate with purpose and save time. Pick one or two that fit your space and budget, and you’ll have a party that feels coordinated fast. Save this for the next birthday that sneaks up on you.