
15 Craft Ideas for School Projects Due Tomorrow

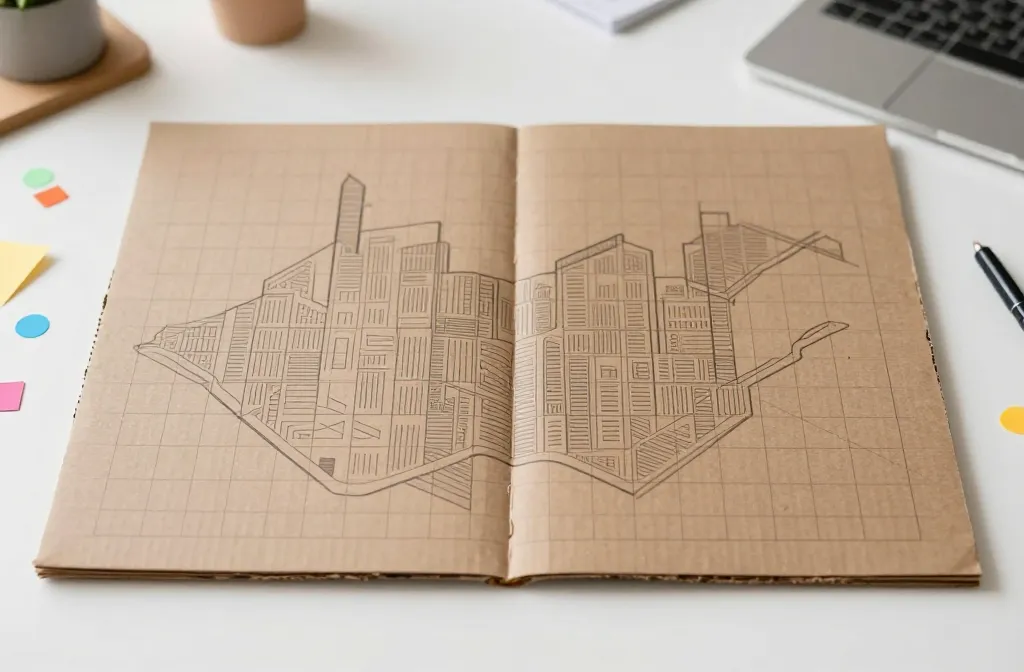
Kids have a deadline and a blank sheet, and you have a few hours to spare. These ideas are crafted to be doable, affordable, and a little surprising when you need to show work tomorrow. You’ll find practical, can-do steps that look polished without pulling late nights at the kitchen table. If you need to adapt, swap colors, sizes, or shapes to fit what you have on hand. The goal is usable, presentable projects, not perfection. Let’s jump in and pick a plan that fits your kitchen clock.
Whether you’re aiming for a science fair prop, a history diorama, or a language arts display, these ideas scale with your supplies and time. Each sections offers a specific path you can start now, with clear materials and a rough timeline. We’ll mix in small, smart tweaks so the result feels thoughtful, not rushed. Here’s the first batch you can tackle tonight.
1. Cardboard City Map
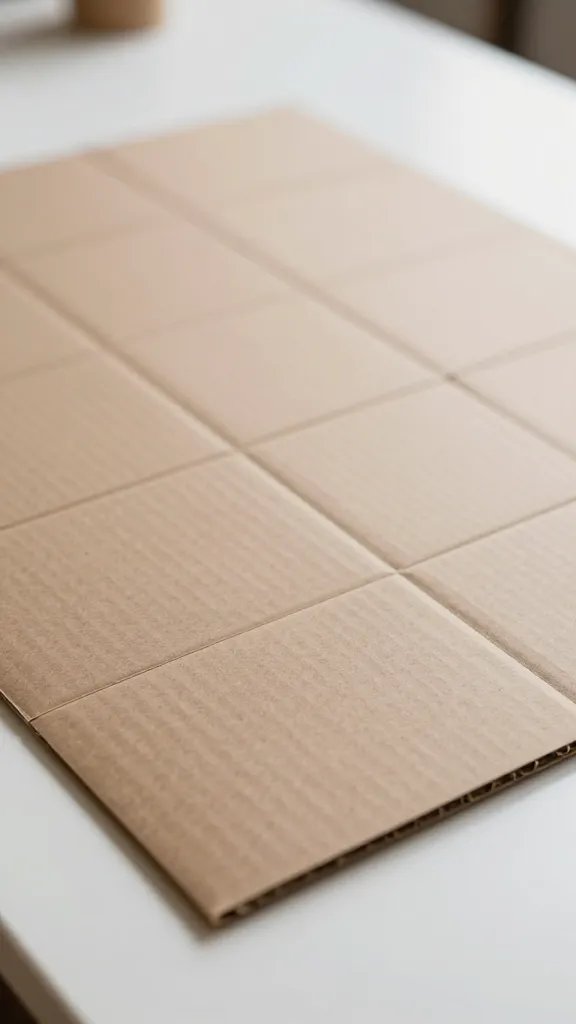
Flattened cardboard, a roll of tape, and a marker can become a tiny, legible map for a geography or history project. Cut a city grid from a large box and label streets with hand-drawn names. Use colored paper scraps to create park areas or river features. The result reads clearly on a desk and photographs well for a report board. This approach cuts the glare of a glossy print and keeps the focus on the student’s understanding. If you have extra time, add a legend or a simple timeline at the bottom corner.
Copy the look: Draw with a fine tip marker, then color-code zones for readability. What to avoid: Overcrowding the map with tiny features that are hard to see from a distance.
2. Duct Tape Bookmark Diorama
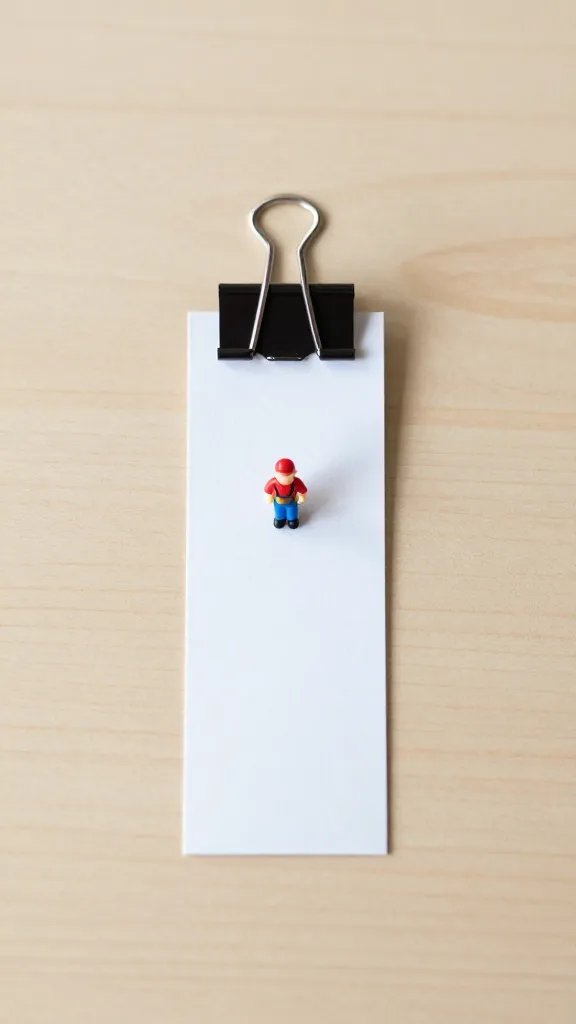
For a language arts or history project, create a tiny 3D scene on a binder clip or cardboard base using scrap paper, fabric bits, and a strip of decorative duct tape. Build a mini backdrop and place a small figure representing a scene or character. It’s compact, sturdy, and easy to transport for a classroom display. The trick is to keep it simple: one major element plus a couple of supporting details so it reads from across the room. Add a short label card describing the scene.
Why it works: The diorama turns a flat page into a storytelling object. Budget swap: Use what you have—paper scraps, old fabric, and any available tape.
3. Foam Disk Planet Mobile
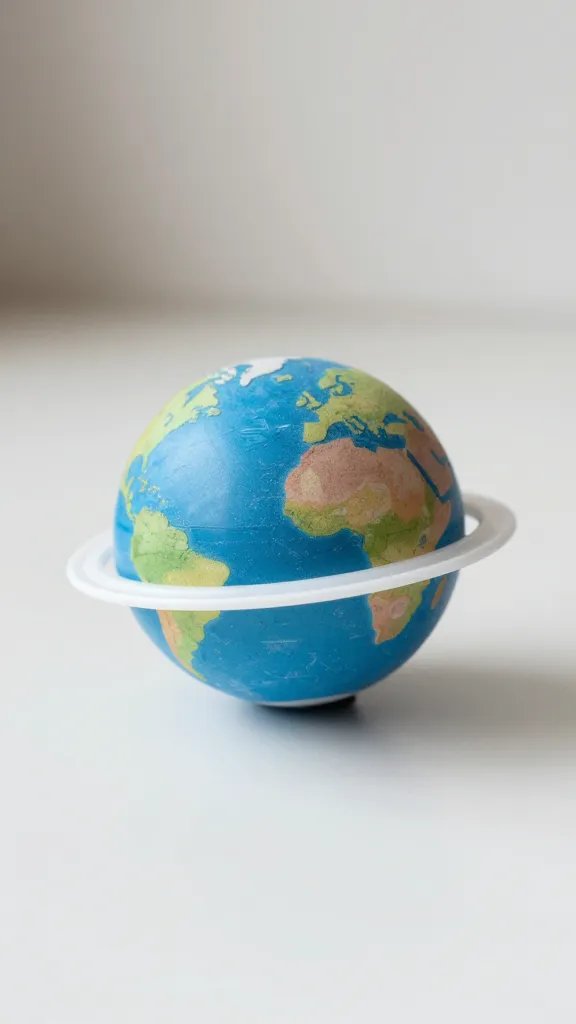
Slice a foam craft ball into thin disks and string them from a hanger or embroidery hoop to make a hanging mobile. Paint or color the disks in planetary colors, label them briefly with a Sharpie, and suspend at varying heights. This makes a science project visually dynamic and easy to assemble in a single afternoon. If you’re aiming for a classroom display, hang the mobile at about eye level and add a one-sentence caption card for each planet.
Material note: Foam disks, a lightweight hanger, string or yarn, and acrylic paint or markers. Safety note: adult should handle any sharp tools during assembly.
4. Recipe-Style Timeline Poster
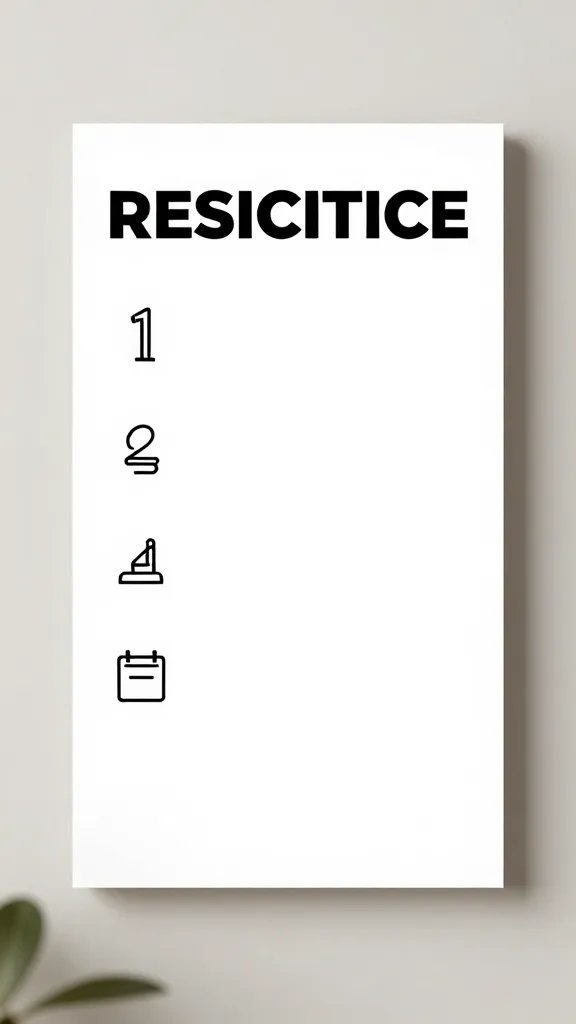
Turn a timeline into a recipe card format. Create a vertical poster with a bold title, then list era phases like ingredients and steps. Use simple shapes to denote dates and a different color for each era. Add a few icons instead of long text blocks to keep it readable from a distance. This works great for history, science experiments, or literature studies. Keep the poster lean: five to seven milestones with one sentence each plus a short caption at the bottom.
Best for: history or science timelines for middle school projects. How long it takes: about 60 to 90 minutes to design and paste the final layout.
5. Tissue Paper Color Block Banner
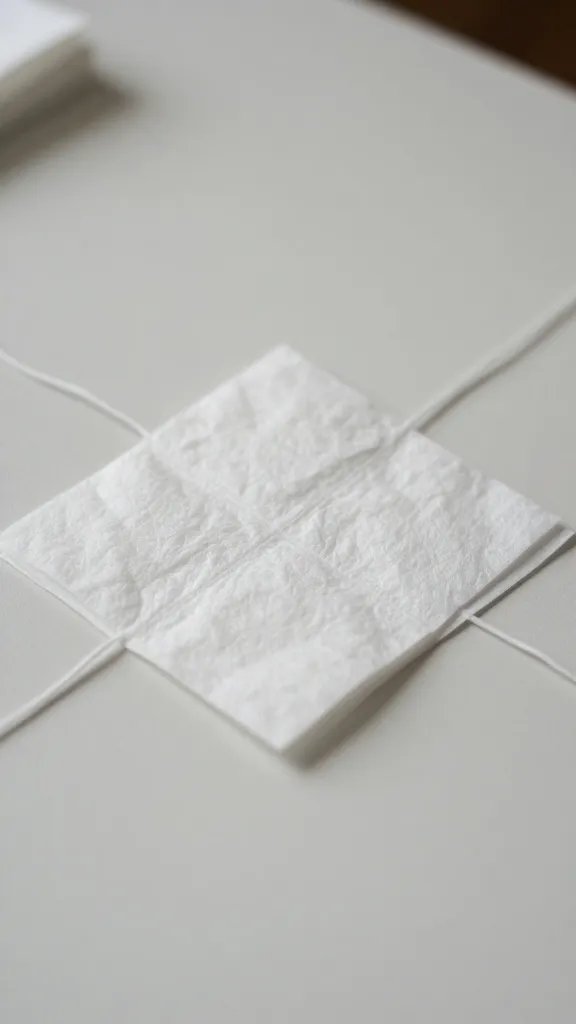
Make a banner using folded tissue paper squares glued to a string. Choose two or three colors that match the project theme and cut rectangles, then layer them to create a soft, textured look. It’s budget-friendly and packs flat for transport. This works for science fairs, book reports, or environmental science topics. Leave enough space at the ends of the string for tape or binder clips to hang it neatly on a wall or board.
Make it easier: pre-cut a pile of tissue squares and a single glue line on kraft paper for quick assembly. Cleanup tip: wipe glue with a damp cloth to prevent clumps on the banner.
6. Sock Puppet Timeline
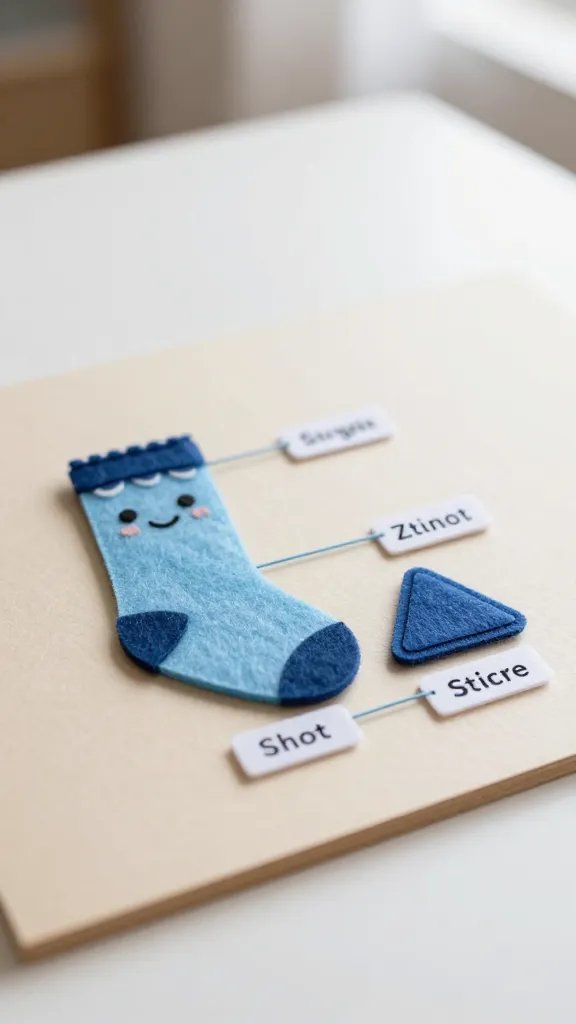
Use a couple of old socks to craft puppets that illustrate key moments in a topic. Attach felt shapes or fabric scraps for features, and label each puppet with a brief caption. Line them up on a flat board or a string to show progression. This idea turns a dull sequence into a story students can narrate aloud during a presentation. If you have time, create a short script to go with the puppets and practice a quick five-minute talk.
Why it works: Hands-on elements engage audiences and reduce monotony during a presentation. Kid friendly: Let kids choose the puppet colors to reflect their character or era.
7. Magazine Collage of a Character
Scan through old magazines to assemble a collage that represents a character or concept. Cut images, headlines, and textures that convey the ideas your project covers. Mount the collage on a poster board and add a short caption card explaining the connection. This method is quick, visually rich, and adaptable for literature or social studies. It also avoids the glare of typed text while still delivering a strong message.
Use what you have: A glue stick and scissors plus a stack of magazines or printed pages. Copy the look: Aim for a central focal image with surrounding supporting bits.
8. Recycled Jar Experiment Log
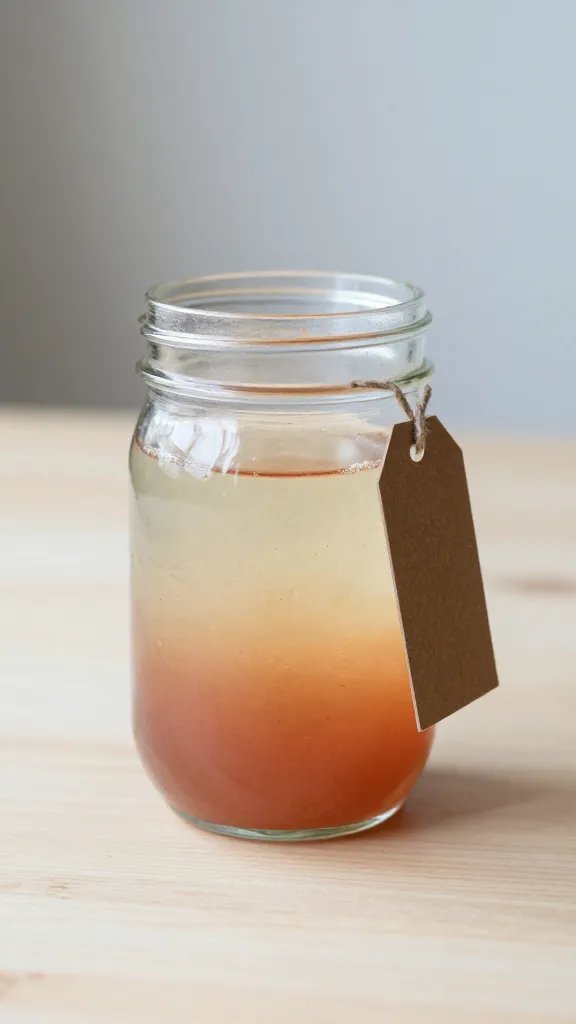
Turn a mason jar into a mini display for an experiment or data collection. Fill with colored water or sand to illustrate levels, and create a simple log on a tag tied to the jar with the experiment date and key results. This is neat for science fair props and keeps messy results contained. Add a small label on the jar lid so your teacher can quickly read the purpose and the date from a distance.
Best for: simple science demonstrations. Time saver: keep the design minimal to avoid extra prep.
9. Cardstock Puppet Theater
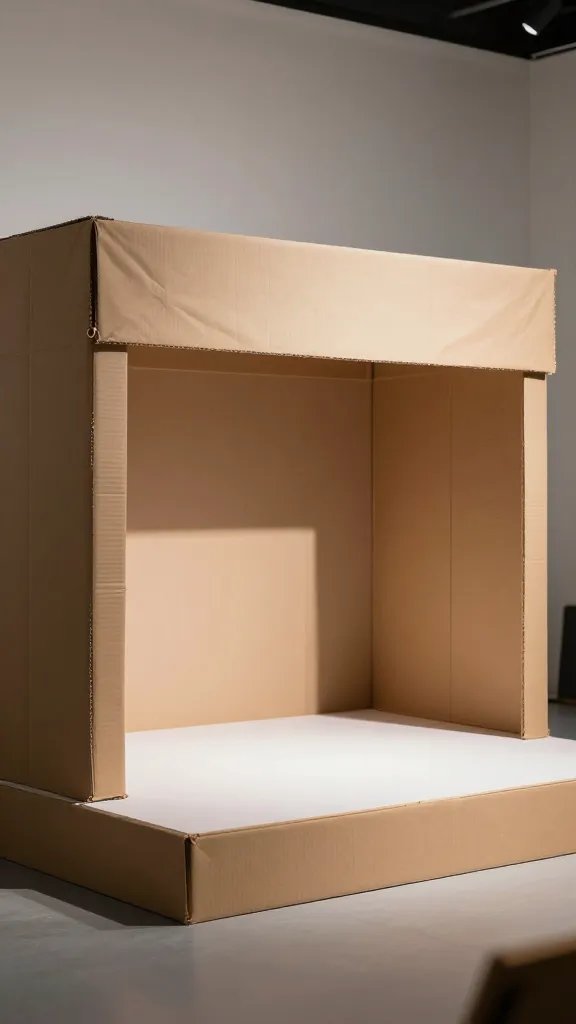
Build a tiny theater stage from cardboard and cardstock curtains. Create a couple of easy paper puppets and mount them on sticks. Use the stage to reenact a scene or show a quick demonstration. This is a fun way to present a historical scene, a short story, or a science concept. It travels flat and assembles in minutes. Practice a small performance with the class to reduce nerves and keep the presentation moving smoothly.
Make it ahead: pre-cut the stage and puppets and store them flat in a folder. Safety note: avoid small parts that could be choking hazards for younger students.
10. Color Wheel Snack Tray
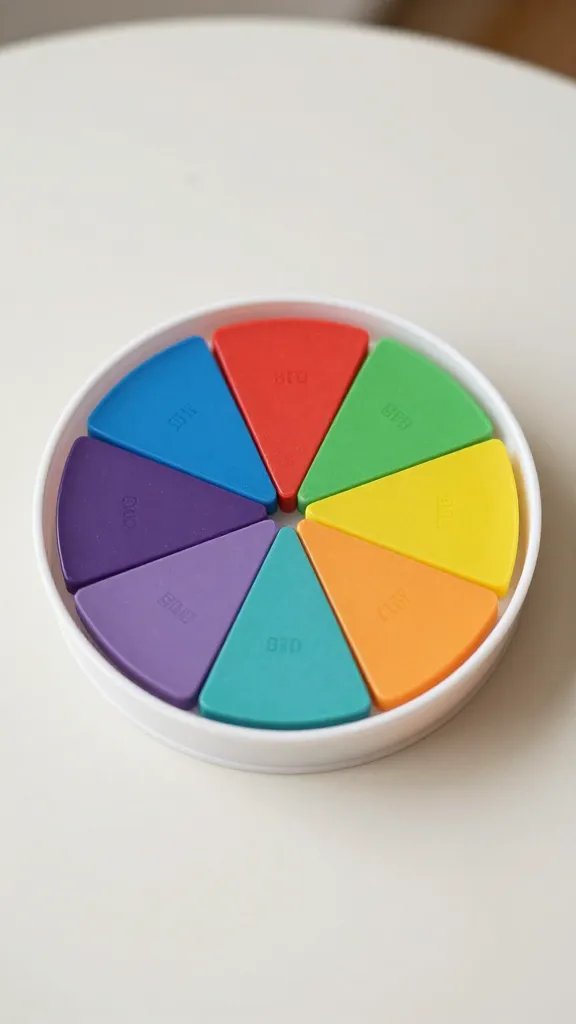
Turn a simple snack tray into a color wheel demonstration. Arrange foods by color on a circular tray and label each color segment. This is perfect for art or science projects about color theory or nutrition. It looks appetizing on the presentation board and can be photographed easily. If you can, add a small legend explaining primary, secondary, and tertiary colors so classmates follow along quickly.
What to label: the color names and the color relationships. Time note: 20 to 30 minutes to assemble and arrange.
11. Button Mosaic Subhead
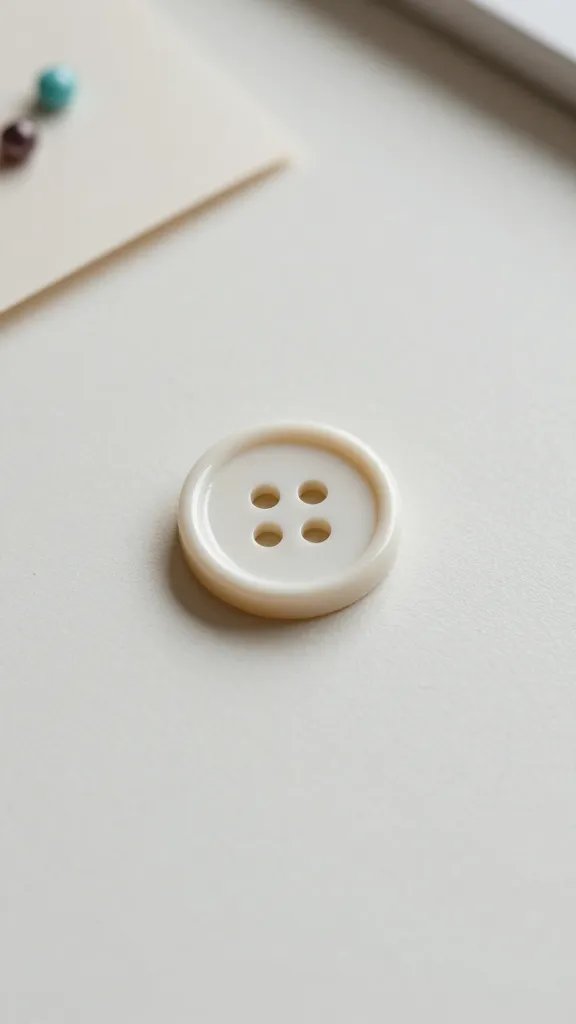
Use an adhesive sheet or glue to create a small mosaic on a cardstock panel. Arrange buttons and assorted beads to form a simple image or pattern that represents a concept from the project. This one is tactile and visually rich, catching the eye in a crowded display. The key is keeping the mosaic simple: one central shape with a handful of supporting embellishments so it reads well from across the room.
Little hands tip: have a tray for sorting buttons by color to speed up placement. Warning: small parts can be a choking risk for very young kids.
12. Shadow Box Mini Scene
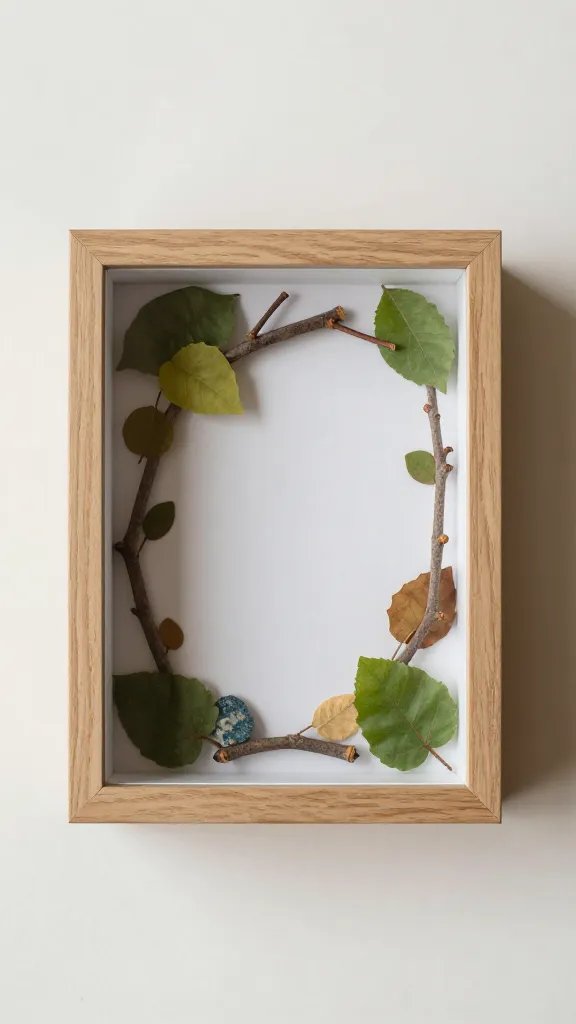
Repurpose a small shoebox into a shadow box that depicts a key moment or habitat. Layer colored paper as a backdrop, add small cut-outs, fabric flecks, or natural finds like twigs and leaves. The depth adds interest on a display board, and you can write a one-sentence caption under the scene to explain its significance. This is particularly helpful for science habitats or historical scenes that benefit from a tangible setting.
Best for: science or history projects that benefit from depth. Make it ahead: assemble the box and background a few hours early to let glue cure.
13. Paper Plate Shield Poster
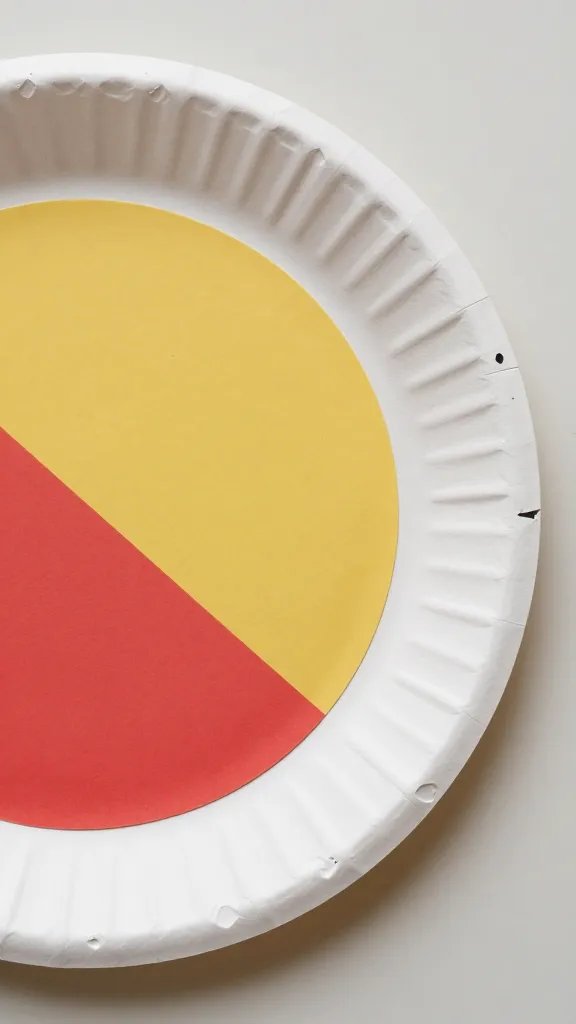
Cut a semicircle from a paper plate and decorate it to represent a hero, leader, or concept. Attach a brief, readable label with a catchy subtitle and a short description of the figure or idea. Mount the plate on a colored backing for contrast. It’s a compact, sturdy display piece that travels well and photographs cleanly for a board. Keep the text concise and legible from a distance.
How to vary: swap in a different icon or symbol for each project whenever you reuse this idea.
14. Origami Geometry Garland
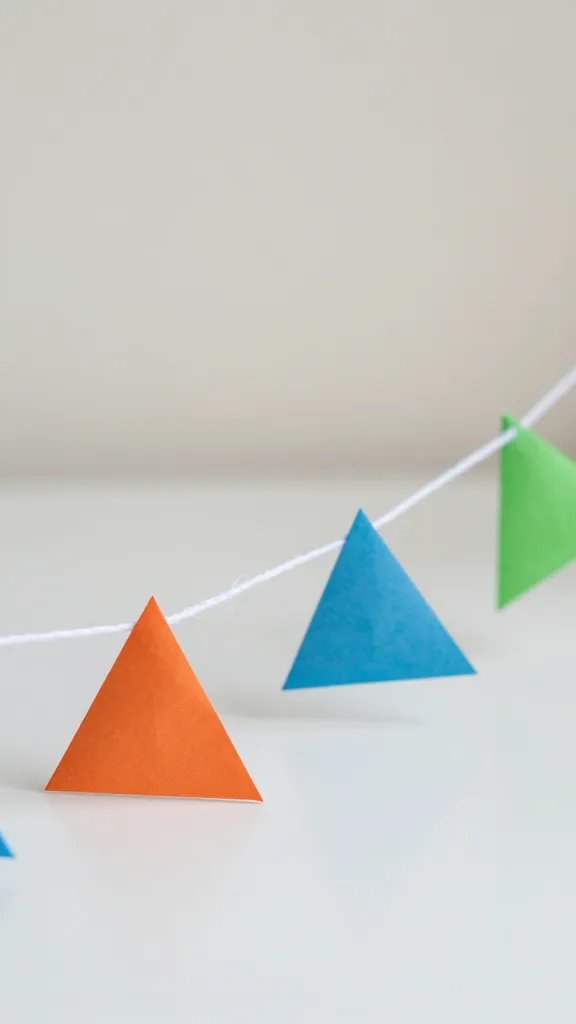
Fold a handful of origami shapes from colored paper and string them into a garland. Use simple triangles or squares that clearly illustrate a geometric concept—angles, symmetry, or patterns. Hang the garland along a board or wall to create a visual anchor for a project. If you’re pressed for time, pre-fold shapes and punch holes for easy threading. The simplicity makes it quick, but the result still feels intentional and neat.
What to avoid: overcrowding the garland with too many shapes if space is limited. Keep it neat: align edges for a crisp finish.
15. Chalkboard Labels and Tags
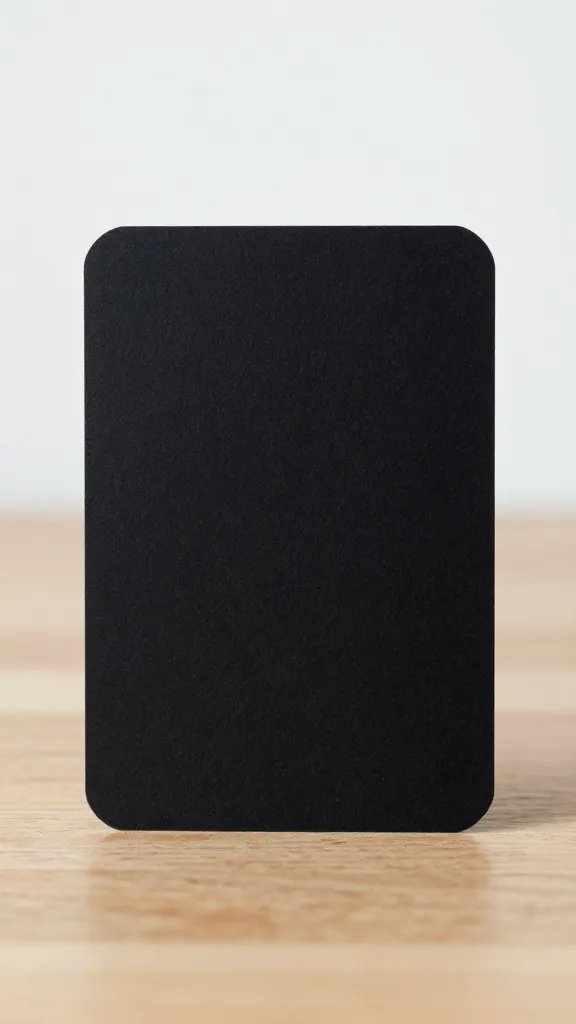
Create a small set of chalkboard-style labels on black cardstock or lightweight board. Use white paint pen to write key terms, dates, or definitions, and attach them around a central display board. This quick, readable labeling helps viewers scan the board quickly and understand the flow of the project. Leave a little space so the board doesn’t look crowded, and consider adding a one-sentence caption near the bottom to summarize the topic at a glance.
Ease of use: laminate the labels or cover with clear contact paper to prevent smudging during display. Note: use a light hand with ink so it remains legible after transport.
Conclusion: These ideas give you fast, practical routes to a presentable project. Pick one that matches the time you have and the supplies you’re comfortable with, then run with it. Save this for the next project that sneaks up on you.