
15 Paper Craft Ideas for Scrapbook Lovers

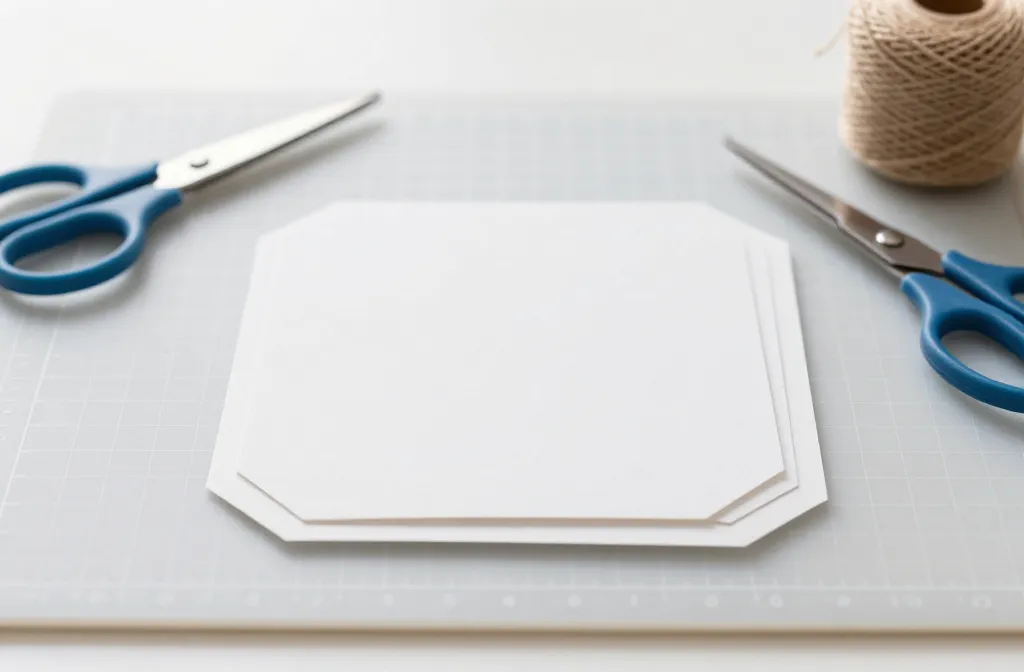
Every scrapbooker knows the feeling: a cozy pile of photos waiting, pages begging for texture, and a party looming with a plain setup. You want something you can whip up this week without wrecking the house or your budget. These ideas solve real layout and decor problems while staying friendly to a kitchen table workflow. You’ll find quick, tangible steps and clear supplies so you can start tonight and have ready, shareable photos tomorrow. Let’s turn those memories into craftable moments that look intentional, not slapped together.
Across these ideas you’ll see variations on color, texture, and placement so you can mix and match with what you already have. Each section keeps things practical and doable, with a clear path from concept to finished piece. If you’re paging through on mobile, you’ll spot the exact supplies and timing so you can plan a mini crafting session between chores. Now the ideas start, one by one, each with a concrete problem solved and a simple path to make.
1. Layered Photo Collage Banner
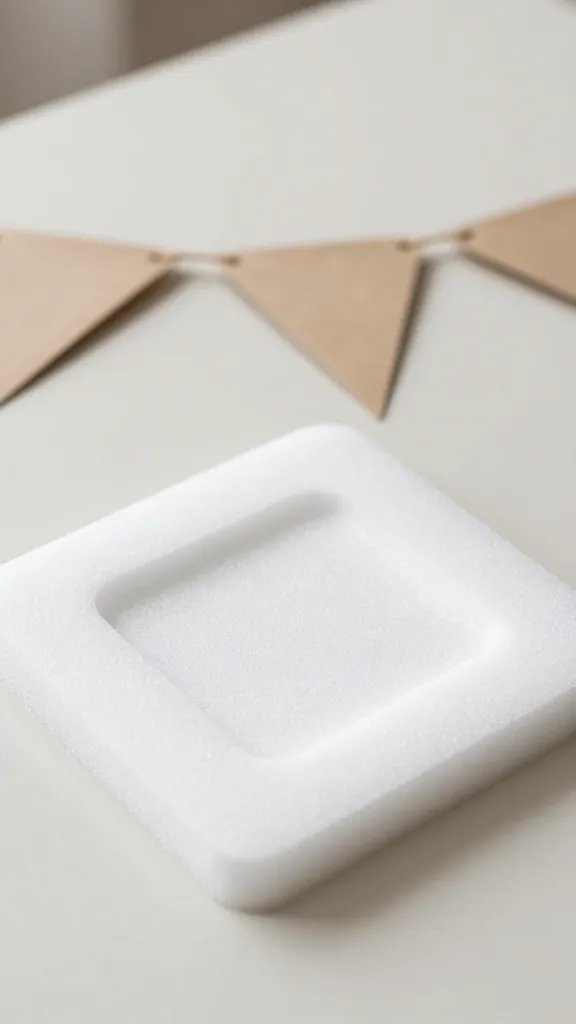
Your party backdrop feels flat when photos are stuck on a wall in a single row. A layered banner adds depth and gives guests something to glance at as they mingle. Cut small photo squares from printed pics and mount them on foam shapes in staggered heights. String with twine and add a few tiny paper leaves for movement. This reads as scrapbook chic rather than a DIY afterthought and takes about 40 minutes for a 6-foot banner. Keep the photos grouped by theme or color to avoid a chaotic look. If you’re pressed for time, print at home and skip the extra embellishments.
Use what you have: Recycle old scrapbooking stickers to add small focal points along the banner.
2. Mini Photo Corners on a String
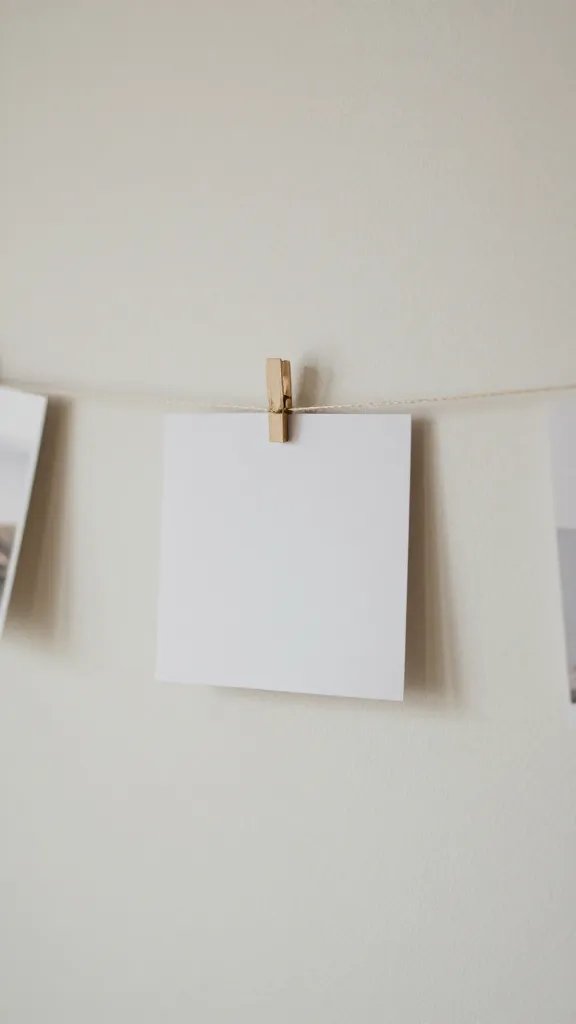
A plain wall can steal attention from the cake table. Create floating frames by mounting tiny prints on decorative paper squares and punching holes for a stringed garland. Space them evenly, then knot a simple satin ribbon between each corner. The effect is airy and personal without heavy labor. This makes a strong visual statement in under an hour and is easy to adjust if photos shift. You can vary sleep time by making a shorter version for a small space or a longer one for a long wall.
What to avoid: Too many tiny items crowding the space makes the garland hard to read from afar.
3. Color Swatch Place Cards
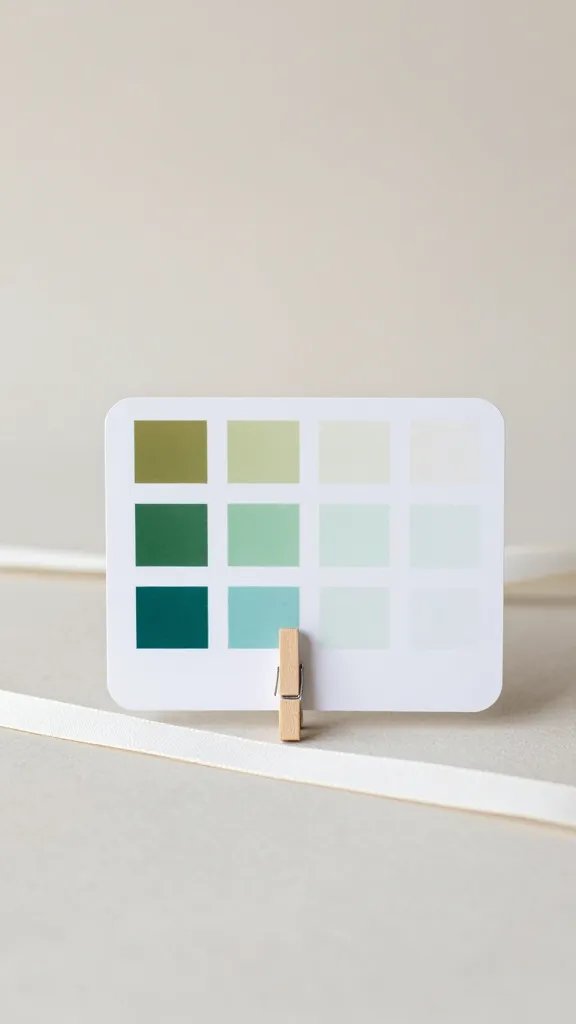
Seating plans feel stiff when guests don’t know where to sit. Create color swatch place cards using scraps of patterned paper and a small photo of each guest. Write the name on the back and clip a tiny clothespin to the edge for easy placement on a ribbon or mini clothesline. It solves the problem of unclear seating without resorting to a printed map, and it doubles as a mini scrapbook memory at the end of the party. Plan for about 20 minutes to assemble ten cards.
Copy the look: Use four coordinating papers to form a soft palette that matches the room or cake accents.
4. Journaling Card Photo Wall
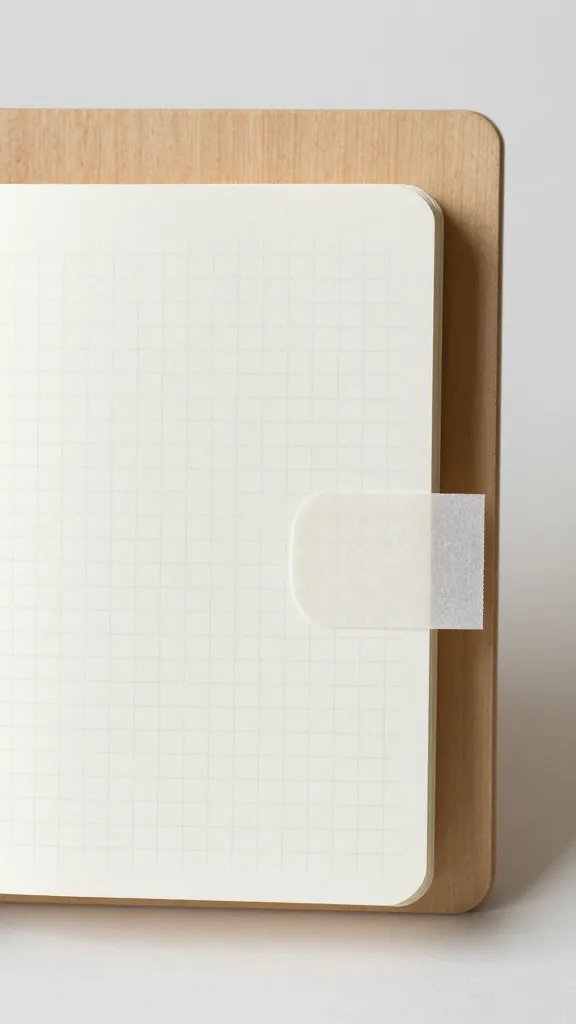
Scrapbooks thrive on journaling, so give guests a place to write a quick memory card. Cut sturdy card stock into 4 by 6 inch panels, pre-stamp a faint grid, and leave space for a photo and a note. Mount photos with removable adhesive so guests can swap later. Hang on a dowel with string, creating a gallery that feels personal and finished. This is a crafters’ favorite because it takes roughly an hour to set up and invites interaction. If space is tight, skip the photos and use just the journaling cards.
Why it works: It blends memory keeping with guest participation for a living scrapbook vibe.
5. Doily Focus Centerpieces
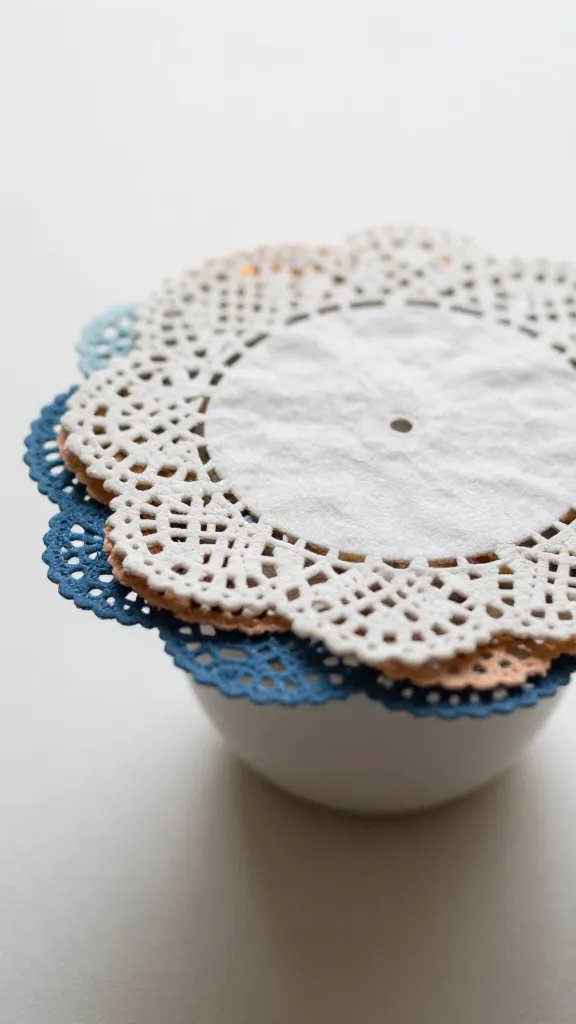
Old-fashioned doilies can feel fresh with a little color drama. Layer two or three doilies of different sizes on a short vase or mason jar, then tuck a single photo under the top doily for a peek of color and memory. Fill the jar with tissue paper shreds in a matching color to lift the height. This reduces table clutter while giving a scrapbook flair to the tablescape. It takes about 25 minutes to assemble a set of four centerpieces.
Color note: Pick a palette that mirrors your album pages to create harmony in photos later.
6. Pocket Page Party Favors
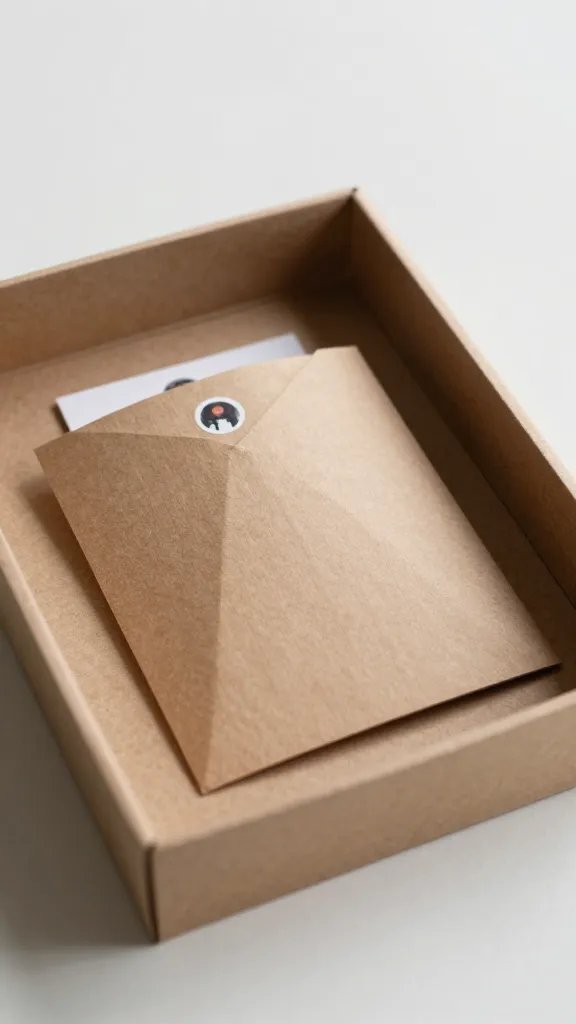
Turn scrapbooking pockets into party favors guests can carry home. Cut small pockets from sturdy kraft paper, seal with a sticker, and slip in a tiny photo strip or printed tag with a thank-you message. Attach a paper clip so guests can reuse the keepsake as a bookmark. This idea solves how to give something tactile and memorable without buying costly favors. Plan for a 40-minute setup for 20 guests. It scales neatly if you print more or fewer tags.
What to use: A roll of kraft paper, a sheet of coordinating scrapbooking stickers, and a blade for clean cuts.
7. Scrap Ribbon Photo Garland
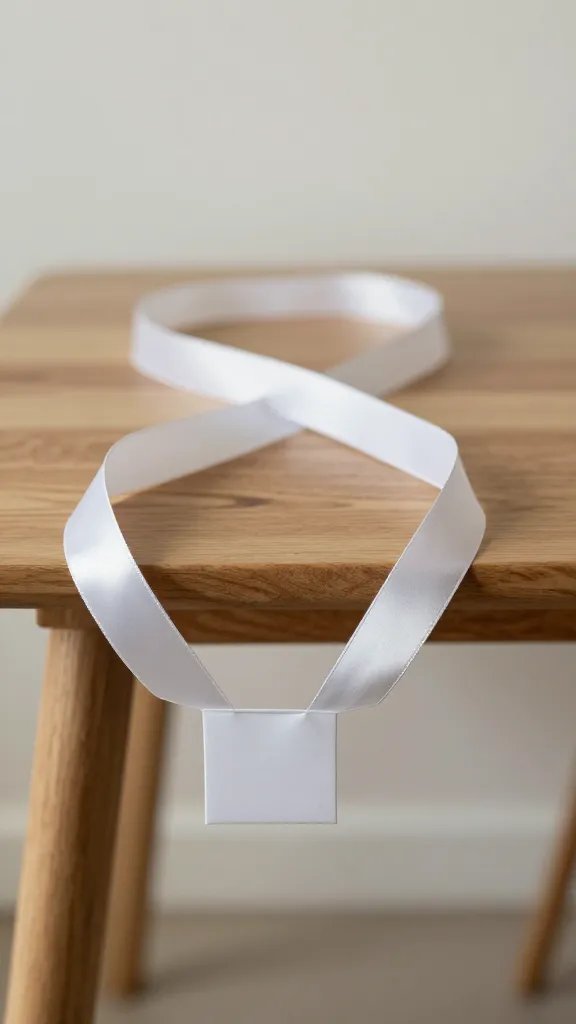
Ribbons bring softness to a space and a hint of vintage scrapbook style. Punch a hole in the corner of each printed photo and thread with thin satin ribbon. Alternate heights by tying different lengths and leave a loose end to sway with air currents. This lightweight garland is easy to store after and quick to whip up the morning of the party. It fills a space beautifully without overwhelming the table. It takes around 30 minutes for a 6-foot length.
Bit of safety: Keep ribbon away from small hands and supervise children during assembly.
8. Chalkboard Photo Walkway
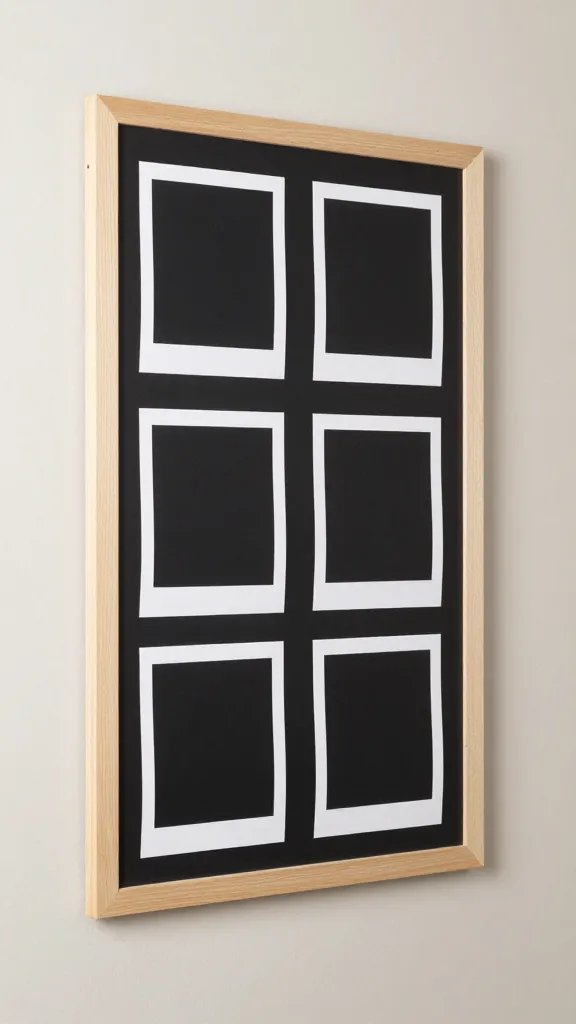
Combine photos with a mini chalkboard frame for a walking gallery. Print four by six photos, mount them on lightweight cardboard, and prop them inside small chalkboard frames you can buy cheaply. Create a little path along a hallway or entry, guiding guests through memories. It reads as a curated scrapbook in three dimensions and costs little. This setup takes about an hour if you lever a few helpers. If you’re short on frames, prop photos directly on the floor with a narrow ribbon border.
Why it works: The contrast of photo and dark frame invites closer inspection and conversation.
9. Themed Cutting Field Table Runner
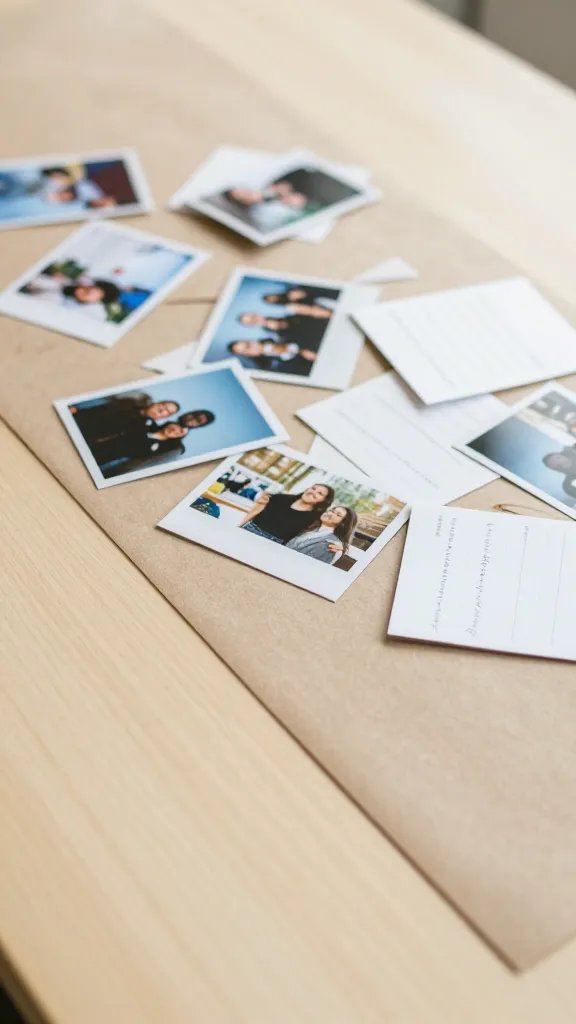
Use a long strip of kraft paper as a table runner and scatter cutouts of photos and journaling cards along its length. Glue or tape a few to the runner at varying angles for a dynamic look. This creates a traveling scrapbook vibe across the table and makes it easy for guests to access memory prompts. The entire runner can be prepped in about 40 minutes and laid out right before guests arrive. You can reuse leftover cuts for a card display later.
Make it ahead: Pre-cut a stack of photo shapes and journaling cards so you only arrange them on arrival.
10. Flip-Book Photo Booth
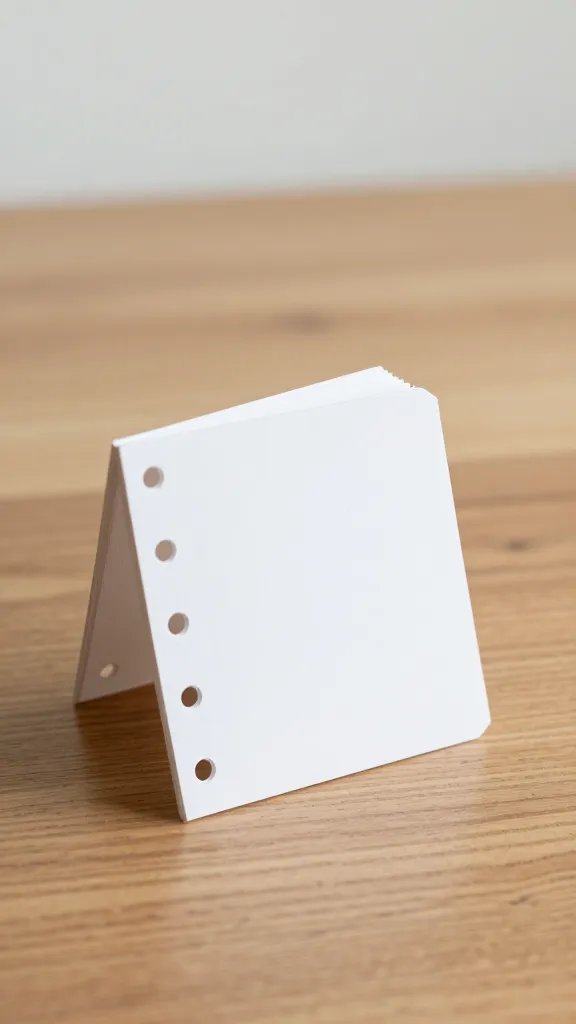
Turn a small stack of photos into a quick flip-book photo booth, where guests can press a finger to a hole-punched page and flip to the next memory. Bind with a simple ring binder or ribbon, leaving room for guests to add captions. It’s a playful nod to scrapbook pages in a portable format and creates a memorable prop for photos. It takes about 45 minutes to assemble a 8-page mini book. It’s a neat alternative if you lack a full backdrop.
Placement tip: Stand the book upright on a cake stand to attract attention without taking up table space.
11. Photo Pocket Lanterns
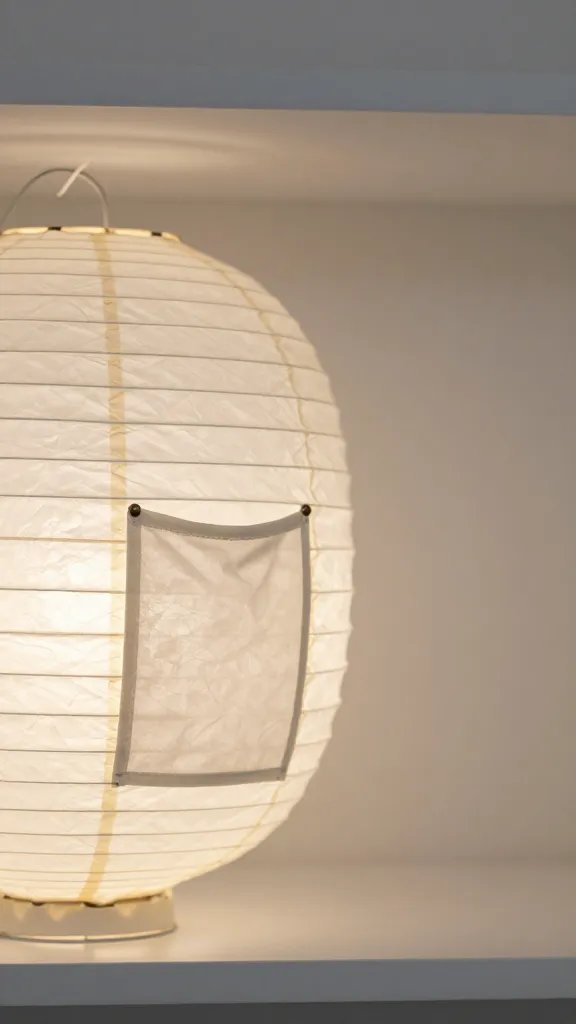
Make lanterns from paper and inside them slide a small photo. Cut two circles of decorative paper and glue a pocket between them to hold a photo or journaling card. Add a strip of tissue or a battery powered tea light inside for a soft glow. They look delicate in photos and are surprisingly sturdy. Plan about 50 minutes for four lanterns. If you’re short on time, skip the light and just hang the pockets for a shelf display.
Safety note: Use LED lights only and avoid open flames near paper decorations.
12. Pocket Scrapbook Invite Cards
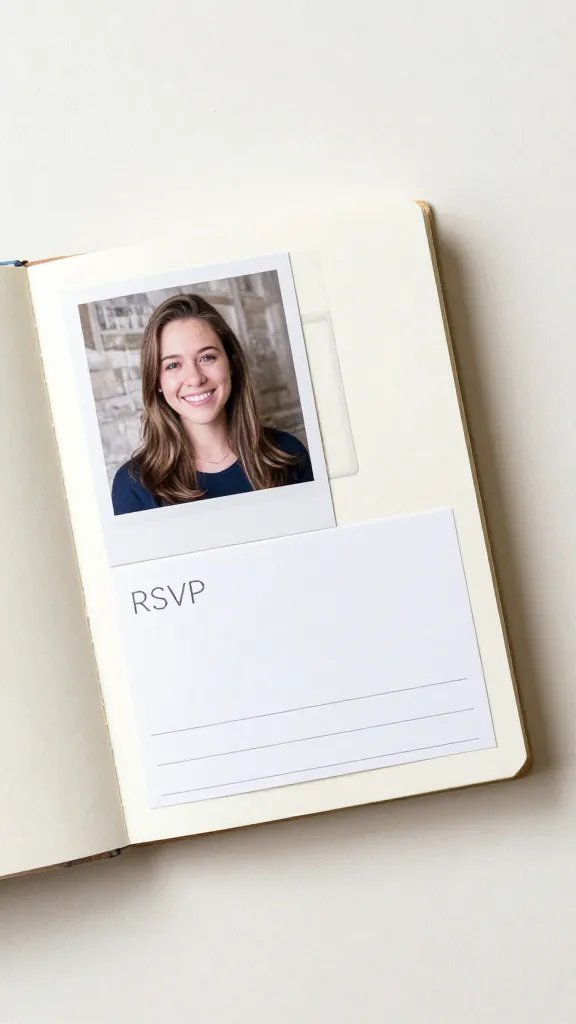
Flip a standard invitation into a mini scrapbook card. Create a pliable card with a built-in pocket to hold a small photo, a card with RSVP details, and a tiny journaling space. It’s a keepsake that guests can slip into their own scrapbooks. This approach solves the problem of bland invitations and adds a personal touch. It takes about 60 minutes to assemble a dozen cards with helpers. Use heavier paper to keep the pockets durable.
Basic layout: One photo, one RSVP note, and a spot for a guest signature if you want an interactive memento.
13. Cardboard Photo Frames with Washi Accents
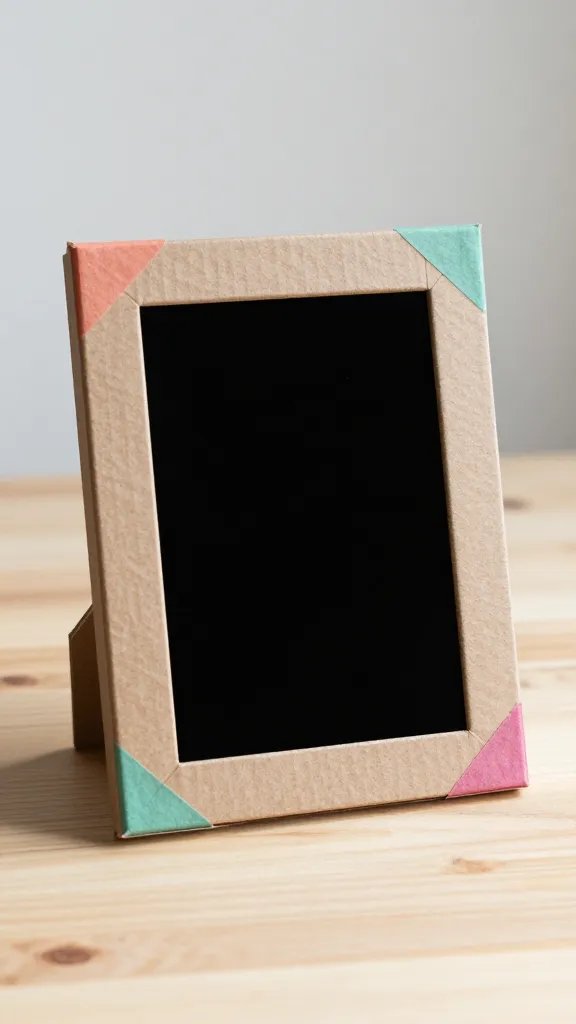
Repurpose sturdy cardboard into frames by cutting a window for one photo and layering with washi tape. Mount the frame to a dowel or a small stand so it sits on a table as a mini centerpiece. The juxtaposition of plain cardboard and colorful tape feels like a page from a scrapbook. This is quick to assemble and great for a casual vibe. Target about 25 minutes for four frames. If you don’t have dowels, lean frames on a stack of books for height.
Washi idea: Use two contrasting tapes for a subtle border around the photo window.
14. Postcard Garden of Memories
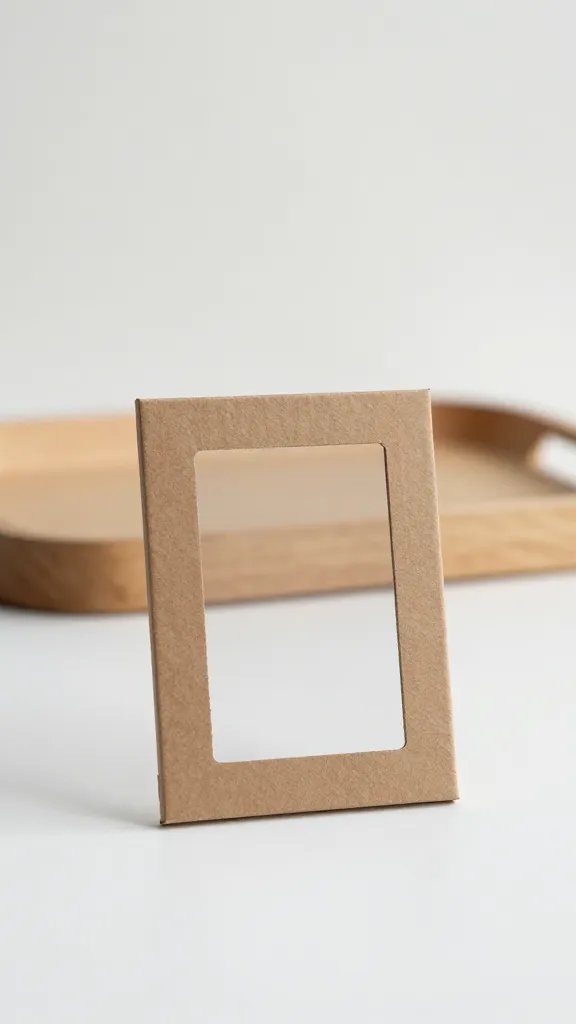
Cut postcard-sized panels from old scrapbook papers and mount a photo on each. Create a small, low-profile frame from cardboard and arrange in a shallow tray or tiered stand. The effect resembles a living memory mosaic without heavy decor. It’s easy to move for photos or dessert tables and can be assembled in about an hour. Swap in seasonal paper scraps to keep it fresh for future gatherings. You’ll love how easy it is to reset between parties.
Color note: Group similar hues for a cohesive display that photographs well.
15. Mini Banner of Yearbook Quotes
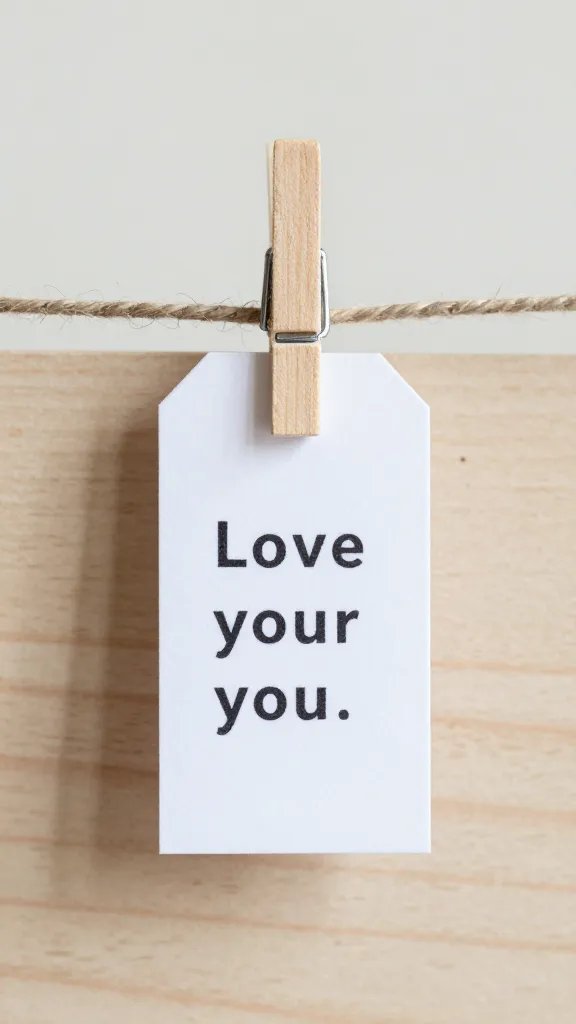
Line a string with small trimmed quotes or captions pulled from your scrapbook pages. Each tag can feature a short memory line or a birthday message, attached with a little clothespin. It adds a personal, storytelling layer to the party decor and doubles as a keepsake after the event. It takes about 30 minutes to assemble a 6-foot banner. If you’re short on quotes, print tiny captions from sentimental journaling cards you already have.
Guest tip: Encourage guests to add a quick note about their favorite memory from the photos on display.
With these ready-to-make ideas, your scrapbook style can lead the party decor without feeling forced. Pick three to run as a cohesive display, or mix and match for a layered, varied look that photographs beautifully. Save this for the next birthday that sneaks up on you.