
17 Paper Craft Ideas for Birthday Card Making

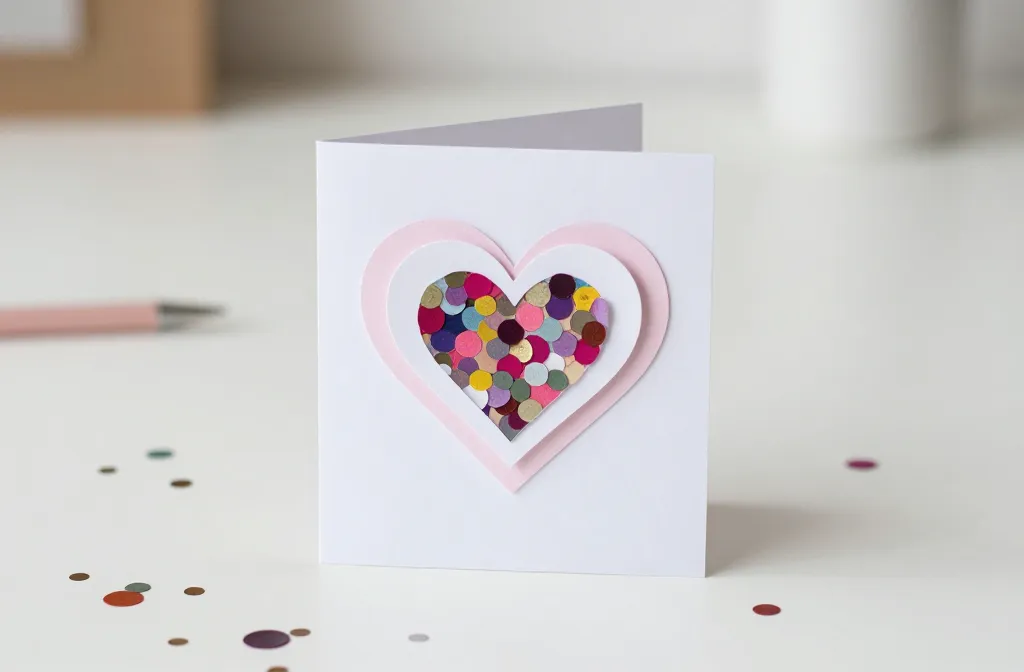
When you need a thoughtful card that still feels handmade, it should be quick, budget friendly, and actually easy to reproduce. This set of ideas focuses on practical paper crafts you can finish in an afternoon and still look polished in photos. Each idea solves a real constraint—tight time, small space, or a simple budget—so you can ship a batch of cards out the door with confidence. You’ll find variations so you can mix and match the look you want with the supplies you have on hand. Let’s start making cards that feel special and doable.
These 17 ideas are designed for busy readers scrolling on their phones, so each one is crisp, clear, and ready to copy today. Variation in color and texture keeps the set fresh from card to card. Ready to build your little paper gallery? Here are the ideas you can start this week.
1. Layered Confetti Heart Card
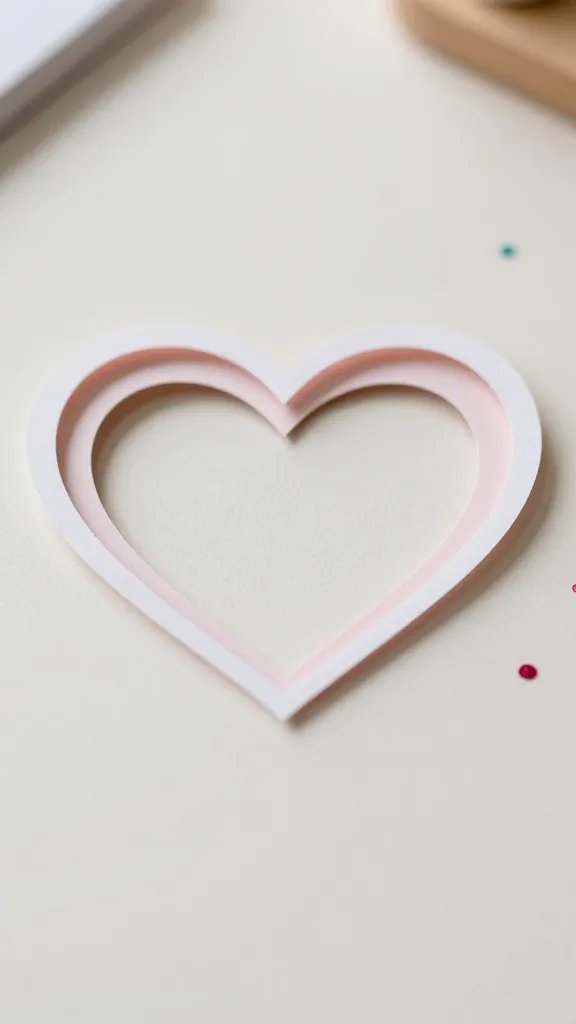
A simple layered heart with a splash of confetti gives a celebratory vibe without fuss. Cut a large heart from plain card stock, then layer with a smaller decorative heart. Fill the gap with loose confetti or punched mini circles. Attach with a dab of glue or a few foam tabs to add subtle dimension. This idea is fast enough to do in batches and scales from a single card to a small set. If you’re short on time, skip the confetti and use a few punched shapes instead.
Color note: Coordinate with your party theme by picking two complementary colors.
2. Shape Cutout Photo Accent Card
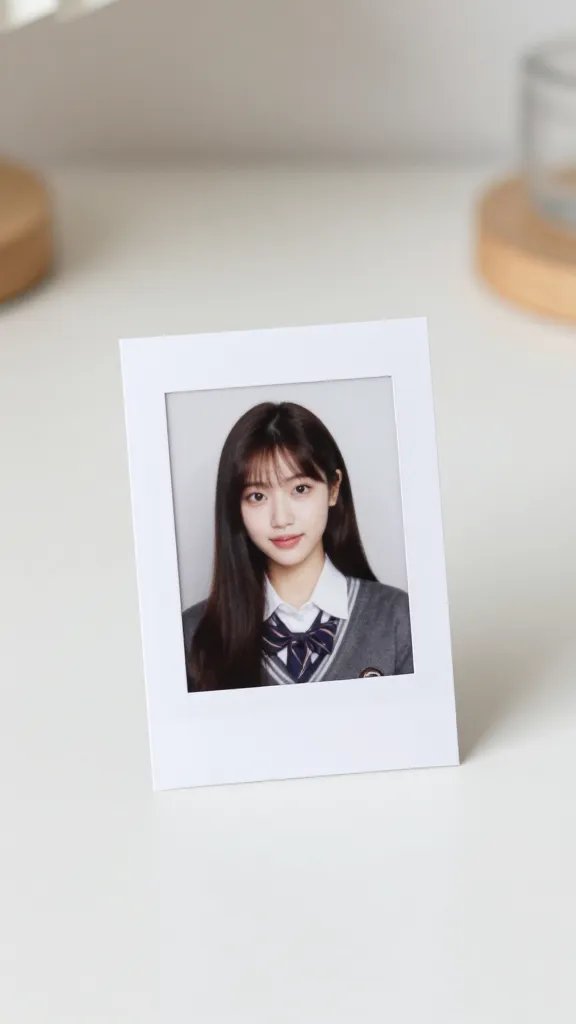
Slide a small photo into a cutout window on the front of a folded card. Create a rectangular or rounded window with a craft knife and a fresh blade, then back the photo with a contrasting color or patterned paper. It’s a clean, modern look that centers a memory. This works great with standard printer photos or small instant photos. If you want a softer look, round the corners of the window and photo edges.
The detail to steal: A tiny frame around the photo elevates the card without extra bulk.
3. Die Cut Alphabet Card Stack
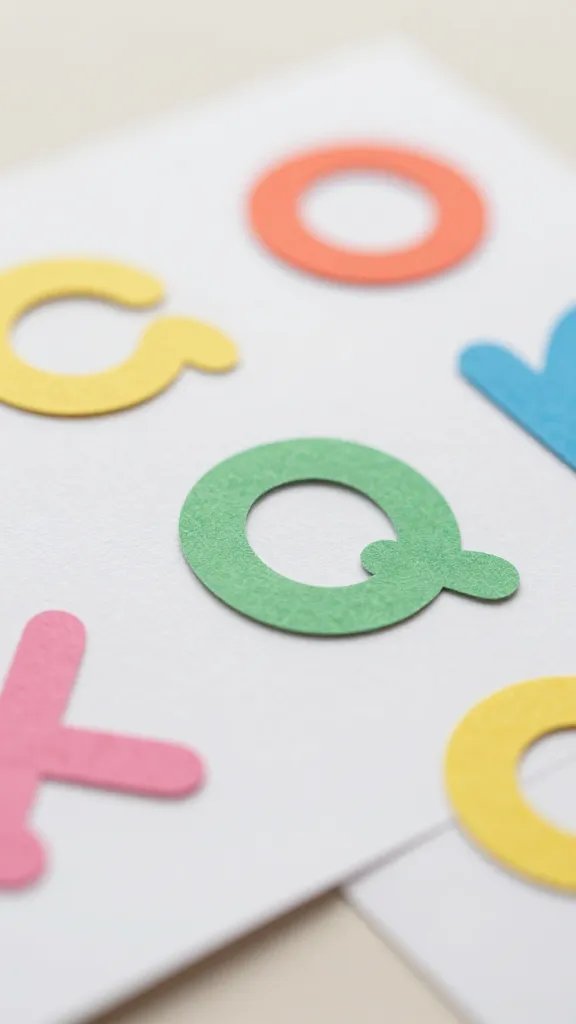
Perfect for quick birthdays, cut the recipient’s initials or age from colored paper using a small die or manual punch. Layer the letters onto a white or neutral card base, and add a single underline or border for polish. If you don’t own a die, print oversized letters on your printer, then cut by hand for a similar effect. This keeps supplies tiny and the result tidy.
Copy the look: A slim border around the letters ties the whole card together.
4. Book Page Birthday Banner Card
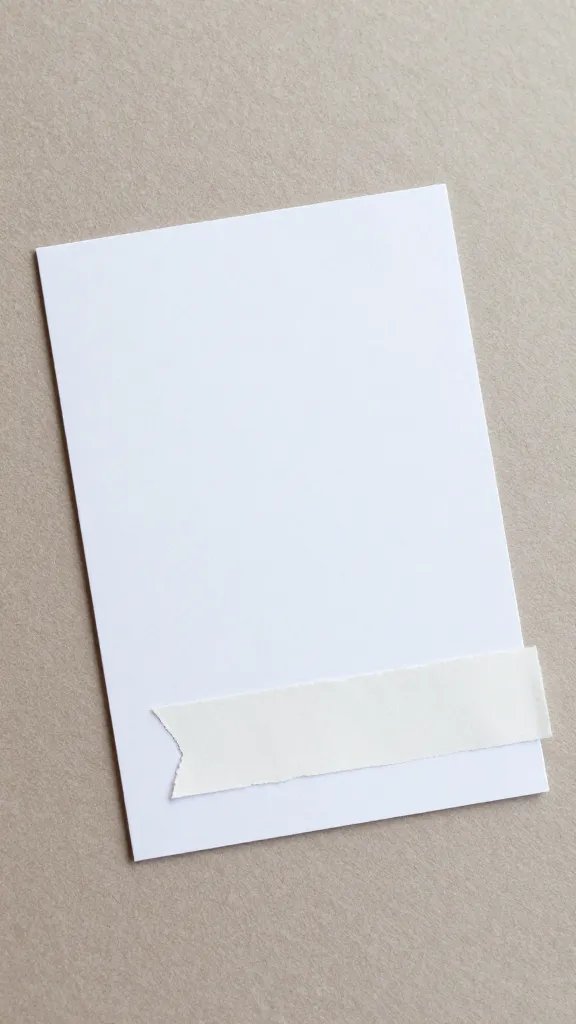
Take a single craft page from an old book or magazine and use it as the front design. Tear or cut a banner shape from the page, then mount it to a plain card with a small celebratory message. This gives a vintage-y feel with almost no waste. It’s ideal for a low budget or when you want a one-of-a-kind look. If you must, reserve the page’s edges for a secondary accent on the inside.
Little hands tip: Let kids tear the page into a banner shape for texture.
5. Washi Tape Border Card
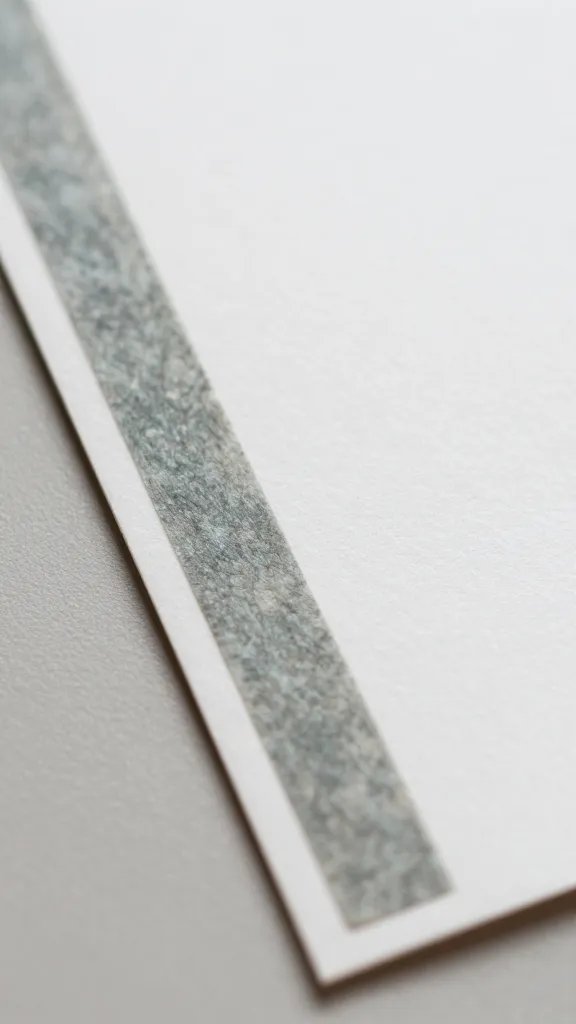
Keep it ultra simple with a clean border created from washi tape. Choose two colors that echo the party theme and place a thin strip along the card’s edges or create a corner colorblock. Add a small handwritten or stamped message on the front. This approach is fast, forgiving, and easy to customize for multiple recipients. If you don’t own washi tape, use colored papers cut into strips.
Budget swap: Use leftover packaging tape tinted with marker ink for a makeshift border alternative.
6. Ribbon Embellished Ribbon-card
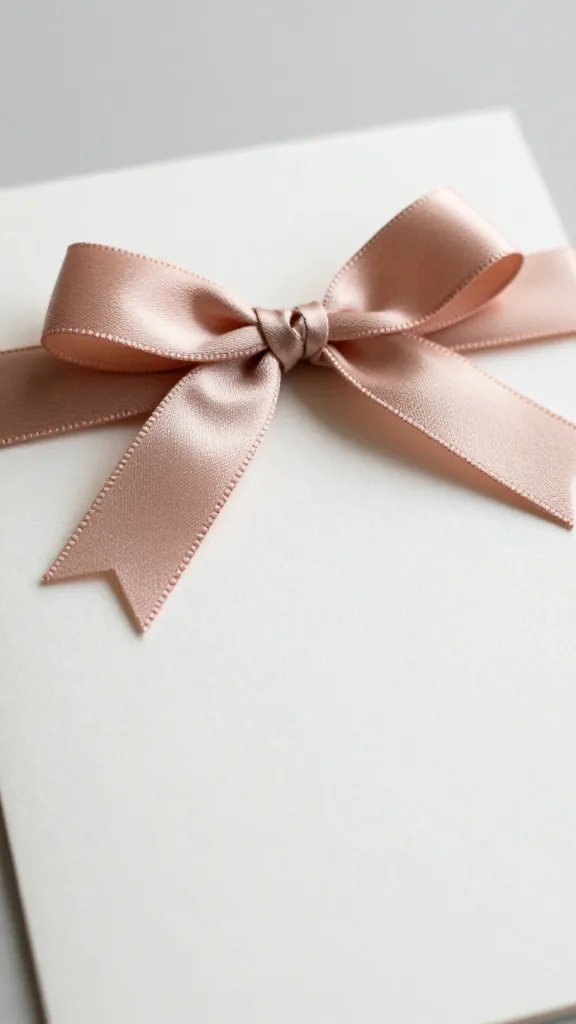
Adorn a plain card with a short length of ribbon tied into a tiny bow at the bottom corner or wrapped around the card edge. Secure with a dot of glue or a staple, then add a minimal sentiment on the front. This approach adds tactile charm without crowding the inside. If you’re concerned about bulking, use narrow ribbon and place the knot near the border of the card.
Safety note: Avoid choking hazards on cards for very young recipients by omitting small parts.
7. Button Burst Card
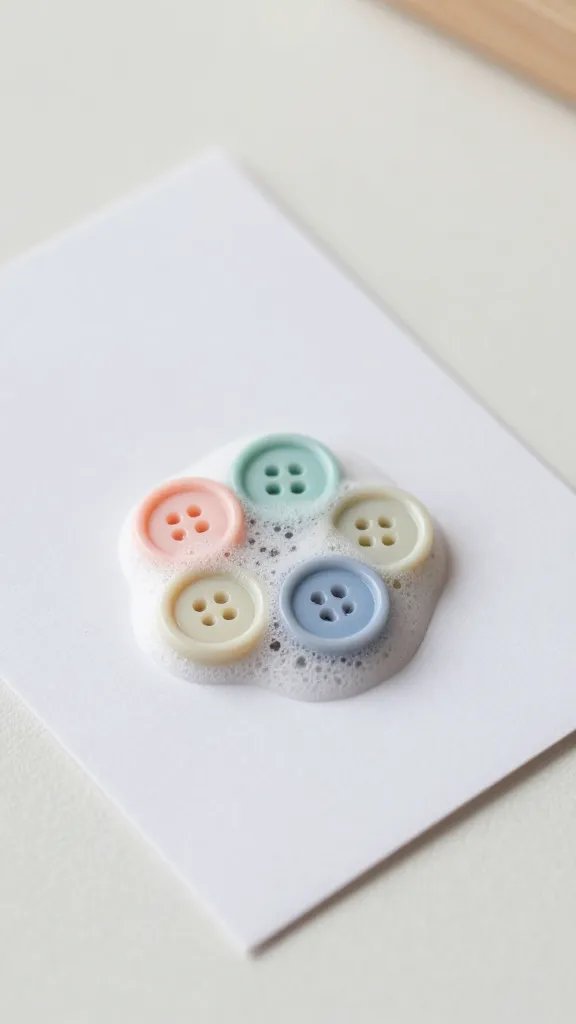
Choose a few coordinating buttons and arrange them in a small cluster or burst pattern on the front. Glue dots or adhesive foam give gentle height without bulk. Write a short message around the cluster or on a small banner beneath. This idea uses small pieces you likely already own and creates a playful, tactile texture. If you don’t have buttons, use punched paper circles in a similar arrangement.
Why it works: Buttons add dimension and color with little effort.
8. Negative Space Cupcake Card
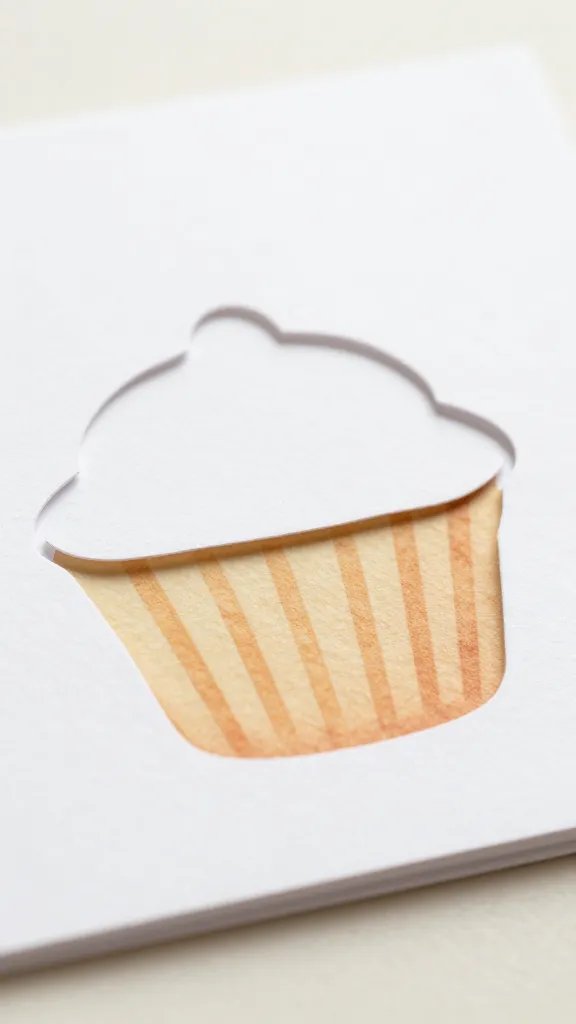
Cut a cupcake or balloon shape out of the card to reveal the colored layer beneath, creating a striking negative space effect. The cut piece can be saved and used as a small motif on the inside or another card. This strategy looks complex but is simple with a sharp blade and patience. It gives a modern, graphic vibe that photographs well in bright light. If you want a softer look, round the top of the cupcake.
Use what you have: A recycled greeting card can supply a good backing for the cut shape.
9. Foil Simple Greeting Card
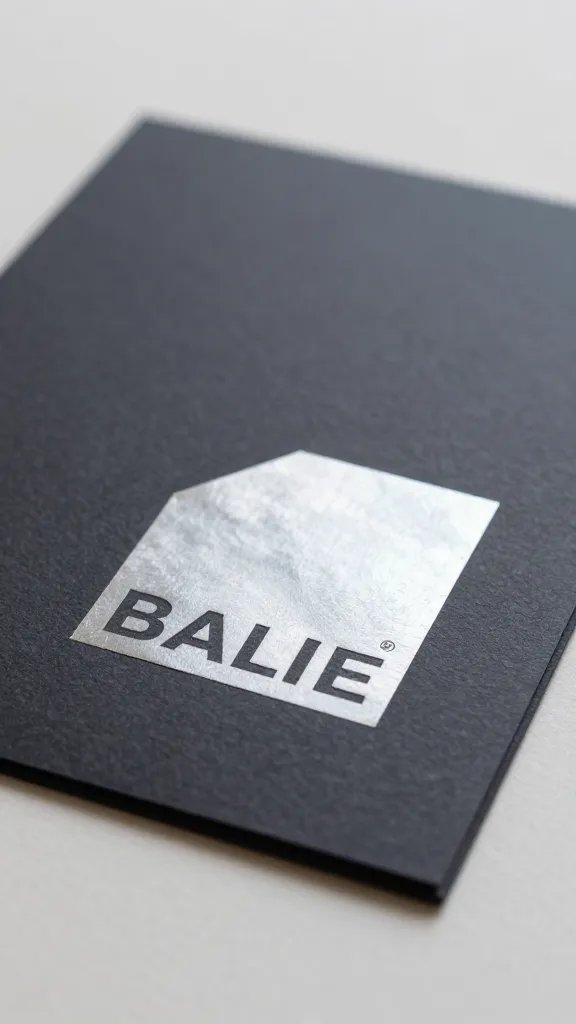
Use a sheet of self-adhesive foil stencil or metallic sticker to create a bold word or phrase on the front. Smoother, cleaner lines read as polished with almost no effort. Pair with a matte colored card base to keep the shine focused. This idea scales well for a whole batch because the main supply is minimal and the technique is quick. If you don’t have foil, metallic gel pens also read well on dark card stock.
Keep in mind: Work on a protected surface and press firmly to avoid tearing.
10. Texture Paper Rose Card
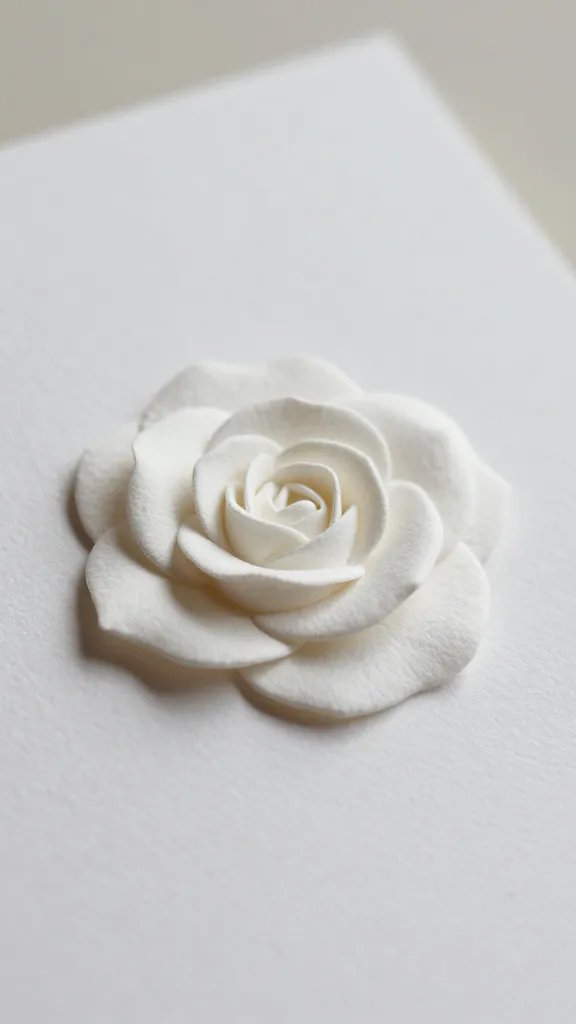
Roll a small strip of textured paper into a loose spiral to mimic a rose, then attach to a card. Secure with a few glue dots and add a leaf cut from green paper for contrast. The result is dimensional yet flat enough to mail without extra effort. This idea is ideal for color lovers who want a romantic touch without heavy flowers. If you’re pressed for time, skip the leaf and just use the rose.
How it looks store bought: The spiral rose reads as delicate but handmade.
11. Stamped Confetti Border Card
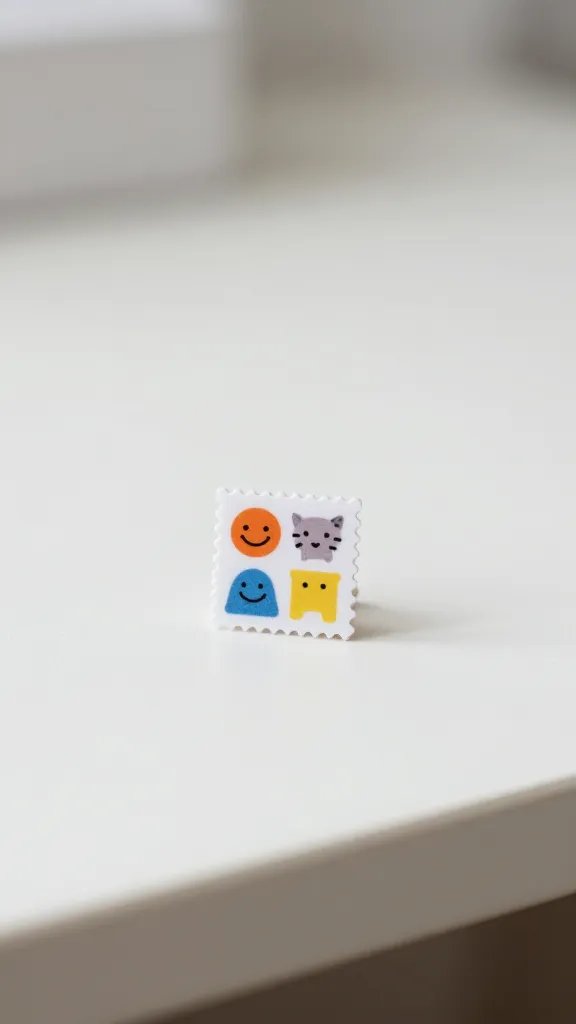
Stamp a row of tiny shapes along the edge of the card for a celebratory border. If you own a small stamp set, this creates a cheerful rhythm with very little space taken on the front. Use two colors for contrast, then add a careful, short sentiment in the center. For speed, pre-load a stamp block with a simple phrase and keep the ink pad nearby. This is a quiet, friendly way to celebrate without overpowering the card front.
Why it looks coordinated: Consistent spacing and color pairing create a cohesive set.
12. Origami Corner Card
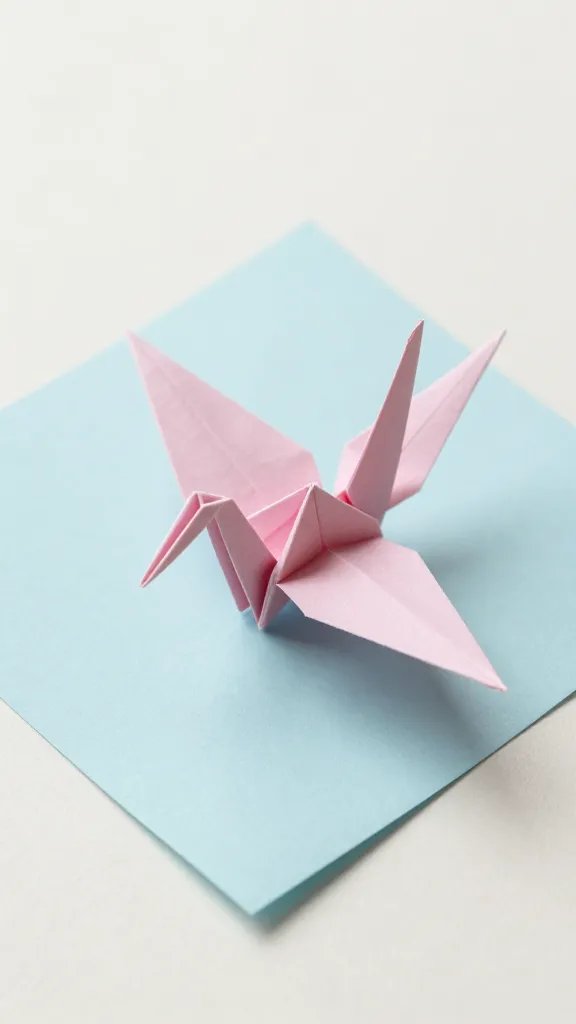
Fold a small origami shape, such as a crane or boat, and affix it to the card corner with a spacer underneath. The folding detail adds interest without adding bulk, and you can mass-produce with a single fold pattern. If you don’t like origami, simply fold a two-layered square into a triangle and mount it as a graphic accent. This technique works well with soft pastel papers or bold solids depending on the vibe you want.
Time saver: Pre-crease a stack of sheets so you can fold in minutes during a craft session.
13. Map or Travel Card Accent
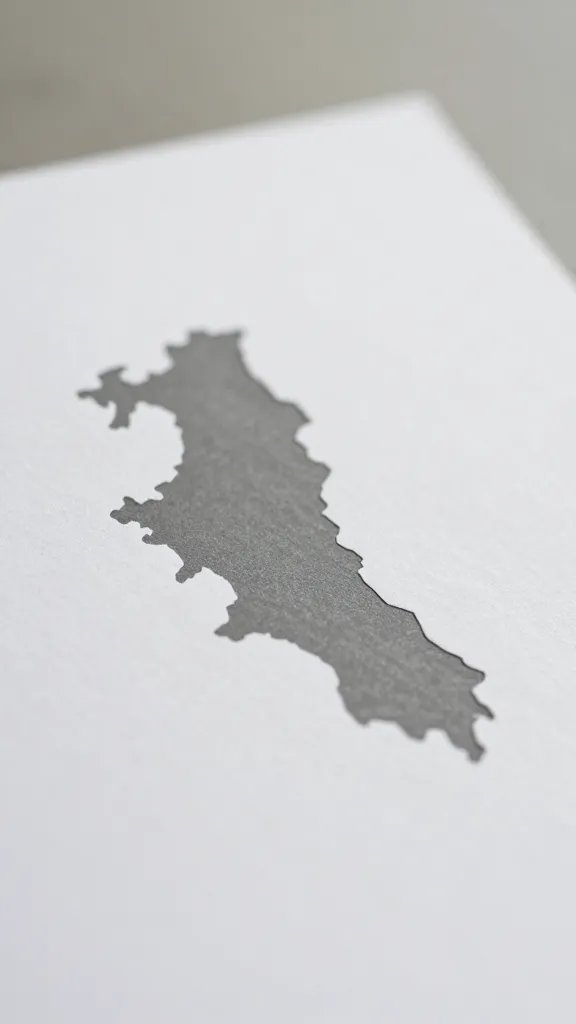
Cut a small map or city outline from a print or old brochure and glue it to a card for a travel-themed birthday message. This is a sharp way to celebrate someone who loves exploring or is about to embark on a trip. You can also print a tiny map on a color sheet and cut it out for a crisp silhouette. Keep the rest of the card minimal to let the map shine.
Copy the look: A single bold silhouette reads more clearly than a crowded front.
14. Marble Paper Greeting Card
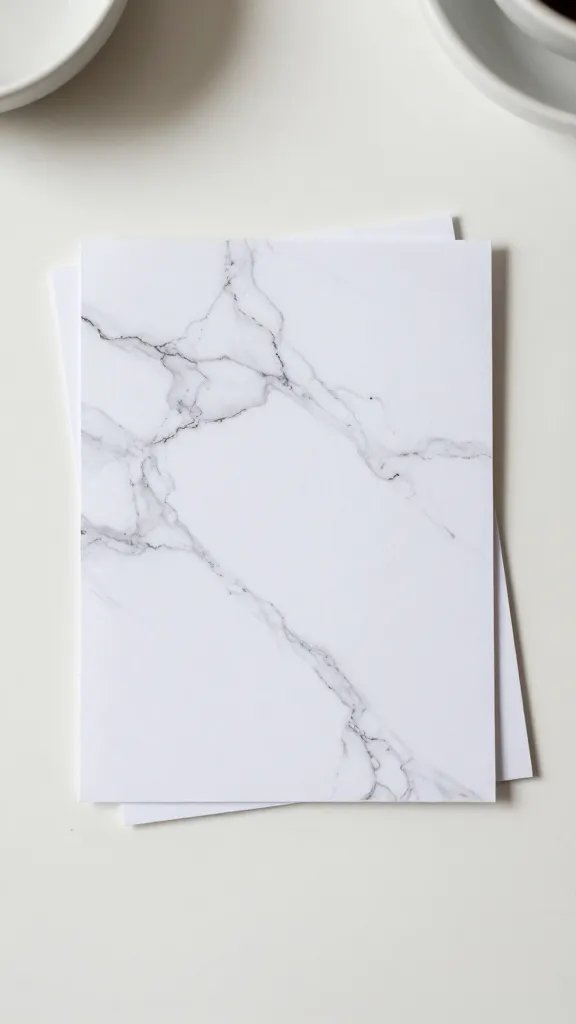
Use a scrap of marble-patterned paper or marbled nails from craft paper to create a chic, modern front. Mount the marble piece onto a simple card base and add a one-line sentiment. The randomness of the pattern keeps each card unique, and the look pairs well with a white space to balance the bold pattern. If you’re using a large marble sheet, cut smaller pieces for multiple cards.
Best for: Guests who love contemporary design with a touch of luxe.
15. Chalkboard Style Card
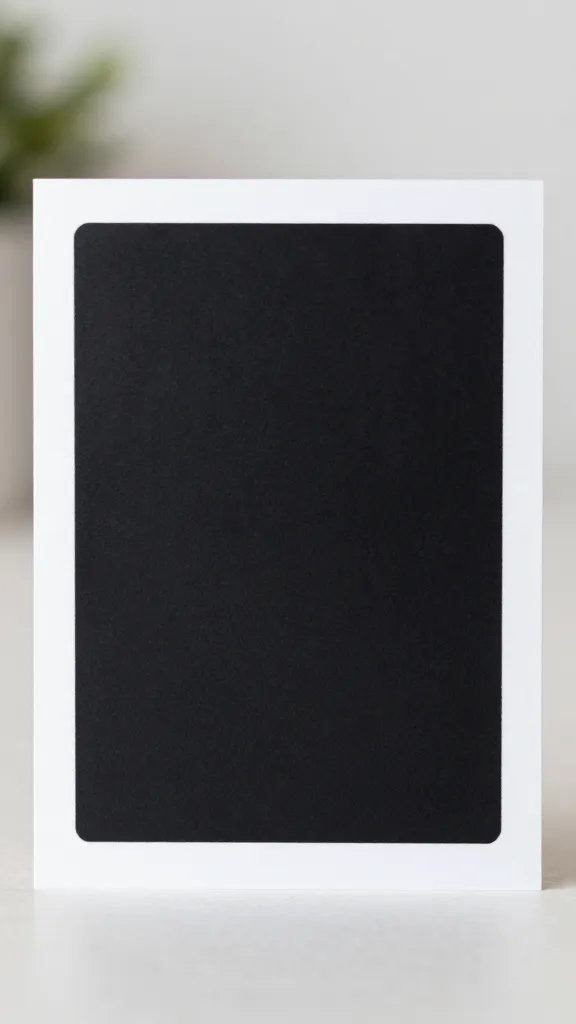
Draw a small chalkboard frame on the front of a card with a white gel pen. Write a short message inside the frame with faux chalky letters. This approach feels handmade and a little retro, yet modern enough for photos. If you’d like a quick finish, use a pre-inked chalkboard sticker and write on top with chalk marker. Keep the design minimal so it remains legible at a glance.
Safety note: Use a smooth, non-porous surface so the ink doesn’t bleed.
16. Burlap Texture Card
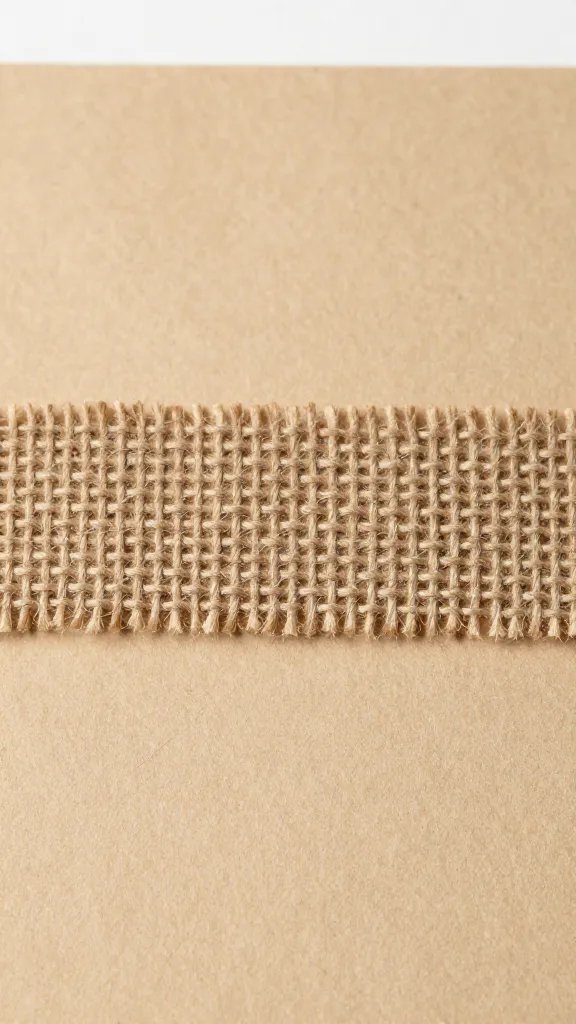
Glue a strip of burlap or jute ribbon to a card base and place a simple sentiment on top. The texture adds a tactile element and depth without heavy bulk. If burlap feels too rustic, switch to a textured kraft paper and add a small, glossy sticker for shine. Keep the overall look clean by avoiding too many elements on the front; a single motif goes far on a plain background.
Cleanup tip: Tape down edges with a little glue to prevent fraying while mailing.
17. Paper Button Tree Card
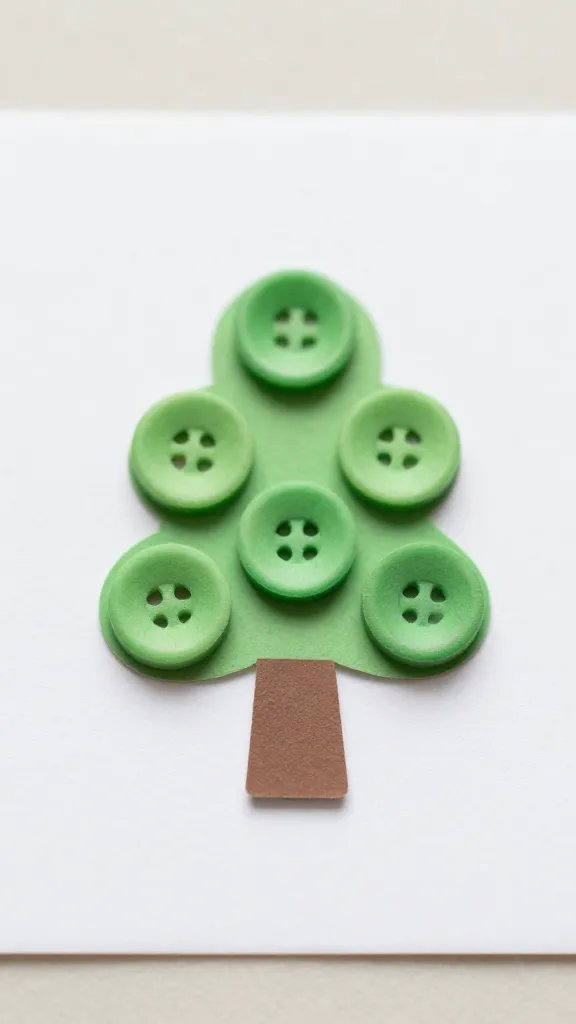
Create a tiny tree shape by layering several small circles in a tree outline on the front. Use different greens for a little color variation, then add a tiny star or heart at the top. The tree is charming and scalable; you can keep it simple or go playful with a forest of circles. This design lends itself to mass production with minimal new supplies per card.
One small change: Swap the circle shapes for leaves in warm autumn tones for a seasonal version.
With a stack of these ideas, you can build a whole gallery of birthday cards that look thoughtful and cohesive. Keep a small stash of basics—card stock, scissors, glue, a punch set, and a few embellishments—and you’re ready to roll. Save this for the next birthday that sneaks up on you.