
16 Cardboard Craft Ideas for a Kids Birthday Party

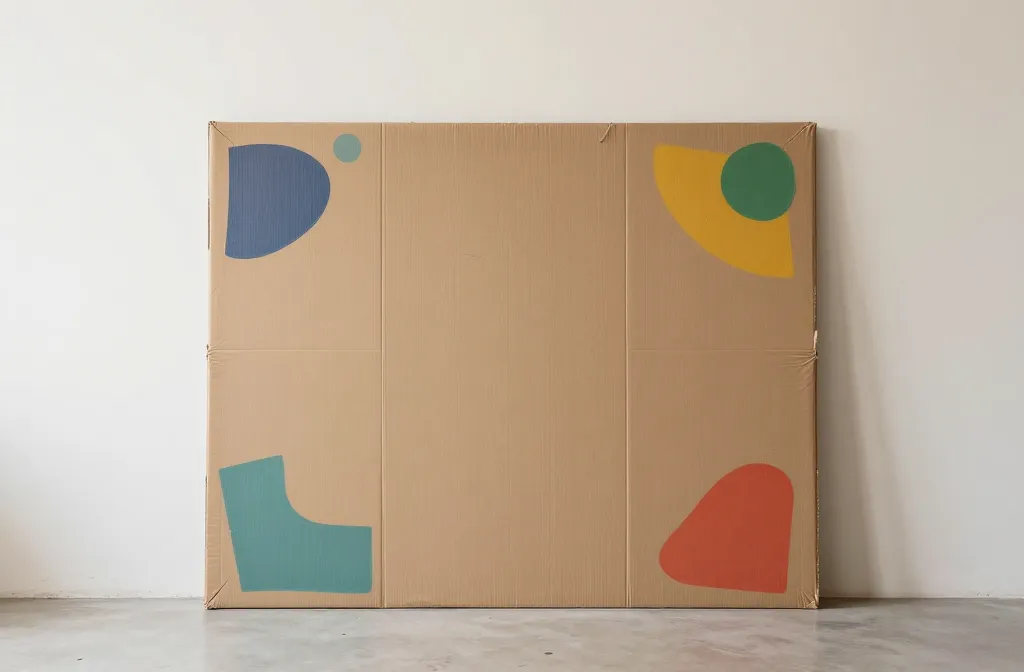
When you’re sprinting toward a party with a small window and a big guest list, cardboard is your friend. It’s cheap, versatile, and surprisingly sturdy for kid friendly builds. The goal is to fix common party pains: a bare dessert table, short attention spans, and clutter that ends up in the trash. These ideas stay practical, fast, and reusable, so you can actually finish them before guests arrive. Each idea includes clear supplies and a ballpark time so you know what you’re getting into. Let’s make this week’s party sing with color and creativity that fits a busy schedule.
We’ll use the core craft of cardboard in different forms, from structural backdrops to small take-home pieces. You’ll see a mix of simple “make it ahead” steps and quick setup tweaks to keep you from coughing up glitter at the last minute. Ready to turn plain boxes into party magic? Here are the ideas, one by one.
1. Cardboard Balloons Backdrop
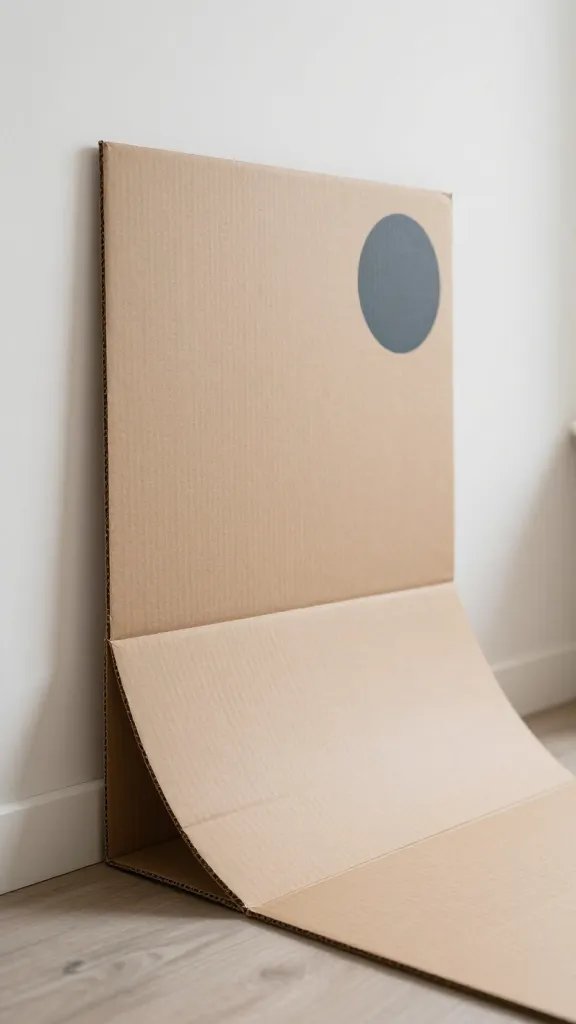
Your table looks bare and a row of balloons stays a bust if the wall looks blank. Build a lightweight backdrop by cutting large rounded shapes from cardboard and painting them in the party colors. Lean them against a wall or prop them on foam boards for stability. This gives kids a fun photo spot and a simple scenery lift for the dessert table. To keep it tidy, tape the edge of each piece to a low board so it won’t topple in a gust of birthday energy.
Placement note: Place the backdrop behind the dessert area so photos capture the color without crowding the table.
2. Paper Mache Box Parade
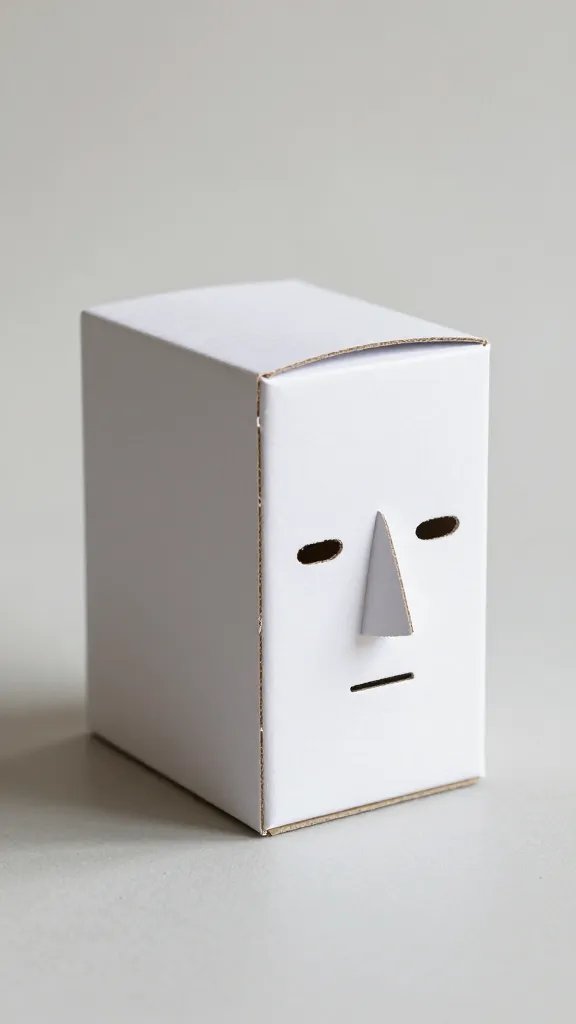
Little boxes become a parade of creatures or vehicles with a few coats of paint and simple facial features. Use clean white cardboard boxes in varied sizes, cover with paper scraps, and glue on cut ears, wheels, or fins. This is a quick way to add height to a centerpiece and get kids to contribute by helping with the painting. It also doubles as a neat display for treats or party favors later on.
Bead caution: Keep small parts away from toddlers to avoid choking hazards.
3. Stacked Banner Letters
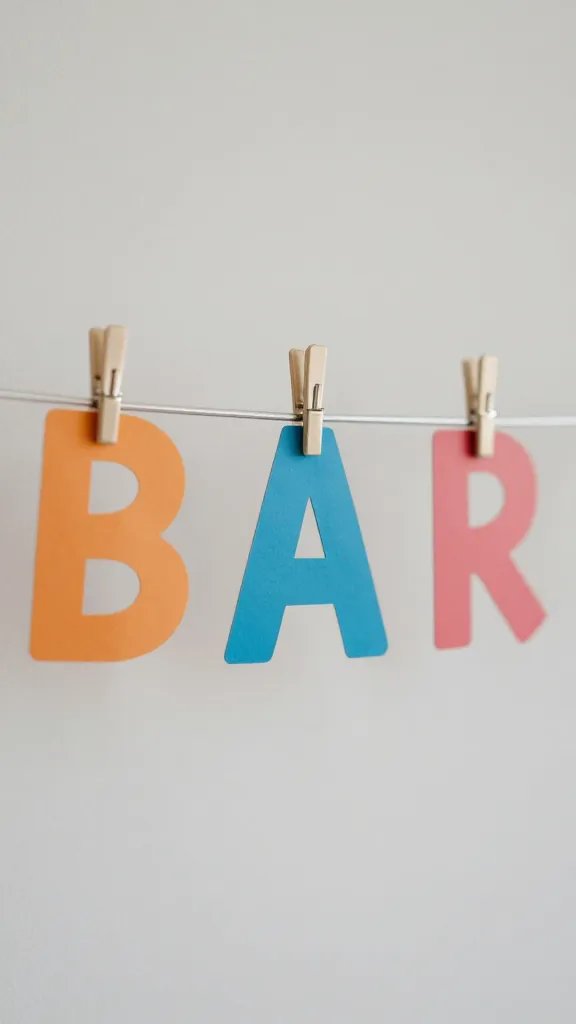
Cut large letters from sturdy cardboard, paint them in the party colors, and string them as a decorative banner. For extra pop, mount the letters on a kitchen towel rod or a thin dowel and prop it on a table front or against a wall. This is one of those quick wins that photographs well and survives the party with minimal wear. Swap in theme colors to reuse for future birthdays.
Copy the look: Use scrap wrapping paper as a quick pattern for added texture on each letter.
4. Cardboard Castle Gate
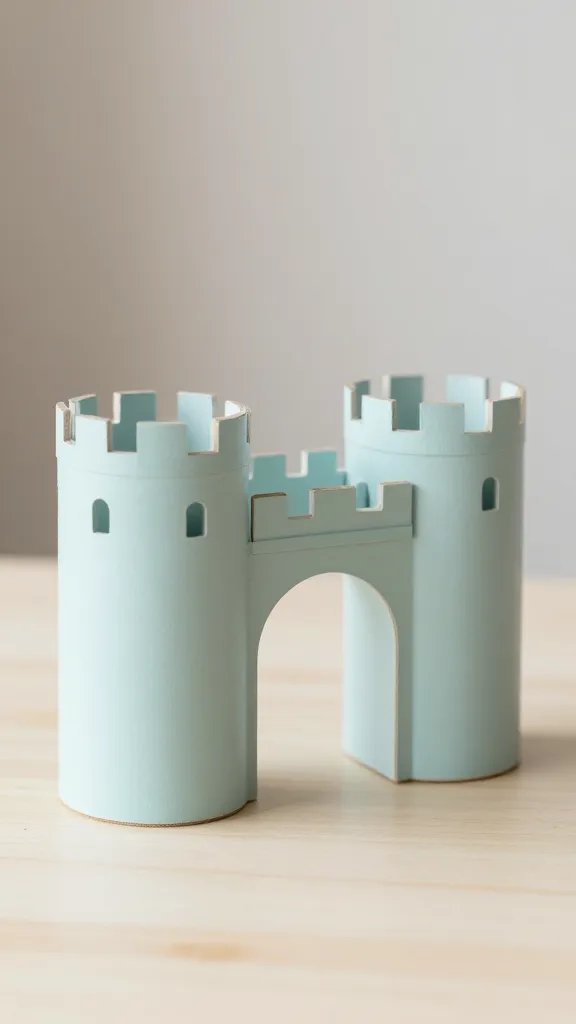
Turn a couple of large boxes into a mini castle gate with a drawbridge look. Cut two towers, a central arch, and a flap to simulate a gate. Paint in bright colors, add paper flags, and place near the cake table for a fairy tale vibe. The kids can press through the arch for photo moments, and the structure doubles as a display shelf for favors. It’s sturdy enough for a quick “walk-through” ceremony without collapsing.
Safety note: Use extra tape where pieces meet to avoid wobble during the party.
5. Easel Cardboard Menus
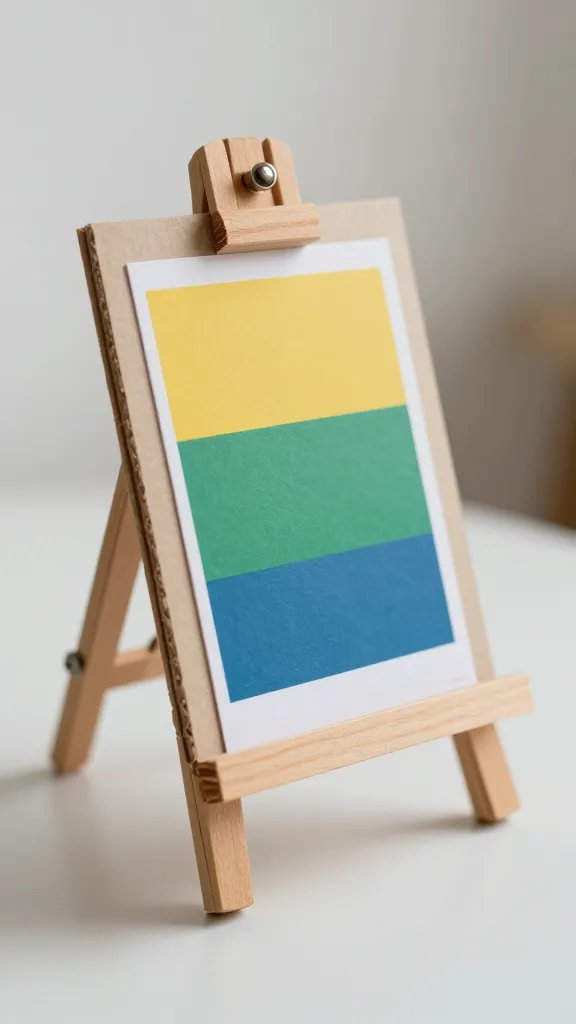
Make small cardboard easels to hold simple party menus or game instructions. Cut a V-shaped stand, fold, and attach a panel for a seating chart, game cards, or doodle prompts. Decorate with crayons, stickers, and a splash of color. It guides kids and parents to the activities without shouting over the music. The same platform can hold a “pin the tail” clue or a quick treasure map for a mini scavenger hunt.
Time saver: Build all easels in one go and set them on the party table during setup.
6. Cardboard Animal Masks
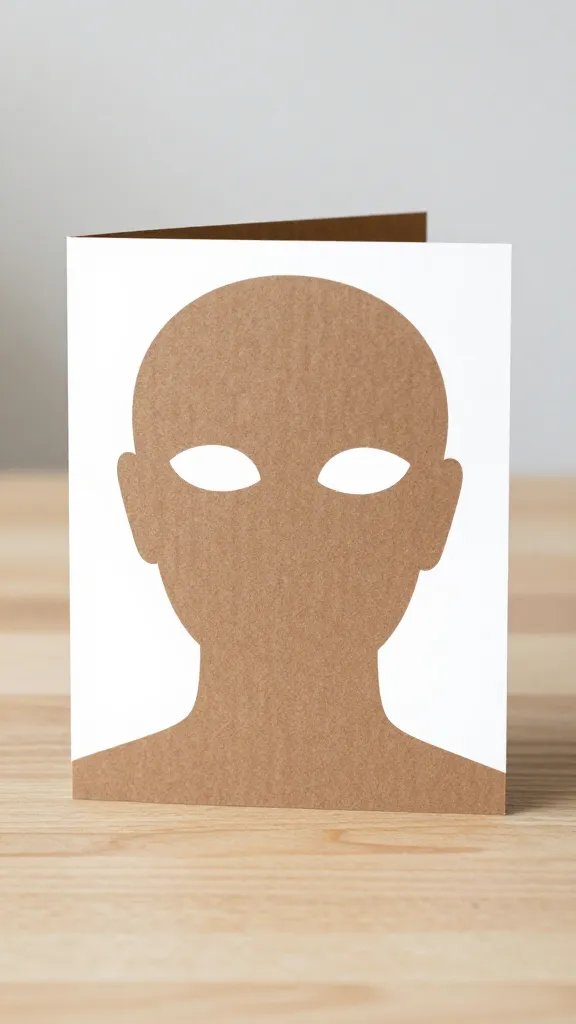
Trace through a few animal shapes onto thin cardboard, cut them out, and punch holes for a string. Paint or cover with colored paper, then tie on a dowel sticks as handles for kids to wear. Masks add a playful element to a quick photo wall and can spark a parade line as guests arrive. Keep the shapes large enough to fit kids’ faces, and provide a few pencils and markers for color tweaks during the party.
Kid friendly: Let kids decorate their own masks with stickers and markers to reduce adult workload.
7. Cardboard Treasure Chest
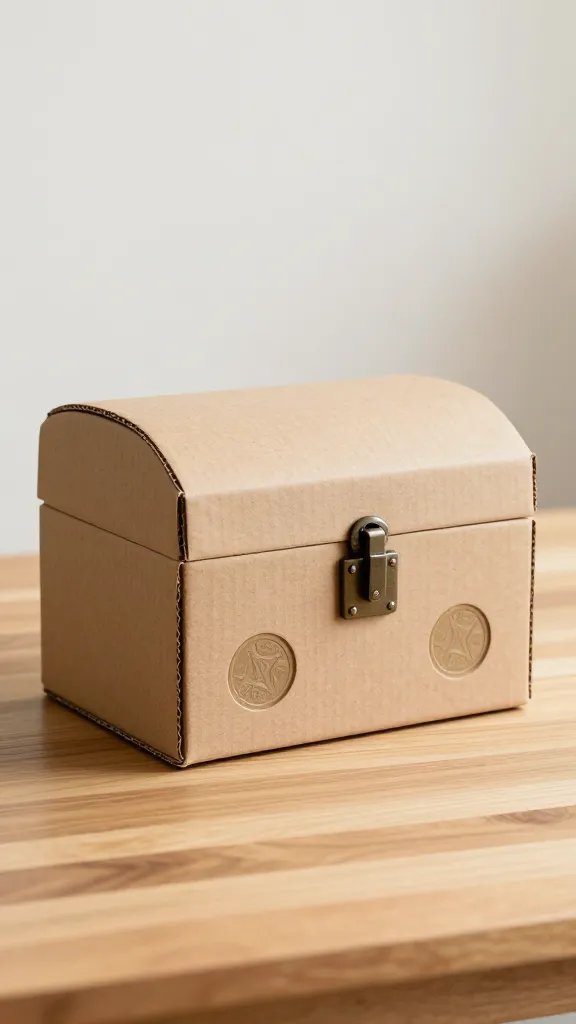
Craft a simple treasure chest using a shallow box with a lid. Paint it gold or use metallic paper, then decorate with a faux lock and coin cutouts from cardboard circles. Fill with small party favors or pretend coins for a quick scavenger hunt clue. This buys a moment of wonder as guests discover the chest and adds a tangible focal point to the table. A bigger box can be used as the prize vault for a game round.
Use what you have: Paints and metallic paper scraps from previous crafts work beautifully here.
8. Folded Banner Flags
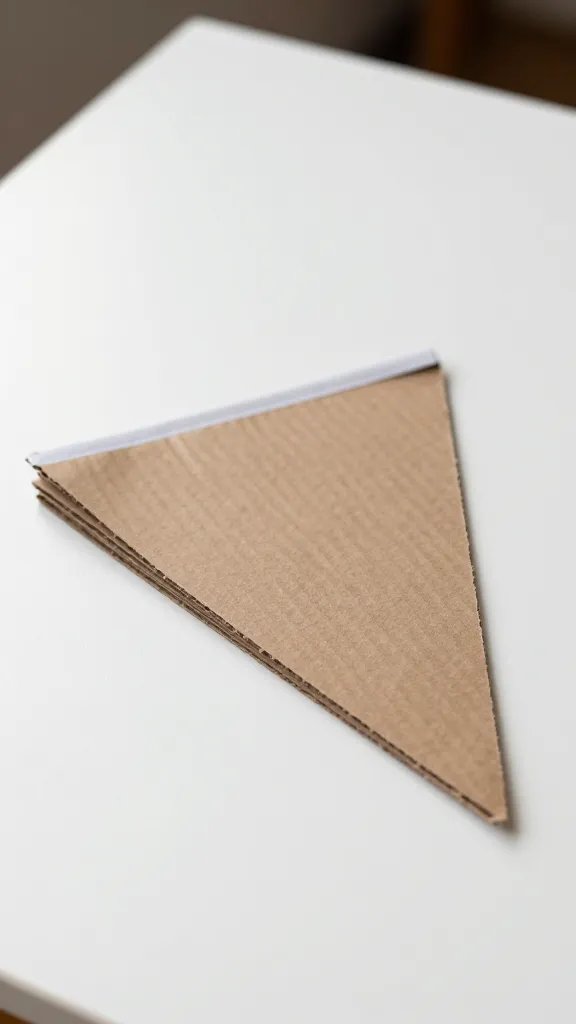
Cut strips of cardboard into long pennant shapes, fold and glue them into a zigzag stack, then string them across a string or ribbon. This creates a lighting of color across a wall without taking up floor space. It’s easy to customize for any theme and quick to assemble in minutes. If you’re short on time, skip the staples and use a dab of hot glue to secure the folds.
Small space fix: Hang along a doorway to frame the party activity flow without obstructing traffic.
9. Box Drum Line
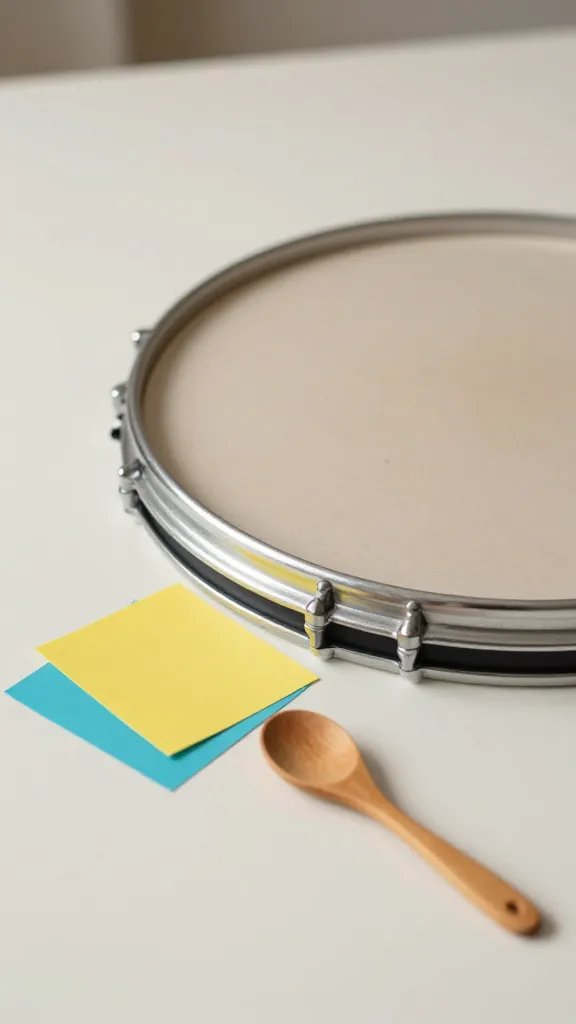
Turn several small boxes into a marching drum line. Cover with colored paper, add a circular center on each lid to resemble a drum drumhead, and give kids a wooden spoon to “play along.” This interactive setup can be a quick game that doubles as a decor piece. It’s sturdy, kid friendly, and uses minimal supplies, but you’ll want an adult around for the first clang to avoid tipping.
Safety tip: Use a soft mallet or a spoon with a rounded edge to prevent injury.
10. Mini Cardboard Playhouse Windows
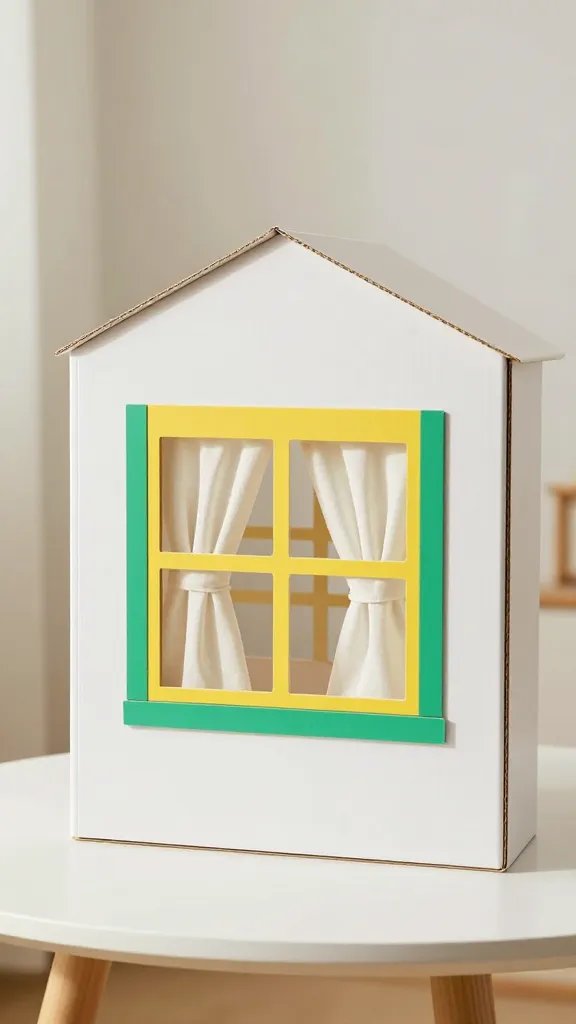
Cut window frames into small cardboard panels and mount them on a base to create mini playhouses for dolls or action figures. Decorate the frames with bright borders and tiny curtains made from fabric scraps. This idea doubles as a party activity and a photo corner, letting kids stage tiny scenes with their favorite figurines. It’s a calm, imaginative break from games and keeps little hands busy for a bit longer.
Make ahead: Assemble frames a day before the party, so you only need to prop and place them on arrival.
11. Cardboard Cupcake Stand
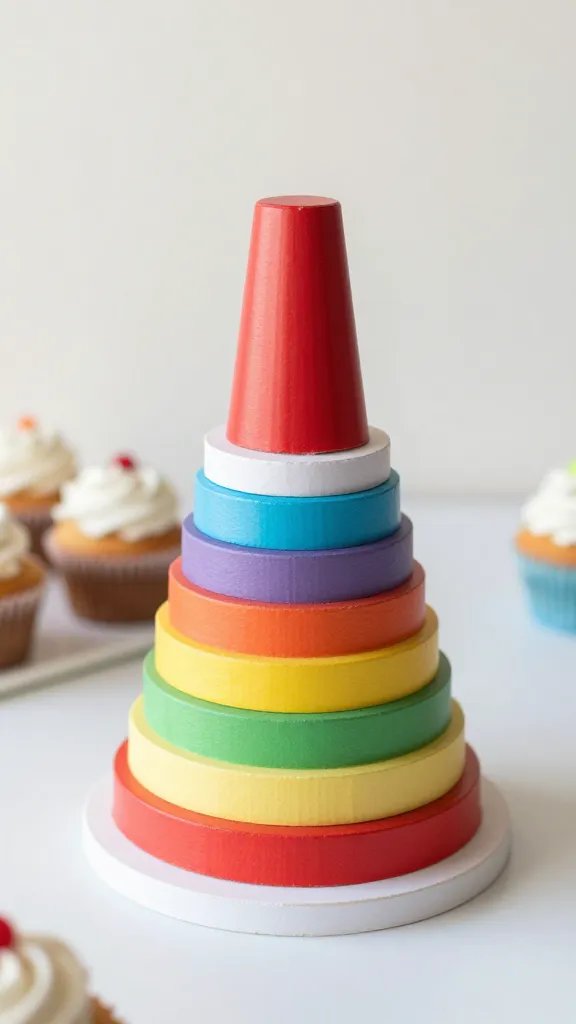
Stack cardboard rings to form a small cupcake stand that fits on a dessert table. Paint each ring a different color and glue a sturdy lid or base underneath for stability. This keeps cupcakes elevated for easy access and makes the dessert display feel curated without spending on a store-bought stand. It’s also easy to disassemble and recycle after the party ends.
Dollar store swap: Use round storage lids as the top layer for a quick, stable finish.
12. Pop-Up Cardboard Tunnels
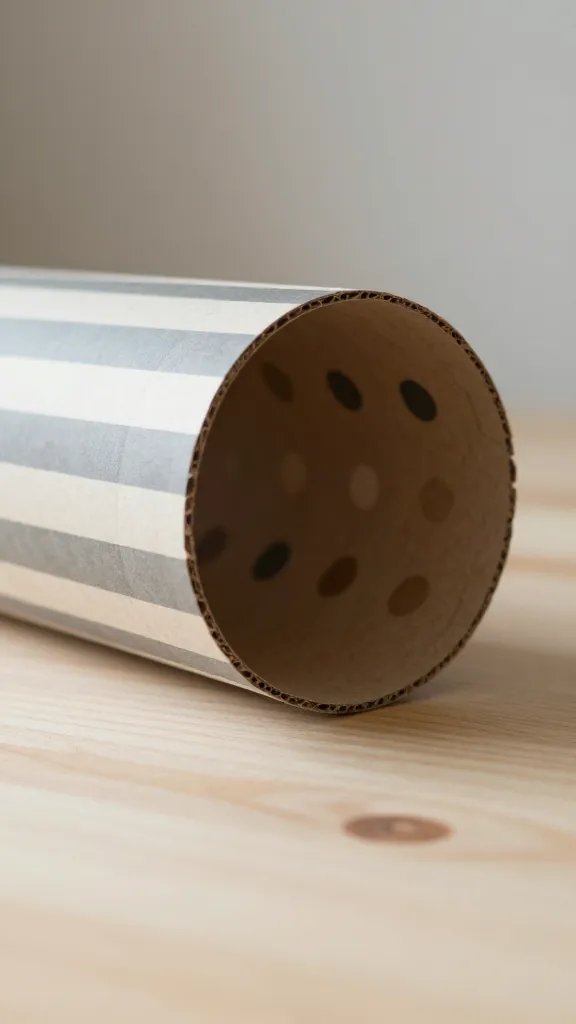
Cut a long cardboard sheet in a gentle curve and fold it into a tunnel shape with a small entry. Decorate the outside with stripes and polka dots, and let kids crawl or walk through during game time. The tunnel creates an instant play moment and serves as a fun backdrop for photos. It’s light, portable, and easy to collapse for storage after the party.
Place this note: Leave a clear exit path and a soft carpet or mat inside to avoid slips.
13. Color Block Wall Panels
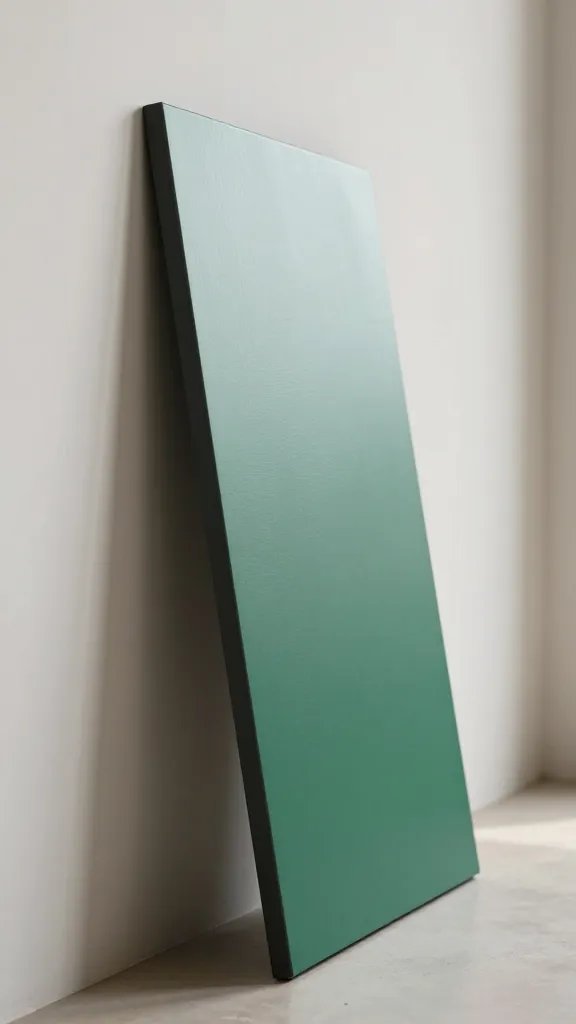
Cut large panels from cardboard, paint blocks in bold colors, and lean them against a wall to create a color-blocked wall. It’s affordable, re-usable, and makes photos pop without a heavy backdrop. You can build three or four panels and arrange them to frame the birthday kid in shots. Add a tiny sign atop one panel with their name and age for a personal touch.
Best for: A compact living room or apartment setup where you want a big visual impact with minimal footprint.
14. Cardboard Pinboard Gallery
Turn a few cardboard frames into a wall gallery to pin up photos from past parties or invite designs. Kids love adding their own pictures or drawing on small notes. It gives you an evolving decor piece that doubles as a guest activity. Keep it simple with three to five frames and a single color palette to maintain cohesion.
Role swap: Swap in fresh art or photos after every major milestone to refresh the display without buying new decor.
15. Box Rocket Launchers
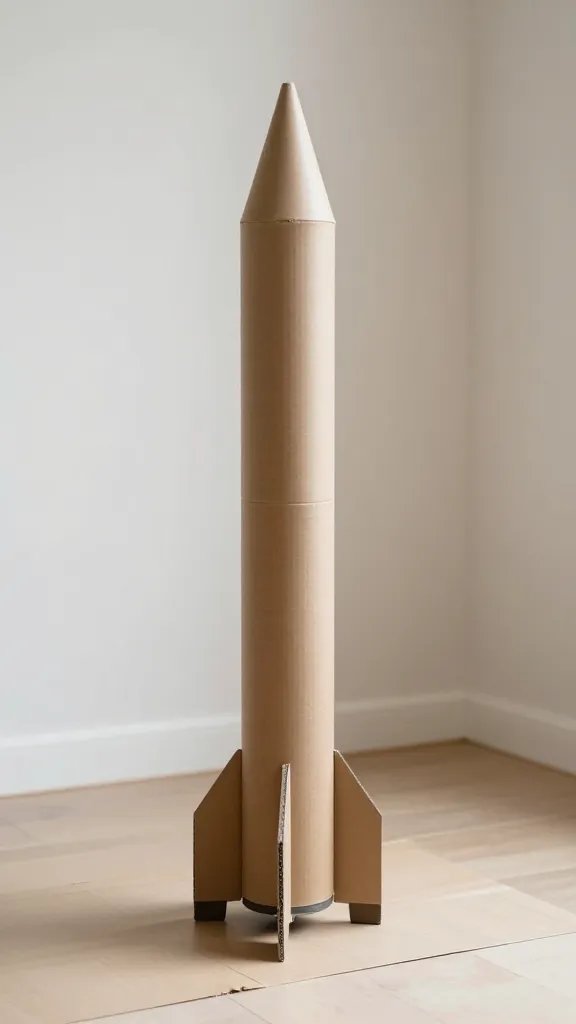
Make simple rockets from tall cardboard tubes with cone tops and launch them in a taped-off corner for a quick play zone. Paint them in metallic shades and decorate with sticker strips. A safe, soft launch approach keeps the area lively and reduces clutter elsewhere. You can set up a countdown for added excitement and a quick photo moment as the “rocket” takes off.
Cleanup tip: Have a bin ready for used tape and scraps to keep the area tidy during play.
16. Cardboard Treasure Map Wall
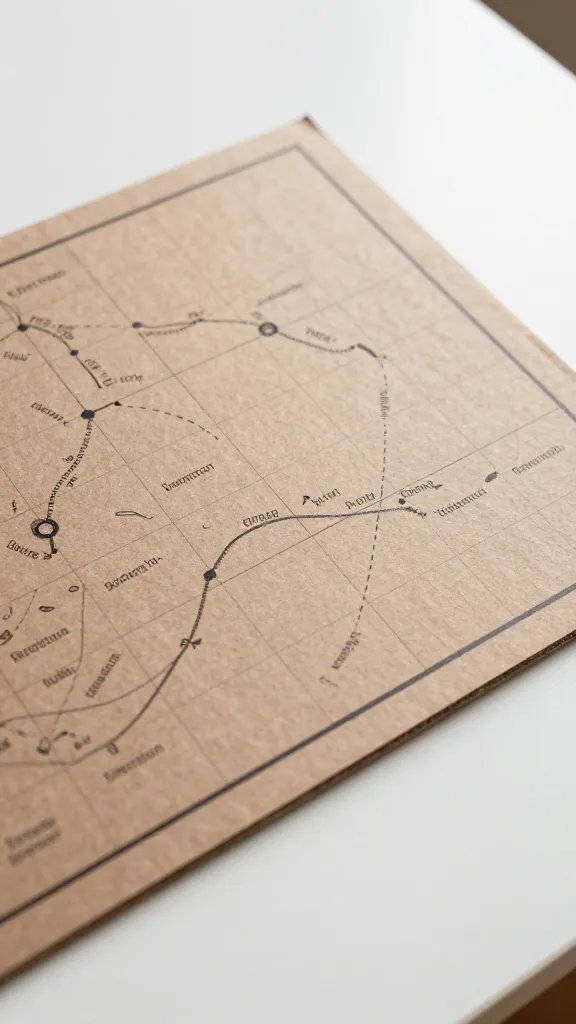
Spread a large sheet of craft cardboard and draw a treasure map path with marker. Place clues or small stickers along the route that lead to a hidden treasure box. The kids follow the path, solving little prompts as they go, which buys you a steady activity window. It’s inexpensive and your guests leave with a tiny map theater that matches most theme colors.
The detail to steal: Use a grid of faint pencil lines to keep landmarks evenly spaced and easy to read for kids.
With a few sturdy boxes, some color, and a little imagination, you can transform a room into a lively, kid friendly party space. These cardboard ideas stay practical, cost effective, and easy to pull off in a busy week. Save this for the next birthday that sneaks up on you.