
16 Decorative Mirror Craft Ideas for a Small Hallway

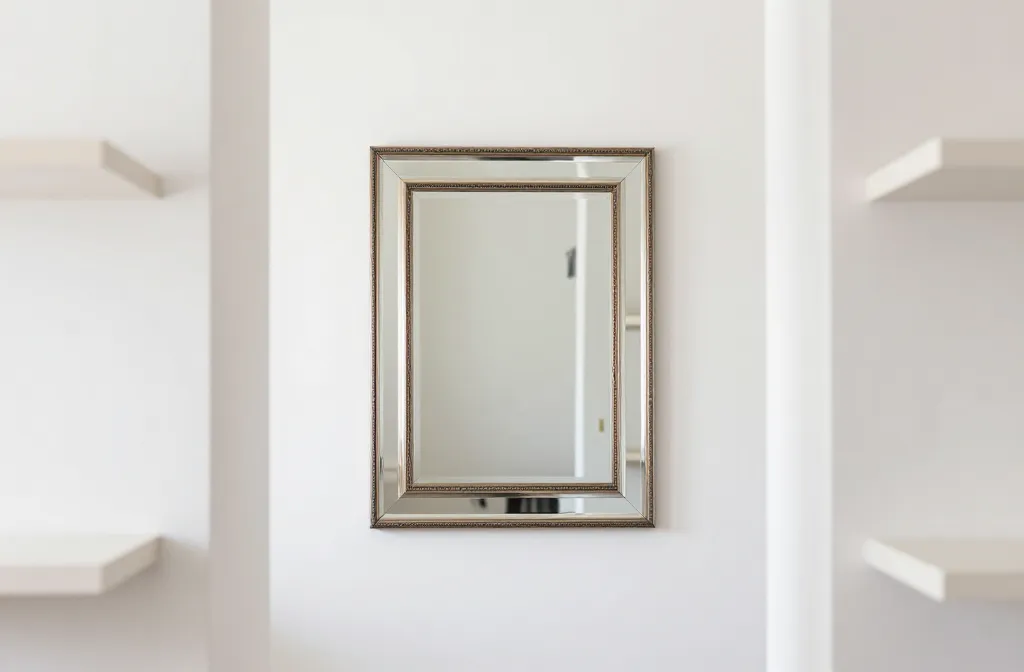
Small hallways can feel cramped, but mirrors are cheap style and light reflectors. If you want to make a bold first impression without crowding the space, you can craft reflective details that actually help the area feel bigger. This guide gives 16 mirror inspired ideas you can start this week, each designed for a compact entry or corridor. You’ll get clear supplies, rough timing, and a real world approach that fits a busy schedule. Read each idea with an eye for what will travel well from your kitchen table to the hallway wall.
These ideas lean on the core goal of a hallway: to brighten, organize, and guide guests with a touch of personality. Expect practical steps, quick setup tips, and finishes that look polished even if you’re crafting for the first time. Let’s move through the list and pick the ones that fit your space this weekend.
1. Frame a Painted Cardboard Mirror
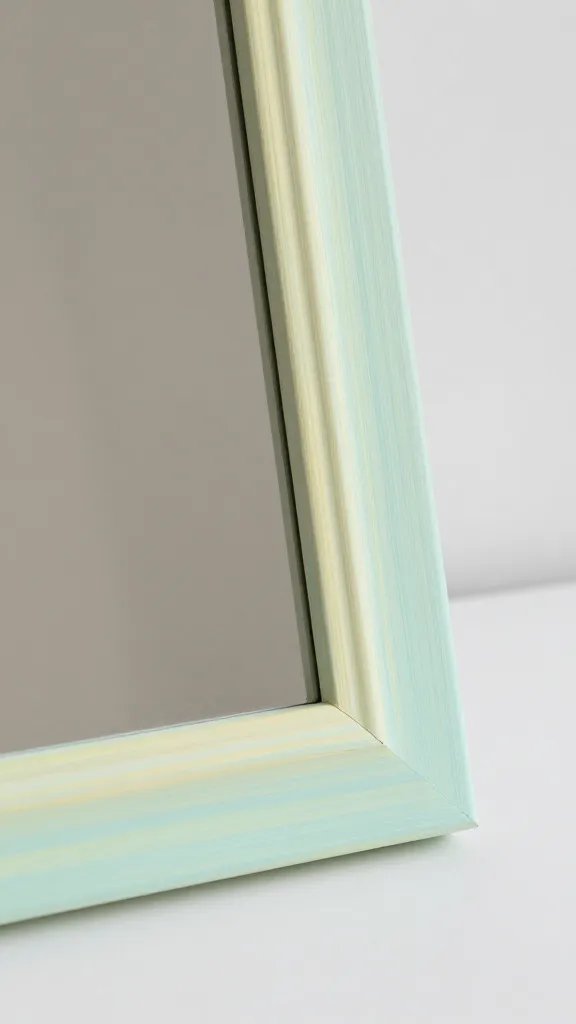
A plain mirror can feel lost in a narrow hall, but a bold frame changes the vibe instantly. Use a lightweight cardboard cut to size, cover with thin poster boards, and paint to match your palette. The effect reads like a real mirror without the weight. The real problem it fixes is a bare wall that steals light and makes the hallway feel longer than it is. Supplies: cardboard, poster board, acrylic paint, craft glue, craft knife, optional mirror sheet. Time: about 60 minutes plus drying.
Copy the look: Use a thin house mirror you already own and build a frame around it with kraft paper scraps for texture.
2. Mirror Tile Photo Collage Grid
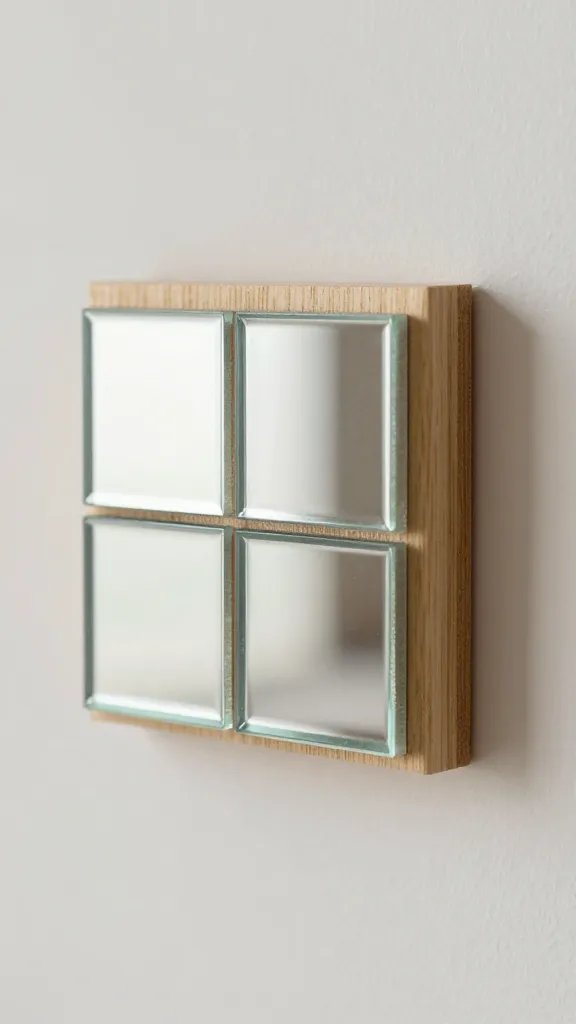
A hallway loves a little storytelling. Create a grid of small mirror tiles interspersed with photos or art to bounce light and show off memories. Problem solved: a bland wall becomes a warm, personal gallery. Supplies: 4×6 inch photo prints, 2×2 inch mirror tiles, double sided tape or adhesive dots, wood strip or foam board backing, ruler, marker. Time: 45 to 60 minutes.
Placement note: Space tiles evenly on the backing before sticking to keep lines straight.
3. Floating Lighted Mirror Shelf
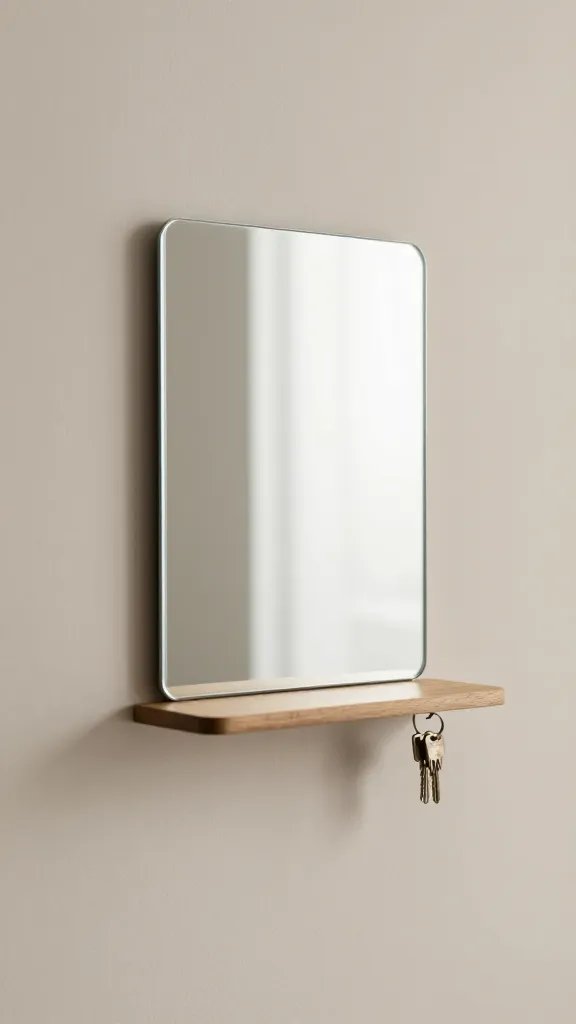
Turn a slim wall mirror into a tiny functional shelf. Mount a shallow wood or plastic ledge beneath the mirror to hold keys, sunglasses, or a single plant. The real problem it fixes is a doorway that feels cluttered with every item thrown on a console. Supplies: slim wall mirror, small ledge shelf, mounting hardware, screwdriver, optional LED strip. Time: 50 minutes.
Dimension tip: Choose a shelf depth that fits your items as a safety check in tight spaces.
4. Peel-and-Stick Geometric Mirror Pattern
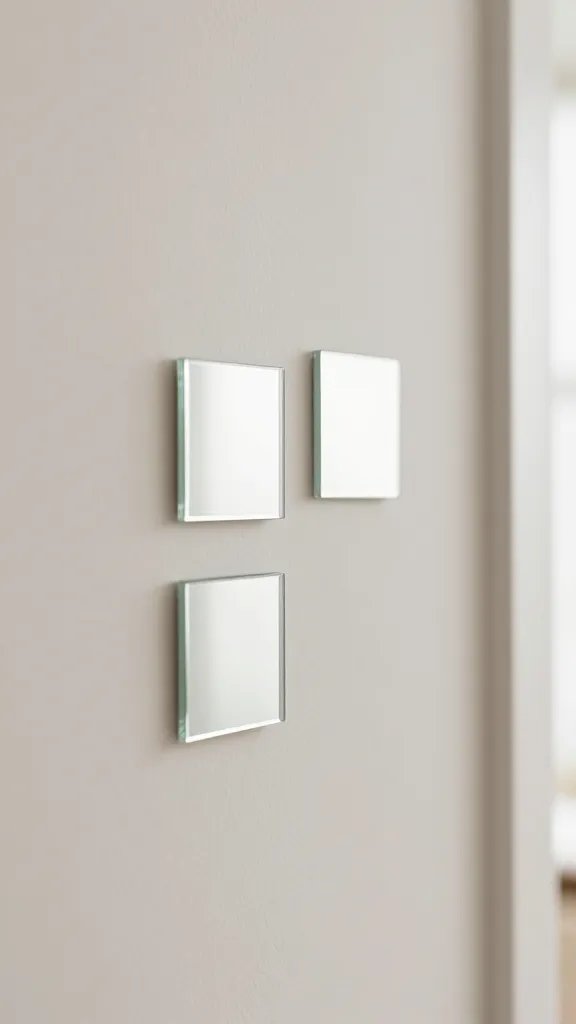
A geometric layout of small mirrors on the wall adds sparkle without a heavy frame. This fix targets a dull hallway that lacks focal points. Supplies: handful of small decorative mirrors or mirror tiles, painter’s tape, level, strong adhesive if not self adhesive, scissors. Time: 40 to 60 minutes.
Safety note: avoid placing near outlets or cords where heat could affect glue.
5. Recycled Window Pane Mirror Wall
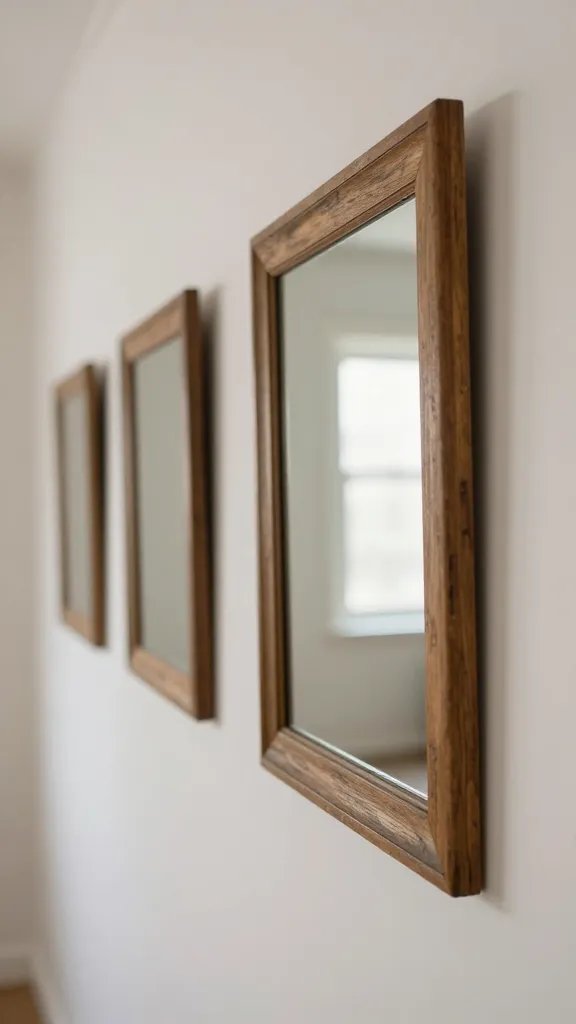
Old window panes with glass removed make a rustic mirror wall that expands a tight corridor. The problem it solves is a long wall that feels endless by breaking it into segments. Supplies: old wooden window frame, glass piece or mirror sheet to fit, strong glue, sanding block, optional antiquing stain. Time: 90 minutes.
Skill level: moderate; may require a partner for handling glass safely.
6. Curtain String Mirror Backdrop
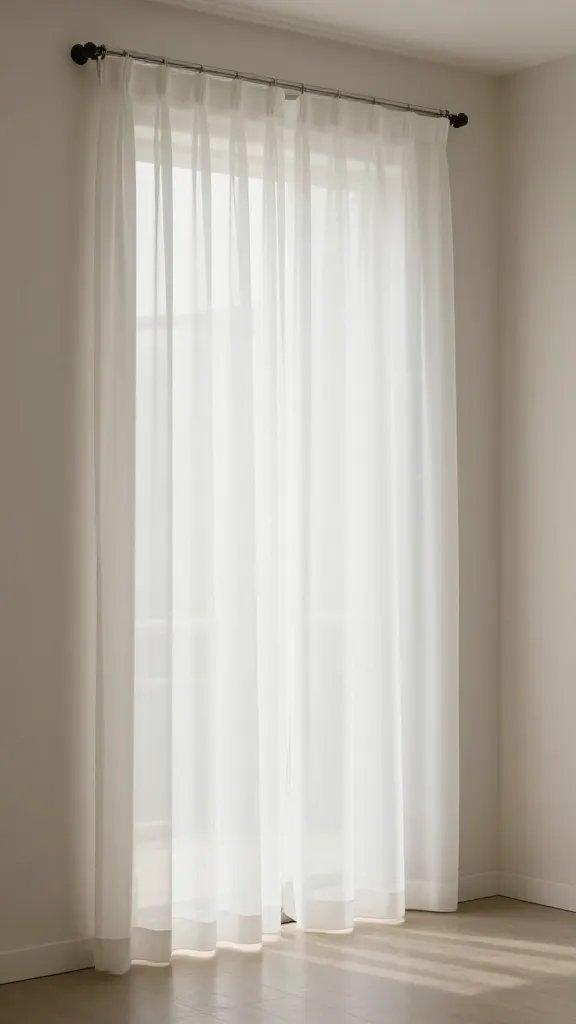
A lightweight mirror sheet behind a sheer curtain turns a plain wall into a soft, reflective backdrop. The issue it tackles is a night time hallway that looks flat. Supplies: mirror panel cut to size, sheer curtain panel, tension rod or adhesive hooks, string lights if desired, scissors. Time: about 30 minutes.
Placement tip: hang curtain high to make the ceiling feel taller.
7. Mirror Doodle Frame Gift Wrap
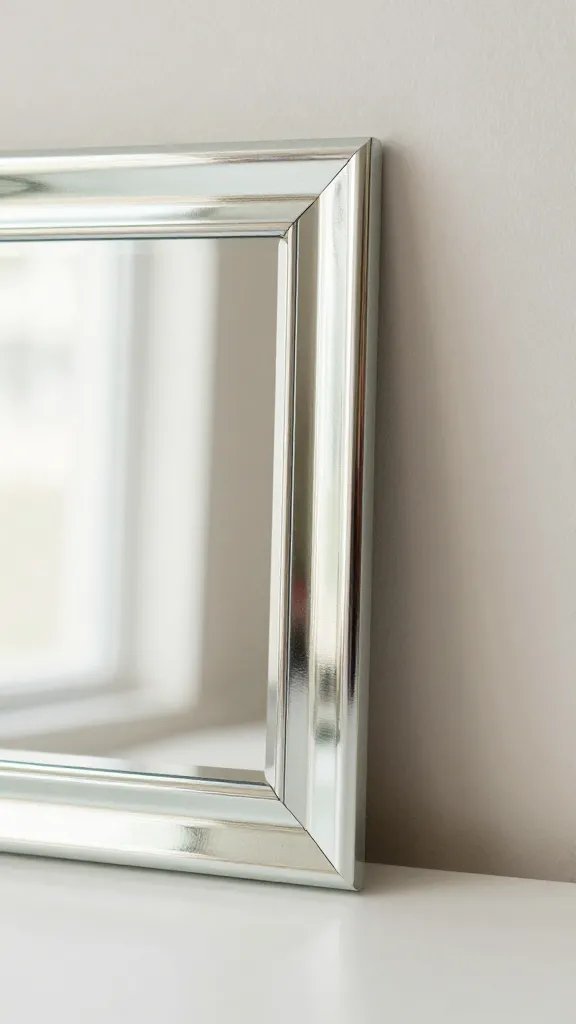
Give a plain mirror a festive frame using gift wrap and a clear adhesive spray. It fixes the problem of a generic space that reads as unfinished. Supplies: plain mirror, roll gift wrap, clear spray adhesive, scissors, rulers, pencil. Time: 40 minutes.
Use what you have: wrap over a piece of cardboard as a temporary backing to keep the wrap neat.
8. Laminate Mirror Tiles on a Pallet Board
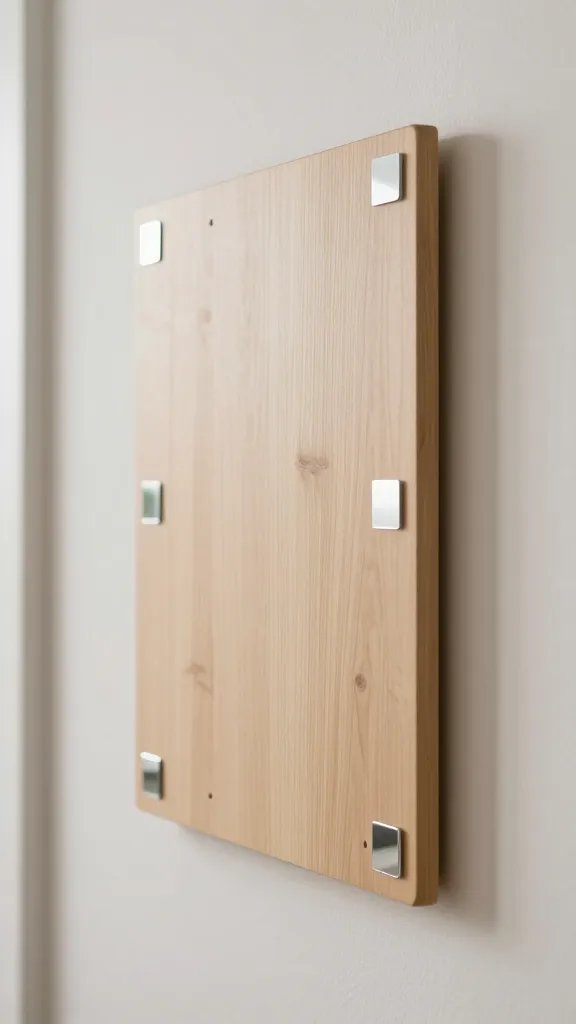
Attach several small mirror tiles to a narrow pallet board to create a slim, high impact feature. This solves the issue of a hallway that lacks height with a vertical focal line. Supplies: pallet board, mirror tiles, strong glue, nails or screws, sandpaper, finish spray. Time: 70 to 90 minutes.
Better version: use a single large mirror if available for a cleaner look.
9. Magnetic Wall with Mirror Strips
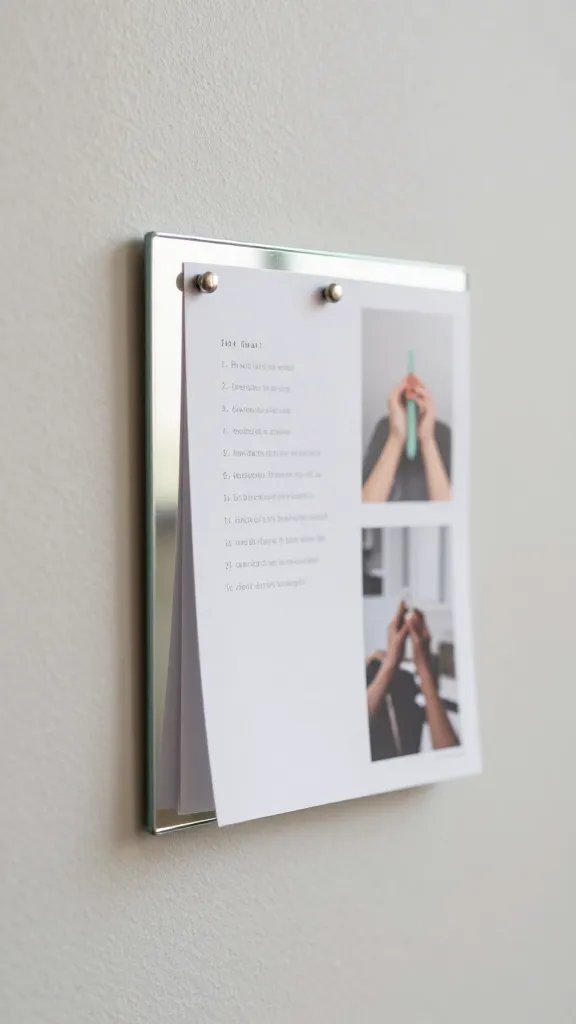
If you want easy maintenance, create a magnetic wall by attaching mirror strips to a painted backing and using magnets for notes and photos. The problem it fixes is constant clutter around the door. Supplies: magnetic paint or metal sheet, mirror strips, strong magnets, screwdriver, level. Time: 60 minutes.
Safety note: ensure magnets are not placed where children reach loose pieces.
10. Herringbone Mirror Pathway
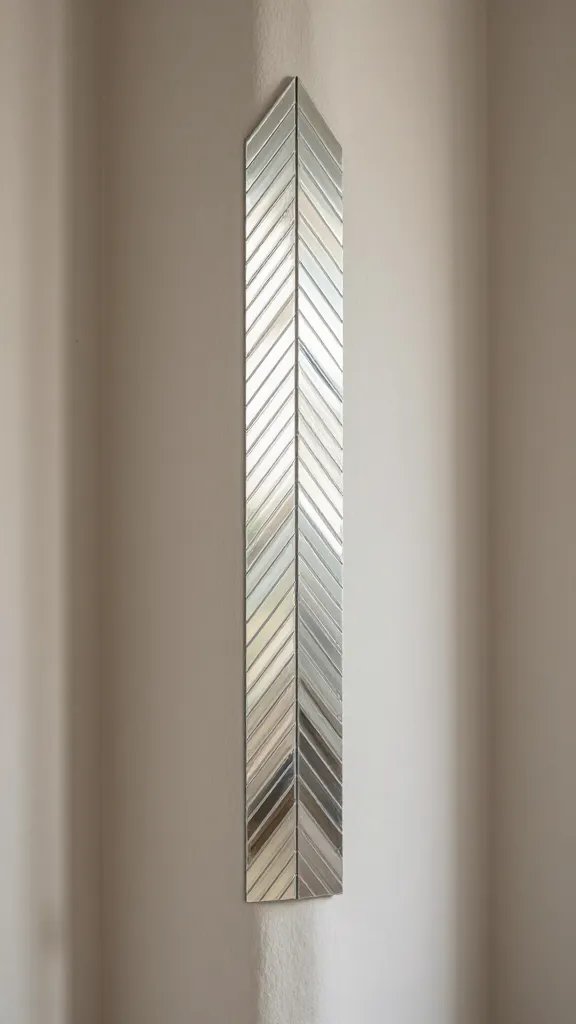
A thin mirror strip laid along the wall in a herringbone layout brings light through a narrow space. It addresses a hallway that feels dark and narrow. Supplies: adhesive mirror sheets, ruler, utility knife, mounting adhesive, straight edge. Time: 45 minutes.
Tip: work in small sections to prevent bending or air bubbles.
11. Wall Clock Mirror Mash-Up
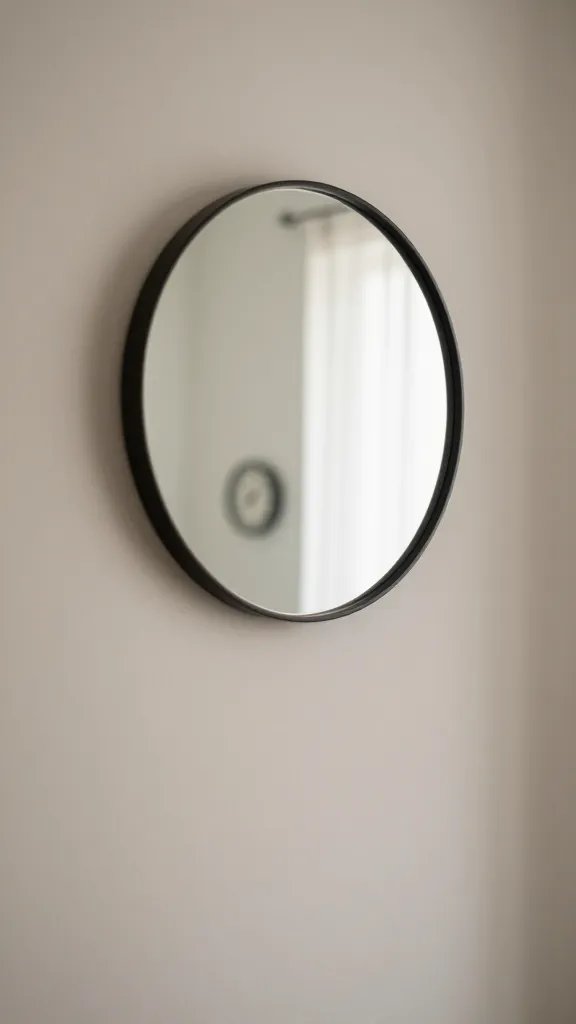
Pair a round mirror with a small clock face nearby for a functional focal point. The real problem it fixes is a hallway where time slips by unnoticed. Supplies: round mirror, clock kit or sticker clock, mounting hardware, level, tape measure. Time: 40 minutes.
Assembly tip: align center lines before securing.
12. Mirror Lantern Duo
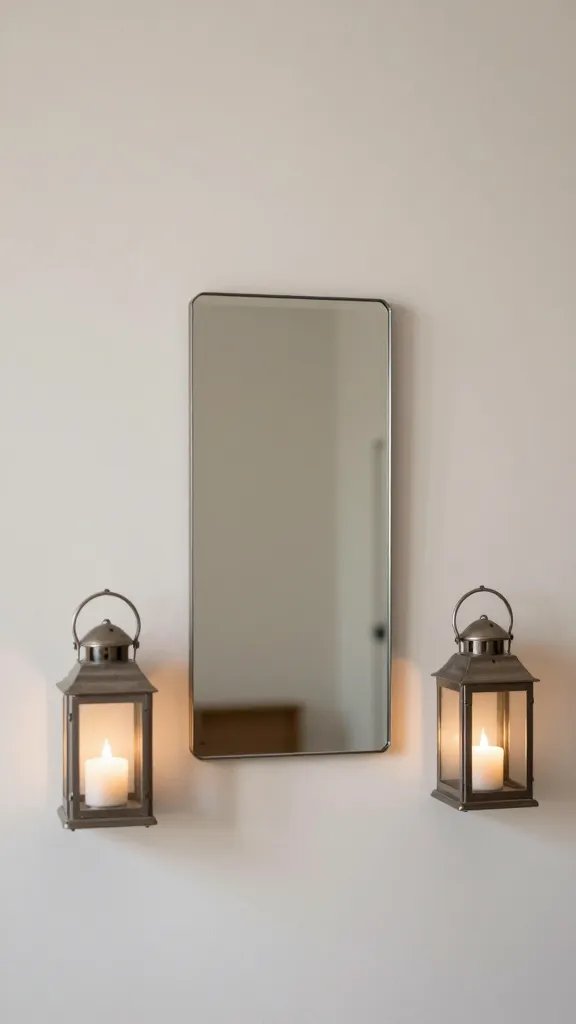
Attach two small lanterns on either side of a mirror for ambient glow that makes a compact entry feel welcoming. The issue it fixes is a dim hallway even with a ceiling light. Supplies: small metal lanterns with handles, mirror, mounting screws, drill. Time: 50 to 60 minutes.
Placement note: keep lanterns away from paper or fabric that could catch fire.
13. Framed Mirror Gallery Rail
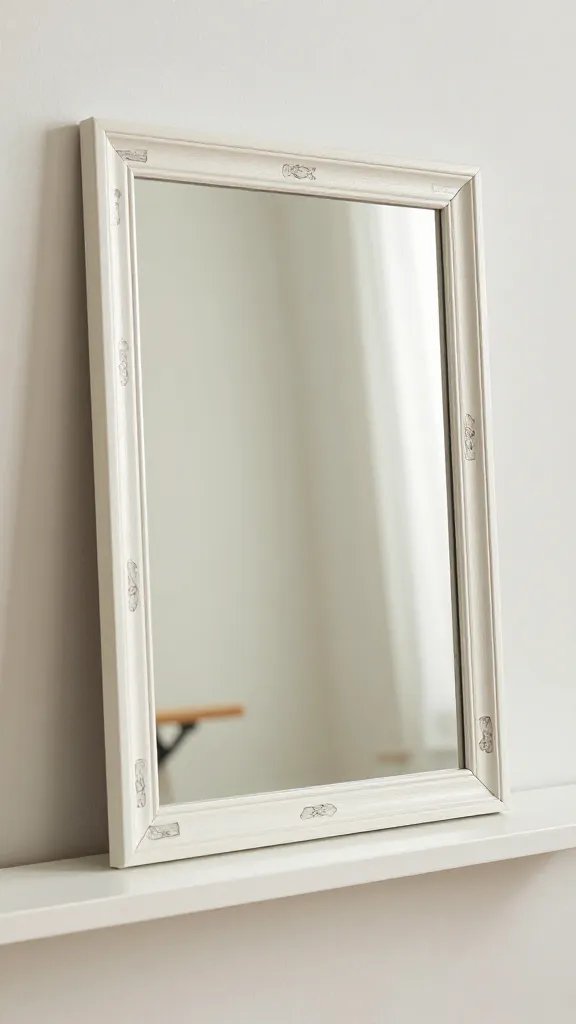
Create a mini gallery along a stairwell with framed mirrors alternating with prints on a low rail. It fixes the problem of a long wall that lacks rhythm. Supplies: multiple small frames, mirrors cut to fit, strong double sided tape or picture hanging strips, ruler, level. Time: 60 to 90 minutes.
Best for: a straight wall with enough width to show multiple pieces.
14. Mirror Cards Under Glass Panel
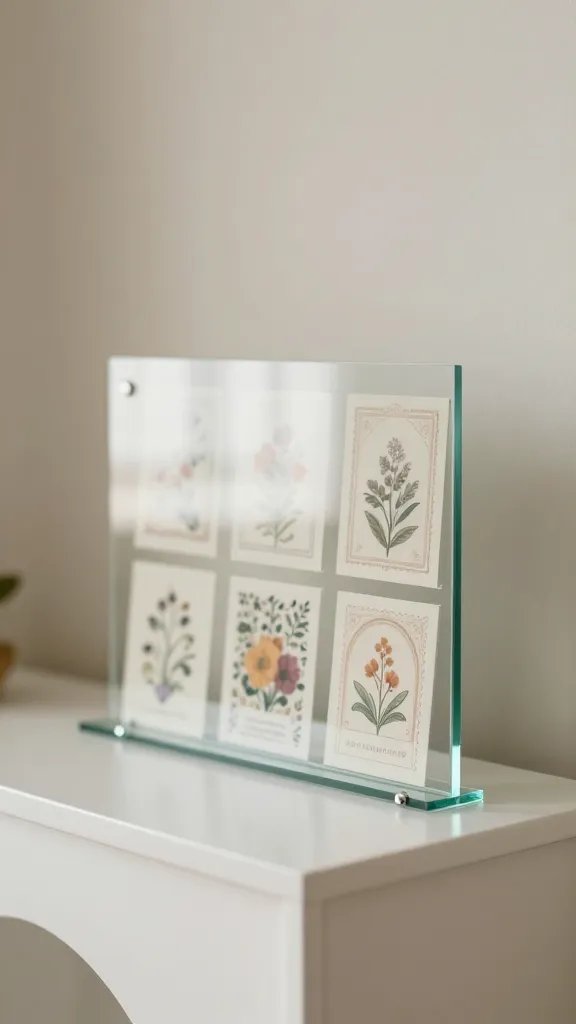
Slip a sheet of glass over a shallow panel with decorative cards behind it. This gives a reflective surface and a place to greet guests with a seasonal message. Supplies: glass or clear acrylic sheet, backing panel, decorative cards or notes, adhesive, mounting hardware. Time: 60 minutes.
Note: handle glass with care; wear gloves when cutting or moving panels.
15. Glitter Edge Mirror Cutout
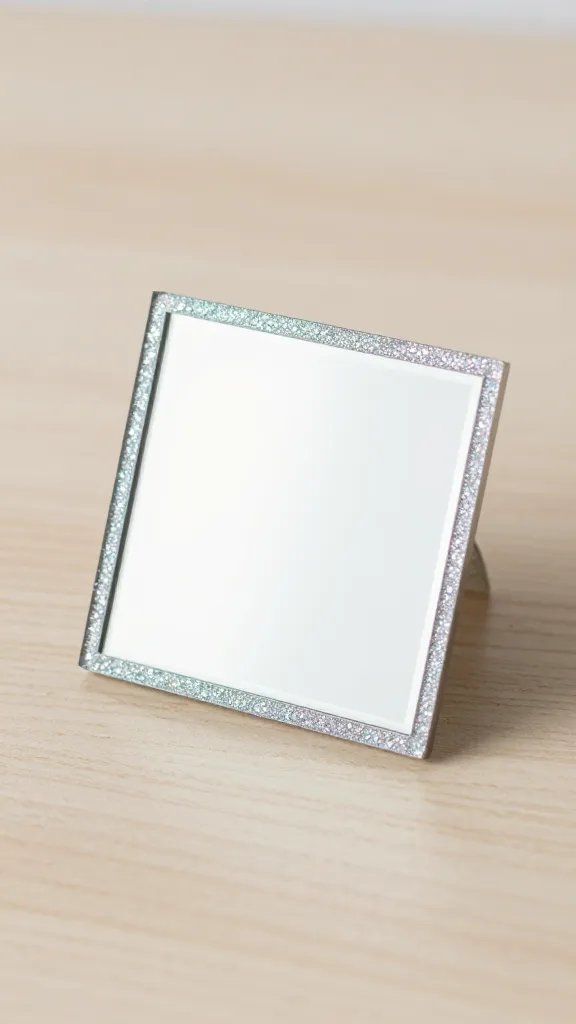
Make a small mirror shine with a glitter edge using sealed cardstock and glue. It fixes a dull edge on a plain mirror. Supplies: small mirror, glitter craft glue, fine glitter, sealant spray, scissors. Time: 30 to 45 minutes.
Cleanup tip: lay down newspaper to catch excess glitter for easy cleanup.
16. DIY Cardboard Cutout Mirror Border
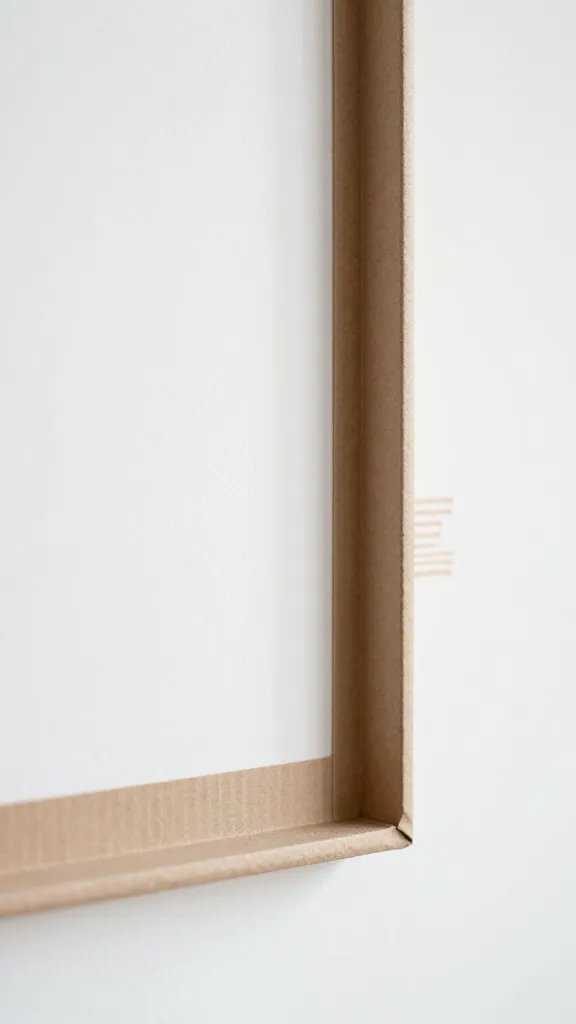
Cut a large decorative border from cardboard to frame a mirror creatively. It helps a wide wall feel finished without buying new frames. Supplies: cardboard sheet, decorative paper or paint, glue, scissors, ruler, a ready made mirror. Time: 50 to 70 minutes.
Little hands tip: let kids trace shapes and cut along lines with supervision.
Conclusion
Mirrors are a practical way to expand a small hallway’s feel while adding personality. Pick a couple that suit your space and don’t overdo it. A simple frame, a strip of tiles, or a soft glow can make guests notice the door with a friendly smile. Save this for the next birthday that sneaks up on you.