
17 Craft Ideas for Kids Aged 7 to 9

Kids this age crave hands on projects that feel doable yet still look thoughtful. You want ideas that keep little hands busy without turning your dining room into a craft store. Here you’ll find practical, low mess ideas that 7 to 9 year olds can help steer, with a few adult prompts tucked in where needed. Use these to fill a party or a weekend project with friends, and keep the vibe fun, not chaotic. Each idea solves a common party or at home crafting hurdle, from budget to time to engagement. Let’s get the creative wheels turning with a plan you can actually finish this week.
You’ll see variations on a theme or a clear upgrade path in each entry. And yes, color, texture, and a little sparkle are encouraged—without the glitter avalanche. If something feels too big, opt for the easier version listed in the same idea.
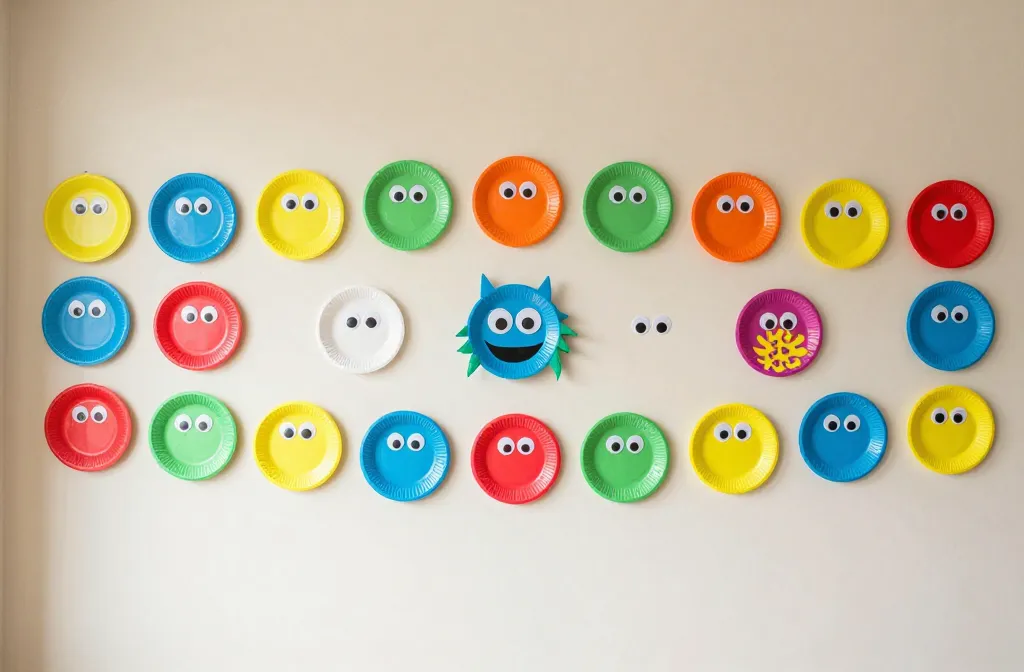
1. Make a Paper Plate Monster Gallery
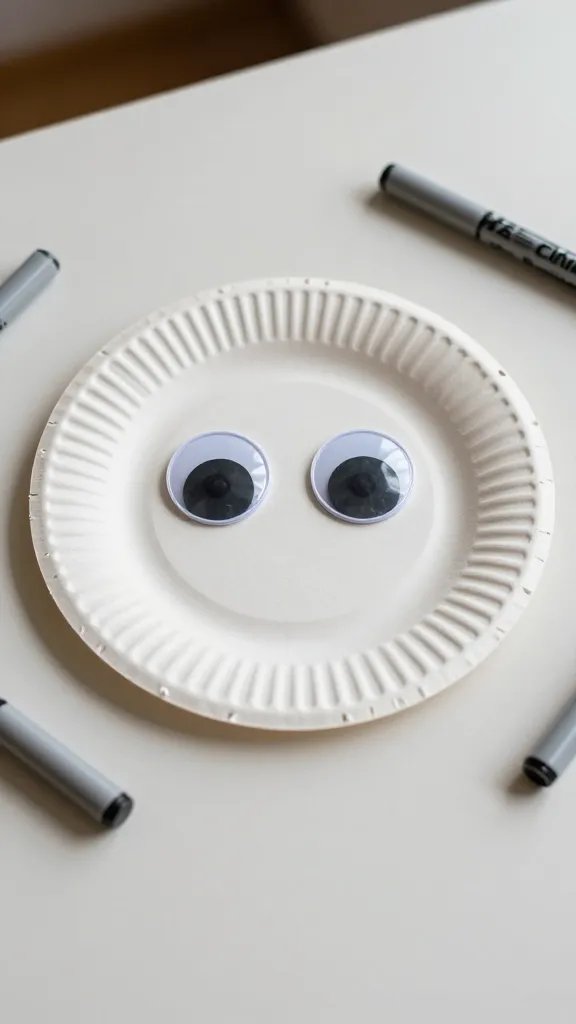
A bare wall at a party makes the display feel messy and rushed. This idea turns plain paper plates into friendly monsters kids can decorate with markers, googly eyes, and scraps. It installs quickly as a wall strip or a photo backdrop. Supplies are simple and inexpensive, and kids can work in small groups to keep the noise down. The key is to pre punch or precut pieces so little hands aren’t hunting for bits mid project. A quick banner with a face lineup finishes the display.
Paper note: Use a sheet of poster board as the monster sheet, and let kids draw mouths and teeth directly on it.
2. Create a Balloon Tassel Banner
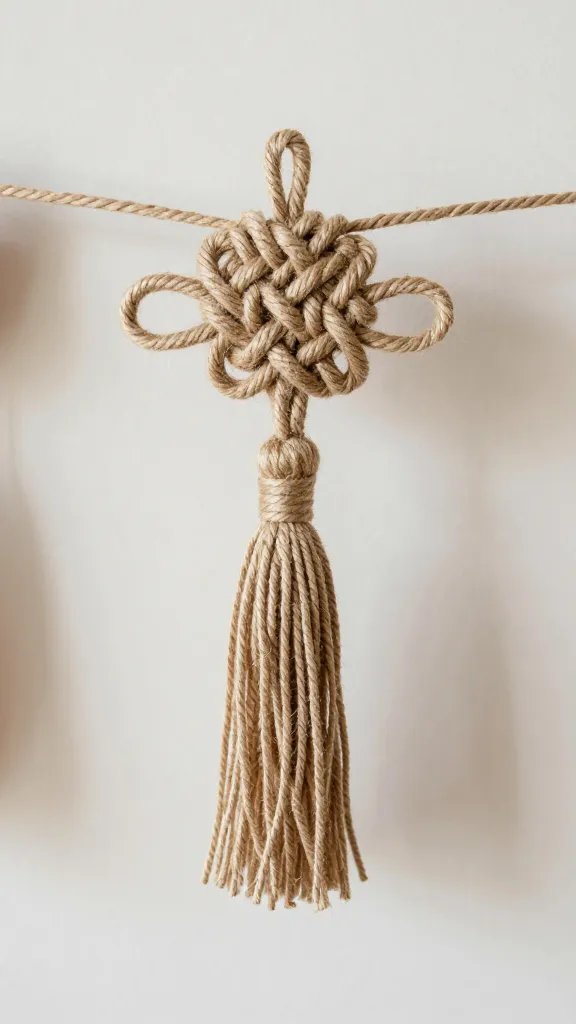
Plain walls eat photos alive, and balloons can look pricey if you buy a ton. This banner uses a handful of balloons and yarn to create a playful garland kids can help assemble. Start with a length of twine across a wall or above a table. Tie small clusters of balloons at intervals, then weave in tassels cut from tissue paper. It’s fast, forgiving, and surprisingly sturdy when you tape ends to the wall with painter’s tape. Kids love seeing their own colors float above the cake table.
Color note: Pick two or three colors that echo the party theme to keep the look cohesive.
3. Design a DIY Badge Necklace Station
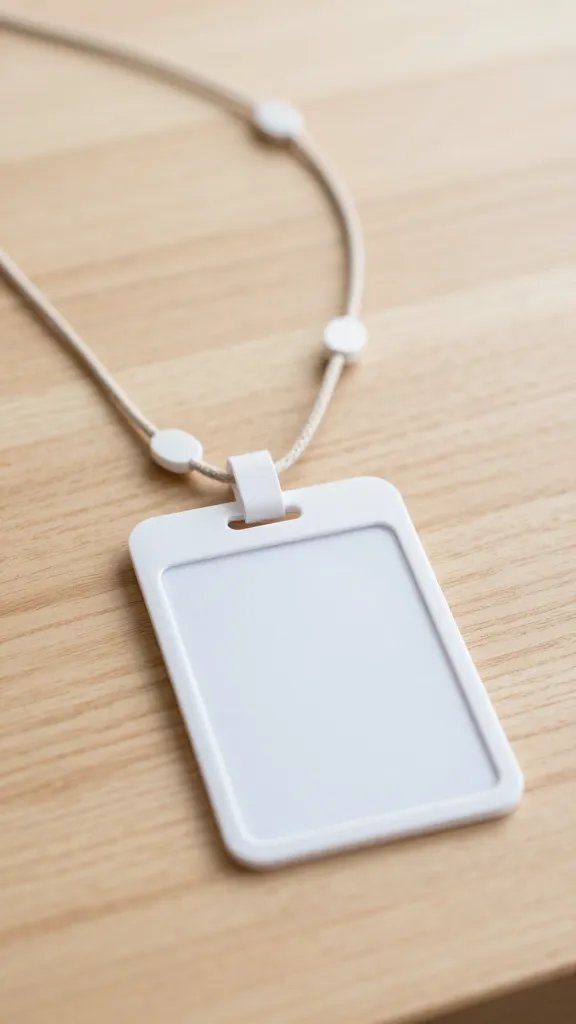
Kids crave wearable art they can show off at the end of the day. This station uses lightweight cardboard or forgotten gift tags, hole punches, and yarn or ribbon to make simple badge necklaces. Pre-cut shapes reduce snags and frustration, and a quick coat of sealant spray helps them last through photos. Have a tray with markers, stickers, and glitter glue for final touches. Promote sharing and trading at the end to keep the energy friendly.
Craft note: For younger crafters, provide pre-punched shapes and just one color of marker per kid.
4. Build a Snap-Tie Friendship Bracelet Bar
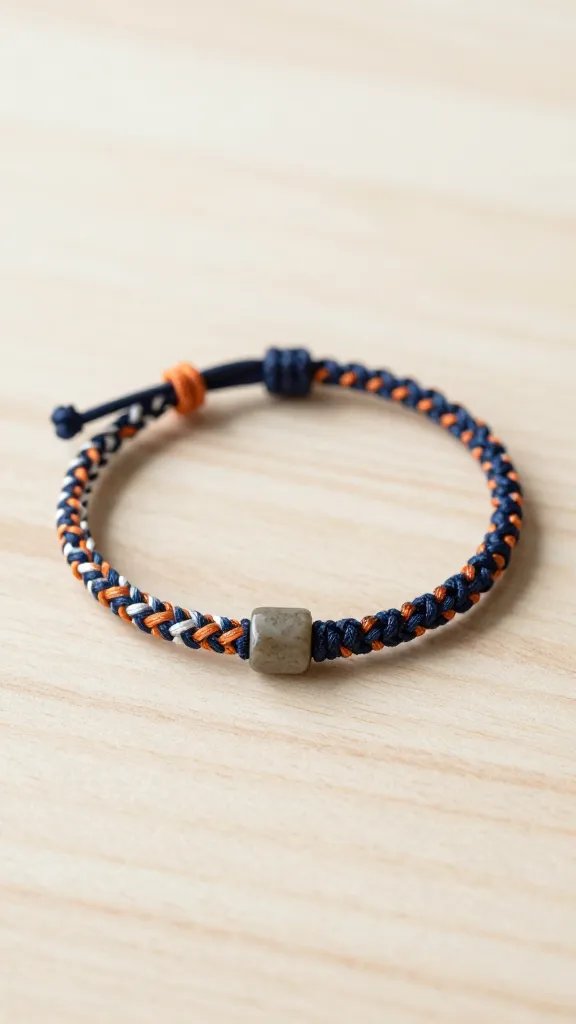
Little hands can struggle with complicated knots, so this idea uses pre-tied knots or easy braids that kids snap into place. Set up a cord grid with colors arranged by shade, and let each child choose three colors. The result is a kid friendly, giftable bracelet grid that goes together in minutes. It’s ideal for a calm corner at a party, since it minimizes tangling and mess. Have a quick “show and tell” moment so everyone can admire their finished piece.
Why it works: Simple knots or pre tied sections cut down on frustration while keeping the craft social.
5. Turn Painted Popsicle Sticks Into a Tiny Town
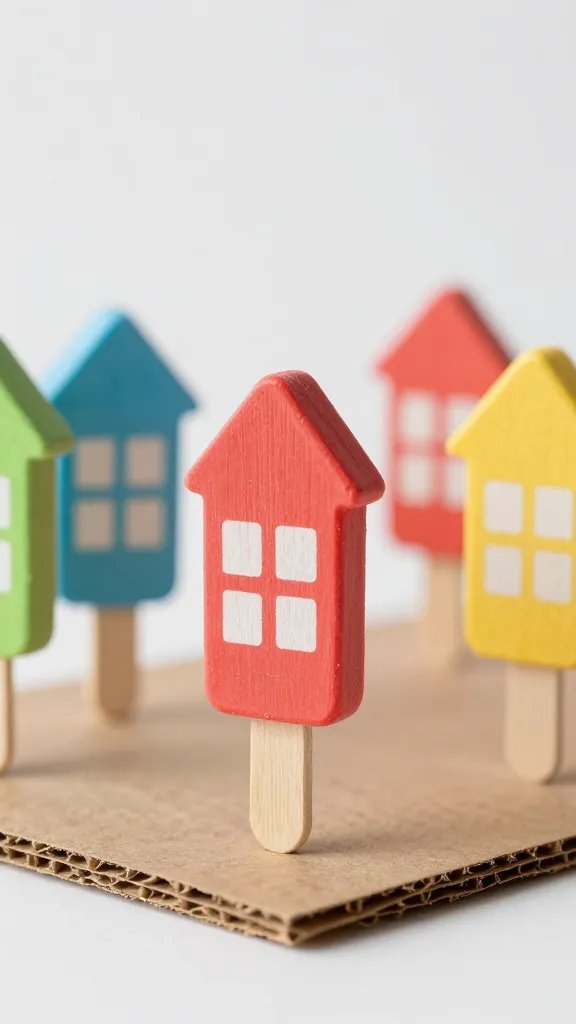
Only a few supplies transform into hours of play. Paint popsicle sticks in bold colors, glue them into small houses and fences on a sheet of cardboard, then let kids glue on mini windows with a dab of white paint. The result is a tiny village that doubles as a party centerpiece or a keepsake. Keep glue to a thin bead so it dries clear and tidy. This is a quick setup that scales up if you want a village skyline backdrop for photos.
Make it ahead: Dry sticks on parchment overnight so the village stays flat.
6. Craft a Paper Bag Puppet Show
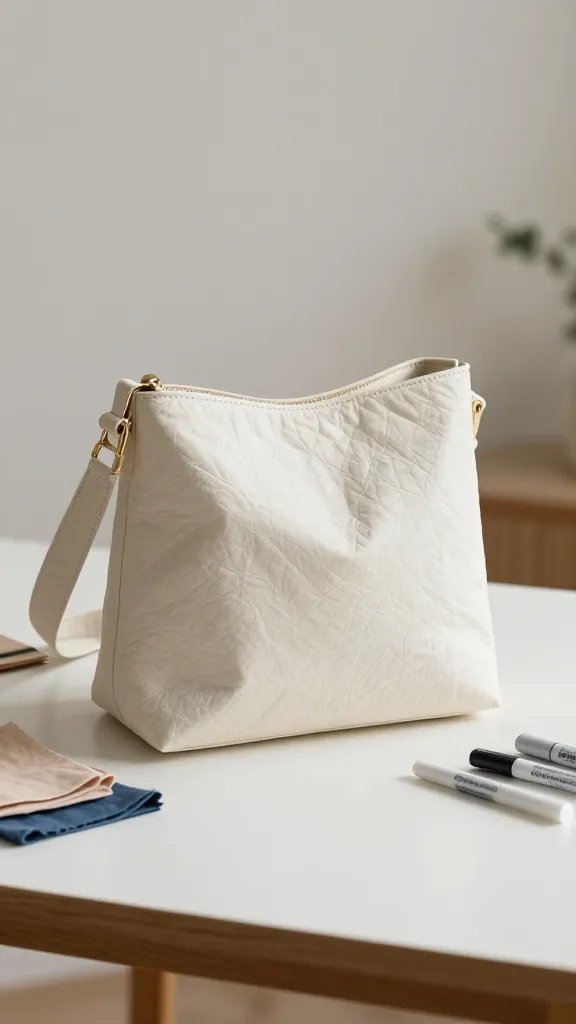
Use supermarket paper bags, markers, and fabric scraps to create simple puppets. Kids design characters, then perform a short 2 minute show. This idea solves the problem of inactive guests and gives a natural transition to a different activity or snack time. It’s low mess and easy to store after the party. If you have a small space, use a plain sheet as a backdrop and stage area on a coffee table or floor.
Safety note: Supervise when using sharp scissors to cut fabric scraps or to trim noses and beaks on puppets.
7. Make a Snap-Glue Cardboard Forest
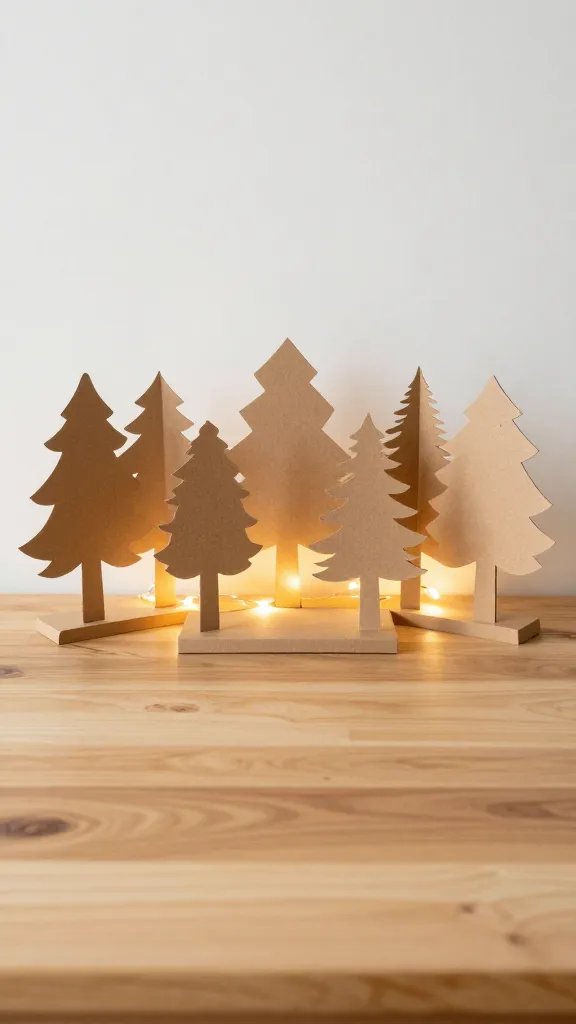
Turn corrugated cardboard into a little forest using construction paper and glue sticks. Kids cut trees, glue them to a base, and add animals or fairy lights behind them for a soft glow. It’s a budget friendly, quick build that also doubles as a photo backdrop. If you want a faster version, skip extra animals and just make a row of trees. The easiest version still feels cozy and personal in photos.
Small space fix: Work on a long, low desk or a cleared coffee table so kids can easily reach all pieces.
8. Personalize a Mini Tote Bag Craft
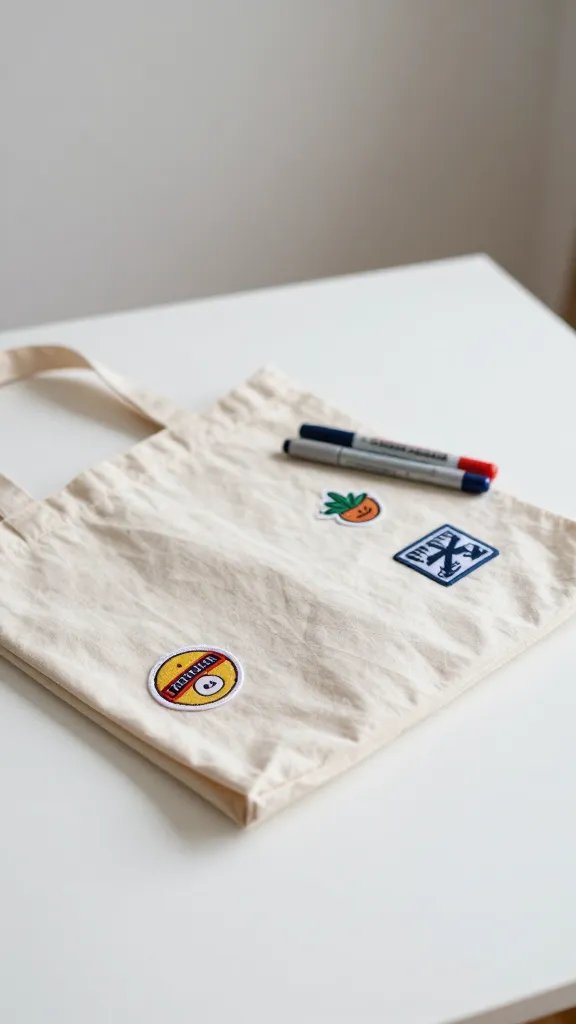
Buy plain tote bags in a basic color and let kids decorate with fabric markers and iron on patches. They can write their name or a quick motto, and then the bags become a party favor that doubles as a keepsake. Keep the design simple to avoid ink soaking through to the other side. This activity travels well and stores flat until the party, then pops up for a quick cleanup after photos.
Use what you have: If you don’t have fabric markers, use permanent marker on light colored totes and add patches with fabric glue.
9. Assemble a Sand Art Station
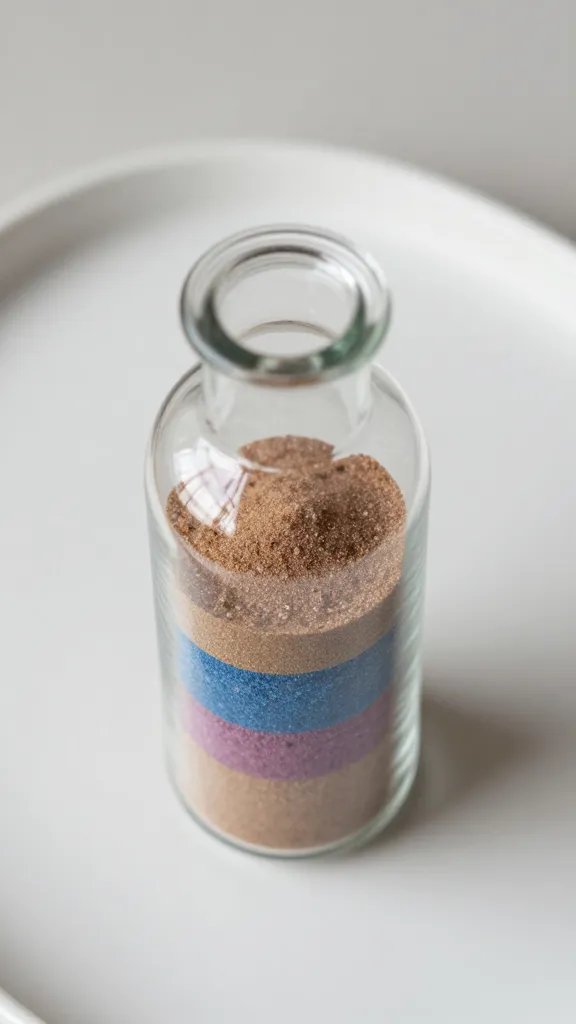
Keep a bin of colored sand, small bottles, and funnels for a simple sand art project. Kids fill their bottles in layers, then cap and label with a tiny sticker. It’s a soothing, mess controlled activity that still feels like a big craft moment. Choose clear bottles so the color layers are visible for photos. You can station this near drinks to slow traffic and give parents a moment to breathe.
Cleanup tip: Lay a tray under the bottles to catch any spill and minimize carpet cleanup.
10. Create a Sticker Mosaic Board
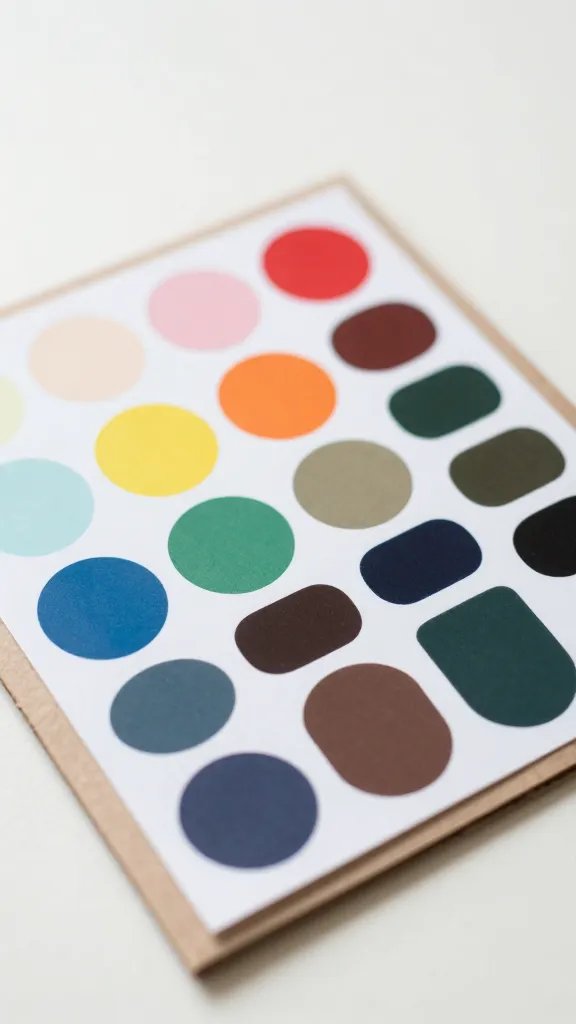
Give each child a cardboard base and a palette of sticker shapes. They arrange a mosaic pattern by color family, then press stickers flat. It’s quick, visually satisfying, and requires little to no drying time. If you want a twist, assign a theme like “under the sea” or “space adventure” and let kids craft within that idea. Hang finished boards as a cluster on a wall or prop them on a table for photos.
Budget swap: Use printable sticker shapes from a thrift store sticker collection to stretch supplies.
11. Build a Cardboard Marble Run
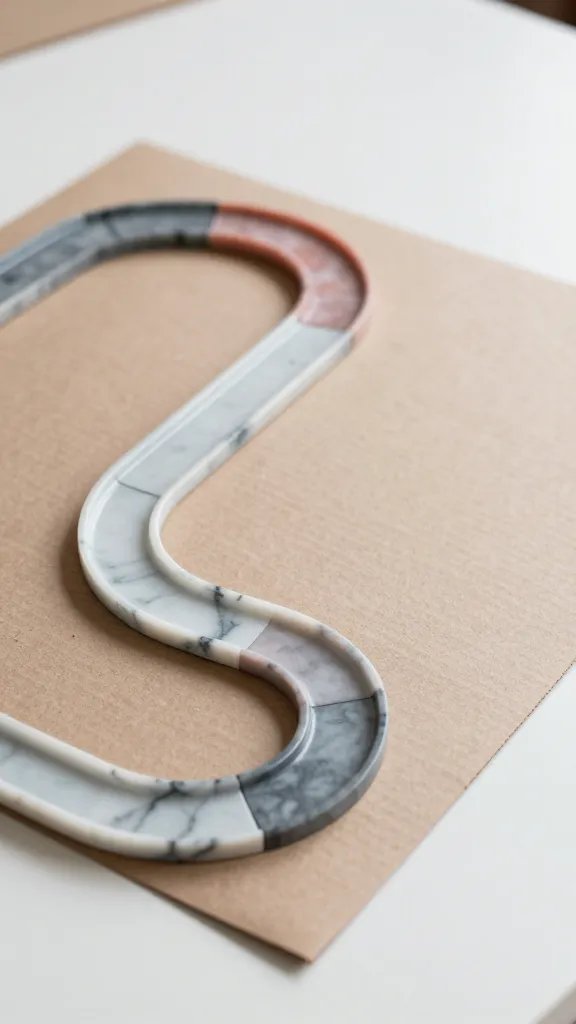
Cut simple channels into a large cardboard sheet with kid safe scissors or a craft knife guided by an adult. Kids choose a few marble colors and watch them roll down the tracks. This is an engineering lite activity with instant feedback and lots of giggles at the end. It also scales up by adding more tracks or rerouting sections. A small lamp or flashlight beneath the track makes the marbles pop in photos.
What to avoid: Sharp edges on cardboard pieces; sand or file rough edges before kids handle them.
12. Dye Watercolor Jar Scenes
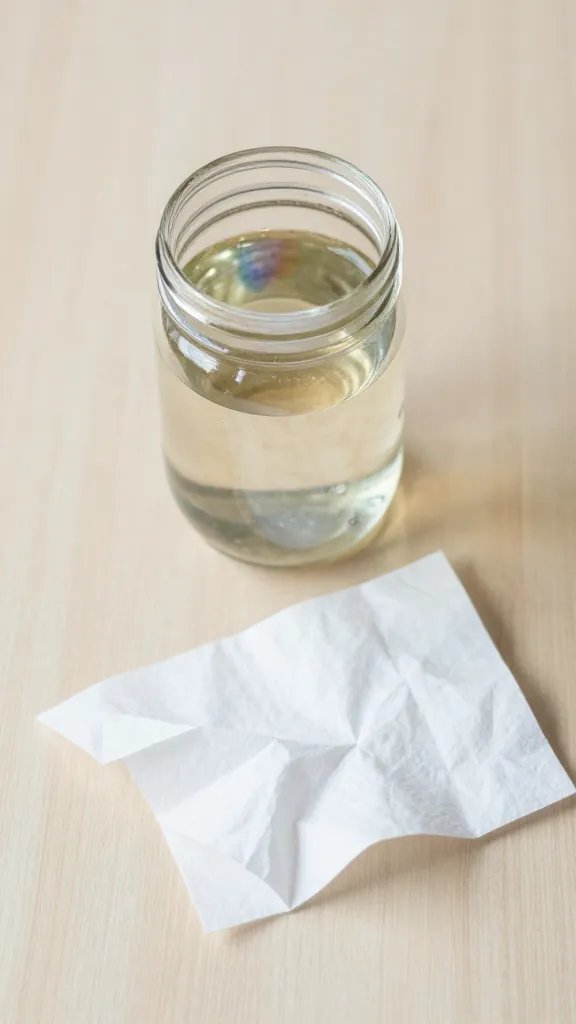
Fill small mason jars with water and add a drop of food coloring. Let kids swish in folded tissue paper shapes to create little watercolor scenes inside each jar. This calm, portable craft looks charming on a snack table and doubles as a party favor if you cap the jars with lids and pretty lids. Keep hands clean with a towel station and a quick wipe before the jars dry.
Color note: Choose two complementary colors to make the jars look cohesive in photos.
13. Assemble a Felt Mask Parade
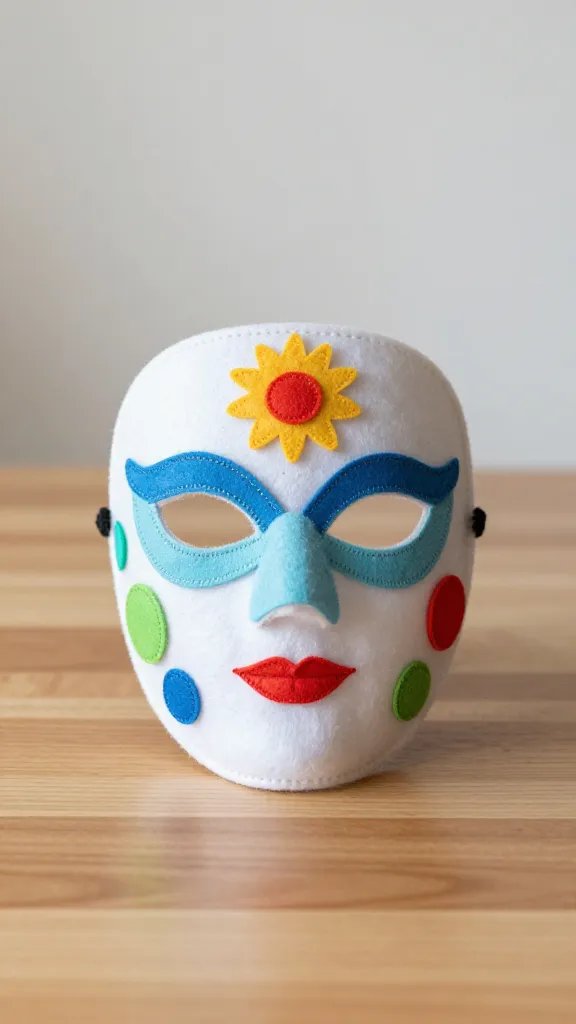
Cut simple mask shapes from felt and let kids decorate with yarn, buttons, and fabric scraps. Attach string or elastic at both sides, and invite kids to walk a mini parade with their creations. Felt is forgiving and easy to glue, with less mess than paper mache. If you’re short on time, have pre cut mask shapes and just let kids add color and embellishment.
Safety note: Use fabric glue or hot glue with adult supervision to secure elastic.
14. Make a Cardboard City Skyline
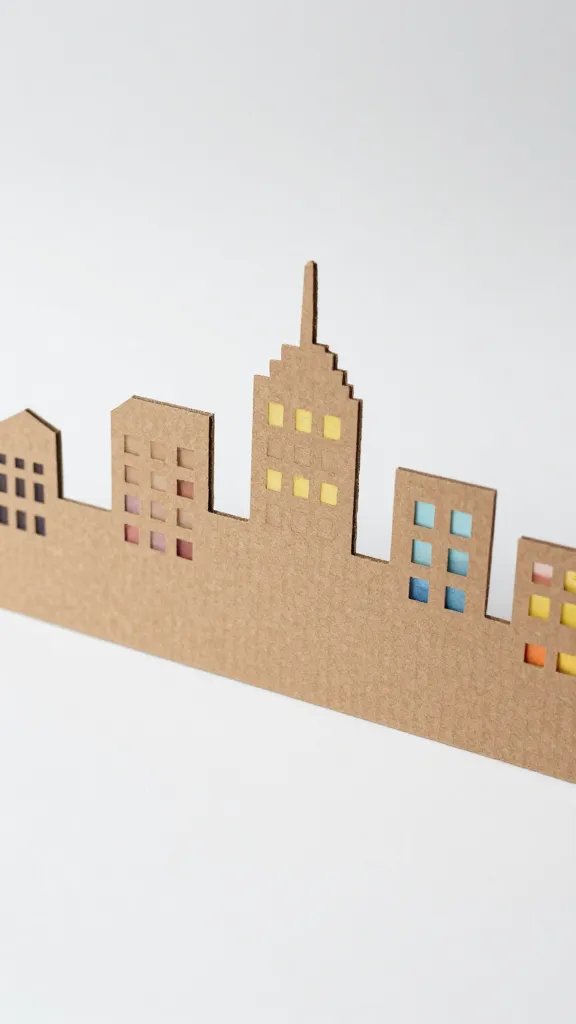
Give kids a large sheet of cardboard, scissors, and colored paper to cut into building shapes. They glue or tape them onto the board to create a tiny city. Add windows with white gel pens or paint for detail. The result is a striking backdrop for photos and easy to dismantle after the party. It also doubles as a reusable display for future events with a different color scheme.
Copy the look: Decorate a second cardboard piece with one color family to switch themes in a pinch.
15. Create a Glow in the Dark Star Jar
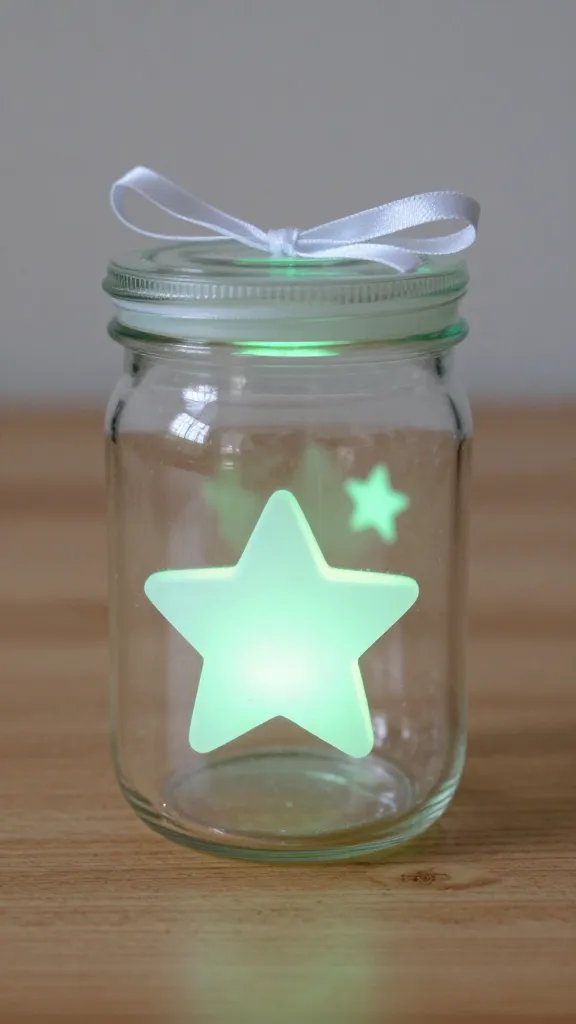
Fill a clear jar with glow in the dark stars or shapes and a little confetti. When the lights go down, the jar glows, making a simple centerpiece and a calm focal point for photos. Add a lid with a ribbon to hold the whole look together. This is a gentle, low mess project that can be started during snack time and finished before guests arrive.
Use what you have: If you don’t have glow shapes, use white pipe cleaners twisted into stars and tucked among the confetti.
16. Build a Mini Garden with Recycled Jars
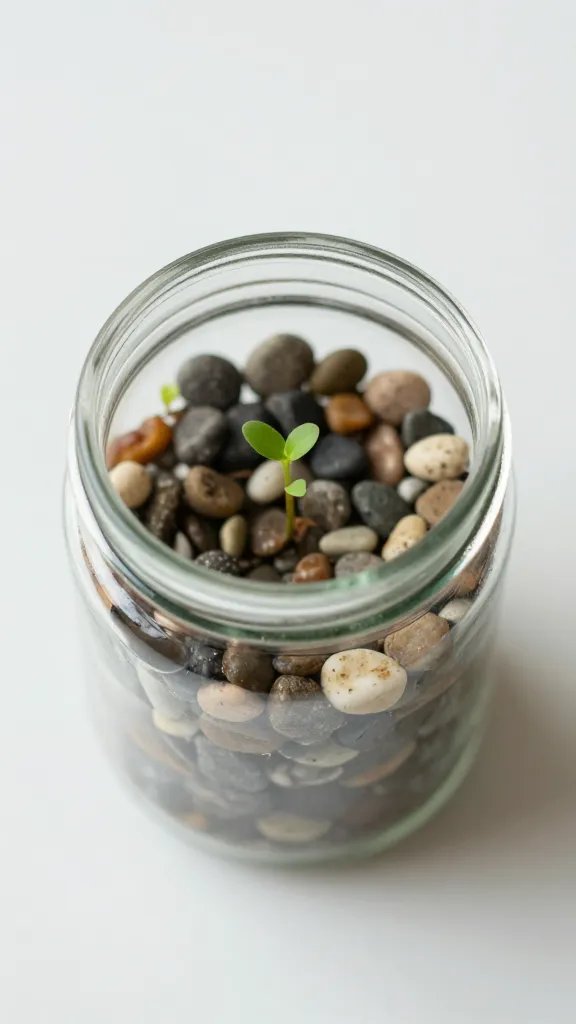
Clean jars become mini planters with a layer of pebbles, a dab of soil, and a seed or tiny succulent. Kids can decorate the jars with painted lids or labels. This project teaches a little botany and doubles as a long term party favor. It dries fast if you use air dried clay to create small charms to glue onto the jar with a safety glue.
Best for: Tables near a window so plants get enough light to flourish after the party.
17. Make a Chalkboard Menu Card Wall
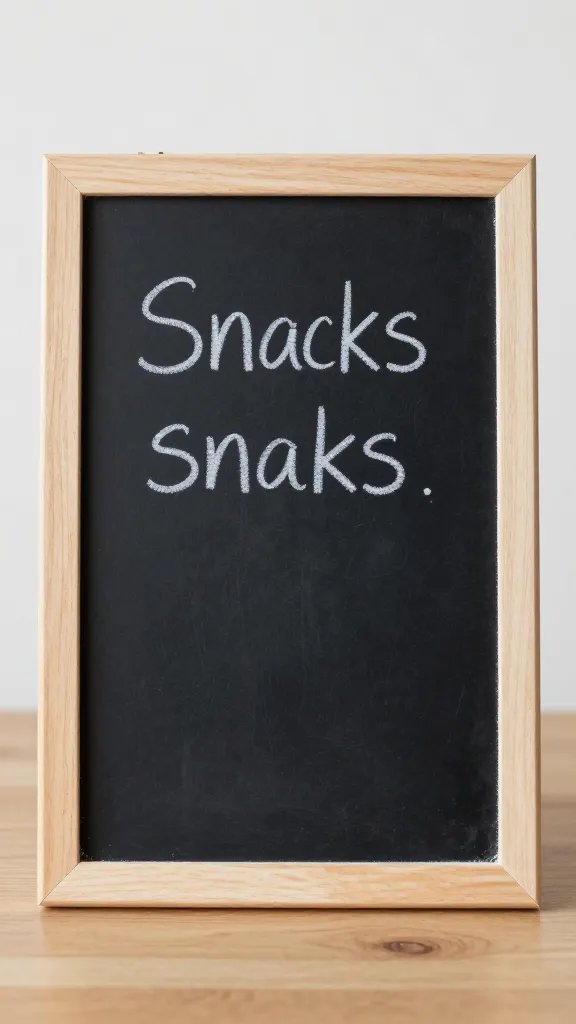
Prop up a small chalkboard or a painted plywood panel. Kids write the party snacks or activities on the board with chalk markers. It’s a simple, interactive display that also helps guests find their next activity. If you don’t have a real chalkboard, tape a large poster board and cover with black craft paper for a quick substitute. The kids will love writing and erasing during the party.
Hosting tip: Set a damp cloth nearby for easy cleanup and to prevent smudges on outfits during photos.
With these ideas, you’ll have a week filled with quick, doable crafts that keep 7 to 9 year olds engaged and excited. Pick a mix that matches your space, supplies, and time, and you’re ready for a low stress, colorful party lineup. Save this for the next birthday that sneaks up on you.