
17 Craft Ideas for Teens to Give as Christmas Gifts

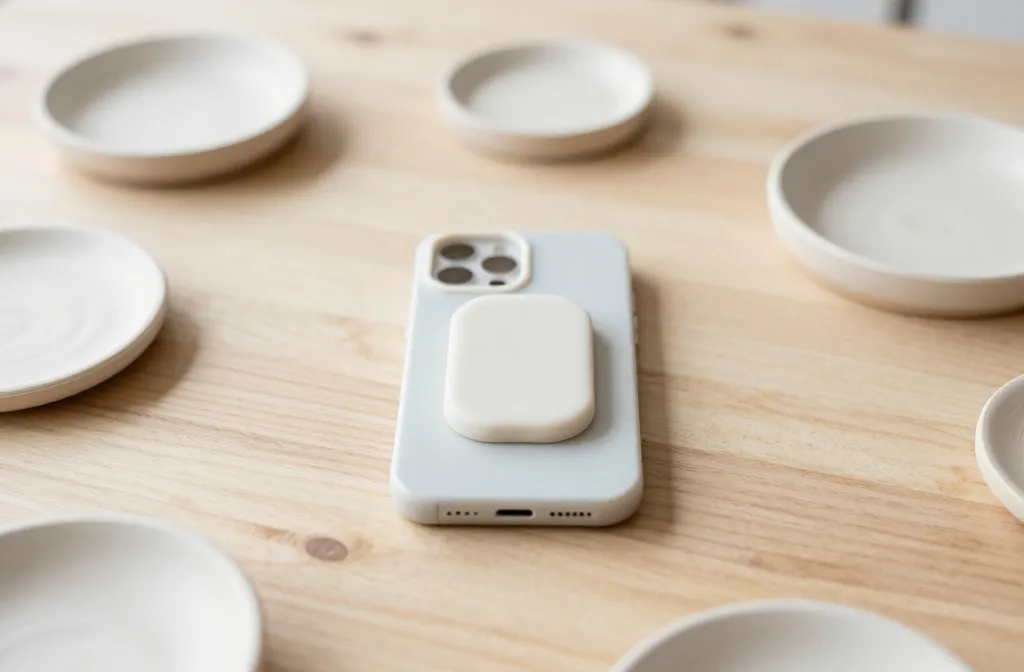
Teens want to give gifts that feel personal without spending every dollar they have. Store bought presents add up fast, and generic items never quite feel special enough for the people they care about.
These seventeen craft ideas for teens to give as Christmas gifts use affordable supplies and simple techniques that actually look finished. Each one takes a few hours at most, and the results feel thoughtful without screaming handmade in the wrong way.
Pick a few that match the people on your list and start early enough to enjoy the process.
1. Personalized Phone Grips With Clear Resin
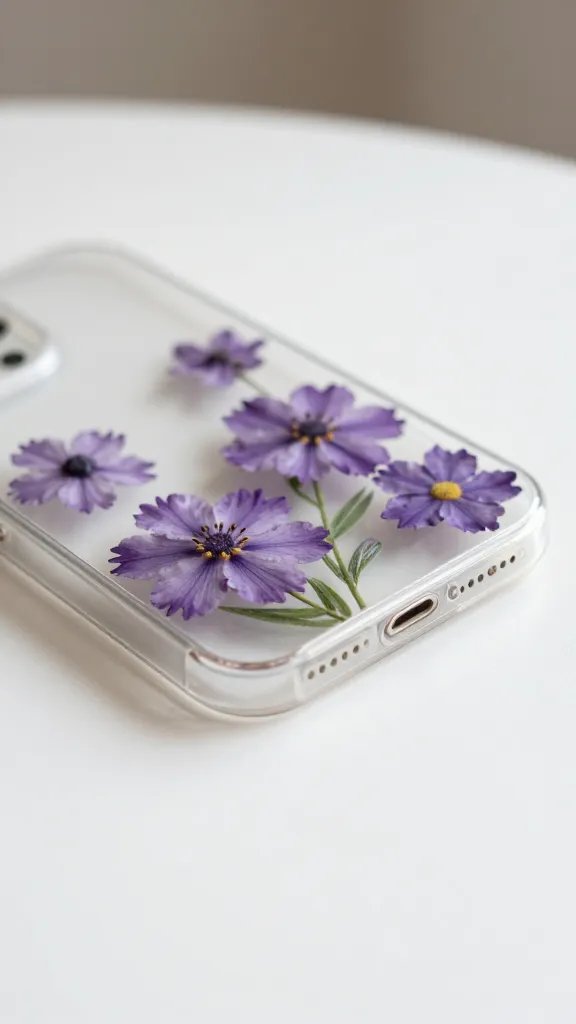
Everyone uses their phone all day, which makes a custom grip useful instead of just decorative. Teens can pour clear resin over dried flowers, photos cut to fit, or small paper designs to create something that looks store bought.
The make: Use a silicone mold meant for phone grips, mix two part resin according to the package, and let it cure overnight on a flat surface.
The sticky backing that comes with most molds makes the grip ready to attach. If the first pour traps air bubbles, a toothpick dragged through the resin before it sets usually fixes it.
2. Hand Stamped Clay Trinket Dishes
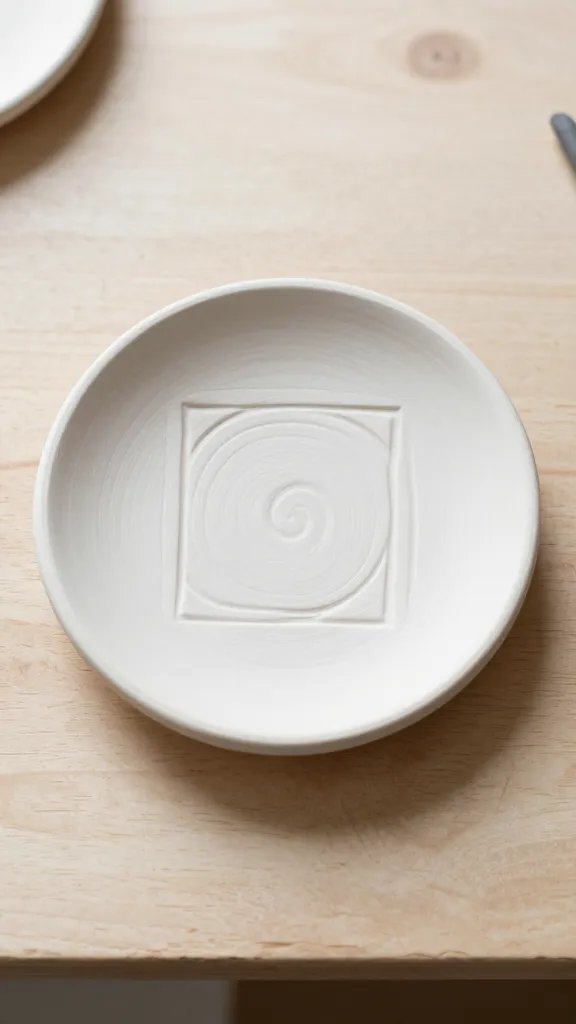
Small dishes hold rings, earrings, and loose change without taking up much space. Air dry clay costs a few dollars and does not need a kiln, so teens can make several in one sitting.
- Roll the clay flat and press a bowl over it to shape the curve
- Stamp initials or a simple design with metal letter stamps before it dries
- Let it sit for 24 hours, then sand any rough edges
- Paint the inside a solid color or leave it natural with a coat of clear sealer
Beginner version: Skip the stamps and use a fork to press a pattern around the rim instead.
3. Layered Hot Chocolate Mix in Mason Jars
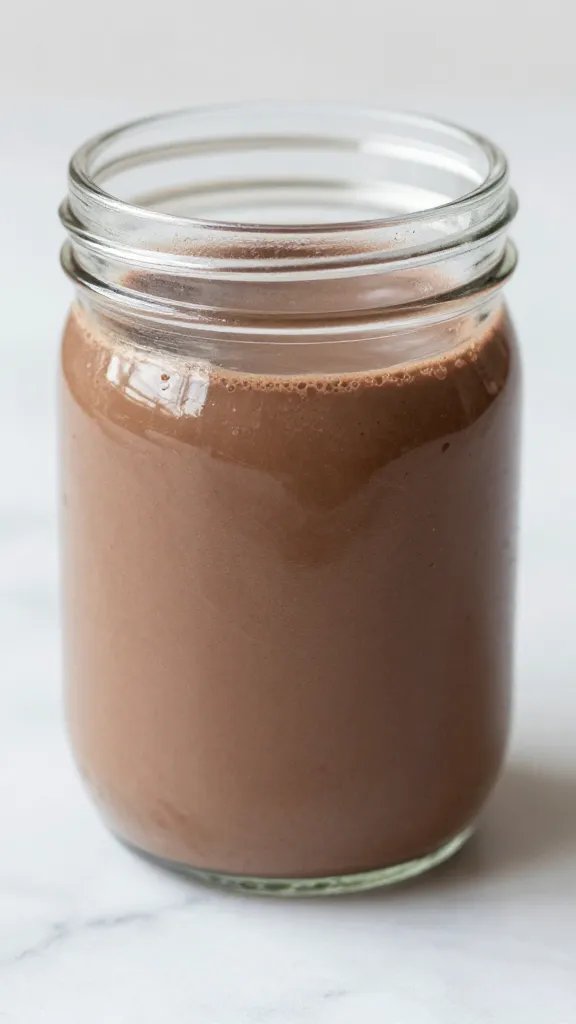
Food gifts feel generous without requiring wrapping paper. Layering cocoa powder, sugar, mini chocolate chips, and crushed peppermint in a clear jar creates stripes that look intentional.
Why it works:
- The ingredients cost less than five dollars for three jars
- Layers stay visible if you pack each one down with the back of a spoon before adding the next
- A printed tag with mixing instructions makes it giftable right away
Tie a small wooden spoon to the jar with twine for a finishing touch that also solves the stirring problem.
4. Friendship Bracelets Made With Embroidery Floss
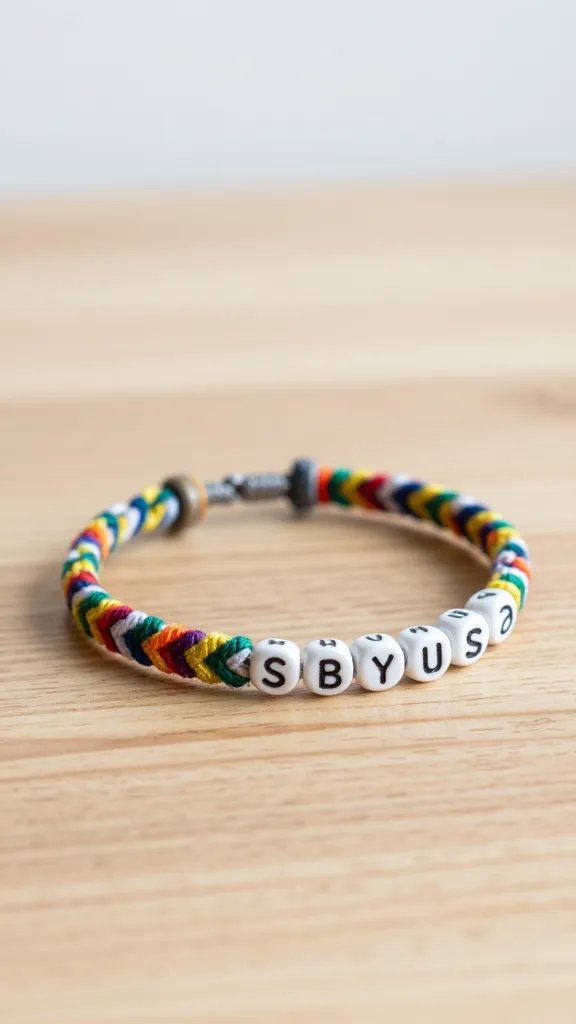
Classic friendship bracelets never really went out of style. Chevron and diagonal stripe patterns are easy to learn from a video tutorial, and the supplies fit in a small bag.
Start with three or four colors of embroidery floss and cut each strand about as long as your arm. Knot them together at the top and tape that knot to a table or clipboard to keep tension even while you work.
Time needed: A simple bracelet takes about an hour once you know the pattern.
Gift tip: Make a set of three in coordinating colors so the recipient can stack them.
5. Decorated Canvas Tote Bags
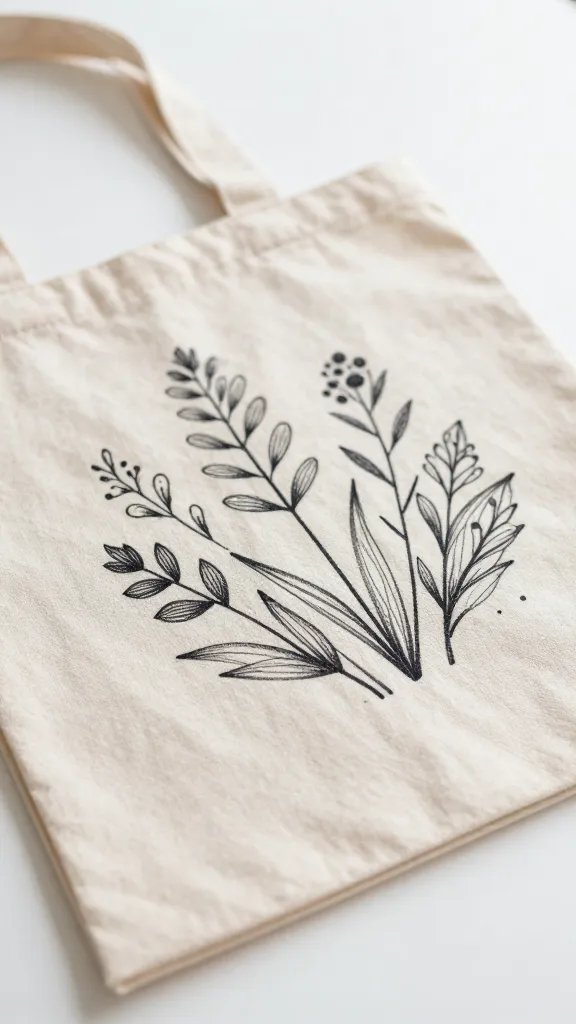
Plain canvas totes from a craft store turn into custom bags with fabric paint or iron on vinyl. Teens can add a favorite quote, a simple line drawing, or the recipient’s initials.
Best for: Friends who carry books, groceries, or gym clothes and appreciate something reusable.
Fabric paint needs to dry flat overnight and should be heat set with an iron before the first wash. Iron on vinyl cuts faster with a craft knife and transfer tape, but it sticks permanently once you press it down, so plan the layout on paper first.
Skip the detailed designs if this is your first try. Bold letters and simple shapes always read better from a distance.
6. Miniature Succulent Planters From Painted Terracotta Pots
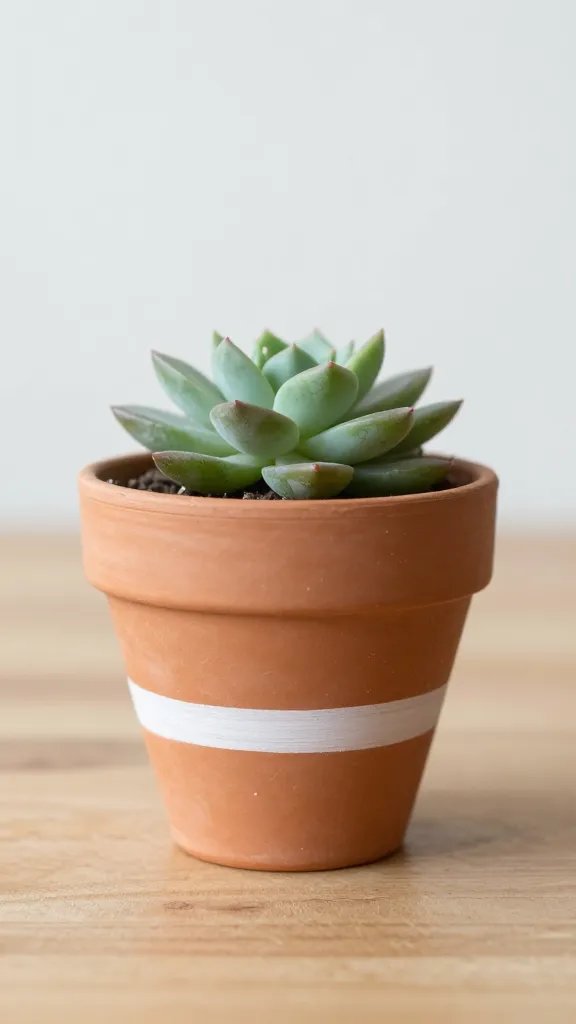
Small terracotta pots cost about a dollar each. A coat of acrylic paint and a live succulent from the garden center make a gift that lasts longer than cut flowers.
Paint the outside of the pot in a solid color or add stripes and dots with a small brush. Let it dry completely before planting. Succulents need very little water, which makes them easier to care for than most plants.
Drainage note: If the pot does not have a hole in the bottom, add a layer of small rocks before the soil to prevent root rot.
Presentation idea: Wrap the whole pot in tissue paper and tie it with a ribbon that lists basic care instructions.
7. Custom Bookmarks Laminated With Clear Contact Paper
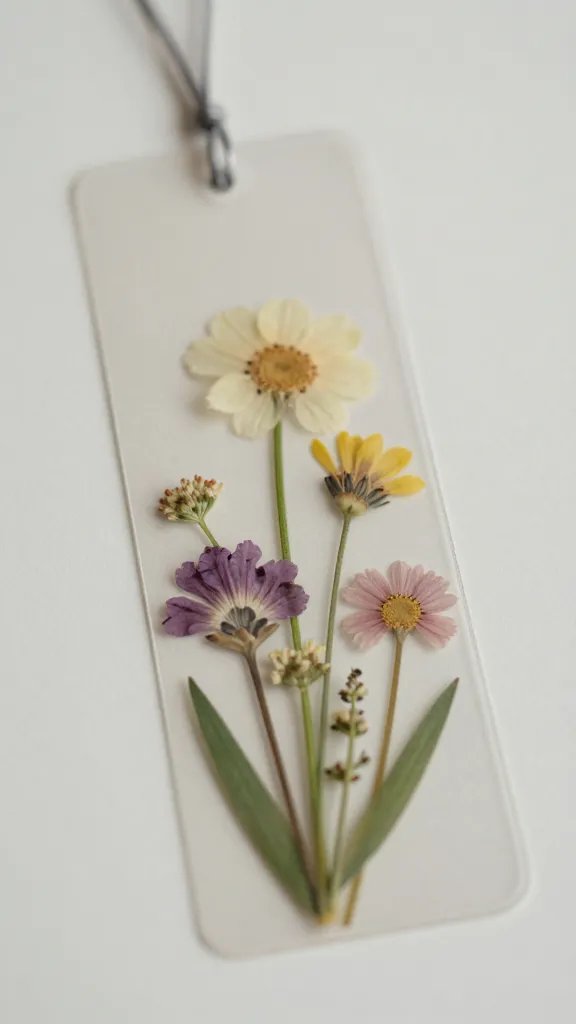
Readers always need another bookmark. Thick cardstock cut to size and decorated with watercolor, markers, or pressed flowers becomes something they will actually use.
The process: Cut the cardstock into rectangles about two inches wide and six inches tall, decorate one side, then cover both sides with clear contact paper and trim the edges.
Punch a hole at the top and thread a ribbon through if you want a traditional look. The lamination keeps the bookmark from bending or tearing inside a bag, and it wipes clean if someone reads during lunch.
8. Scented Sugar Scrub in Small Jars
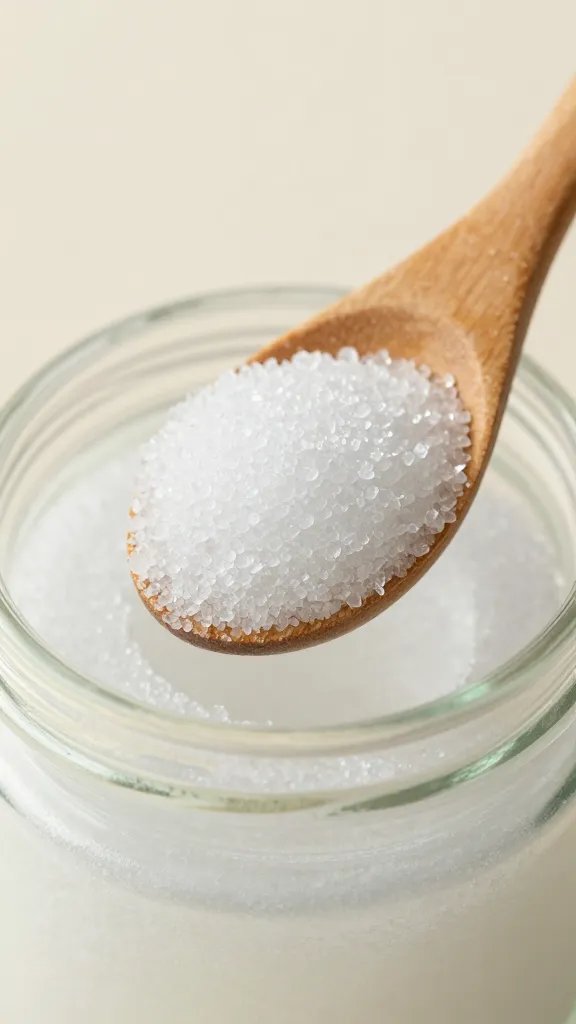
Sugar scrub sounds fancy but only needs three ingredients. Mix one cup of sugar with half a cup of coconut oil and a few drops of essential oil, then spoon it into small jars with lids.
- Sugar: white or brown both work, brown looks a bit warmer
- Oil: coconut oil stays solid at room temperature and does not separate
- Scent: peppermint, lavender, or vanilla extract if you skip essential oils
- Containers: four ounce jars with screw top lids, sterilized in hot soapy water first
Label it: Handwrite or print a small tag that says the scent and suggests using it within three months.
9. Woven Keychains Using Paracord
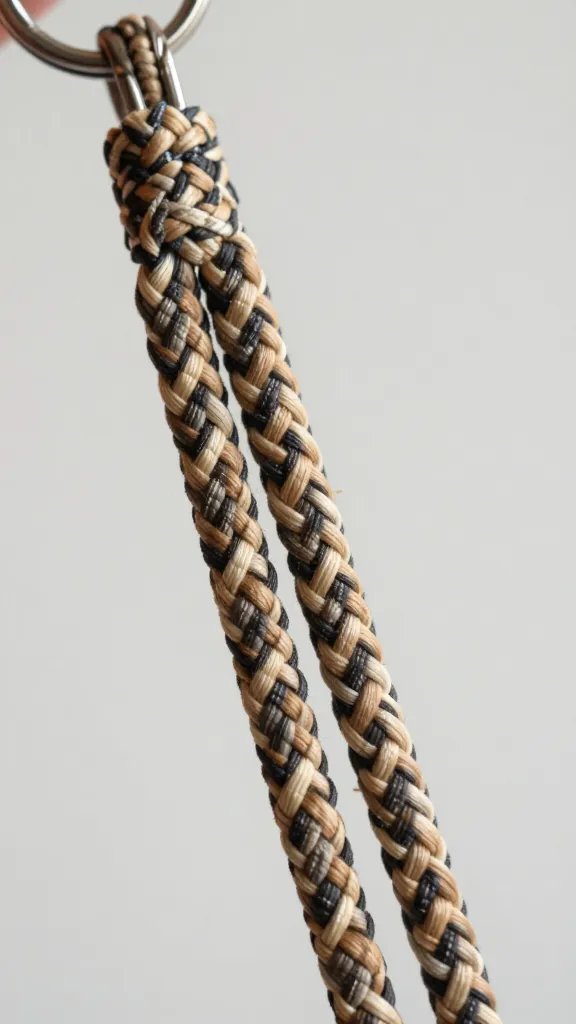
Paracord keychains hold up better than the cheap ones that break in a week. A simple cobra weave or fishtail braid takes about fifteen minutes once you learn the pattern, and the result looks clean.
You will need about three feet of paracord, a keyring, and scissors. Melt the cut ends with a lighter so they do not fray, but do this step outside or near a window because burning plastic smells terrible.
Color note: Two tone keychains show the pattern more clearly than single colors.
Clip the finished keychain to a backpack or gym bag for a gift that gets used every day.
10. Baked Goods in Decorated Boxes
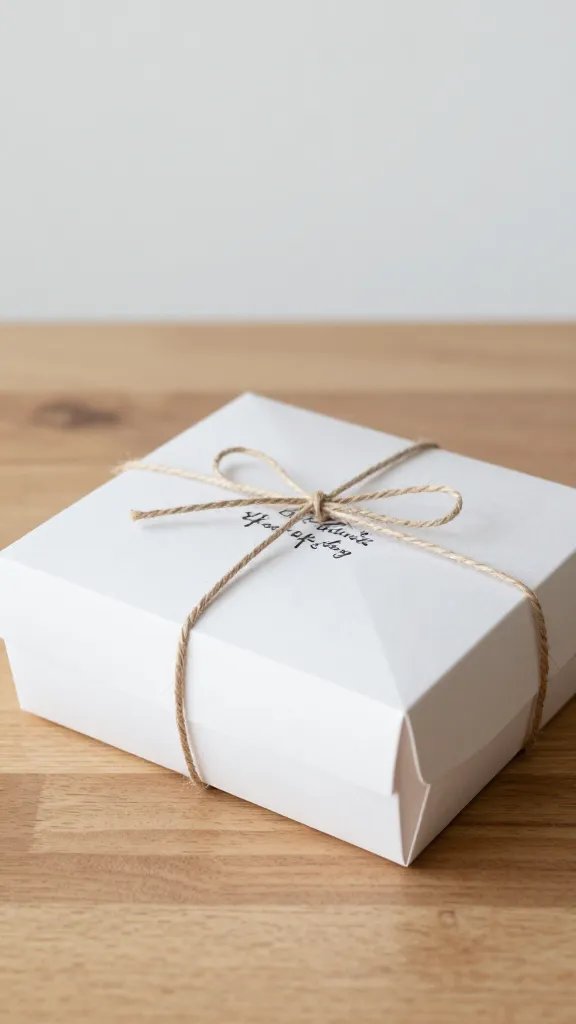
Brownies, cookies, or fudge packed in a small box lined with parchment paper feel more giftable than a plate covered in plastic wrap.
Best for: Teachers, neighbors, or anyone who appreciates homemade food but might not want to return a dish.
Plain bakery boxes from a craft store cost less than a dollar. Stamp the top with a holiday design, tie it with string, or attach a handwritten recipe card if the recipient asks for it every year. Parchment paper inside keeps the box grease free and makes the treats easy to lift out.
Bake the day before you plan to give the gift so everything has time to cool and set properly.
11. Painted Wooden Picture Frames
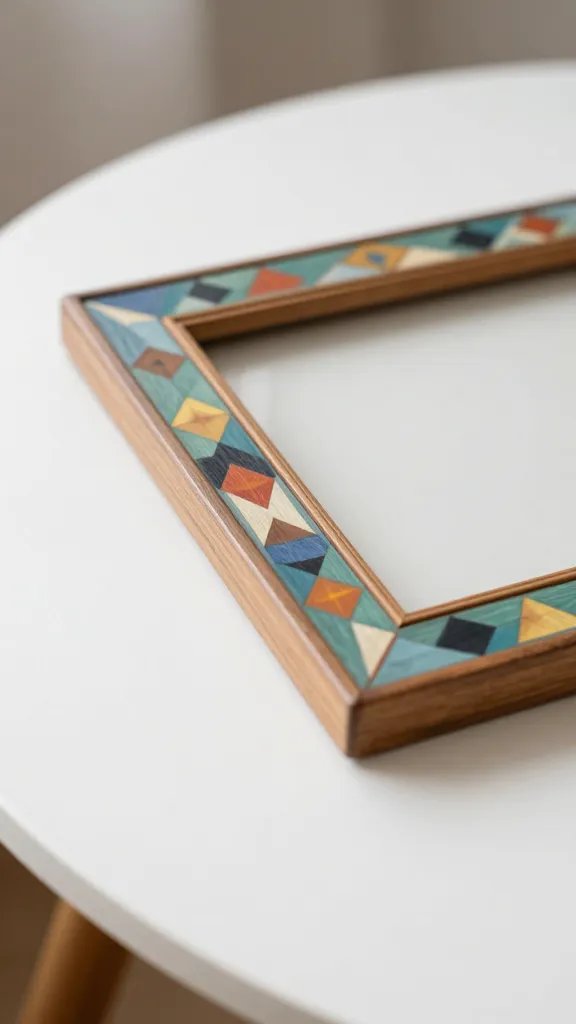
Unfinished wooden frames are inexpensive and sand smooth in a few minutes. Teens can paint them a solid color, add a pattern with tape and two shades, or glue on small wooden shapes for texture.
Insert a favorite photo, a printed quote, or leave it empty so the recipient can choose. Either way, the frame itself becomes the gift.
Finishing touch: A coat of clear sealer over the paint keeps it from chipping if the frame gets moved around.
Make it ahead: Paint dries in an hour, but sealer needs a full day before you wrap it.
12. Knotted Fleece Blankets
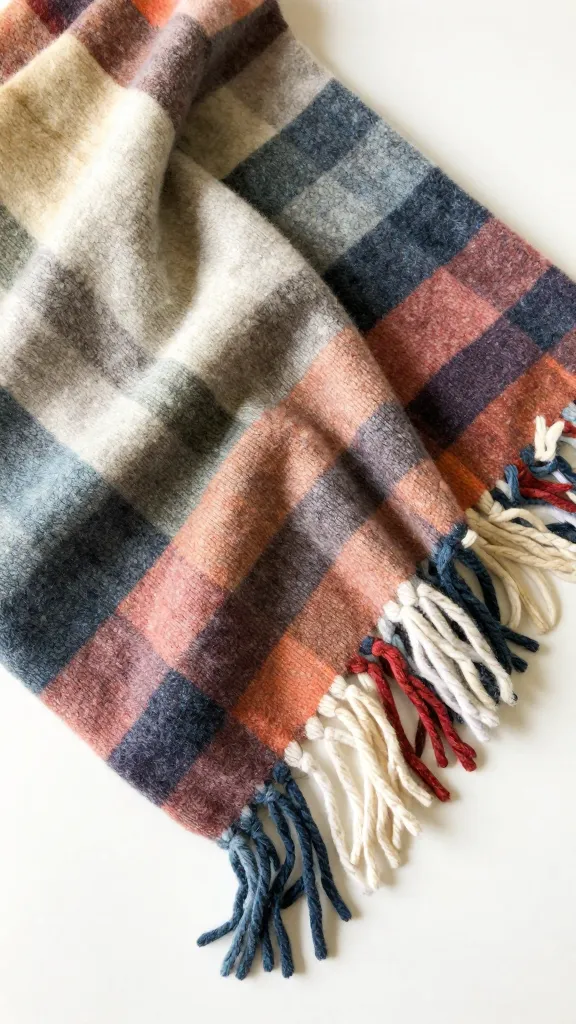
No sew fleece blankets work well for teens who want to make something large without using a sewing machine. Two layers of fleece knotted together at the edges create a soft throw that holds up in the wash.
Supplies: Two pieces of fleece in coordinating colors or patterns, each about a yard and a half. Lay them on top of each other, trim the edges even, cut a four inch fringe all the way around, then tie each pair of fringe strips into a double knot.
The whole process takes about an hour and a half if you work on the floor with enough space to spread the fabric flat. Younger siblings can help with the knotting part, which speeds things up.
13. Hand Poured Candles in Teacups
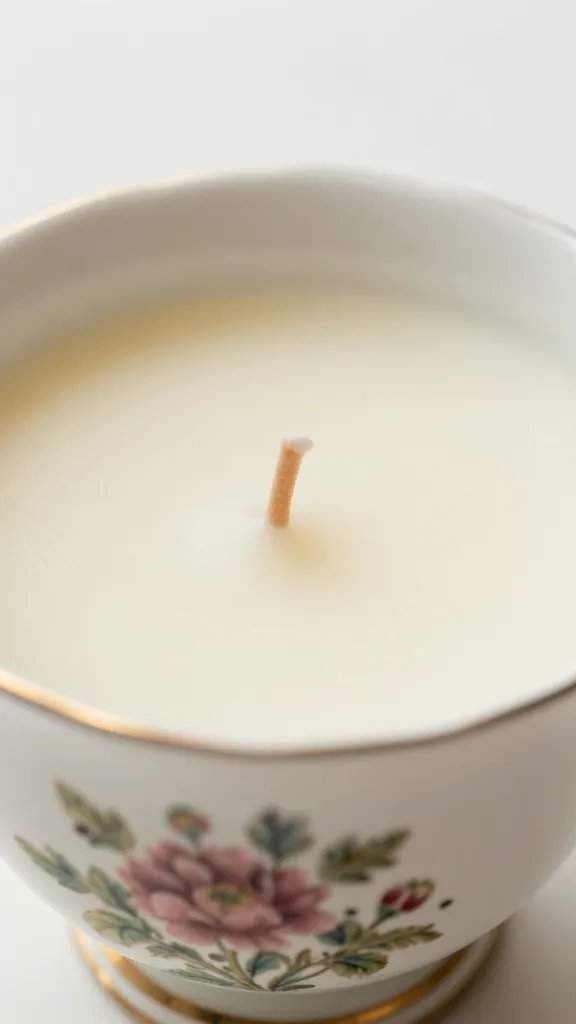
Thrift stores always have mismatched teacups, and soy wax flakes melt easily in a double boiler. Pour the melted wax into the cup with a wick centered at the bottom, and you have a candle that looks more expensive than it was.
Why it works:
- Teacups add vintage charm without requiring any decorating skill
- Soy wax burns cleaner and longer than paraffin
- You can scent the wax with a few drops of essential oil before pouring
Let the candles cure for at least 24 hours before wrapping them. Trim the wick to about a quarter inch before the first burn.
14. Customized Notebooks With Scrapbook Paper Covers
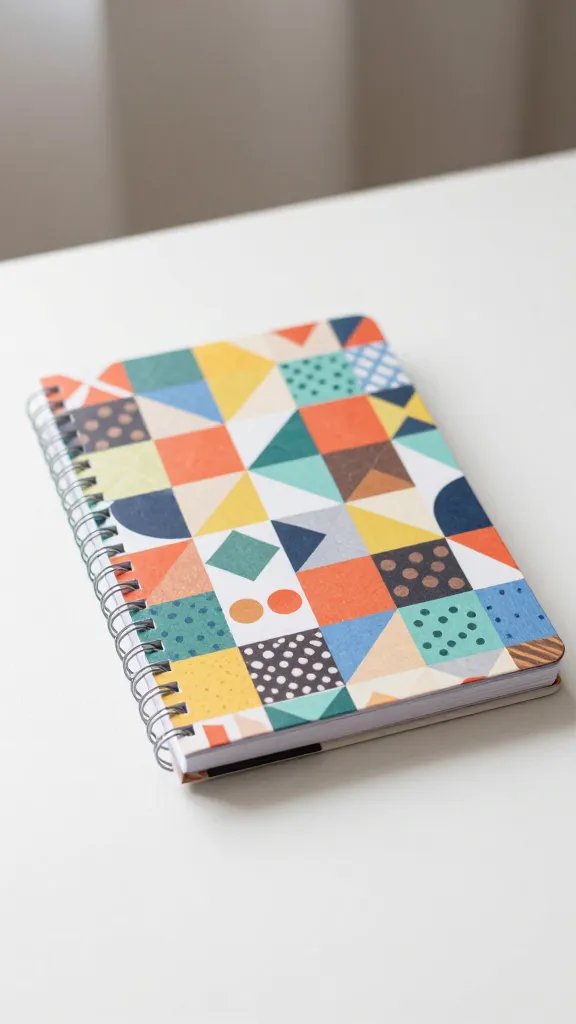
Plain composition notebooks get a quick upgrade when you glue scrapbook paper over the front and back covers. Choose a pattern that matches the recipient’s style, cut the paper to size with a little extra to wrap around the edges, and attach it with a glue stick or mod podge.
Press the notebook under a stack of books while the glue dries so the paper does not bubble. Add a label on the front with their name or a simple design cut from coordinating paper.
Budget swap: Wrapping paper works just as well as scrapbook paper and comes in larger sheets.
These cost about two dollars each to make and look intentional instead of improvised.
15. Beaded Jewelry on Elastic Cord
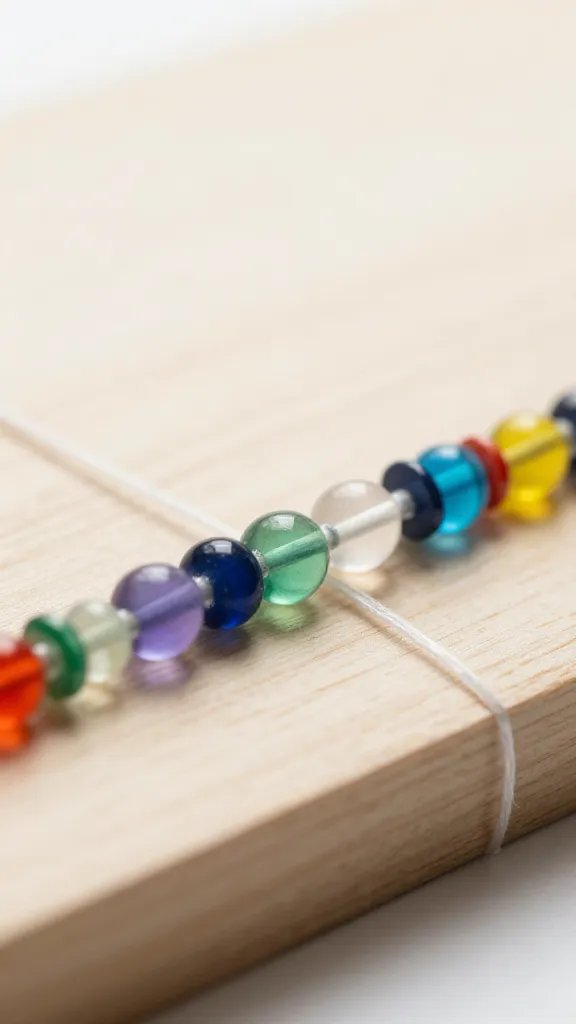
Stretchy bracelets and necklaces do not need clasps, which makes them easier for beginners. String beads in a repeating pattern on clear elastic cord, tie the ends in a square knot, and trim the extra.
Best for: Friends who like layered jewelry or anyone who struggles with tiny clasps.
Glass beads, wooden beads, and small charms all work. Plan the pattern on a bead board or towel before threading so you can adjust the spacing. A dab of clear nail polish on the knot keeps it from coming undone, but let it dry completely before wearing.
Make a set of three in different color combinations so they can be mixed and matched.
16. Infused Olive Oil in Glass Bottles
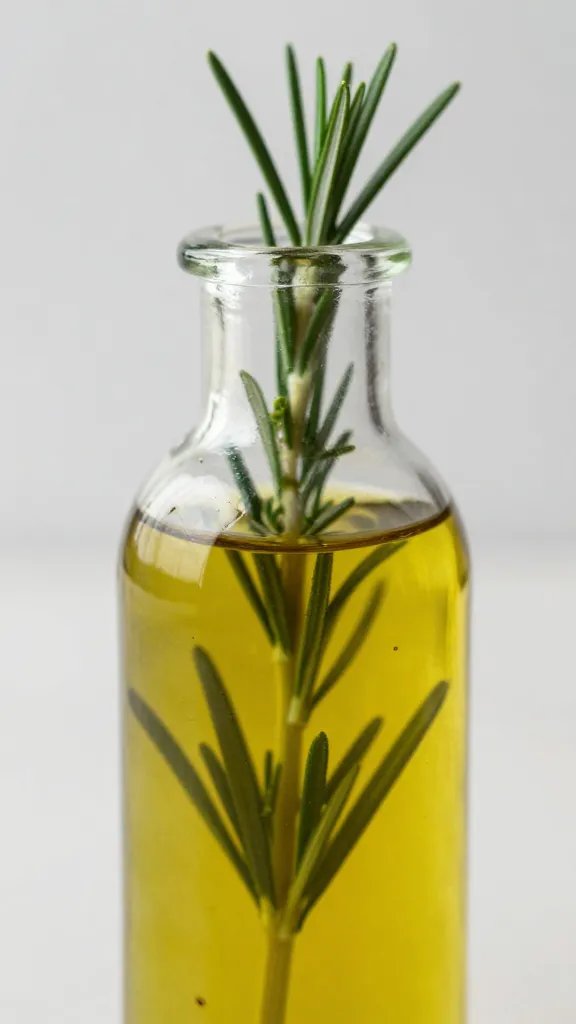
Flavored olive oil sounds gourmet but only requires a clean bottle, good quality oil, and a few sprigs of rosemary or a dried chili pepper. The herbs infuse the oil over a few days and create a gift that looks thoughtful on a kitchen counter.
Use a funnel to pour the oil into the bottle without spilling. Add the herbs or spices, cap it tightly, and attach a tag with suggested uses like drizzling over bread or roasting vegetables.
Safety note: Fresh garlic in oil can grow bacteria if not refrigerated. Stick with dried herbs and peppers for gifts that sit on a shelf.
Presentation idea: Tie a wooden spoon to the neck of the bottle with twine.
17. Memory Jars Filled With Handwritten Notes
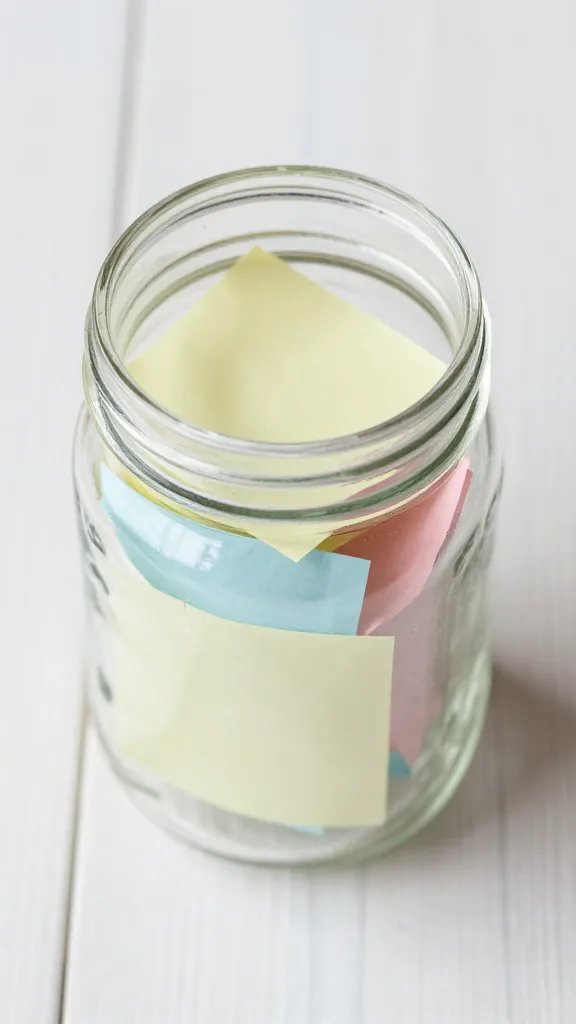
A jar filled with small folded notes listing shared memories, inside jokes, or reasons you appreciate someone creates a gift they can open one note at a time. It takes longer to write than to assemble, but the effort shows.
Use a mason jar or any clear container with a lid. Write each note on a small piece of colored paper, fold it in half or roll it up, and keep adding until the jar is full. Aim for at least twenty notes so it lasts a while.
Try instead: If writing feels too personal, fill the jar with prompts for future hangouts or movie night ideas.
Decorate the lid with fabric or paint if the jar needs a finished look, but the notes are the real gift here.
Handmade gifts take more time than a trip to the mall, but they also mean more. Start with one or two ideas that match your skill level and the people on your list, and give yourself enough time to enjoy the process instead of rushing through it. Save this for next year when you want to give something that actually feels personal.