
17 Craft Ideas for Teens Using Their Phone Photos

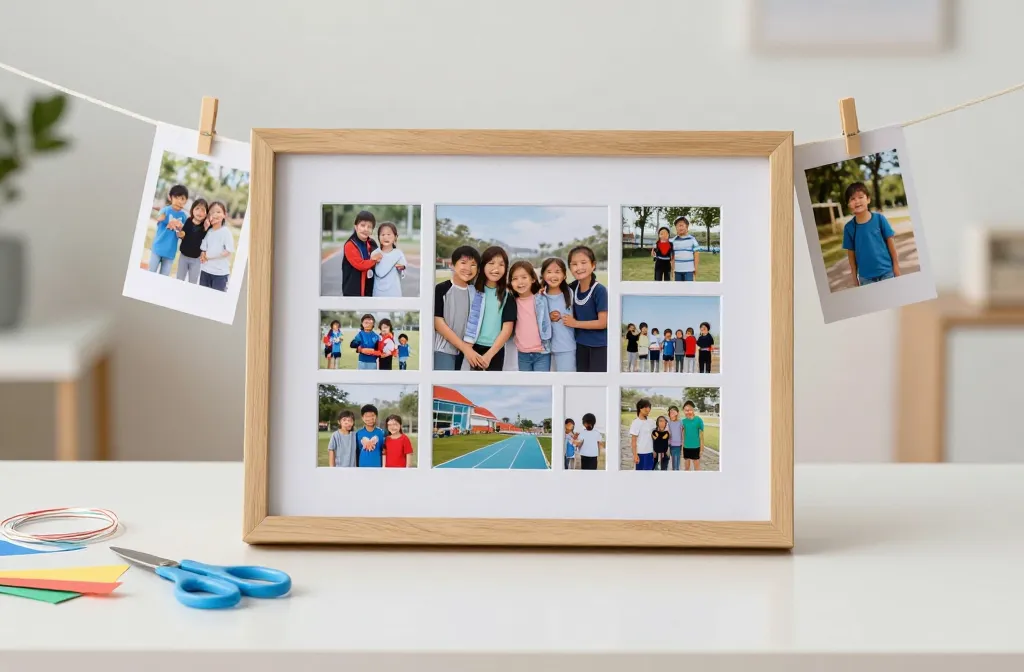
Your teen has a pocket gallery of moments, but you’re staring at blank walls and a short timeline. The real fix is using photos they already love to create quick, photogenic decor and keepsakes that feel personal, not pasted together. These ideas assume normal supplies and a weekend’s worth of effort, with clear steps and simple variations to fit your space. You’ll see how to turn screenshots and selfies into conversation starters, party favors, and small displays that actually get used after the party.
All 17 ideas lean on the teen’s own photos, with quick tweaks to fit a small apartment or a busy schedule. They’re designed to be code friendly for mobile sharing, so skimming readers can spot the payoff fast. Read through and pick the ones that suit the vibe you’re aiming for this week.
1. Photo Sticker Wall Banner
Teens often have a wall that looks empty even when their photo reel is full. This idea turns favorite phone snaps into a curved banner you can hang above a desk or bed. Print or print-at-home mini photos, punch a small hole in each corner, and thread with string or ribbon. The result reads like a personal gallery and costs little. It also doubles as a backdrop for quick selfies. Time: about 45 minutes plus drying if you print at home.
Copy the look: Use a single color ribbon for a cohesive stripe, or mix ribbon colors for a playful wall of memories.
2. Mini Photo Coasters
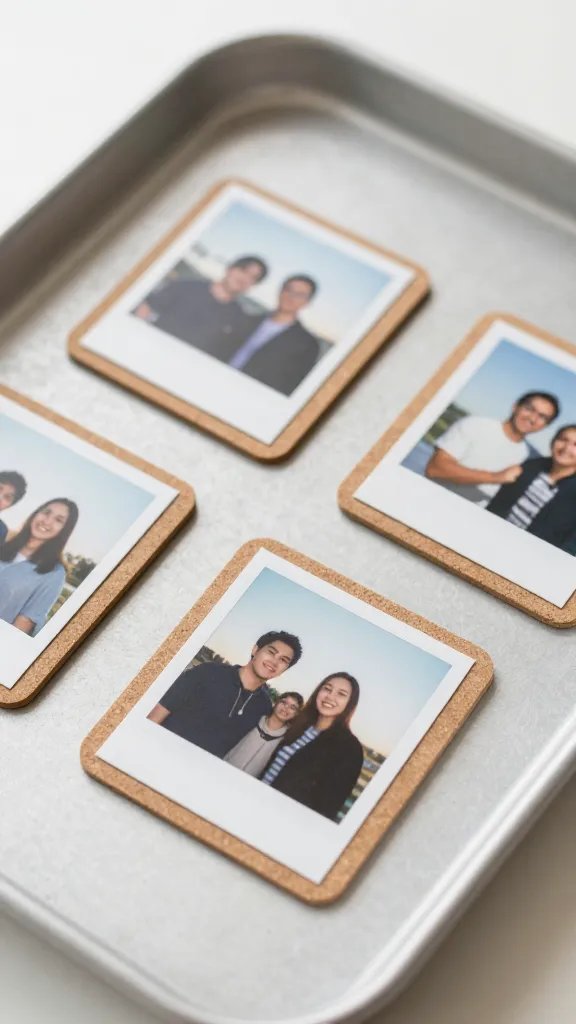
Spills on a wooden table are inevitable, but coasters made from photos can hide a lot of wear. Trim wallet-size photos to fit ceramic tiles or cork coasters. Seal with Mod Podge or a clear sealant, and press flat until dry. A handful of these on a coffee tray makes a personal hug every time you reach for a drink. Time: 40 minutes plus drying time.
Best for: A dorm or small apartment where every surface counts.
3. Photo Bubble Mason Jar Centerpieces
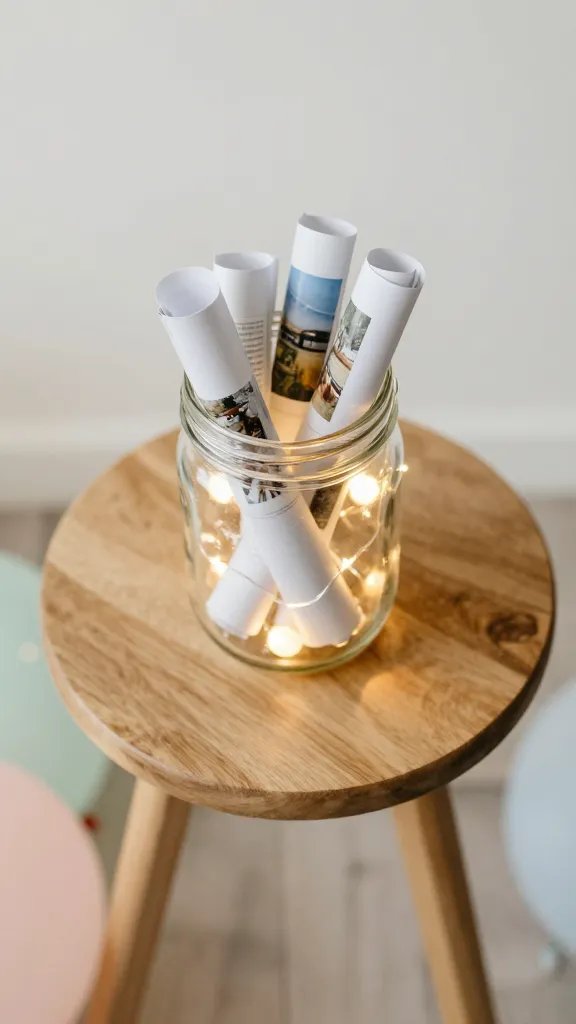
Grab a few jars, fill them with photos rolled into tiny scrolls, and top with a few balloons or tissue poms. The jars glow when lit with string lights and create a story line across the dessert table. Use a mix of vertical slices and horizontal prints to keep it tactile. Time: about an hour to assemble, plus a quick photo print run.
Why it works: It gives texture and warmth to a simple display, without crowding the table.
4. String Photo Garland With Tiny Frames
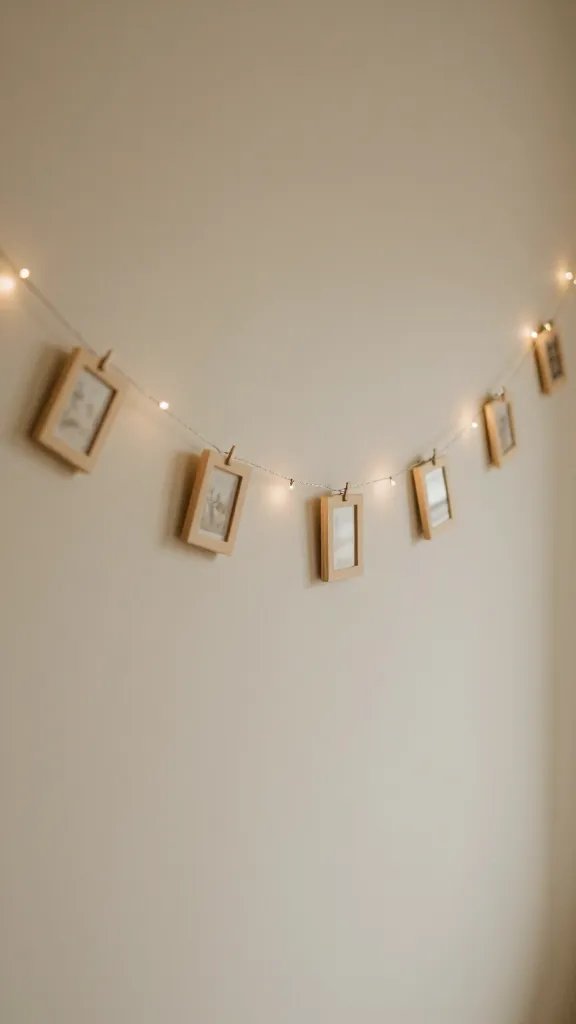
Cut several photos into uniform squares or rectangles, then mount them in small lasercut or DIY cardboard frames. Thread along a string, spacing frames evenly. This keeps a wall dynamic but tidy, and the teen can swap photos when the mood shifts. Time: 60 minutes plus print time.
Lighting note: A gentle string of fairy lights behind the garland adds soft glow in photos.
5. Photo Magnets for the Fridge
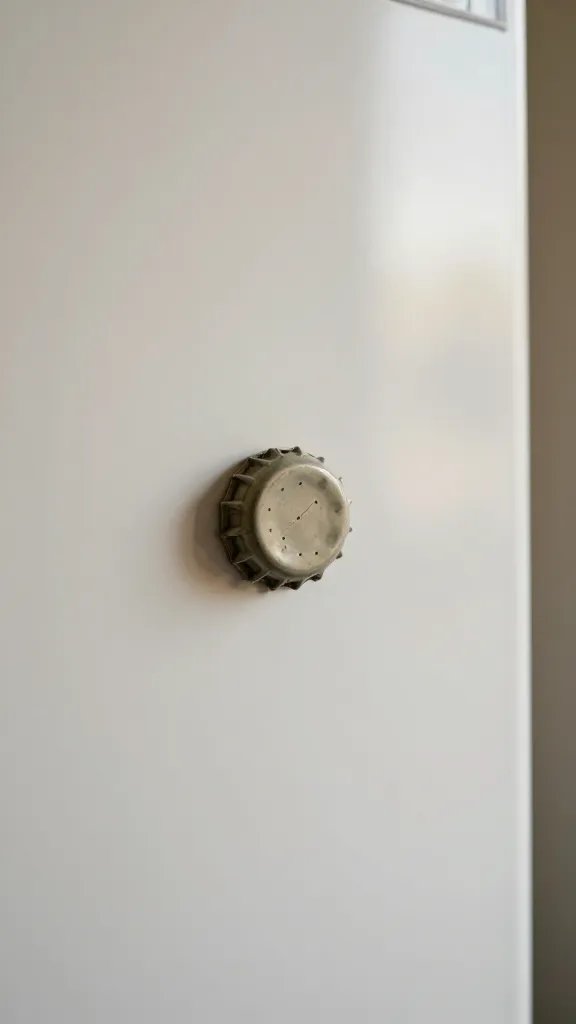
Turn favorite snaps into magnets with printable magnet sheets or by gluing photos to upcycled bottle caps. A dozen magnets on the fridge mean quick decor that is constantly refreshed. If you don’t have a printer handy, swap in digital photo frames or sticky-backed paper with a simple laminate finish. Time: 30 to 45 minutes.
Use what you have: Reuse bottle cap lids and magnets from old calendars to save costs.
6. Door Hanger Photo Gallery
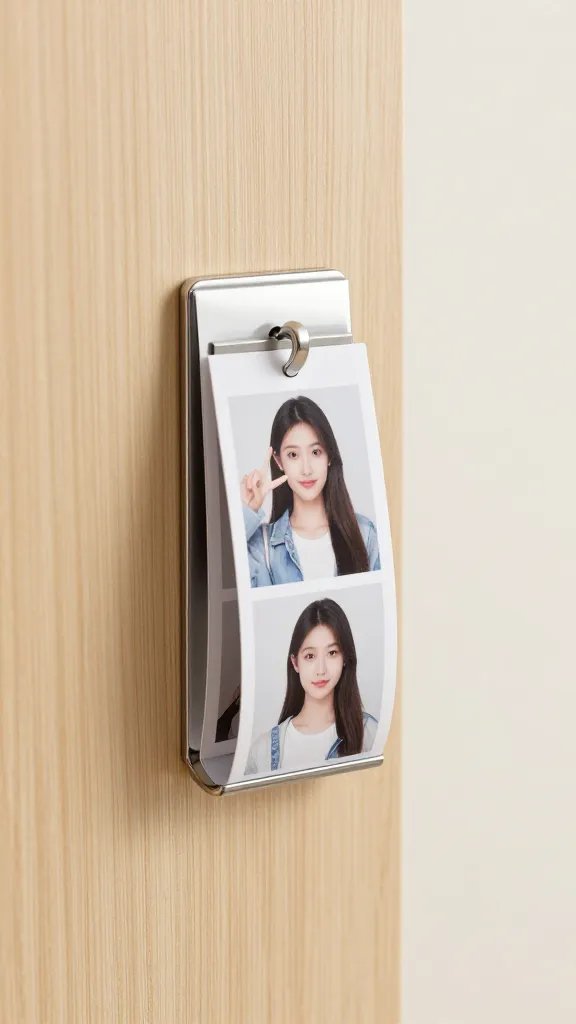
Create a small door gallery by cutting photos into rectangular slips and applying them to a flat wooden or cardboard door hanger. This makes a teen room feel curated without heavy frames. You can swap photos monthly or seasonally. Time: 45 minutes to assemble; swap as needed.
Placement tip: Use double sided tape to avoid nails or screws in a dorm or rental space.
7. DIY Photo Place Card Owls
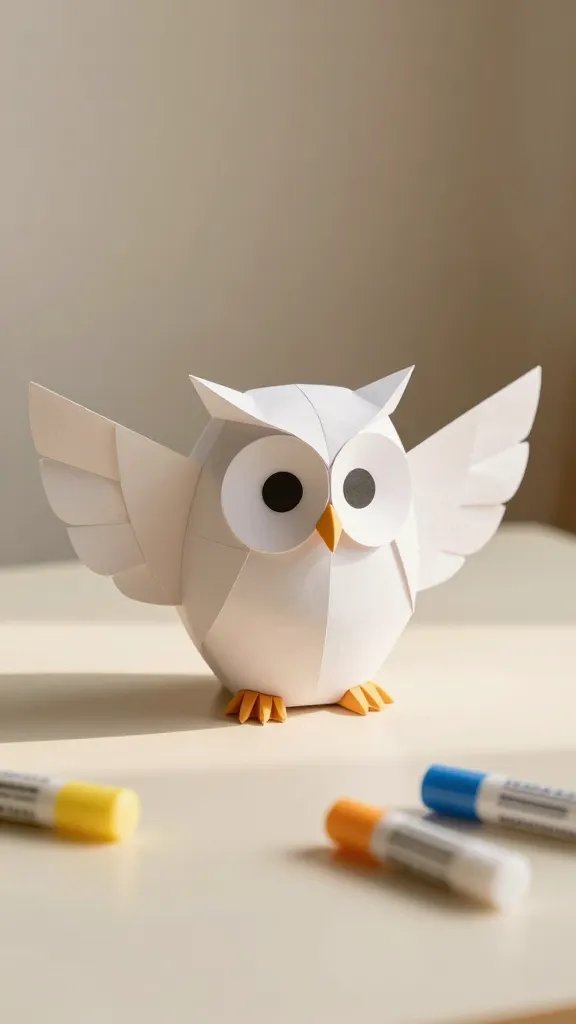
For a family dinner or small party, print 3×5 photos and glue them onto folded paper shapes that look like owls. The little wings hold a name card, and the beak is a folded paper triangle. It’s a cute, kid-friendly craft that doubles as place cards and keepsakes. Time: 35 to 50 minutes.
Safety note: Use kid friendly glue sticks for younger helpers.
8. Photo Journal Wall Hanging
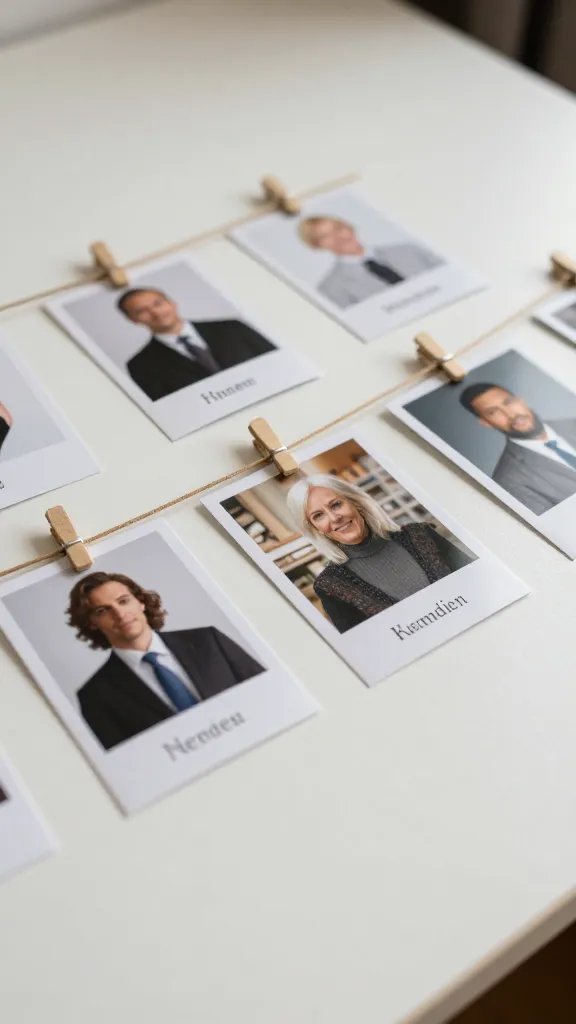
Fold a long strip of kraft paper into a banner and attach photos along the length with washi tape. Write a caption or date under each photo for a quick memory lane. It’s easy to roll up and store when not in use, too. Time: about an hour.
Best for: Teens who want a personal display that also acts as a memory log.
9. Photo Cards for a Dessert Table
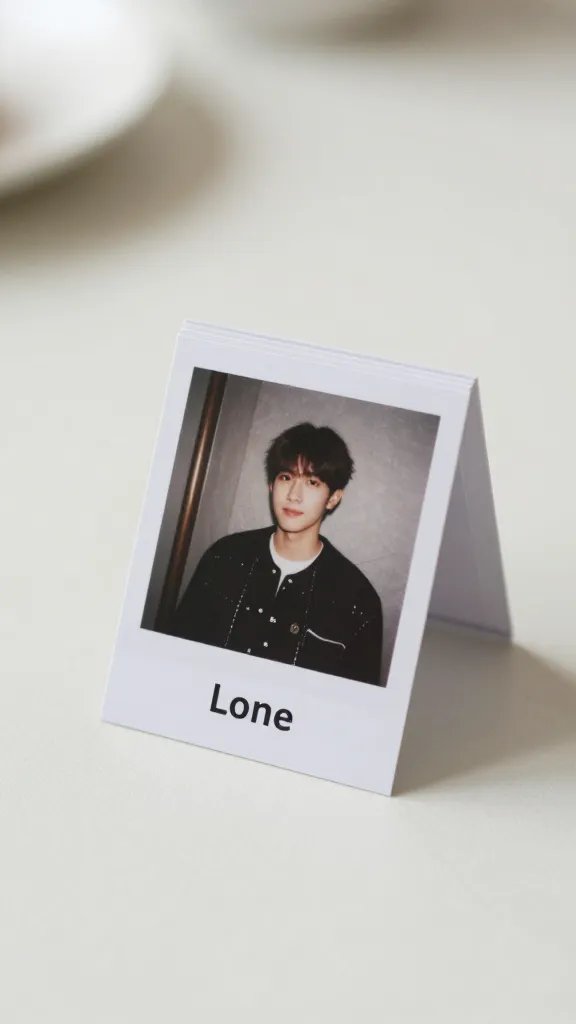
Turn smartphone shots into a quick set of dessert table cards. Print small polaroid style photos and mount them on cardstock with a short caption that matches the theme. Place them near jars, cupcakes, or cookies to guide guests through the spread. Time: 40 minutes plus print time.
Copy the look: Keep a color palette consistent with the party theme to unify the display.
10. Photo Scrapbook Shower Wrap
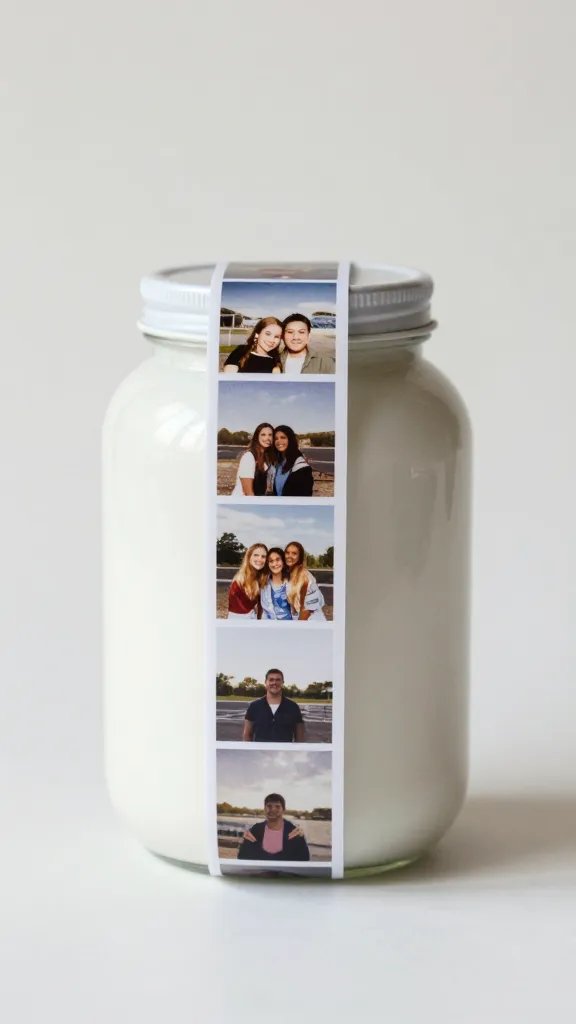
Wrap a plain gift or a jar with a strip of photo collage. If you’re gifting a teen, this doubles as a present and a keepsake. Use photos from trips or events to tell a mini story around the package. Time: 1 hour including arranging photos.
Make it ahead: Print and cut photos a day early to avoid last minute rush.
11. Custom Photo Flags for a Party Corners
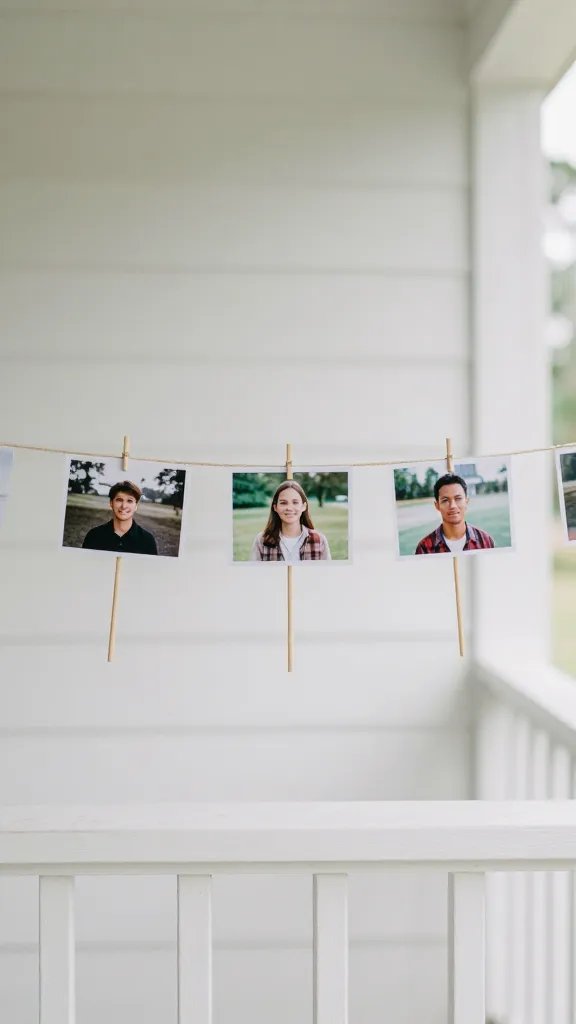
Print small photos and glue them to wooden skewers to create mini flags. Hang them along a string, diagonally across a corner or porch, for a photo-driven backdrop. It’s inexpensive, adjustable, and quick. Time: 30 to 45 minutes.
What to avoid: Keep flags lightweight so they don’t sag in windy corners.
12. Photo Wall Clock Art
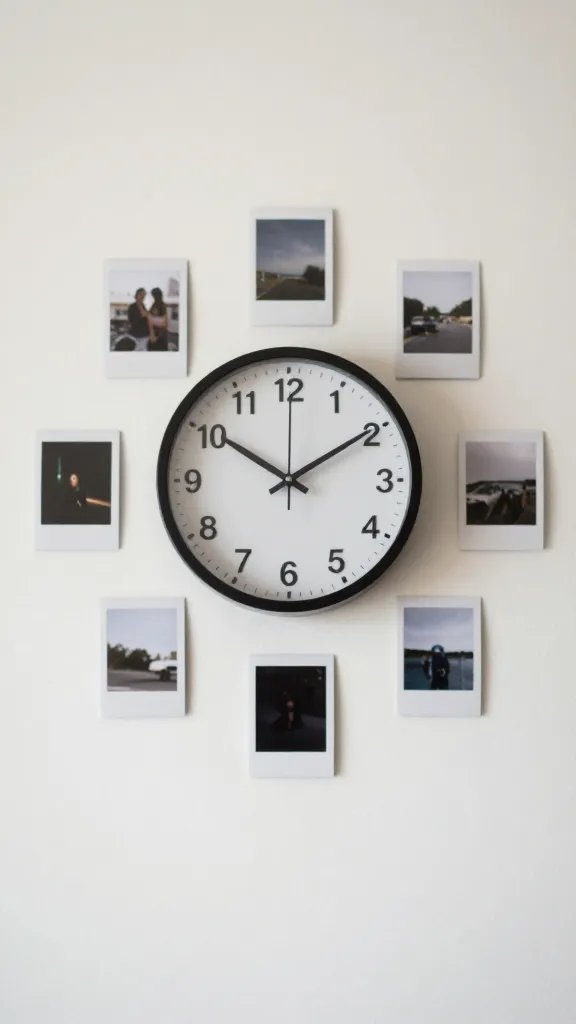
Line up 12 small photos around a plain wall clock to create a bespoke timeline piece. Use removable adhesive to secure photos so you can swap them with seasons or moods. Time: about 60 minutes for layout and mounting.
Placement note: Place the clock in a central area so it doubles as decor and a memory showcase.
13. Photo Lanterns
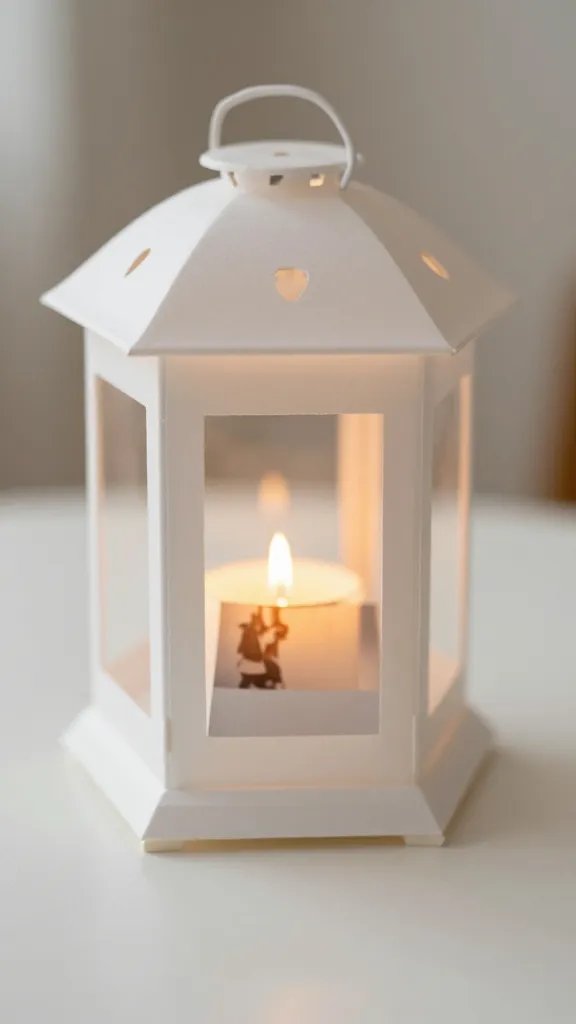
Wrap battery powered tea lights with translucent paper and add a photo cutout to the front. The soft glow looks great on a dessert table or windowsill. A string of lanterns along a wall makes the space look thoughtful without heavy decor. Time: 1 hour including printing and folding.
Safety note: Use LED lights only; avoid open flames.
14. Photo Bookmark Party Favors
Trim photos into bookmark shapes and punch a hole, then thread with ribbon. Add a small message on the back for guests to take home. A thoughtful favor that doubles as a reading reminder. Time: 35 to 50 minutes.
Budget swap: Use scrapbooking paper behind photos to add color without buying new stock.
15. Photo Spotlight Centerpiece
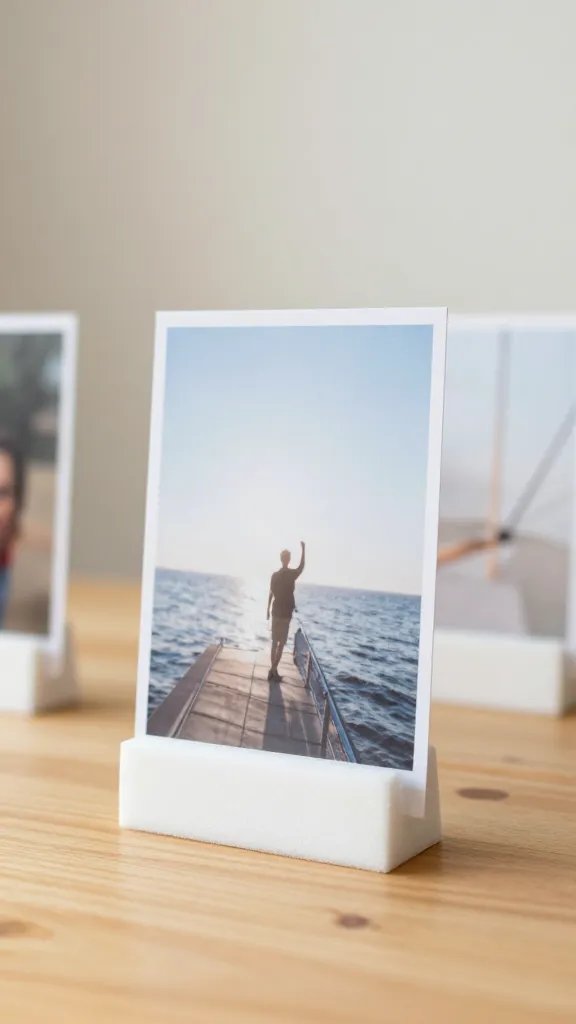
Print several large photos and mount them to a foam core stand to hold them upright like a mini gallery at the table. Surround with a few candles or low-height florals for a warm glow. Time: 50 to 70 minutes.
Make it easier: Pre-cut stands from foam board save time at setup.
16. Clip Photo Mobile
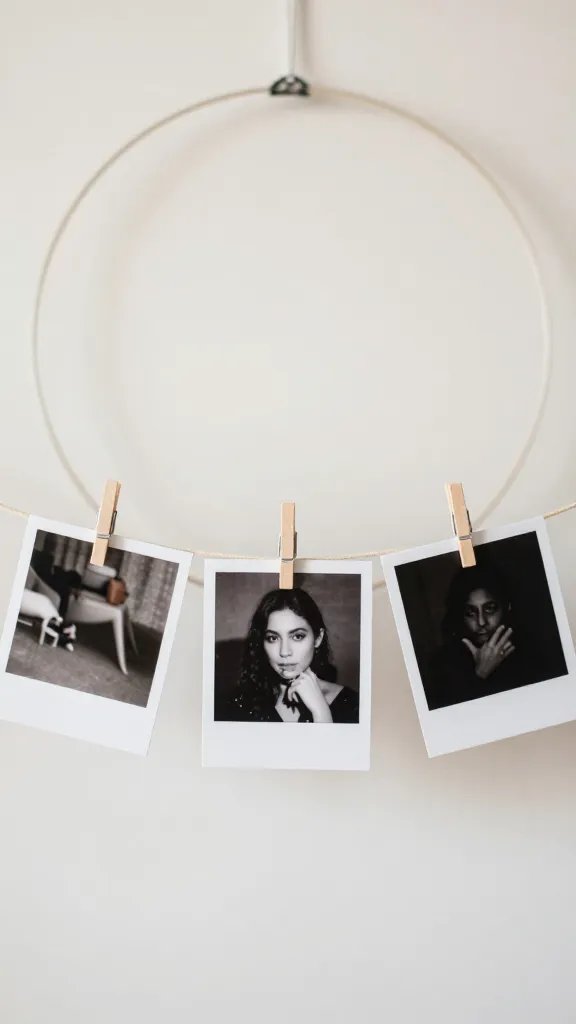
Attach photos to a lightweight hoop or wire hanger with mini clothespins for a mobile that hangs over a desk or bed. Rotate photos easily to keep the display fresh. Time: 40 to 60 minutes.
What to avoid: Keep the mobile compact to prevent it from taking over the room.
17. Photo Story Skirts for the Party Table
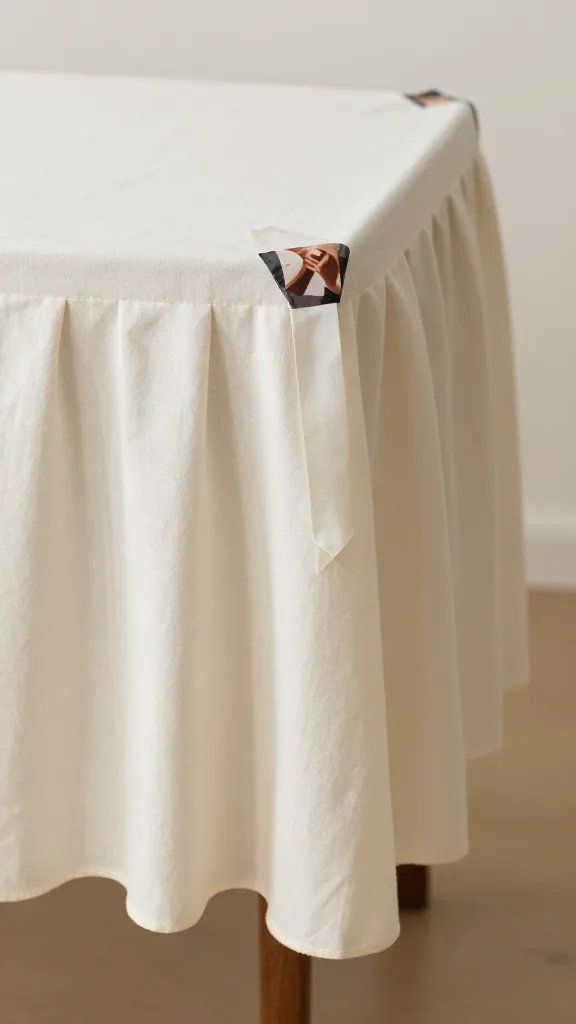
Line a simple fabric table skirt with printed photos tucked between ribbon and tape. The effect looks like a moving story behind the snacks, with a personal touch that guests can read as they approach the table. Time: 60 to 90 minutes depending on length.
Make it ahead: Print photos the day before; plan a quick layout on the fabric first.
Teens can drive these ideas with their photos, turning a phone gallery into living decor and party keepsakes. Pick a few that fit your space and time, and you’ll have a personal, photo driven event without a big budget or a heavy craft load. Save this for the next birthday that sneaks up on you.