
17 Paper Craft Ideas for a Rainy Afternoon

Rainy days make us crave simple, quick projects that still feel cozy and presentable. You want ideas you can actually finish before the sun comes back, not a long to do list that ends in a gluey mess. This collection uses paper and a few household supplies to brighten an afternoon without stressing the budget or the space.
Each idea solves a common problem: a dull wall, a lonely dessert table, kids who get bored, or a craft that looks too homemade. You’ll find clear supplies, rough timelines, and tips that scale from a small apartment to a small party. Let’s dive in and pick a do-able project for today.
1. Folded Paper Banner With Two Tones
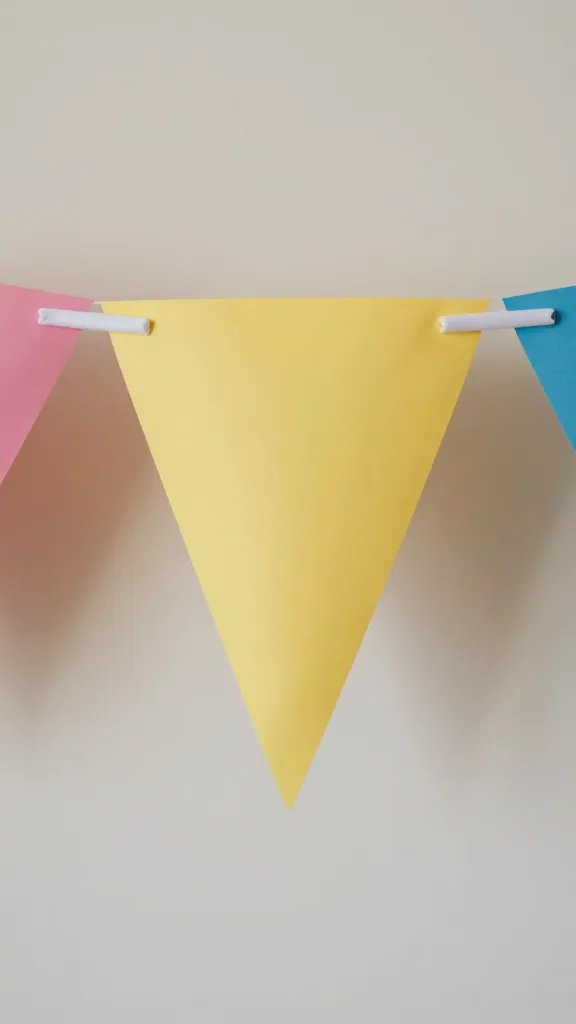
A plain wall and a quick mood boost often go hand in hand. This banner uses simple folded paper triangles in two colors, strung on a ribbon. It reads as polished without much effort. Best done with a helper, the trick is to fold every piece the same way and clip them to the ribbon before hanging. If you have a dozen minutes, you’ll have a banner that photographs well in a quick snap between rain bursts.
The detail to steal: Layer two colors for subtle depth. If you only have one color, add texture with a scored edge on each triangle to catch the light.
2. Paper Jar Snow Globes
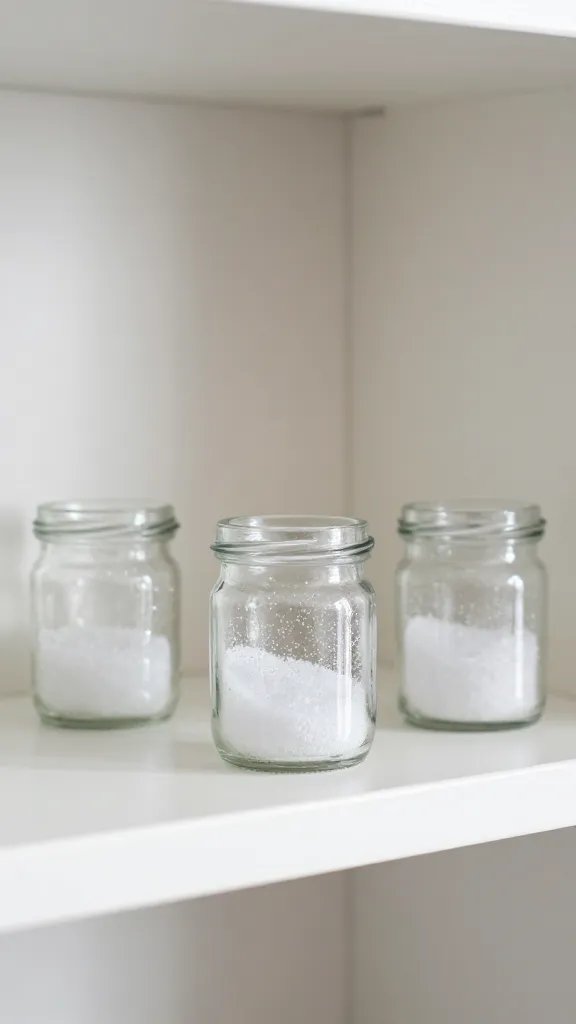
Two minutes of setup can turn a plain shelf into a wintry centerpiece. Use small recycled jars, water, a pinch of glitter, and tiny traced shapes glued to the inner lid. When you shake the jar, it becomes a little rainstorm inside glass. This is perfect for a desk, a windowsill, or a dessert table needing a spark of whimsy. Use different shapes to match any party theme, from stars to snowflakes.
Copy the look: If you lack glitter, use confetti or metallic paper scraps for the shimmer. Always seal lids tightly to avoid any leaks or spills.
3. Paper Circle Rosettes for Walls
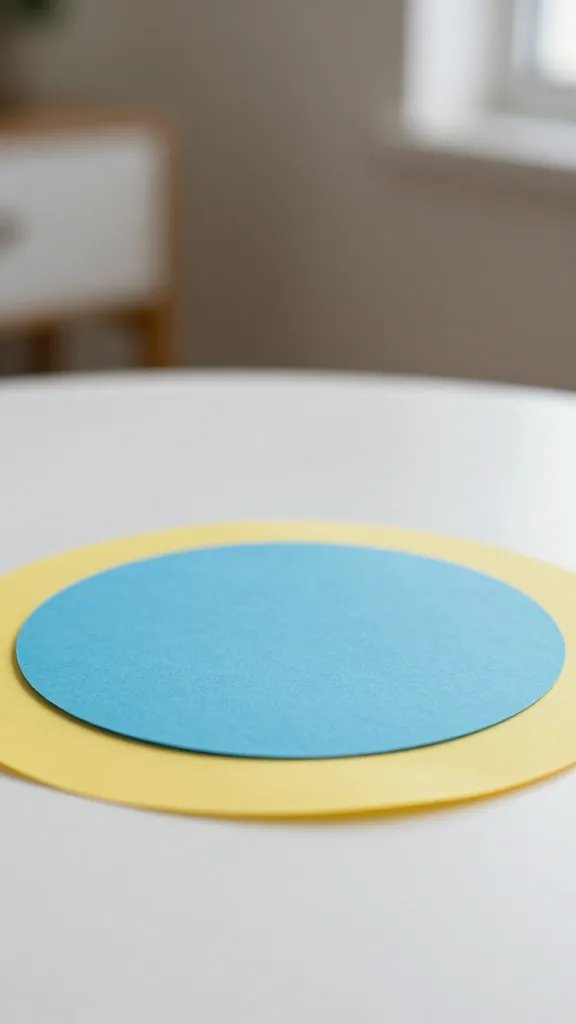
Flat walls need texture, not a world of banners. Cut circles of two sizes in two colors, fold them into rosettes, and glue to a piece of cardboard for a portable backdrop. It organizes a corner without crowding a table and travels well if you’re moving chairs around for guests. Time wise, you’ll want 30 minutes for a neat cluster of three to five rosettes. They photograph well from a distance and invite guests to approach for a closer look.
What to avoid: don’t stack rosettes too densely; a little breathing room helps the piece look intentional.
4. Mini Paper Lanterns on a String
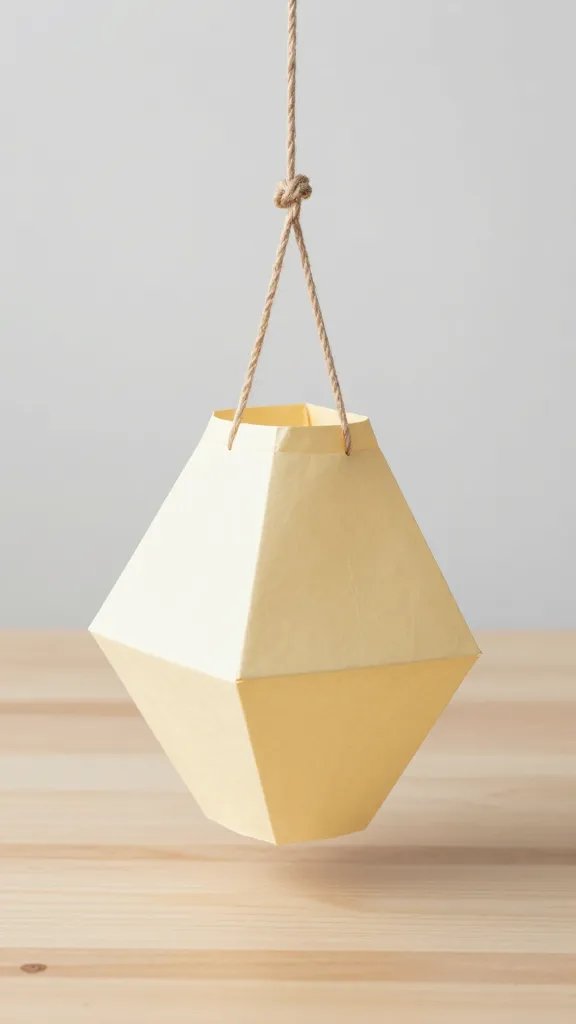
Lanterns add a gentle glow when the day fades into dusk. Use folded paper lanterns in two colors, hang them on a length of twine, and place them where guests gather. It’s a low-cost way to create atmosphere without overpowering the cake table. If you can spare an extra ten minutes, you can pre-assemble a handful and leave them with a friend to hang later. The effect is softer than balloons and kinder to photos.
Use what you have: Borrow strand lights to tuck behind for extra warmth without heat from a lamp.
5. Readable Quote Wall Cards
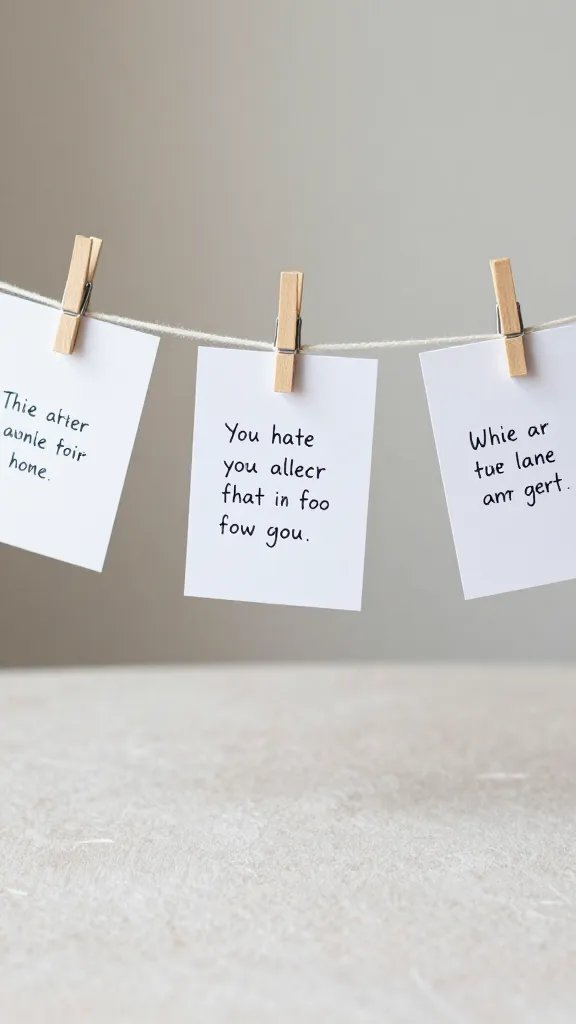
A rainy afternoon calls for cozy vibes, and a quote wall can set the mood quickly. Cut card stock into postcard sizes, print or handwrite short, friendly phrases in two coordinating colors, and clip them to a string with mini clothespins. They serve as decor and a small talk prompt. This is fast to assemble and easily updated if guests arrive early and you want a new look halfway through the party.
Copy the look: If you don’t have a printer, write the quotes by hand in a bold, legible font and scan them later for social posts.
6. Paper Plate Flower Garden
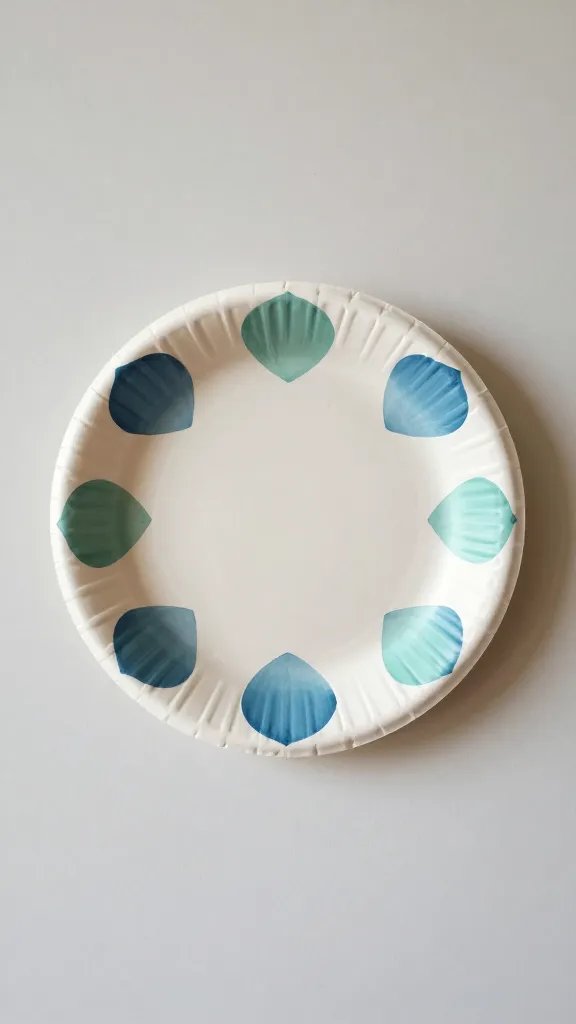
Turn plain plates into a little garden wall. Paint or color the centers, cut petal shapes from colored paper, and glue them around the rim of each plate. Mount the plates on a string or on a strip of poster board with equal spacing. This gives you a cheerful, budget-friendly backdrop that isn’t heavy or loud. It’s easier than it sounds, and you can mix in a few metallic scraps for a hint of shine that catches the light as guests move around the room.
Safety note: Use non-toxic markers and kid-safe glue if kids help with petals.
7. Origami Animal Parade
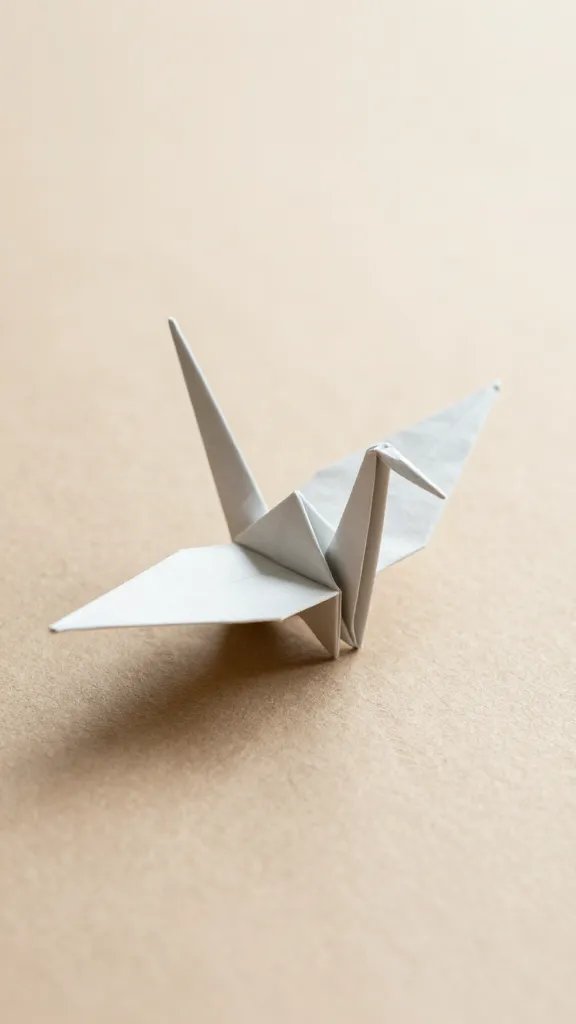
Pick a handful of simple origami shapes—cranes, boats, or boats—and fold them in two colors. Thread them onto a string and drape across a doorway or along a wall for a playful border. The benefit here is that you can do a few folds during a coffee break and have an adorable display when you’re done. It looks more refined than plain garlands and gives kids a tactile moment without requiring a big space.
Make it ahead: Pre-fold a dozen shapes on a rainy morning so the actual setup is just threading and a quick placement.
8. Cardstock Photo Frames for a Dessert Table
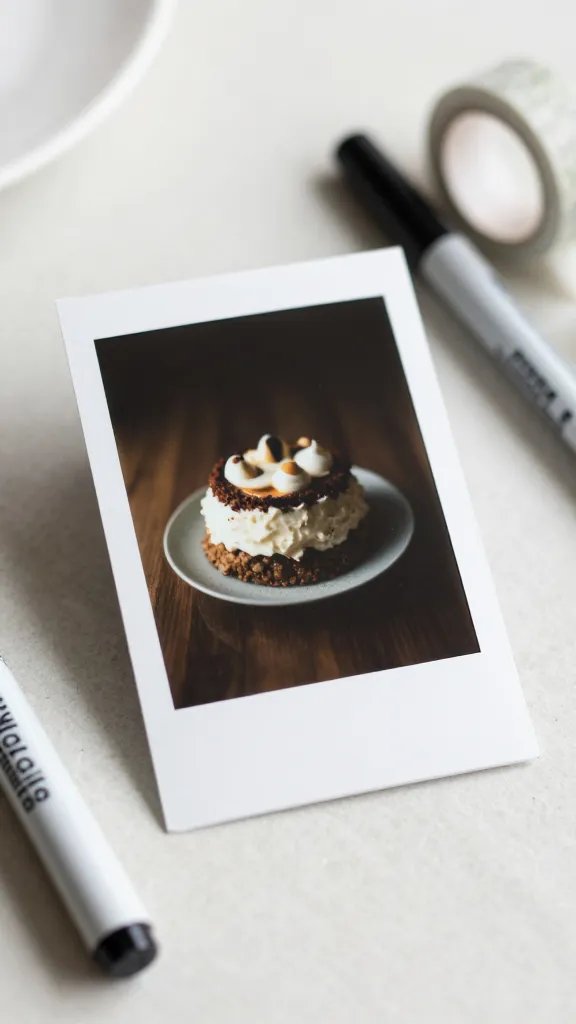
Cut simple frames from sturdy cardstock, decorate with markers or washi tape, and use as mini labels or photo spots around the dessert station. They anchor the table with a human scale and a touch of color. Pre-decorate a handful, then let guests label their own photos later if you’re doing a small DIY photo booth. A clean set of frames makes even a modest spread feel curated rather than cobbled together.
Best for: small gatherings where the table is the focal point but needs anchor points for photos and notes.
9. Paper Straw Wall Baloons with Confetti
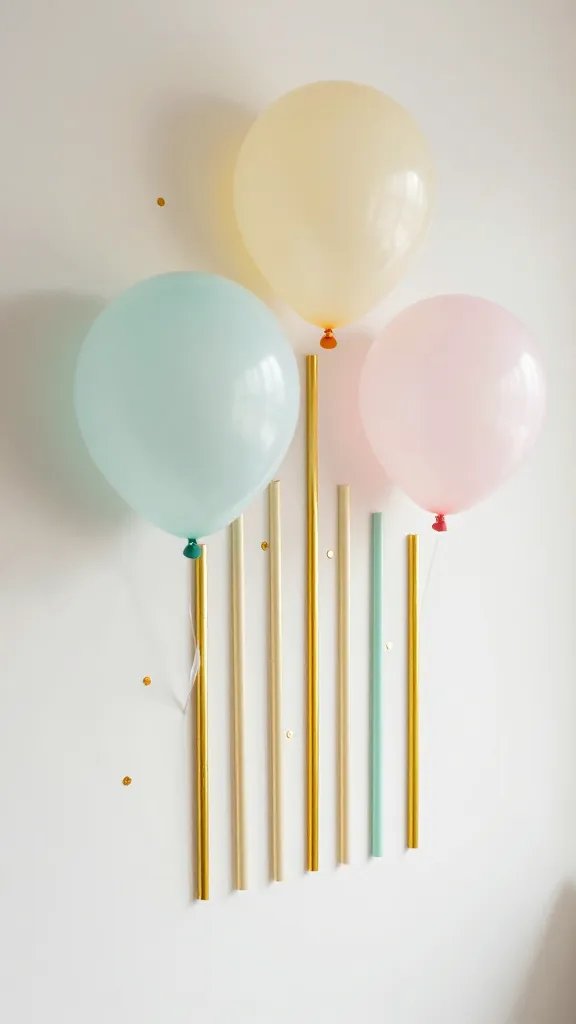
Fill paper straws with small confetti and tape them to a wall to create a playful, lightweight backdrop. It’s inexpensive and quick to assemble and can be scaled to fit a narrow hallway or a corner that needs a lift. The confetti pops with color, catching the eye in photos and when guests pass by. Keep it away from open windows to avoid wind knocking pieces loose.
What to avoid: don’t place near heat sources or open flames; stick to cool, indoor setups.
10. Chalkboard Tags on a Paper Garland
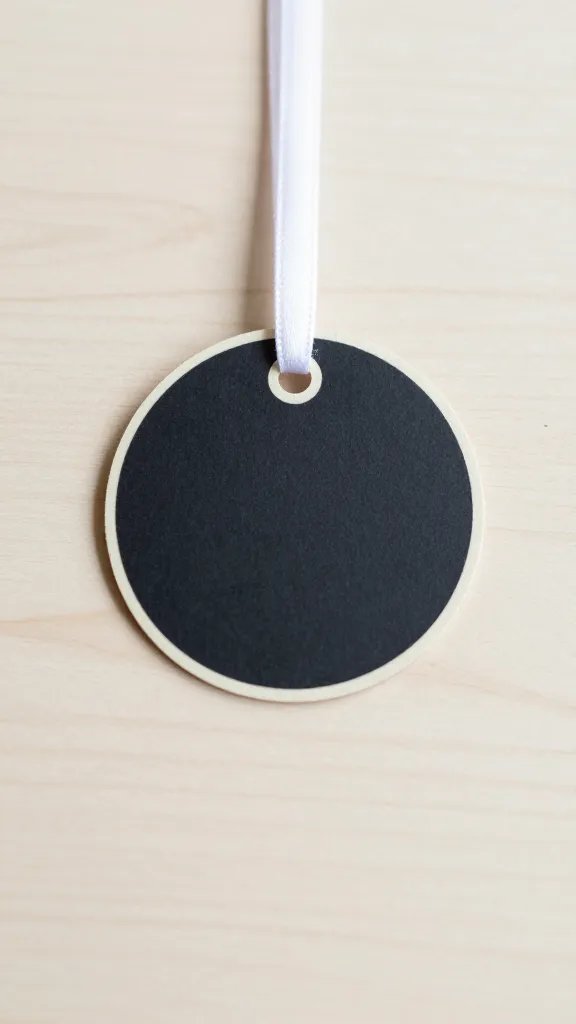
Make a garland with shapes (circles or hexagons) and pair them with small chalkboard tags for labeling treats, drinks, or activities. Write a quick note or the initials of a guest to personalize the setup. This is a neat way to add function to decor and keep guests oriented during a long afternoon. It takes about 30 minutes to create a handful of tags and connect them to a string with ribbon.
Use what you have: If you don’t own chalkboard tags, white ink pens on craft paper work just as well for a temporary label style.
11. Paper Cut-Out Cloud Mobile
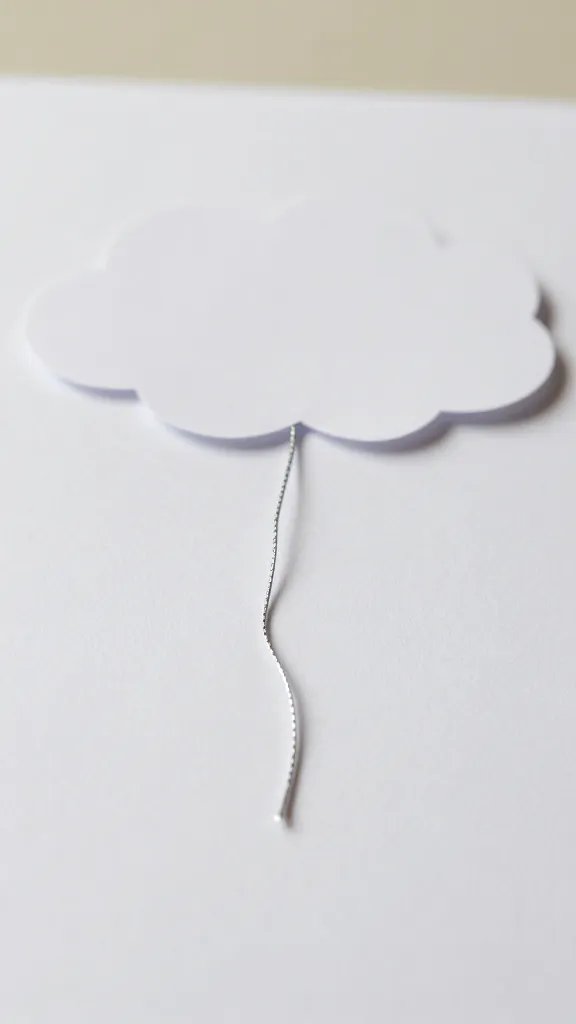
Cut soft cloud shapes from white or pale blue paper and string them at different lengths to form a mobile. Hang it above a snack station or play area to soften the space. The effect is calm and airy, which is nice when the rain gets loud outside. This is a simple project that scales up with more pieces or down with just a few focal shapes.
Copy the look: Add a few silver or pastel thread tails for subtle shimmer when light hits the mobile.
12. Rainbow Paper Bead Garland
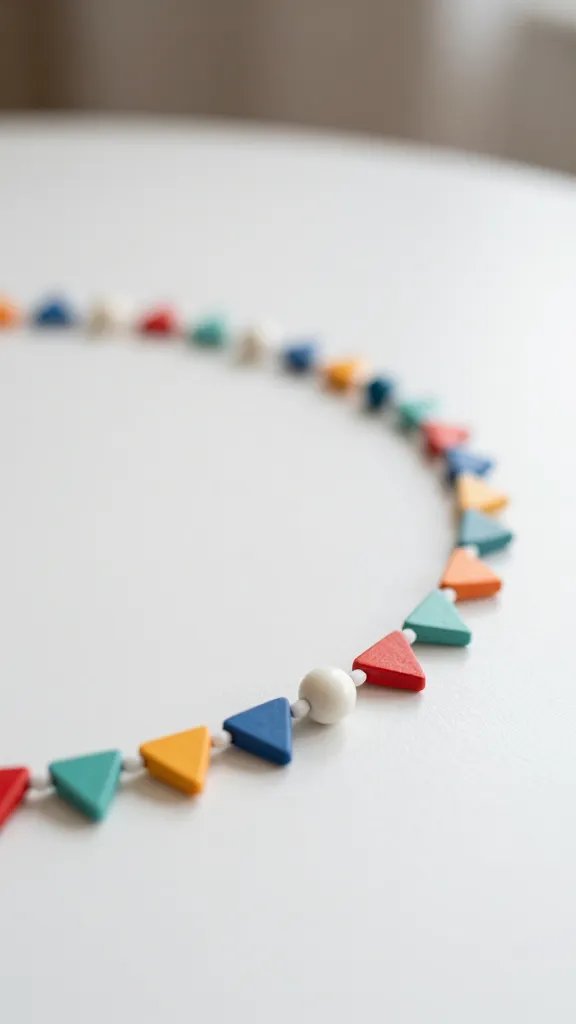
Slice colored paper into long triangles, roll them into beads, and glue the seam to keep each bead closed. String the beads into a garland that brightens a wall or frames a dessert table. It’s a budget-friendly project that looks like it came from a shop, yet you control the colors and length. Set a limit of an hour to avoid fatigue; you’ll still get a charming piece you can reuse later.
Safety note: Have an adult supervise any rolling or glue steps for younger crafters.
13. Pom-Pom Paper Flowers on a Wire
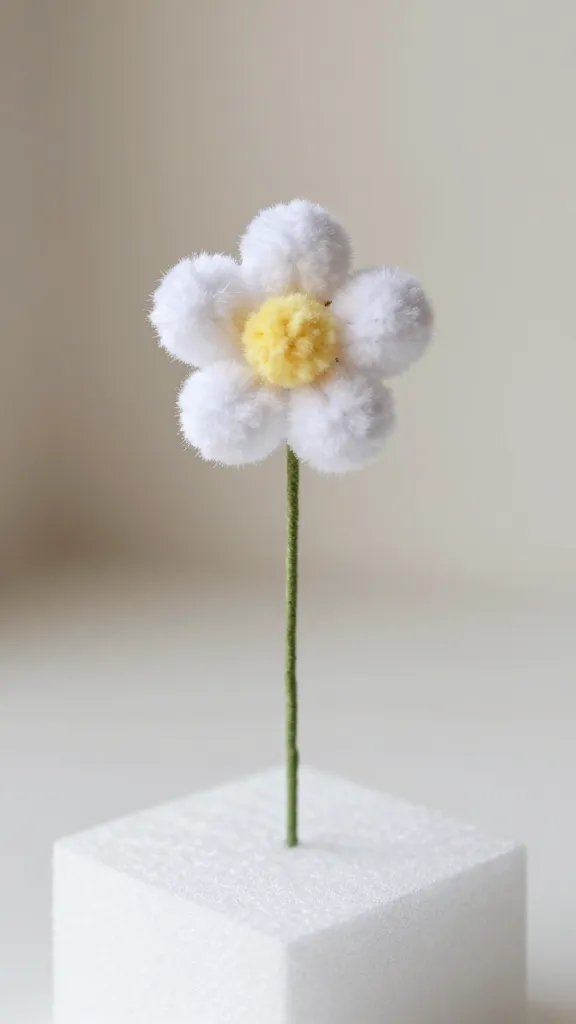
Make tiny pom-poms from tissue paper, pair them with lightweight wires, and arrange in a hand-held bouquet or along a doorway. This is a quick way to add a spring-like touch in a rain day without real flowers. It’s easy to adjust the color palette to match your party theme, and the height can be varied by bending the wire slightly before inserting into an I-shaped base (or a simple foam block).
Best for: a budget-friendly upgrade to a dessert or gift table with minimal space usage.
14. Printable Mask Tags for a Dress-Up Corner
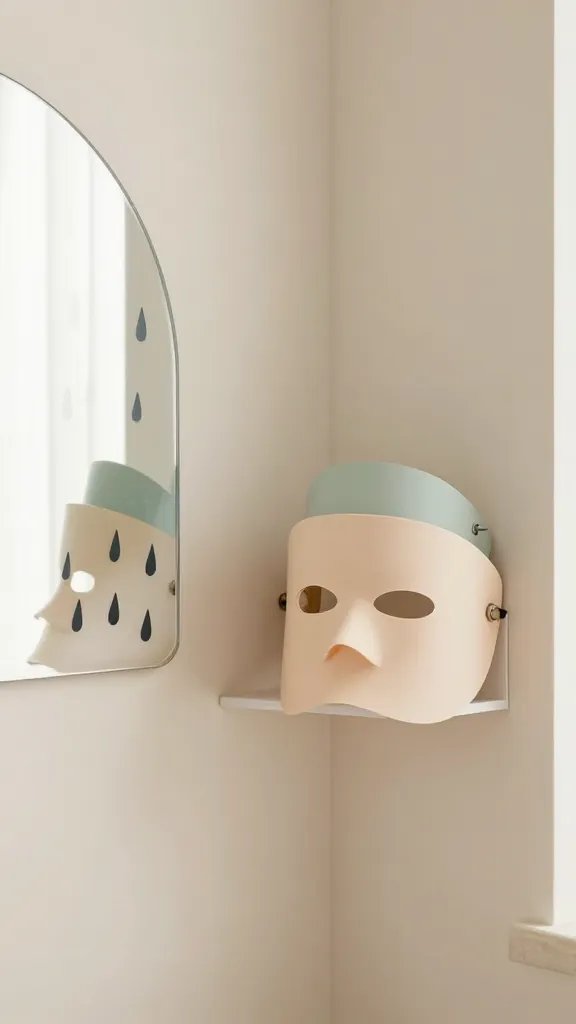
Print simple mask shapes on thick paper, cut, color, and attach to sticks or elastic. Create a small dressing corner with a mirror, a few props, and a sign that says “Rainy Day Dress-Up.” It buys you time for guests to mingle and offers a light, playful activity that doesn’t need planning or cleanup beyond the corner itself.
Color note: Use two tones to keep it cohesive with your main decor scheme.
15. Paper Quilt Wall Patch
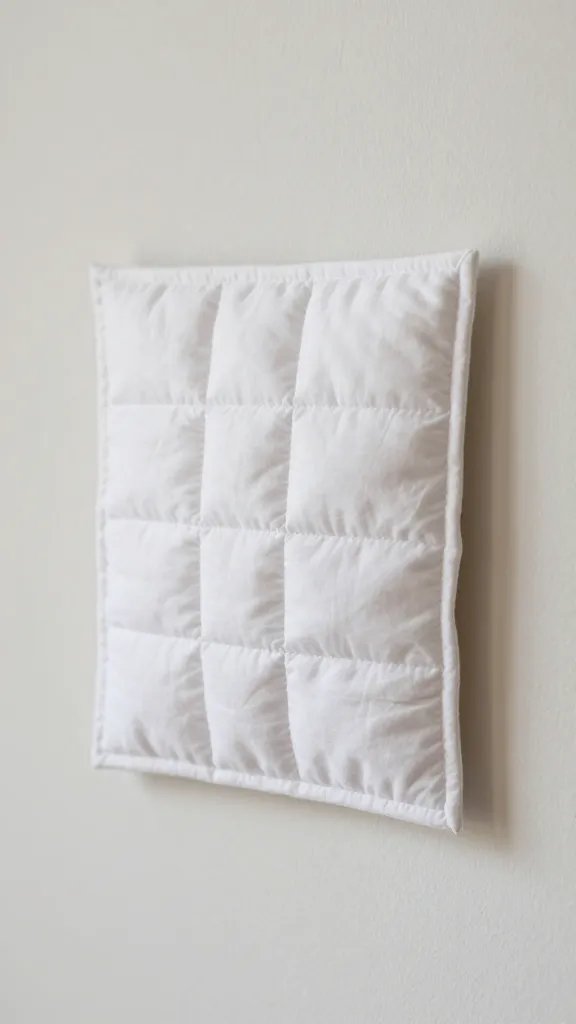
Cut squares from two or three colors and arrange them in a grid on a wall or a large foam board. It looks like a quilt without the sewing. This is a forgiving project—slight misalignments still read as a handmade, thoughtful piece. It acts as a focal point while you chat with guests and keep the rain from turning your living room into a sea of clutter.
Make it easier: Use pre-cut grid paper as a guide to keep rows straight if you’re gluing pieces directly to the wall.
16. Little Book Accordion Gallery
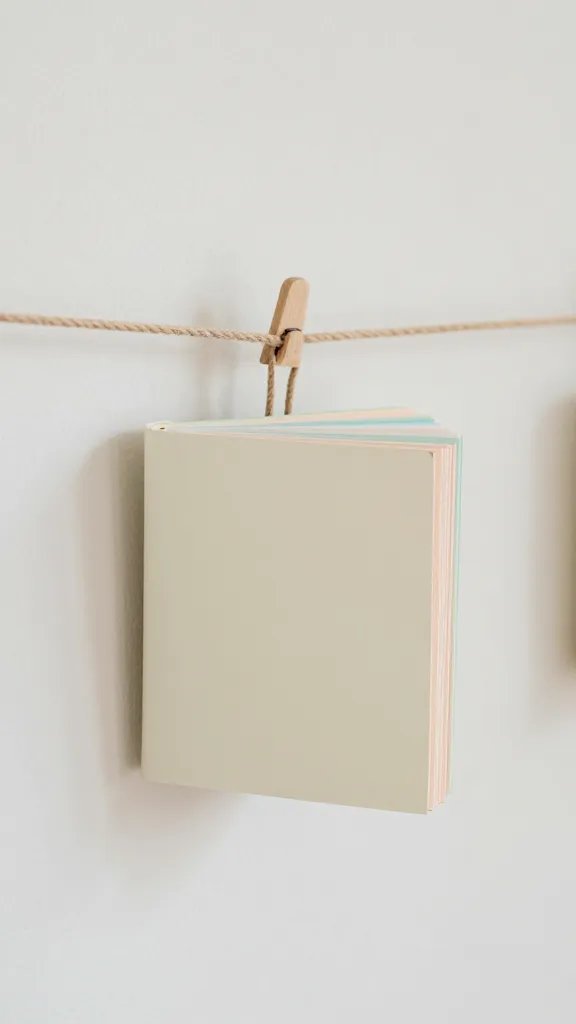
Fold a few sheets of colored paper into cheap little accordion books. Clip a photo or keepsake inside each, and display them on a stringed line across a wall. It’s compact, personal, and invites guest interactions—each person can look through the books and pick a favorite memory from the party. The setup is quick, with the trick in choosing sturdy paper that holds its shape after folding.
What to avoid: avoid overly thick paper that won’t fold neatly; use standard printer weight stock for best results.
17. Tissue Paper Table Runner
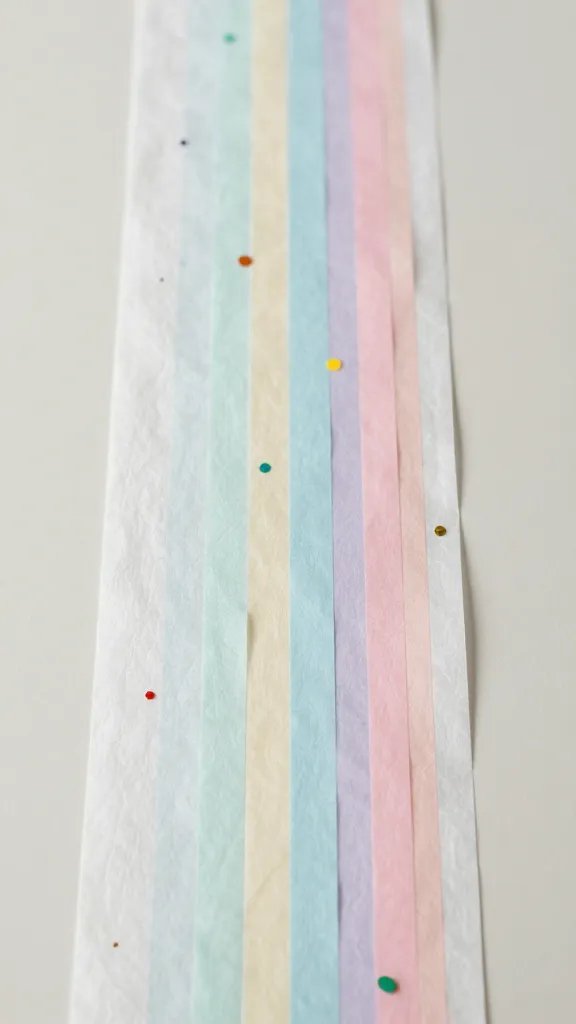
Cut tissue paper into narrow strips and lay them in a line across the center of the table as a runner. It adds color and movement without committing you to a long fabric piece. A quick scoop of confetti on top elevates the look. It’s a budget-friendly, low-mass option that still photographs well with a plate stack and a simple centerpiece.
Cleanup tip: keep a damp cloth handy for quick tidying if any tissue escapes its ribbon line during settling guests.
Rainy days don’t have to mean dull corners. Pick one project that fits your space, grab the supplies, and you’ll have a warm, finished look in under an hour. Save this for the next birthday that sneaks up on you.