
16 Craft Ideas for School Displays That Impress

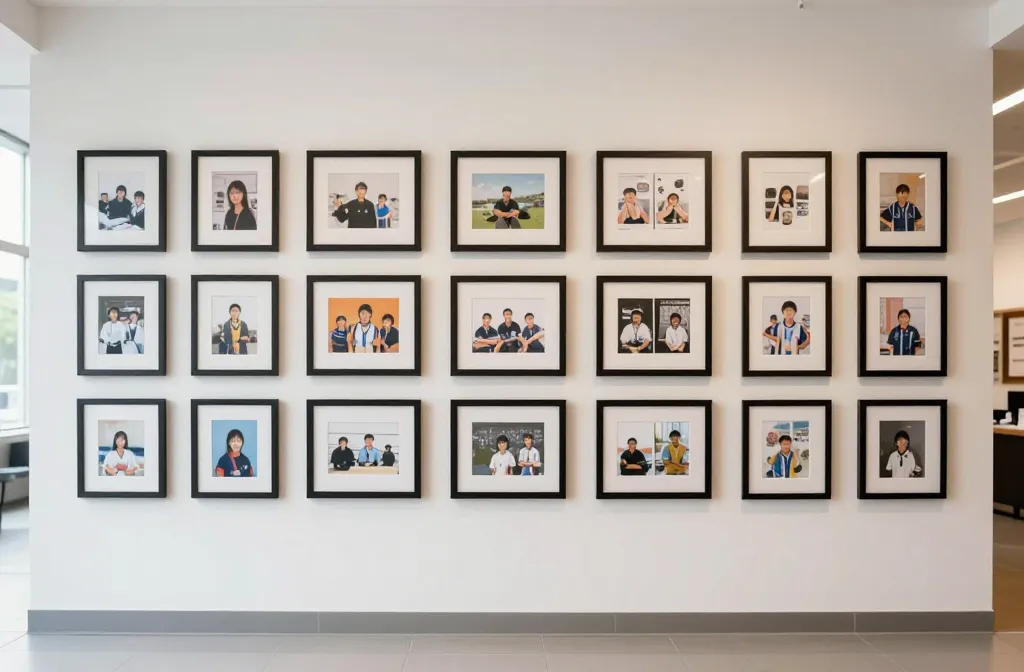
Students stand taller when their work sits on a neat, idea-forward display. The problem is often a wall that looks chaotic or a display that fades from view before lunch. You want quick wins that don’t derail your week. This guide offers practical ideas that look polished and stay durable in a busy hallway. Each idea fixes a common display headache and can be done with everyday supplies. You’ll find options you can finish tonight or over the weekend, with tips to scale up or down. Let’s dive into 16 ideas you can actually pull off this week.
We’ll sprinkle variations of the main supplies so you can swap depending on what you have. Use the core concept, then tailor colors to match your school theme. The goal is a display that catches the eye and stays neat through many classes. Ready to turn bland walls into bright story walls? Here are the ideas.
1. Framed Student Work Gallery Wall
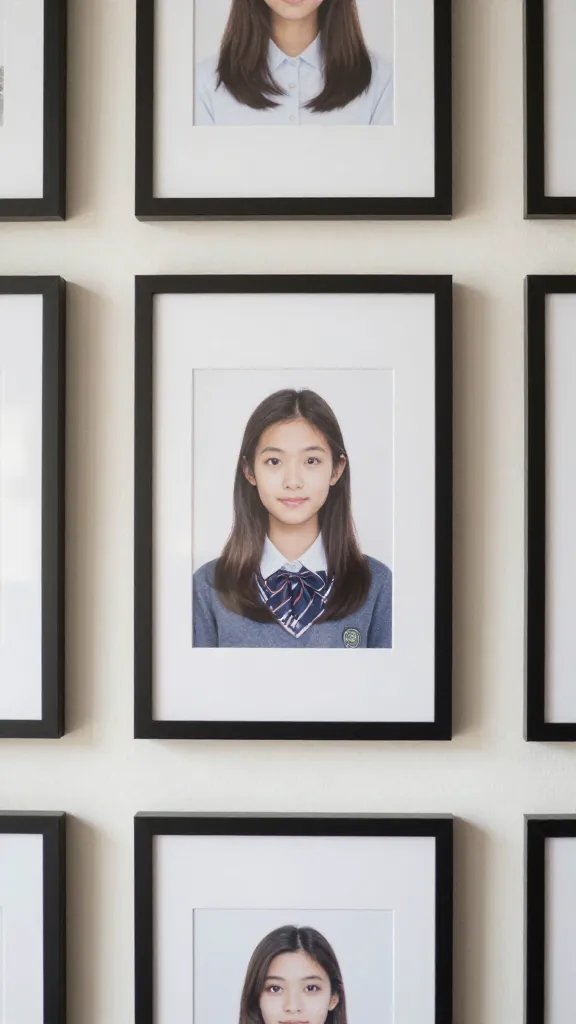
Your simplest fix for a busy hallway is a clean gallery display. Clip student projects into inexpensive frames and hang them in a tight grid. It instantly elevates every piece and prevents curling or tearing. Keep a rotating tray with fresh work so the wall always feels current. Use a thin spacer behind the frame to keep a consistent distance from the wall and to prevent glare from hallway lights. This approach solves the problem of scattered pieces with no cohesive look.
Copy the look: Use a uniform frame size and mount with painter’s tape for easy changes.
2. Color Blocked Summary Board
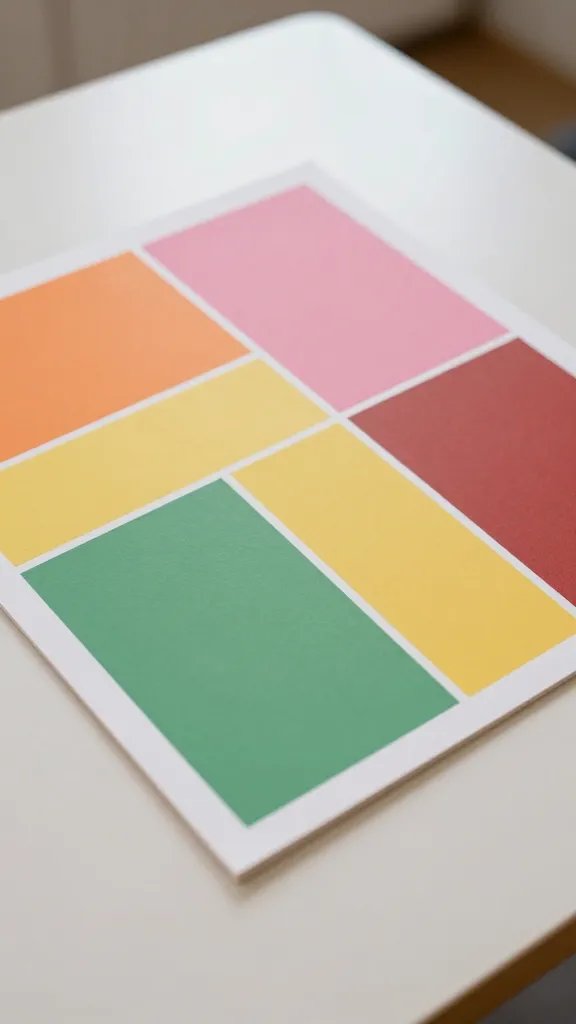
When content gets lost in clutter, a color-coded summary board helps readers scan quickly. Cut large poster boards into color blocks that correspond to categories: rationale, methods, results, and reflections. Attach student sheets with washi tape so they can be swapped. A simple title strip across the top anchors the board. This design tackles the problem of mixed paper sizes and yields a neat, organized display that invites closer reading.
Best for: Middle school science fairs or literacy stations, 20 minutes to assemble.
3. 3D Pop-Up Wall Map
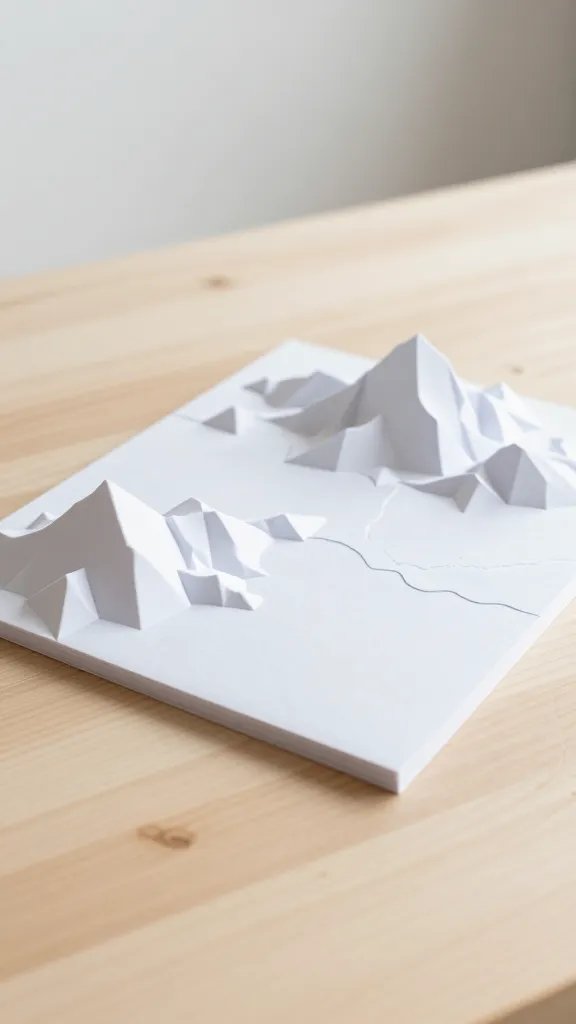
Turn a flat map into a tactile centerpiece by adding lightweight 3D elements. Create folded paper mountains, foam landforms, or foam board markers that pop out. Use foam tape to raise the pieces just enough to create shadows under hallway lights. This adds visual interest without heavy lifting. It also fixes the risk of a display feeling flat and dull, especially in dim corridors. You can do most of it in a single afternoon and let kids contribute a feature piece each.
Reason to try: It makes the map interactive from a distance and up close.
4. The Mini Timeline Banner
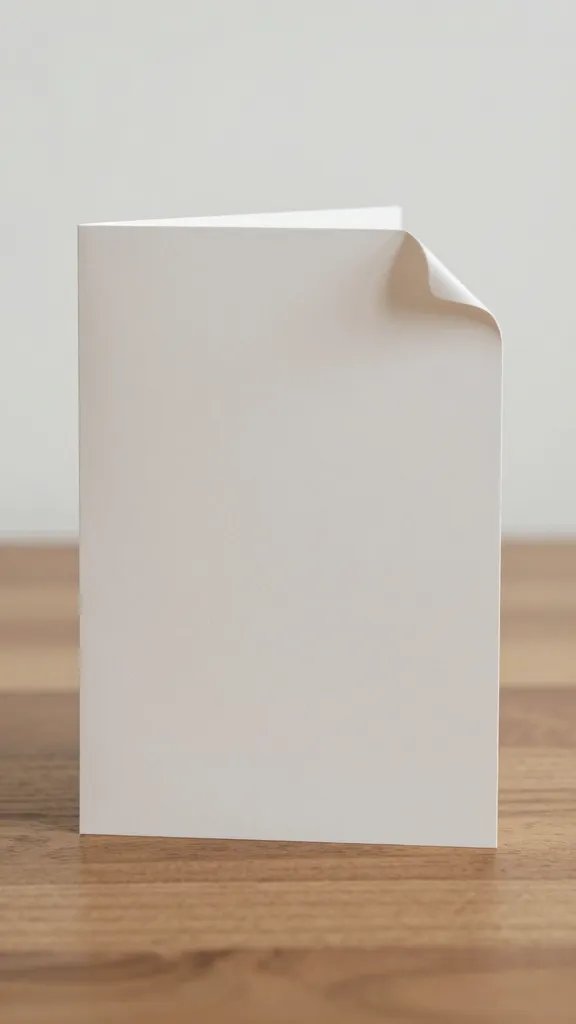
A long timeline helps viewers follow a project story in seconds. Create a 3-foot banner with a neutral background and a row of mini cards that represent milestones. Bend the corners of each card slightly to create a subtle arc. Use a single color for all headers and a second color for dates to keep it cohesive. Laminate cards if you can, so traffic doesn’t wear them out. If you’re short on wall space, stack the timeline on a slim corkboard and lean it against the wall.
Make ahead: Print or hand-write milestones on card stock a day before to dry beautifully.
5. Photo Montage on a Budget Grid
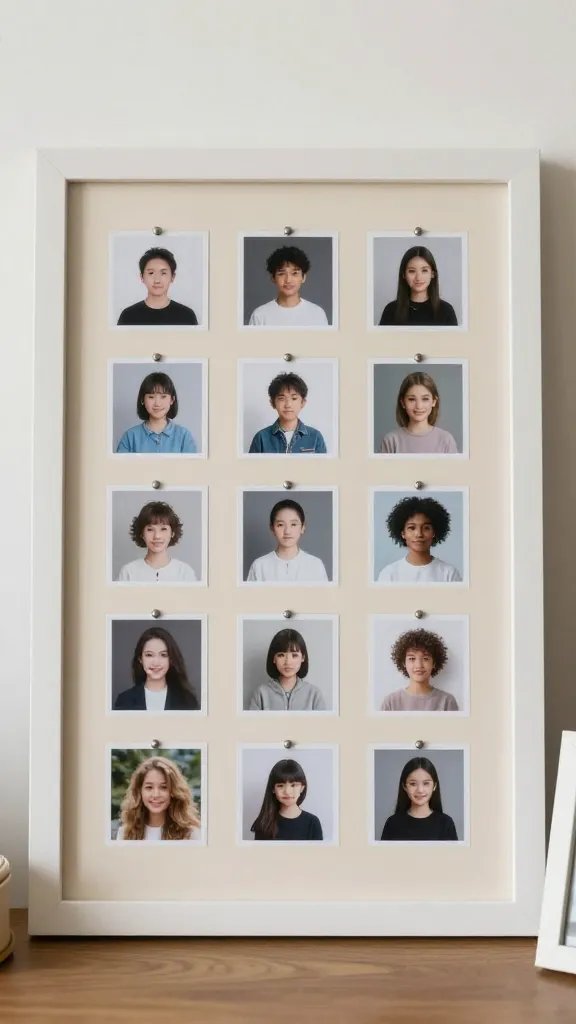
Gather student photos and print them mini for a grid layout on a poster board. Add a few decorative pins or small clips to mimic a studio display. A neutral mat around the grid helps every photo pop. If you don’t have a ready-made frame, mount the grid on a folded piece of cardboard to create a faux frame look. The problem this solves is dull walls that swallow faces and names alike.
Placement note: Center the grid at eye level for the viewer walking by.
6. Alphabet and Theme Corner
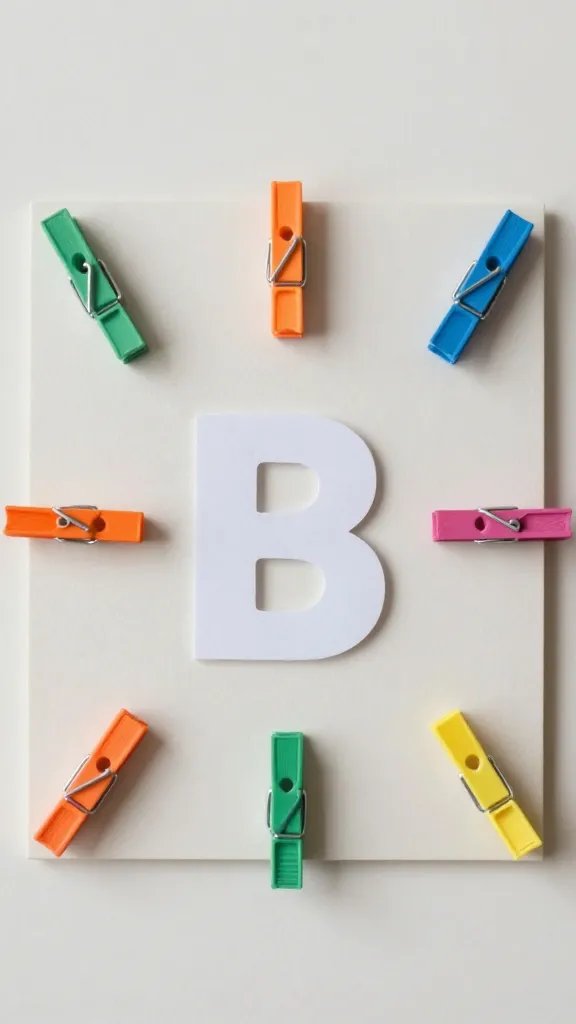
Pick a theme and build a mini scene using letters and shapes that spell out keywords from student work. Use colored paper, clothespins, and simple cutouts to assemble the words around a central image. A shallow, low-lying display makes it accessible to younger students and keeps hands away from delicate pieces. The idea reduces scrambling for space by giving a defined area that feels intentional rather than crowded.
Kid friendly: Let younger volunteers help clip and arrange the pieces under supervision.
7. Interactive Q&A Wall Sections
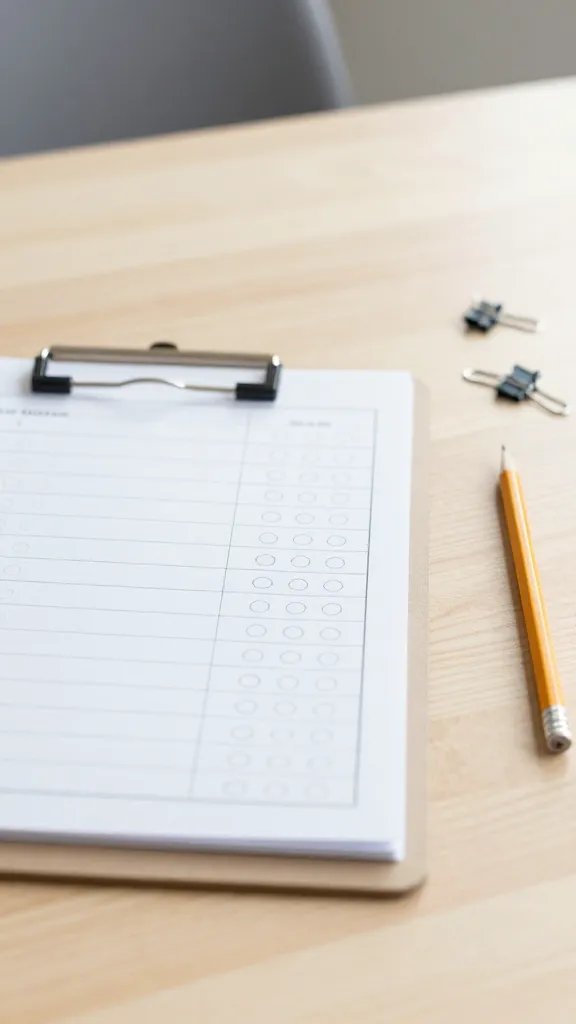
Pair student work with a question card that prompts viewers to think critically. Print questions like “Why did this method work?” and place them beside the relevant project. Use a small clipboard to display the answer cards and allow a second round of student input. This approach addresses the problem of wall space that looks static and invites engagement from passersby. Aim for three to five question cards per project to avoid clutter.
What to avoid: Too many prompts in one area can overwhelm the viewer.
8. Upcycled Texture Showroom
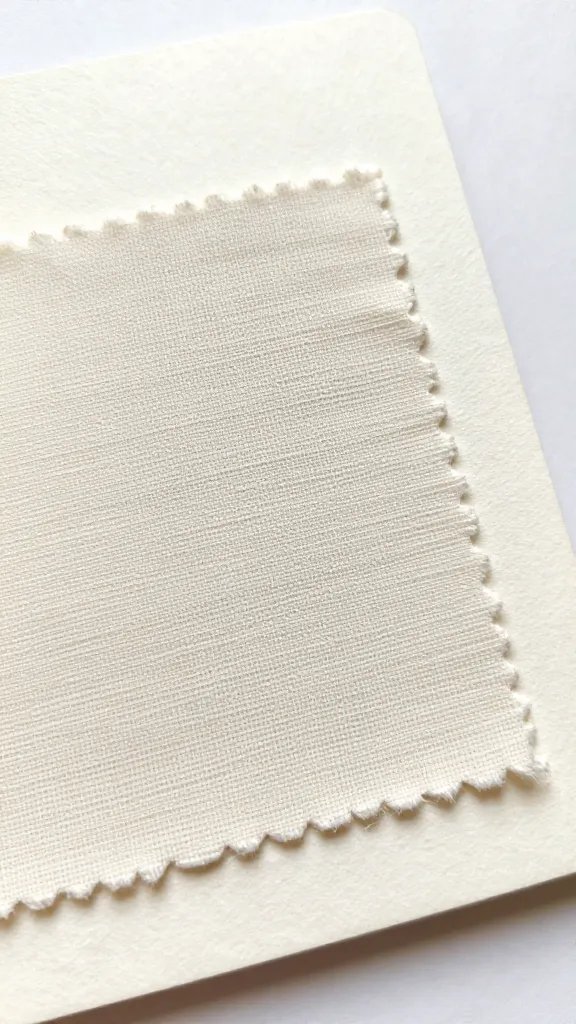
Create a tactile display using fabric scraps, unzippered zips, and textured papers. Mount textures on a fabric backing with a few stitched borders to give depth. This is especially good for art or design projects where texture matters. A small pocket on each card can hold a tiny swatch of the material, so visitors can feel the difference. The fix here is to move away from glossy photo-heavy walls to something with physical presence.
Safety note: Avoid small parts that could detach and be a choking hazard for curious kids.
9. Mini-Poster Rotating Stand
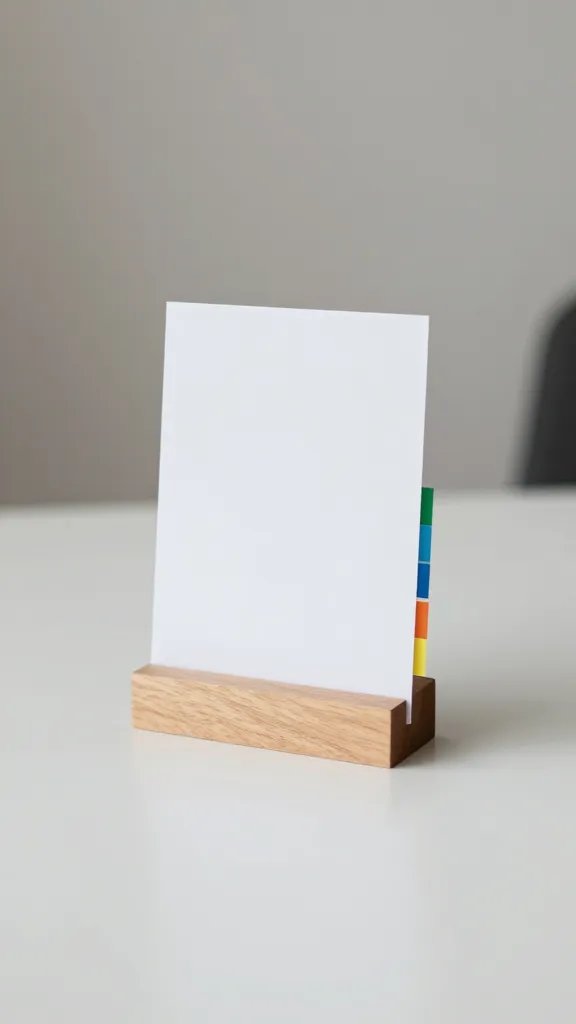
Use a compact stand or inexpensive tabletop easels to create rotating mini-posters that sit at desk height. Each piece gets a dedicated stand with a color-coded tag for the subject. Rotate weekly to keep the display fresh and reduce wall congestion. This setup solves the problem of walls looking overcrowded and gives students control over their turn to shine. It’s quick to set up and easy to maintain.
Make it easier: Use simple clip-on labels to swap titles without reprinting.
10. Magnetic Board Bingo Cards
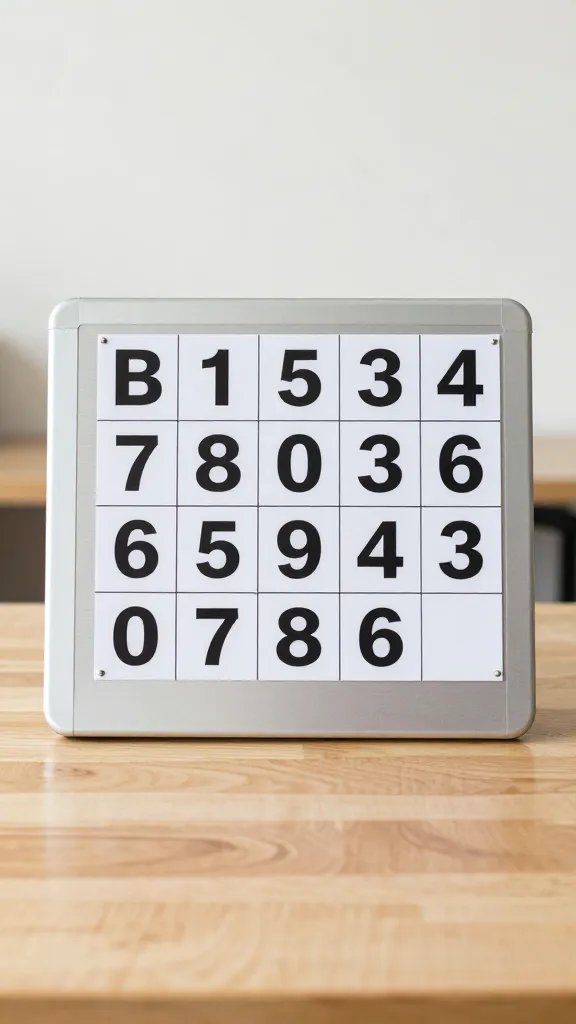
Adopt a magnetic display with printable bingo-style cards for quick captions and facts. Mount a metal strip or magnetic sheet to a thin board, then cut out cards with a few bold facts. Students can rearrange captions to match their piece. This idea tackles the issue of permanence; it’s easy to reconfigure as new projects arrive. It also keeps the wall lively, and the magnets add a playful element that kids notice fast.
Dollar store swap: Use inexpensive magnets and a leftover frame to keep costs down.
11. Paper Flower Backdrop for Photo Ops
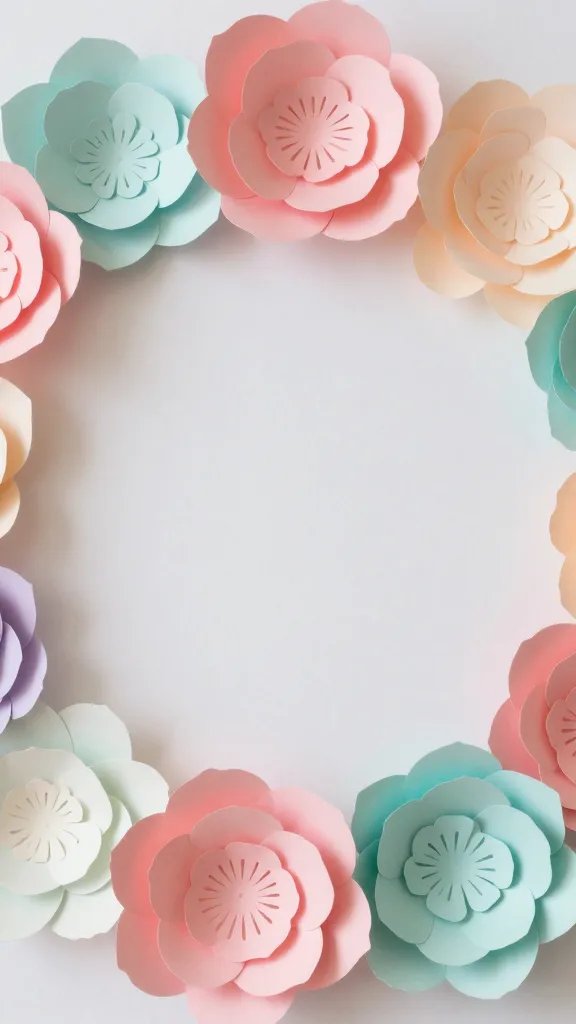
Make a small, cheerful backdrop using tissue paper or coffee filters arranged in layered circles. Attach to a board with a ribbon top and place student work in front of it. This gives a soft, bright frame for photos and helps children feel proud of their projects. The trick is to keep the bouquet lightweight and secure to avoid sagging in high traffic. A simple string of fairy lights can add a gentle glow if permitted.
Placement note: Position at a height where kids can stand in front for photos without blocking others.
12. Chalkboard Style Labeling System
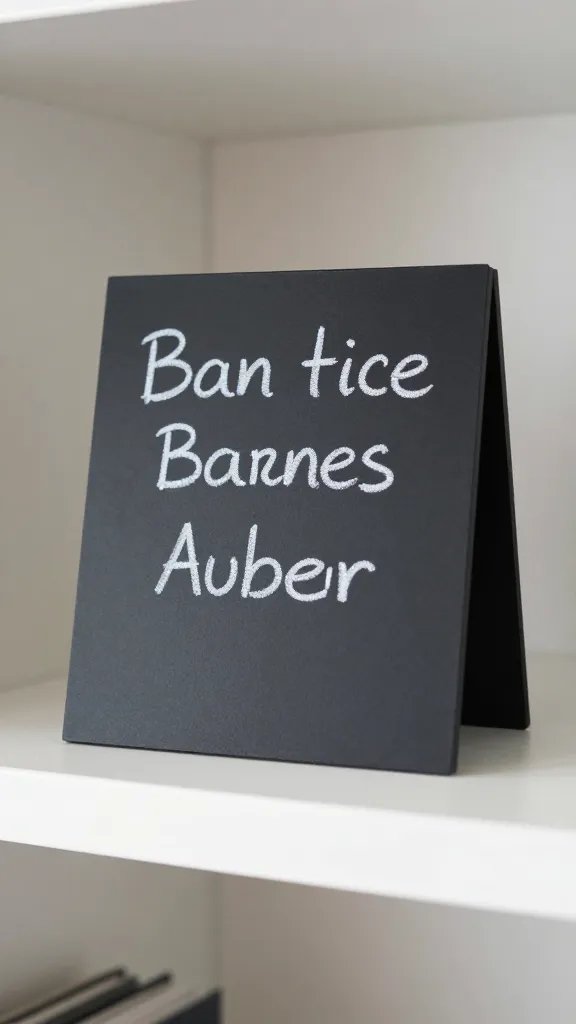
Create small, reusable chalkboard signs for each project. Write a brief title, author, and a one-sentence highlight. If chalk is not available, use white dry erase markers on small acrylic boards. This swap keeps the display tidy and allows you to update information quickly. The problem it fixes is upcoming changes with new projects; the board is easy to refresh and looks cohesive across the wall.
What to avoid: Overly long captions that slow down skimmers.
13. Ribbon Wrapped Clip Display
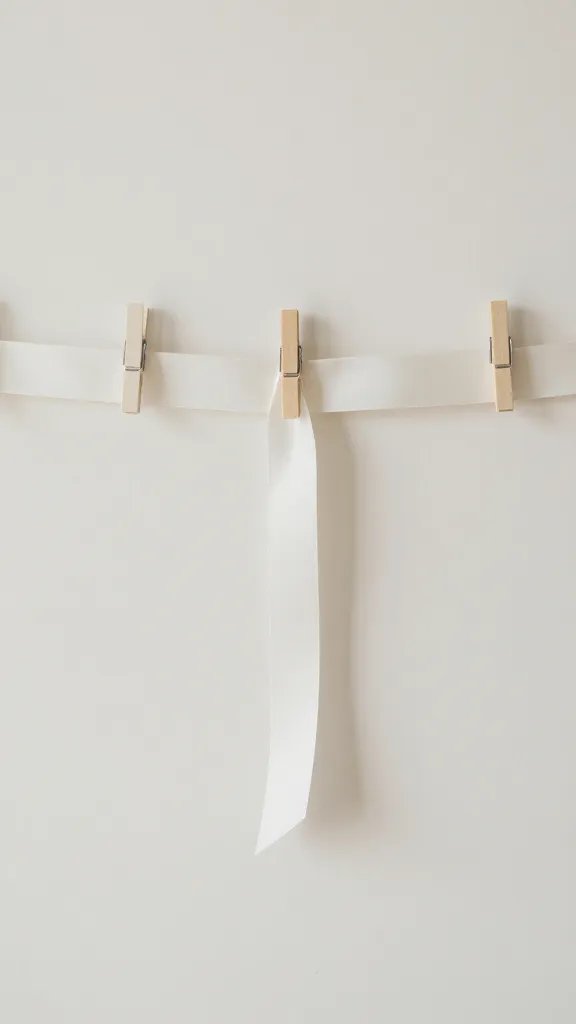
Turn clothesline or a marked strip of wall space into a gallery by clipping works onto ribbon. Tie a length of ribbon in a soft curve and secure with hooks or nails. Attach each project with mini clothespins. The result is a flexible wall that can be changed in minutes as new pieces come in. It also helps keep pieces flat and reduces wall damage from heavy frames.
Cleanup tip: Use a soft cloth to wipe dust off the clips during rotation.
14. Burlap Bulletin Board Makeover
A plain cork board dressed in burlap instantly looks more intentional. Cover the board with burlap and finish with a border of ribbon or masking tape. Mount student work using thumbtacks or decorative pins. This fixes the problem of a boring, plain wall and gives a warm, classroom-friendly backdrop that photographs well in school hallways.
Time saver: Do this when you have a free afternoon so it can dry flat before school starts.
15. Clear Display Shelves with Layered Details
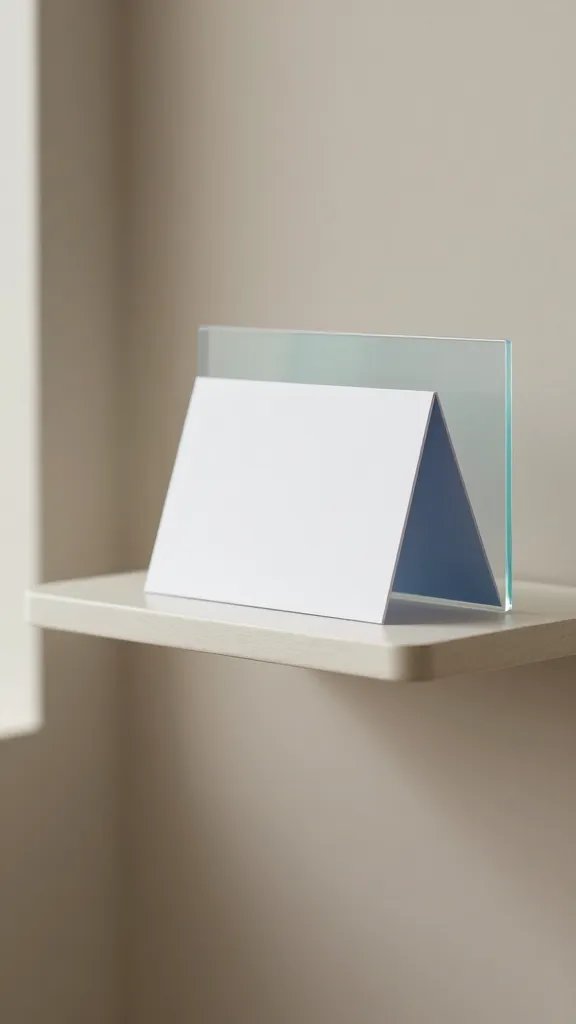
Small, clear display shelves let projects stand in three dimensions. Layer a piece of contrasting color behind each project and lean a small caption card in front. This approach creates depth and makes each project feel valued. It’s perfect for science experiments or art, where the material deserves to be seen from multiple angles. A supervised rearrangement keeps the display looking fresh without causing chaos.
Placement tip: Place tallest pieces toward the center of the shelf line for balance.
16. Kids DIY Name Tags on a Binder Clip Wall
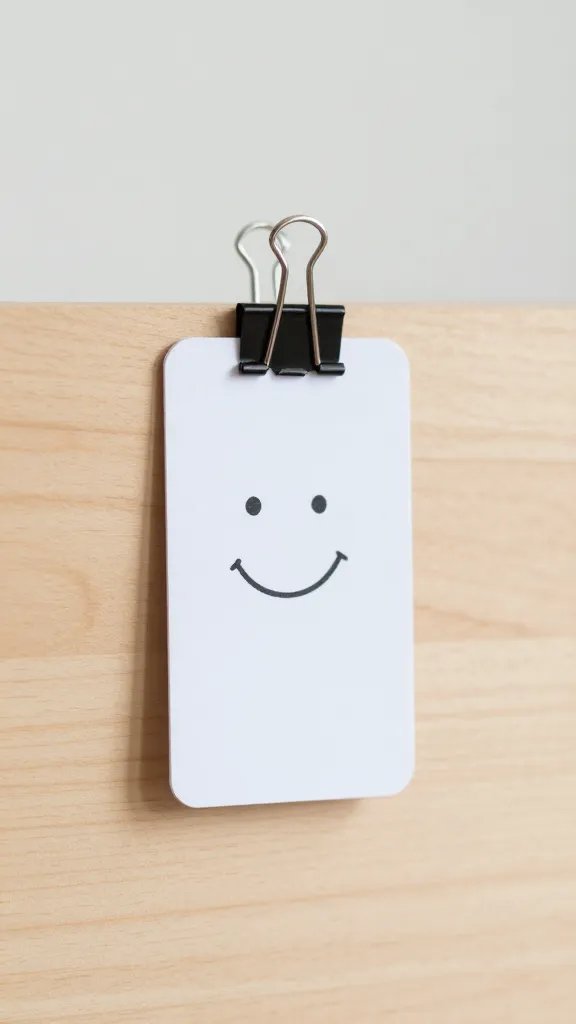
Finally, give students a sense of ownership with DIY name tags that attach to a wall using binder clips. Each tag features the student name, project title, and a tiny doodle. Clip them to a lightweight board or to a length of string. This creates a dynamic, personal touch that’s easy to update as work changes hands. A quick space saver that still looks thoughtful and organized.
What to swap: Use color-coded tags to reflect grade levels or subjects.
With these 16 craft ideas, you can craft a school display that feels polished without demanding a full art department. Start with one or two ideas this week, then layer in the others as projects come in. By the time parents and teachers walk the halls, your display will look like it had a dedicated designer. Save this for the next display you need to set up.