
17 Craft Ideas for School Assembly Props

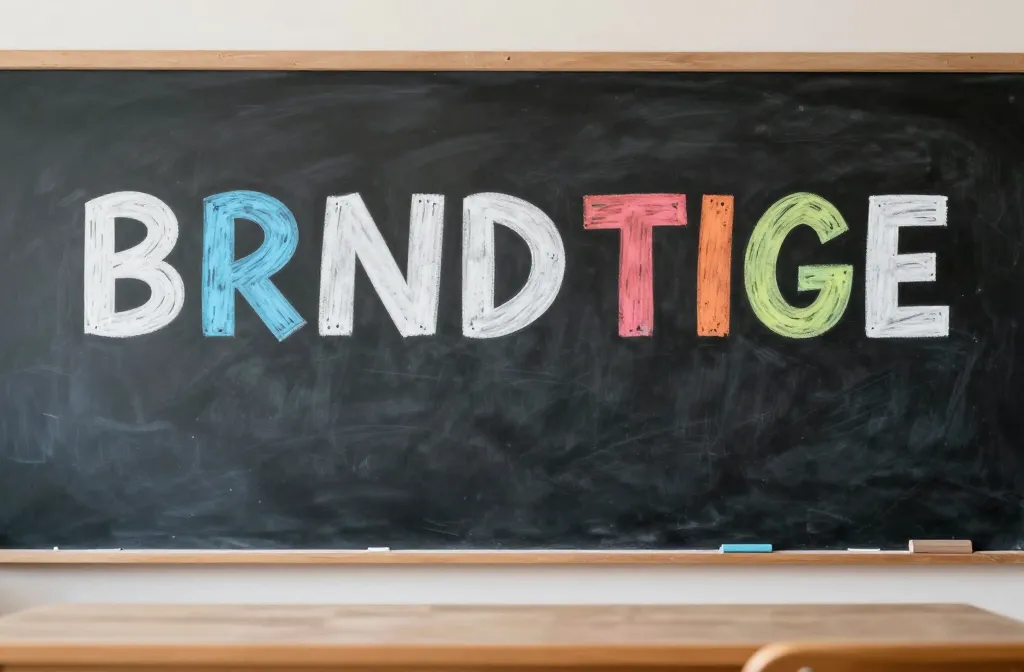
You’re packing a two day plan with a tight budget and a room full of kids who need a spark. The goal is props that look intentional, not homemade, and that can be assembled with minimal chaos. This guide keeps ideas practical, quick, and easy to scale for a school assembly. Each idea solves a common setup problem, whether it’s keeping kids engaged, saving time, or staying budget friendly. You’ll find copyable steps, safe notes, and quick tweaks to fit your space. Ready to turn a blank backdrop into a cohesive, photo friendly scene with items you likely already own? Let’s dive in and pick the idea that fits your theme.
1. Colorful Chalkboard Backdrop Banner
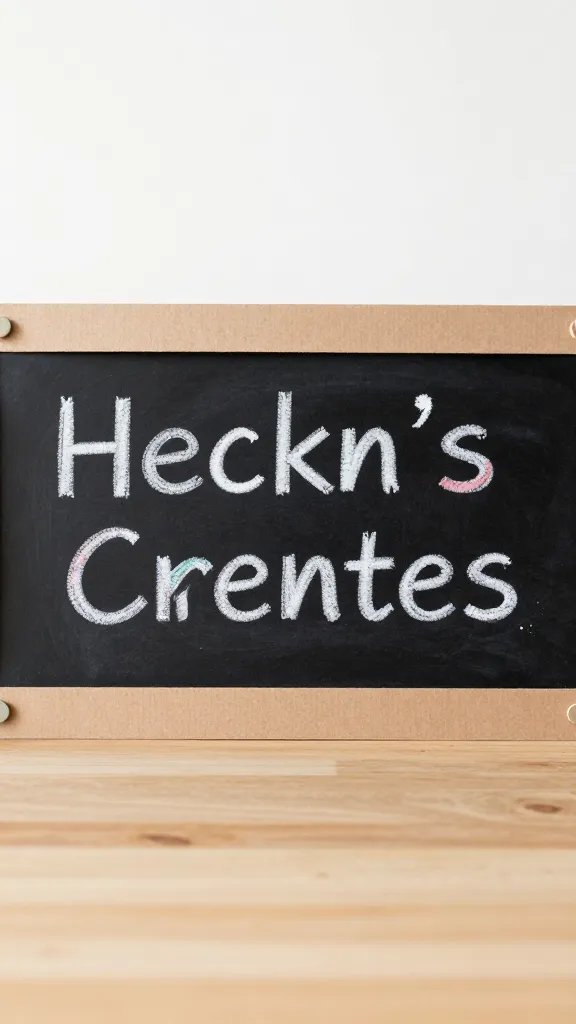
Blank walls scream “ unfinished.” A chalkboard banner across the back of the stage frames scenes, welcomes the audience, and guides the eye to the presentation. Use a roll of black kraft paper or a reused chalkboard panel. Write a simple message in white chalk and add two to three colored accents with chalk markers. This idea scales: swap colors for each grade or theme. If you’re short on time, stick to bold letters and a single accent color. The result reads polished rather than messy in photos.
Copy the look: Cut kraft paper to fit the width of the stage, tape across with painter’s tape, then write a short title and a few decorative doodles.
2. Paper Lantern Flint Banner
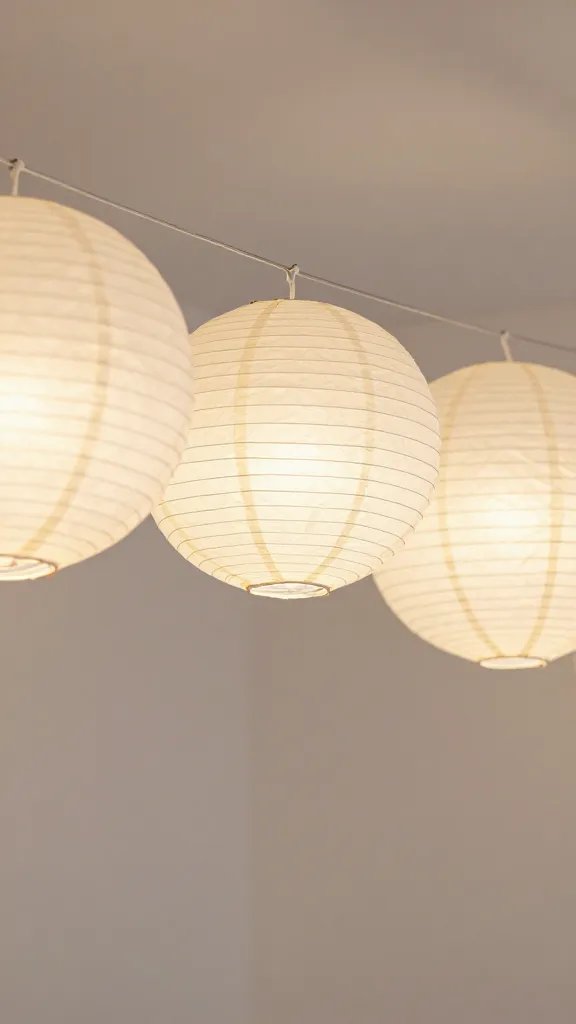
Long, low energy shows can stall with a flat stage. A string of paper lanterns creates a soft, kid friendly glow and adds dimension to photos. Use lightweight colored tissue or premade lanterns from a dollar store. Space them every 12 inches along a string or fishing line. If you have a ceiling grid, hang them at different heights for visual interest. This setup is forgiving; a few lanterns misaligned still looks intentional.
Use what you have: Reuse last year’s lanterns or combine solid colors with a metallic strand for a modern touch.
3. Giant Letter Cutouts With Board Markers
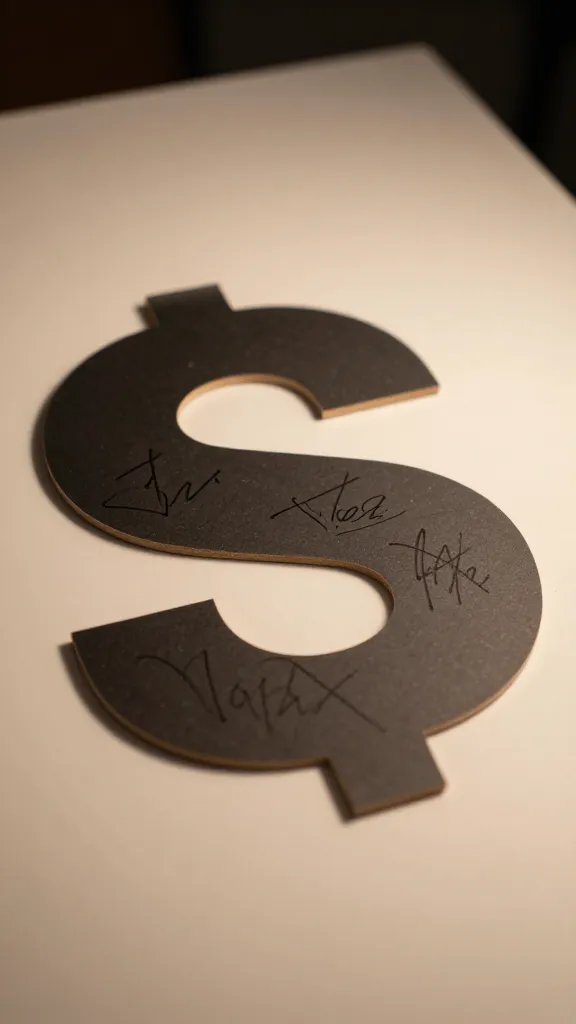
Big letters spell out a theme or school motto and become a quick focal point. Cut letters from leftover cardboard or foam board; cover with plain colored paper to hide rough edges. Have students sign a letter with washable markers during a quick pre assembly activity. This approach is budget friendly and interactive without dragging on the run of show. Place the letters on a simple table or lean against a wall for easy setup and cleanup.
Make it ahead: Pre-cut letters, cover, and store flat to prevent bending.
4. Ribbon Ribbon Curtain for Photo Ops

A narrow curtain of ribbons and streamers catches light and creates a soft boundary for photos. Use a dowel or an old curtain rod and suspend ribbons in a loose V shape. Choose three colors that match the school theme. This is fast and looks more intentional than a plain wall, yet it won’t overwhelm the space. Kids love walking through it during class photos or stage exits.
Placement note: Secure the top with painter’s tape or a removable hook so you can move after the event.
5. Cardstock Spotlight Frames
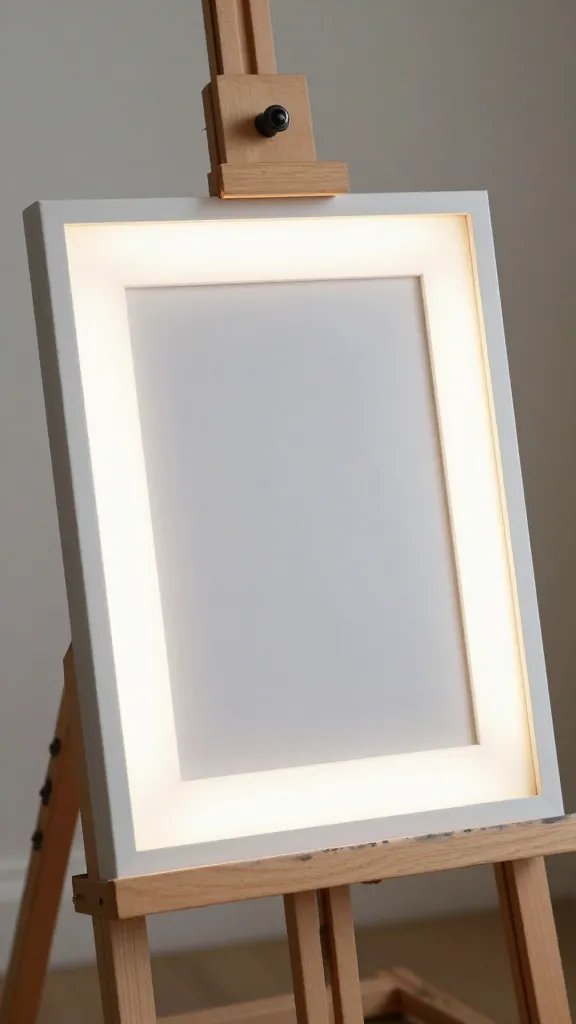
Spotlight frames frame a single concept and keep the audience focused. Cut large frames from cardboard and decorate with school colors or mascot icons. Inside each frame, place a simple graphic or word to cue sections of a performance. Set two to three frames on easels or lean them against a backdrop. They’re lightweight, easy to rotate, and cost almost nothing if you reuse last year’s decorations.
Safety note: Use foam board or thick cardboard to avoid sharp edges; adults should handle any cutting.
6. Transparent Balloon Arch with Confetti
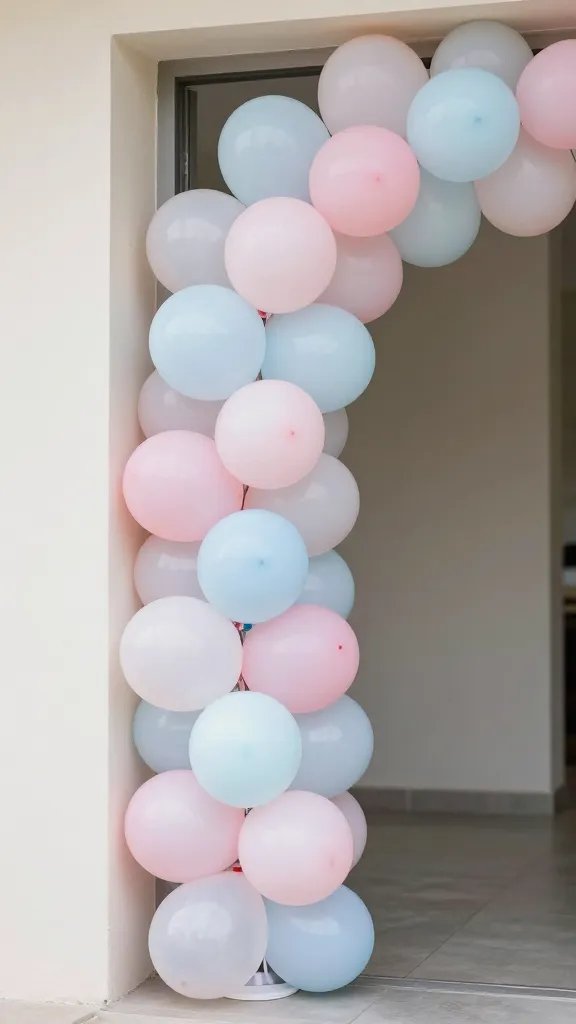
Balloon arches make a big impact but can sag in a crowded gym. Use clear or pastel balloons strung with white curling ribbon along a doorway or stage edge. Tuck small bits of tissue confetti inside some balloons for shimmer. Budget friendly, easy to disassemble, and safe when kept away from heating vents. If the gym gets crowded, consider a small doorway arch instead of a full arch to save time and space.
Dollar store swap: Use a few bags of plain balloons and a mini handheld pump to speed up setup.
7. Tassel Garland Riser
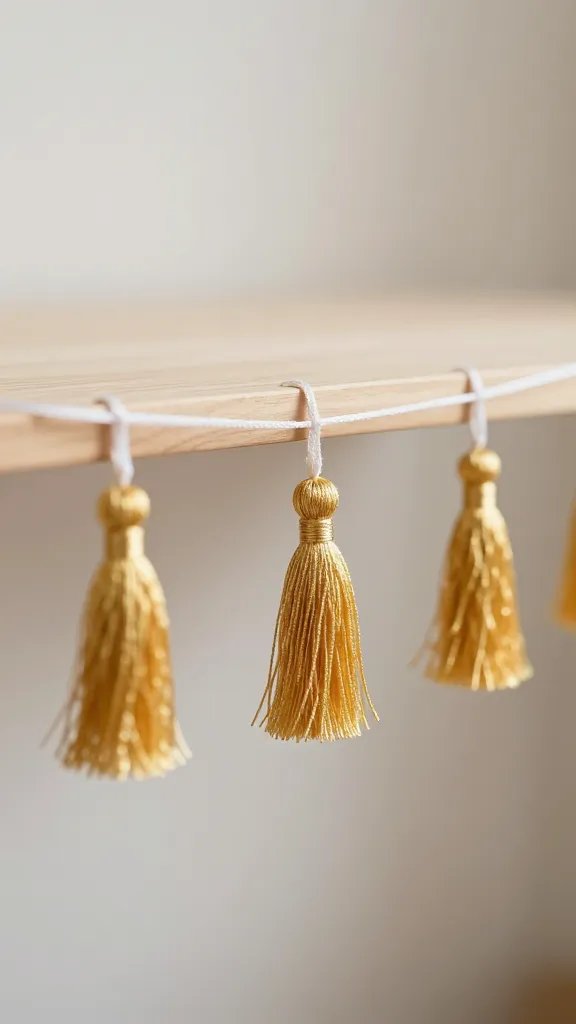
A tassel garland can elevate a simple stage by adding texture. Create tassels from tissue paper or folded scraps in school colors. Attach to a thin string and drape across a riser or along the edge of a stage. If a full garland is too fiddly, string four tassels evenly spaced along a short length of ribbon. Kids can help by making tassels during a prep session, turning a chore into a quick craft.
Make it ahead: Pre-cut tassels, roll into small bundles, and secure with a dot of glue so they don’t unravel later.
8. Theme Wall Panels With Small Props

Divide a wall into three panels using lightweight cardboard. Paint or paper cover each panel in a different shade within the theme. Place small props in front of each panel—mini globes for geography, toy cars for transportation, etc. This creates a narrative backdrop that’s easy to understand at a distance and photograph well. Panels stay lightweight, easy to store, and inexpensive if you raid art supplies from the classroom closet.
Best for: Short, energetic assemblies where visuals guide the story without dragging the pace.
9. Giant Mascot Hands on a Stand
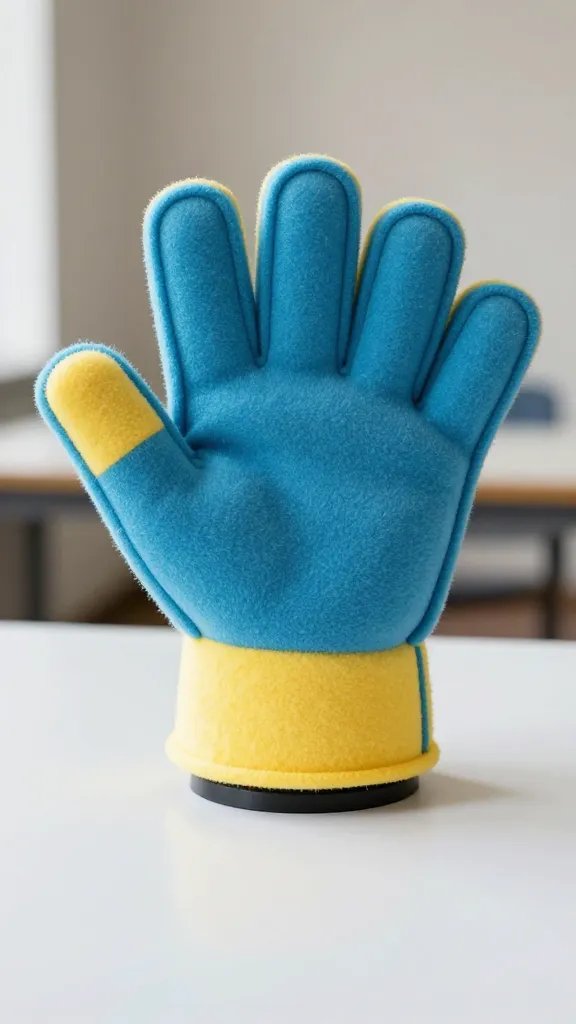
Oversized hands are a playful prop for sing-alongs and cheer moments. Cut oversized glove shapes from foam or cardboard, decorate with school colors, and mount on dowels or a stand. They read well from the back row and create a sense of participation. This is a simple DIY that travels well between rooms and events. If you’re worried about storage, make just one pair and reuse for multiple assemblies.
Safety note: Avoid sharp corners, round the edges and reinforce with a light frame so they don’t bend easily.
10. Mini Chalk Talk Boards
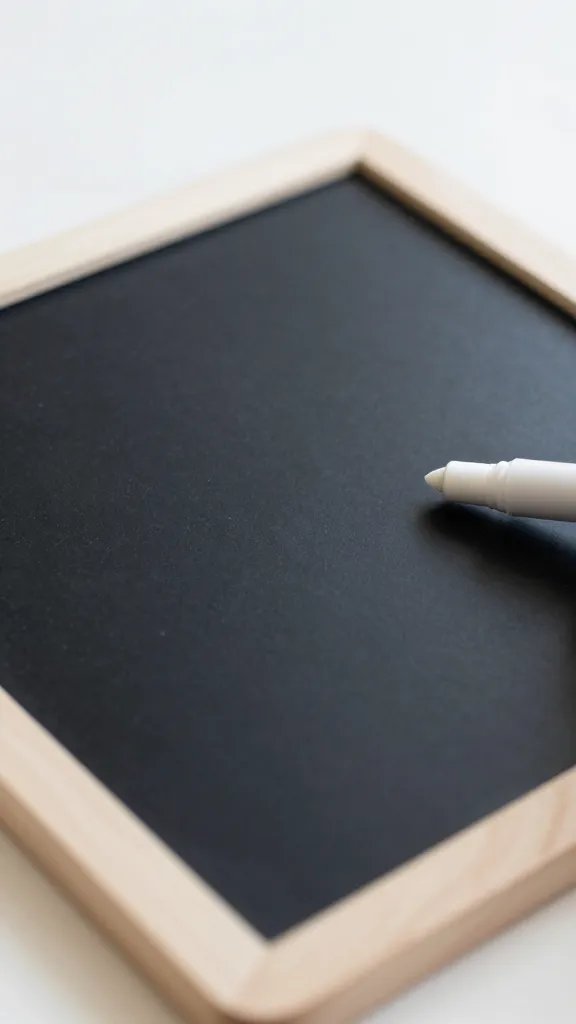
Small handheld boards let students call out words or phrases on cue cards. Cut boards from foam or sturdy cardboard, cover with black paint or black paper, and add a white marker line. Use a ribbon to attach a handle for easy passing. This prop doubles as a teaching tool during a Q&A segment and helps keep kids engaged during longer segments.
Copy the look: Create eight to ten boards, store them in a labeled bin for quick deployment.
11. Foam Dice Garden Stage Props
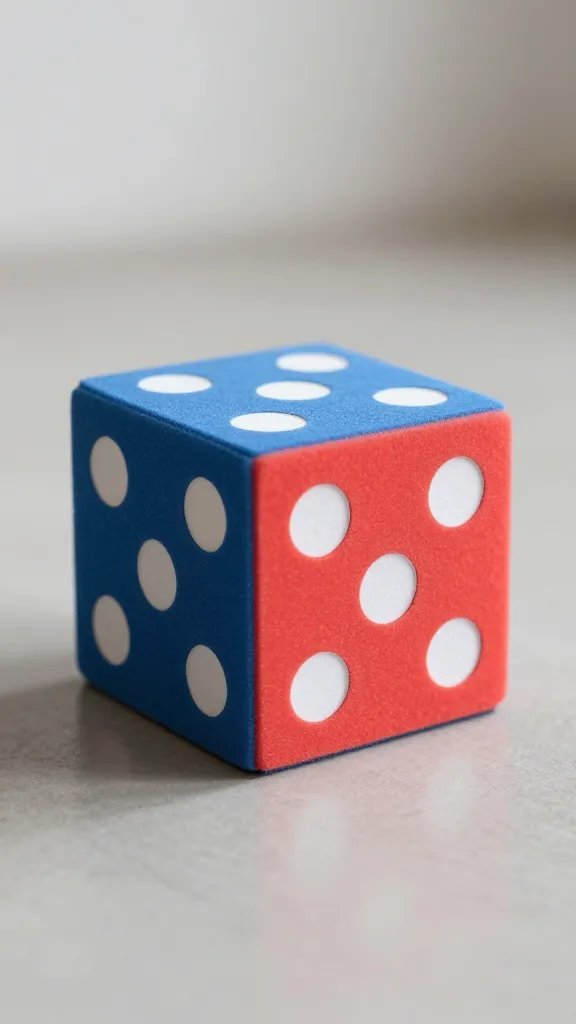
Dice shapes in different sizes add a playful, gamified element. Create dice from foam blocks covered in colored paper. Glue numbers with a marker or paint. Place on stage corners or use them as a stepping stone for a quick prop cue. This approach ties to learning concepts like probability or chances in a light, interactive way that doesn’t overwhelm the crowd.
Make it ahead: Pre-draw numbers and seal with a clear spray to prevent smudging.
12. Door Banner With Mascot Cutouts
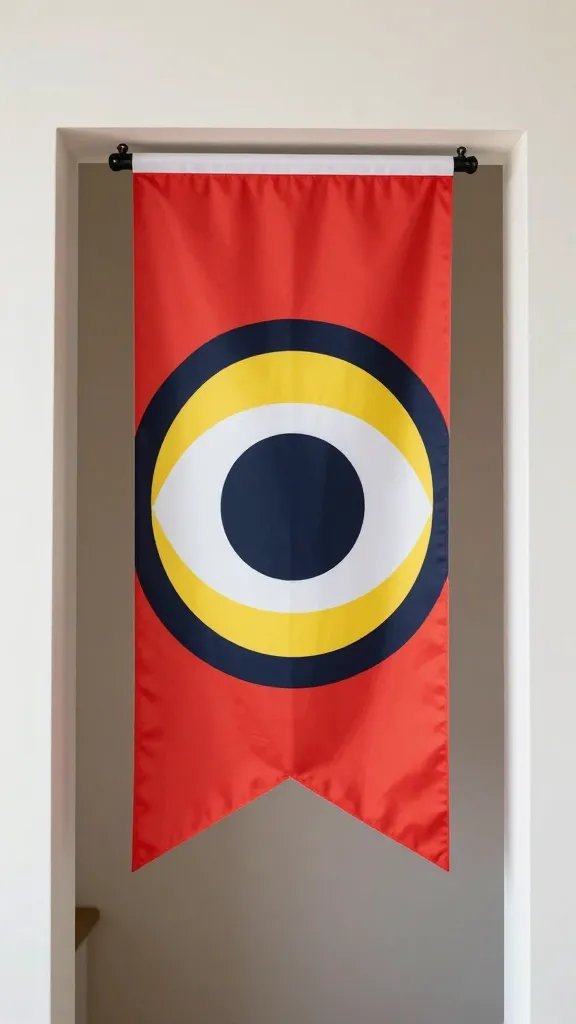
Turn a doorway into a stage entry with a banner featuring the school mascot. Cut mascot shapes from poster board, attach to a long strip of kraft paper, and hang at door height. Students can wave these as they enter to create a photo moment. If you’re tight on time, skip extra detailing and rely on clean edges and bold colors. The banner acts as a natural cue for audience attention as people file in.
Use what you have: Recycle last year’s banner letters if available and skip repainting.
13. Storyboard Wall Set
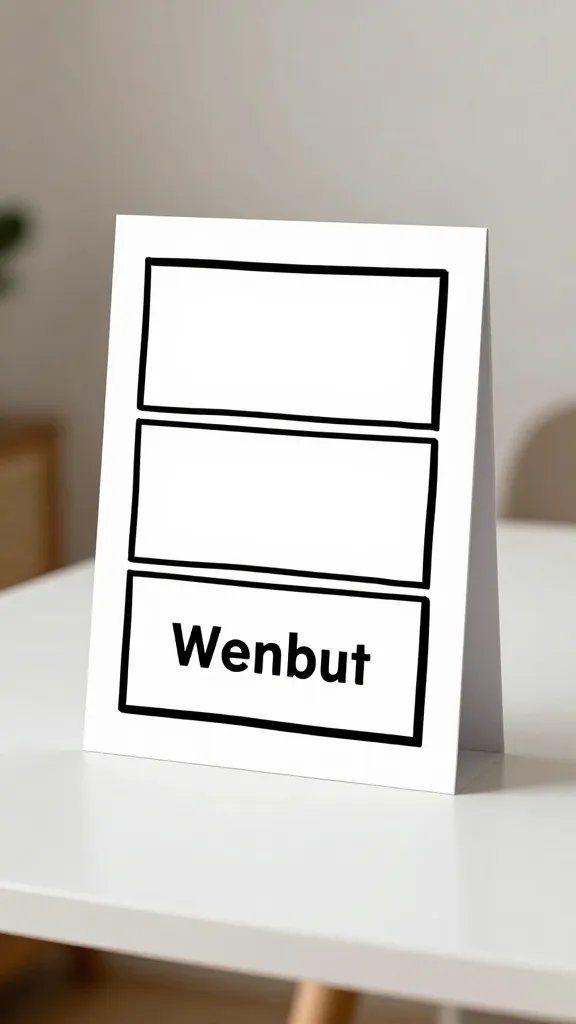
Create a mini storyboard using three to five large panels that depict a short narrative, theme, or lesson. Each panel should be simple with bold illustrations and a single word caption. It gives a clear progression for the audience and helps keep the assembly on track. Panels can be moved around or swapped for different shows, increasing reuse value without extra cost.
Best for: Assemblies with a storytelling component that benefits from clear visuals.
14. Zip Tie Banner Flags
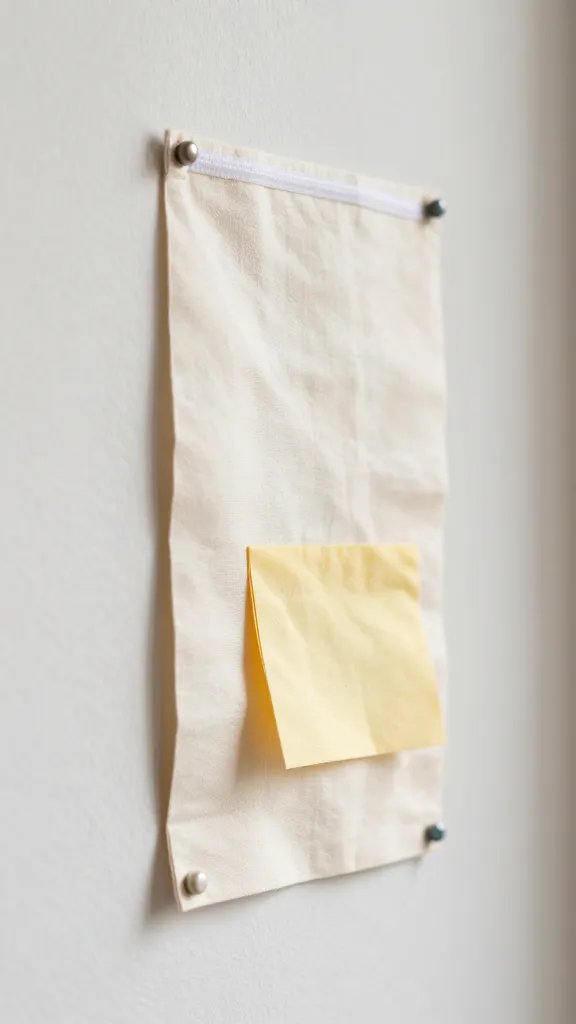
Flag banners made from colored fabric scraps or sturdy paper strips create a festive fringe. Attach to a thin rope or ribbon using zip ties or staples. Hang across the top edge of a stage or along a wall. This is a quick, forgiving craft you can do with a small group of students. If you’re pressed for time, make a shorter length but use three to five bold colors for maximum impact.
Make it ahead: Pre-cut strips and plan color order before the day of assembly.
15. Cut Out Characters on Sticks
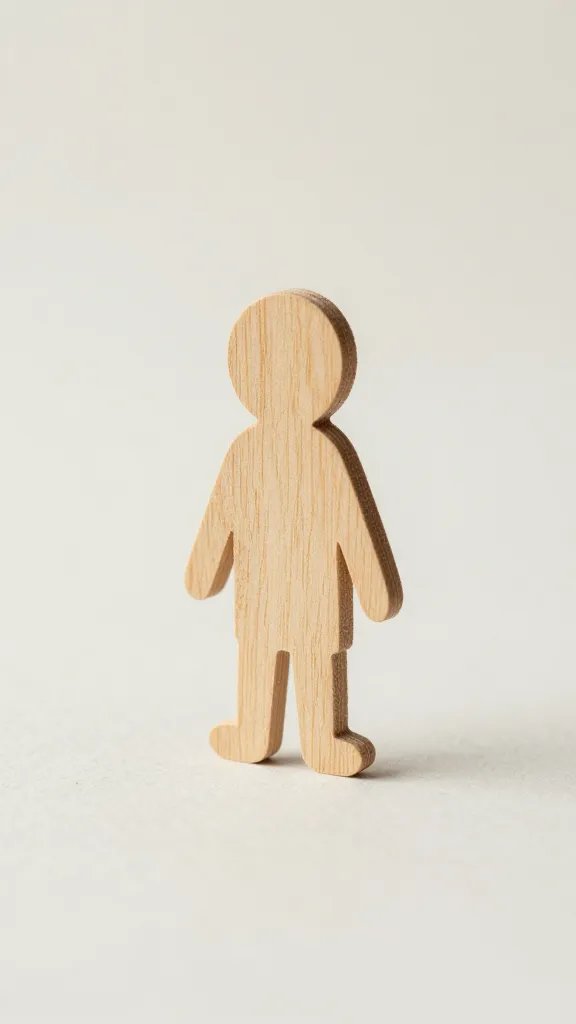
Characters on sticks add a playful element when guiding a sing along or play. Cut character shapes from poster board, back with colored paper, and mount on wooden dowels or cardboard tubes. You can pre-paint a simple face and let kids pick which figure they want to use as a prop. This is easy to store, light to move, and great for interactive moments on stage.
Safety note: Sand any rough edges and keep sticks shorter than 12 inches for younger audiences.
16. Journal Station With Prompt Cards
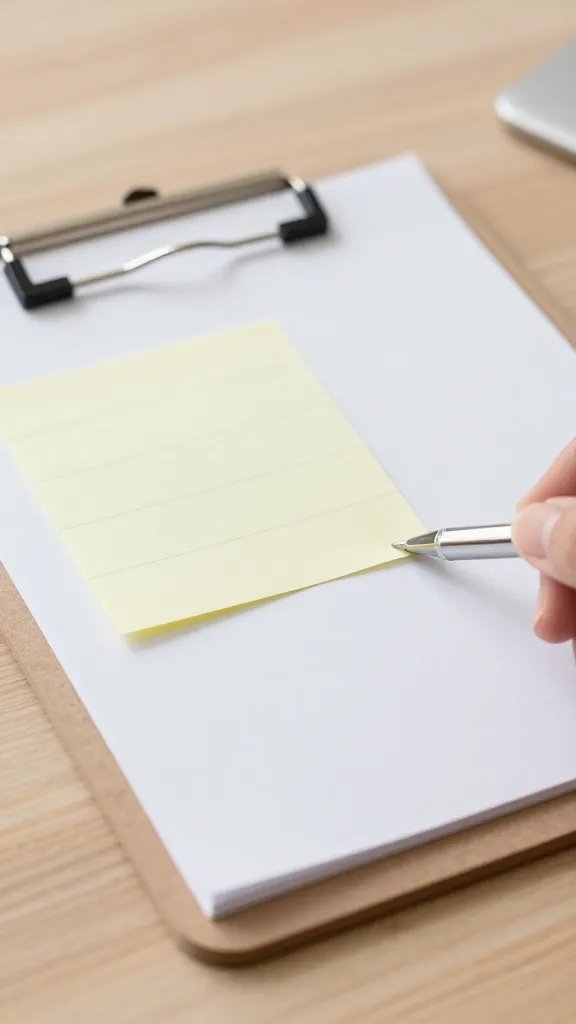
Set up a small table with prompt cards that align to the assembly theme. Students can jot quick notes or draw a quick scene to act as stage cues. Use a cardboard clipboard or a decorated notebook as a prop to encourage participation. This approach reduces on stage talk time, gives a personal touch, and helps kids stay engaged while transitions happen.
Copyable today: Print or handwrite ten prompt cards and clip to a small ring binder for easy passing.
17. Mason Jar Story Bottles
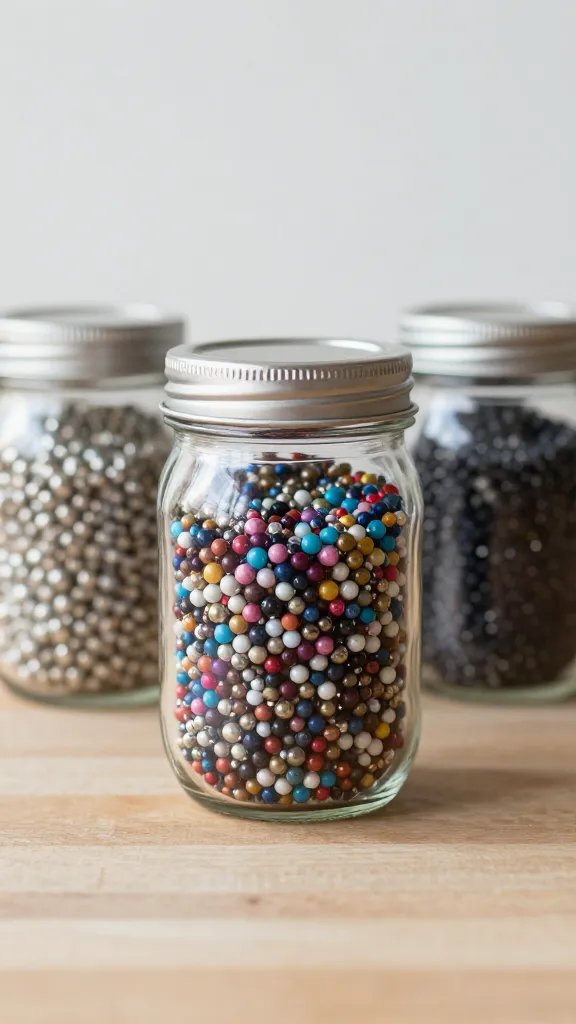
Fill mason jars with tiny props or colored beads representing parts of the story or theme. Label each jar with a one word cue and place them on a low table. This prop acts as a tactile focus during a performance and looks neat on photos, too. If you don’t have mason jars, reuse clean glass jars from the kitchen with a simple twine wrap for a similar effect.
Why it works: It creates a quiet, interactive moment that doesn’t disrupt the flow of the assembly and costs little to assemble.
Keep these ideas flexible and ready to mix and match with your theme. A single well placed prop can change the pace of an entire assembly and reduce the stress of last minute planning. Save this for the next school event that sneaks up on you.