
14 Craft Ideas for School Holiday Clubs

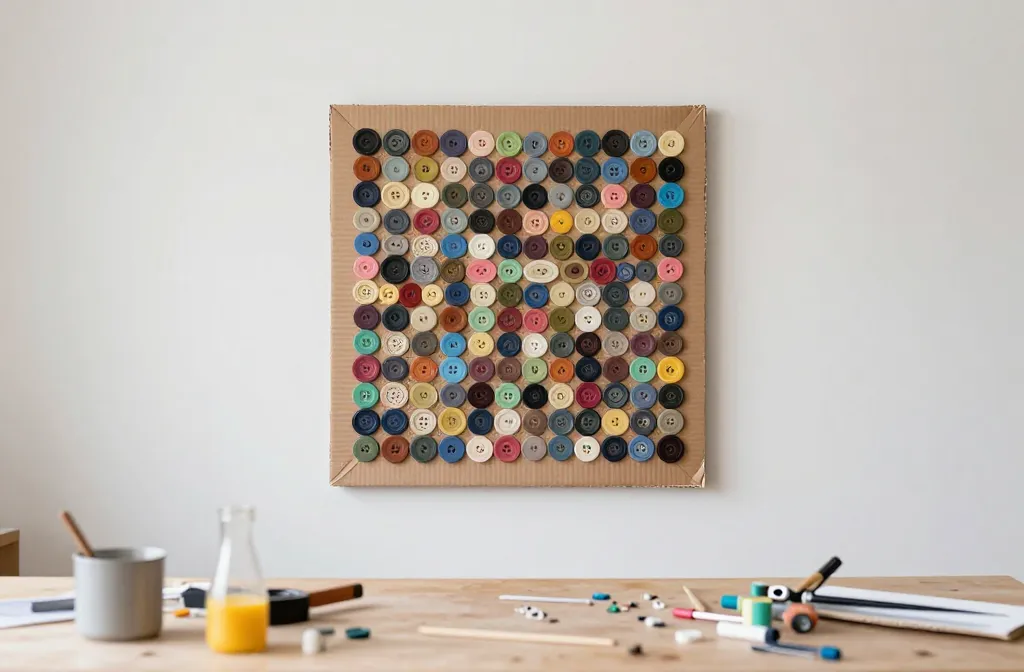
The clock is ticking and the group is buzzing. A two hour block can feel overwhelming if there’s no plan, but these crafts fix that with simple supplies, clear steps, and kid friendly setups. Use these ideas to keep kids engaged, on budget, and leaving with something they’re proud to take home. You’ll find practical details that actually work in real classrooms or club rooms, not just pretty pictures. Each idea below solves a common hurdle, from short attention spans to messy cleanups. Let’s dive into activities that fit into a lunch hour or a quick two session block.
We’ll mix paper, fabric, recycled bits, and a few safe tools so you can adapt on the fly. If you need a faster version, I’ve included an easier path in the right places. These craft ideas for school holiday clubs are built to run smoothly, even with a lively crowd. Now, onto the list.
1. Button Mosaic Wall Art
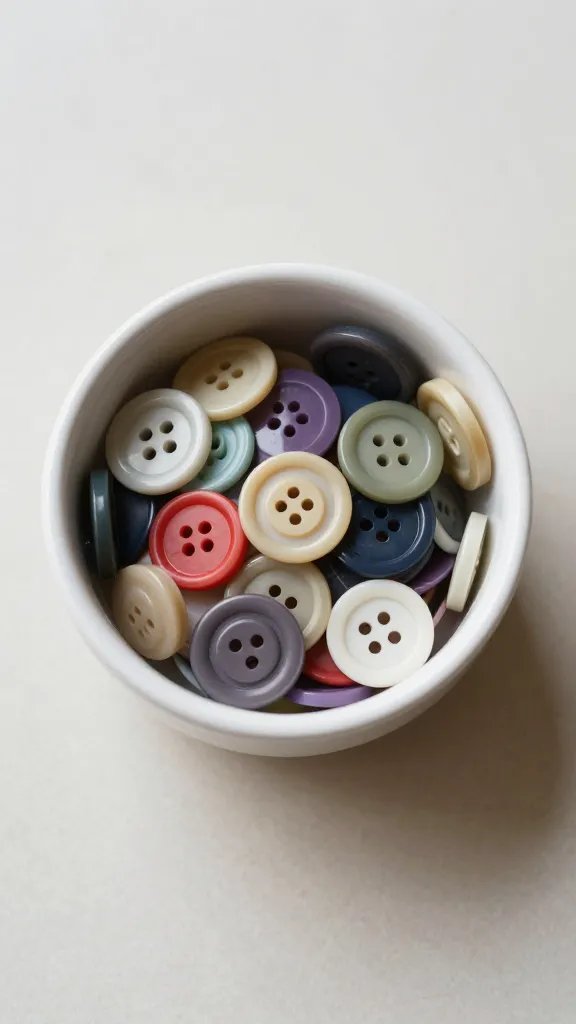
A small group can create big color impact without needing advanced art skills. Lay out a few large sheets of cardboard or thick poster board, a pile of colorful buttons, and a glue stick or glue dots. Kids place buttons to form simple shapes or abstract patterns. It’s quiet, satisfying work that yields gallery worthy results for the common area or a classroom door. If time runs short, switch to tracing shapes and filling them with button color blocks. This keeps the activity predictable and easy to supervise, especially with younger crafters.
Why it works: The activity uses lightweight materials, dries quickly, and scales to any group size. For safety, supervise glue use and small pieces for younger children. If you want a quicker version, use large colored foam shapes instead of buttons.
Supplies: Cardboard or poster board, assorted buttons, craft glue or glue dots, scissors, masking tape. Time: 25–40 minutes.
2. Tissue Paper Balloon Garden
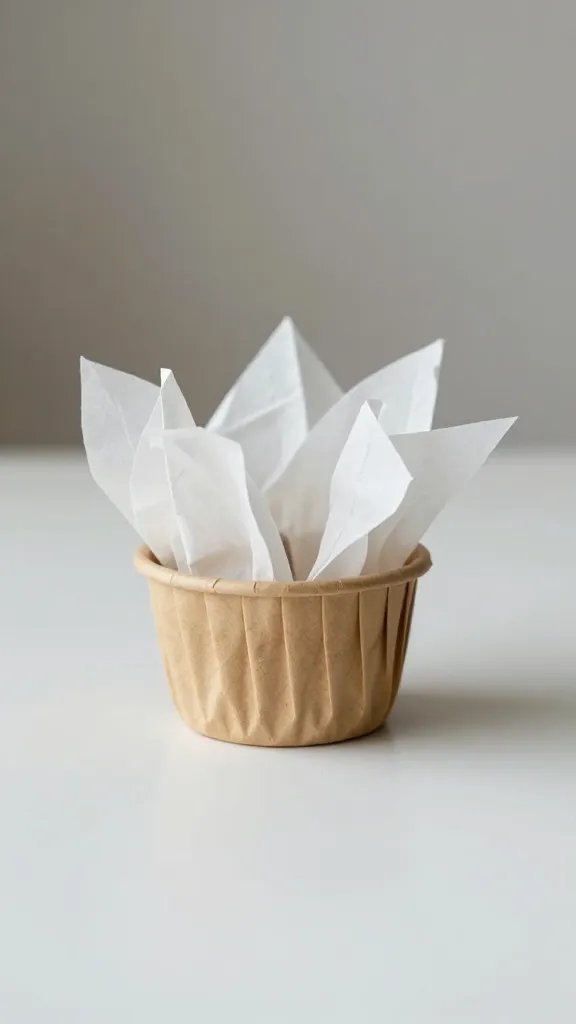
Transform a handful of balloons into a bright, touchable garden. Inflate balloons to medium size, tie with string, then glue on tissue paper petals in a variety of colors. Attach a paper stem or muffin liner pot to complete each “flower.” Group several flowers into a bouquet for a centerpiece or line a wall with a row to brighten a foyer. If your space is tight, mount the bouquet on a long strip of butcher paper to form a quick garden fence backdrop.
Make it ahead: Pre-cut tissue petals and stems to speed setup. The balloons are the star of the show and keep kids engaged as they switch colors and patterns.
Theme note: Works great for spring or garden party vibes, but switch colors for a back to school carnival instead.
Cleanup tip: Have a trash bag handy and separate balloon pieces from petals early to minimize loose bits.
3. Recycled Treasure Magnet Cards
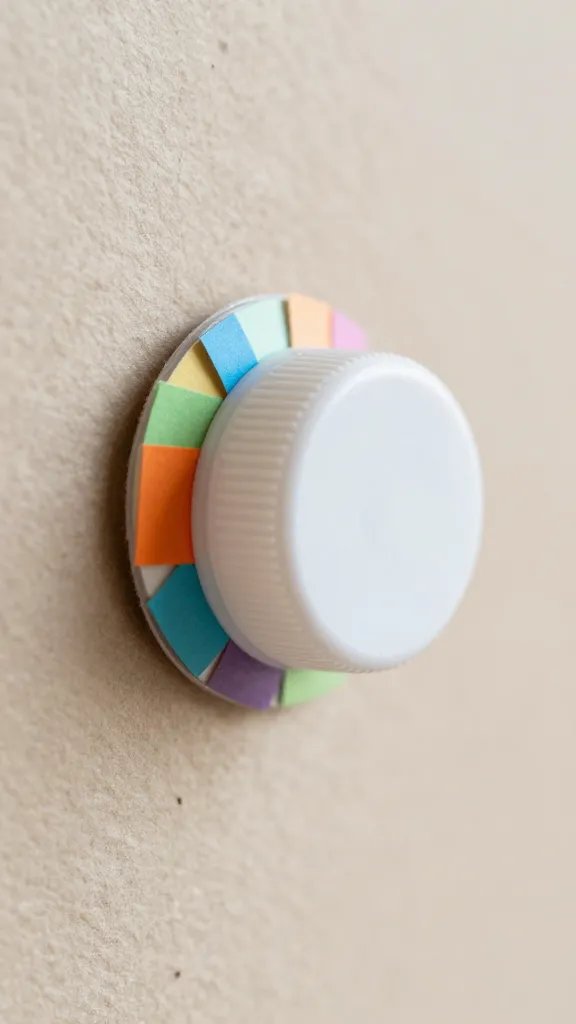
Invite kids to turn scrap cardboard, bottle caps, foil scraps, and scraps of wrapping paper into decorative magnets. Each participant creates a small collage on a sturdy card with a magnet strip or a pushed-in magnet rod. Attach a loop of string so the kids can carry their art home or give as a gift to a friend. This is a great way to teach reuse while producing a keepsake for the club to display on a fridge or whiteboard.
What to avoid: Small parts can be choking hazards for younger kids, so keep magnet sizes large enough and supervise closely. If you want a simpler path, use pre-cut shapes and let kids glue foil and paper scraps onto them.
Materials: Cardboard cards, bottle caps, foil scraps, glue, magnets, optional ribbon for hanging. Time: 30–45 minutes.
4. Paper Pinwheels in a Patch
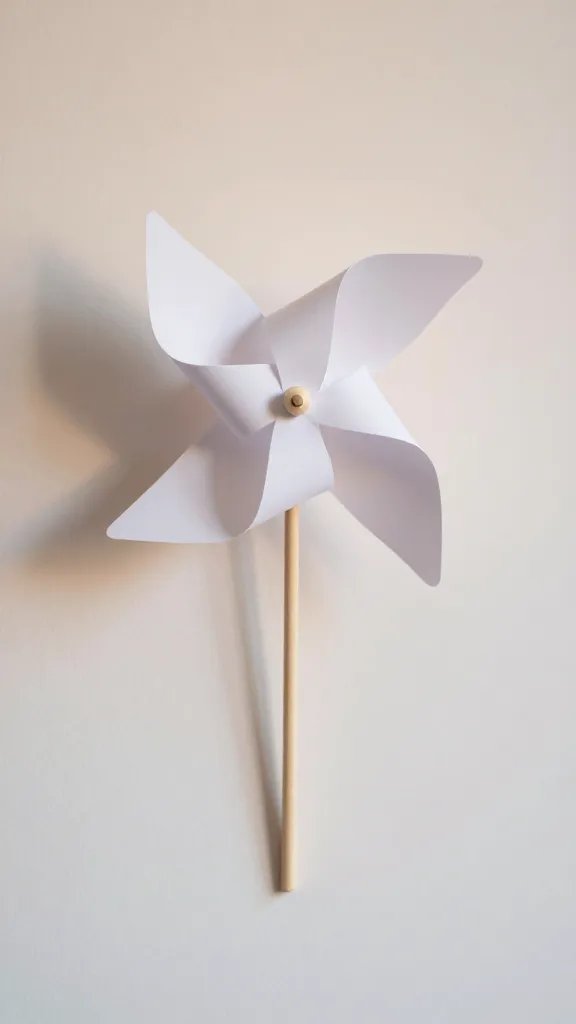
Cut four inch squares of colorful paper, poke a small brad through the center, and twist to create a pinwheel. Use a straw as a handle or mount each pinwheel on a wooden skewer for a garden patch look. Line a wall with the pinwheels arranged in a gradient, or stack them in a decorative bouquet. It’s a surprisingly fast craft with a big visual payoff that can be done by older kids with minimal supervision and still be safe for younger kids with a simplified tool set.
The detail to steal: Create a mini instruction card for kids to follow, reducing your steering time and keeping the activity moving. If you want a quicker version, glue color circles to 4 inch square papers and skip the brad assembly.
Tip: Use a quick drying glue to avoid soggy paper and bent pins.
5. Mini Chalkboard Ornaments
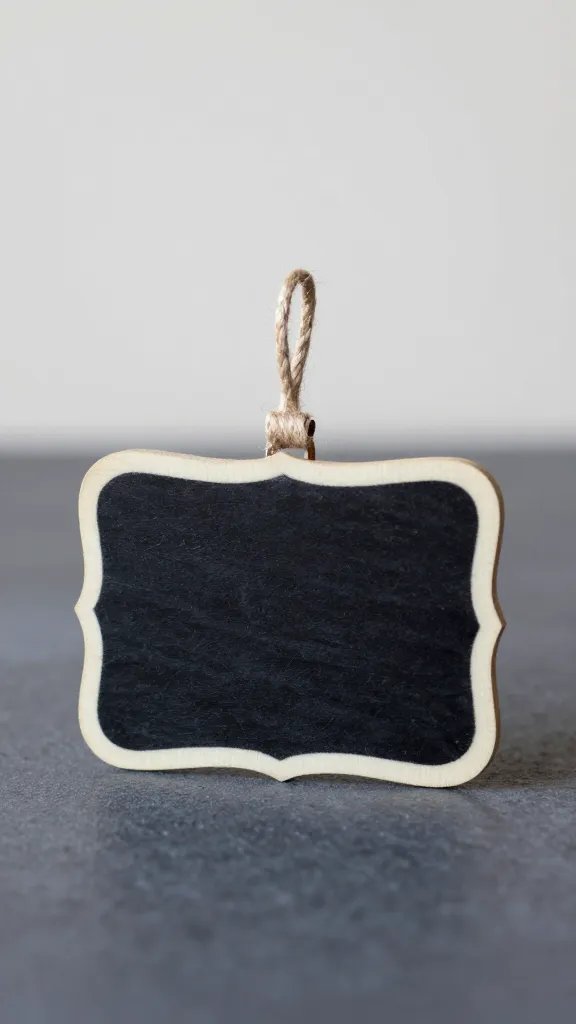
Give kids a small blackboard or a chalkboard notecard and let them draw a seasonal design or name. Add a string hanger with a bit of twine, and the ornament becomes a cute classroom keepsake. If you don’t have small boards, DIY with black cardstock framed by a white border and a string loop. This is a calming craft that works well in a bustling club because it’s easy to supervise and the finished pieces are useful and portable.
Use what you have: Any black surface works, from chalkboard gift tags to magnetic chalkboard stickers. Time: 20–30 minutes.
6. Fabric Scrap Collage Bags
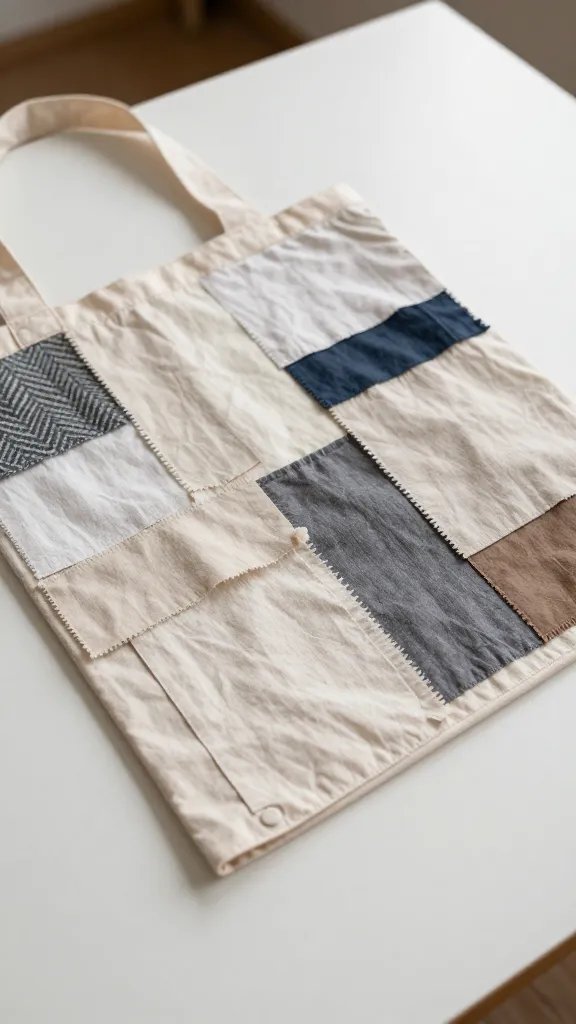
Let kids create tiny tote bags using fabric scraps, a simple sewn line pattern, and a dab of fabric glue. Pre-cut fabric rectangles from old clothes or thrift finds, then let kids arrange and glue into a square or rectangle, adding a strap made from ribbon or fabric strips. If sewing is available, a quick stitch around the edges completes it. If not, reinforce with fabric glue and a frame of masking tape. These are practical, super satisfying, and reuse friendly for an after-school project.
Safety note: Use fabric glue or run a simple, supervised stitch for younger participants. Time: 40–60 minutes.
7. Sticker Scene Dioramas
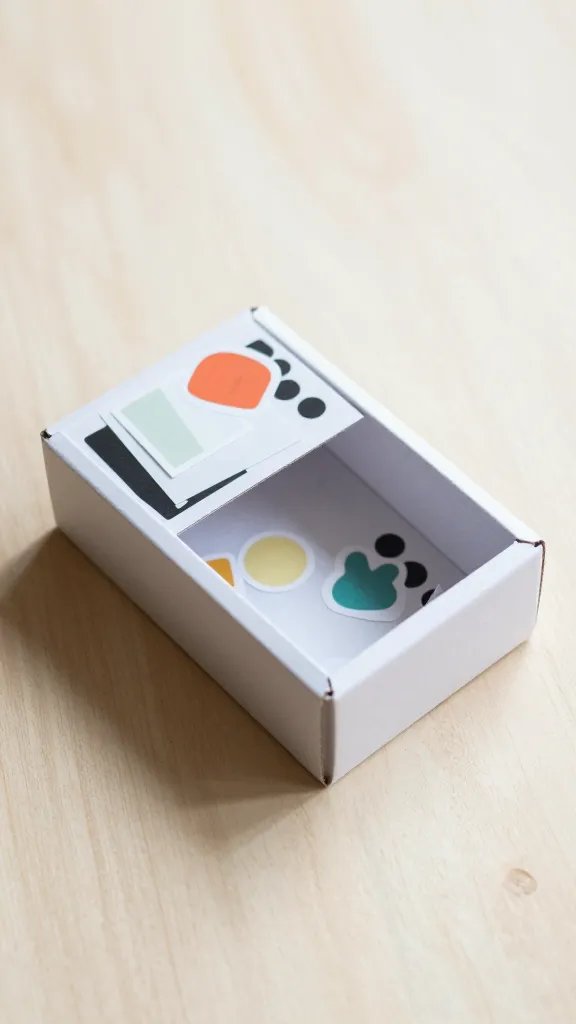
Provide small shoebox dioramas and a mix of stickers, washi tape, and scraps to create a tiny scene. Kids can build a landscape, a street scene, or a fantasy world. It’s a tiny world with big impact for photos. When finished, place the dioramas on a low shelf for an instant mini gallery. If your space is limited, opt for flat diorama cards instead of boxes to save on prep and storage.
Make it easier: Use pre-glued sticker sheets and a limited color palette to speed up the setup and keep the look cohesive. Time: 30–40 minutes.
8. Nature Weavings
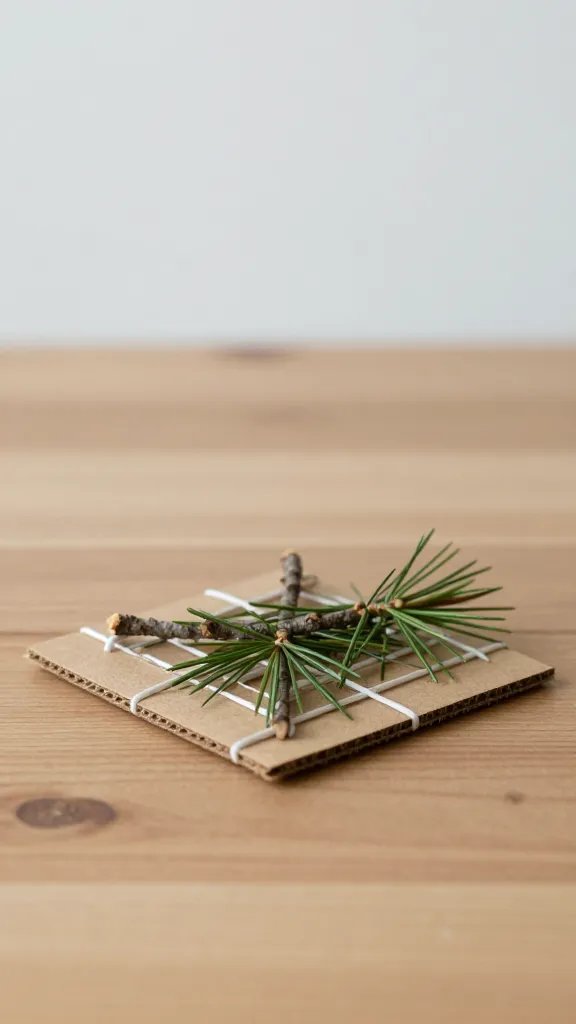
Collect small nature finds during a quick walk around the school yard: twigs, leaves, pine needles, dried flowers. Weave them onto a cardboard loom or across a bundle of sticks using string. The natural material gives an instant, tactile craft with a textural finish that photographs beautifully. If you’re indoors, substitute colored paper strips for a pop of color. It’s a calming activity that still allows a lot of creative freedom for kids with different ages.
Best for: Outdoor or nature themed sessions, with a backup plan for indoor days. Time: 30–45 minutes.
9. Foam Sticker Masks
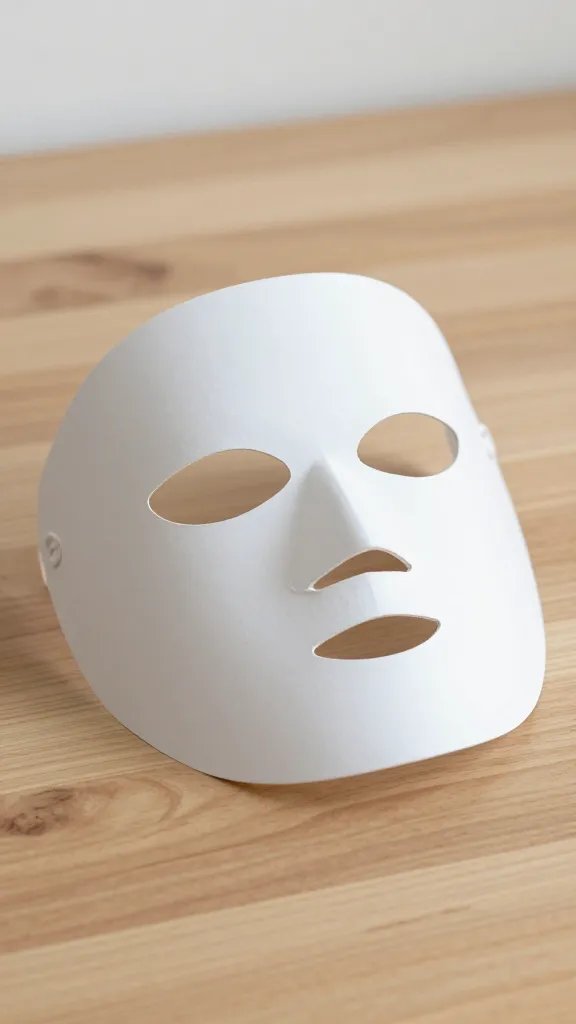
Cut simple mask shapes from sturdy cardstock, let kids decorate with foam stickers, markers, and ribbons. Attach a stick or elastic to wear. This is an easy, high-energy activity that yields playful photos and a sense of performance for a mini parade or show. If you want a version that travels well, skip the elastic and mount masks on craft sticks so kids can hold them like props.
Copy the look: Use a two color palette so masks come together fast and look cohesive in group photos. Time: 25–35 minutes.
10. Gel Jar Glow Orbs
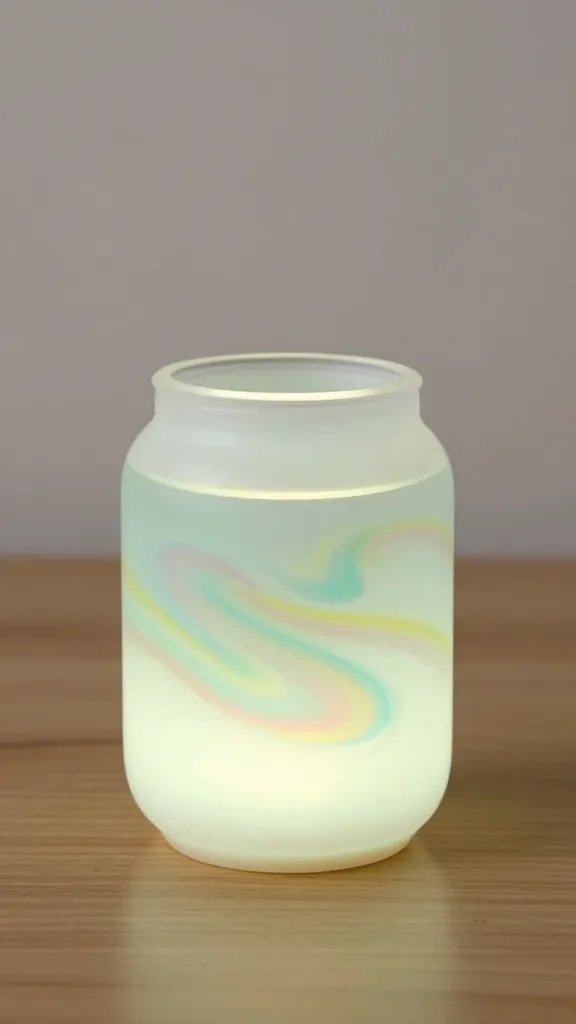
Fill transparent jars with water, add a few drops of food coloring, and top with a small LED tea light or battery operated candle. Freeze enough to keep them sturdy, then seal with a lid. Kids can decorate the outside with Nontoxic paints or paper shapes. When you dim the lights, these glow jars create a cozy feel for a group story time or a quiet corner. It’s easy cleanup and a nice visual for photos.
Safety note: LED lights stay cool, but supervise all use near fabric or paper. Time: 30–40 minutes.
11. Cardboard City Skyline
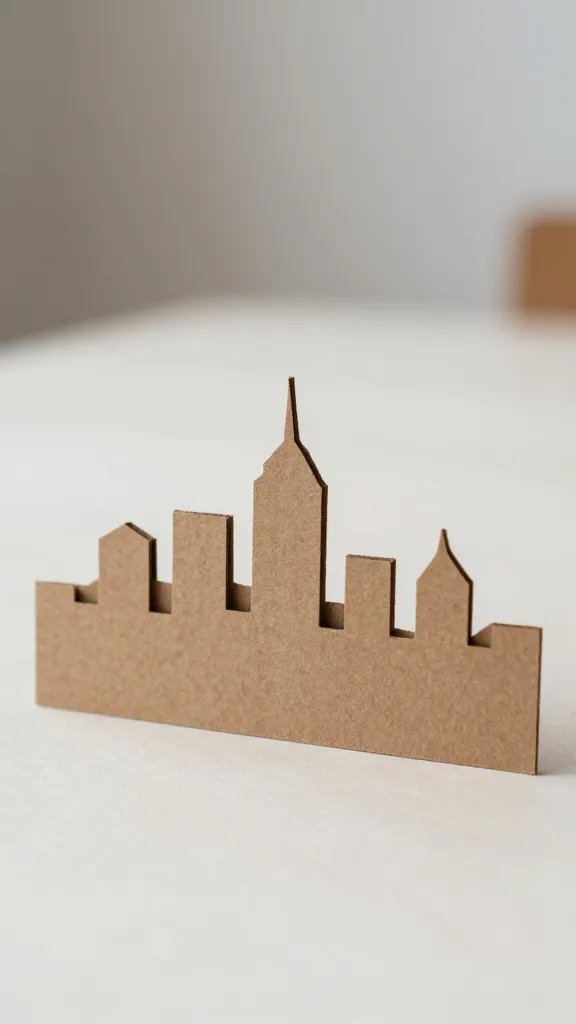
Give each child a piece of cardboard and a few scraps of decorative paper, paint, or foil. They build a skyline by cutting and layering shapes, then glue them to overlap and create depth. This is a good fit for a large group because you can run parallel builds and compare skylines at the end. Bonus points for adding string lights behind for night time photos. If you’re short on time, pre-cut building shapes to speed the process up.
Time saver: Use pre-cut strips of cardboard for faster assembly. Time: 40–50 minutes.
12. Rainbow Jar Snack Cups
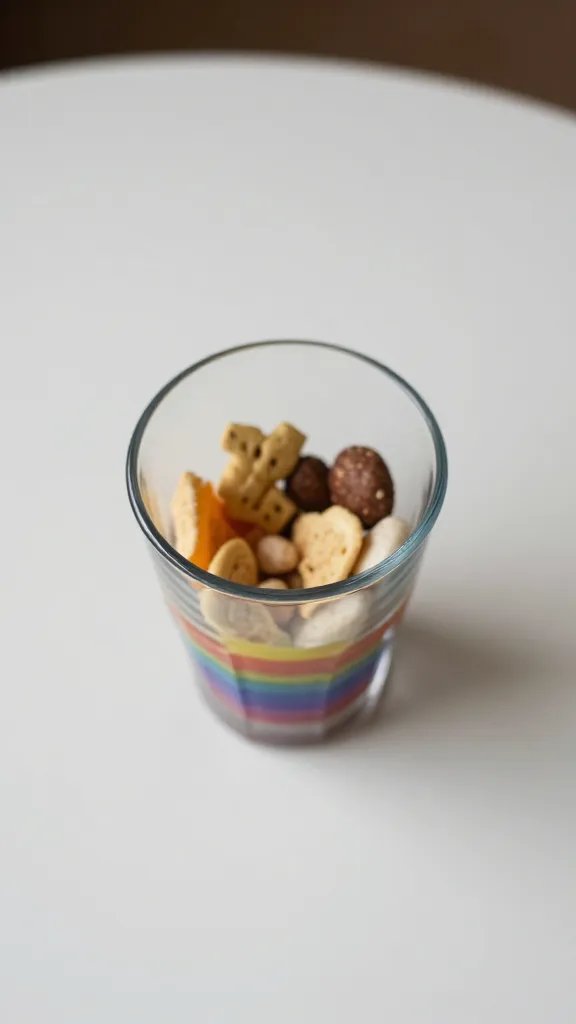
Arrange colorful snacks in small clear cups to create a rainbow display. Kids can help fill cups with a variety of fruit, crackers, or candy in a color progression. This is a no-fuss way to feed a big group and gives a photo ready display for a party or club wrap up. If you want to keep it entirely non edible, replace snacks with colored popcorn or paper confetti in cups that match your theme.
Best for: Quick food styling that doubles as a craft activity, time: 20–30 minutes, simple clean up.
13. Card Stock Banner Letters
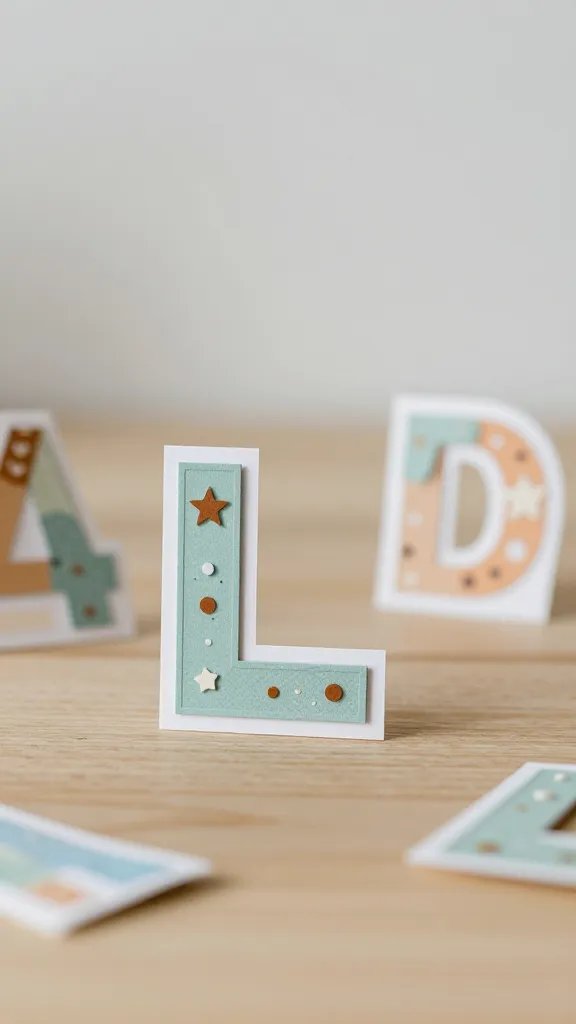
Cut large letters from sturdy card stock and let kids decorate with markers, stamps, or collage techniques. Punch holes and thread with ribbon to form a banner that spells a club theme or a year tag. This is a flexible project that scales to a large group by scheduling multiple stations. If you’re pressed for time, pre-cut letters and only assign decoration tasks to each kid for speed and cohesion.
Make it ahead: Pre-cut letters reduce on-site prep and keep the group moving. Time: 25–35 minutes.
14. Watercolor Salt Cards
Provide small cards, watercolors, and a shallow tray of salt to sprinkle onto wet paint for textured designs. It’s a tactile craft that feels magical to kids and dries quickly for a tidy finish. You can use one color per card or let kids mix a two color gradient. It’s gentle on supplies and yields soft, pretty results that suit a classroom or library corner display.
Color note: Salt adds texture that photographs beautifully, but keep a damp cloth nearby to wipe spills. Time: 15–25 minutes.
Conclusion
These 14 craft ideas for school holiday clubs keep a busy schedule calm, with clear steps, practical supplies, and skills that scale from the little hands to the bigger helpers. Each idea is chosen to travel well from station to station, minimize mess, and deliver a tangible take home or display piece. Save this list for the next misbehaving weather day or planning session, and you’ll be ready to run a smooth, kid friendly craft block. Save this for the next birthday that sneaks up on you.