
16 Craft Ideas for Kids to Do Alone While You Work

Many readers show up with a common goal: keep the kids busy for a stretch so you can finish a task or zoom through a to do list. The right simple craft can be the difference between a calm afternoon and a living room covered in glitter. Here you’ll find ideas that kids can tackle on their own, with clear steps and quick setup. Each idea fixes a real problem, like boredom, mess, or a missing party touch, using supplies you likely already have.
Choose a handful to set up before you start your work, or rotate through them as needed. The focus is on fast builds, kid friendly steps, and a finish that looks polished enough for photos. And yes, you’ll probably want a small cleanup station or tray handy so tiny projects don’t take over the whole room.
1. Paper Plate Party Mascots
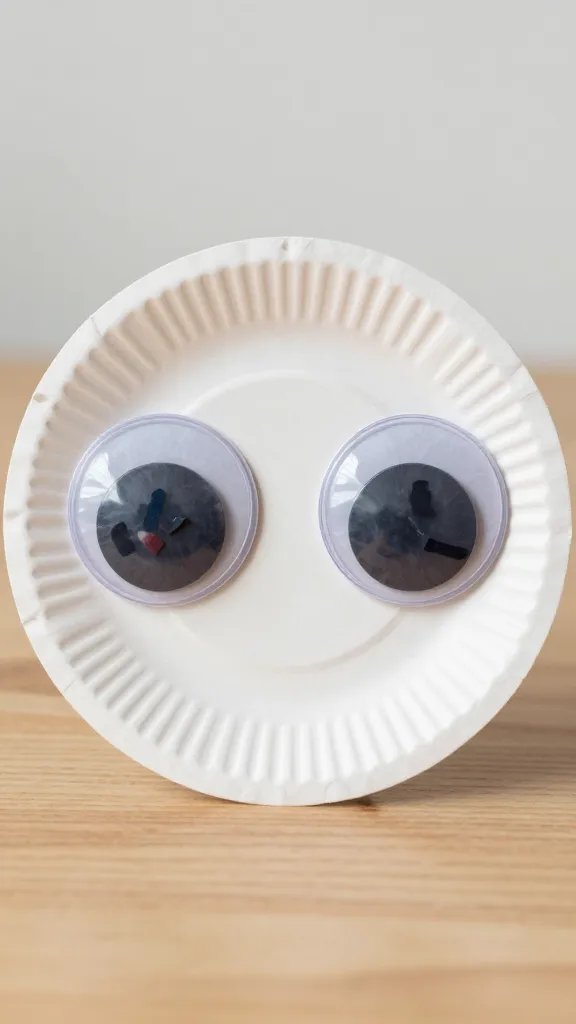
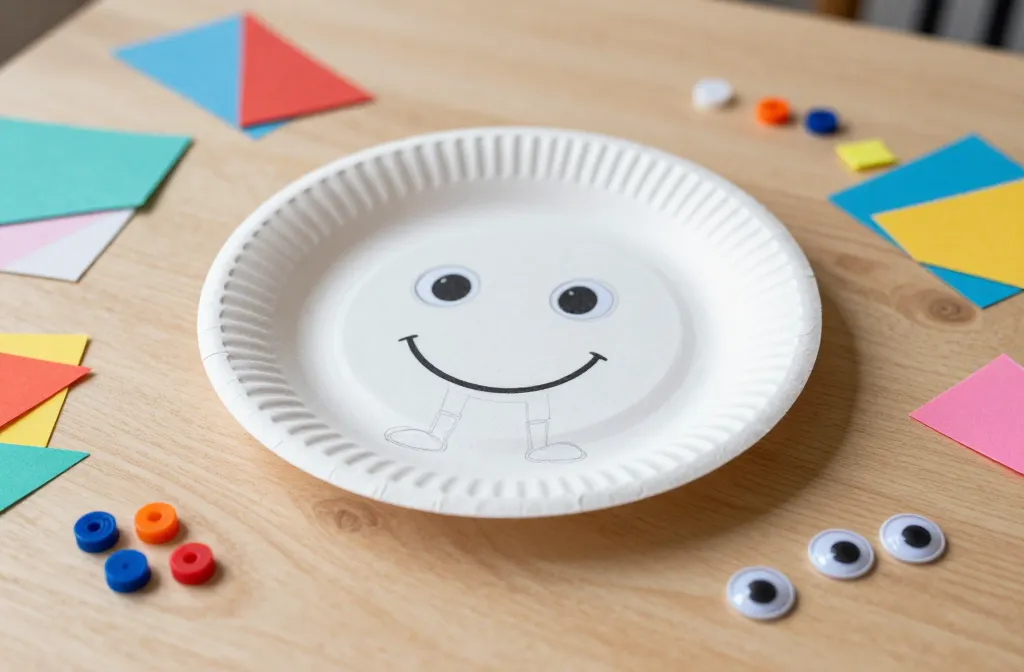
Kids can transform plain plates into mini characters with markers, scrap paper, and a few glue dots. It solves the problem of a bare party table or a quiet corner that needs a touch of whimsy. Supply a stack of ordinary paper plates, colored paper scraps, scissors (kid safe), glue sticks, and a handful of googly eyes. It takes about 20 to 30 minutes for a batch of 6 to 8 mascots. The kids can set up a small backdrop and display their work like a mini gallery.
Copy the look: Allow kids to cut small shapes from colored paper and glue them onto the plates for facial features and accessories. A string or ribbon can turn each mascot into a hanging ornament for later use.
2. Mini Banner Bannerize
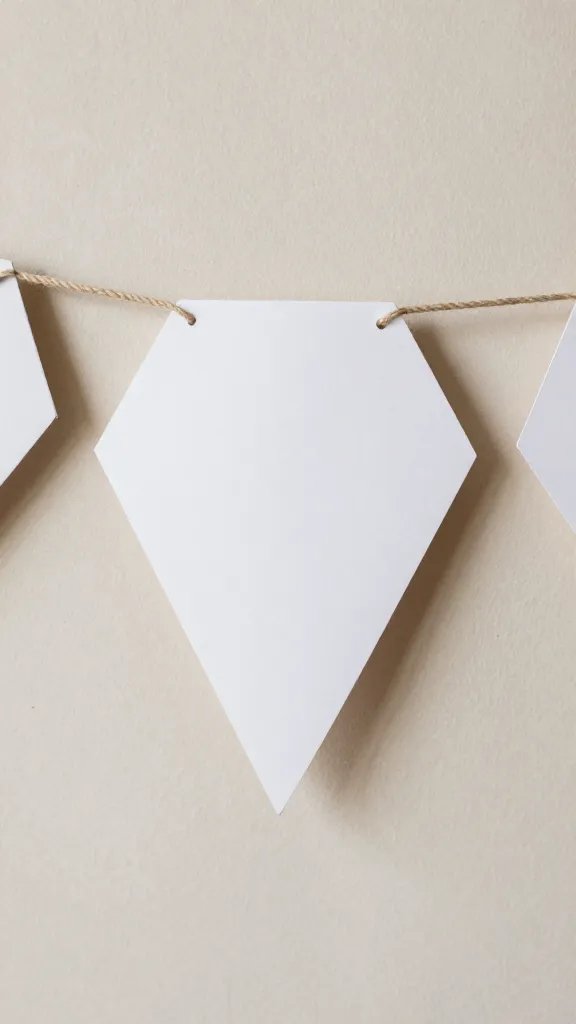
A tiny bunting is a fast way to add color to any table or backdrop. This craft fixes a bare dessert table or a lack of party signage. Gather: scrapbook paper or patterned gift wrap, scissors, string or embroidery floss, glue sticks, and tape. Each child can cut hexagons or pennants, decorate with stickers or doodles, and thread them onto the string in a simple pattern. Allow about 15 to 25 minutes for a 1.5 meter banner. It’s easy to take down and store for future events.
What to avoid: Use low heat glue if kids will handle it; let markings dry before stringing.
3. Felt Sticker Scenes
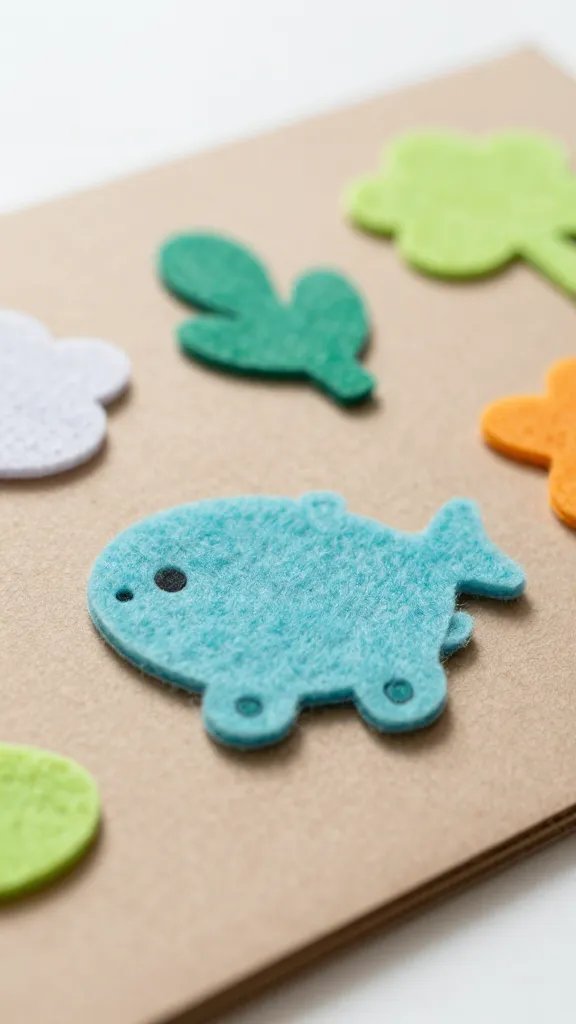
Craft a small felt board scene using a cardboard backing, a piece of felt, and a handful of shapes. This is ideal for quiet play while you work and keeps pieces contained. Supplies are a sheet of cardboard, colored felt, fabric scissors, and a sewing pin or glue. It takes 20 minutes to assemble a simple scene and another 10 minutes to decorate with felt shapes. The outcome feels polished and can become a portable play set.
Kid friendly: pre-cut shapes make it easier for little hands; store felt pieces in a labeled bag for quick cleanup later.
4. Button Collage Cards
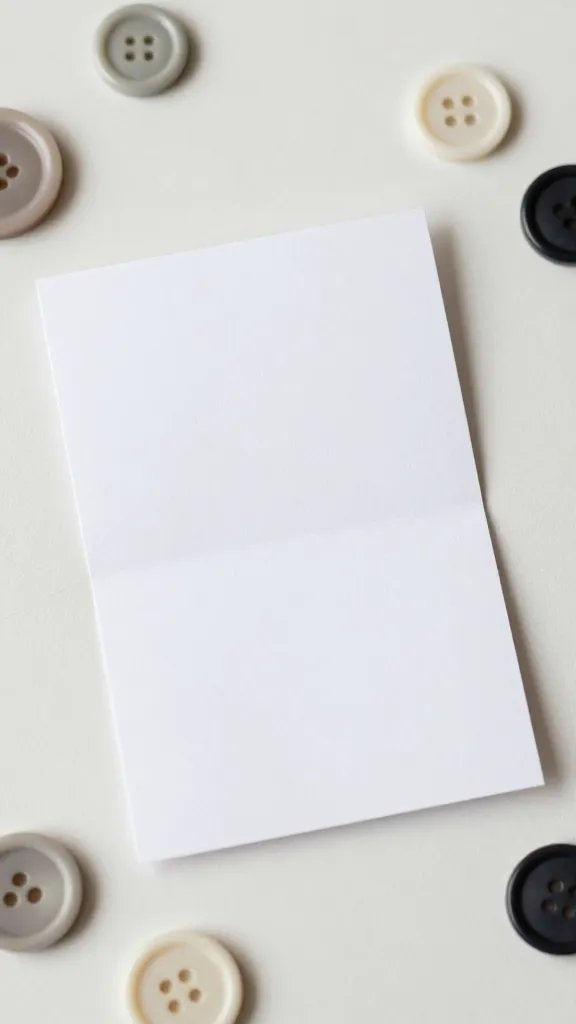
Leftover buttons can shine as tiny focal points on simple folded card stock. This idea solves the problem of a small, inexpensive gift activity that still looks thoughtful. You’ll need blank cards, glue, a few sheets of paper for backing, and assorted buttons. About 15 minutes per card, plus time to let glue dry. Kids can create a mini gallery on the front of a card that’s perfect for family members or party favors.
Safety note: supervise small buttons to prevent choking; use larger buttons for younger children.
5. Color Block Jar Lights
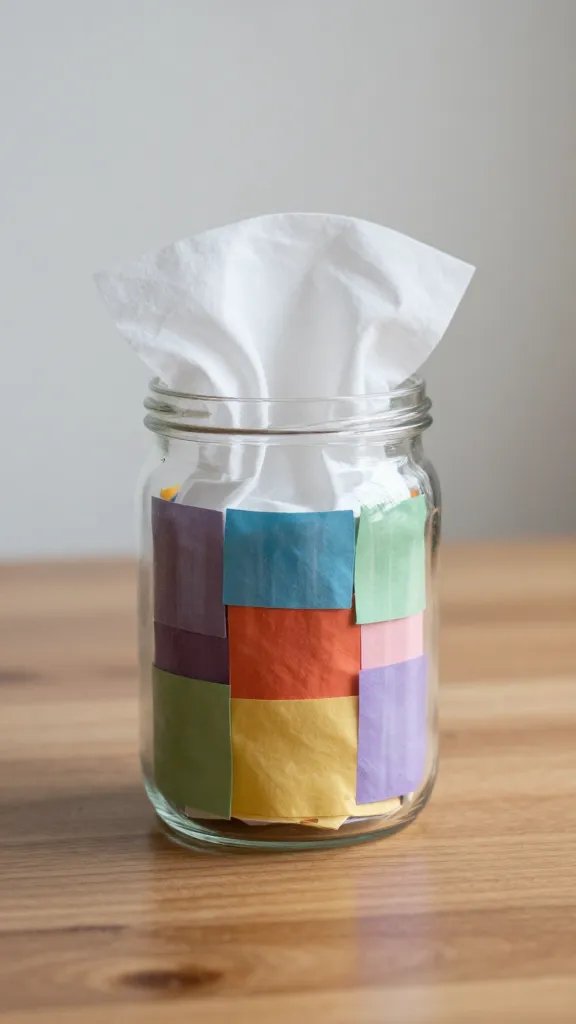
Turn a few mason jars or clean jars into color block lanterns with tissue paper squares and a battery tea light. This setup adds glow to a late afternoon party vibe and is easy for kids to assemble. Supplies: jars, tissue paper in several colors, scissors, white glue or Mod Podge, and battery tea lights. It takes about 25 to 40 minutes for 4 jars. The tea light is the safe alternative to open flame and makes a pretty centerpiece.
Use what you have: any clear jar works; peel and stick tissue squares for a quick, bright effect.
6. Sticker Story Strings
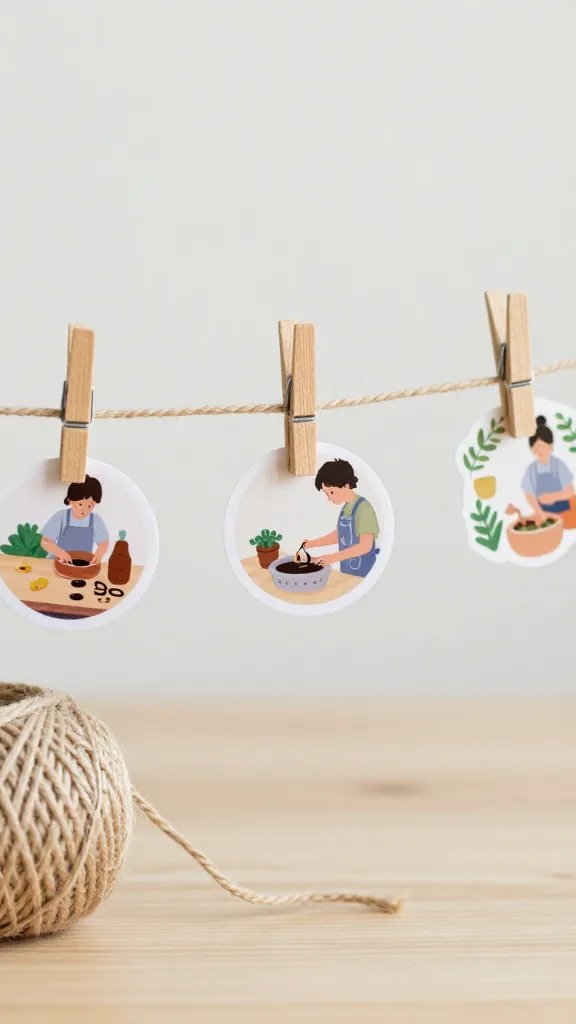
A simple string with sticker scenes creates a tiny, portable storytelling kit. The problem it fixes is bored kids with nothing to do during a short work break. Supplies: a length of baker’s twine, a handful of themed stickers, two small clothespins, and a piece of cardboard to support. It takes about 15 minutes to assemble, plus a few minutes for kids to rearrange scenes. Hang the string on a wall or door for visual interest.
Best for: small wall space; keep the pins close to the center so stories stay visible.
7. Glow-in-the-Dark Doodle Dots
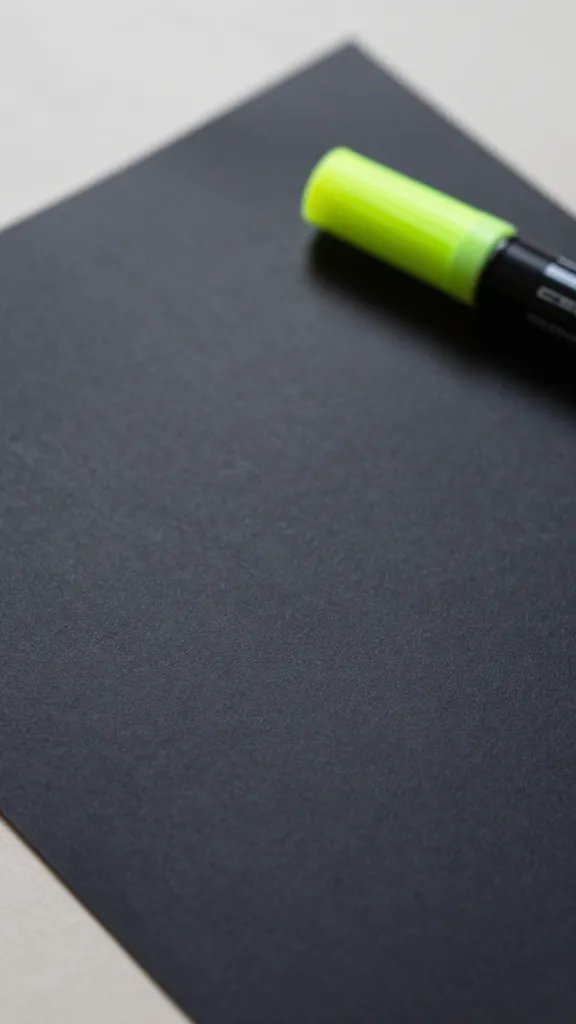
Use washable markers and a large sheet of dark craft paper to create a glow style doodle wall that kids can work on independently. This solves the problem of a dull wall and a too-quiet play corner. Gather a roll of black poster paper, a few metallic and neon markers, and tape to secure the sheet. It takes about 20 to 30 minutes to get a large doodle surface ready. When the work time ends, the drawing can be rolled up or taped to a white wall for photos.
Safety tip: use non permanent markers or washable varieties to avoid staining furniture.
8. Sock Puppet Parade
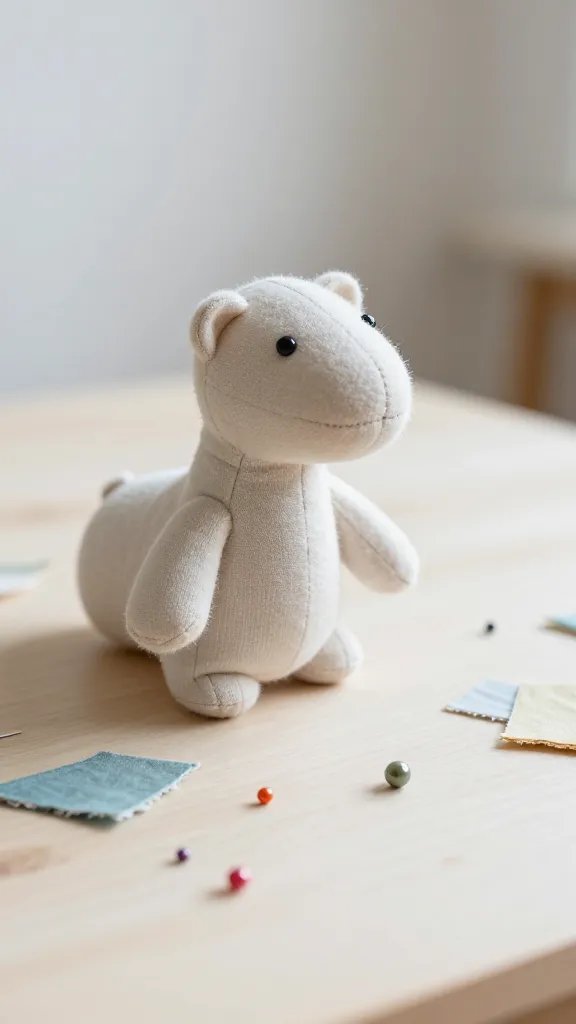
Turn clean socks into quick little puppets with fabric scraps, buttons, and glue. The problem this fixes is a lack of living decoration for a pretend play corner that keeps kids busy. You’ll need plain socks, fabric scraps, glue sticks, small beads for eyes, and a few ribbons. It takes about 20 to 25 minutes per sock. Kids can line up their puppets for a tiny show or a parade to entertain guests later.
Make it easier: pre-cut fabric pieces at a kid height to speed assembly.
9. Paper Chain Color Burst
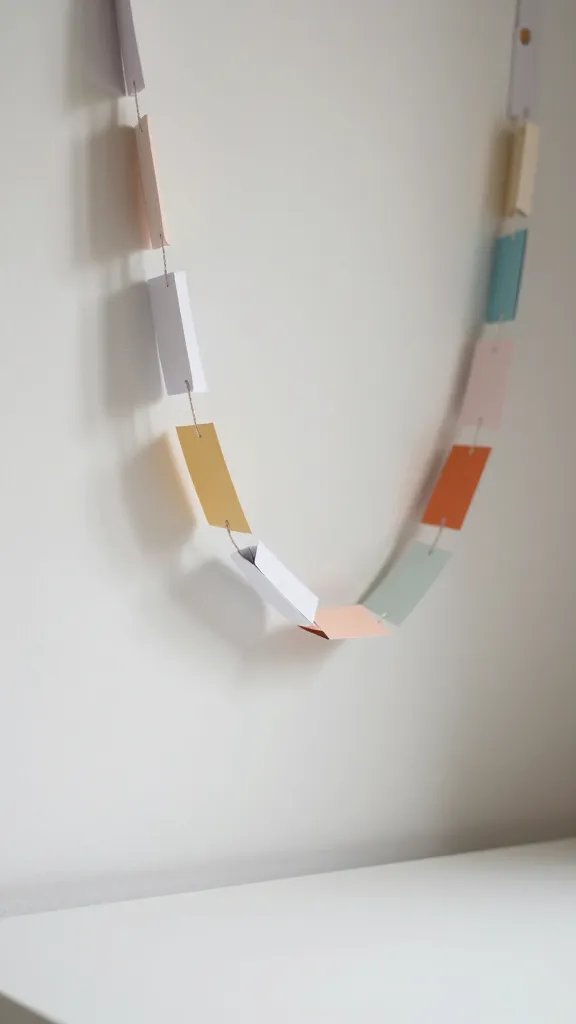
Classic paper chains get a fresh twist with color bursts and patterns. This idea helps with a budget-friendly party upgrade and provides a longer activity window. Supplies: colored paper, scissors, tape or glue, and a template for uniform links. It takes 15 to 25 minutes to cut and link a few dozen pieces. Hang the finished chain across a doorway or wall as a cheery banner.
Copy the look: alternate colors in a simple pattern to create a cohesive effect.
10. Floral Pom-Pom Picks
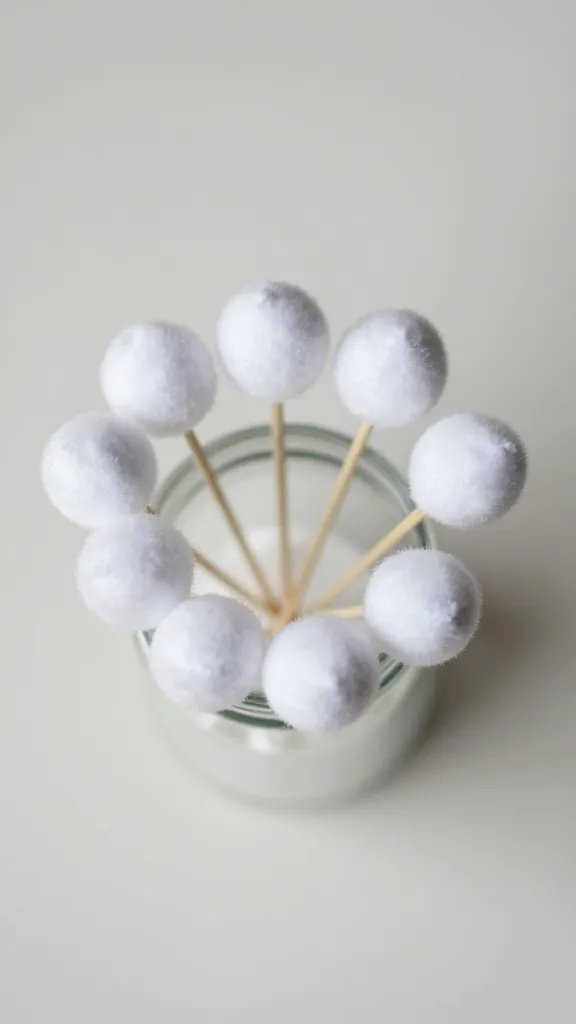
Create tiny tissue pom-poms and mount them on skewers to mimic a real flower arrangement. This fixes a sparse dessert table by adding height and whimsy. You’ll need tissue paper squares, scissors, and wooden skewers. It takes about 25 to 40 minutes to make 8 to 12 picks. Place them in a jar or small vase for an instant centerpiece that children can arrange themselves.
Warning: supervise the scissors for younger kids; pre-cut squares help when needed.
11. Cardboard City Builders
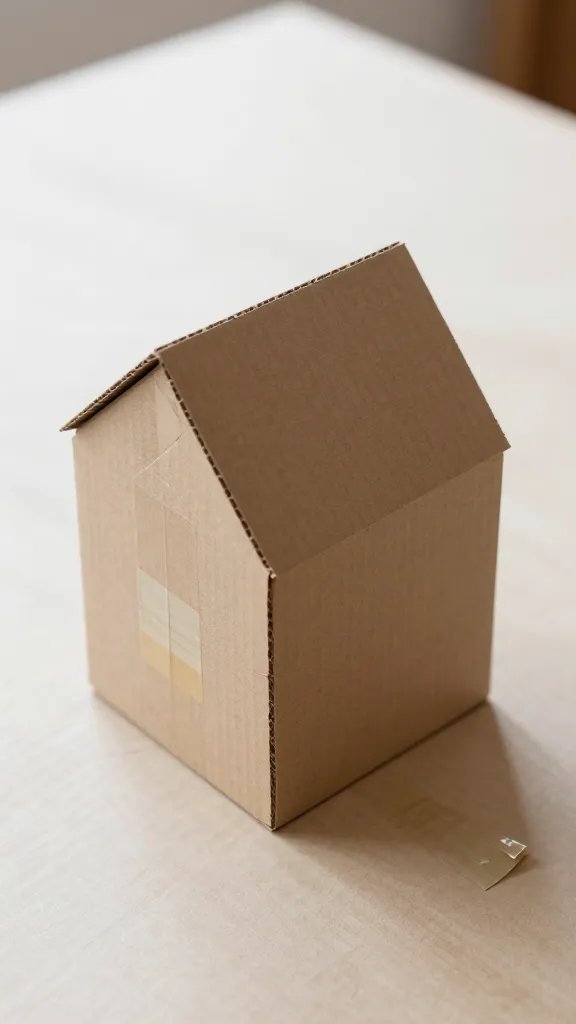
Cut simple shapes from cardboard and let kids assemble a tiny city with glue and tape. This solves the problem of a big project that’s hard for kids to finish alone, yet it yields a satisfying result. Supplies: corrugated cardboard scraps, kid-safe scissors, masking tape, and a roll of clear drying glue. Time varies, but a compact city can be built in 30 to 40 minutes. It’s a great set piece for pretend play after the build is done.
Make it ahead: cut building shapes beforehand to speed up assembly.
12. Glitter-Free Rainbow Stamps
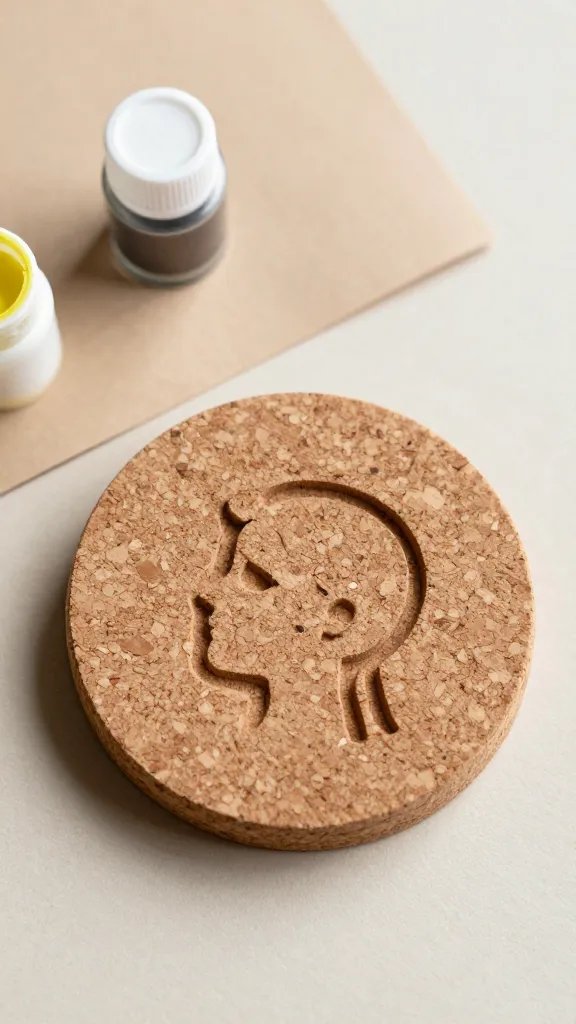
If you want glitter without the mess, make stamp shapes from foam and a sock or cork stamp base. It fixes the mess issue while keeping the sparkle of color. Gather foam sheets, child-safe scissors, a blunt pencil for shaping, and a dab of inexpensive washable paint. About 15 to 25 minutes to cut shapes and stamp a small sheet. Kids can stamp cards, gift tags, or decorative paper for future use.
Cleanup tip: lay a sheet of kraft paper under stamping to catch spills.
13. Tea Cup Bookmark Craft
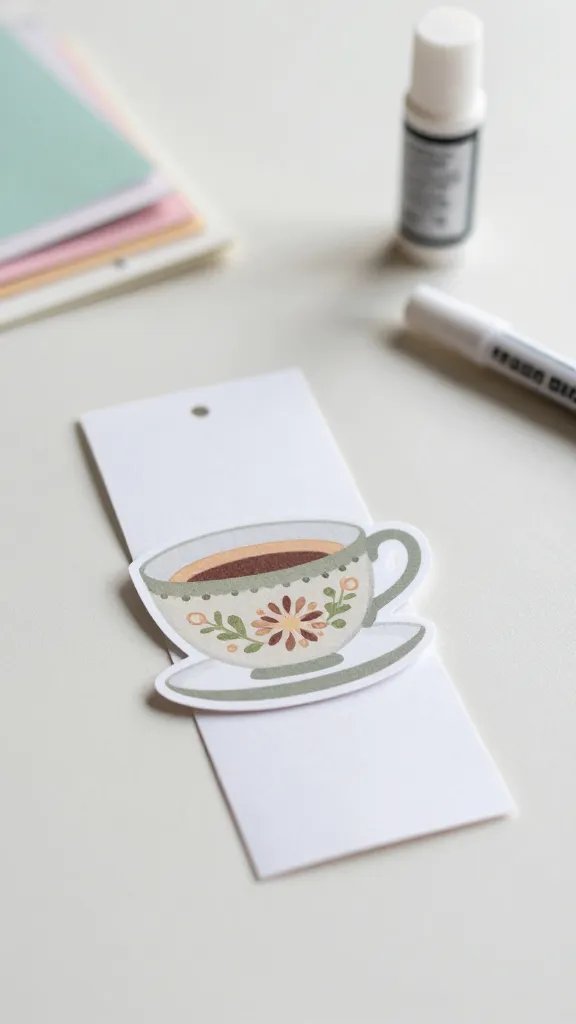
Simple cardboard bookmarks with tea cup shapes help kids practice cutting and gluing. It solves a moment when you need a quiet, small project that yields a practical end product. Supplies: index cards or cardstock, scraps of decorative paper, glue sticks, and a marker. It takes 20 minutes for a batch of 6 to 8 bookmarks. Let kids sign their names or draw a tiny scene for a personalized touch.
Storage tip: punch a small hole and thread a ribbon so bookmarks don’t get bent.
14. Balloon Topiary Totems
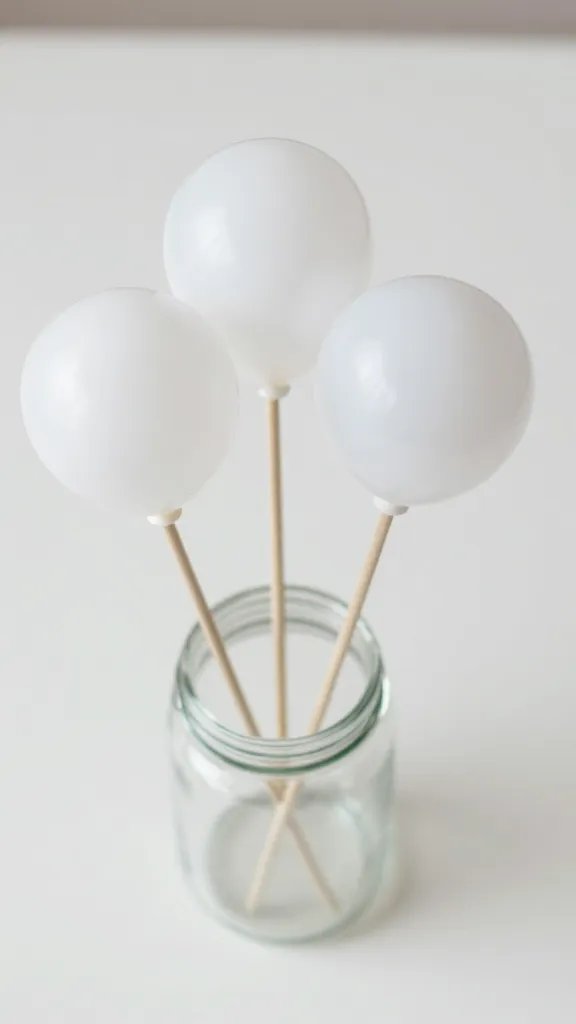
With a few jars filled with sand or rice as bases and balloons on sticks, you can build a tiny topiary display. This addresses the issue of a party feeling flat or missing height. Supplies are a few balloons, sticks or dowels, a sturdy base like jars, and tape. It takes about 25 to 35 minutes to assemble a small duo of topiaries. They make a bright visual statement on a kid friendly table.
Safety note: avoid latex balloons around small children who might put them in mouths.
15. Nature Explorers Journal

Turn a plain notebook into a nature scavenger journal with pressed leaves, simple sketches, and a few stickers. This helps with a quiet afternoon activity that also encourages observation. Supplies: a blank notebook, a few pressed leaves or flowers, glue sticks, and a pencil. It takes 15 to 25 minutes to decorate a few pages. Kids can keep the journal or gift it as a keepsake for a friend or family member.
What to prep: gather a small bag of safe outdoor finds ahead of time to spark curiosity.
16. Cookie Cutter Wall Shapes
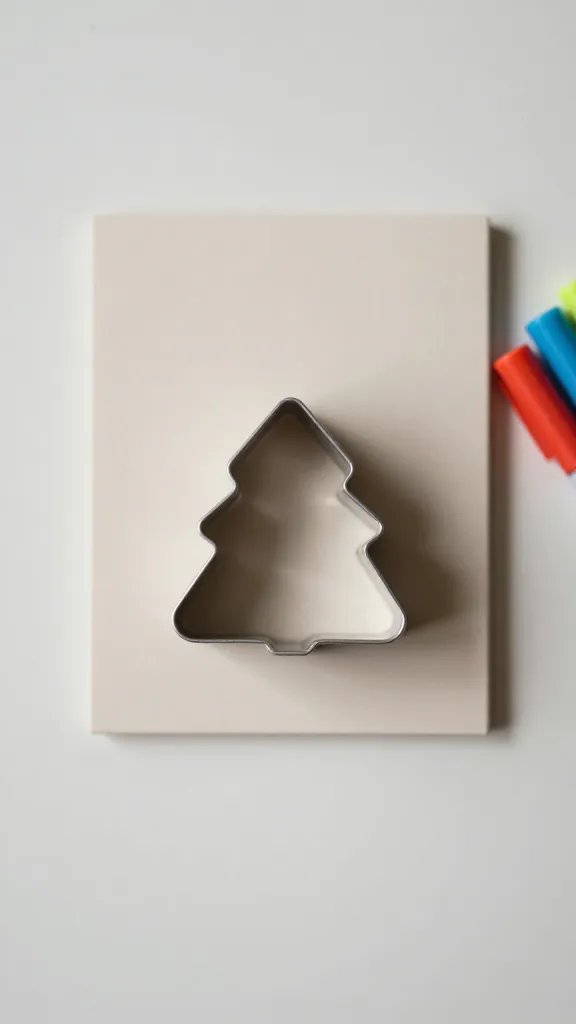
Use metal or plastic cookie cutters as mini stencils to outline shapes on poster board or paper. This is a quick way to introduce kids to pattern making and symmetry. Supplies: cookie cutters, paper or poster board, markers, and tape for mounting. It takes about 15 to 20 minutes to create a few shapes that can be framed or displayed. Kids can lay out a mini gallery of shapes and colors for a quick wall accent.
Placement note: tape the sheets to the wall with painter’s tape to avoid residue or damage.
Kids can surprise you with how much they can do when the plan is simple and the finish is visible. These ideas keep little hands busy, and they deliver a neat look you can actually photograph for a quick pin. Save this for the next birthday that sneaks up on you.