
17 Aesthetic Craft Ideas for Teen Bedrooms

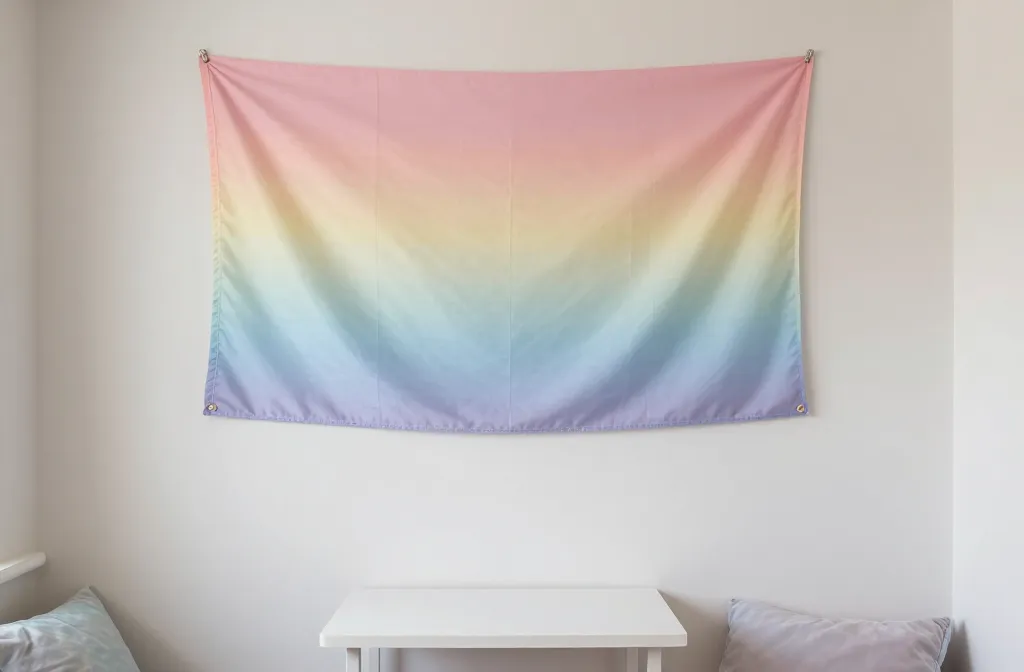
Teen spaces deserve ideas that are quick, affordable, and genuinely shareable on social feeds. If you’re chasing decor that feels polished but not fussy, these crafts fit right into a busy teen schedule and a small budget. Each idea solves a real problem: a wall that feels empty, a room that needs a cohesive color story, or a project that friends can help with after school. You’ll find practical steps, clear supplies, and smart finishing touches to keep things stylish long after the first photo is taken. Let’s start with ideas you can actually make this week.
From wall accents to usable storage toppers, these 17 aesthetic craft ideas for teen bedrooms are designed for quick builds and real results. They rotate through tangible surfaces, fabrics, and everyday materials so you can mix and match without overhauling the room. Each section offers a concrete, copyable plan with a straightforward timeline. Now, the ideas.
1. Gradient Fabric Banner Wall Art
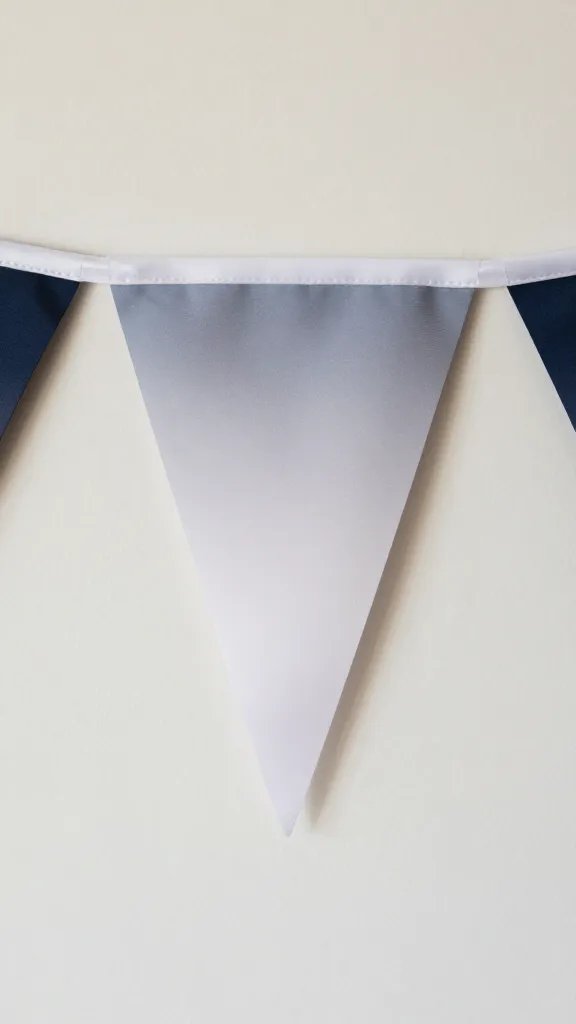
A naked wall begs for one bold, easy statement. This banner uses three to five fabric scraps in a soft gradient and a simple banner pole to pull the room color story together. Cut fabric into wide triangles or pennants, stitch or hot glue them to a strip of ribbon, and hang along a wall with removable adhesive hooks. Color feels cohesive without needing perfect sewing. Dry times are quick and setup is forgiving if you’re new to sewing.
Use what you have: Scrap fabric from old projects or thrift store finds create a layered look without buying new material.
2. DIY Moon Phase Wall Sticker Kit
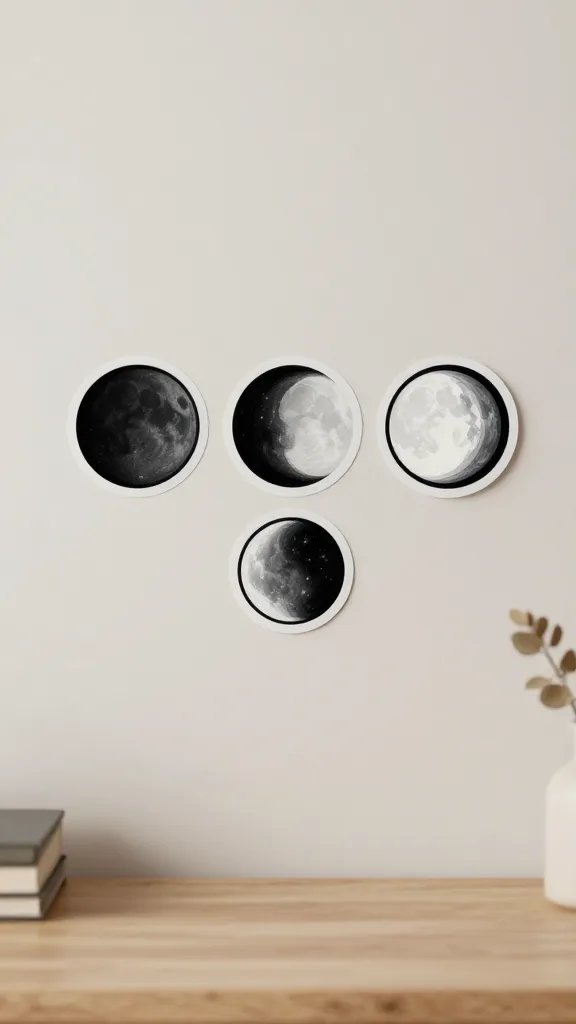
A growing trend that stays kid friendly and affordable. Trace circles on lightweight cardboard to craft the moon phases, then cut out and stick with removable adhesive. Paint or color the moons in a pale gradient, and arrange in a curved line across a wall or above a desk. The kit is small, but the impact reads high in photos. It’s a reminder that big art can come from simple shapes.
Best for: A low-commitment wall upgrade that can be rearranged as moods shift.
3. Pom Pom Storage Baskets
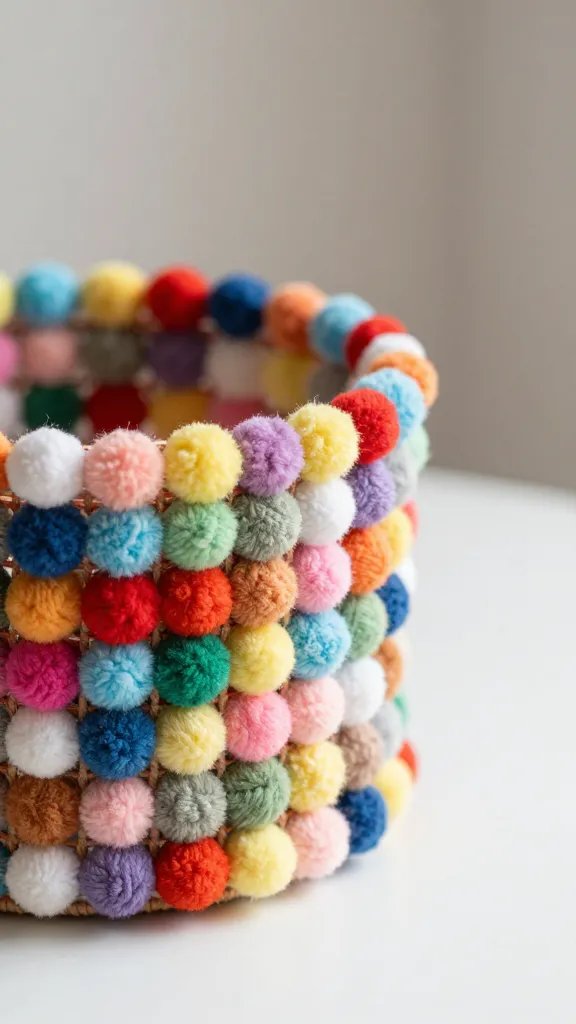
Storage can look chic with a soft touch. Wrap dollar-store baskets with yarn pom poms in two or three colors that match the room’s palette. Secure with hot glue in small clusters so they don’t shed. The result is a set that hides clutter yet feels curated. It takes a bit of patience to wrap evenly, but you’ll finish in under an afternoon and gain a stylish storage upgrade that’s also kid friendly.
Mess control: Place baskets near the desk for quick cleanups and a tidy workspace.
4. Felt Letter Terrain Wall Gallery
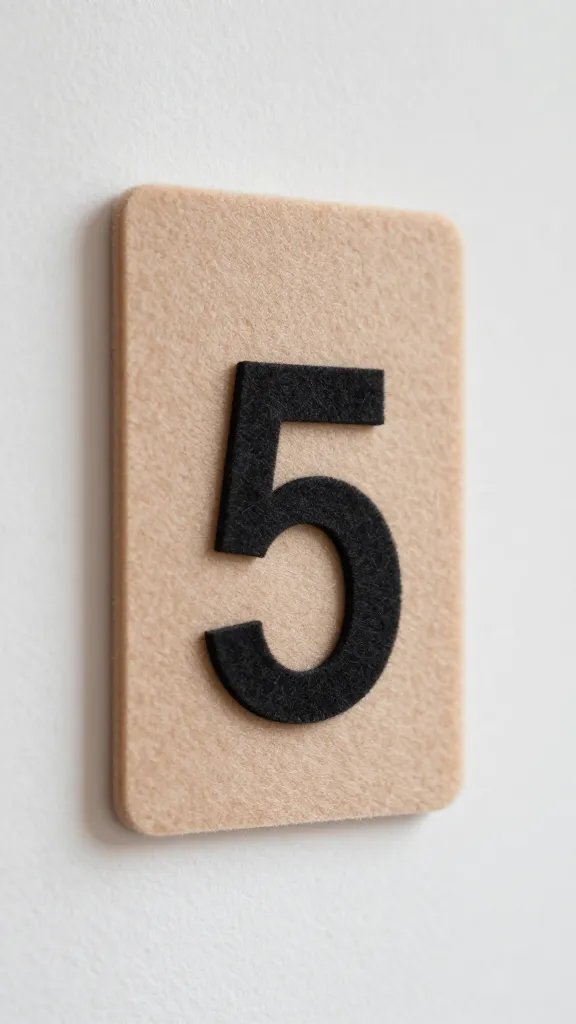
Letters feel personal and affordable when made from felt scraps. Cut your teen’s initials or favorite words and mount them in an irregular grid on the wall. Use craft glue on foam board or a thin wood frame to keep them from sagging. This approach reads as an intentional, soft texture rather than a flat poster. It’s fast, quiet, and changes can happen as moods shift.
Safety note: Use low-tack mounting putty or painter’s tape for a kid friendly display.
5. Cardboard Hex Tile Headboard
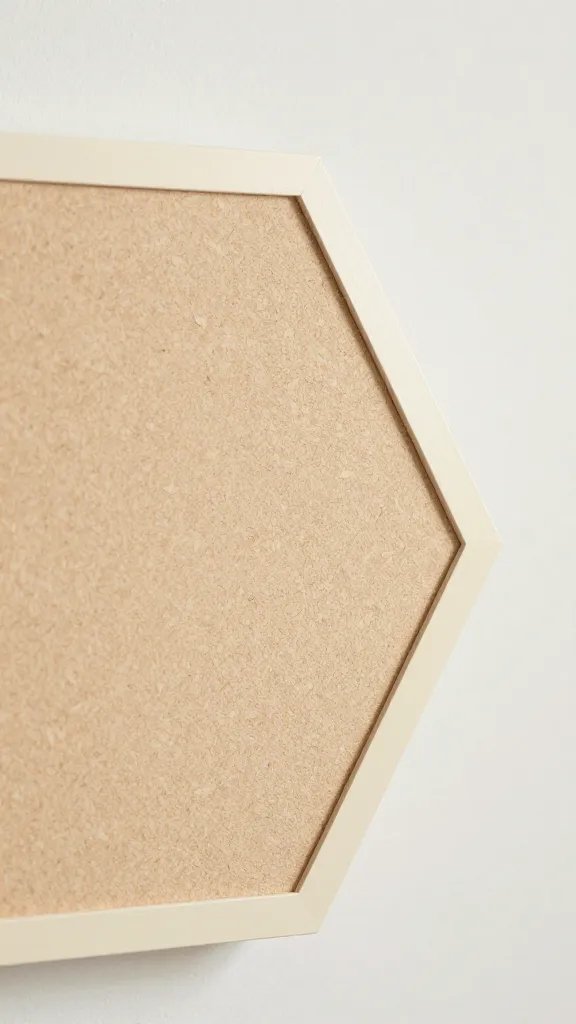
Transform an old corkboard or cardboard scraps into a lightweight headboard by cutting into hexagons and wiring them together with string or glue. Paint in a pale wash and stagger on the wall behind the bed. The geometric pattern gives depth to the bed area without heavy woodwork. It’s a neat weekend project that adds a tactile, airier feel to the room.
Copy the look: Leave some hexes unpainted to introduce texture variations.
6. Tape-Glow Night Sky Ceiling
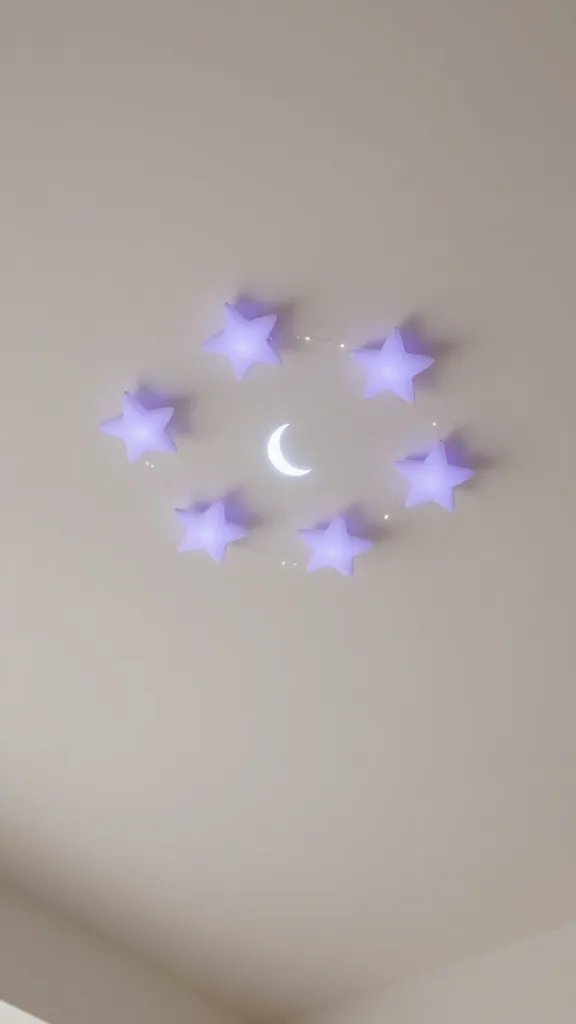
A ceiling that sparks wonder is gold. Use painter’s tape to form a cluster of stars and a small moon on the ceiling, then paint the negative space with a lavender or midnight blue so the shapes pop. Add a strand of battery powered micro LEDs tucked along the tape edges for a soft glow. It’s a simple, safe ceiling craft that reads like a tiny galaxy when lights go down.
Light caution: Remove any tape before painting over nights or future redecoration to avoid residue.
7. Jeweled Curtain Tiebacks
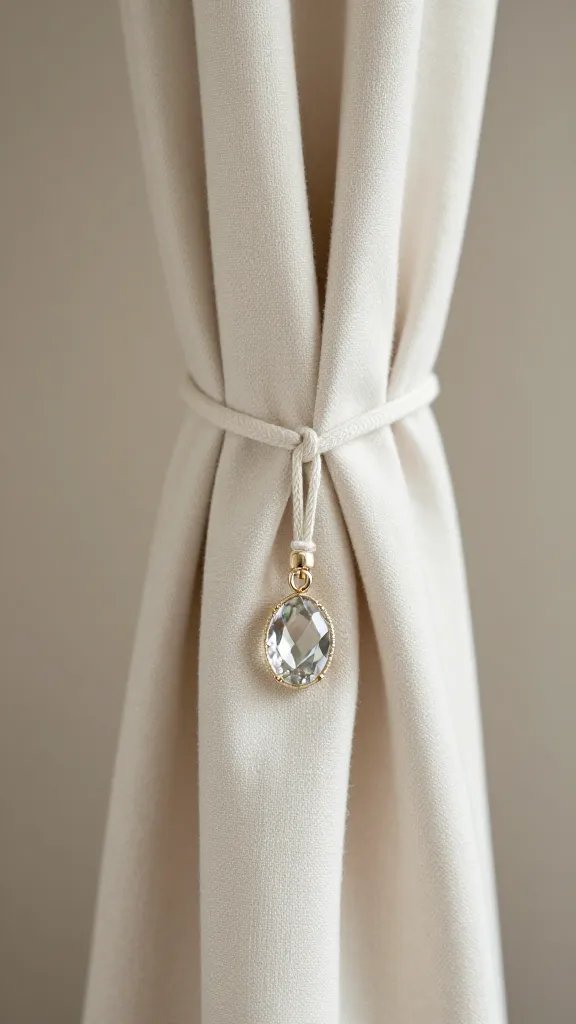
Update plain curtains with a dash of sparkle. Glue glass gems or acrylic beads onto small fabric loops that wrap around the curtain rod. Tiebacks stay flexible and add a little shimmer that photographs well. This is quick to implement and gentle on a budget. The result is a chic, store-like finish without the cost.
Budget swap: Use old costume jewelry pieces to create a one of a kind look.
8. DIY Linen Garlands in a Palette
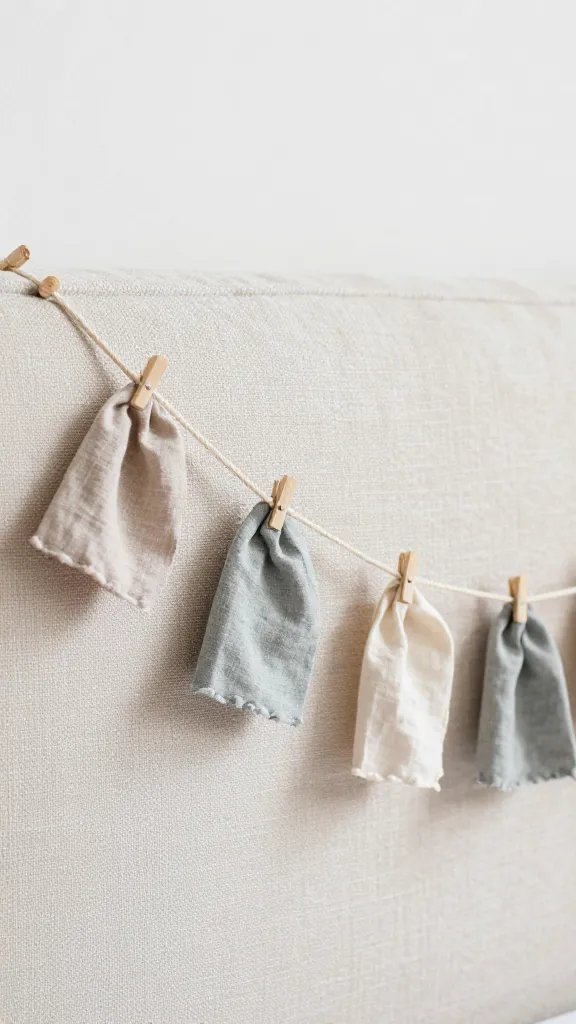
Soft textiles create a cozy vibe. Sew or cut strips of linen in three tones, knot or braid them into a long garland. Drape across a headboard, window, or mirror. The neutral fabric reads calm in photos and smells faintly of clean laundry in real life. The project is forgiving and quick, especially if you mix in scrap fabric from other projects.
Make it ahead: Wash, dry, and iron textiles to make handling easier before assembly.
9. Personal Photo Collage Wall Block
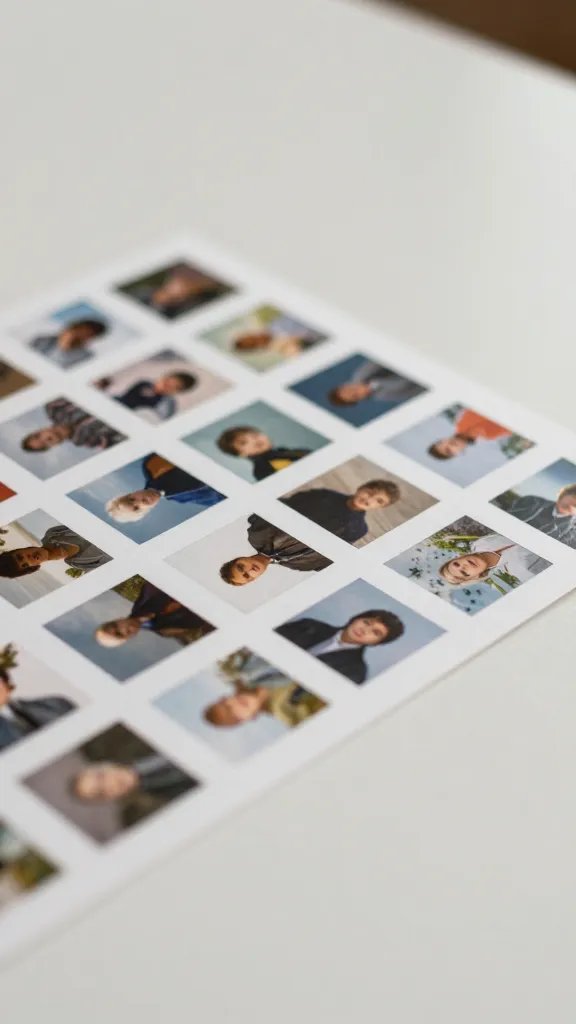
Give walls a personal touch with a grid of photo blocks. Print small photos, mount on cardstock squares, and arrange in a geometric layout with 1-inch gaps. Use removable adhesive to keep the wall edges clean. This setup keeps memories accessible and changeable as new photos arrive. It’s a practical way to add color and a narrative to a teen’s space.
Placement note: Start from the center and work outward for a balanced look.
10. Folded Paper Light Shade Accent
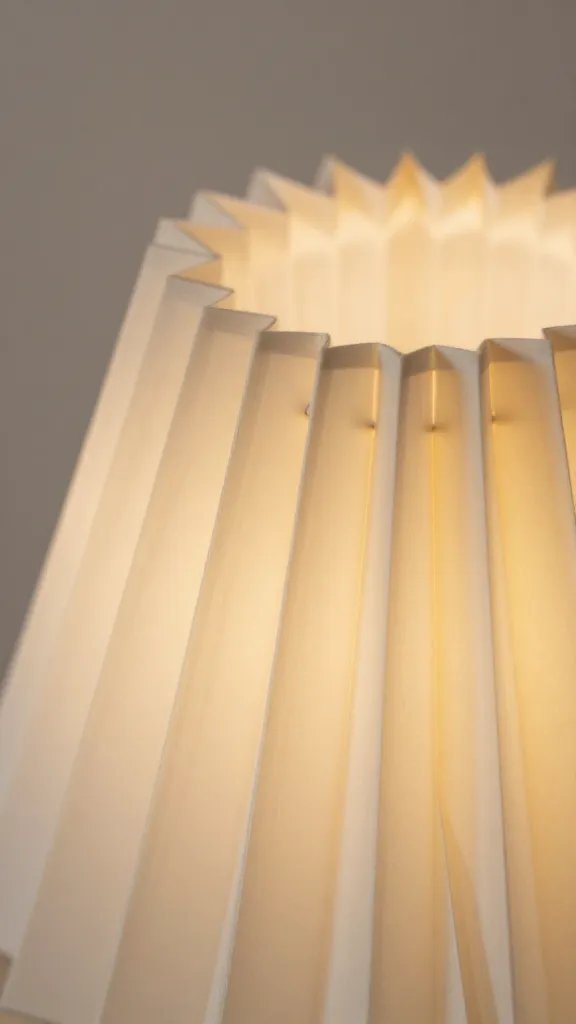
Brighten a lamp with folded paper in a color family. Create a dozen or so folded fan shapes from colored paper and attach evenly around a simple lamp shade using glue. The soft light diffuses through the paper for a warm glow and a subtle, artful texture. It’s inexpensive and can be adjusted as lighting needs change.
Safety note: Use low heat bulbs and avoid overheating the shade with too many sheets.
11. Marbleized Wall Panels
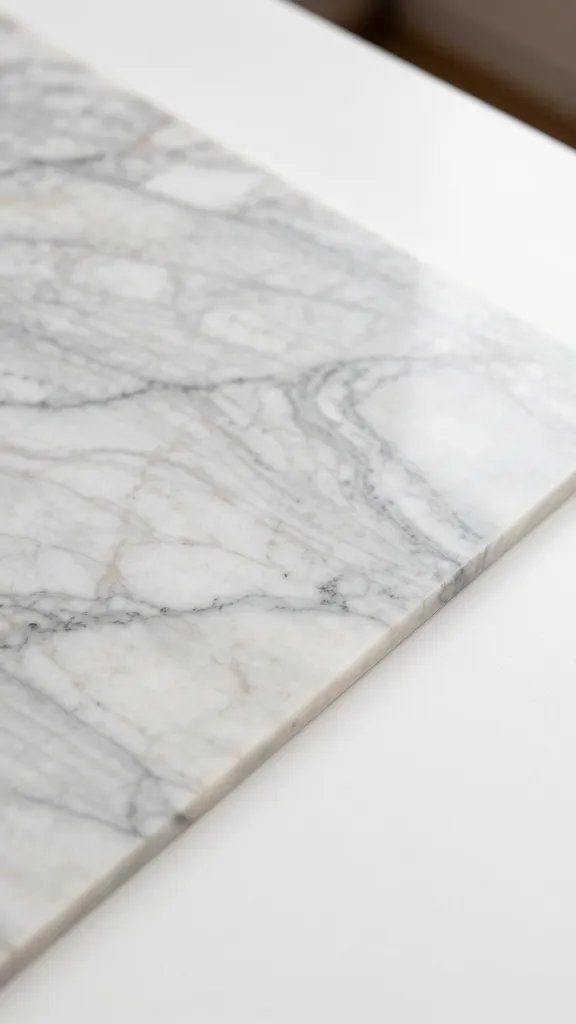
Add depth with quick, faux marble panels. Use large sheets of heavy cardstock or poster board, dab with a few drops of paint in white, gray, and black, then swirl with a plastic fork or skewer. Tape panels in a staggered grid across a single wall to mimic a modern statement wall at a fraction of the cost. It reads refined in photos and doesn’t require real stone work.
Use what you have: Use leftover paint or kitchen marble contact paper for extra polish.
12. Mini Desktop Terrariums
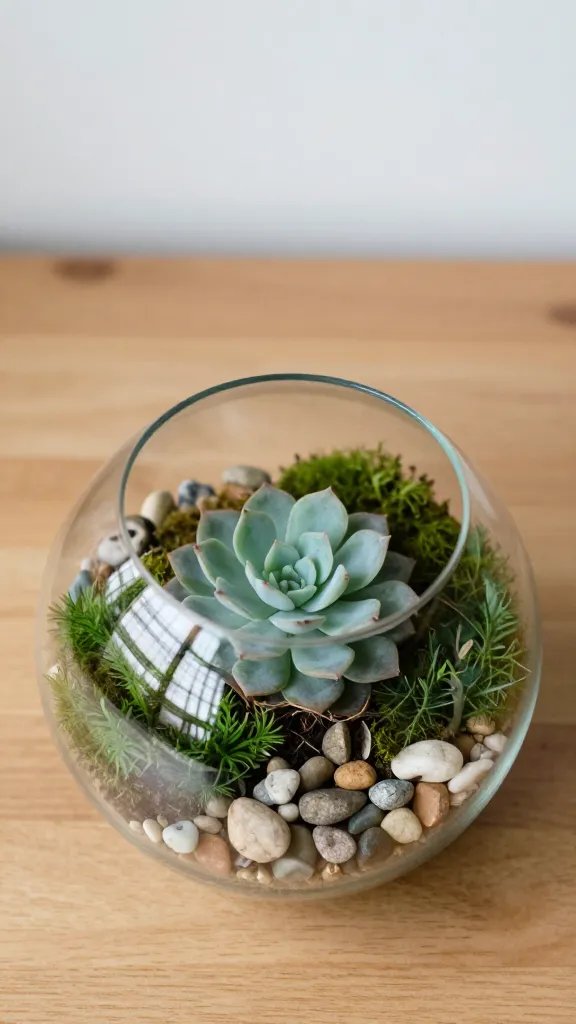
Bring a touch of green to the desk with small terrariums. Use glass jars or small upcycled containers, add pebbles, soil, and a tiny succulent or air plant. Top with a pinch of moss and a few decorative beads. It’s a low maintenance addition that brightens the desk area and photographs beautifully in natural light.
Little hands tip: Have a supervising adult handle the planting to avoid root damage.
13. Textile Swatch Gallery Rail
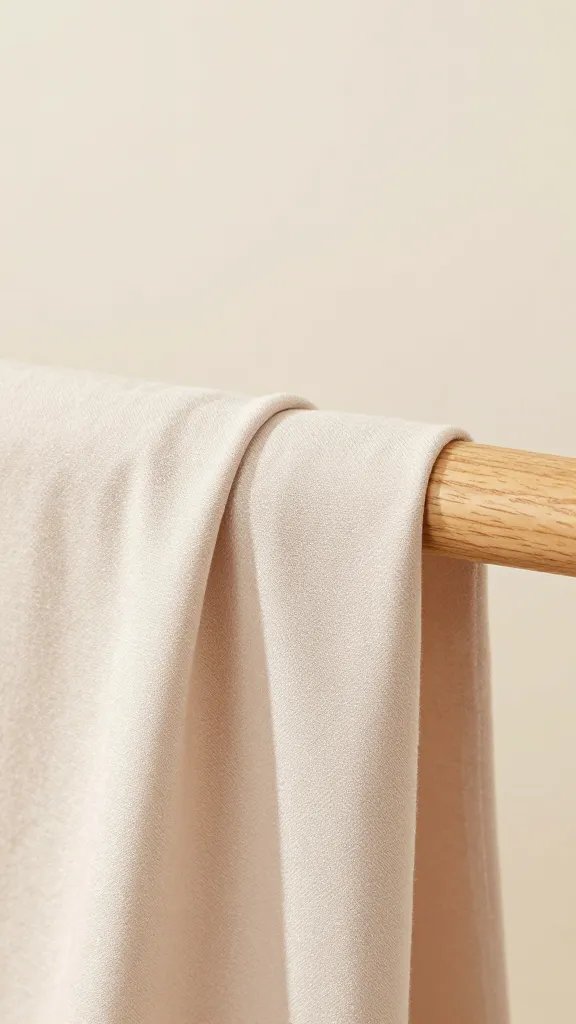
A row of fabric swatches, bound with binding rings, creates a tactile wall feature. Cut swatches from old clothes or thrifted fabric, mount on a narrow wood rail with mini clothespins, and swap them as moods shift. The effect is color controlled and personal without committing to a full gallery wall. It’s quick to assemble and easy to refresh.
Placement note: Mount the rail at eye level for best visual impact and easy updates.
14. DIY Paper Lantern Cloud
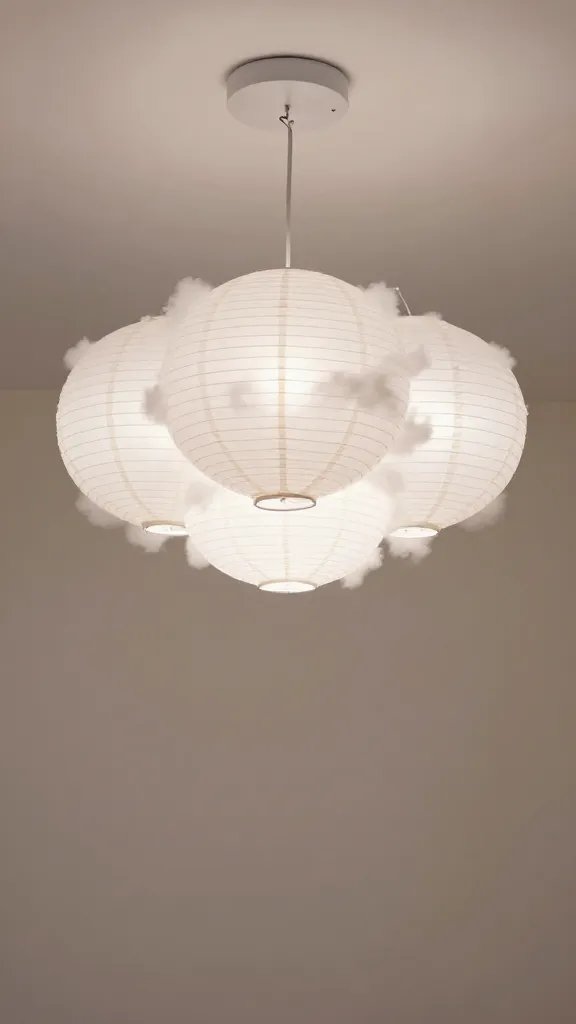
Turn white paper lanterns into a cloud cluster for a ceiling focal point. Inflate lanterns, glue thin paper strips in cloud shapes across the lanterns, and group them at varying heights from the ceiling. The soft white-on-white look feels airy and modern. It’s a straightforward install that adds a designer touch without heavy lifting.
Make it easier: Use pre-lit lanterns to avoid extra wiring and reduce setup time.
15. Chalkboard Accent Strip
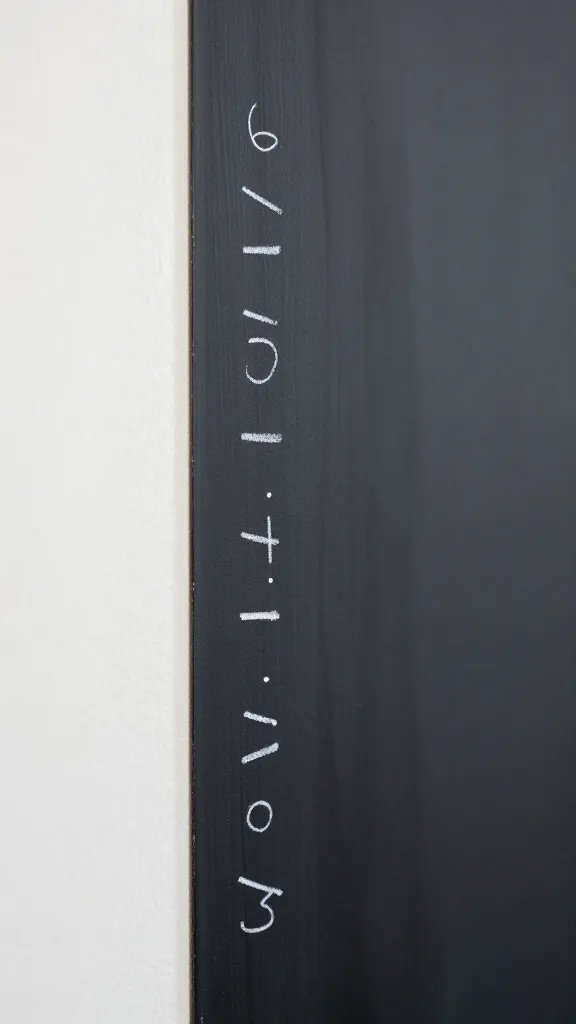
Create a slim chalkboard strip along a desk wall or under a shelf so school notes and doodles can live in one place. Use chalkboard paint on a narrow wooden strip or a painted panel, then seal with a clear top coat. The strip is functional, and teens can customize it with daily quotes or schedules. It’s practical, with a stylish, minimal footprint.
Safety note: Ensure the panel is securely mounted to prevent tip overs during writing.
16. Ribbon Tie Cupboard Handles
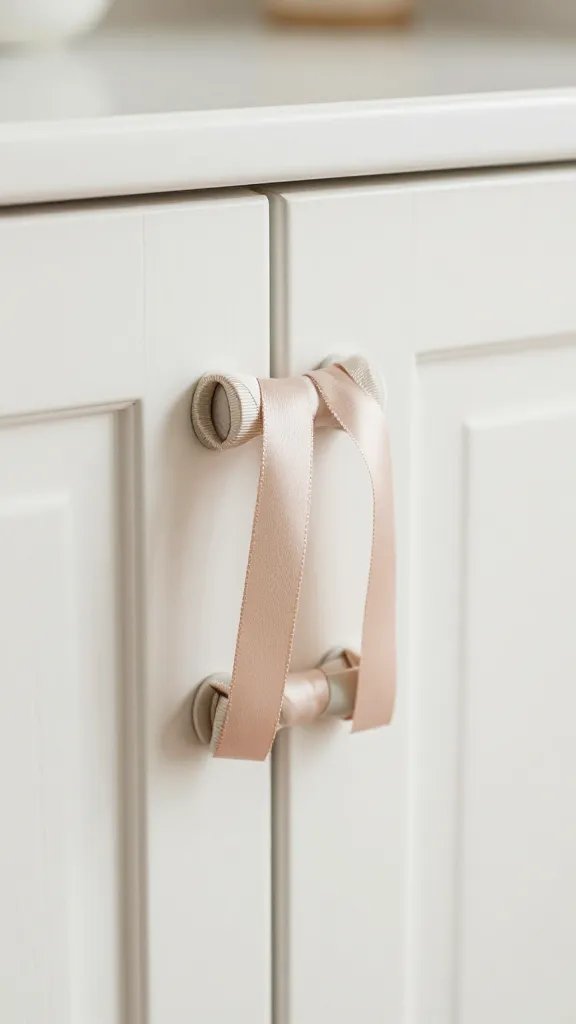
Give old cupboards a quick facelift with ribbon-wrapped handles. Remove existing knobs, wrap each cap with a length of ribbon, and secure with hot glue. Reattach. The result is a soft, tactile look that elevates cabinets without a full redo. It’s a small detail that makes furniture feel intentional and new again.
Dollar store swap: Use decorative buttons and fabric scraps for a budget friendly version.
17. Glass Jar Ambient Lights
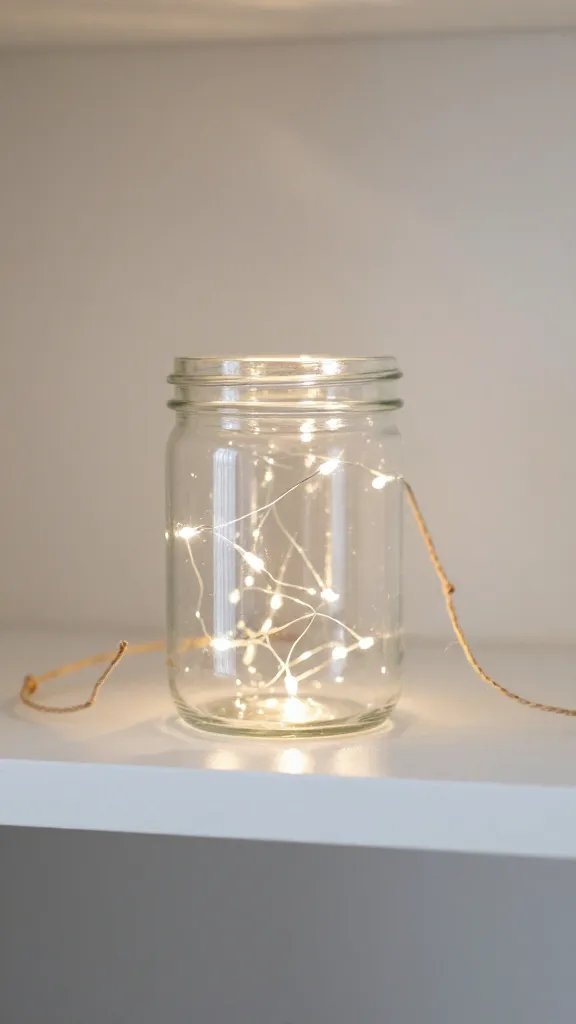
Turn everyday jars into a delicate lighting vignette. Fill clean jars with fairy lights or battery tea lights, tie a piece of twine around the neck, and set them on shelves or windowsills. The glow is gentle in photos and adds warmth to late night study corners. It’s a quiet, achievable mood boost that feels thoughtfully curated.
What to avoid: Keep the jars away from direct heat and open flames to reduce risk.
These ideas keep the focus on teen bedrooms while staying doable in a weekend or less. Each one offers practical steps, real supplies, and room for quick updates as tastes shift. Save this for the next room refresh and you’ll have a clear, doable plan ready to go.