
15 Craft Ideas for School Science Projects

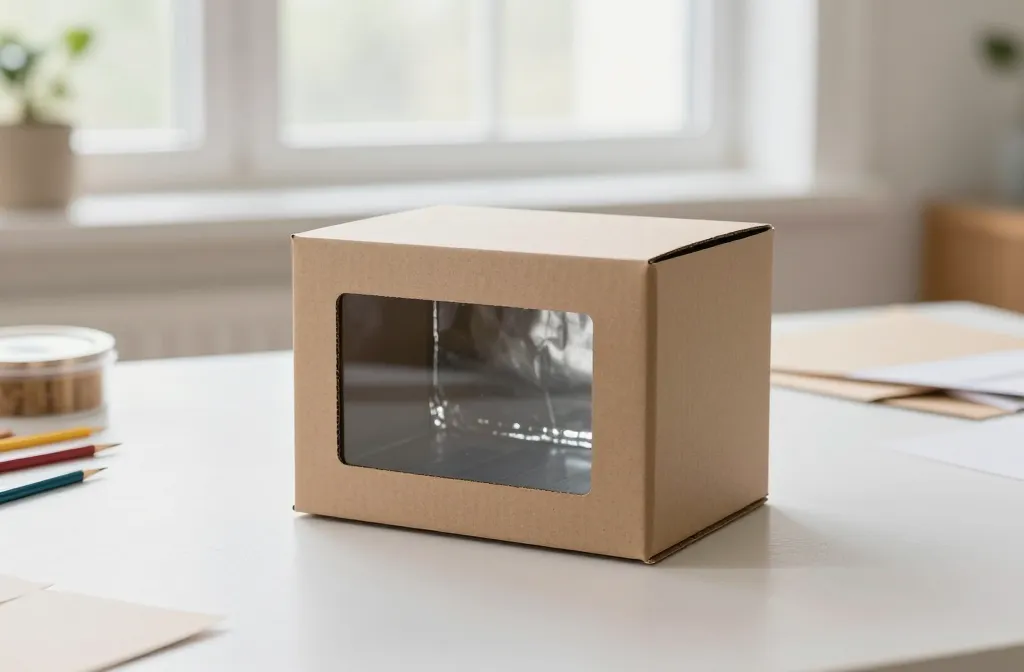
Staring at a blank desk and a deadline can feel like a small disaster. The trick is to pick ideas that are hands on, budget friendly, and quick to set up so you can actually finish before the bell rings. You want projects that look thoughtful, not rushed, and that you can pull off with common craft basics. If you plan ahead a little, kids stay engaged and you avoid the last minute glue gun casualty that ends in a mess on the rug. Use these craft ideas for science projects that you can make this week and still have time for a quick clean up.
Each idea here is chosen to be doable, shareable, and a little wow without needing fancy tools. You’ll find clear supplies, a rough timing guide, and a practical note for safety or setup. Let’s dive in and pick a few that fit your classroom or dining room table science day.
1. Build a Mini Solar Oven from a Pizza Box
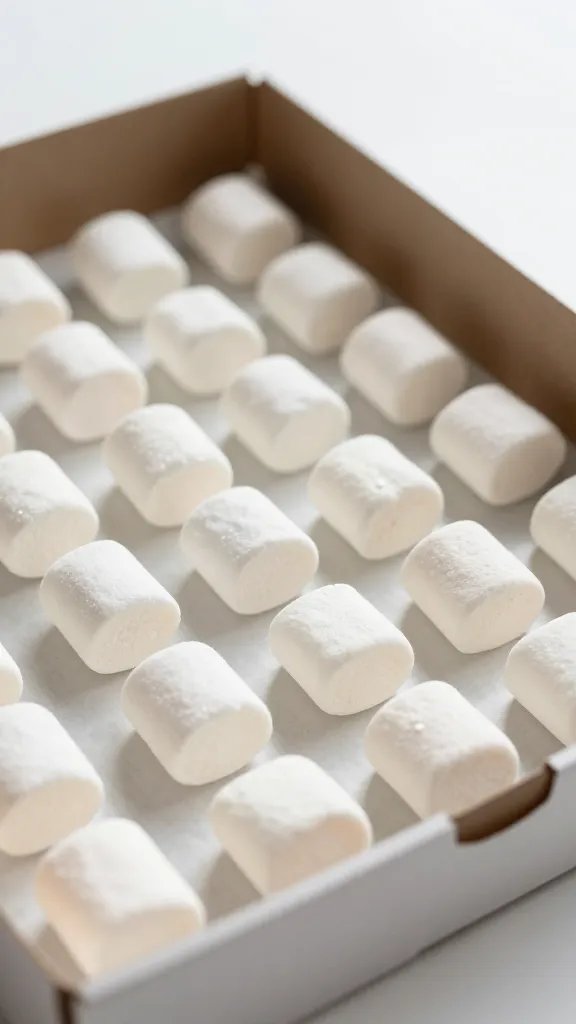
A simple solar oven teaches energy conversion and heat flow with almost no fuss. Trace a window on a cleaned pizza box, line the interior with foil to reflect sunlight, and seal with plastic. A small marshmallow or a piece of chocolate makes a tasty test subject and a quick demonstration for younger students. Timewise, you can assemble it in ~45 minutes and run a 20 minute bake on sunny days. Safety note: supervise hot glue and keep the food separate from craft adhesives.
Copy the look: Use a black trash bag or dark paper lining to trap more heat for a cleaner result.
2. Create a Balloon-Powered Car and Measure Speed
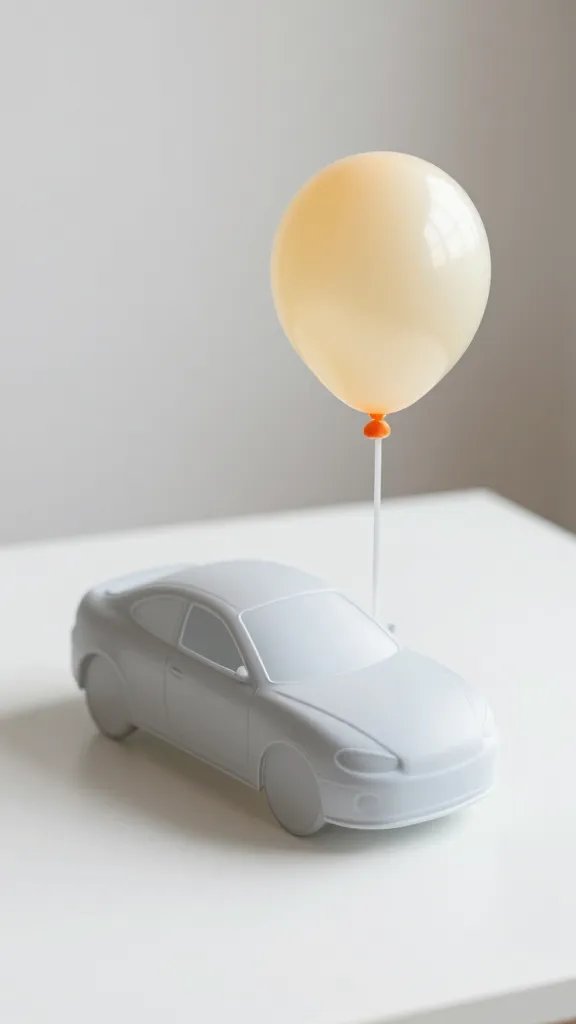
This quick setup turns party balloons into tiny racers to demonstrate propulsion. Build a simple car from a plastic bottle, bottle caps for wheels, and a straw as the axel. Attach a blown up balloon to a string or straw setup and let it zoom. It takes about an hour from start to finish, with a 15 minute test run. Kids learn about energy transfer and friction. Adults can help with hot glue and wheel alignment.
What to use: Clear ruler or tape measure to record times and distances. This helps keep results tidy for a display board.
3. Make a Rain Cloud in a Jar to Show Condensation
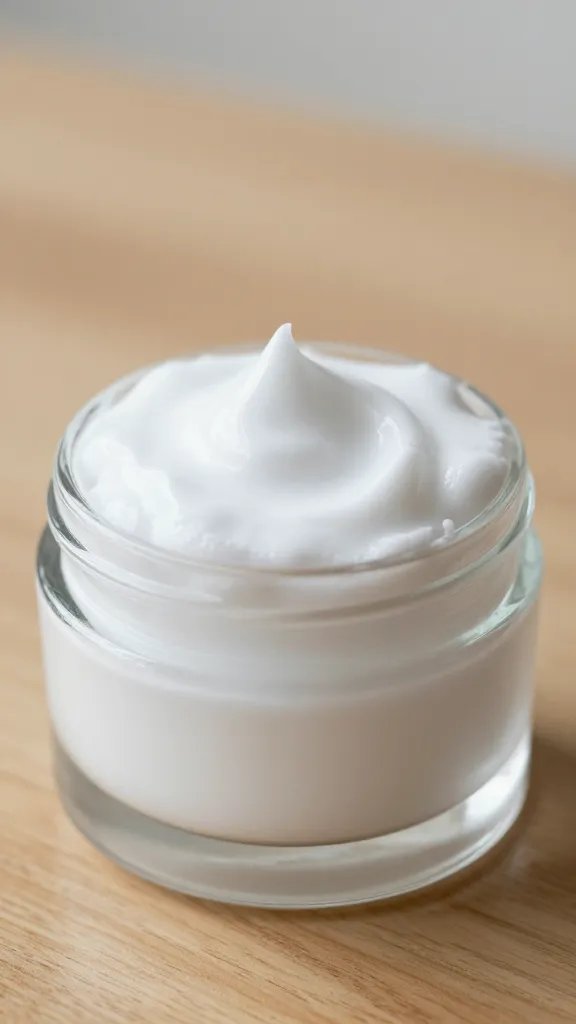
A water jar demonstration creates a tiny cloud to explain condensation and precipitation. Use a jar, hot water, ice, and a little shaving cream for the cloud. You can walk through the steps in 25 to 30 minutes and complete a clean up in about 10 minutes. It’s gentle on supplies and visually striking for photos. Safety: hot water means adult supervision for younger kids.
Best for: a small group science corner in a classroom or kitchen table setup.
4. Grow Crystals with Epsom Salt for a Bedtime Glow
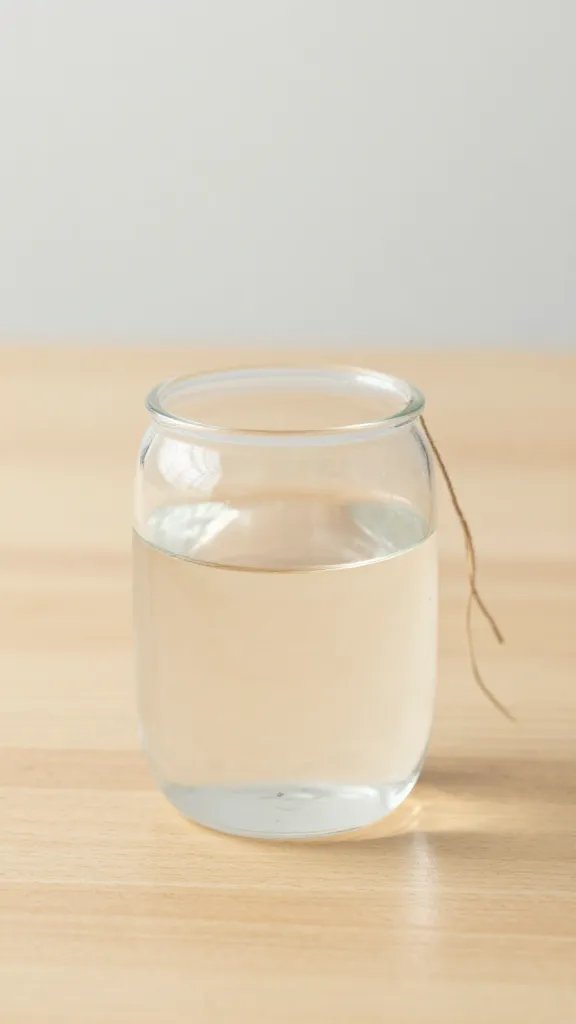
Crystals grow right on a string or pipe cleaner in a jar with warm water and Epsom salt. It’s a calm, repetitive process that shows supersaturation in action. Expect a 45 to 60 minute setup plus overnight waiting, then a quick finish the next day. Keep jars covered to protect from curious little hands. This project uses common kitchen staples and can be extended with food coloring for colorful results.
Color note: Use two jars side by side to compare different temperatures or salt concentrations.
5. Craft a Self Watering Plant Prop to Explain Transpiration
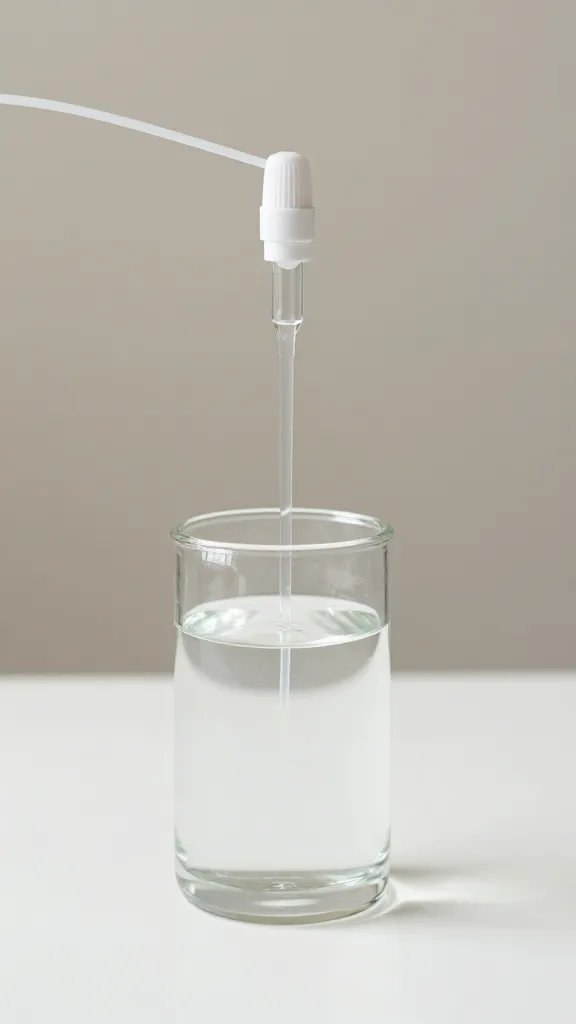
Turn a plastic bottle into a tiny self watering plant mister and a small terrarium. Poke a few holes, add a wick, and fill the top with water. The plant’s soil will absorb moisture slowly, illustrating how plants manage water. It’s a two hour project from start to finish, and the terrarium helps keep the setup tidy. Supervise sharp tools and ensure proper plant species are used for beginners.
Use what you have: Recycled bottles, a few cotton wicks, and a sandwich bag to keep soil contained during setup.
6. Build a Simple Circuit Board with Lemon Power
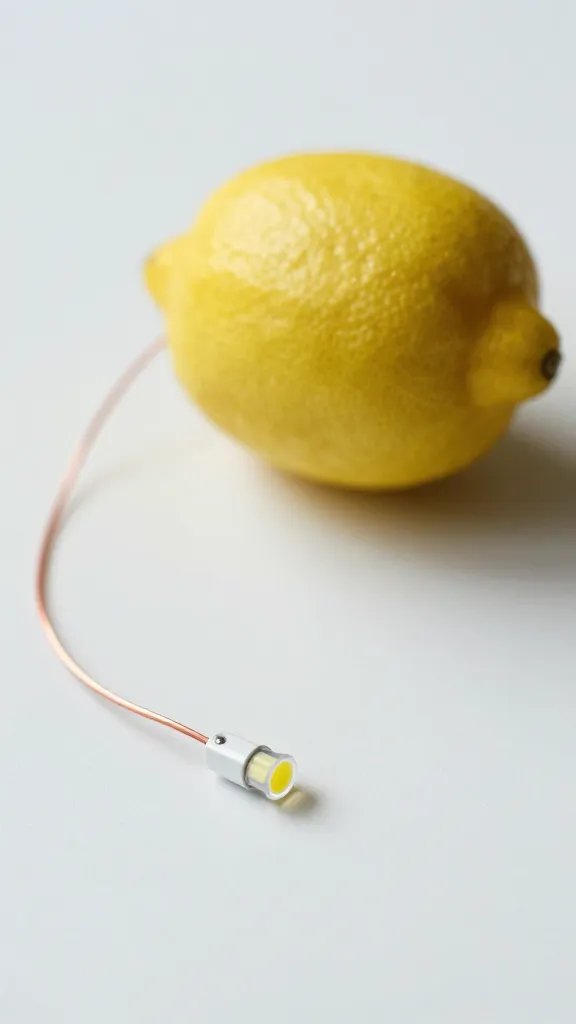
Turn citrus fruits into a tiny circuit board using a LED, wiring, and a few coins as a makeshift battery. This is a 30 to 45 minute build with quick results that spark interest in energy flow and circuits. Ensure kids do not handle wires with wet hands and supervise hot glue if you use a battery pack. The result is a bright, kid friendly display that travels well to a science fair table.
Safety note: Keep all metal pieces away from small children who might put them in mouths.
7. Create a Static Charge Pepper Art Display
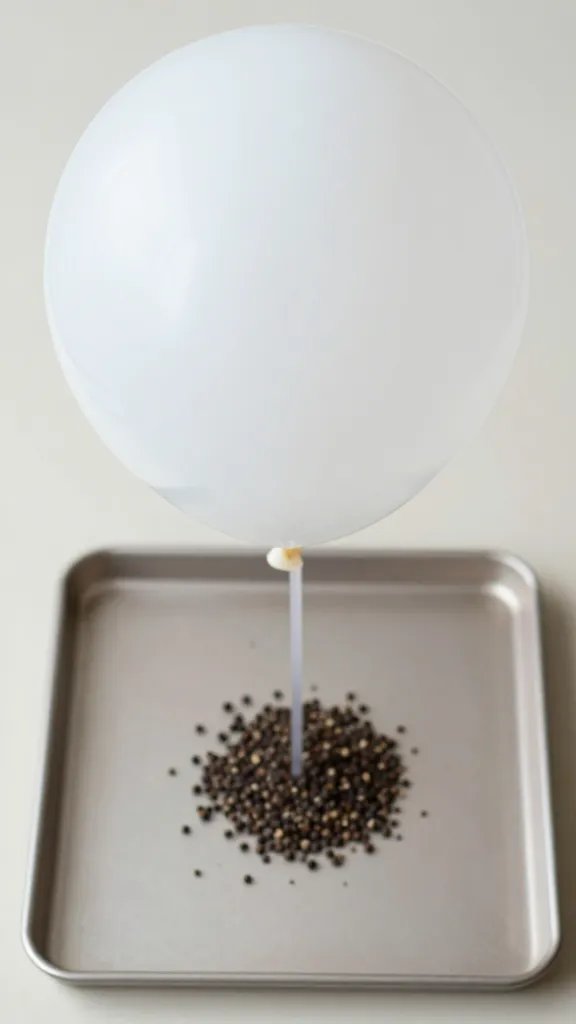
Show static electricity with a balloon and a tray of pepper or confetti. The idea is simple: rub the balloon to create static, then watch pepper jump toward the balloon. It’s a fast, 15 minute demonstration that scales nicely into a bigger display with a larger tray and multiple balloons. It’s a striking photo moment for social posts and needs only a few basic supplies.
Little hands tip: Use a shallow baking tray to keep mess contained during the run.
8. Make a Paper Airplane Wind Tunnel for Aerodynamics
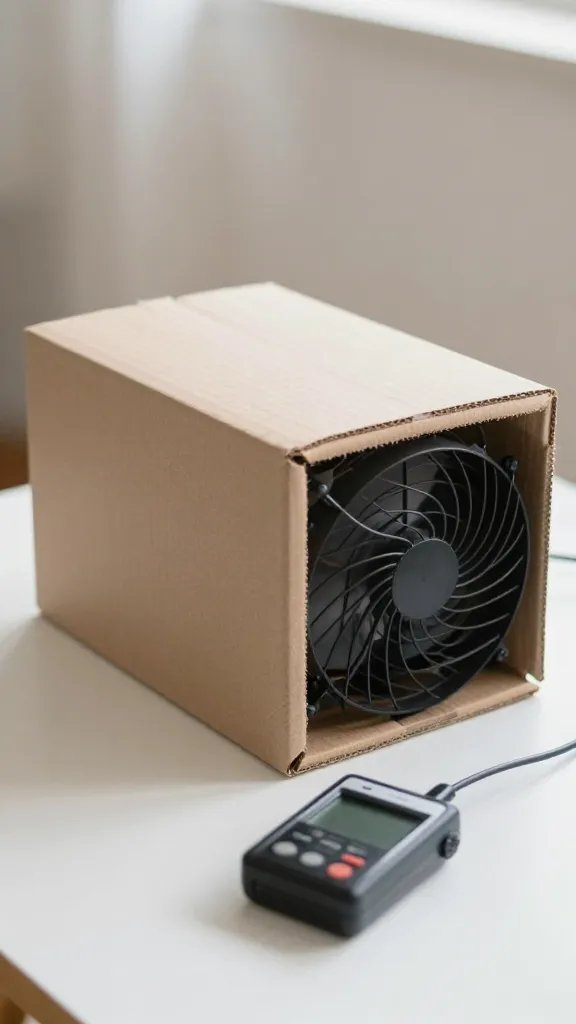
Craft a simple wind tunnel using a cardboard box and a fan or a hair dryer on a low setting. Kids test different paper airplane designs and compare glide times. The setup takes about an hour, with 15 minute test runs. It teaches air flow and lift in a hands on way, and you can extend with a measuring tape and stop watch for precise data collection.
What to avoid: sharp edges on the box where hands will reach; tape everything securely.
9. Build a Chromatography Coffee Filter Rainbow
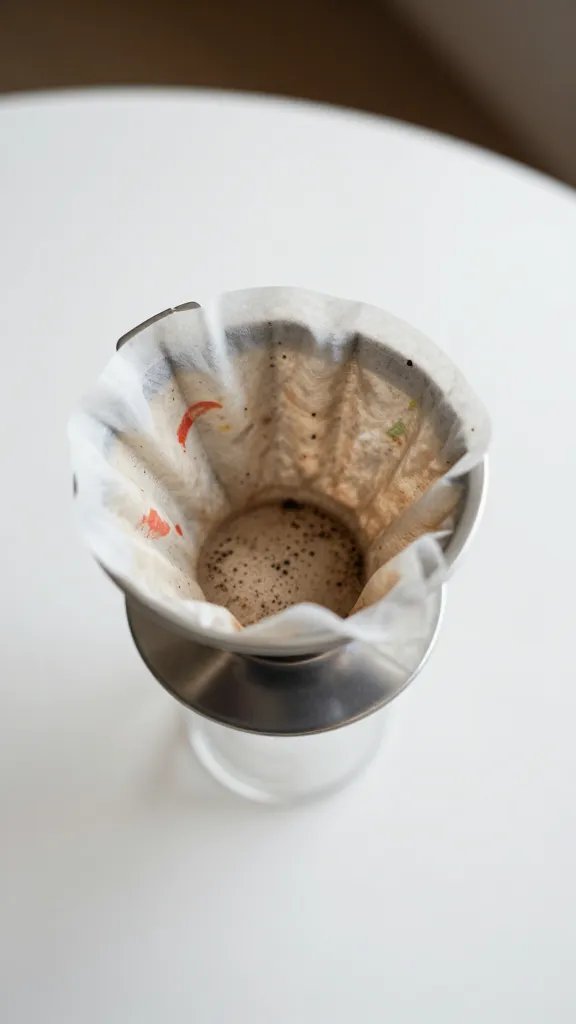
Use coffee filters and markers to separate colors as a simple chromatography experiment. It’s quick, clean, and colorful, taking about 20 to 30 minutes. You’ll get several color gradients on each filter that invite discussion about dye composition. A light spray of water helps the ink separate and reveals the color spectrum. No dangerous materials, and the result photographs well for a quick project gallery.
Make ahead: Pre-draw some test patterns on extra filters so you can show multiple results fast during the presentation.
10. Construct a Marshmallow Catapult to Demonstrate Force
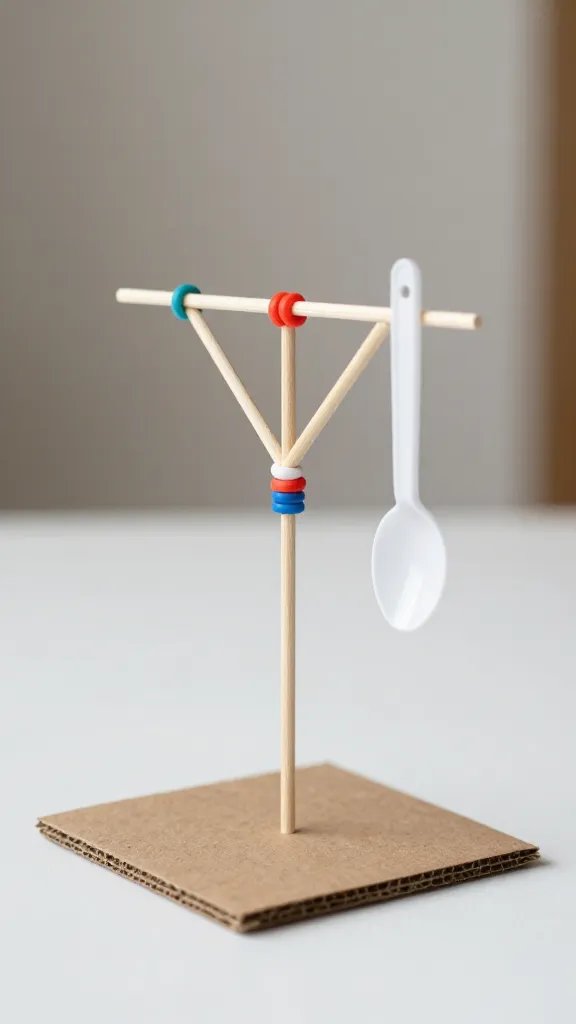
A small catapult made from a plastic spoon, rubber bands, and a craft stick demonstrates basic force and trajectory. Aim for a gentle launch and measure how far marshmallows travel under different angles or arm lengths. It’s a 45 to 60 minute project with a quick test. Adults should supervise the use of the craft knife to trim spoons and ensure safe operation of the launch area.
Copy the setup: Use a cardboard base and a shallow tray to catch projectiles and keep things contained.
11. Assemble a Magnetic Dino Game to Show Attraction
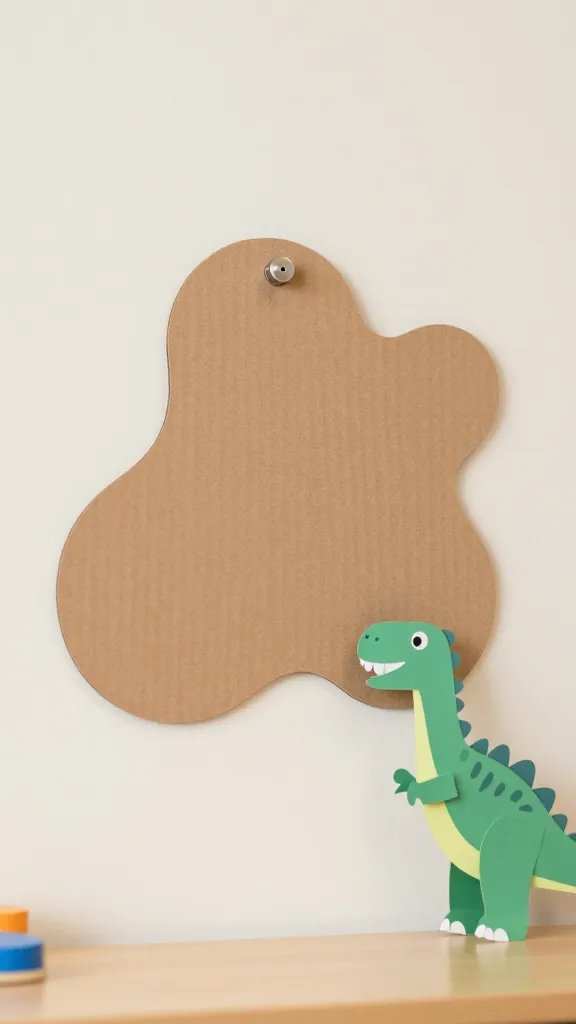
Line up a row of paper dinosaurs and magnetic blobs on a cardboard board. Kids move magnets under the board to pull the dinosaurs along, illustrating attraction and repulsion. It’s a 60 minute project including design time and a 15 minute test run. The effect is playful and accessible, and it doubles as a prep board for a classroom display. Safety: ensure magnets are kept away from small children who might swallow them.
Best for: a calm corner where students can explore without rush between stations.
12. Create a Water Density Rainbow with Salt Layering
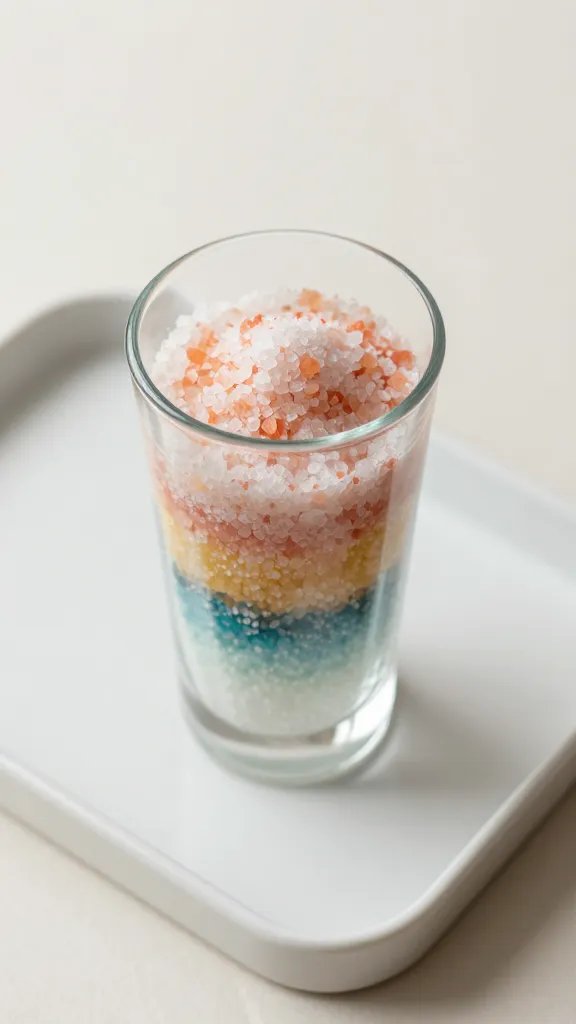
Layer colored water in a tall clear glass by varying salt concentration, creating a rainbow that visually explains density. This is a 20 to 40 minute activity with simple materials and a striking result for photos. Kids can predict which color sits where and then test it. It’s gentle on supplies and quickly cleaned up, though it helps to have pipettes or droppers for neat layering.
Cleanup tip: a disposable tray helps keep spills contained while you transfer colors between glasses.
13. Build a Fossil Dino Egg with Toothpaste Fossil Recreation
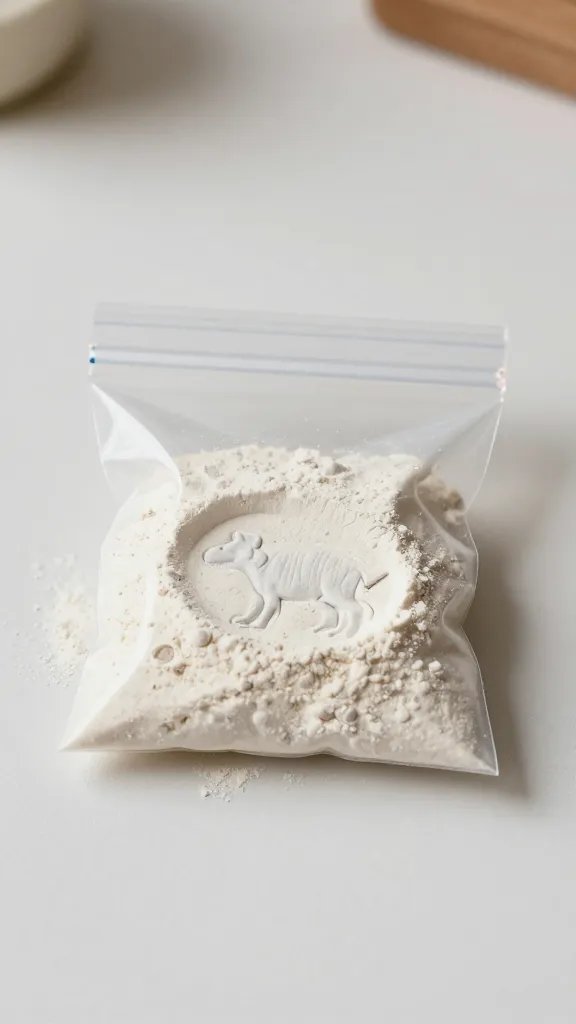
Fill a zip top bag with a small layer of flour or baking soda to press a toy fossil into and reveal a powdered imprint after dissolving the bag. It’s a quick 25 minute activity that yields a tactile demonstration of impression formation. Kids can paint the fossil after drying for a ready to display piece. Adult supervision is needed for tablet mixing and handling of the bag during the press.
Party trick: Use different colored powders to create eyes on the fossil for a fun display board.
14. Build a Weather Station Banner to Track Conditions
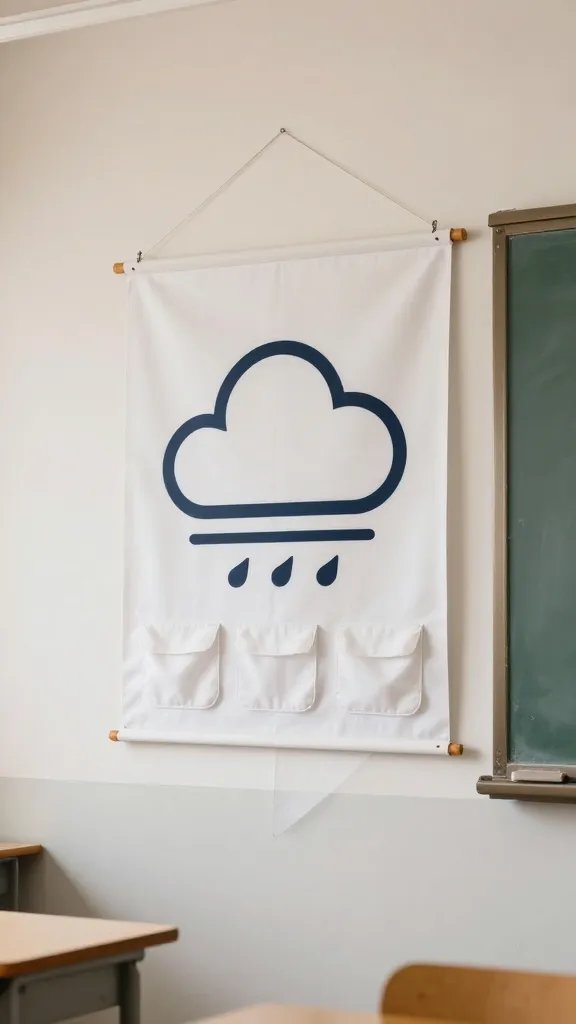
Craft a fabric or heavy paper banner with small pockets to hold simple weather indicators: temperature, wind direction arrows, cloud shapes. Mount it on a wall or a rolling stand for easy viewing. This is a two to three hour setup that becomes a long term educational piece kids can update daily. It’s a nice bridge between science and daily life and creates a rustic display for a classroom wall or entry corner.
Theme swap: Swap out icons for seasons to reuse the banner year round.
15. Fashion a Night Sky Glow Jar to Demonstrate Light Diffraction
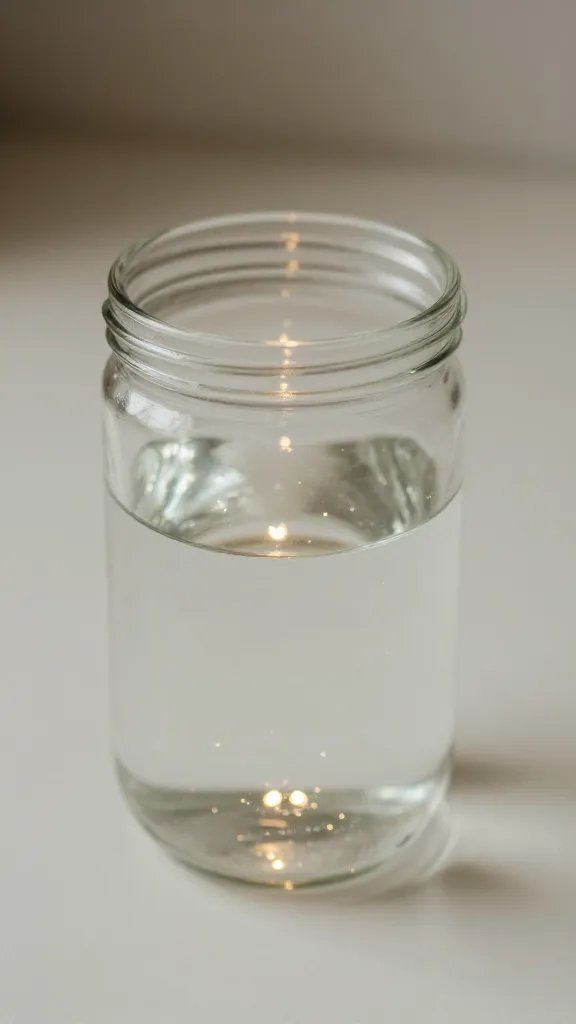
Fill a jar with water, a few drops of glitter, and a small LED light at the bottom to create a glowing night sky. Turn off the room lights for a few minutes and let kids observe how light scatters through the glitter. It’s a 30 minute project that looks impressive on camera and in the classroom. Ensure the LED is waterproof and the jar is sealed to avoid leaks. This makes a memorable centerpiece for a science fair or display bench.
What to upgrade: swap glitter for tiny white beads for a denser sky effect or add a dark velvet backdrop for richer photos.
With these 15 ideas in hand, you can tailor a science day to fit the space, the budget, and the time you have. Each one is designed to be doable, nature friendly, and visually engaging for photos. Pick two or three to test this week and your table will feel lively, organized, and ready for questions from curious minds. Save this for the next birthday that sneaks up on you.