
16 Paper Craft Ideas for Baby Shower Decor

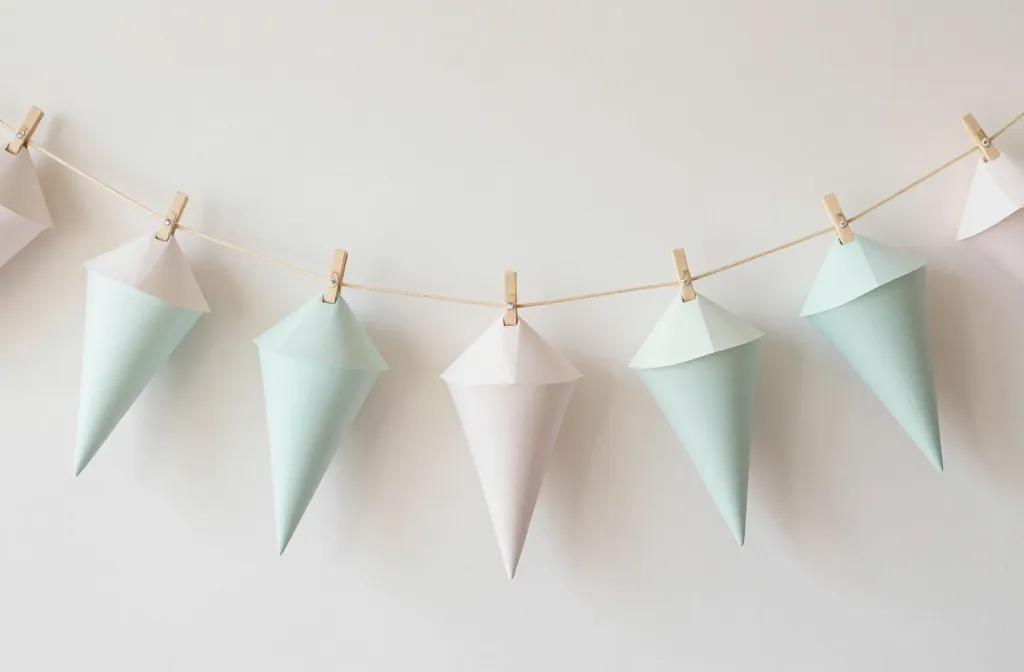
Planning a baby shower on a deadline means tiny, doable fixes beat grand visions every time. You want decor that looks thoughtful, not homemade chaos, and you want it to stay put until the last guest leaves. This guide keeps ideas that are copyable today and friendly to small spaces, with materials you likely already have. You’ll find color, texture, and a few clever hacks to keep things affordable and pretty in photos. Each idea fixes a common party snag and fits a midweek setup.
Read straight through for fast, practical paper crafts you can actually finish this week. The trick is to pick two or three ideas that work with your space, then batch them to save time. Here are 16, each created with a real party in mind.
1. Paper Cone Baby Rattle Garland
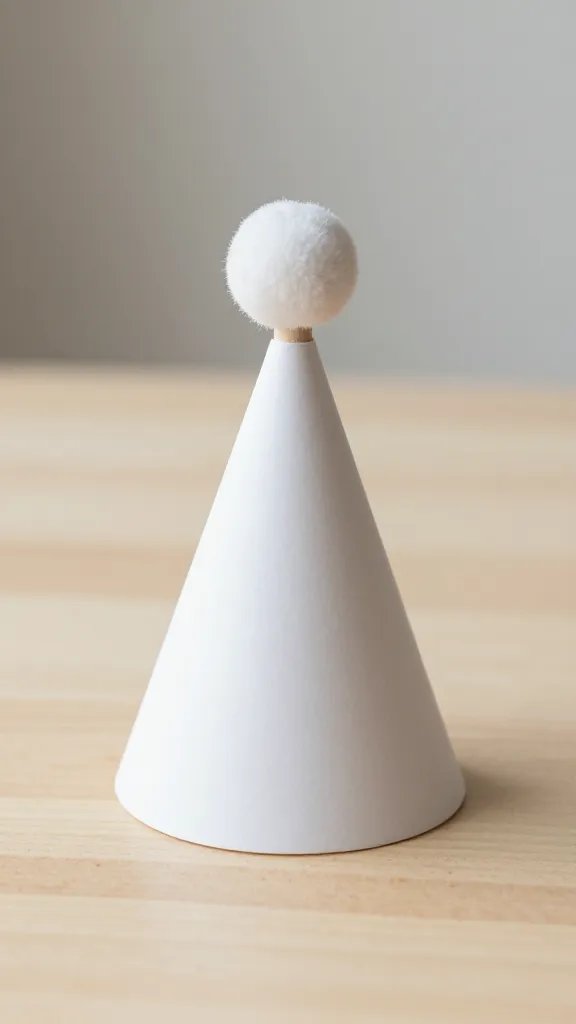
When a dessert table feels flat, a garland adds height and motion without taking over. Create baby rattles from rolled paper cones, glue on a small pom pom at the tip, and string them along a twig dowel or a lengths of twine. The cones catch light and draw the eye toward the dessert area. Time to complete: about 45 minutes for a 6-foot garland if you pace yourself with a helper. Use what you have: scrap craft paper, ribbon scraps, and a dab of glue to finish edges.
Color note: Pick two colors from the party palette and repeat them across each cone for cohesion.
2. Soft Tissue Bunting With Baby Shapes
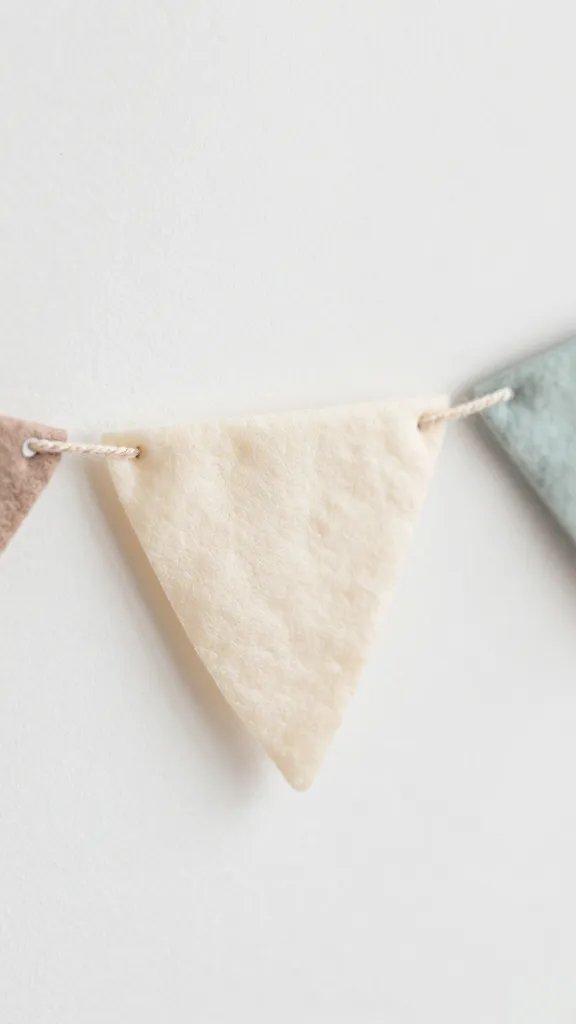
A light, airy backdrop adds softness to photos without blocking the spotlight on the cake. Cut baby shapes from tissue paper in two sizes and glue between two lengths of twine. Layer colors for depth, and mount against a door frame or under a window for a quick, ready-made banner. You’ll finish in about 60 minutes with two helpers. Safety: tape the shapes to a low, safe height so little hands don’t pull them down.
The detail to steal: Use small clothespins to clip shapes so you can reuse the shapes on a new banner later.
3. Mini Card Stock Bibs as Place Cards
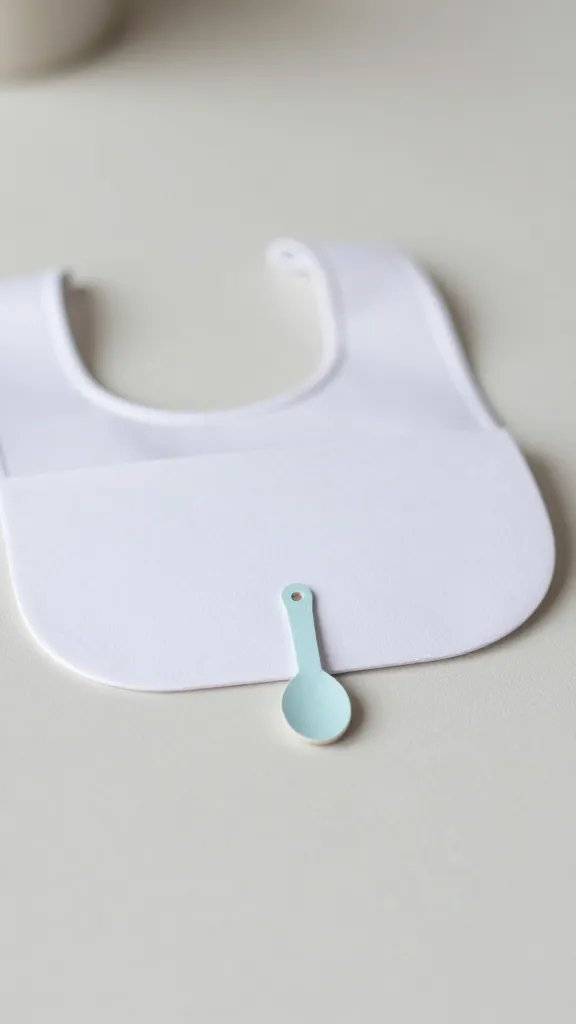
Upgrade a bare tablescape with place cards that double as decor. Fold small card stock bib shapes in half, write guest names, and slip a tiny paper spoon or charm on the front for the theme. It looks polished and stays simple to assemble. Supplies: card stock, scissors, a ruler, and a black pen. Time: 25–40 minutes for a 12-person table.
Copy the look: Use pastel cardstock folded to resemble bibs; punch two tiny holes and thread a ribbon to tie to napkins.
4. Balloon Photo Backdrop With Paper Streamers
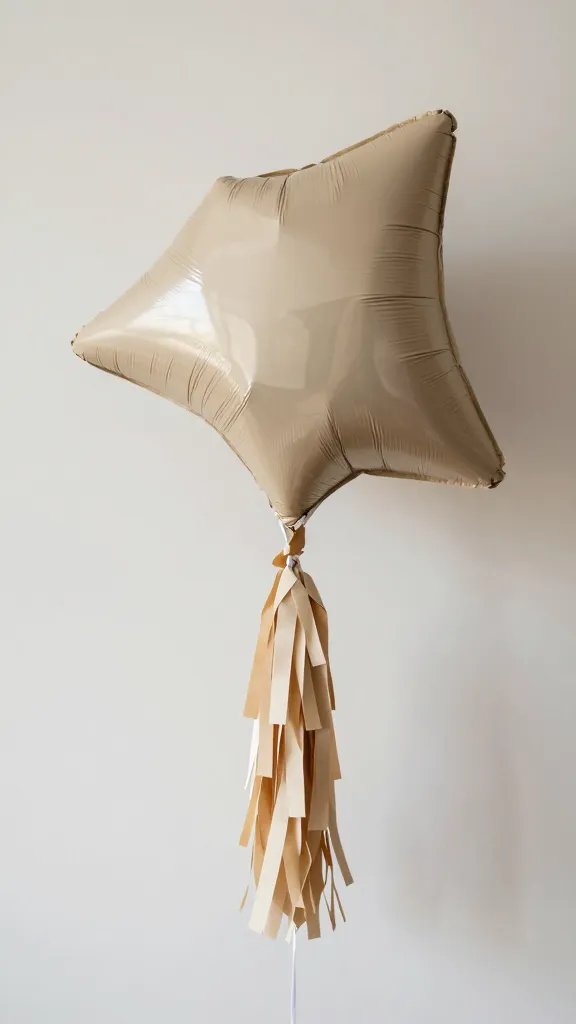
If your space is tight, lean on a photo backdrop that doubles as decor. Inflate balloons in two coordinating colors, then anchor with a fringe of paper streamers at the bottom. Tape or clip the streamers to a long strip of kraft paper for a clean line. A 6–8 foot width fills a wall nicely and requires about 30 to 45 minutes to assemble. Open flames stay away; helium balloons are preferable for safety.
Best for: A small apartment or a corner near the cake table where pictures will be taken.
5. Floating Paper Lantern Centerpiece
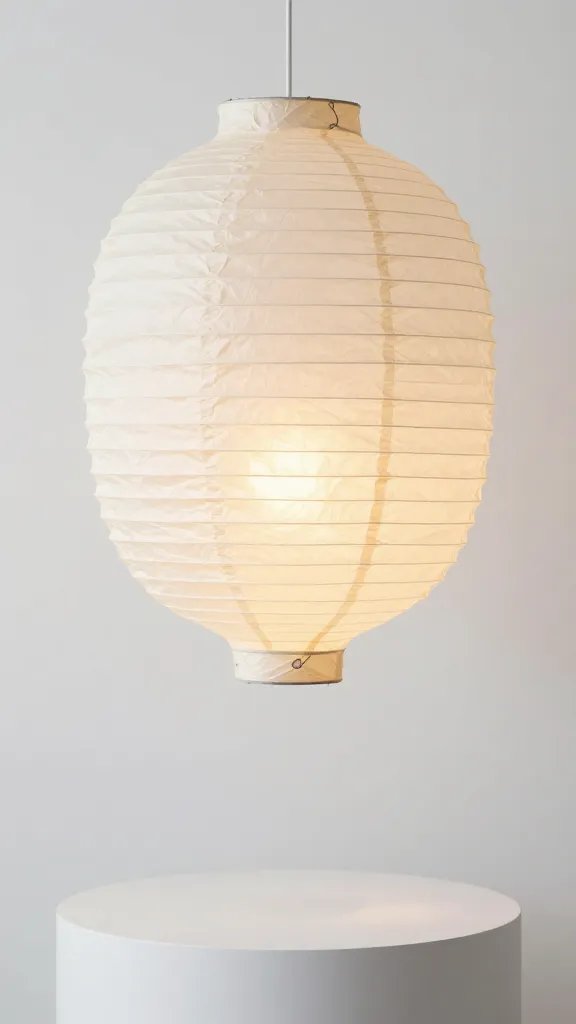
Lanterns feel high-end but come together with simple knotting and a light wash of color. Inflate a battery powered light inside two paper lanterns, stack them with a spacer, and place on a short pedestal or cake stand. This fixes a dull centerpiece and keeps guests’ eyes up. Assembly time around 20 minutes if you plan stations. Use what you have: leftover tissue, string, and craft beads as a finishing touch.
Panel note: If you want to reduce costs, flip the plan to a single lantern with a few paper ‘clouds’ around it.
6. Baby-Themed Quote Wall With Card Stock Cutouts
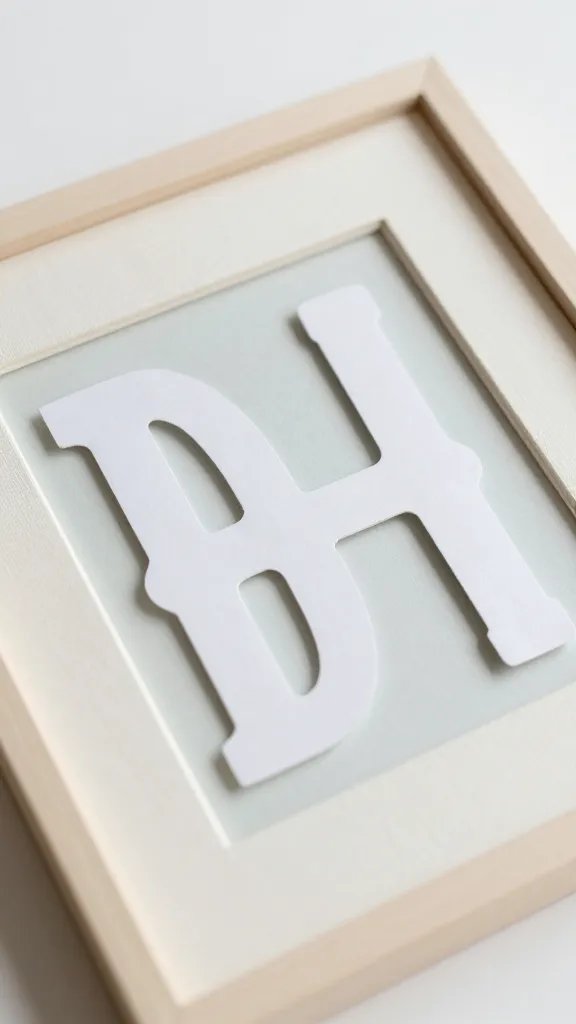
Capture the vibe with a small, framed quote wall. Cut letters from white card stock and back with colored cardstock for contrast. Include a few baby-themed shapes like bottles, boots, or rattles. Mount on a fabric canvas or a sturdy poster board propped on a shelf. It takes about 40–60 minutes to assemble and looks thoughtful in photos. Gather scraps from other projects to cut costs and keep the palette cohesive.
What to avoid: too many fonts; pick one or two for readability.
7. Paper Rosette Backdrop For the Dessert Table
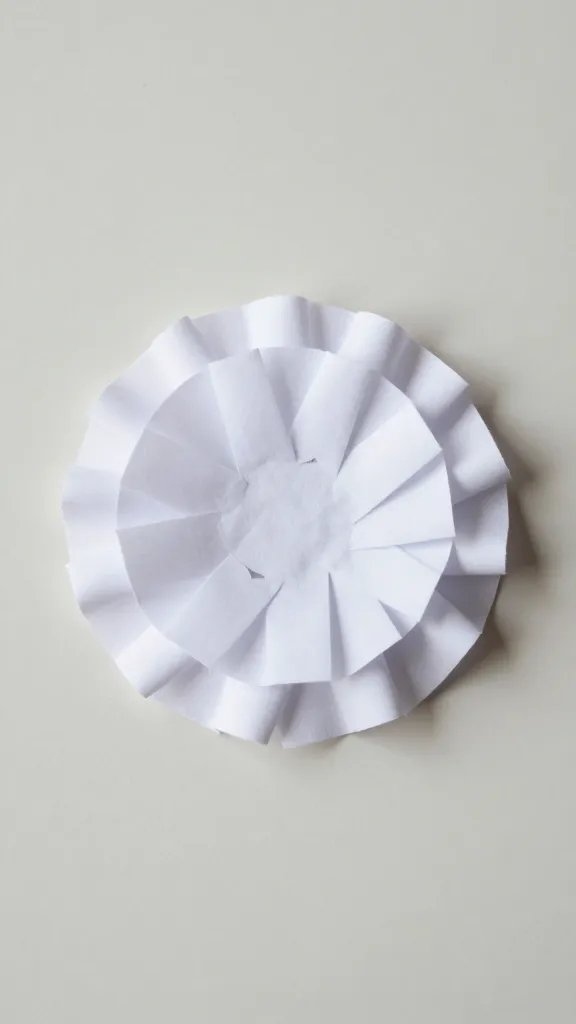
A rosette wall adds texture without heavy craft time. Fold both sides of each paper rosette and glue flat against a cardboard panel. Space them in a tight grid to cover a wall or open space behind the dessert table. It’s a weekend project you can break into two sessions, about 1.5 to 2 hours total. Color in your theme and stagger sizes for visual interest.
Make ahead: Glue the rosettes flat and store flat in a box until party day.
8. Polka Dot Doily Ball Orbs
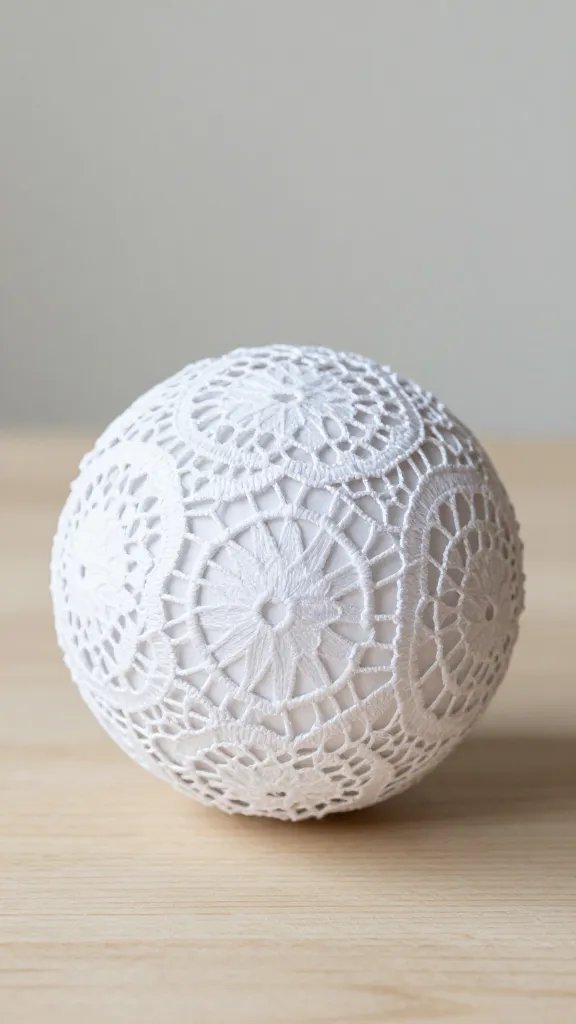
Bring whimsy with lightweight doily balls. Layer two or three layers of punched paper doilies into a ball shape with a dab of glue and thread a ribbon through the top for hanging. The effect is delicate and inexpensive. Time: about 20 minutes per ball; plan for 3–5 depending on space. Safety note: avoid small parts near kids who are on the move.
Color note: Choose a single color family and vary the opacity for depth.
9. Baby Footprint Paper Banner
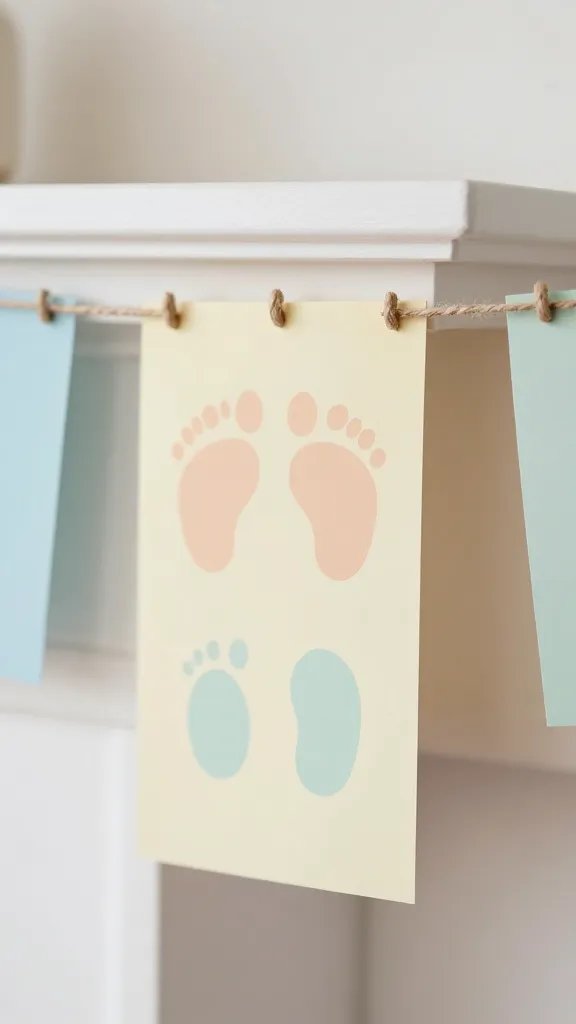
A tiny footprint banner is adorable and personal. Trace a foot shape on colored paper, cut, then glue to string with equal spacing. Repeat into a long garland that drapes across a doorway or along a mantle. It’s quick, about 30–45 minutes for a 6-foot banner. Supplies are common: construction paper, scissors, glue, and twine.
Little hands tip: Let kids help cut shapes with blunt scissors under supervision for a charming, collaborative look.
10. Chevron Paper Garland With Baby Colors
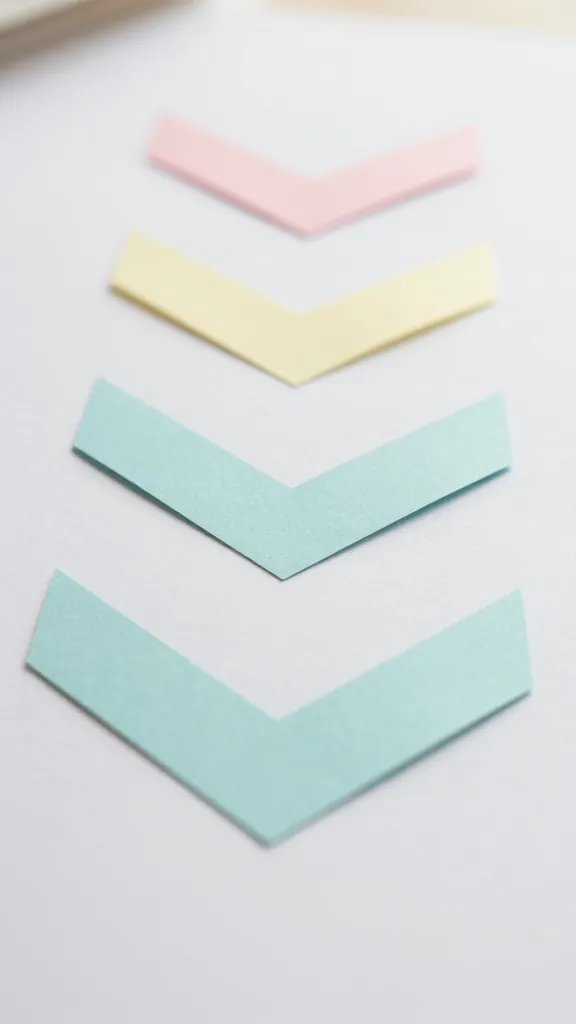
Cards and craft paper can become a modern garland in minutes. Cut long chevron shapes in two colors, string them alternatingly, and hang in a zigzag along a wall. The effect is bold in photos and surprisingly quick—about 45 minutes for a 12-foot garland if you cut while chatting with a friend. Use sturdy paper for clean edges and a sewing pin to ease threading.
Best for: Filling blank walls without heavy furniture changes.
11. Soft Fringe Wall With Tissue Strips
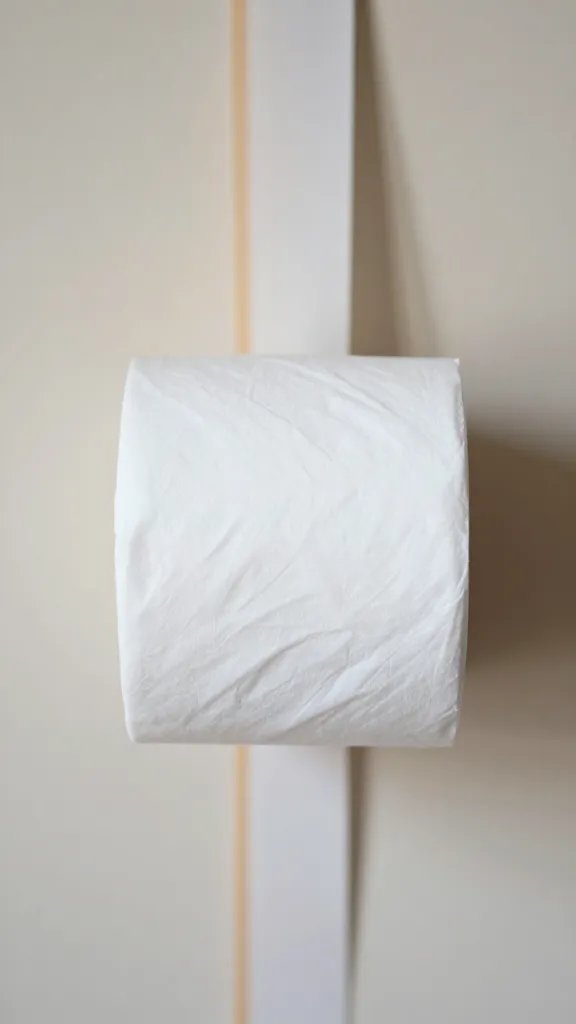
Light, airy fringe softens a room and looks great in photos. Cut narrow strips of tissue in two or three colors, tape to a wide strip of kraft paper, and hang as a long wall band. It’s a quick 30–40 minute make and uses inexpensive tissue. Safety: keep away from open flames and use tape instead of glue for easy removal after the party.
Reuse it later: Keep the fringe, roll, and store for a future baby shower or birthday party.
12. Baby-Themed Paper Confetti Runner
A runner of confetti is great for a long buffet table. Punch tiny shapes—bottles, booties, stars—from colored paper and scatter in a dense stripe down the middle of the table. This looks curated and gives you a color pop without buying a table runner. Time: 15–25 minutes to punch, plus a few minutes to spread. Safety: avoid choking hazards for little ones near the edge.
Use what you have: Punch shapes from scrapbooking sheets and cereal box cardboard for a sturdy background.
13. Mini Paper Gable Flags on a Twig Branch
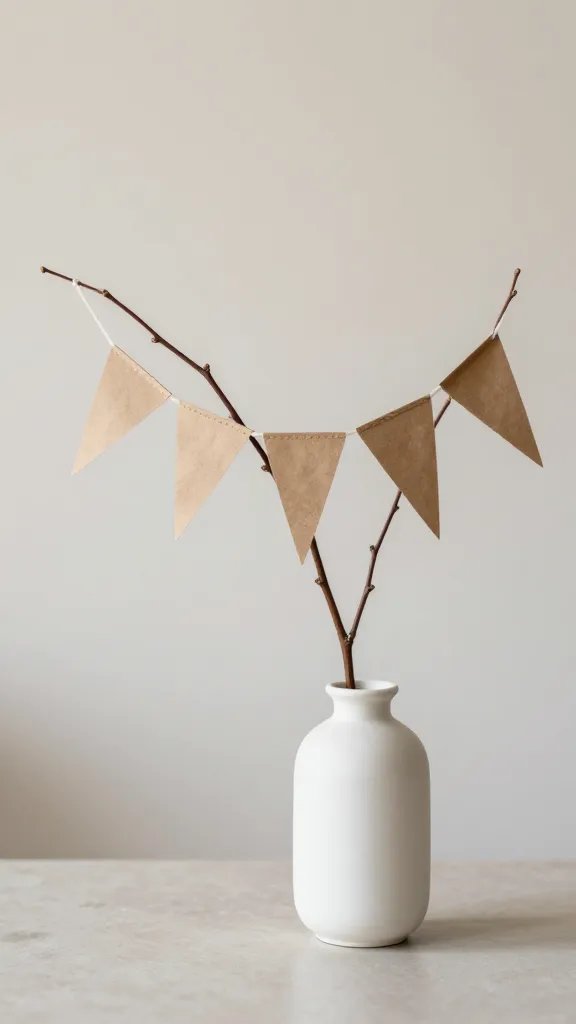
Repurpose a branch from outdoor tidy up by gluing mini pennants to its branches. Each flag is cut from kraft or colored paper and printed with a single letter or motif. The branch becomes a natural centerpiece that travels well and looks polished in photos. Time: 30–45 minutes to cut and assemble. Place in a vase with water to keep the branch sturdy longer.
Moonlight note: If you can’t find a branch, use a long dowel painted white to mimic the same look.
14. Paper Cupcake Toppers In Soft Colors
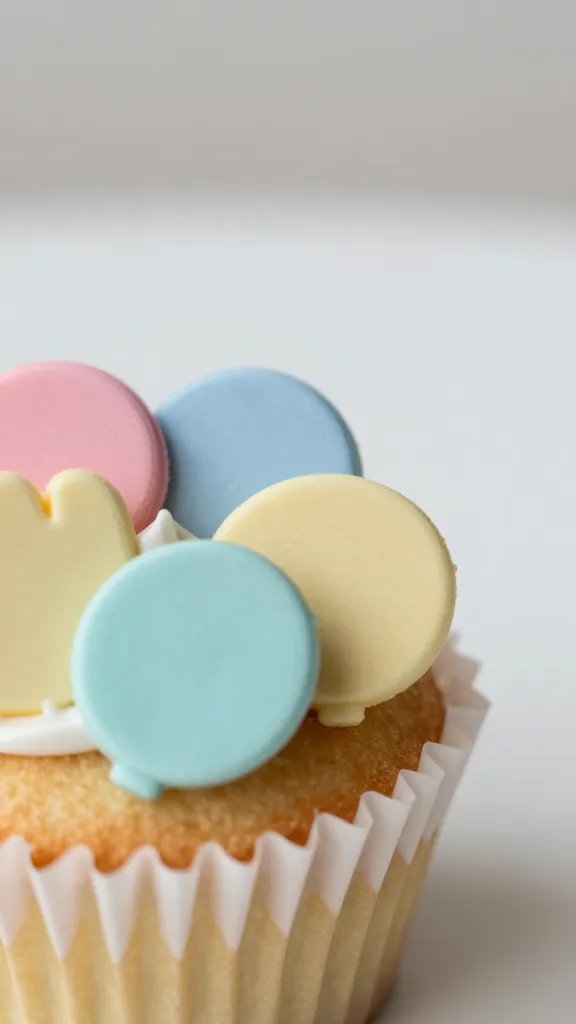
Top cupcakes with little paper toppers that echo the baby theme. Cut small shapes from card stock, attach to toothpicks, and place into cupcakes. It’s quick—about 20 minutes for a dozen toppers—and can be coordinated with the cake style. Use a single motif for cohesion and color match with the table decor.
Supply tip: run a quick color test on a scrap of paper before cutting full sets to ensure the hues read well together.
15. Folding Book Page Flowers For A Wall Panel
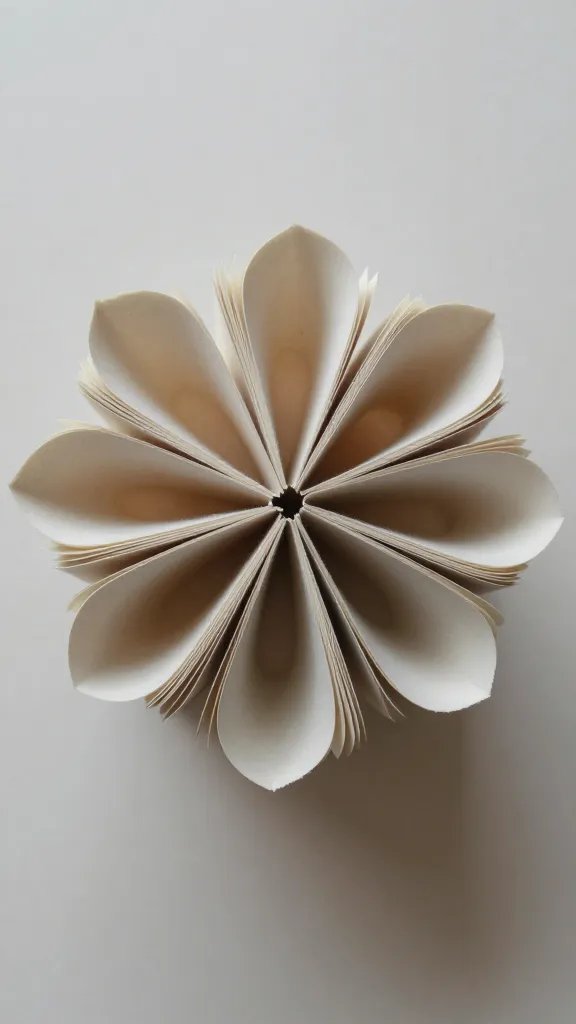
If you have old books, craft a small wall panel using folded pages shaped into flowers. Attach to a foam board in a centered pattern. It’s a striking, budget-friendly option that adds texture without a heavy footprint. Expect 60–90 minutes depending on how many flowers you make. This works best with a calm, single color palette so the texture reads clearly in photos.
Safety note: avoid using fragile book pages near heat or open flames; use a low-heat glue gun with adult supervision.
16. Papercut Baby Animal Silhouettes On Wall
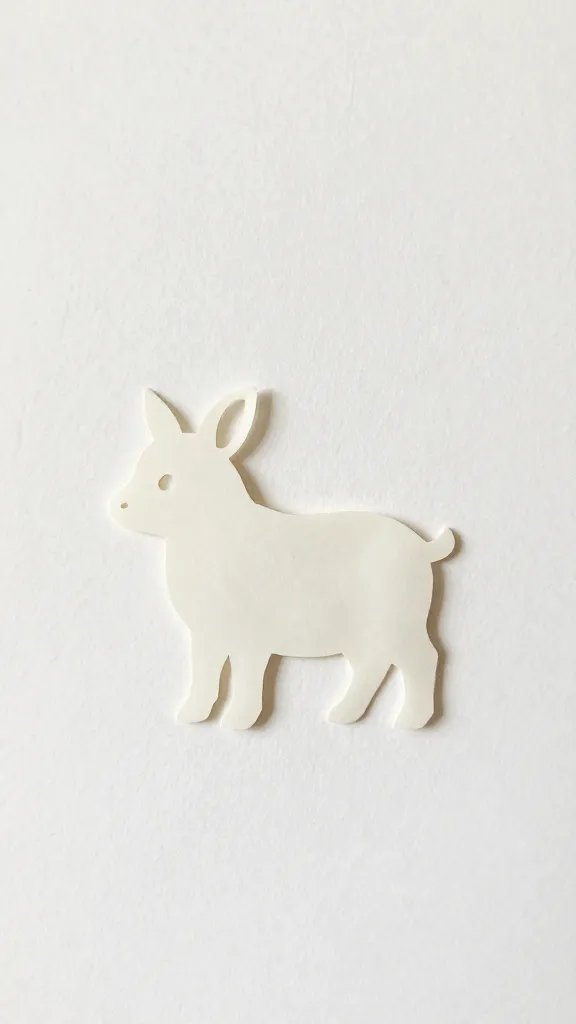
Simple silhouettes cut from colored paper create a playful wall scene. Layer them on a large sheet of poster board or directly on a wall with low-tack adhesive. It’s quick to assemble—about 40 minutes for a 4–5 foot display—and easy to customize with your favorite baby animals. Use a few sizes for depth and repeat a small color set for harmony.
Why it works: Clean lines read well in photos and stay light on a budget.
With these 16 paper craft ideas, you can shape a cohesive baby shower decor that photographs beautifully and feels thoughtfully put together. Pick three to batch, then divide the tasks—cutting, stringing, and hanging—to finish in one evening. save this for the next birthday that sneaks up on you.