
15 Paper Craft Ideas for Wedding Decorations

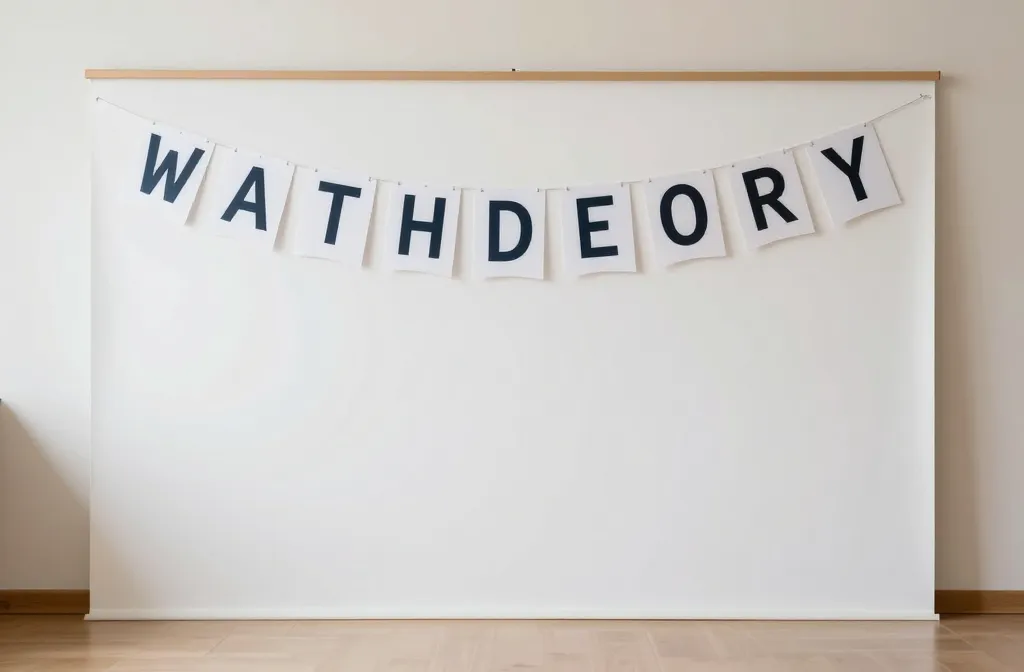
When a wedding budget is tight or the venue feels bare, you reach for paper, glue, and a little bit of patience. These ideas focus on approachable, fast setups that photograph well and don’t break the bank. Each one is doable today with common supplies and a clear time estimate. You’ll find practical tweaks to scale up for a bigger space or dial down for a cozy loft.
From simple backdrops to charming favors, these paper crafts keep the look cohesive without demanding a full creative team. Use the ideas in this order if you’re staging a quick, stylish setup, or mix and match to fit your venue. Let’s start with a banner that anchors the room and guides guests to the photo spot.
1. Paper Banner Backdrop With Double-Sided Letters
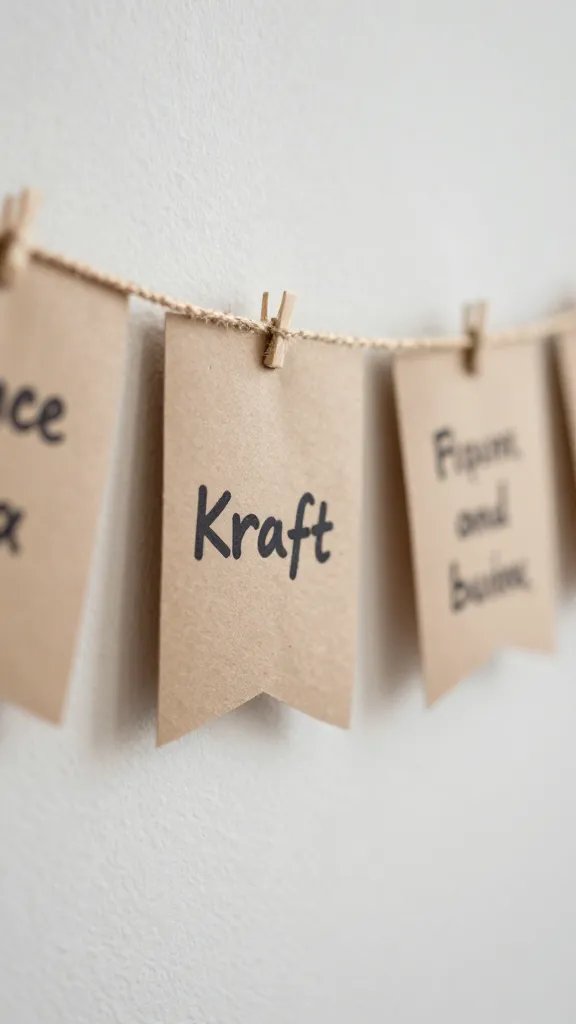
Creating a focal wall with a banner is a reliable fix for a room that needs texture. Cut square tags from kraft or colored paper and write or paint each guest name or a phrase like “Love Wins.” Use a single string or twine to hold the pieces in a straight line, then tape or pin to a wall. This works in small spaces because you can set it up on a simple curtain rod or nail. If you’re short on time, trim the letters with a tiny border to give the banner a polished edge.
Color note: Use two colors from the wedding palette for a cohesive look. Time to make: 60 to 90 minutes.
2. Floating Paper Lantern Orbs
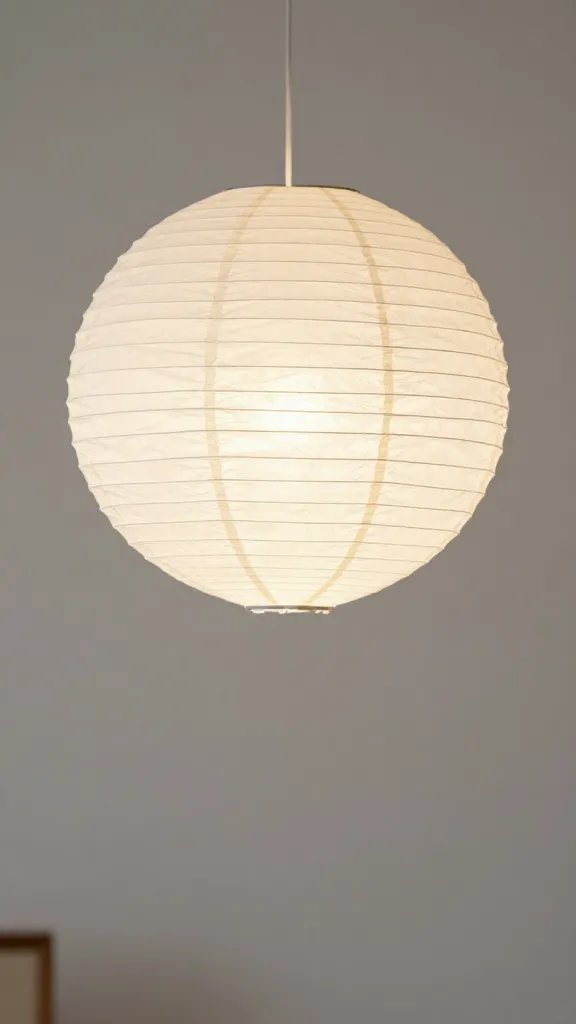
Lanterns add soft, ambient light without needing electricity or candles. Inflate lightweight white or tinted paper lanterns and hang them at varying heights from a ceiling or doorway. For a little drama, group three to five in a cluster above the cake table. If the venue has a high ceiling, add a few longer cords to create a gentle drift that reads as a cloudscape in photos.
The make: Choose sizes that echo your space, then attach a small fishing line to each for easy, invisible suspension. Make it ahead: Assemble lanterns the day before and store flat in a box.
3. Paper Flower Wall With Two Tolds
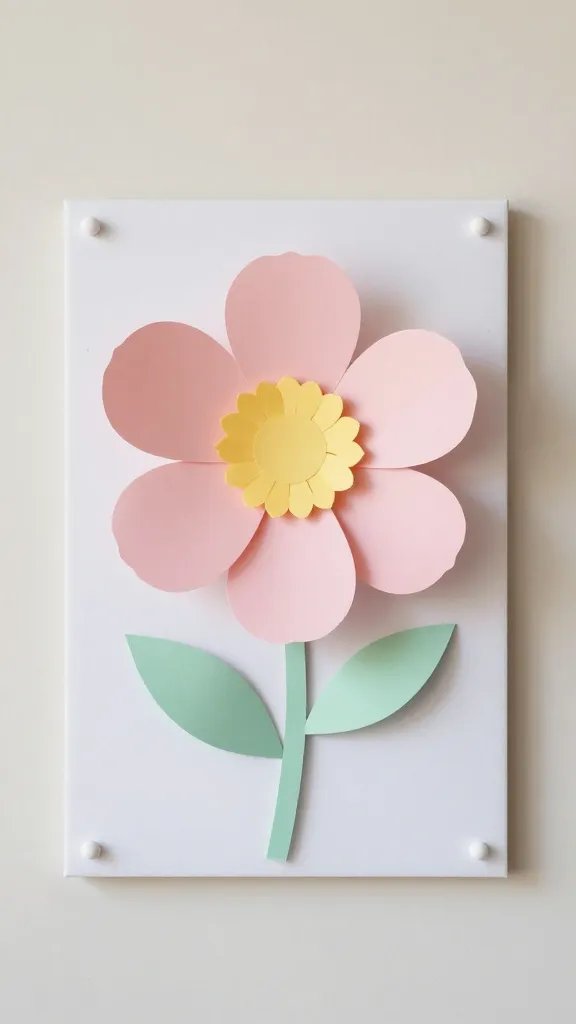
A couple of large DIY paper flowers anchored to a lightweight foam board or fabric panel instantly transforms a dull wall. Use one big centerpiece and several smaller blooms to create depth. If you’re short on time, bulk up the look with tissue paper circles tucked around the petals for extra fullness. Keep the stems off the floor by attaching them to a hidden strip behind the board.
Copy the look: Use pastel tones mixed with a bold accent hue from the palette. Use what you have: Old book pages can be tinted with a splash of paint for vintage petals.
4. Modular Black and White Table Runner Squares
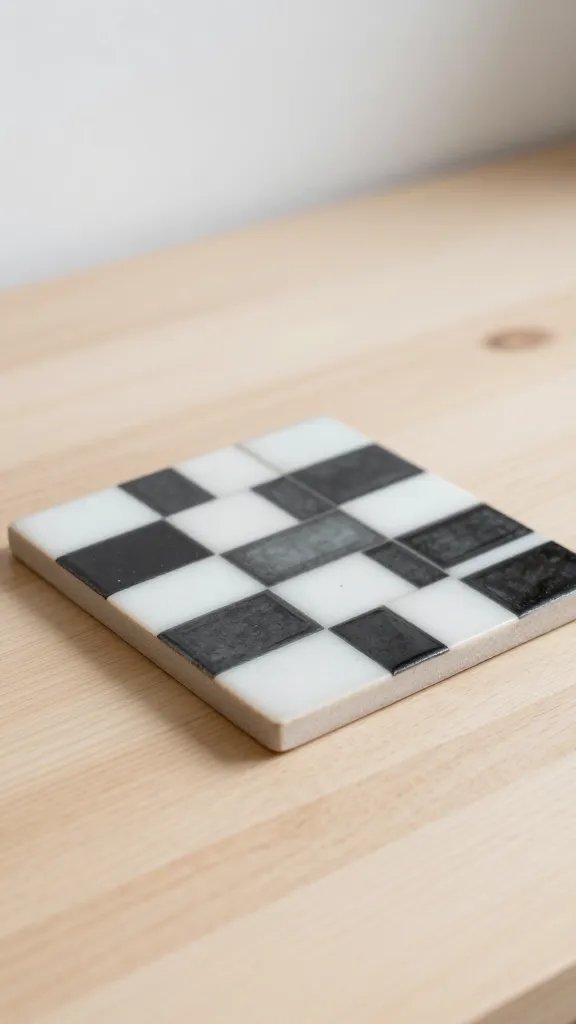
Make a sleek seating area by cutting black and white square mats from heavy cardstock or craft foam and laying them as a patchwork runner down the center of each table. Seal edges with a light glue or double-sided tape. This adds structure and a modern vibe without expensive linens. Arrange the squares into a grid that’s easy to pick up and reassemble after cake time.
Best for: small tables, tight budgets. Time to finish: about 45 minutes for a 6-foot runner.
5. DIY Paper Doily String Garland
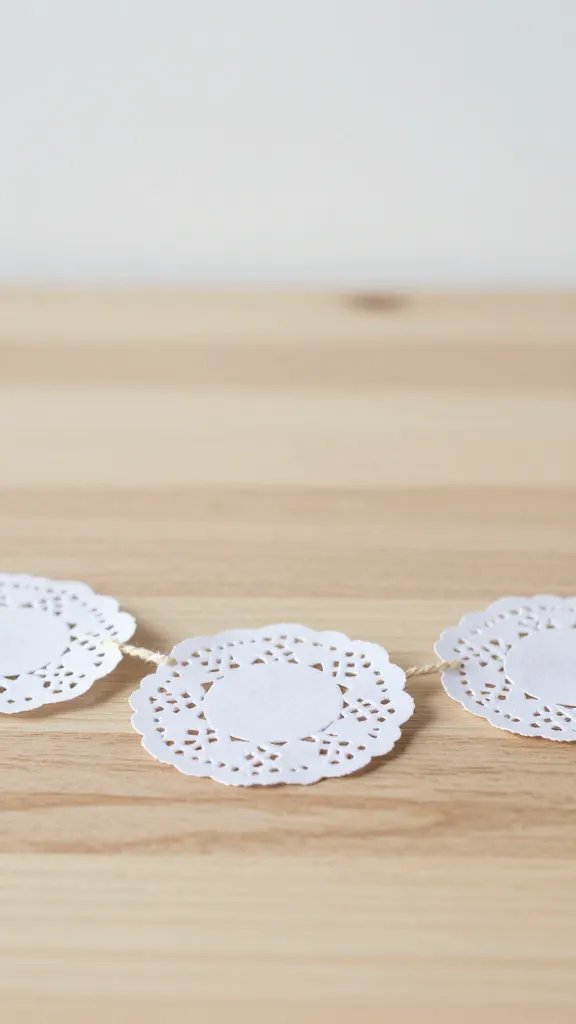
Doily shapes layered onto a thin cord create a delicate, airy vibe perfect for garden or barn settings. Punch holes in the doilies, thread them onto tea stained or white baker’s twine, and space them evenly. Hang the garland across entryways, windows, or behind the dessert table. If you’re worried about weight, switch to lightweight cardstock doilies. Keep a roll of tape handy to align spacing as you go.
Why it works: Texture without bulk. What to avoid: Dense paper that droops in heat.
6. Origami Crane Favors In Taded Tones
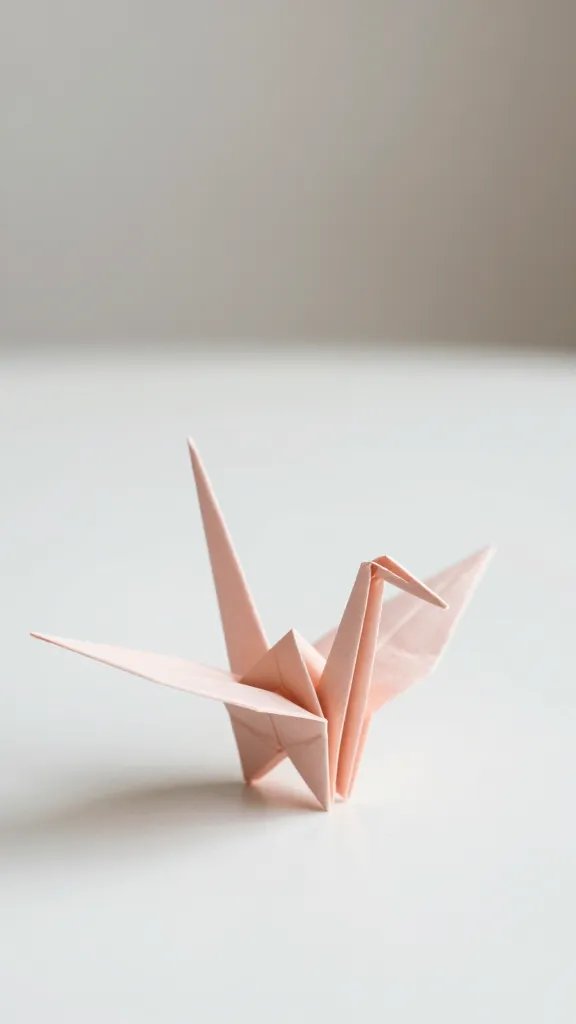
Fold several cranes from colored paper in a unifying palette and string them together as a long garland across the guest book area or along a seating card display. Each crane doubles as a keepsake. For a faster version, use pre-folded origami paper and focus on a simple crane silhouette. Secure the string to a thin dowel for extra rigidity if you have a breezy venue.
Make it ahead: Fold 6 to 8 per guest table match. Safety note: Small paper pieces are a choking risk for little hands. supervison needed for kids.
7. Map Knot Place Card Holders
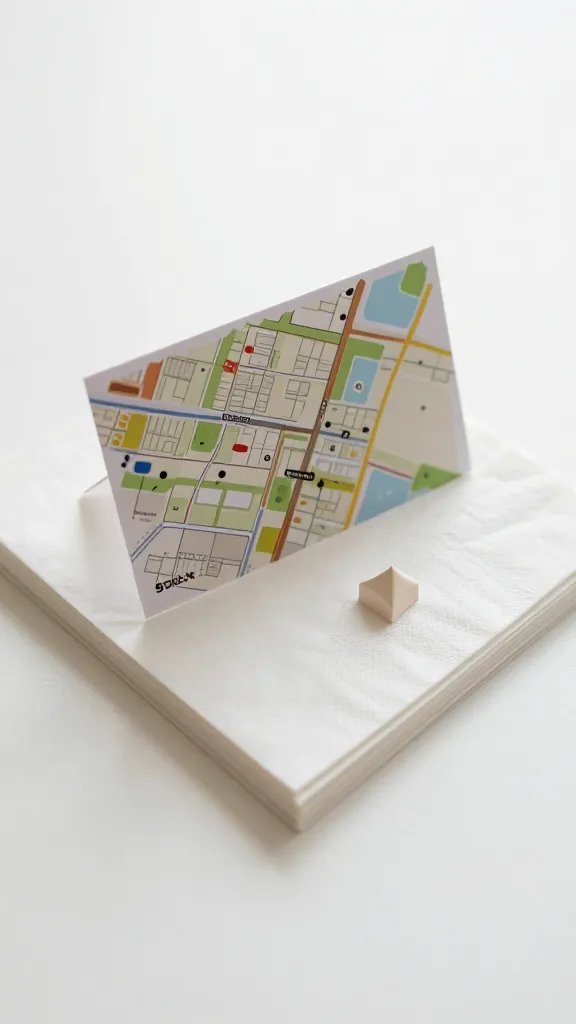
Cut card stock into small maps or city shapes, fold into tiny tents, and hot glue a name tag on each. To keep it simple, pick one city or a venue map as a motif. Mount each card on a toothpick or a small wooden peg and insert into the napkin stacks. Group guests by table using a color-coded ribbon tie to tie the look together.
Use what you have: Recycle old postcards for a personal touch. Timing: 30 to 40 minutes for 60 cards.
8. Confetti Window Cutouts
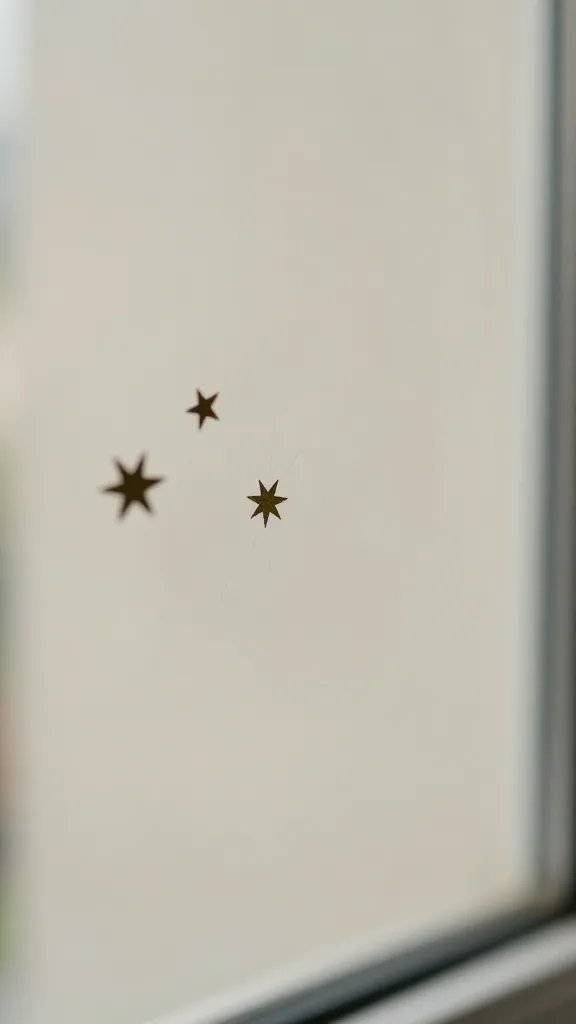
Make little starburst confetti shapes from shimmering cardstock and tape them in a loose pattern on windows or glass doors. The light will bounce through, creating sparkles without a big glitter mess. If the venue has sheer curtains, clip the shapes to the curtain rod at different heights for soft movement when guests pass by.
Placement note: Use removable adhesive to protect glass. Time to make: 25 to 40 minutes.
9. Ribbon Tie Doorway Frame
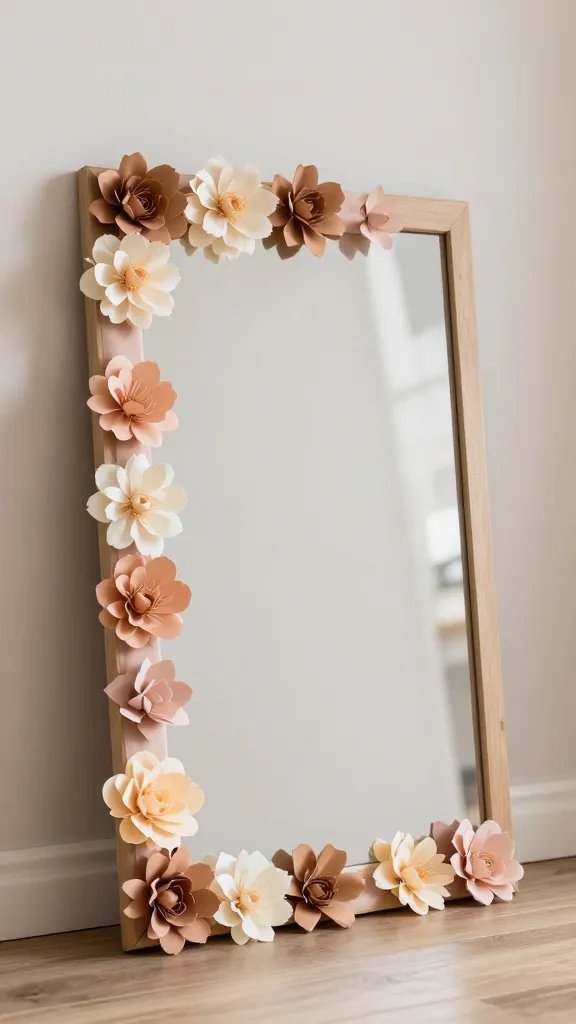
Create a warm entrance by wrapping a lightweight frame or open doorway with ribbons that cascade down in soft loops. Use two or three widths of ribbon in the same color family for depth. Finish with a few paper blooms tucked into the ribbons at random points. This is a fast, impactful way to say welcome without a big investment.
Flight plan: Attach ribbons with removable hooks or painter’s tape so you can reuse the frame later. Make it ahead: Assemble the frame on the day before the wedding.
10. Petal Pompom Garland
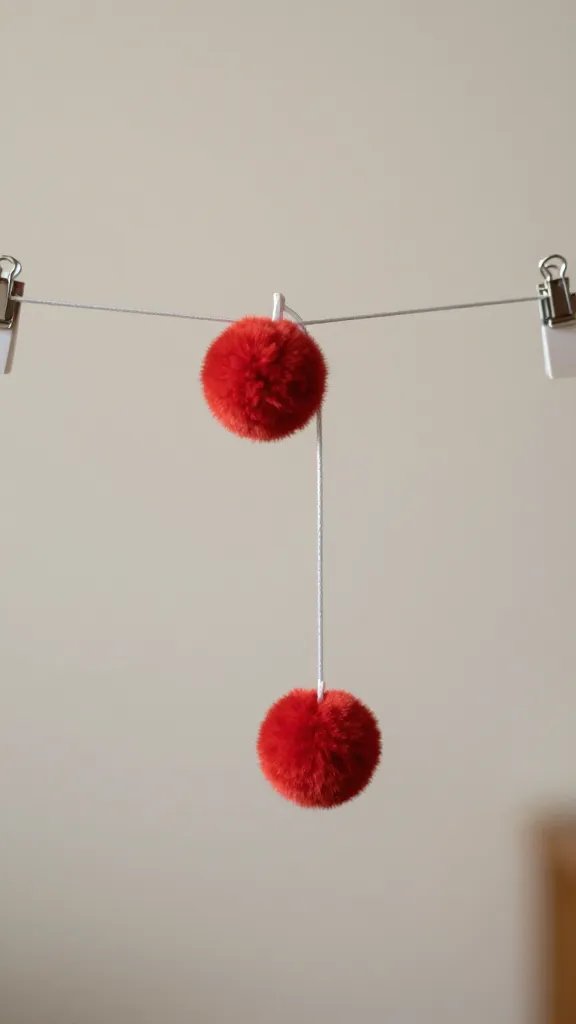
Cut tissue paper into petal shapes and crumple them lightly for texture, then glue to a long piece of string in layers. The result looks like a soft flower chain that can drape across tables or along the back of chairs. If you want a heavier look, switch to two-toned card stock petals. Secure the garland with small clips to avoid glue mess on fabrics.
Best for: indoor spaces with moderate airflow. Time: 40 to 60 minutes for 8 feet.
11. Seed Packet Favor Boxes
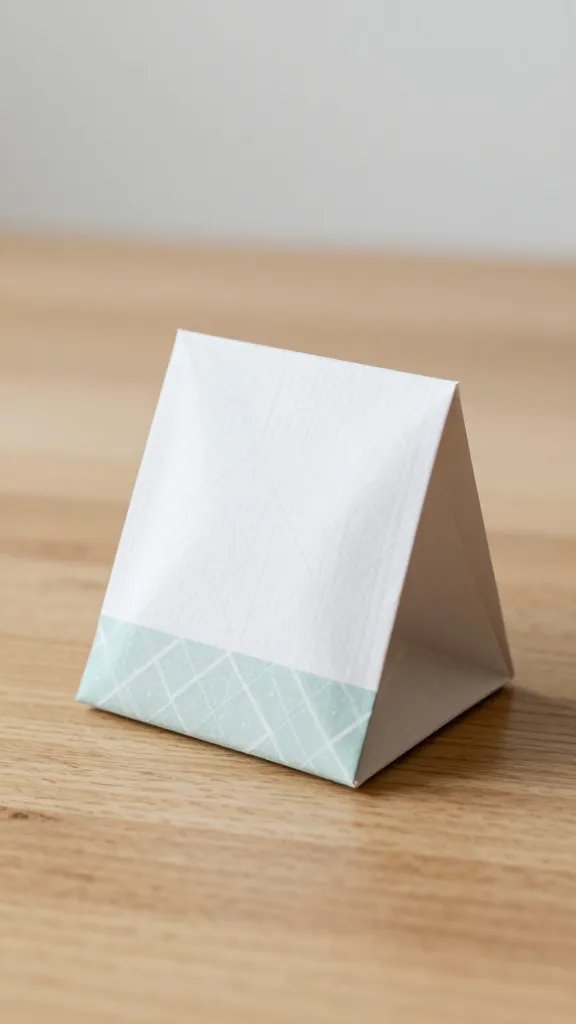
Fold small seed packet shapes from patterned scrapbook paper and fill with a few seeds or candy. Seal with a sticky label that includes the couple’s initials and wedding date. Line up the favors along a table or on a long tray for a charming display that guests can grab easily as they mingle. This keeps the decor meaningful and useful long after the party ends.
Make it ahead: Pre-assemble boxes the week before; fill right before guests arrive. Safety check: Small items can be a choking risk for little guests.
12. Chalkboard Card Circle with Paper Surround
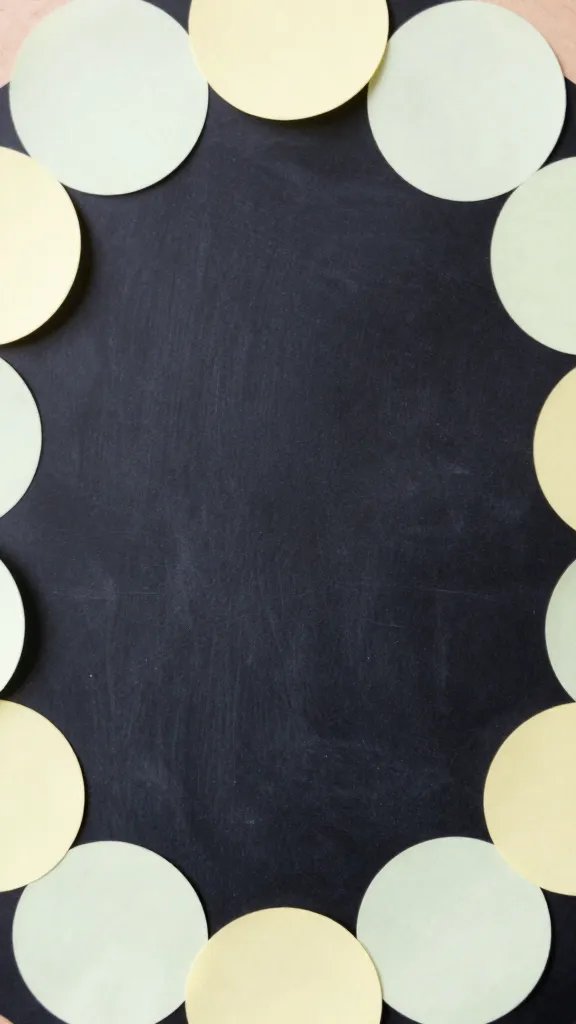
Draw a large circular frame on a chalkboard panel, then glue a ring of cut paper circles around it. Inside, paste a favorite quote or the wedding date. If you don’t have a chalkboard, use a large foam core board painted black and add the same paper ring. This setup gives guests a charming focal point for photos without requiring a lot of space or permanent fixtures.
Copy the look: Use the palette’s two light colors to keep it legible. Make it ahead: Pre-cut the circles a day before the event.
13. Paper Vase Buds With Minimal Stems
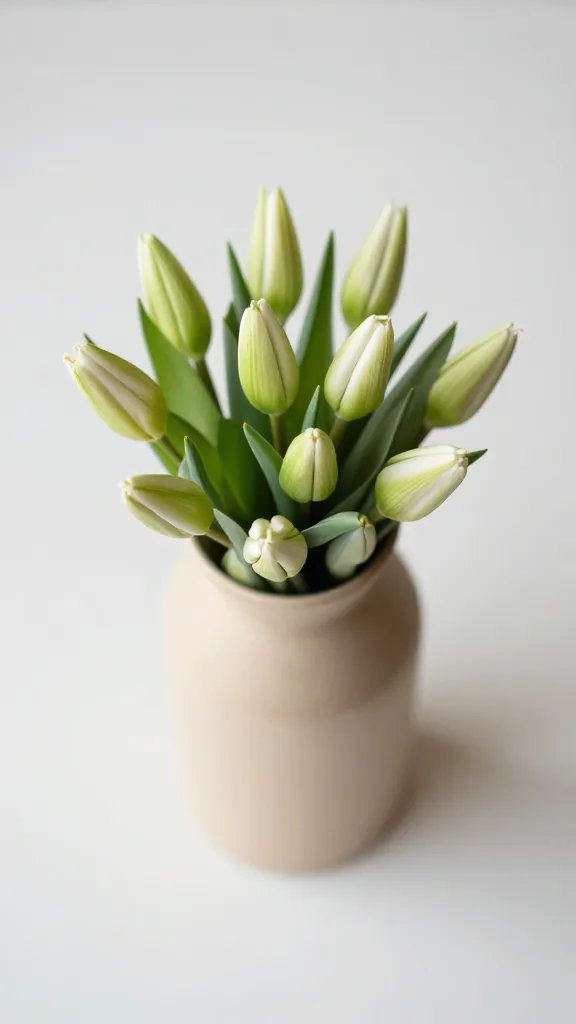
Cut small paper cups and stack them into a bouquet shape, gluing a few paper buds inside each cup. Tie the cups to short, clean stems or skewers and place in a simple vase. Group several of these bud clusters to create a low centerpiece that won’t overwhelm the table. Keep stems short for stability and cleaner sightlines across the table.
Best for: budget-friendly centerpieces. Time: 60 to 75 minutes for 6 small vases.
14. Mini Cardboard Shadow Box Frames
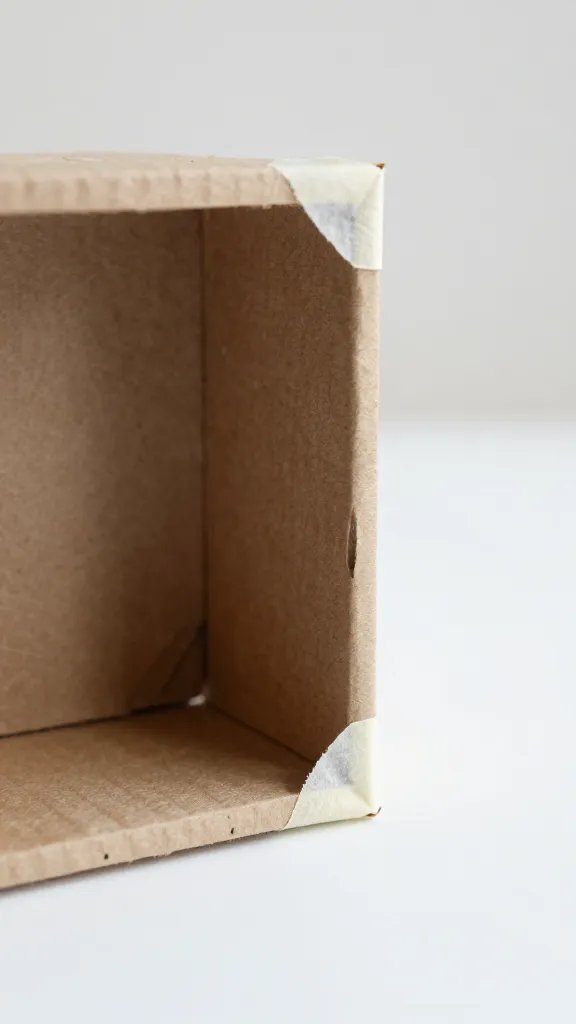
Decorate small cardboard frames with scraps of washi tape and a few cut-out petals. Place tiny photos or initials inside and set them on a table or hang on a wall with a few clips. The frames provide depth without a heavy visual weight. This is especially nice in hallway areas or near the guest book to catch the eye as guests move through the venue.
What to avoid: heavy frames that sag under weight. Time to finish: 40 to 50 minutes for 8 frames.
15. Paper Ribbon Wall With Positive Messages
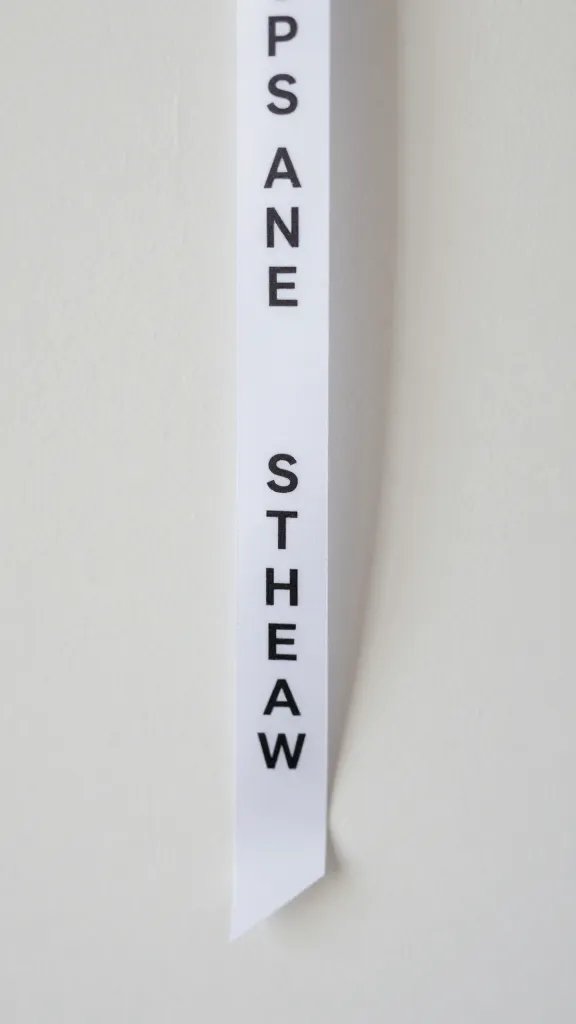
Cut ribbons from colored paper and write short, sweet messages on each. String them across a wall in a tight grid or a loose, flowing line. The result is a gallery feel that guests can read and enjoy as they mingle. If you’re crunched for time, pre-write messages on sticky notes and tuck them behind each ribbon for a quick reveal when guests arrive.
Best for: intimate celebrations or a styled lounge area. Make ahead: Write messages a day in advance so setup is quick.
Conclusion
These 15 paper craft ideas keep wedding decorating practical, affordable, and photo friendly. Pick a couple that suit the venue and guest flow, or mix them all for a layered, editorial look. Remember to work with what you have and scale up where you can. Save this for the next birthday that sneaks up on you.