
17 Paper Snowflake Ideas Beyond the Basic Shape

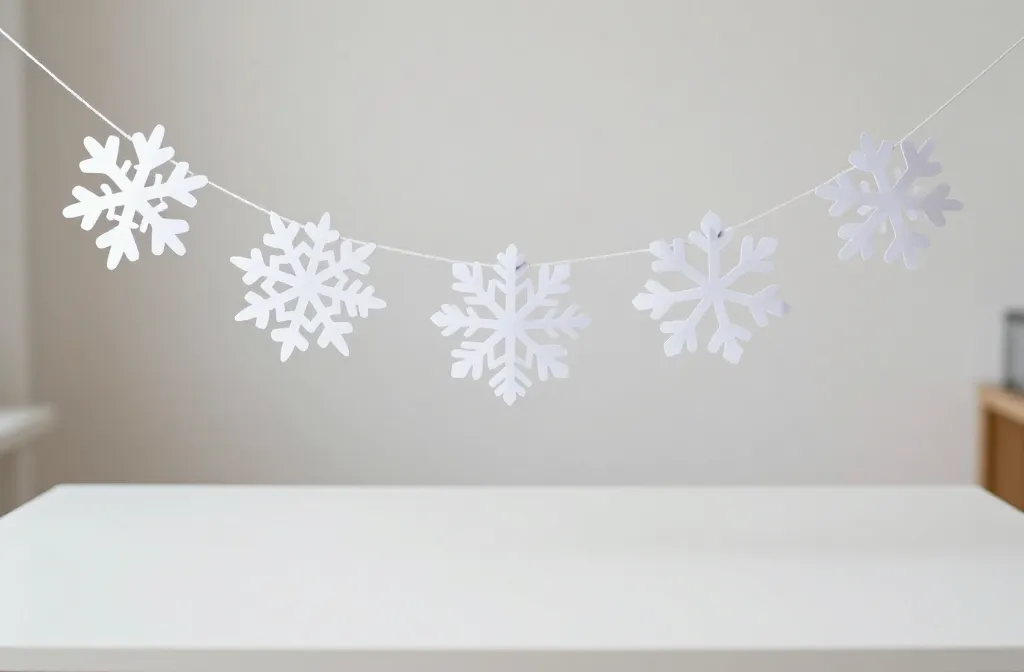
When the basic snowflake feels played out, your next party can still glow with simple paper magic. These ideas stay doable, inexpensive, and fast enough to set up this week. The goal is decorations that read as thoughtful, not rushed, while still keeping cleanup light and the craft space calm. You’ll use common scraps and a few quick twists to transform a table of plain white into a wintry display that photographs well on a phone screen. 17 ideas, each ready to try this week, with easy steps and room to adapt.
In this list, you’ll find ideas that span from fast and store friendly to a little more hands on. You’ll see variations that lean on color, texture, and placement to fix the common party gaps: a bare dessert table, a hallway wall that reads empty, kid engagement that fizzles after ten minutes, and a crowd that needs a cohesive backdrop without a hefty budget. Let’s dive into snowflake ideas you can actually make today with ordinary supplies.
1. Layered Paper Snowflakes on a String
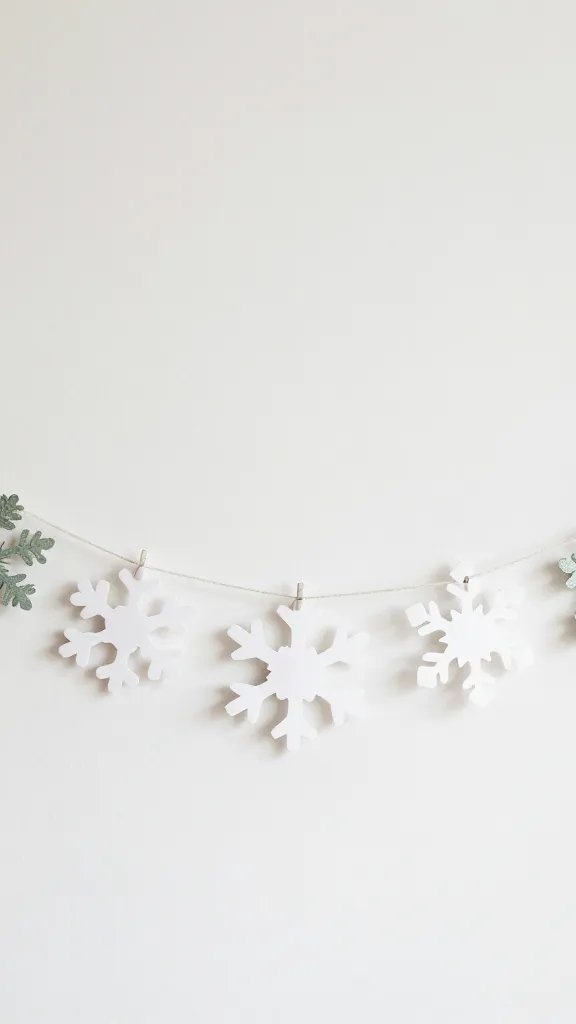
One look, three textures. Start with a large white snowflake cut from standard printer paper, then add a smaller colored flake behind it and a translucent vellum piece on top. Use a thin thread to suspend a trio of flakes per string, spacing them about six inches apart. It reads as a delicate, curated garland without extra bulk. Placement note: hang from a doorway or along a mantel to frame photos. This idea is fast, fits tight spaces, and uses what you already have.
2. Sparkle Snowflake Pinwheels
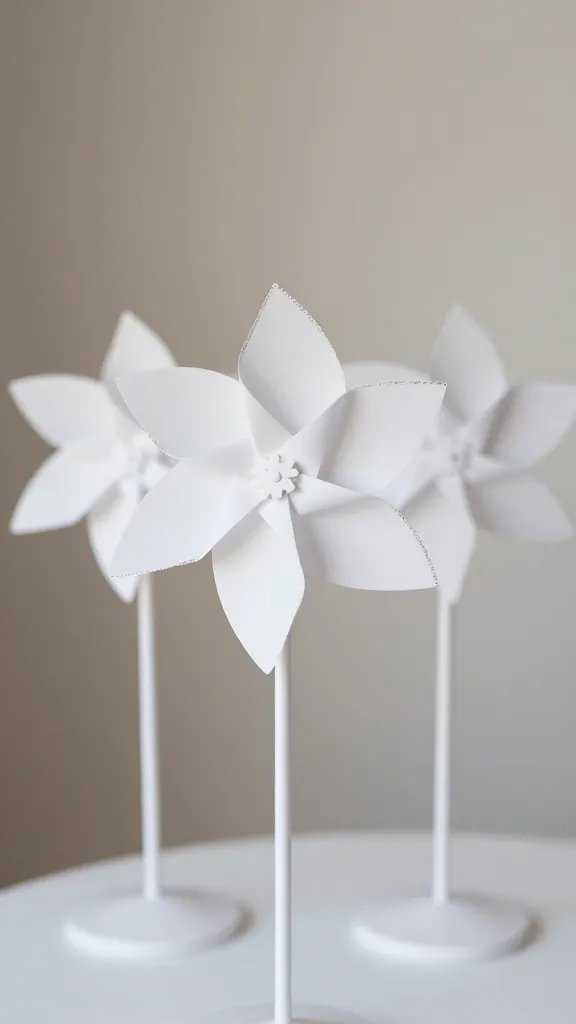
Cut a dozen small snowflakes, then glue them to the center of punched pinwheels made from white cardstock. A little glitter on the edges catches light as guests walk by. This adds motion and whimsy to a standard dessert area without heavy construction. Color note: keep the wheels white and add a single color for a cohesive look. It takes about 45 minutes to assemble a dozen.
3. Snowflake Lantern Silhouette Backdrop
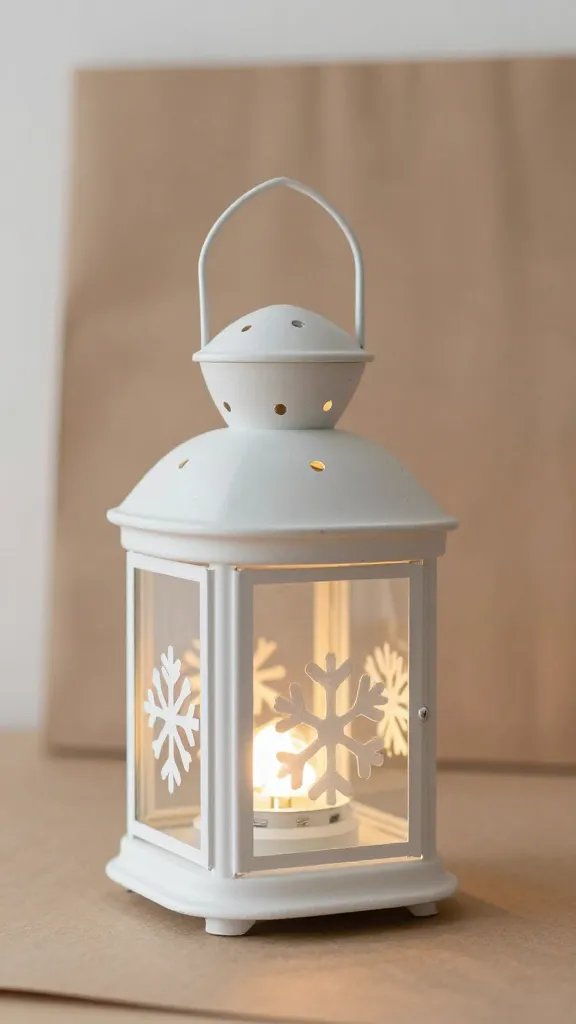
Trace basic snowflakes onto tissue paper, then layer between two sheets of parchment and tape behind a lightweight kraft paper lantern. The lanterns soften the shapes and throw gentle shadows when lit. It solves the bare wall problem near the dessert table and gives photos a warm glow. Best for: a small living room or entryway with a lamp nearby. Time to assemble is around 60 minutes.
4. Monochrome Gloss Snowflakes on Doorway
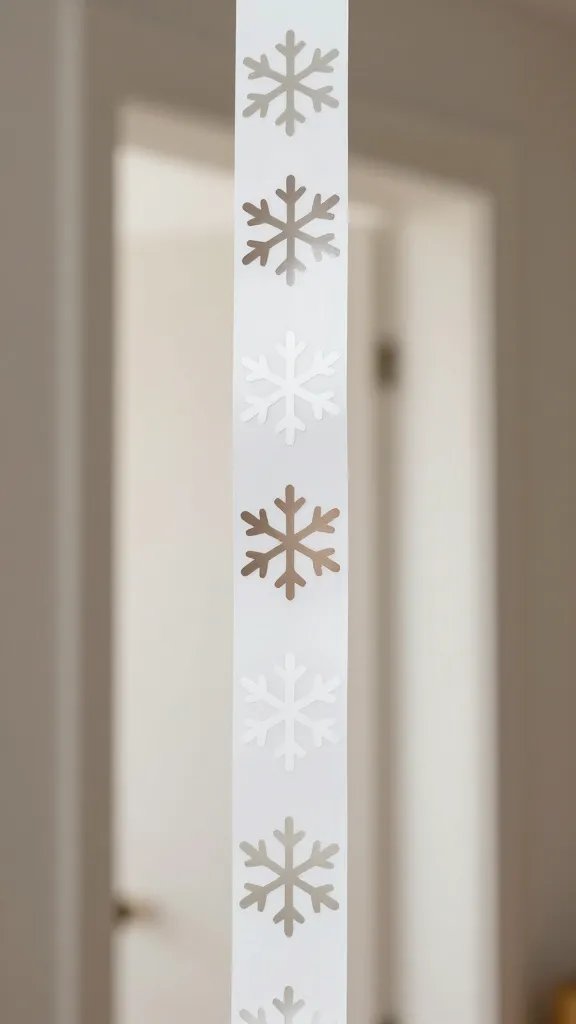
Cut extra crisp snowflakes from glossy poster paper in one shade. Space them along a doorway with fishing line so they float just inside the frame. The gloss catches ambient light and adds a polished, store-bought vibe without the price tag. Safety note: avoid blocking egress paths. It takes about 30 minutes to hang a 7-foot doorway strip.
5. Paper Snowflake Snowball Garland
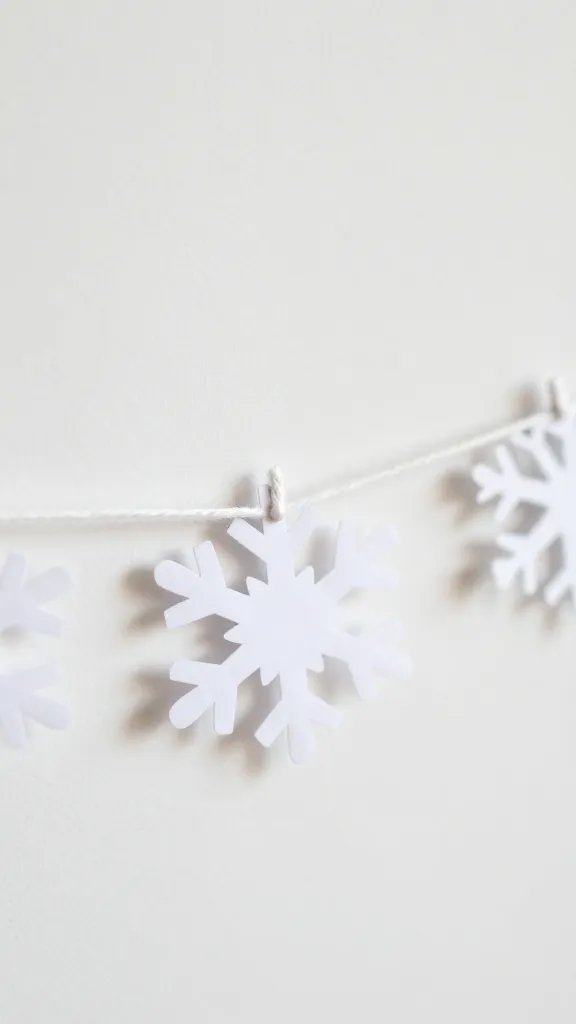
Make several small snowflakes, punch a hole at the center, and thread them onto a lightweight cord to form a ball-like garland. Space the shapes with small gaps, then bunch a few strands together for a fuller effect. This is a compact, easy addition that fills a wall quickly. Use what you have: from grocery store receipts to tissue scraps, you can craft the additional flakes in minutes.
6. Color Pop Snowflakes on Burlap Banner
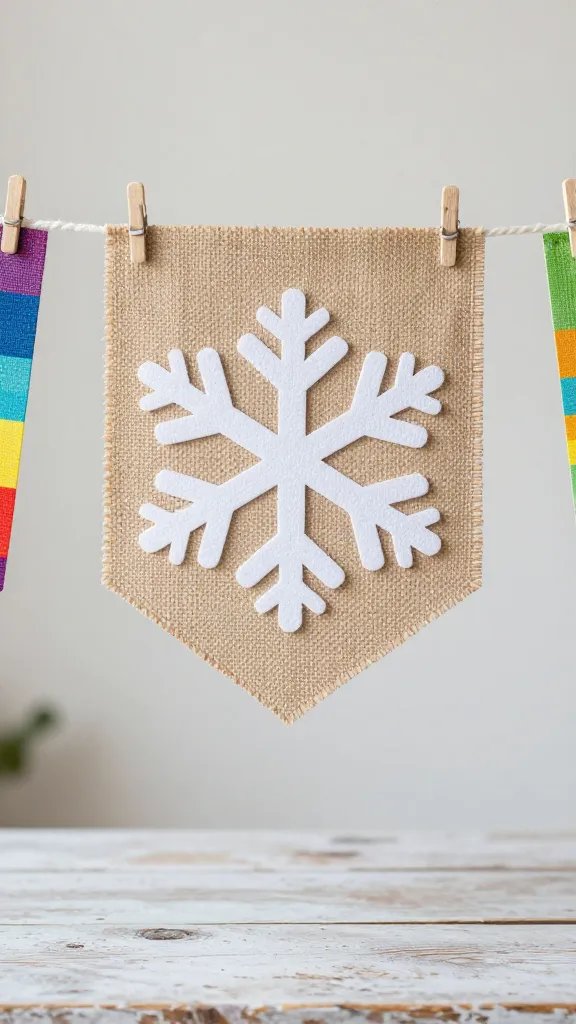
Cut simple snowflakes from white paper and mount them on a burlap strip. Add a line of bold color behind each flake using acrylic paint or marker to make the shapes pop. This detour from pure white reads like a deliberate, handmade touch rather than a last minute craft. It’s ideal for a rustic party or farmhouse table setting and can be done in under an hour.
7. Nested Snowflake Parade on a Curtain Rod
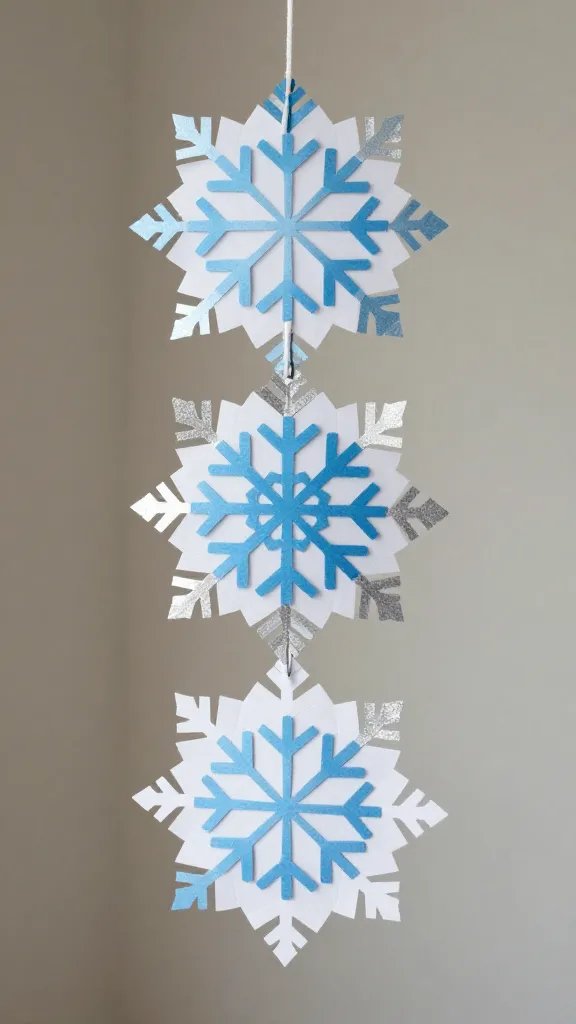
Thread three to five flakes of different sizes onto a single string, forming a small parade. Clip the string to a tension rod or curtain rod to create a floating, vertical banner. The nesting effect gives depth for photos and requires minimal tools. Copy the look: use white, blue, and silver for a chilly palette that photographs well in daylight.
8. Snowflake Doily Mosaic Table Runner
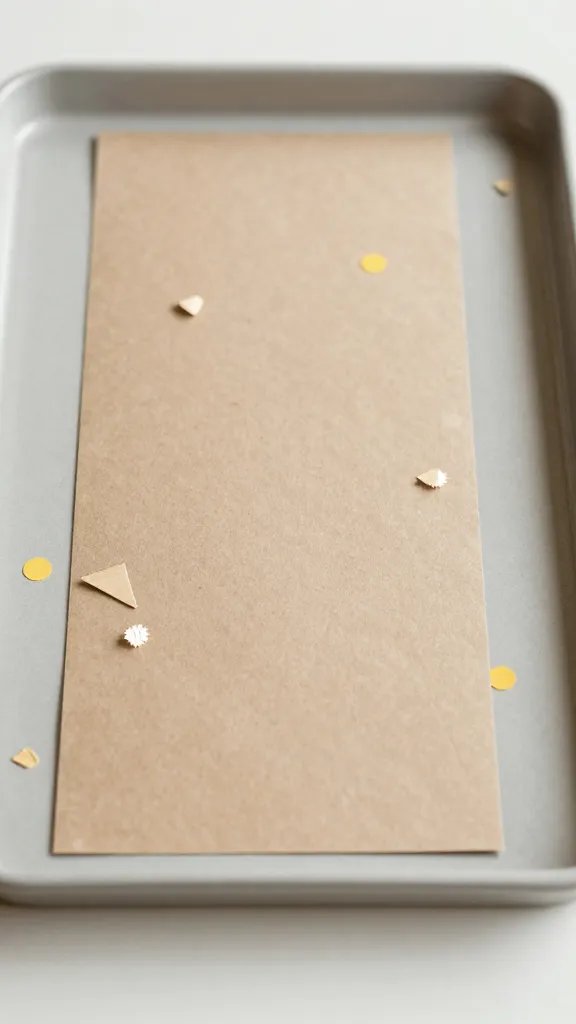
Pile a handful of paper doily flakes into a shallow plastic tray and sprinkle over them like confetti. Slide a long sheet of kraft paper beneath as a runner, so the snowflakes peek up at guests as they approach the dessert setup. It’s cheap, visual, and easy to rearrange if you need a quick refresh. Mess control: lay down a sheet of parchment and a tray to catch the loose pieces. Time: about 25 minutes.
9. Shadow Box Snowflake Garden
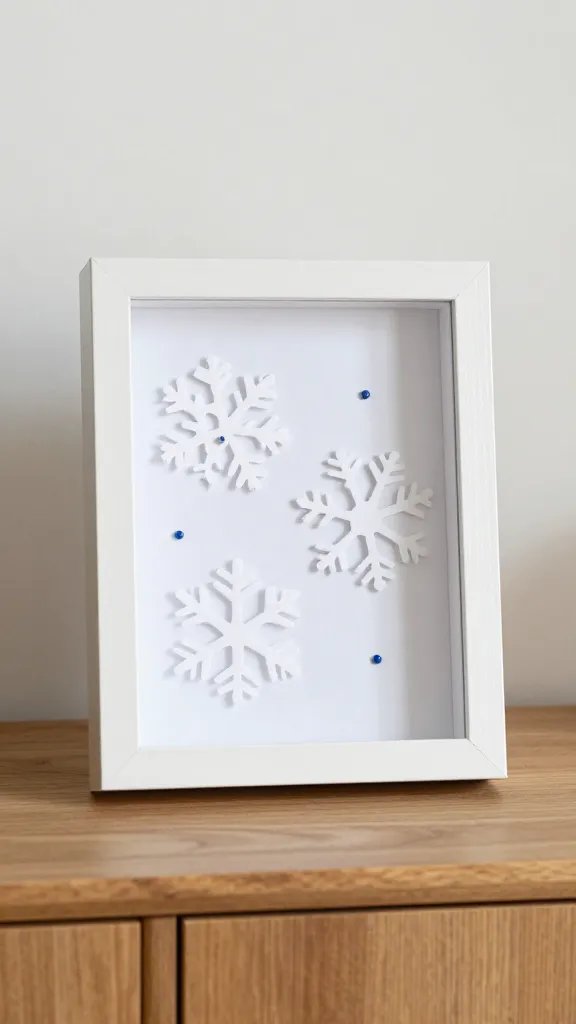
Stretch a few flakes on thin thread in front of a shallow shadow box or thrifted frame. Add a few small blue beads behind the glass to mimic ice droplets. This creates a tiny, interactive display that kids can peer into to see the wintery scene. It takes about 40 minutes to assemble a three-flake mini scene. Best for: a coffee table or entry console to invite guests closer.
10. Ice Crystal Window Garnish
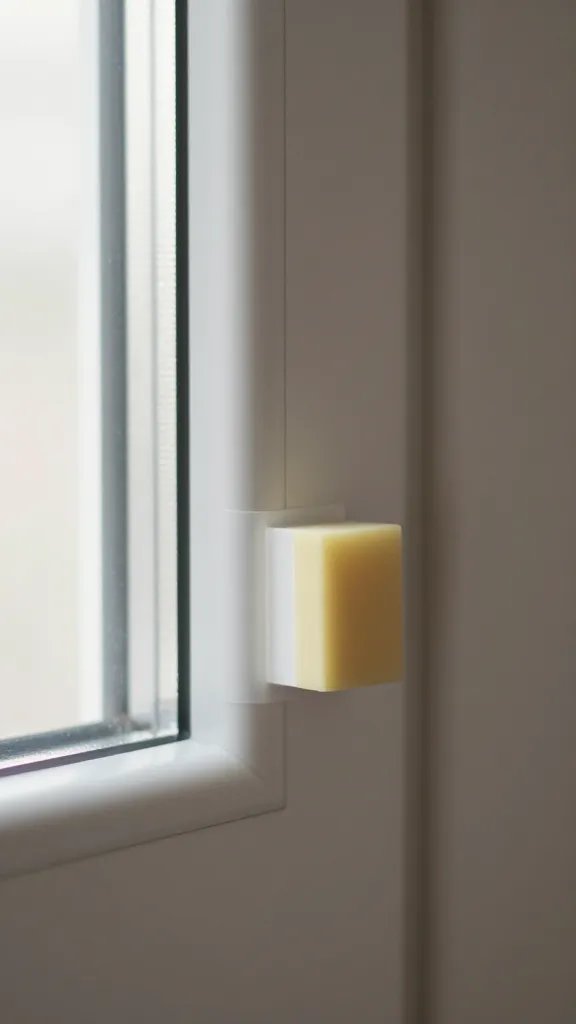
Affix lightweight snowflakes to the inside of your window using removable poster putty. Let natural light stream through them for a frosted effect. It’s a quick fix for a plain window and makes photos glow. If you want a little extra, glue a thin band of silver tape along the edges for a metallic hint. Time: 15–20 minutes per window.
11. Three-Dimensional Starry Snowflake Stack
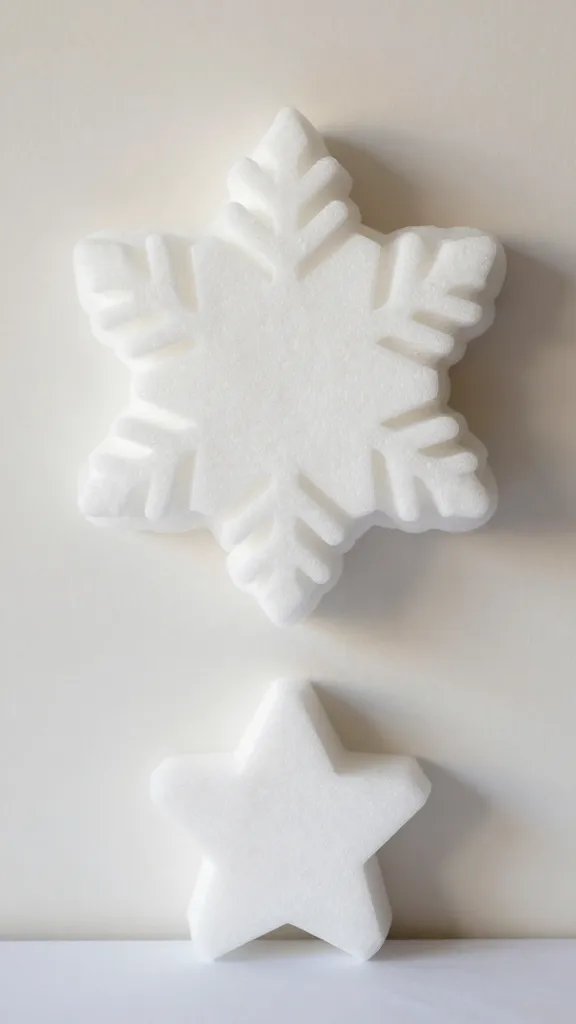
Cut two or three snowflakes in different sizes, separate the layers with thin bits of foam or folded paper to create a stack that pops off the wall. Mount them in a loose triangle formation for a focal point above the dessert table. The effect is clean, modern, and not fussy to assemble. It takes about 50 minutes for a 6-foot wall display.
12. Paper Hemstitch Snowflake Banner
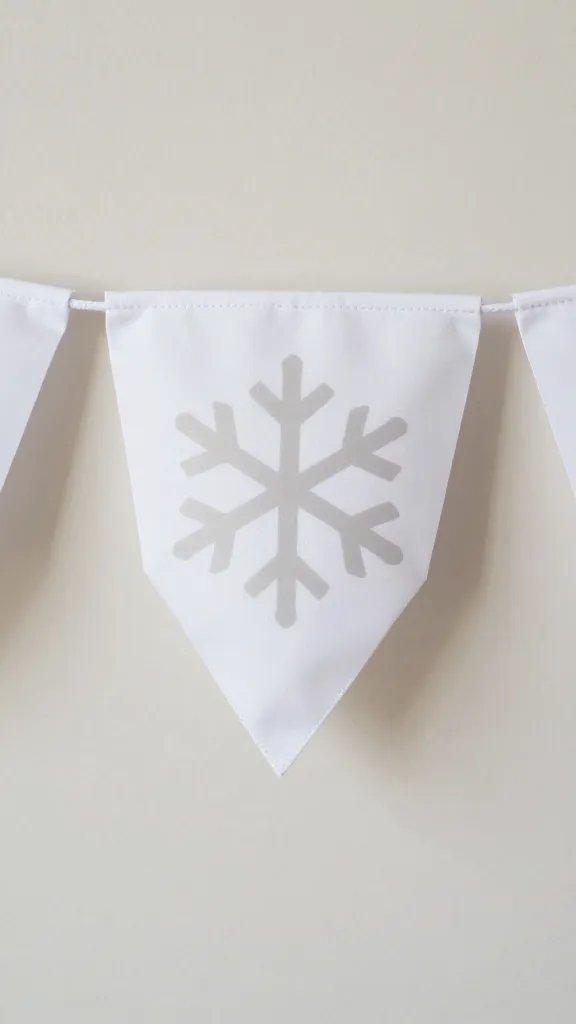
Punch a small hole near the edge of each snowflake and thread them onto a thin ribbon, leaving generous space between shapes. Hemstitching adds texture without extra glue and lets the banner drape gracefully along a wall or above a doorway. Make it ahead: cut shapes and punch holes the night before; assembly in the morning takes 15 minutes. Expect a soft, handmade look.
13. Snowflake Mosaic Stair Confetti
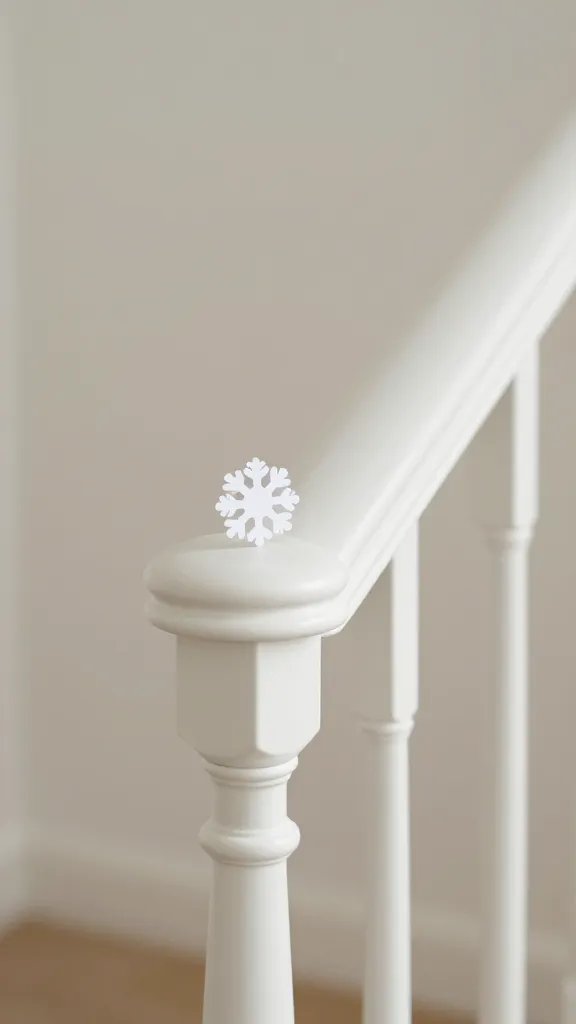
Cut a dozen tiny snowflakes from various papers and create a light mosaic along a short stair railing or entry landing. Layer the flakes with a bit of spacing to create a gentle, wintry path for guests to follow. It solves a flat entrance problem and yields cheerful photos as people step through. Time: around 45 minutes to place evenly.
14. Frosted Glass Jam Jar Lanterns
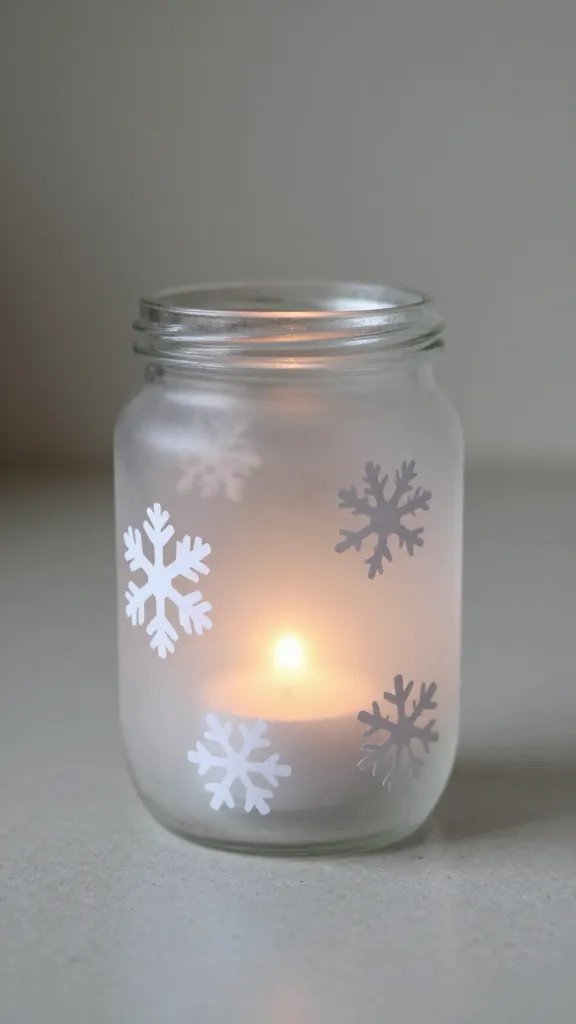
Decorate empty glass jars with white paper flakes glued to the outside. Place a small LED candle inside and set them along a hallway or on the dessert table. The glow feels cozy and the jars are reusable for later events. Kiddos can help with placing the jars on a tray, keeping the setup collaborative. Time: 25–35 minutes per batch.
15. Snowflake Quilt Wall Panel
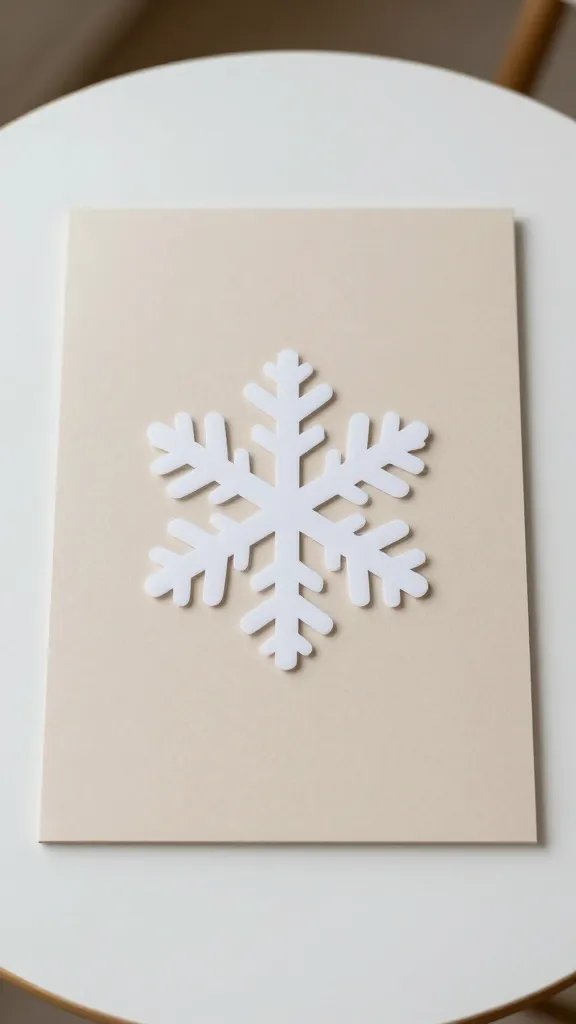
Mount several large snowflakes on a single piece of poster board or thin cardboard to resemble a small quilt panel. Frame the display with washi tape edges or a colored border for a clean, gallery-like look. This gives a strong focal point with minimal materials and a straightforward layout. Plan about 60 minutes for the full panel.
16. Kaleidoscope Snowflake Centerpiece
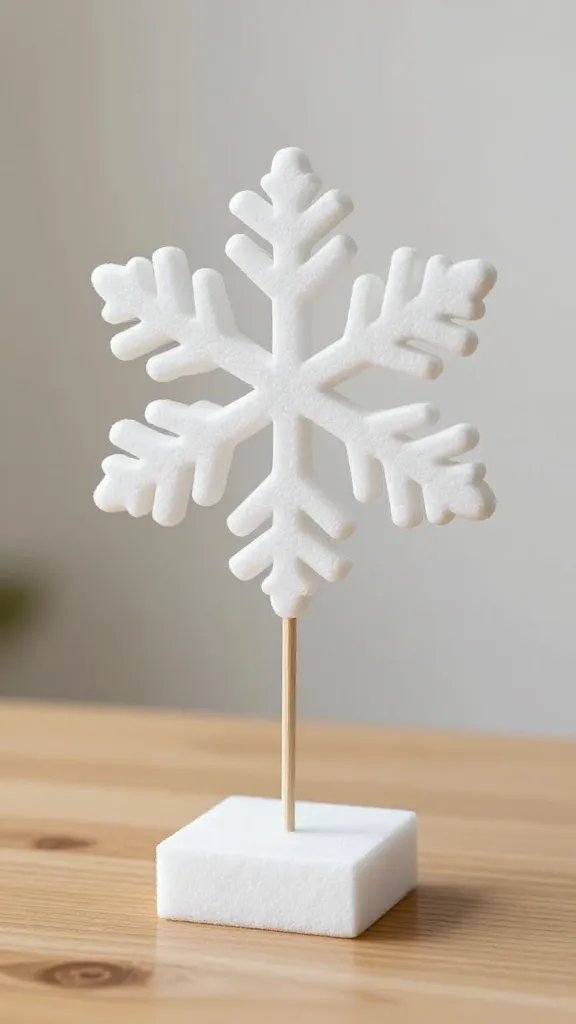
Join three differently patterned flakes in a small vertical stack on a short dowel or straw. Place the stems into a foam block or a simple vase, so the centerpiece reads as a tiny forest of ice crystals. The setup is sturdy, kid friendly, and easy to relocate if the table shifts. It takes around 40 minutes to assemble a dozen centerpieces.
17. Reusable Color Block Snowflakes on Corkboard
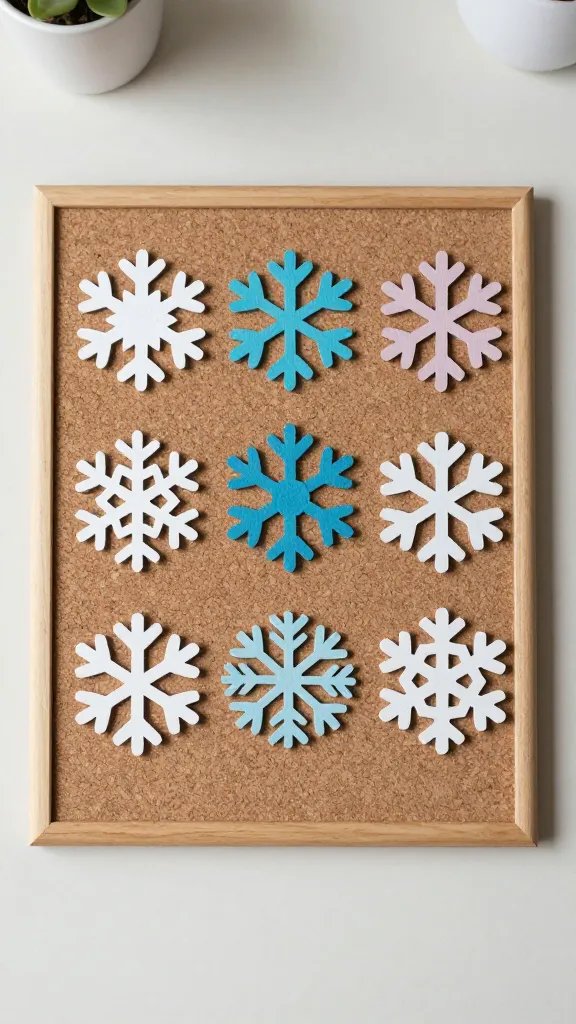
Cut snowflakes from white paper and mount them on a corkboard. Add small swatches of party color behind each to create a grid of color blocks that feels intentional rather than random. You can reuse the same corkboard for future gatherings with different colors. Time to tape up and arrange is about 30 to 40 minutes.
Wrap up a little planning with one more quick tip: keep a small bin of spare flakes, thread, and glue sticks handy so you can respond to last minute lighting or layout changes. Save these ideas for the next birthday that sneaks up on you.