
17 Cardboard Craft Ideas Using Amazon Boxes

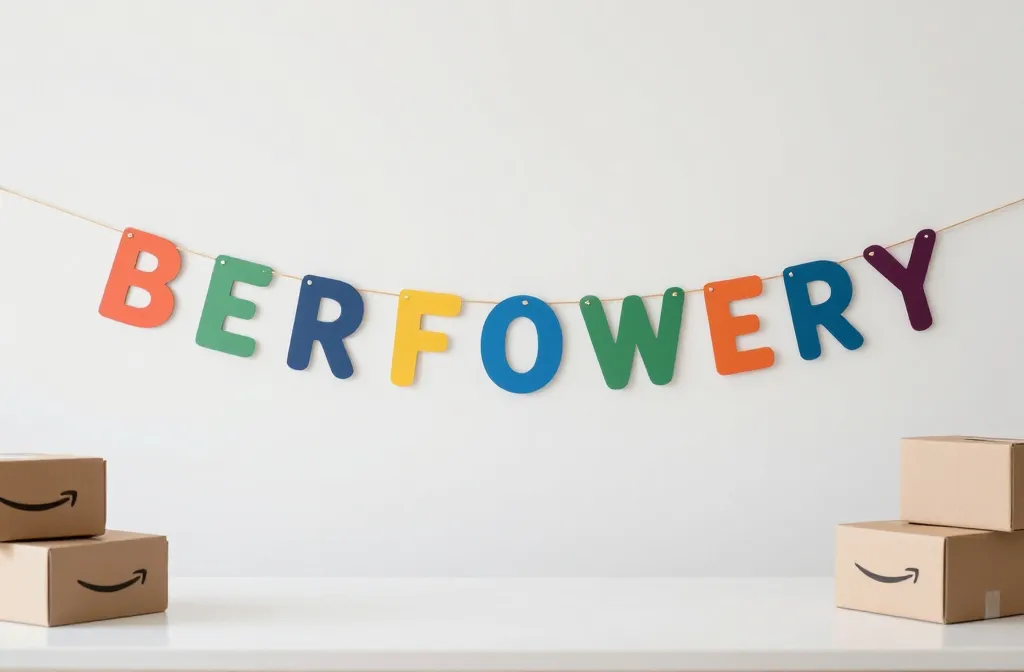
Staring at a mountain of boxes with a party soon to start? You’re not alone. Cardboard is cheap, forgiving, and surprisingly versatile for quick party setups. The goal is to solve the last minute scramble with simple, doable ideas that look thoughtful in photos and don’t break the bank. You can adapt these to any theme just by swapping colors or a few accents. Each idea below uses Amazon boxes as the base material and shows you exactly how to pull it off today.
From quick backdrops to kid friendly decor, these ideas keep mess low and effect high. Use the supplies list and timing notes to plan a two hour window between invitations and guests. Let’s dive into 17 concrete, ready to make concepts you can finish this week.
1. Cardboard 3D Banner Letters
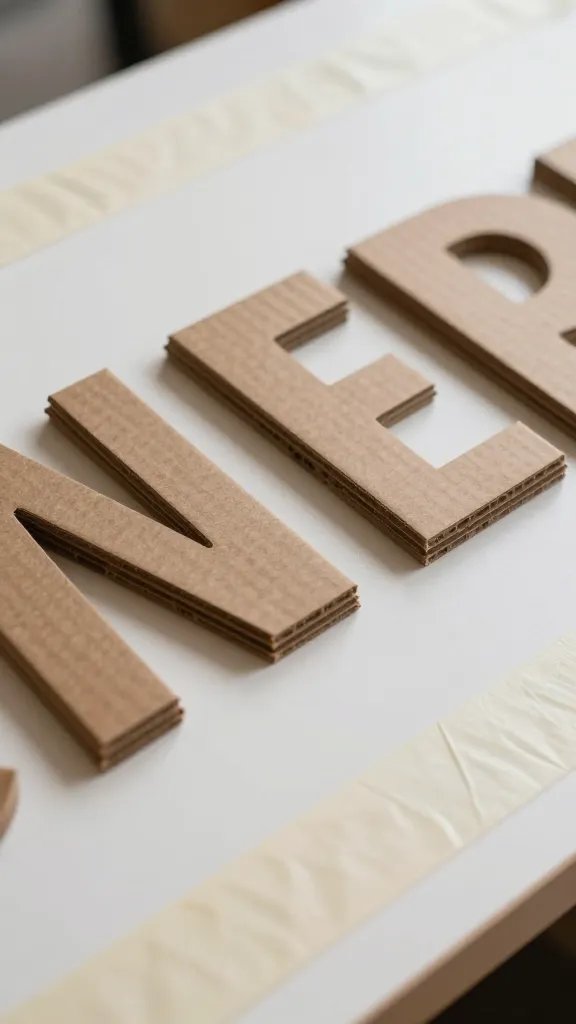
Cut large block letters from flattened Amazon boxes, then stack two or three for depth. Glue with a hot glue gun and cover with painter’s tape to keep edges neat. A simple color palette keeps the look polished and photo friendly. Add ribbon or string through punched holes to make a quick garland. Scale this up for a photo wall or down for a small dessert table sign.
Placement note: Hang the letters with painter’s tape on a blank wall or from a doorway frame so they’re easy to adjust. Use what you have: leftover gift wrap can wrap each letter for a quick color pop.
2. Make a Folded Box Backdrop
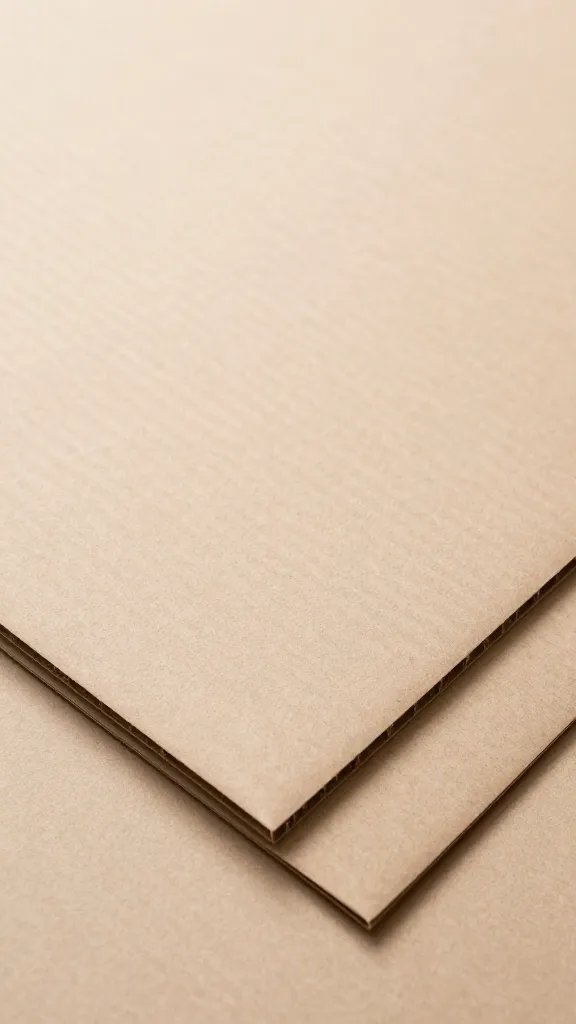
Turn a stack of Amazon boxes into a clean backdrop by folding and taping the flaps flat to create a smooth surface. Cover with kraft paper or tissue paper to match your theme, then pin or tape a few paper flowers along the top edge for texture. This works well behind a dessert table or smartly frames a cake stand. This is a fast, budget friendly option that photographs well in any lighting.
Why it works: simple geometry and a neutral canvas keep focus on the dessert and treats.
Best for: small spaces or a tiny dining nook where you need a defined backdrop.
3. Amazon Box Photo Booth Frame
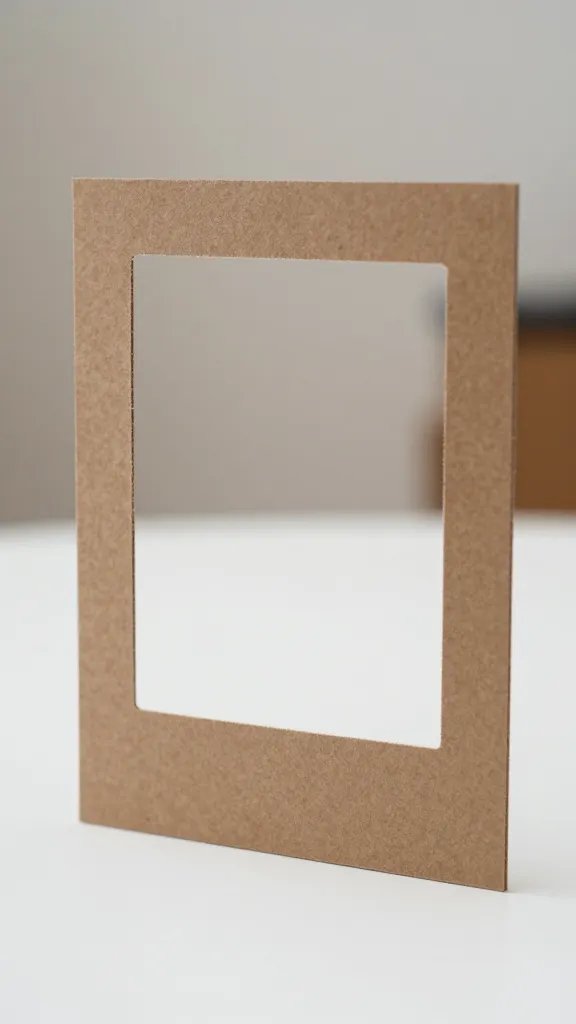
Canvas a cardboard frame from a large box, cut out a 4 by 6 inch photo space, and tape it to a lightweight stand. Decorate the edges with paper confetti, colored washi tape, or ribbon. Invite guests to pose inside the frame for quick pictures that feel custom. It’s sturdy enough for selfies and light enough to move around the room as the party shifts.
Make it ahead: assemble the frame and decorate the night before; bring extras for group shots.
4. Cardboard Cake Stand with Ledges
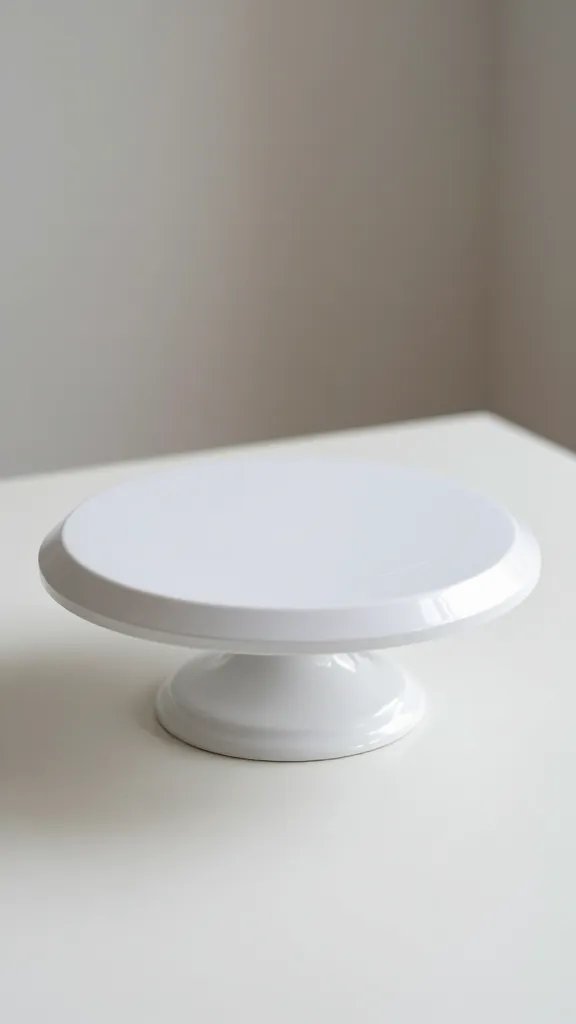
Trim a big Amazon box into a cube, slice one side to create a shallow ledge, and glue a few corner supports. Paint in a single color or wrap with gift wrap to coordinate with your theme. This creates multiple height levels for cupcakes, macarons, and cookies. It’s sturdy, reusable, and quiet on a busy table.
Safety note: avoid sharp edges; sand lightly if you plan to touch the top with hands or utensils.
5. Box Divider Tiered Easel
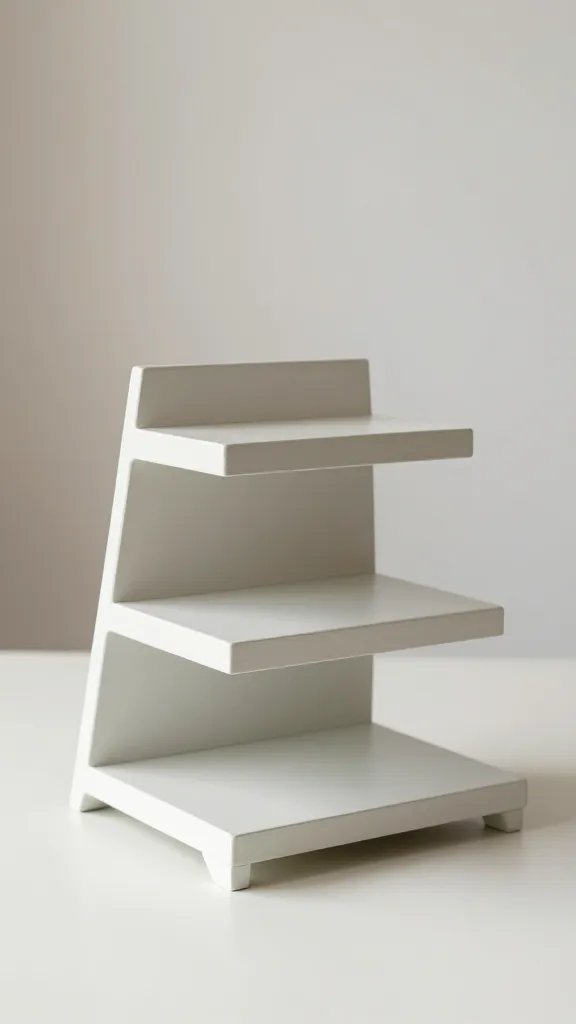
Cut two box panels with a couple of inch gaps for shelves, then stack with a third panel as a stand. Use hot glue to secure and paint or cover with decorative paper. A tiered divider creates a dessert wall with room for cupcakes, candy, or small jars. It also doubles as a party favor display at the end.
Copy the look: align shelves with an even rhythm for a tidy display that reads as intentional decor rather than DIY chaos.
6. Mini Box Lanterns
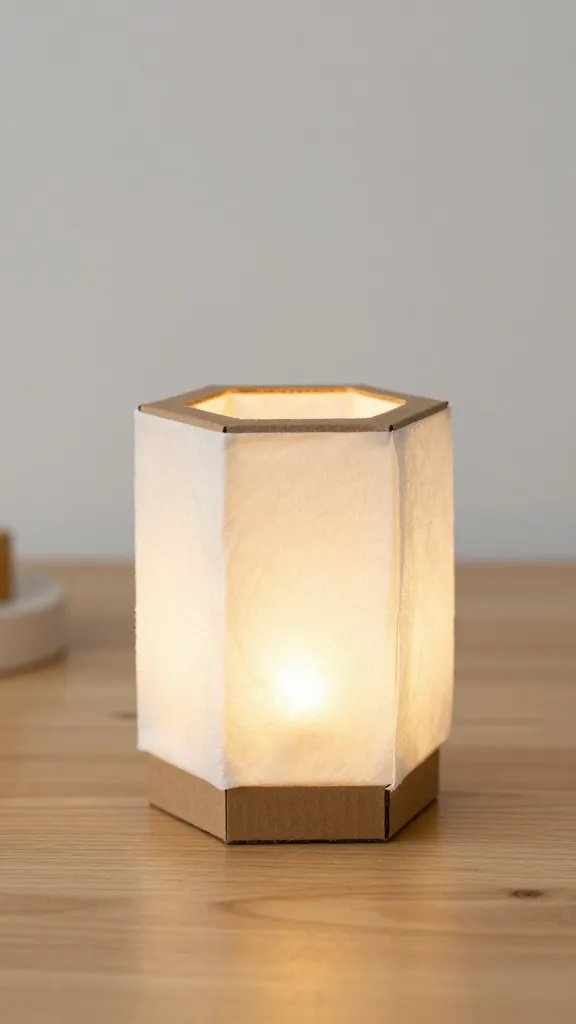
Hollow out small sections of several Amazon boxes, wrap with tissue paper, and cut a slotted lid for a LED tea light. Tape or glue a few glued on handles so guests can carry them as mini lanterns if you’re hosting outside. The glow reads warm in photos and the boxes keep the light steady without burning anything.
Color note: choose a two color palette to keep the lanterns cohesive rather than chaotic.
7. Box Topiaries with Paper Leaves
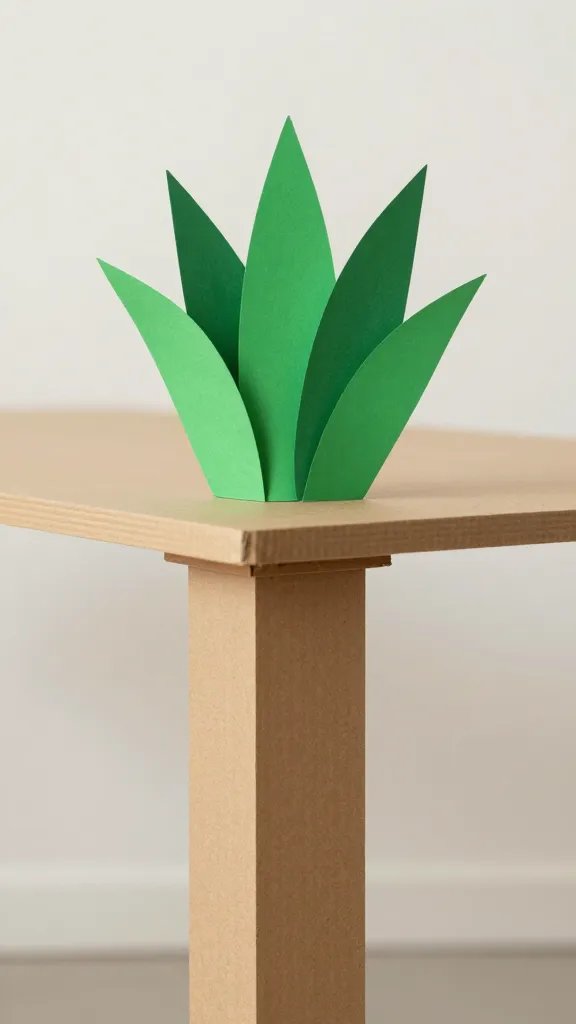
Cut round discs from cardboard scraps, then punch out leaf shapes from green craft paper. Glue leaves around the top and middle sections of a vertical box column. Glue a small box on top as a topper to anchor the greenery. It creates movement without a lot of bulk and works great on a narrow entry table.
Best for: an entryway or buffet line where a vertical plant vibe would feel heavy but cardboard helps it stay light.
8. Giant Box Wall Clock
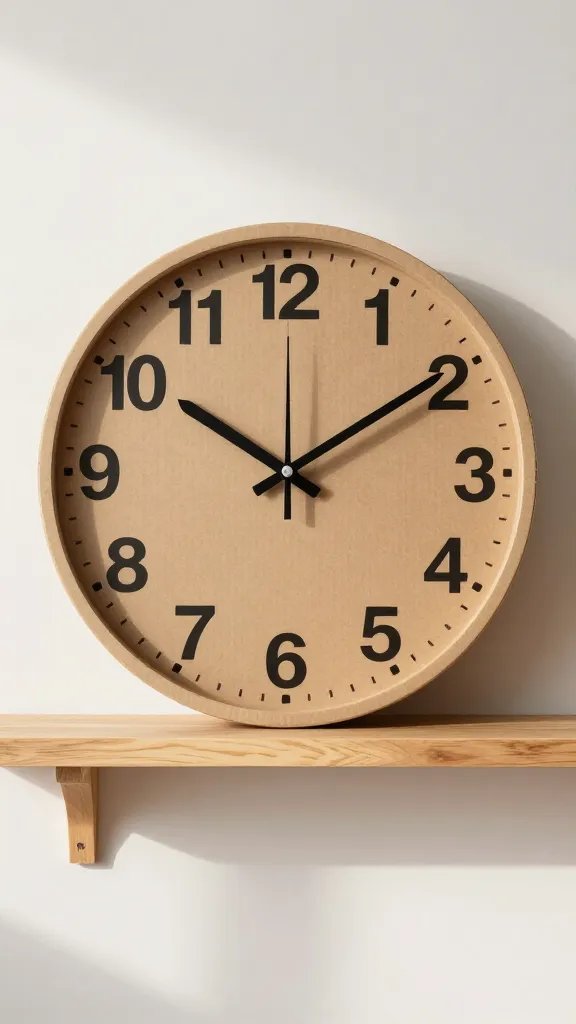
Use a large Amazon box to create a round clock face by cutting a big circle and painting it. Add oversized numbers with digital stencils or hand paint. Mount on a wall for a bold focal point that photographs beautifully. It’s an easy prop for a time themed party or a birthday countdown wall.
Use what you have: a poster number set or vinyl numerals saved from previous parties can speed this up.
9. Cardboard Dino or Dino Lovers Silhouette
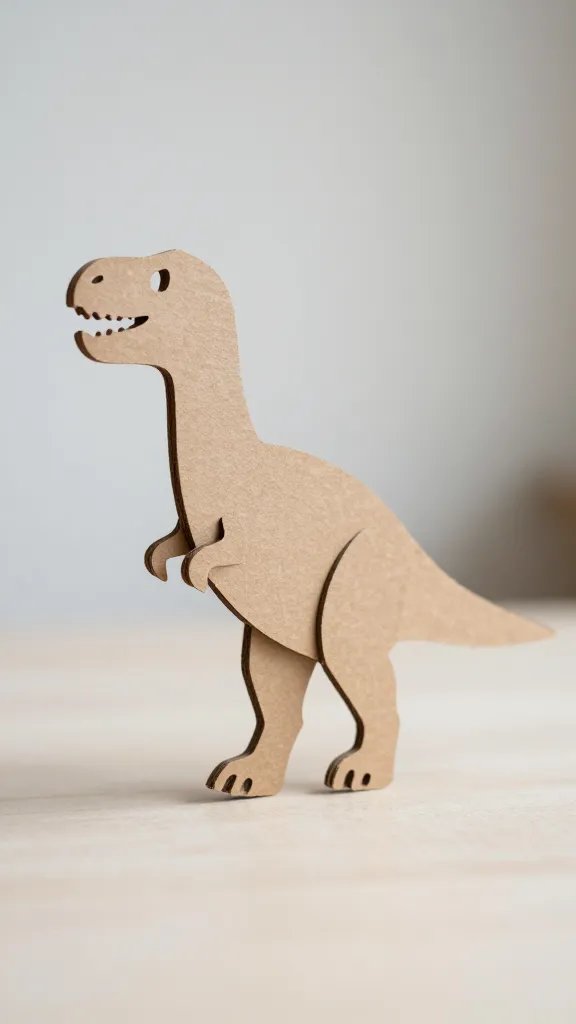
Trim a box into a large silhouette of a dinosaur or favorite animal. Stand it on a table or lean it against a wall as a backdrop. Paint in two tones to highlight the silhouette and add a few small paper leaves or circles for texture. It creates a playful vibe without loud colors in a small space.
Kid friendly: let little hands help with cutting the smoother edges under close supervision.
10. Box Shelf of Treats
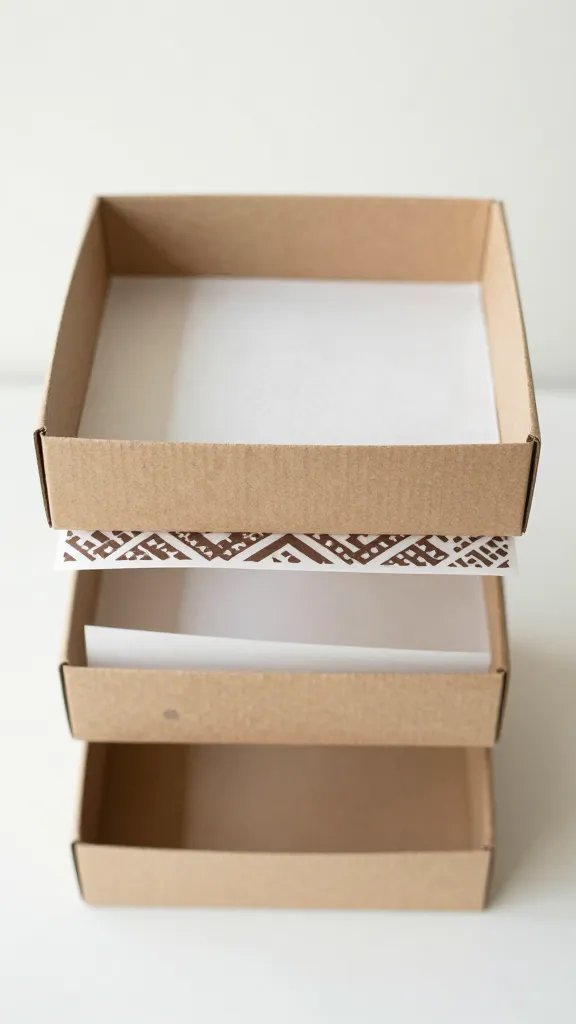
Stack several shallow Amazon box trays to create a tiered display for cookies, candies, and favors. Line with parchment, then top with a sheet of decorative paper to add color. This is a cheap way to rearrange a dessert table and avoid a flat look.
Mess control: line trays with parchment to catch drips and crumbs; wipe down between refills for a clean look.
11. Cardboard Balloons Arch Support
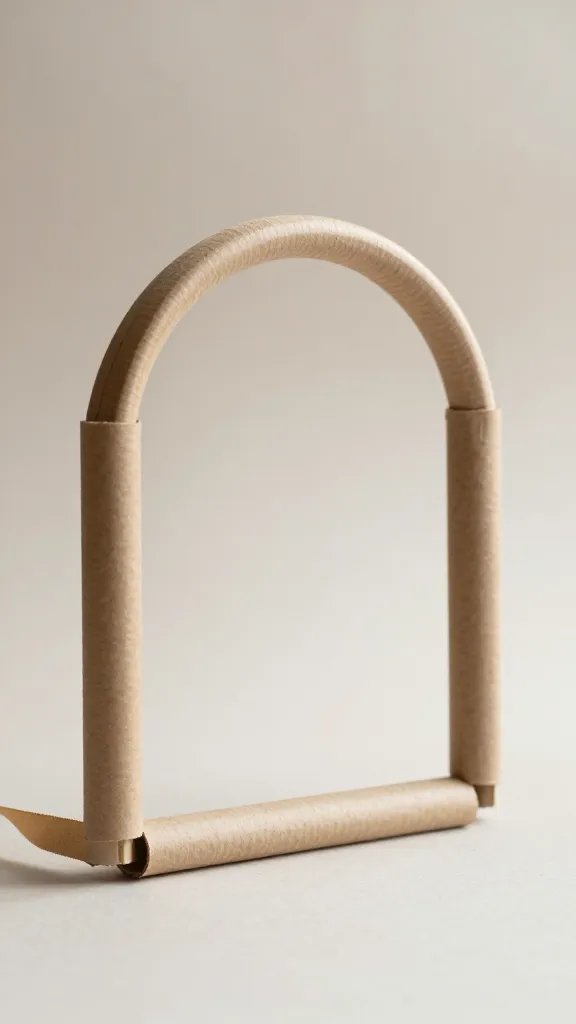
Cut long cardboard tubes from boxes and tape them into a simple frame to support a balloon arch, keeping costs low. Add curling ribbon between tubes and a few bits of crepe paper to soften edges. This is a budget friendly alternative to a full balloon garland and still photographs well in front of it.
Assembly tip: use a lightweight base behind the arch to steady the structure and reduce sag.
12. Box Chalkboard Signs
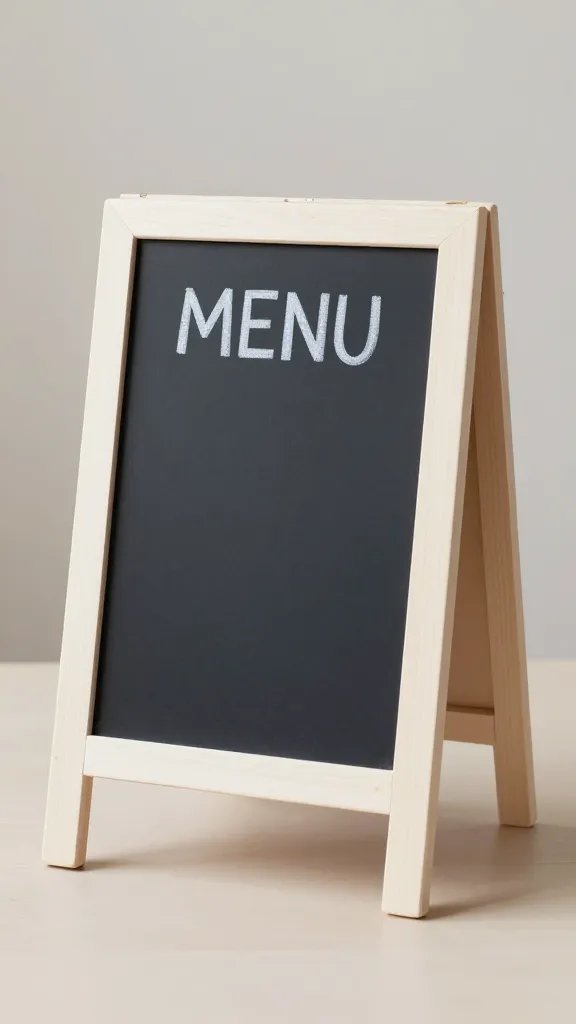
Cut and stack a flat piece from a box to form a little chalkboard stand. Paint one surface with chalkboard paint, then label with the menu or a welcome note. Pair with a few white chalk markers for legible, playful signs. This keeps guests informed without resorting to printed signs.
Safety note: always supervise kids when they handle any markers or sharp tools during setup.
13. Cardboard Curtain Fringe
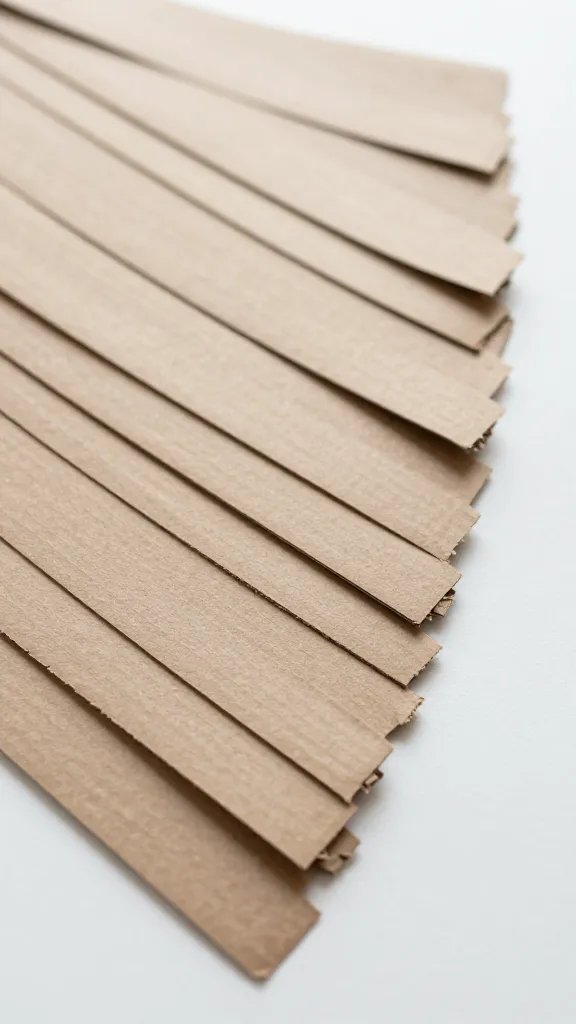
Flatten several Amazon boxes and cut into slim strips to create a curtain fringe you can hang behind the cake table or dessert bar. Layer colors in a gradient or mix two tones for a modern look. The result is a lightweight feature that adds movement in photos without a big budget.
Make it easier: use a staple gun to fasten the fringe to a long ribbon or a mounted wooden dowel for quick setup.
14. Box Peppermint Stripe Wall
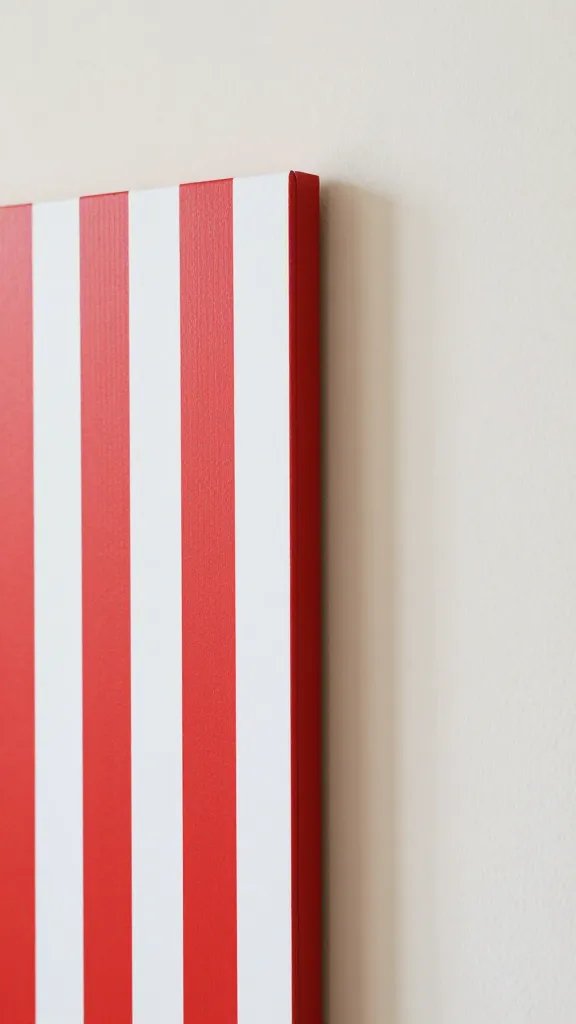
Cut and paint alternating red and white box strips to mimic peppermint stripes. Mount in a repeating pattern across a wall to create a bold, high contrast backdrop for photos. It’s simple, crisp, and kid friendly.
While you work: mask edges with painter’s tape to keep stripes straight and clean.
15. Stackable Box Planters
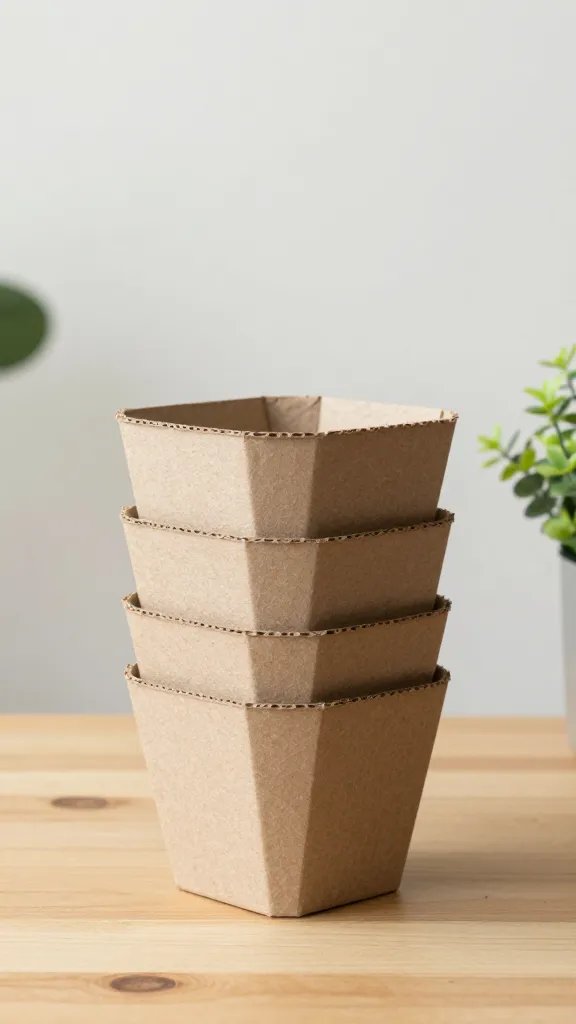
Open a few boxes, cut away extra flaps to create shallow planters, and fill with artificial greenery or tissue paper “plants.” Stack at different heights on a table to hint at a garden vibe without needing real plants. It’s a nice way to fill space near entry or the dessert table.
Best for: a corner that feels bare or to frame a doorway with a green accent.
16. Box Geometric Centerpiece
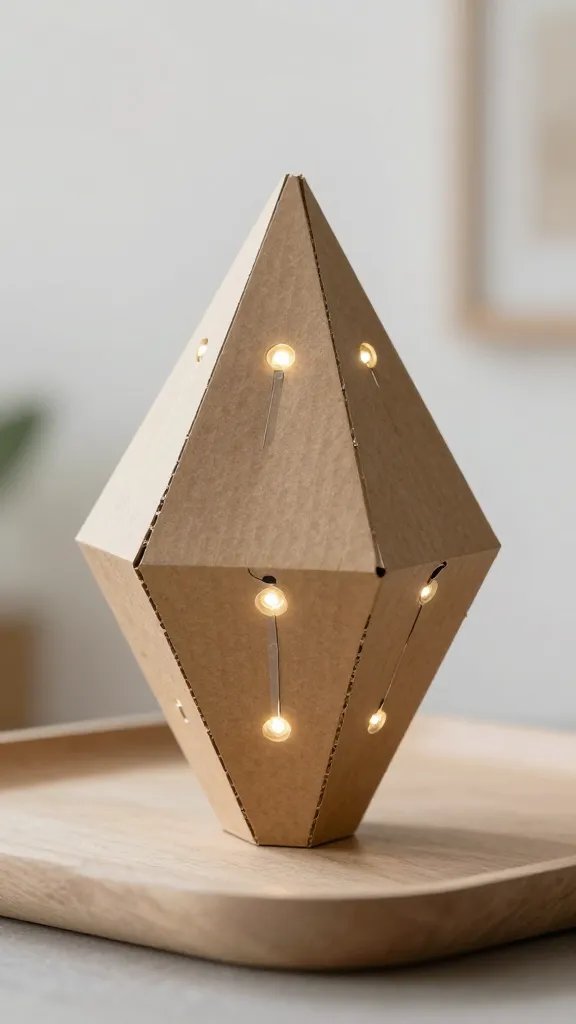
Cut the sides of a box into triangle facets to create a geometric centerpiece. Stack several pieces in a cluster at different heights and wrap with metallic tape for a modern, clean look. A few LED lights tucked in the gaps elevate the effect. It reads as contemporary without any special craft skills.
Warning: avoid forcing a heavy centerpiece on a delicate table; place it on a sturdy tray to keep from tipping.
17. Cardboard Box Garland of Shapes
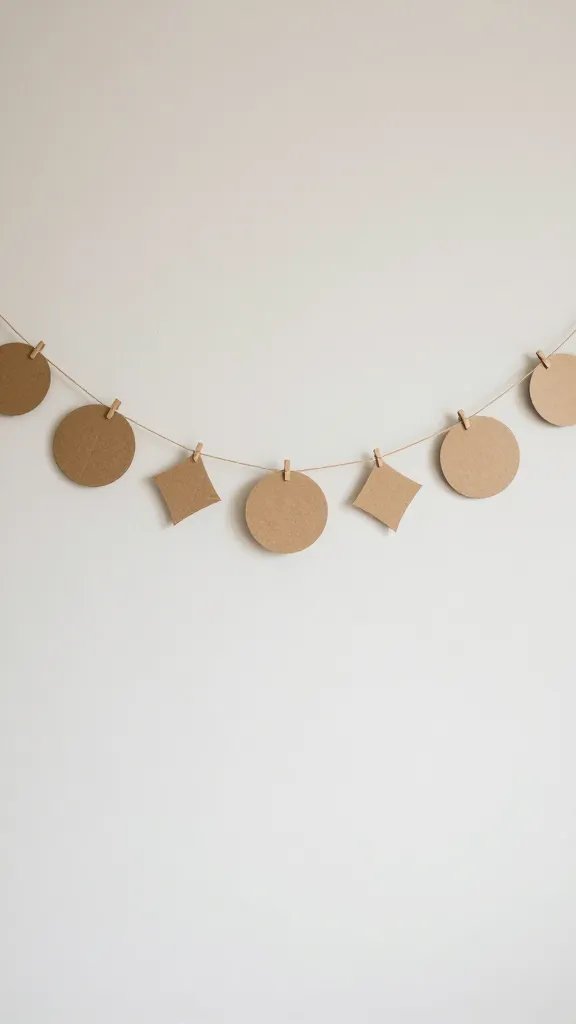
Cut circles, diamonds, and squares from flattened boxes. Punch holes and string them into a garland that spans a wall or doorway. Alternate colors or patterns so the garland feels intentional rather than random. It’s a quick statement piece that doesn’t require sewing or painting large surfaces.
Handy tip: perforate shapes in advance to speed assembly on party day.
With a little planning, these cardboard crafts using Amazon boxes become reliable crowd pleasers that don’t require a big budget or a long to do list. They’re practical, durable, and easy to tweak for any theme. Save this for the next birthday that sneaks up on you.